Colorful Basement Craft Room Reveal
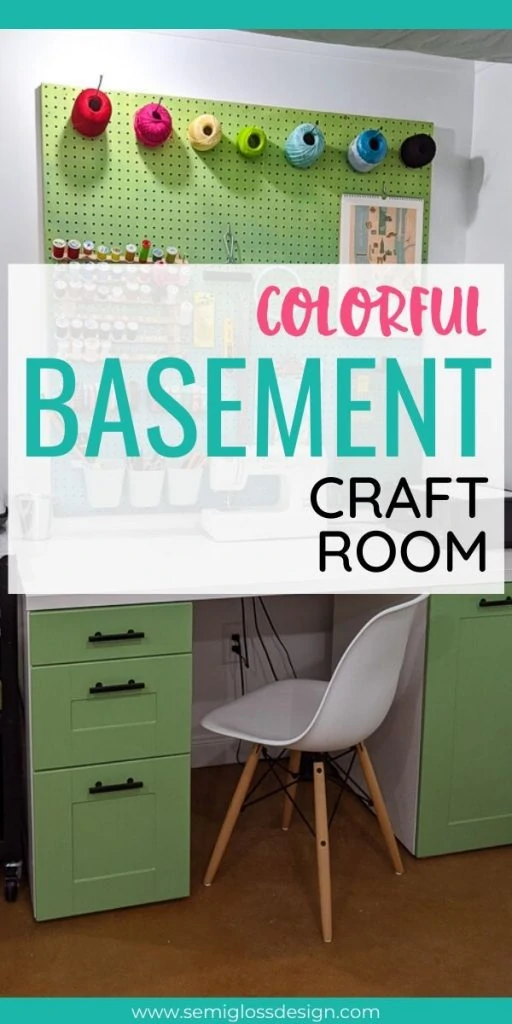
This basement craft room reveal features a colorful palette and affordable IKEA furniture pieces. This craft room is filled with fun DIY projects to inspire creativity.
You might also like this post on how to paint a basement ceiling.
This post contains affiliate links. By purchasing an item through an affiliate link, I earn a small commission at no extra cost to you. As an Amazon Associate I earn from qualifying purchases.
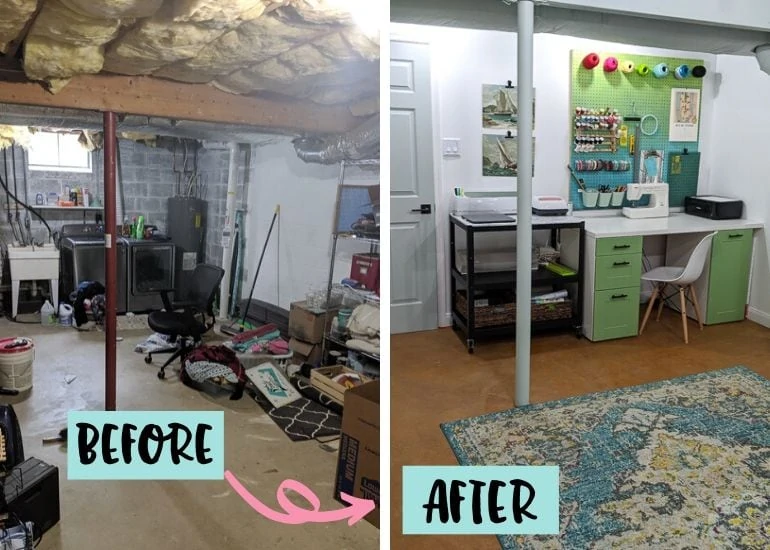
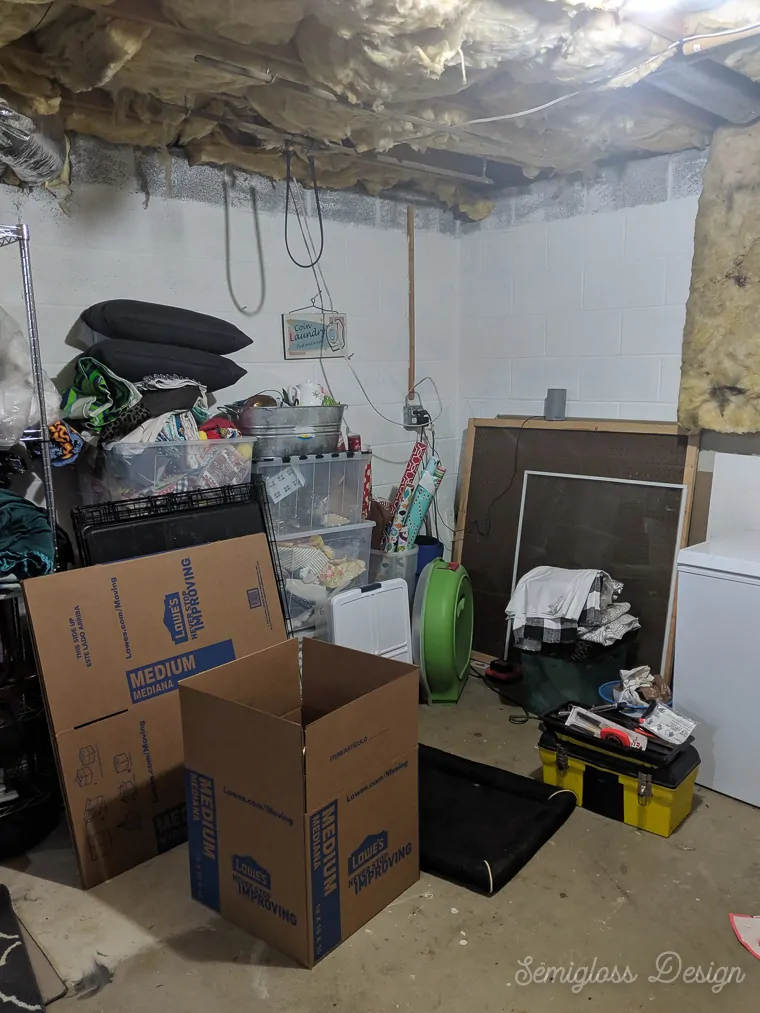
This basement makeover started 6 months ago with a plan for the space. We removed the insulation from the ceiling so that we could spray the unfinished beams.
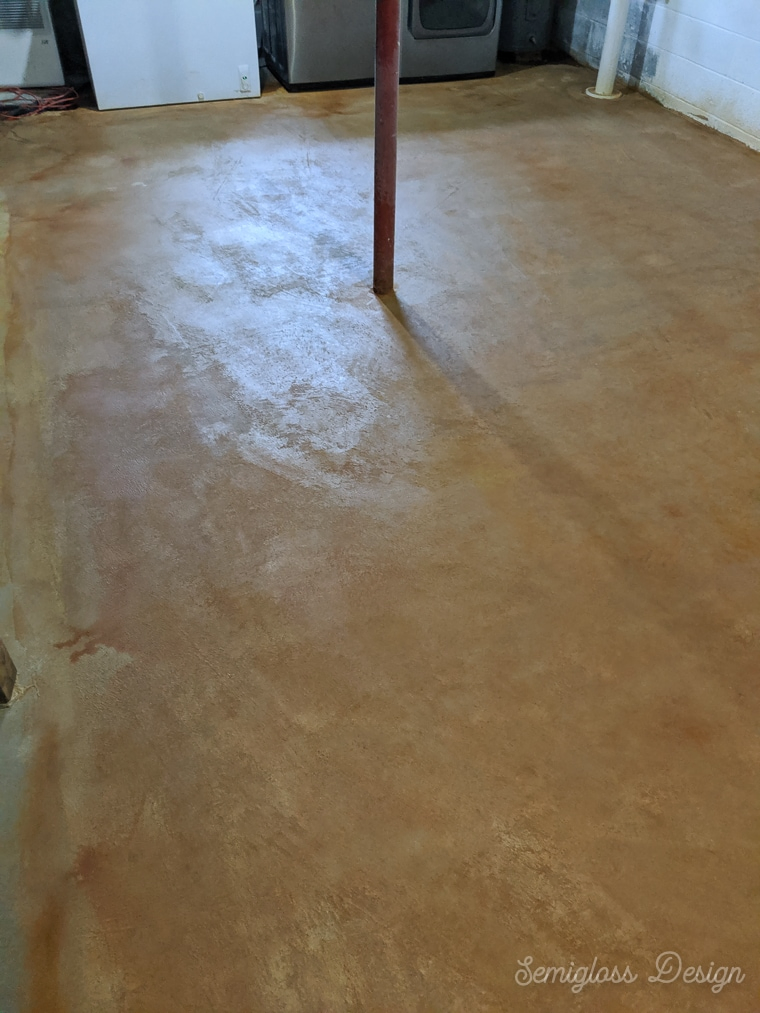
We refinished the concrete floor and applied a warm concrete stain to the floor.
We framed the walls, insulated the walls and installed drywall. Then we finished the drywall. Simple lighting was added.
We painted the room (SW Reflective White) and added trim.
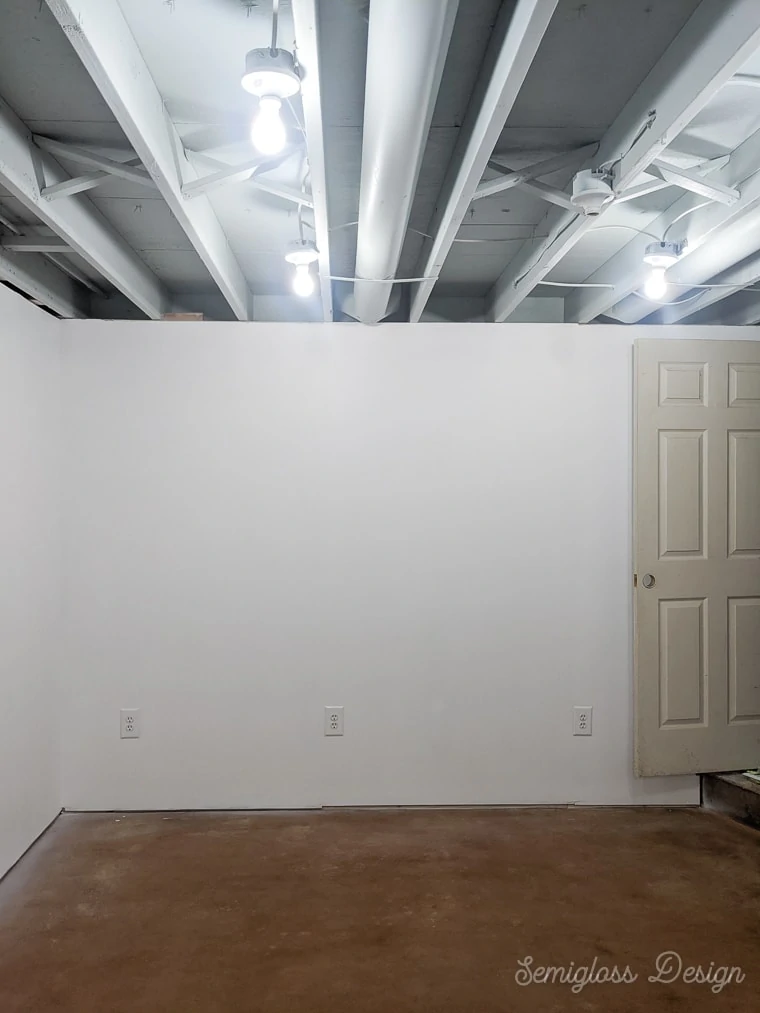
More process posts are coming, but I wanted to get this reveal posted so that I can go ahead and play in there. As I type, it’s a rainy day and nothing sounds better than spending the day in there creating stuff.
Basement Craft Room Reveal
It’s so hard to believe this is the same space! This room is probably the biggest DIY my husband and I have ever completed and I couldn’t be prouder.
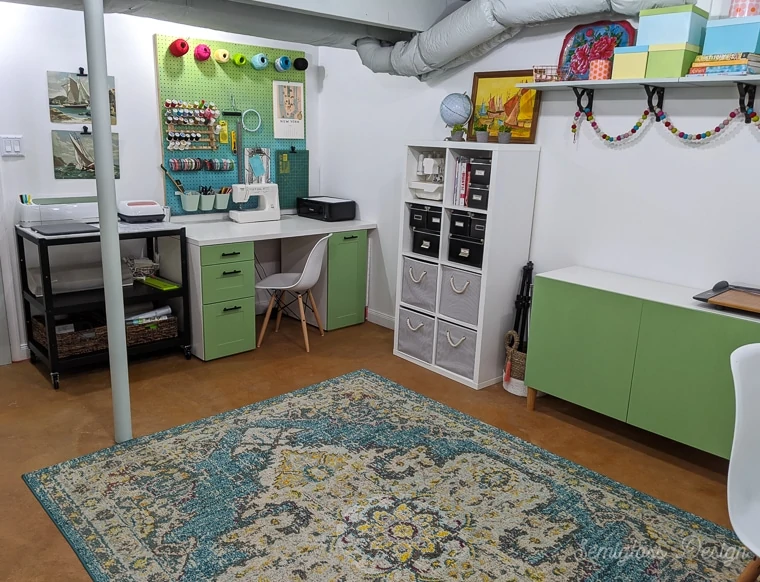
Sewing Area
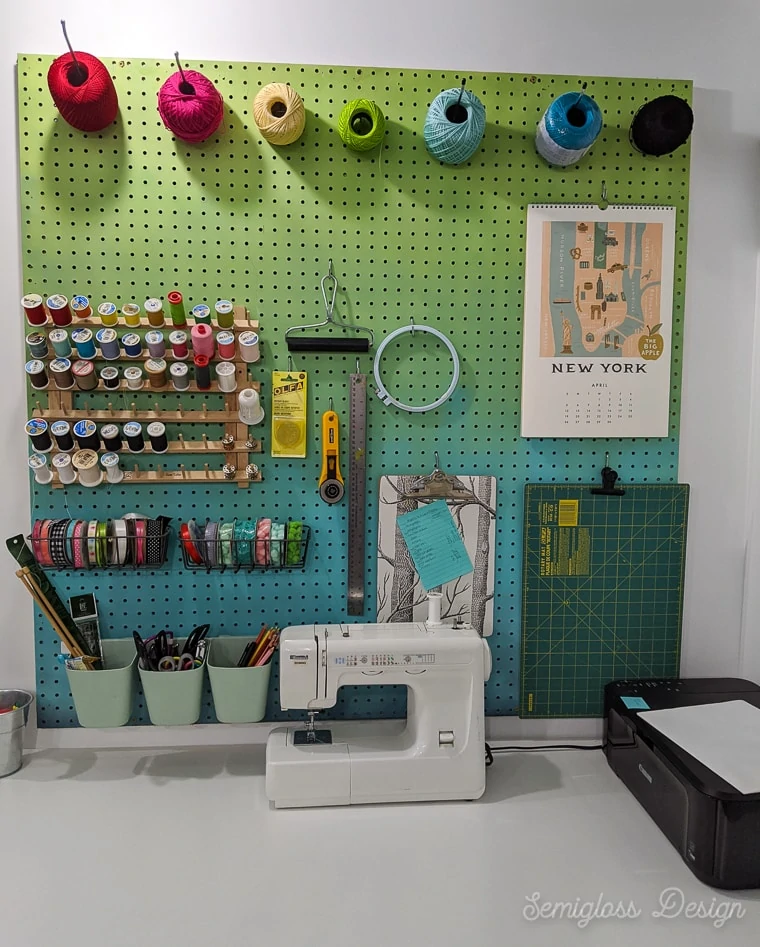
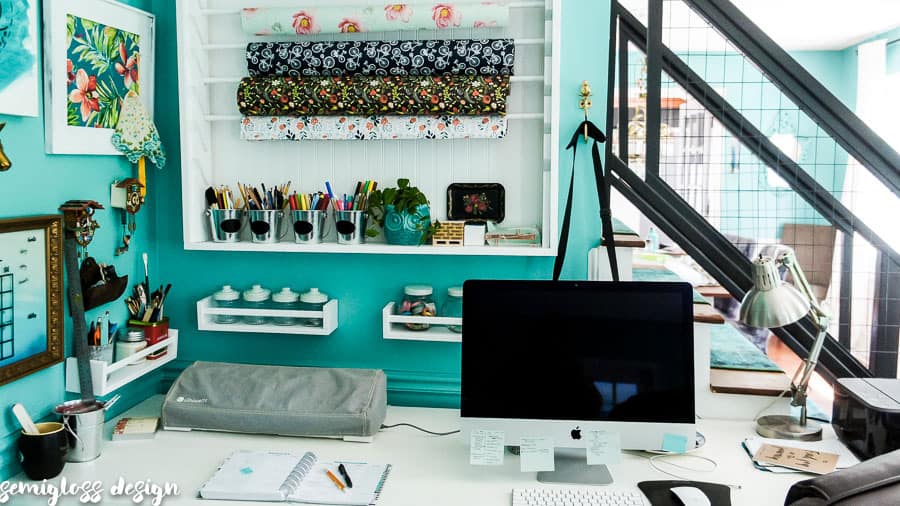
I made it a priority to have a dedicated sewing space in the room. Dragging out my sewing machine every time I wanted to use it meant that I never used it.
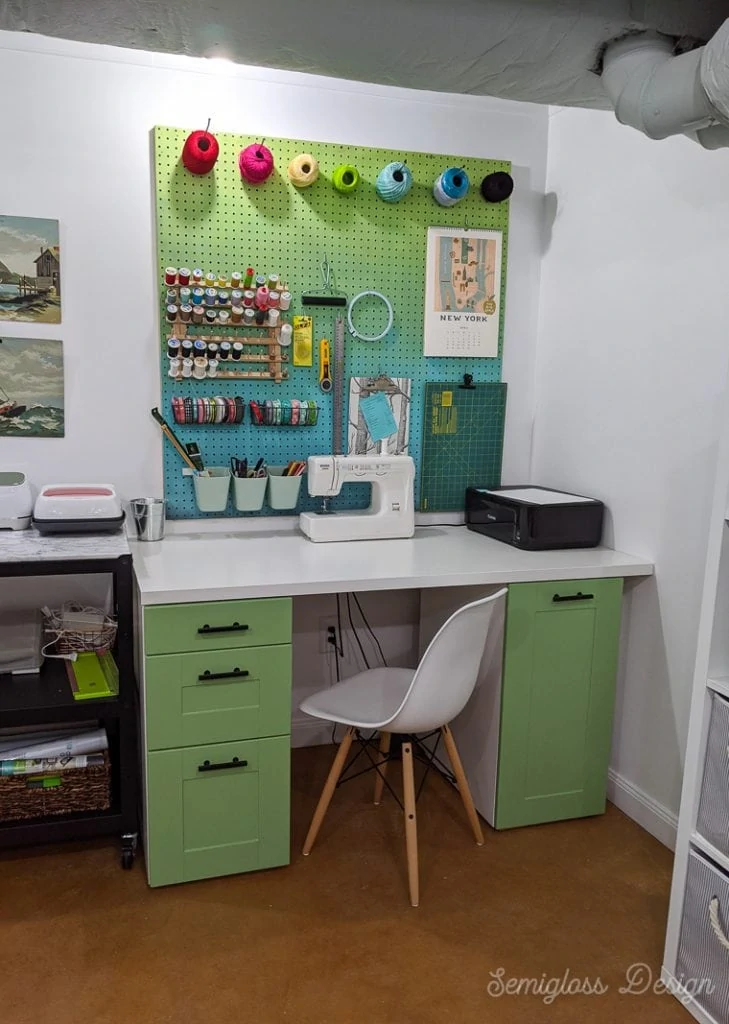
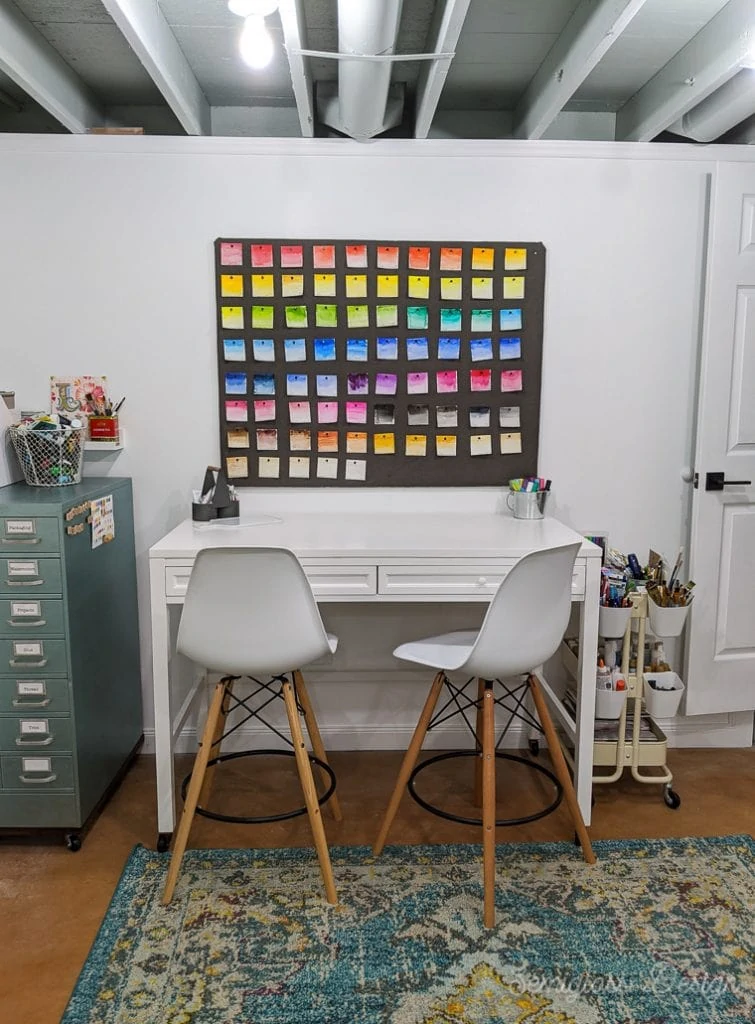
The DIY desk is made from IKEA sektion cabinets because I really wanted a pull out trash can.
I love my pull-out trash can in my kitchen and I figured that my dream craft room definitely needed one. (When I went to IKEA, they were out of the correct trash can, so I’m making do until I can shop again.)
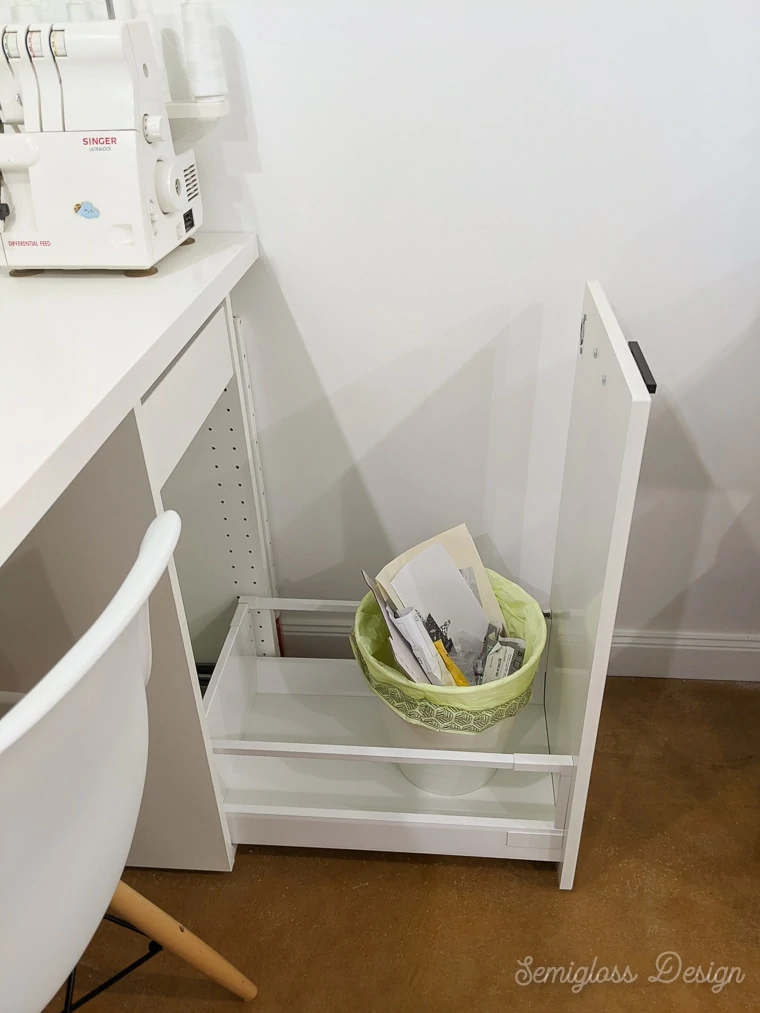
I ended up painting the IKEA sektion cabinet fronts with Valspar cabinet paint.
The desk can also be used as an office space with a laptop (my computer is still in the living room.) This allows me to use my Cricut and Silhouette in here.
This chair is super comfy. To be honest, it was a pain to put together, but it’s worth it in the end.
I made the pegboard years ago and I’m so happy to get to use it again. It’s painted with 3 colors of spray paint for an ombre effect.
I’m looking forward to going into Lowes and buying more pegboard hooks to add more stuff.
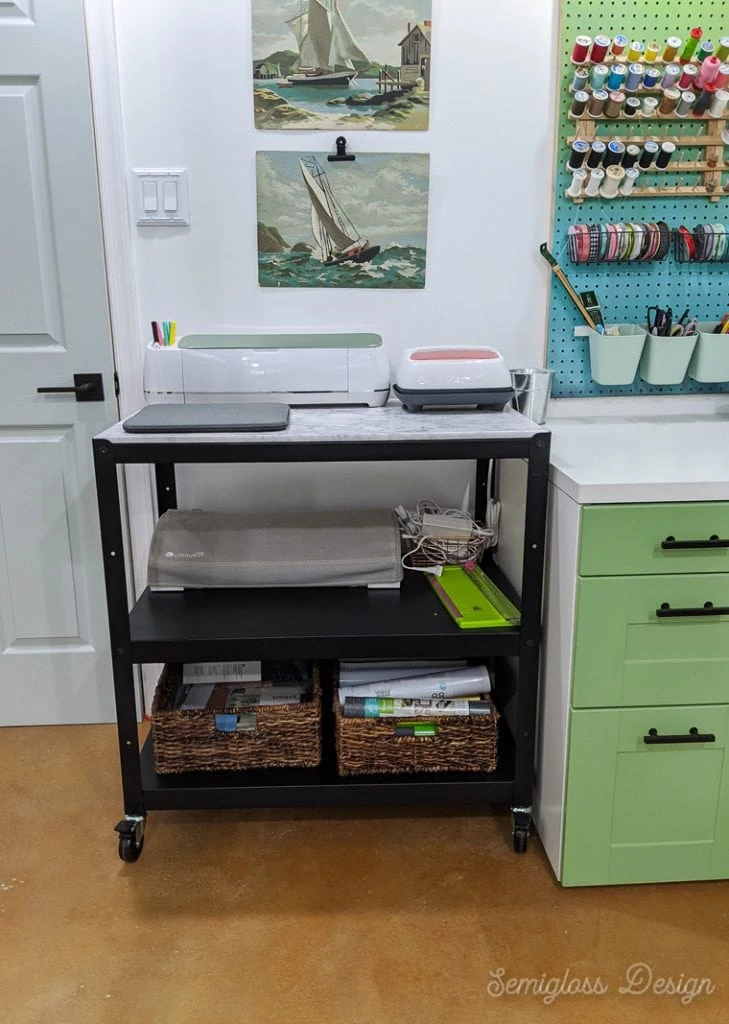
My cutting machines are stored on a bror cart from IKEA that received an easy hack.
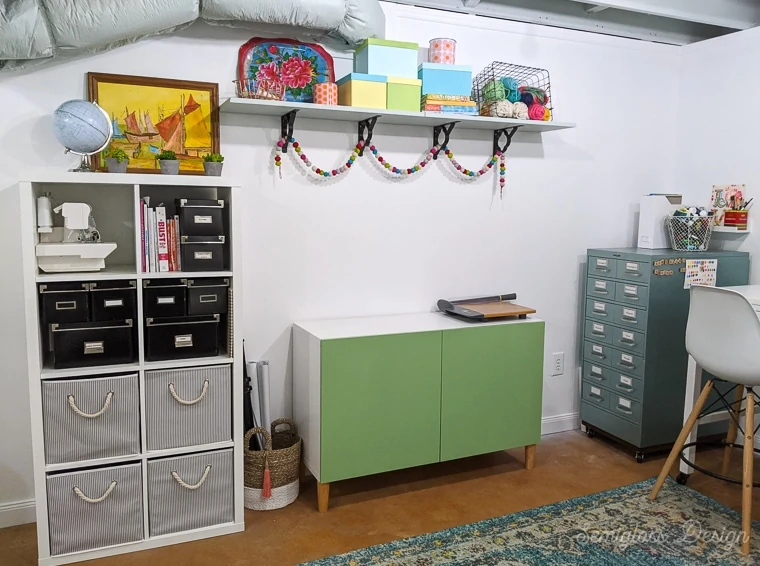
To the right of the desk is a Kallax cabinet that holds my serger, some craft books, and boxes filled with craft supplies.
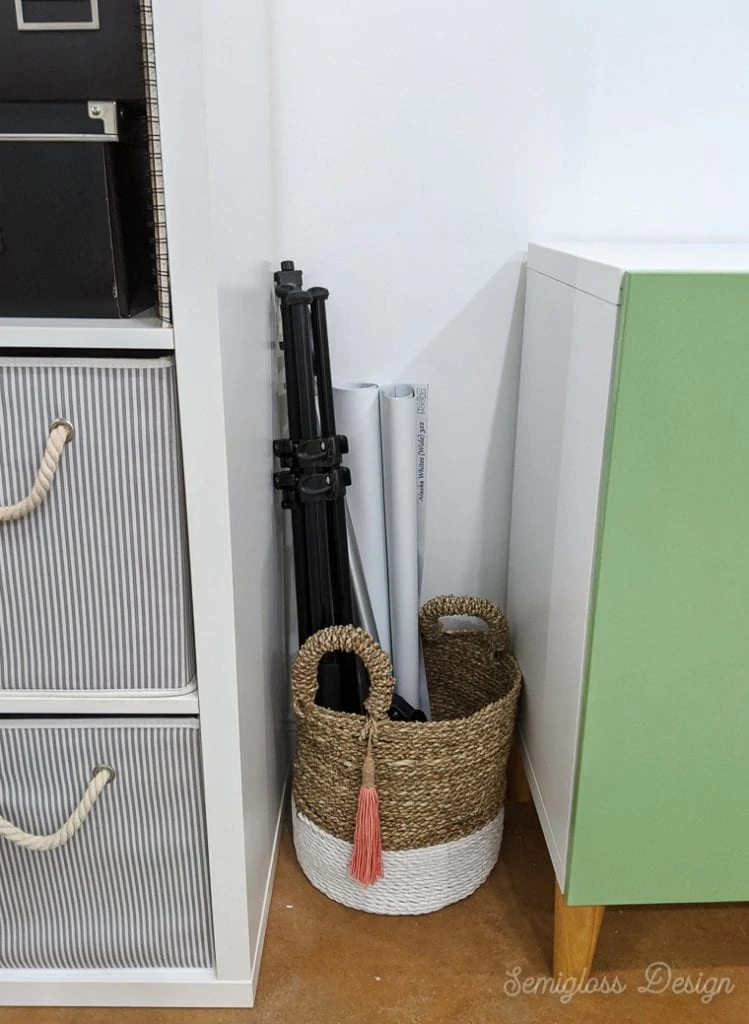
The basket holds photography stuff like backgrounds and tripods.
The besta cabinet holds fabric. I wanted a place to store my fabric, but I didn’t want to look at it. I have a besta cabinet in my dining room and I find it so useful for storage. The top can be used for photographs.
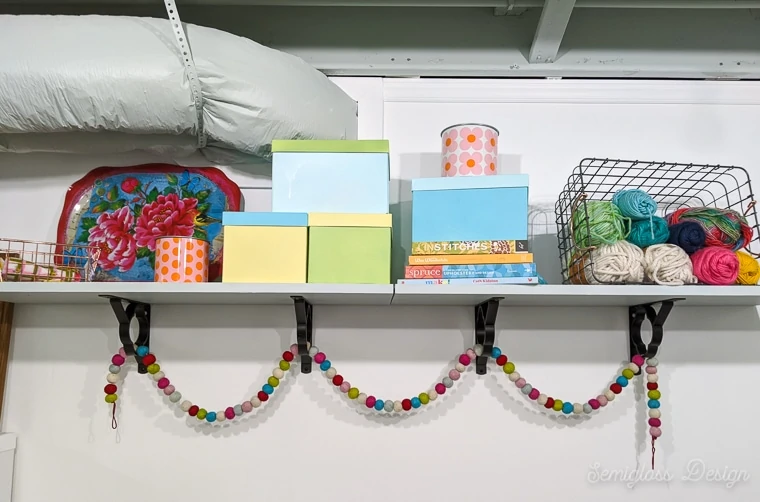
The shelf holds more craft supplies and pretty stuff. I love this wire basket for storing yarn.
My collection is a bit larger than this, so I’ll need to add another one probably.
Art Area
I placed my vintage filing cabinet in the corner. This thing holds so many fun supplies.
The basket on top holds acrylic paints and the file folder holds watercolor paper and sketchbooks.
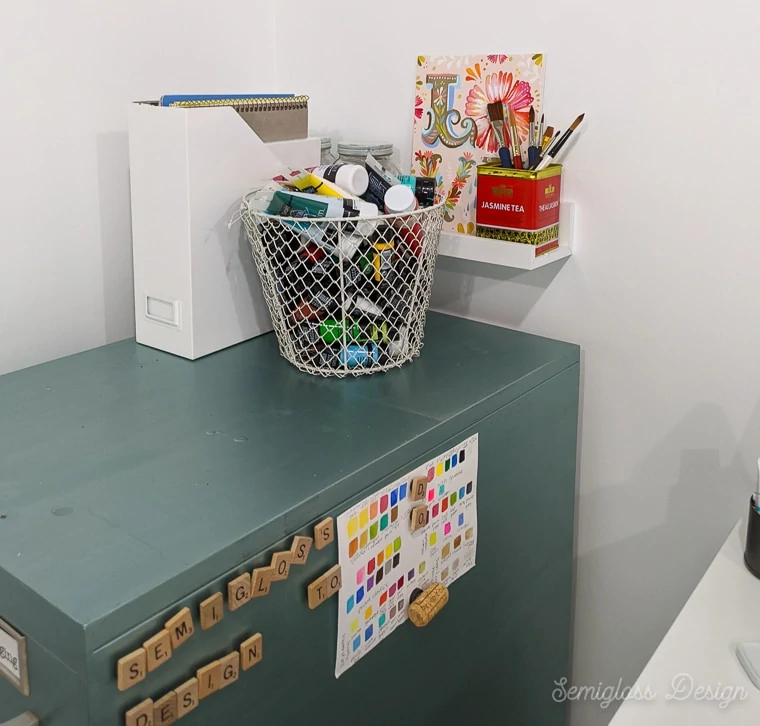
The DIY pinboard is filled with watercolor swatches and I’m finding it super helpful.
I’m about to buy some more watercolor paint and I love being able to see which colors I already own vs which colors I “need.”
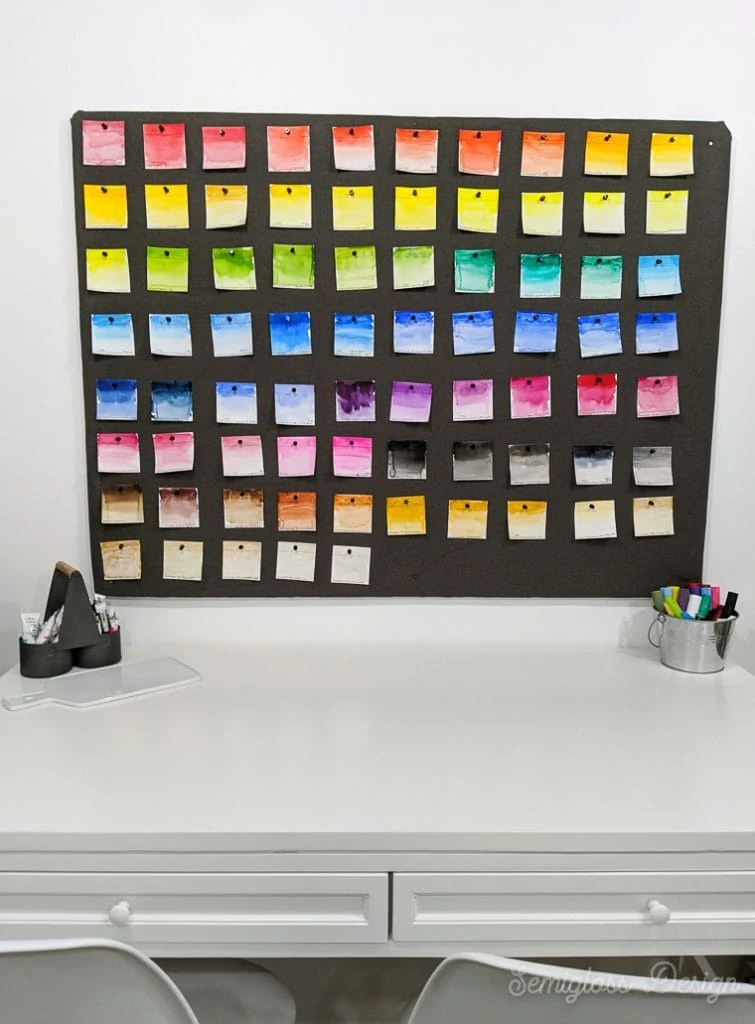
The desk was from the Martha Stewart line at Home Depot and it looks like it’s discontinued. I like it, but it was so difficult to put together.
The barstools match the chair at my desk and I love them. The molded seats are really comfy.
The raskog cart holds more paint, art supplies, and notebooks.
Nap Nook Under the Stairs
The piece de resistance is probably my nap nook.
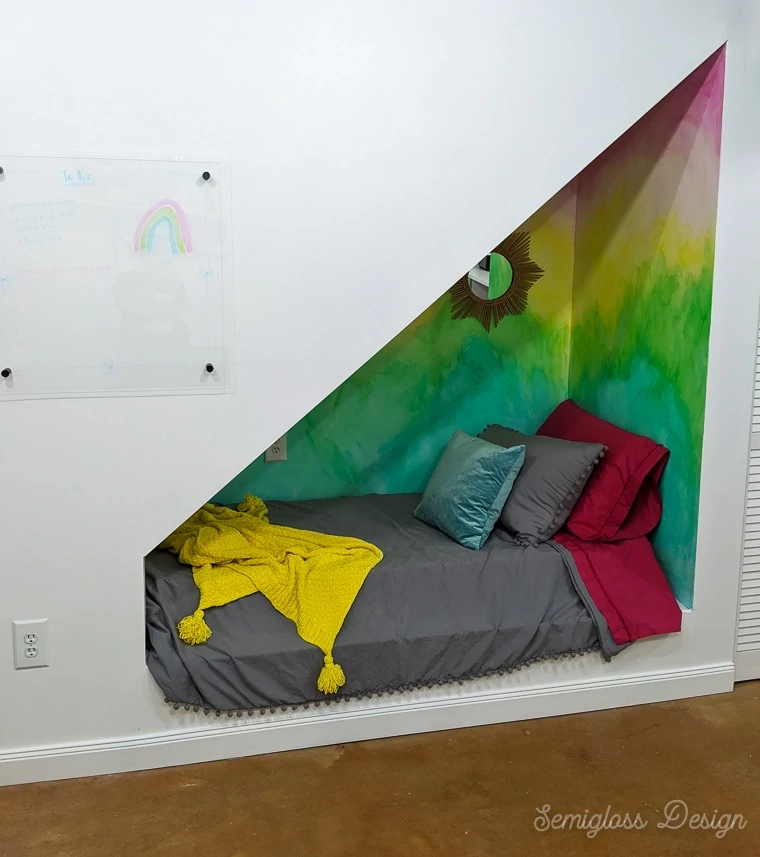
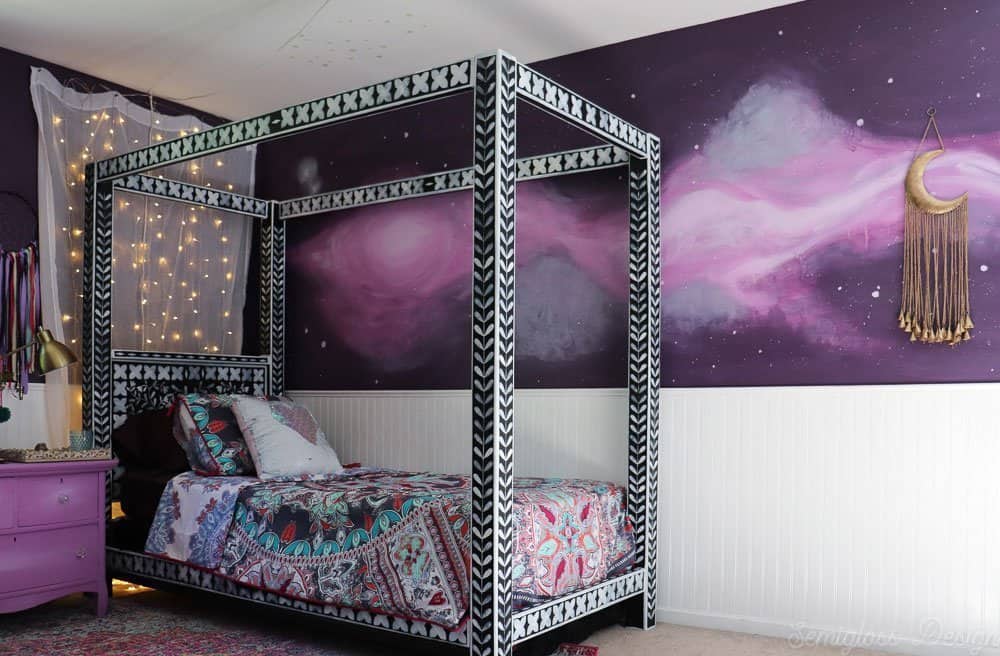
During the framing stage, my husband built a platform for shelving and I instantly envisioned a nap nook under the stairs. What’s better than a nap nook?
And it felt very “on brand” for me because I like to nap. My kids joke about it all the time. I have a chronic illness that sometimes causes me a ton of pain, so I try to sleep it off.
But I also find that brainstorming is the best right before a nap. I’m not lazy; I’m actually working…
I created my own version of lazure painting for the mural. It was pretty easy and I’m so in love with how it turned out.
The mattress is an RV mattress because I needed something a bit more narrow than a standard twin.
I used this sheet set for a twin bed (it’s just tucked under it really well.) I love the color. Why isn’t more stuff bright Fuschia?
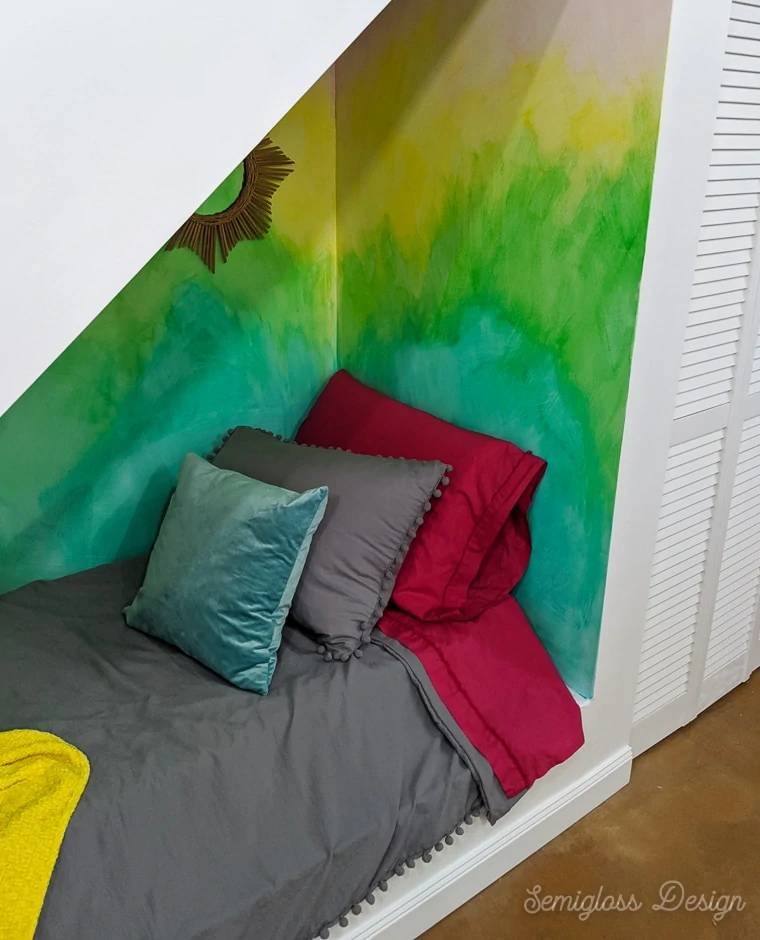
The duvet cover is so soft! I wish I had bought the same one for my bedroom… A velvet aqua pillow cover adds even more pillow goodness.
This throw blanket (similar) looked so good in my living room that it almost didn’t make it in here. I hesitated on buying it because it’s chenille, which I don’t love. But that color! And those pom poms!! Perfection!
Basement Craft Room – Other Details
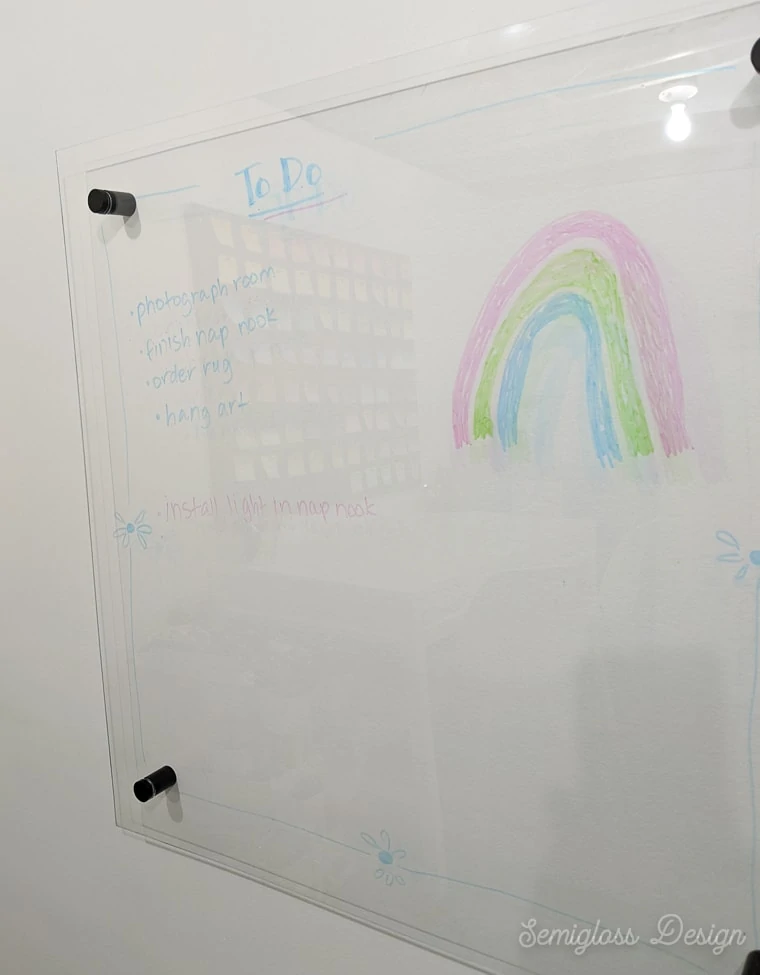
I also made a clear dry erase board to write to-do lists. It looks super cool, but I’m still trying to find the perfect pen to use on them.
The room received a rug that I stole from my dining room to add some softness and more color. Concrete is cold so a rug is necessary to add warmth.
I also added what I’m calling a “messy desk.” It’s hard to make messes on 2 new pieces of furniture, so I knew that I needed somewhere to make a mess.
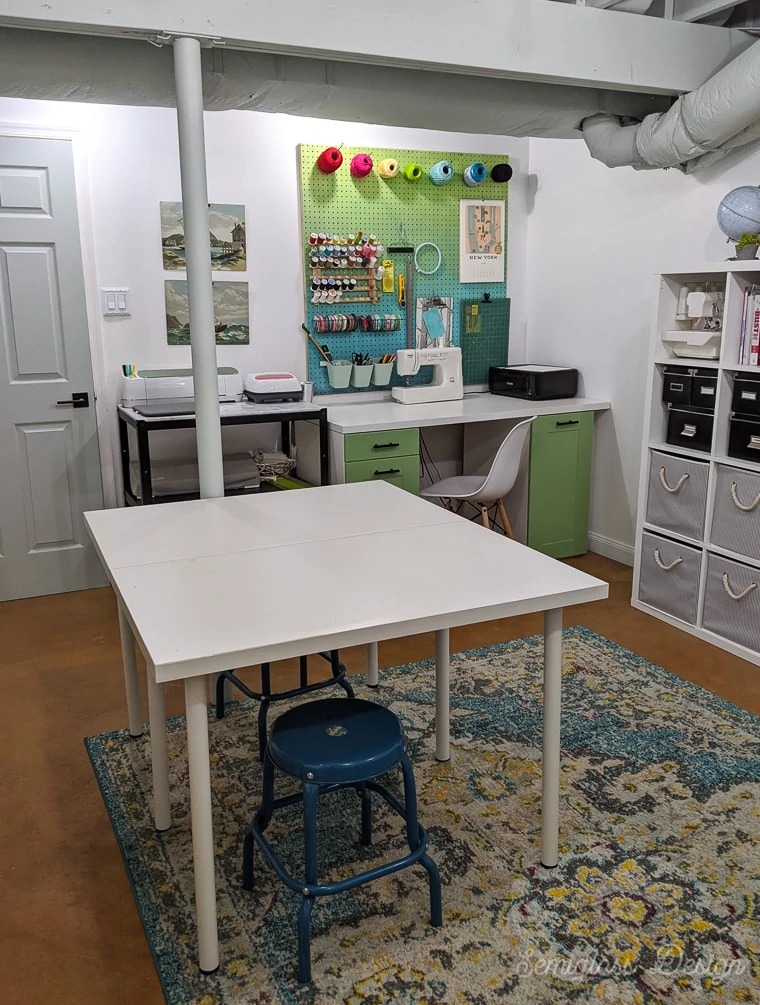
This messy desk consists of 2 of these IKEA table tops that I’ve had forever and 6 of these legs.
The stools were stolen from the treehouse, which has sadly been abandoned to be home to forest critters.
The doors were painted in SW Sea Salt to match the ceiling. I chose modern door handles and now I have door handle regrets for the rest of my home.
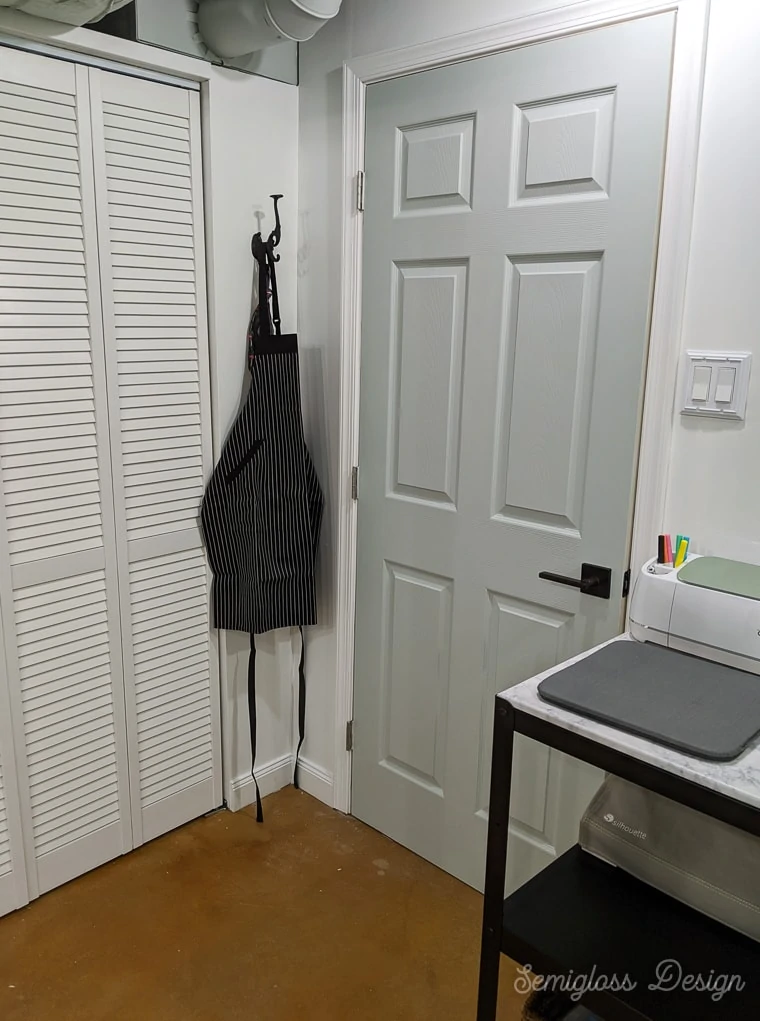
By the way, SW Sea Salt might be the most perfect color ever. On the color card, it looks gray, but in person, it’s a pale greenish-aqua. I’m in love. This door goes to our unfinished laundry room.
In the corner, I hung a vintage hook for aprons.
Now that my basement craft room is finished, I have several others that are a mess, like my rug-less dining room. My work is never done. 😉
Craft Room Update
After working in this room for a few months, I’ve made some changes and organized my craft supplies better. Check it out!
Update: We sold this house and moved to Florida. Check out my new office plans and how I organized my craft supplies in a cabinet.
Pin for Later!

Emy is a vintage obsessed mama of 2 DIYer who loves sharing affordable solutions for common home problems. You don’t need a giant budget to create a lovely home. Read more…


Man I wish I could stain my basement floors but a wide cut in the concrete that was patched ruin the look for that…. yours look amazing! Great job!
We had a giant paint stain, so we resurfaced it with a concrete skimcoat product. Thanks for stopping by, Jen!
Congratulations!! You really did an excellent and well thought out job of it.
Thanks!