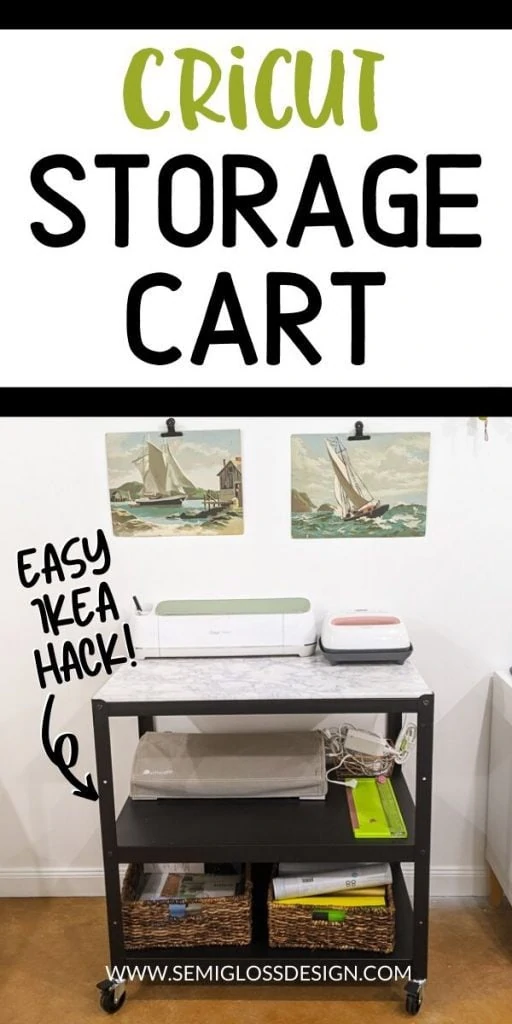
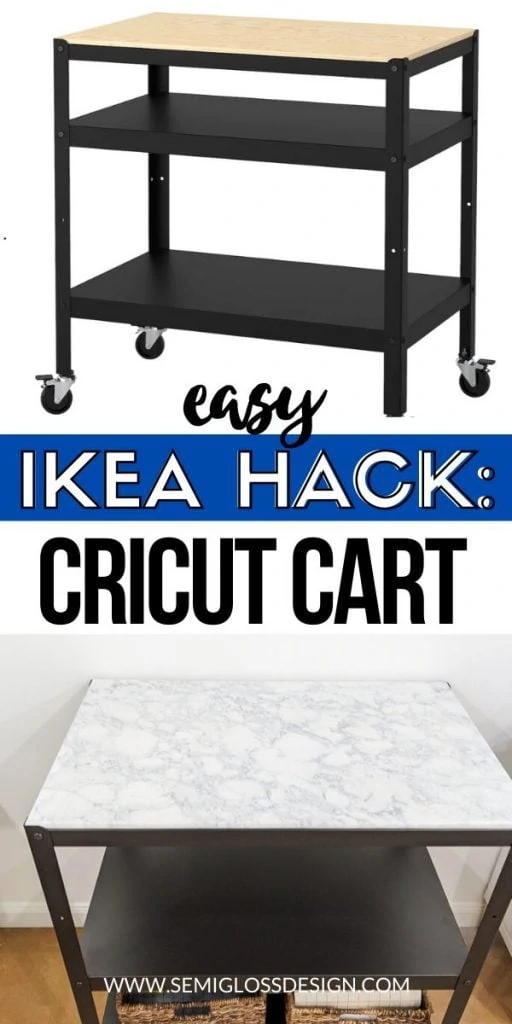
IKEA Bror Hack: Cricut Storage Cart
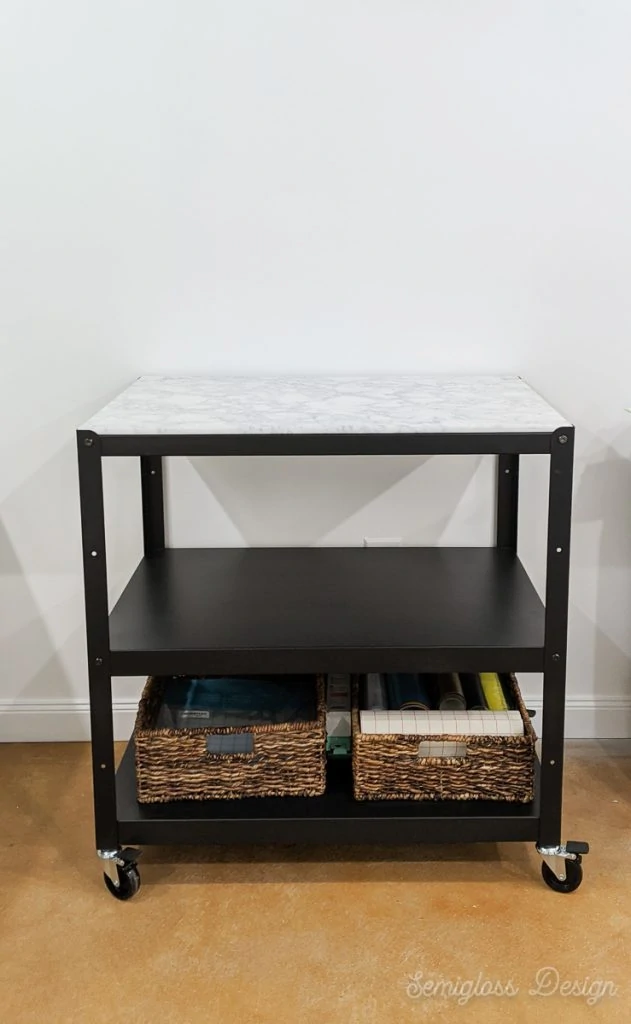
This IKEA Bror hack is so easy to do! This simple cart is perfect for a Cricut storage cart and provides plenty of space for the machines to work, plus space for using the mats.
And there’s still space at the bottom to store the mats and vinyl!
If you like IKEA hacks, you might also like this kitchen cart hack or this Besta cabinet hack.
This post contains affiliate links. By purchasing an item through an affiliate link, I earn a small commission at no extra cost to you. As an Amazon Associate I earn from qualifying purchases.
When I bought my Cricut Maker, I knew that I had to find a storage solution for my cutting machines and vinyl.
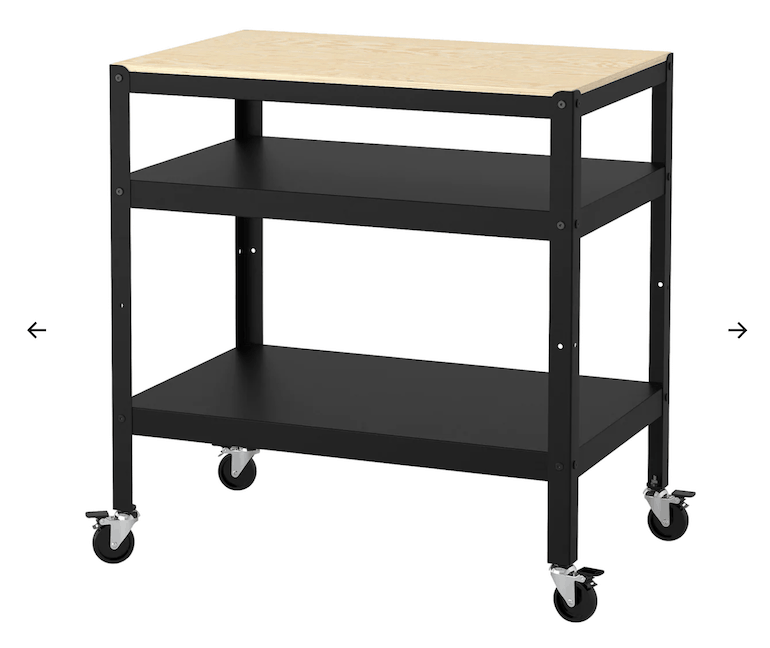
I drew up plans to build my own Cricut storage cart, but then I ran across the Bror utility cart.
The IKEA Bror cart is perfect to use as a Cricut cart.
It’s nice and wide, which allows plenty of space to place the cutting machines. They need space in the front and behind the machines for the mat to go in and out as it cuts.
It’s also countertop height, which means that it’s comfortable to stand at and work.
The wheels allow me to roll it anywhere in the room I want.
The Bror utility cart has some weird shelf levels, though. Luckily, it’s pretty easy to make them more functional.
IKEA Bror Hack
Eventually, I might spray paint the cart as well. I have all of the supplies, but at the time this was built, the weather was not cooperating.
Supplies Needed:
- IKEA Bror utility cart
- Contact Paper
- Scissors
- Screw driver
- Assemble the cart as directed, but don’t install the bottom shelf.
- Install the middle shelf at the 2nd level.
- Let the bottom shelf rest on the place where the legs attach to the casters instead. This places the bottom shelf at a much better height for extra storage!
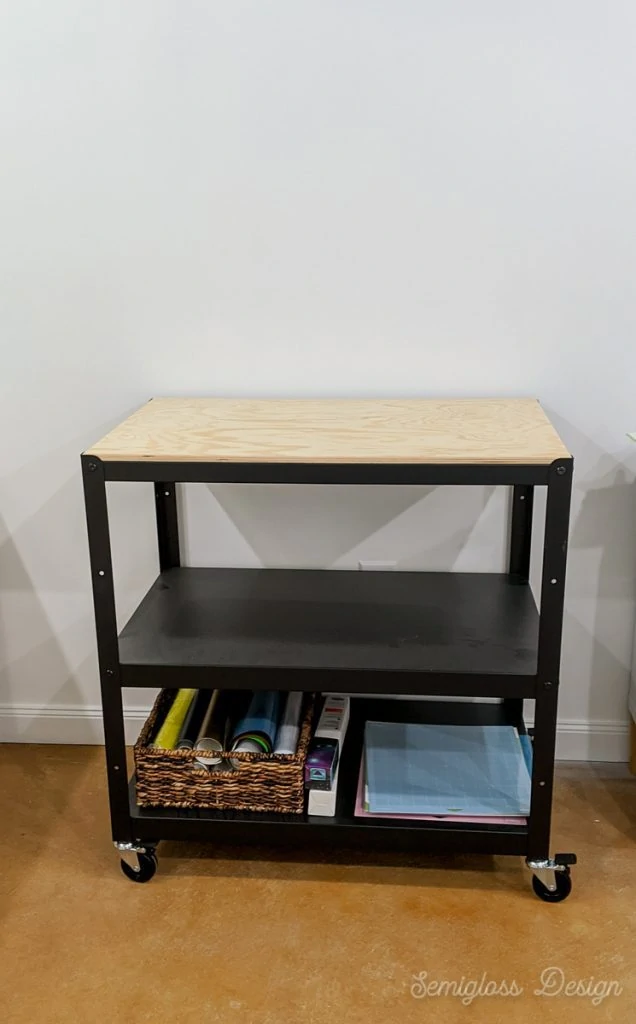
Although the bottom shelf is not attached, it is still very sturdy. We had to carry the shelf into a different room and it doesn’t wiggle at all.
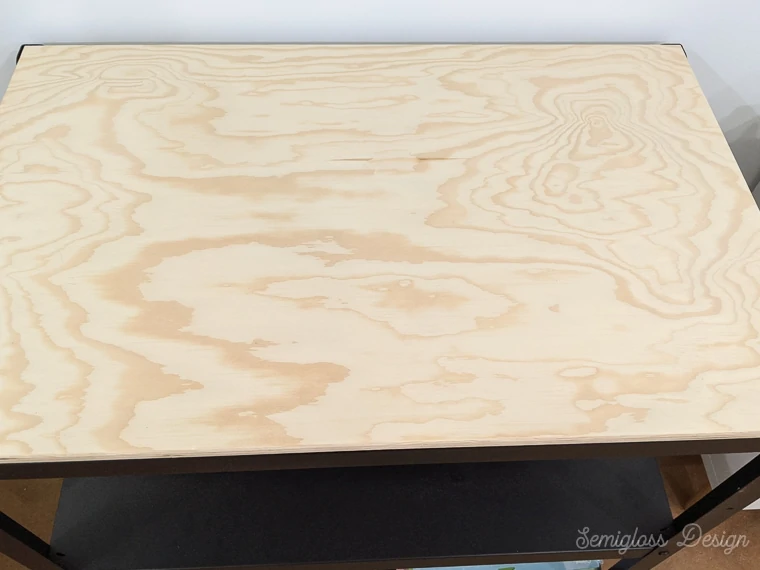
Hacking the Wood Top
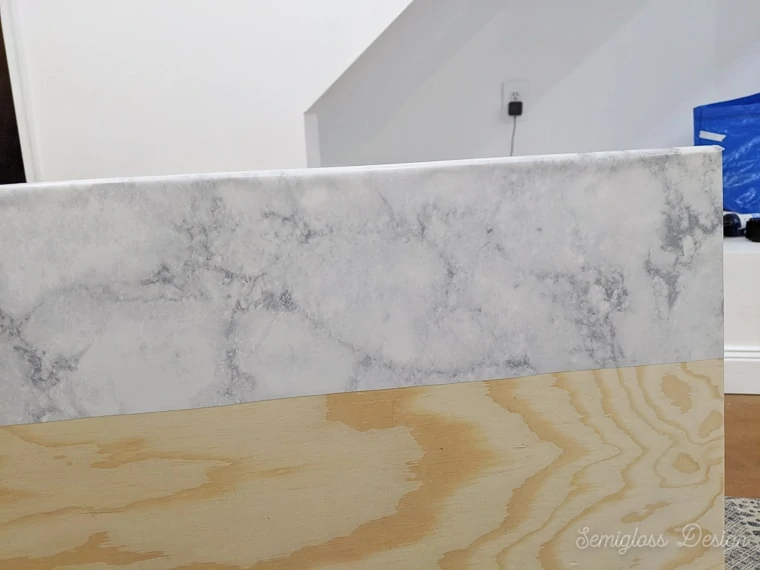
The plywood top could be stained or painted. My wood had some weird spots, so I decided to cover it with marble contact paper instead.
Contact paper provides a smooth surface that is easier to clean. (The raw wood collected dust that was really hard to clean.)
The marble contact paper is pretty convincing. My husband was shocked at how nice it looked.
The top comes attached to the frame, so it has to be removed.
- Remove the top from the cart using a screwdriver.
- Cut your contact paper to length. It needs to be long enough to wrap around the wood.
- The cart is a few inches deeper than the width of contact paper, so you will need to cut another piece that is about 8″ wide.

- Attach the small piece of contact paper first, smoothing as you go. If you mess up, peel it off and start over.
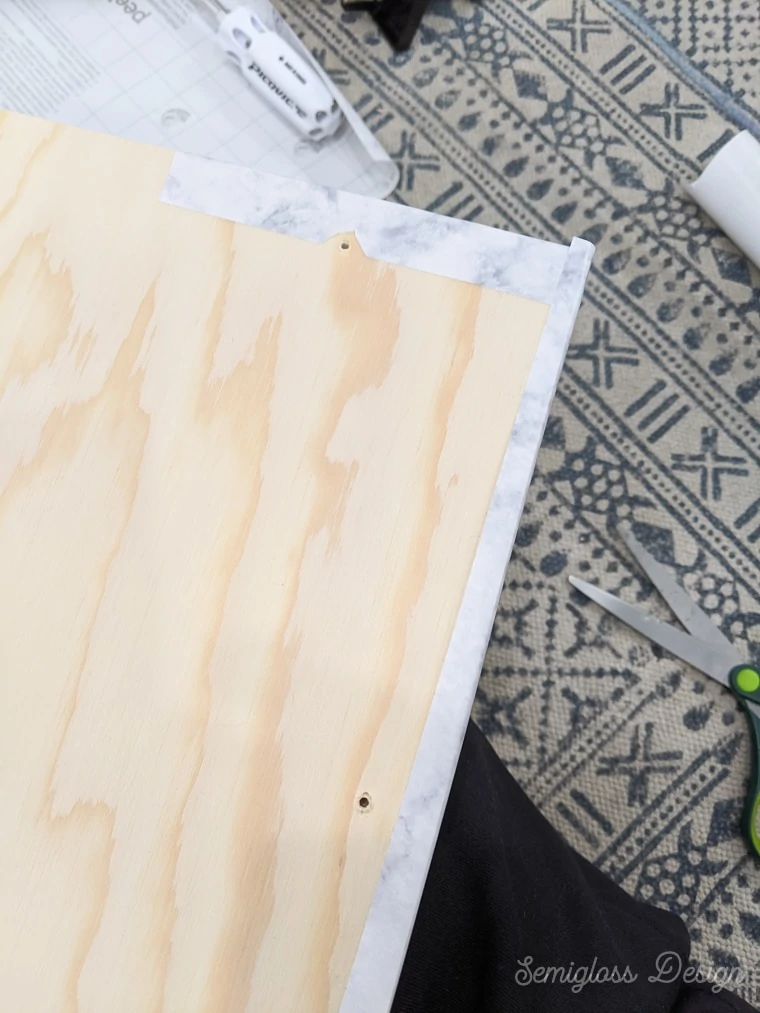
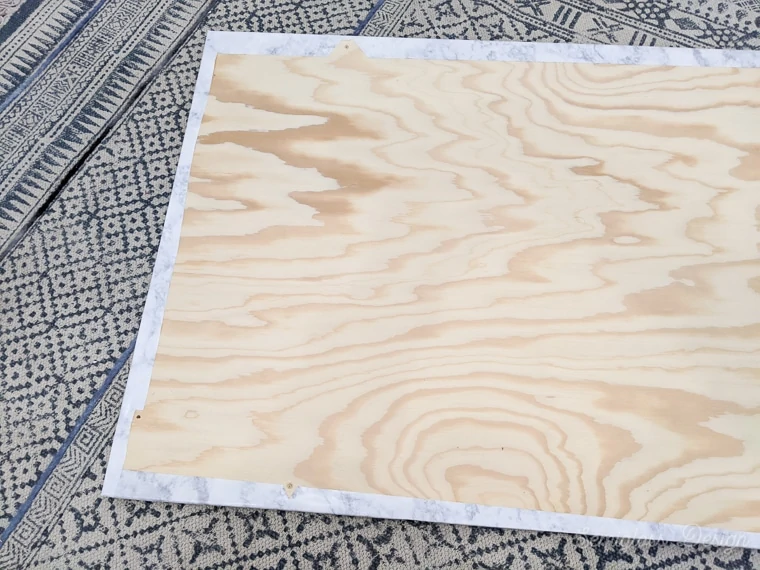
- Wrap the contact paper around the edges, cutting at the corners to fit.

- Cut out any areas that cover the screw holes. Press the edges smooth to make sure they adhere well.
- Attach the large piece next. Overlap the smaller piece.
- Trim the corners again and trim around the screw holes. Smooth the edges.
- Reattach the wood to the cart.
- Place the seam of the paper at the back of the cart. It will soon be covered in craft stuff, so you won’t notice it.

Tips for Working with Contact Paper
- Apply slowly, smoothing the paper as you go.
- If you mess up, contact paper can be removed and repositioned.
- Bubbles can be removed in two ways. Large bubbles can be smoothed toward the edges. Small bubbles can be removed by poking a small hole in the middle and smoothing it out.
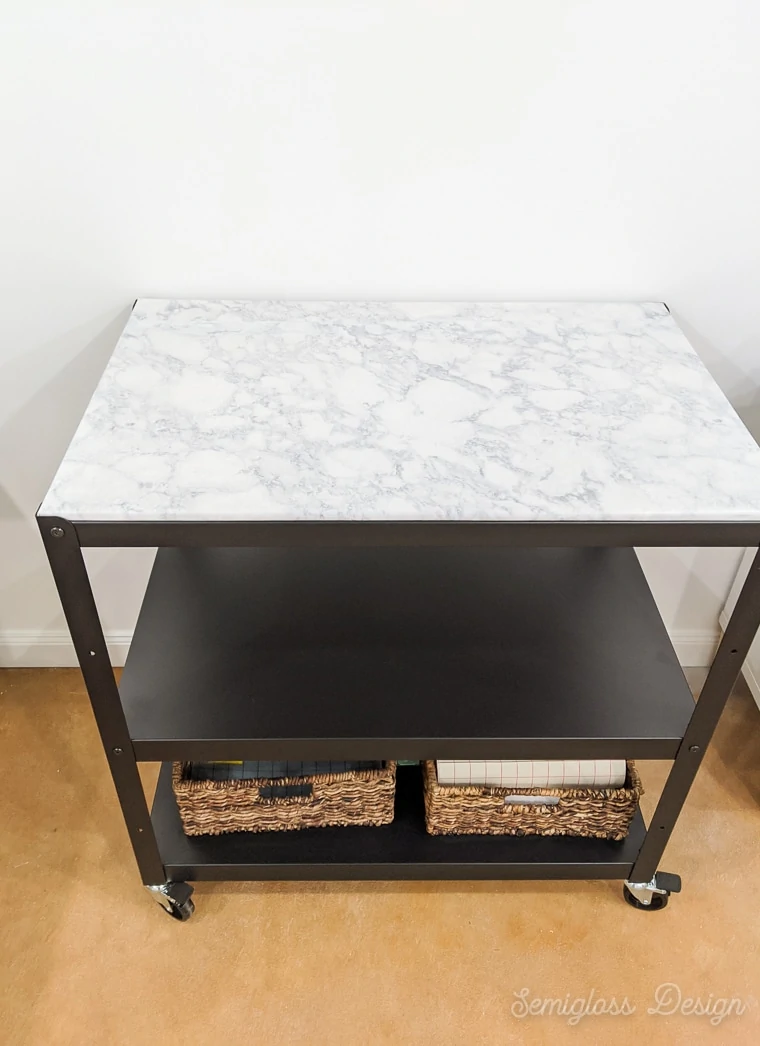
Using the Bror as a Cricut Storage Cart
I’m loving using this cart for Cricut craft storage. There’s so much space to work!
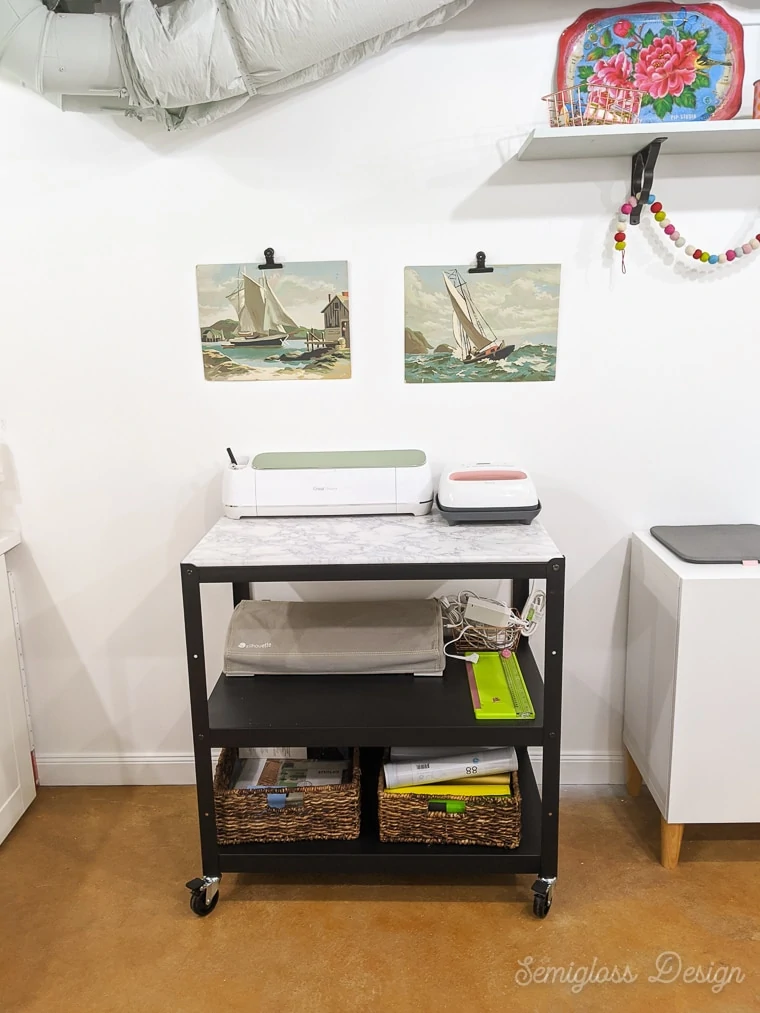
The top shelf holds my Cricut Maker and has room to store my Easy Press.
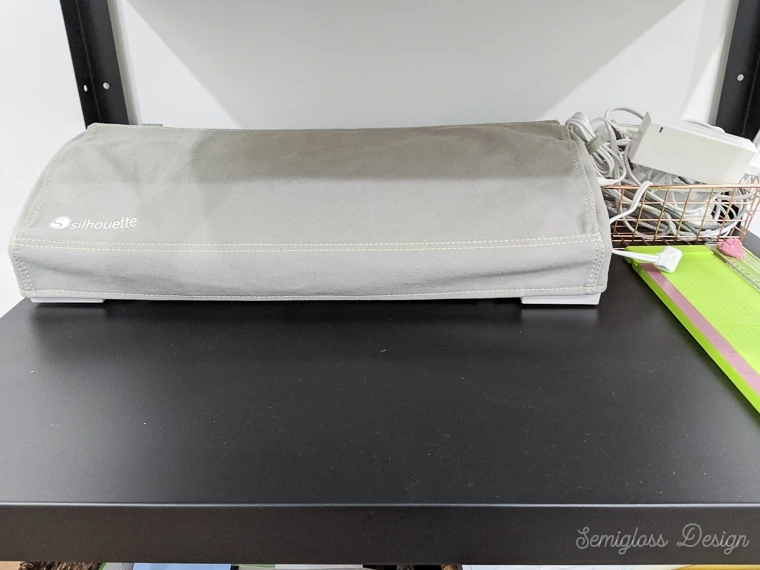
The next shelf holds my Silhouette and has space to put my paper cutter beside it. A cute basket holds all the cords necessary.
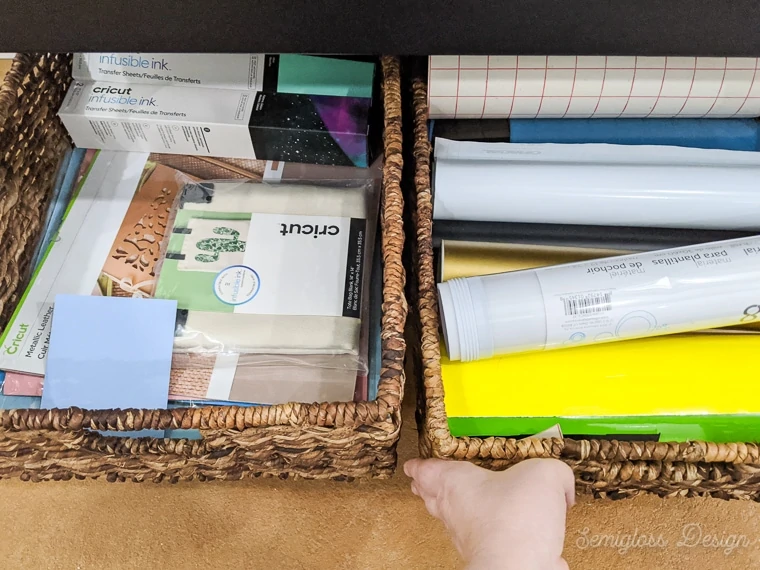
The bottom shelf has room for baskets. One basket has vinyl and the other holds all of my mats and other products.
Get more craft room organization tips.
You might also like:
- IKEA Shoe Cabinet Hack with Cane
- IKEA Rast: Adding Peel and Stick Wallpaper
- DIY Koozies with Vinyl
- IKEA Sektion Desk
- IKEA Curtain Hack: Dip Dye
- How to Paint IKEA Cabinets
- DIY Stencils for Etching
- DIY Pinboard
- Dreambox Alternative: IKEA Cabinet Hack
- How to Wallpaper Alex Drawers
Pin for Later!

Emy is a vintage obsessed mama of 2 DIYer who loves sharing affordable solutions for common home problems. You don’t need a giant budget to create a lovely home. Read more…

Do you think the middle shelf (the one you screwed in) is tall enough to fit a microwave? Thanks!
A small microwave would fit. My microwave is 12″ high and the space is 14″ high.
Hi there. This was helpful and i love the Bror collection. I have 7 pieces of the collection. Do you have any suggestions for painting the Bror metal frames?
Spray paint should work. If it gets touched a lot, prime it first.
Great idea! What is the distance between the bottom shelf and the middle shelf the way you have it set up? Hoping it’s more than 12”?
The middle shelf to the top is 14″.