How to Make an IKEA Sektion Cabinet Desk
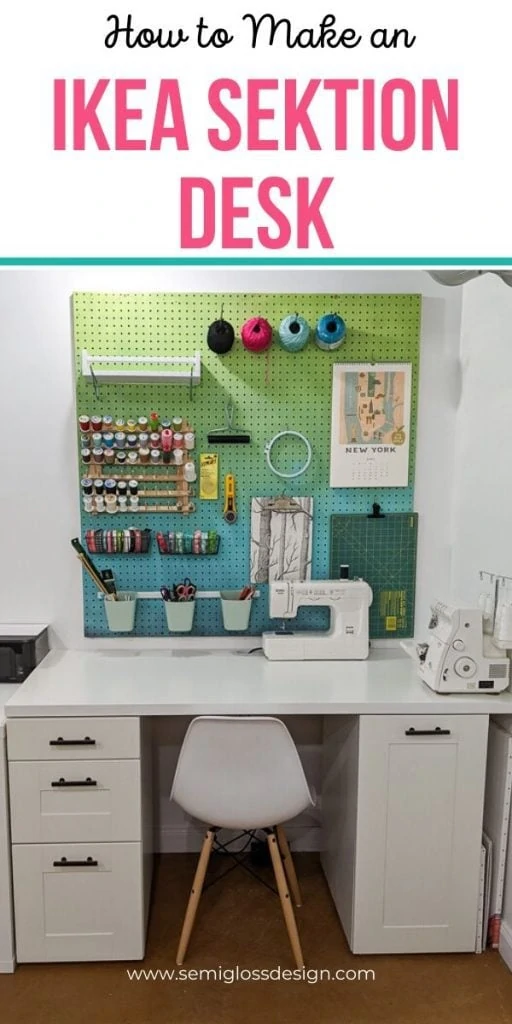
Learn how to make a desk using IKEA Sektion cabinets. This desk features plenty of drawers and a pull-out trash can.
It’s also the perfect opportunity to test out IKEA cabinets without doing a major kitchen renovation.
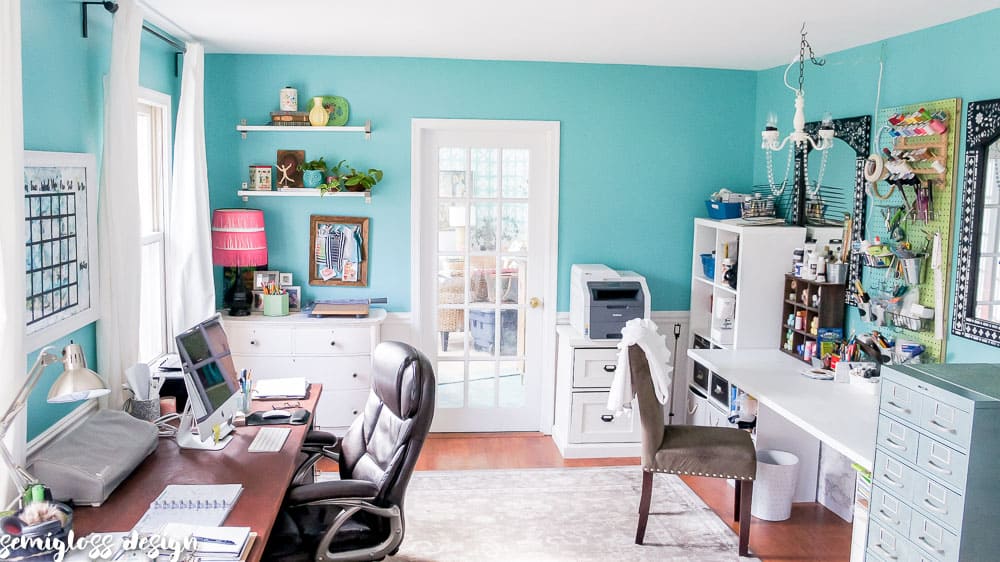
If you’re interested in seeing more of this room, be sure to check out my basement craft room.
This post contains affiliate links. By purchasing an item through an affiliate link, I earn a small commission at no extra cost to you. As an Amazon Associate I earn from qualifying purchases.
The Process for Buying Cabinets at IKEA
When you buy IKEA Sektion cabinets, you will need to speak to the kitchen planning people to order the right parts.
They do a mock-up of the cabinets and print out everything you need. You pay there and pick it up in a special pick-up area downstairs.
It took about 45 minutes to get everything ordered and paid for. The pickup process only took a few minutes because it was ready to go.
There will be way more boxes than you expect because every single thing is in its own box. Each cabinet consisted of 6-7 boxes.
It looks like you can order everything online as well, but I don’t have experience buying cabinets online.
This desk set up cost a little under $500. Totally worth it for a pull-out trash can…
Making an IKEA Sektion Cabinet Desk
Shopping List
My exact setup isn’t showing up on the website, so I found the closest versions. Download a printable shopping list with the exact items at the bottom of the post.
You do NOT need:
I ended up buying a ton of pieces that I didn’t need, so I’m also sharing those.
- Legs
- Toekicks
- Suspension Rails
- Panels (unless you’re going for a certain look and you really do want them)
- Hardware (unless you do want it)
Directions
Before you get started, it’s helpful to get organized.
I assembled 2 cabinets, but there were so many pieces and we had to take stuff apart and re-do it many times.
I eventually used a sticky note to label corresponding drawers and drawer fronts. A spreadsheet would be helpful for bigger installations.
Every single drawer is a different size and corresponds to a different sized drawer front.
Also, desks should be somewhere in the 27-28″ height range. Cabinet bases are about 33″. Luckily IKEA cabinets rely on removable legs. When the legs are removed, the cabinets are the perfect height for a desk.
Step 1: Build the cabinets. Follow the directions, but be ready to redo things because they’re pretty confusing.
I’ve included a printable cheat sheet at the bottom of the post to make things less confusing. The directions are for this particular setup.
- Lo = 5″ high drawer fronts
- Med = 10″ high drawer fronts
- Hi = 15″ high (or larger) drawer fronts
Step 2: Build a base. Since we want desk height, we are not using the legs. However, if the cabinets are placed directly on the floor, the bottom drawer will not open correctly.
We used scrap 1x4s to build a flat base. (It’s just a flat square that is kreg jigged together, but you could just use 2 1×4’s at the front and back.)
You can attach them, but ours just sit on top of the base. You can paint it to match, but we opted not to for time’s sake. You can barely see the bottoms, so no regrets.
Step 3: Put everything in place. Nothing is attached to the wall because I change my mind too much. It’s PLENTY sturdy without attaching it to the wall.
Lining everything up allowed us to place the bases and then line up the drawers with the countertop.
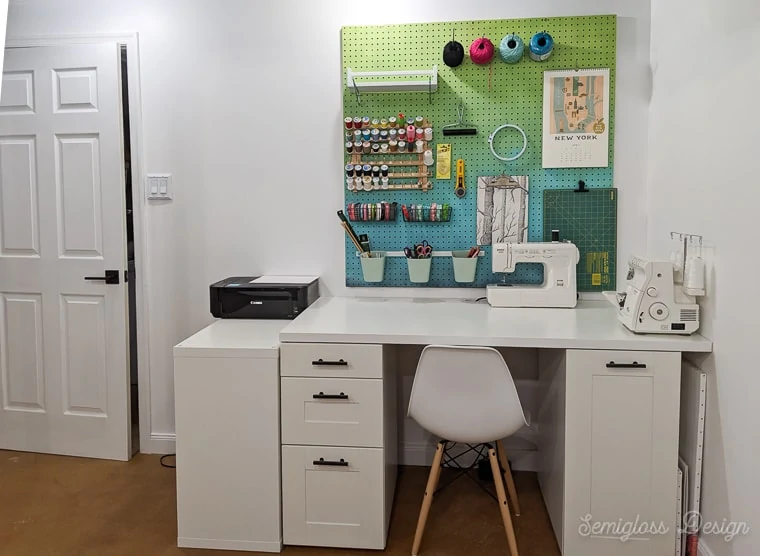
Step 4: Place the countertop. We used a linnmon tabletop for the countertop. It sits on top and was attached with screws from the bottom through the cabinet bases.
Step 5: (Optional) Install a desk grommet. Drill a hole in the back of the desk for cords.
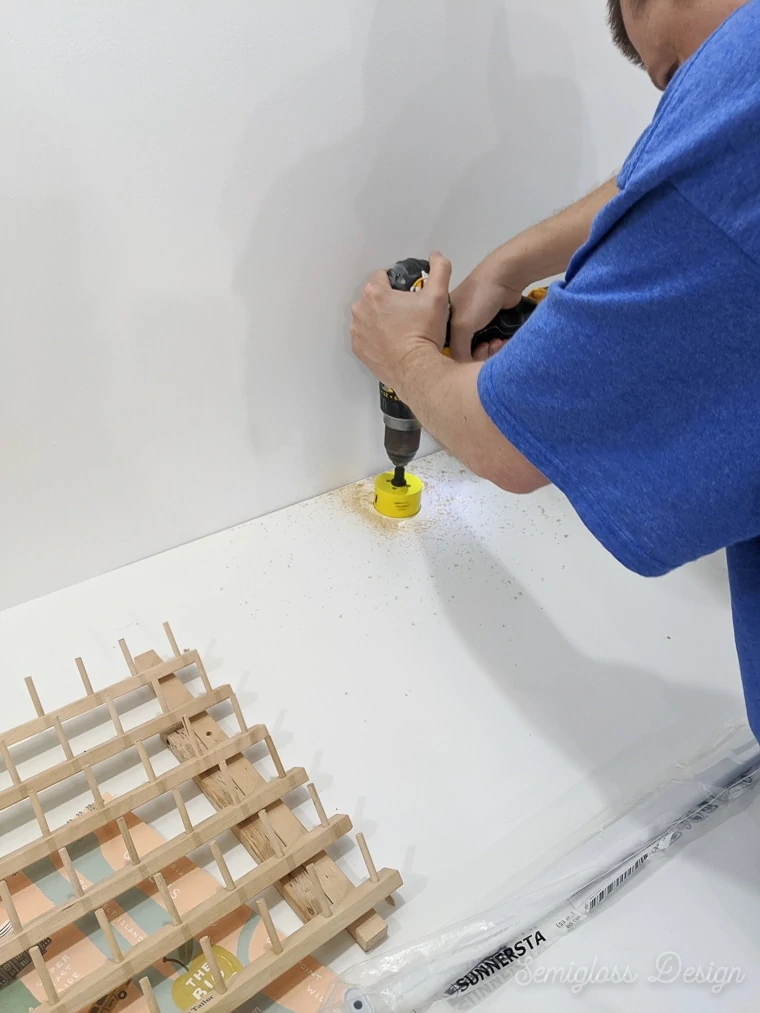
The desktop is very cheap, so don’t push too hard or you will make a bigger hole than you need. Oops!
I love this feature, but sadly my sewing machine cord is too short to work properly with it.
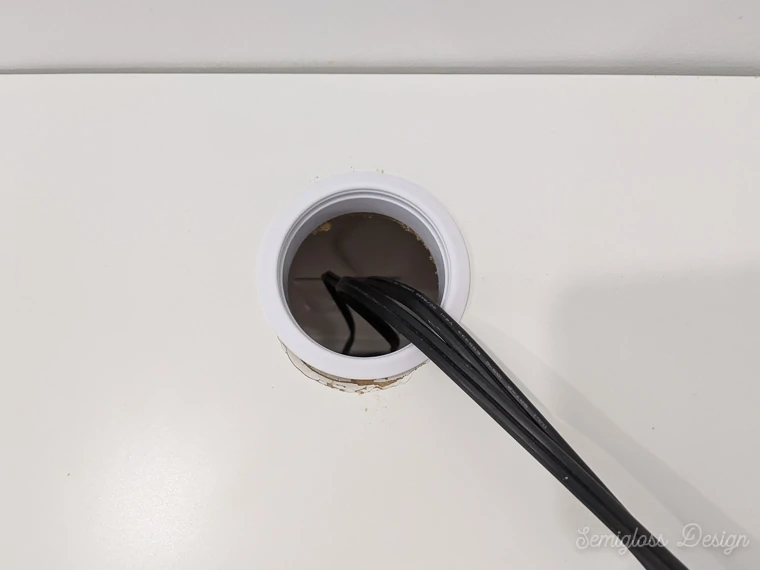
So easy!
We ended up painting the cabinets and adding hardware.
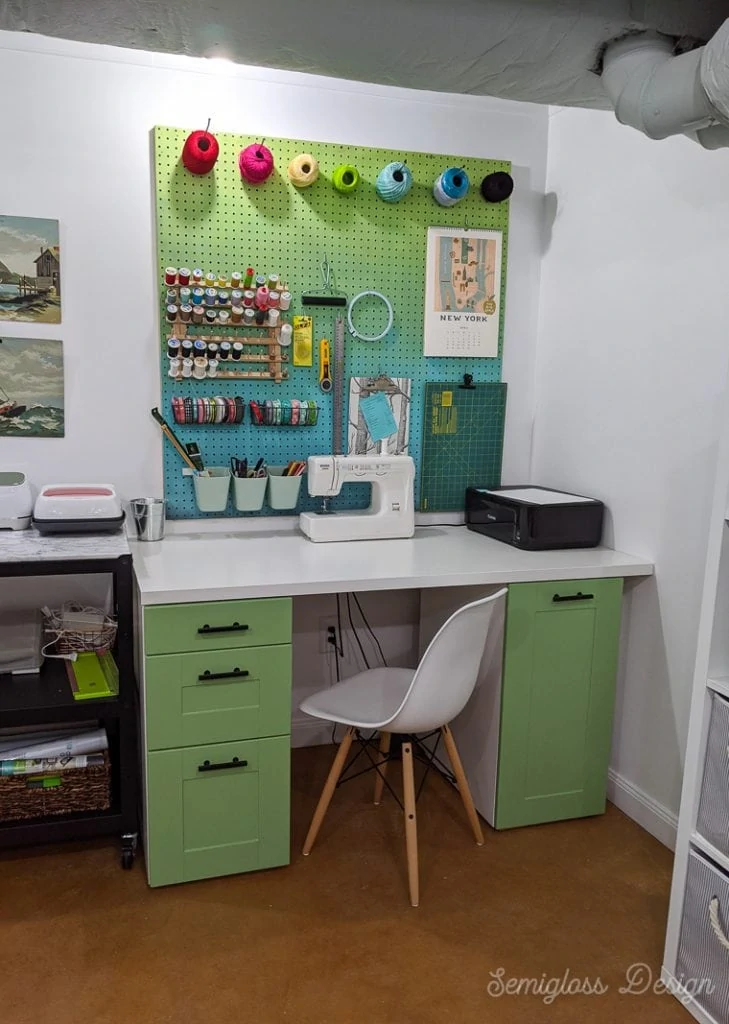
Opinions of the IKEA Sektion Cabinets
I’m glad that I used IKEA cabinets for a small project like a desk because I’ve always thought that I would use them in a kitchen renovation.
Price
The price is close to what stock cabinets from the hardware store cost. I consider them very affordable.
Quality
However, the quality of these cabinets is much nicer than stock cabinetry in a hardware store.
There were a few things about them that I liked and things I don’t like.
Things I Liked
- The drawers are the best part of the cabinet. I loved how sturdy they feel. I also like the slightly curved edge on the side.
- Even thought I picked the cheapest option for the front, I really like it. The cabinet looks like it would be so easy to clean.
- The variety of options for set up. I love how modular this system is. It feels like a great way to get a truly custom space at a lower price than custom cabinetry.
- I love the hidden drawer in the trash cabinet. It’s perfect for stashing trash bags.
- Soft close. OMG. I love soft close anything (even our toilet lid is soft closing), so of course I love these. There’s something so satisfying about slamming a drawer shut and having it close itself softly.
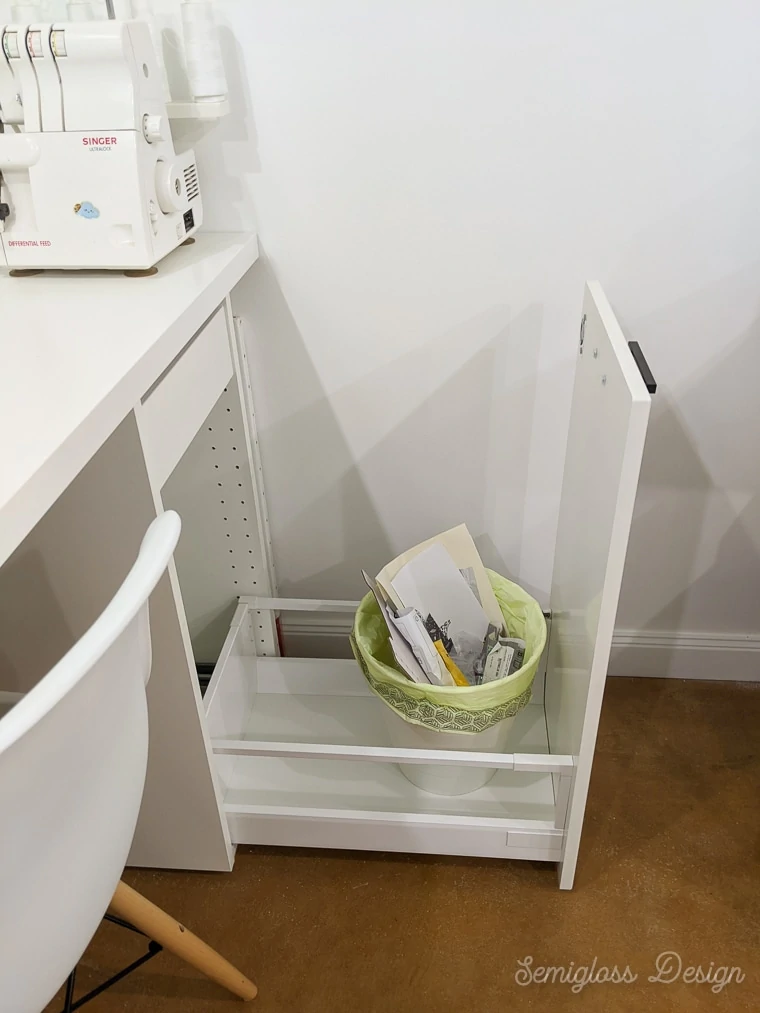
Things I Didn’t Like
- The legs. (I didn’t need the legs for this desk, but I accidentally bought them anyways.) The legs are such poor quality. They fell off repeatedly as we moved the cabinets around while assembling them. (To be fair, kitchen cabinets are attached to the wall with a rail system so they don’t rely on the legs to hold them up.)
- Getting the drawer fronts level. This part was confusing and difficult. If you place cabinets close to the wall, do this before putting them in place or you will not be able to straighten them!
- The assembly. I usually love assembling IKEA furniture, but I hated assembling these. It took forever. I cannot imagine doing it 20-30 times for a kitchen. What a nightmare.
IKEA Alternatives to Using Cabinets for a Desk
Using cabinets for a desk is not the most budget-friendly option, but I really wanted a pull-out trash can.
Here are some cheaper desk base options from IKEA. None of these options provide space for a pull-out trash can, but they do have plenty of drawers for storage!
- Alex drawers. I have this as my main desk upstairs and it’s perfect. Plus, it is surprisingly easy to put together. There’s also an option with space for files.
- Klimpen. This drawer looks like a standard filing cabinet, but a bit thinner.
- Helmer. I have one of these cabinets and I love it. It’s small but it has 6 drawers for plenty of storage.
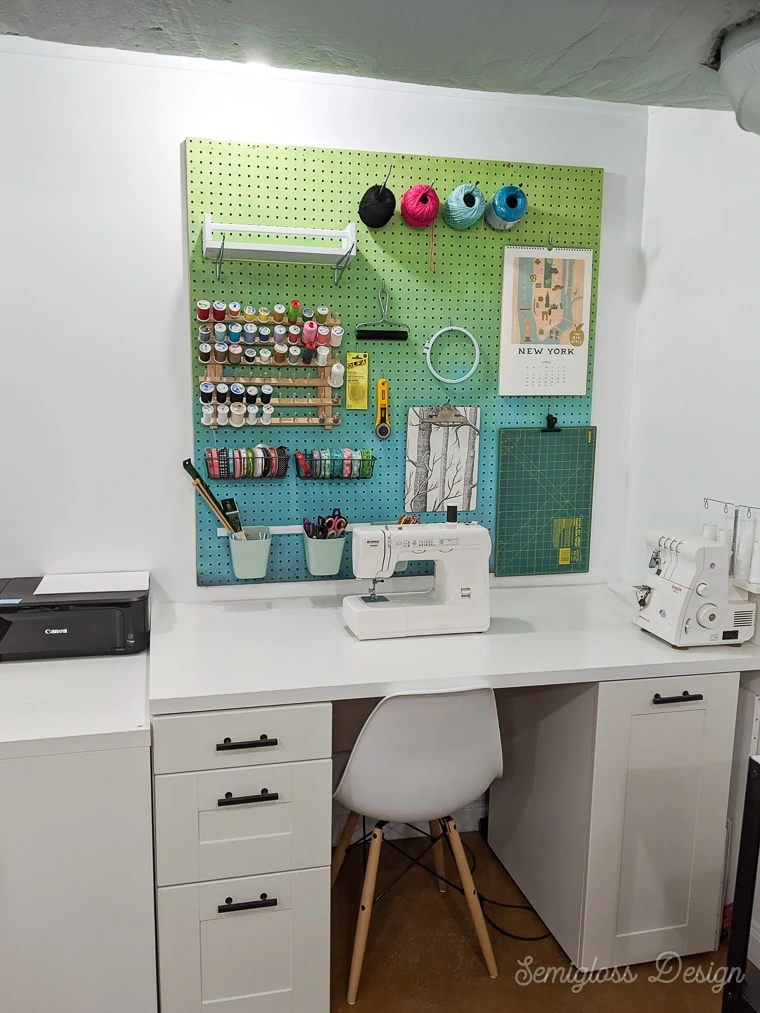
Download a Complete Shopping List
If you want this exact setup, download a shopping list to make shopping easier. It also contains a cheat sheet for this particular setup. It explains which drawer fronts go with which drawer sizes for this IKEA Sektion cabinet desk.
Click here to download shopping list
You might also like:
Pin for Later!

Emy is a vintage obsessed mama of 2 DIYer who loves sharing affordable solutions for common home problems. You don’t need a giant budget to create a lovely home. Read more…



Love this tutorial! I’m in dire need of a new home office desk and this one looks like it would be perfect for my needs. The step-by-step instructions are incredibly helpful and the finished product looks amazing. Can’t wait to give it a try!