Everything You Need to Know About How to Mud and Tape Drywall
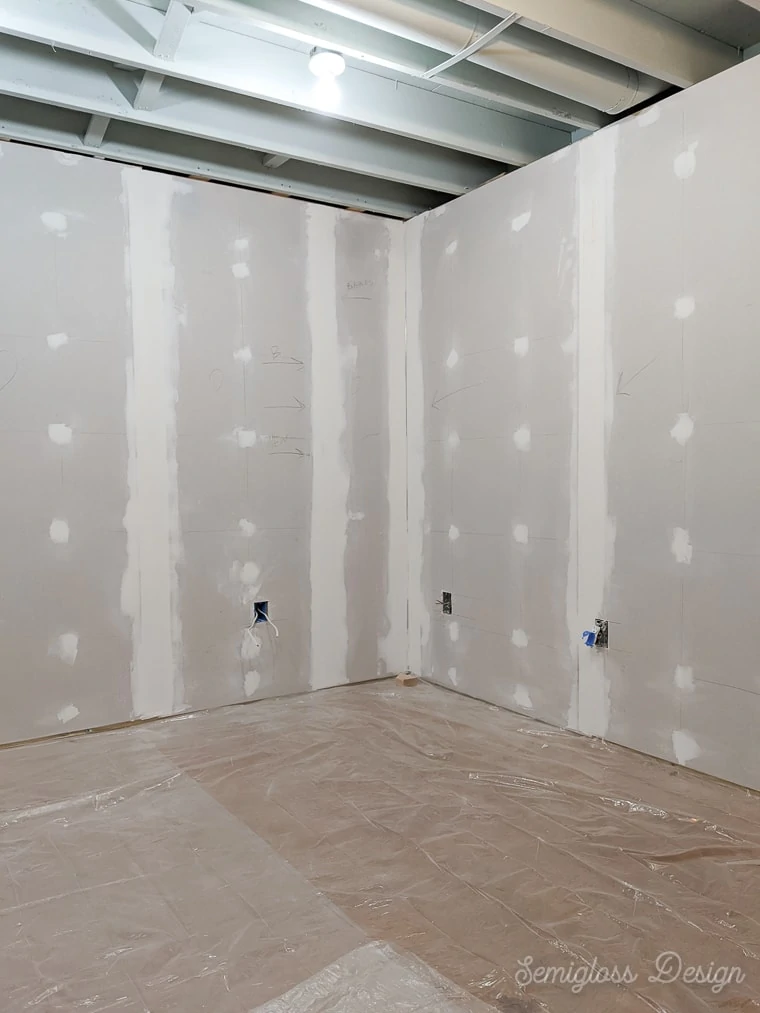
Now that your drywall is installed, it’s time to mud and tape the drywall. This easy tutorial walks you through how to use drywall tape and mud.
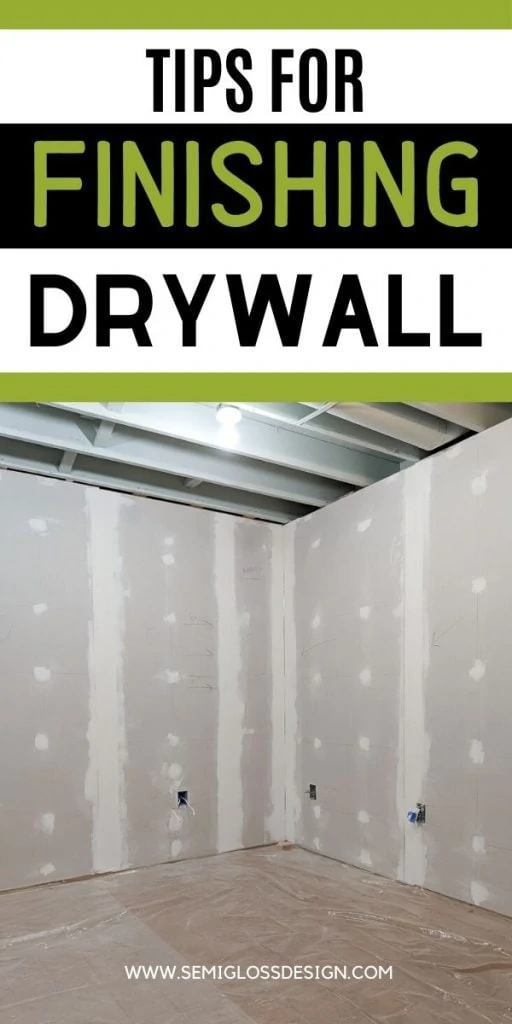
Learn how to finish drywall so you can get your room finished quicker.
You might also like this post on how to install drywall or how to paint a room.
This post contains affiliate links. By purchasing an item through an affiliate link, I earn a small commission at no extra cost to you. As an Amazon Associate I earn from qualifying purchases.
Finishing Drywall FAQs
What is drywall mudding?
Drywall mud is the process of covering the seams and screw heads on the drywall. It provides a seamless look for walls.
Drywall mud is actually called joint compound. You can buy it premixed in a bucket or you can mix it yourself. For simplicity’s sake, I prefer the premixed variety.
Is mesh or paper tape better for drywall?
Paper tape is better for drywall seams. It’s easier to use and requires less join compound to cover the taped seams.
Paper can also be used for corners, so it’s more versatile.
Mesh is great for fixing mistakes or repairing holes in the wall. Mesh tape requires a lot more joint compound to completely cover the mesh texture.
Can you mud drywall without tape?
It is not recommended to mud drywall without tape. Even if your seams are tight, you need tape. The tape prevents cracking at the seams when the walls expand and contract with temperature changes.
Do I have to sand between coats of drywall mud?
Yes, you need to sand between coats of mud. However, perfection isn’t needed on those first few coats. Knock down ridges and obvious bumps so that your next coat can be smooth.
How to Mud and Tape Drywall
This technique is for finishing walls with a smooth texture. Smoothly finished drywall is easier to paint and easier to repair in the future.
Supplies Needed
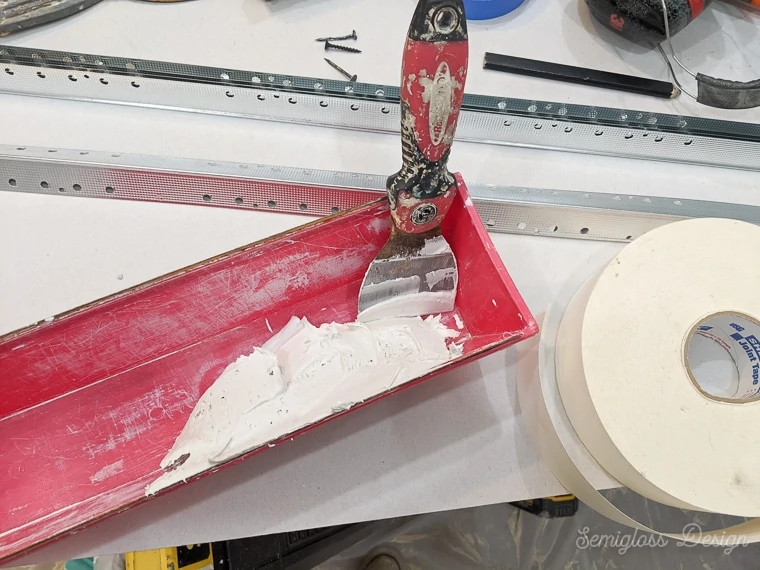
- Joint compound
- Mud pan
- Putty knives in several sizes (4″ knife, 6″ knife and 10″)
- Drywall tape
- Scissors
- Metal corner bead
- Paper faced metal corner bead
- Tin snips
- Sand paper
- Sanding sponges (I like these better for corners and difficult areas)
Prep Work for Mudding and Taping Drywall
Mudding is messy, so be prepared for that. We used plastic drop cloths and I really regret not using the paper rolls to protect the ground.
Close all doors to adjoining rooms to prevent the dust from getting everywhere in the house.
Consider the dust control joint compound. The dust falls to the ground faster instead of floating in the air and traveling around.
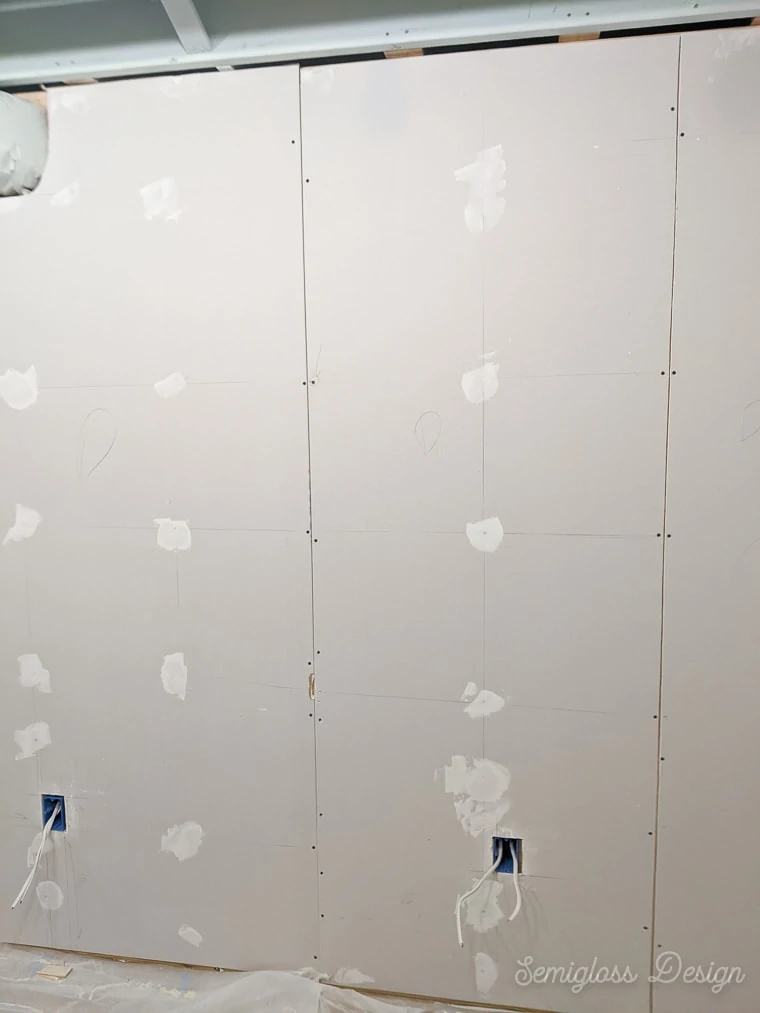
Go around the room and make sure that all screw heads are below the surface of the drywall.
Use a putty knife to see if the screw heads protrude. Any screw heads that protrude need to be screwed in more.
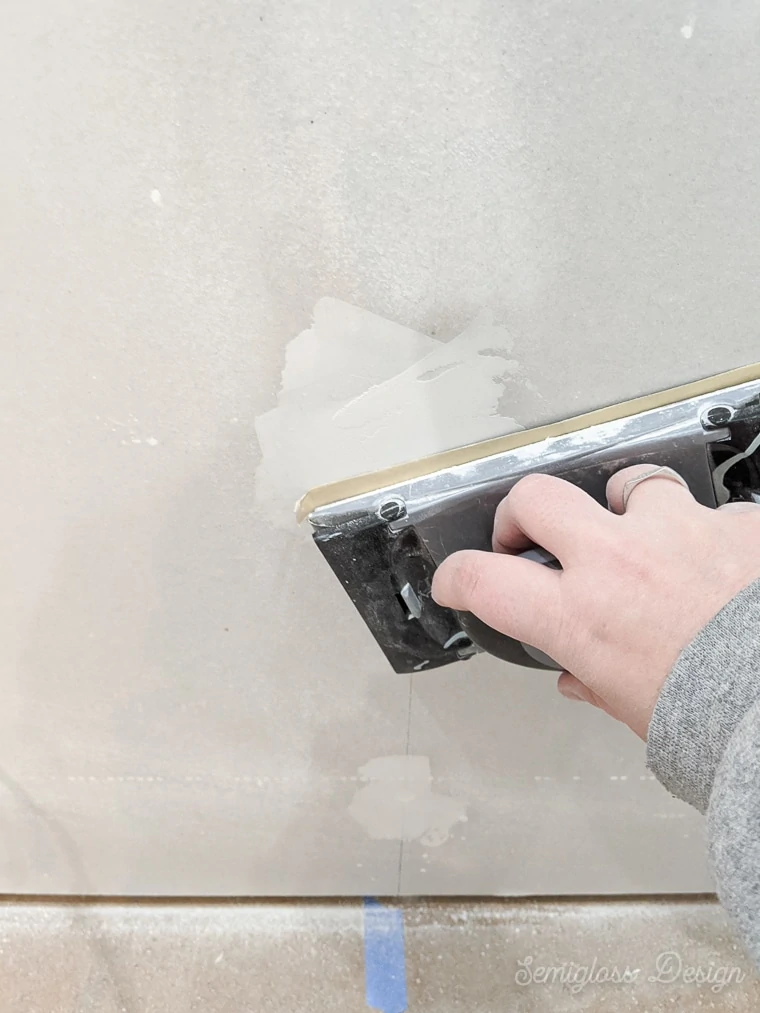
How to Cover Screw Heads
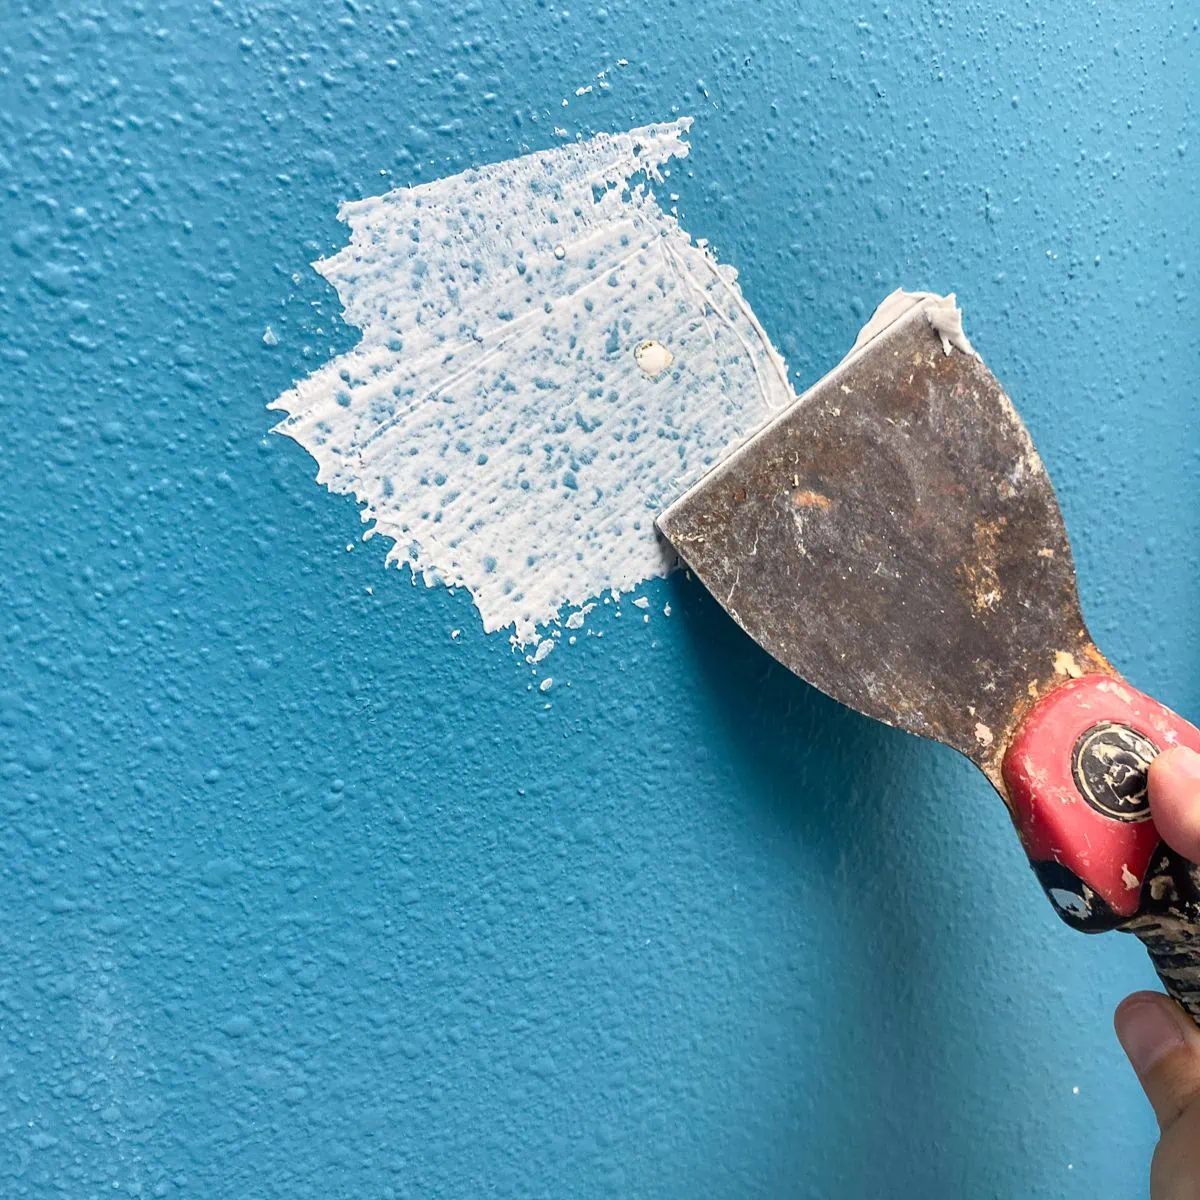
- Use a putty knife to spread a thin layer of joint compound over each screw head. Be sure to get the screw head holes well.
- Let dry.
- Sand as needed.
- Apply another coat of joint compound filling any holes you may have missed.
- Let dry.
- Sand.
- If necessary, apply a 3rd coat and sand.
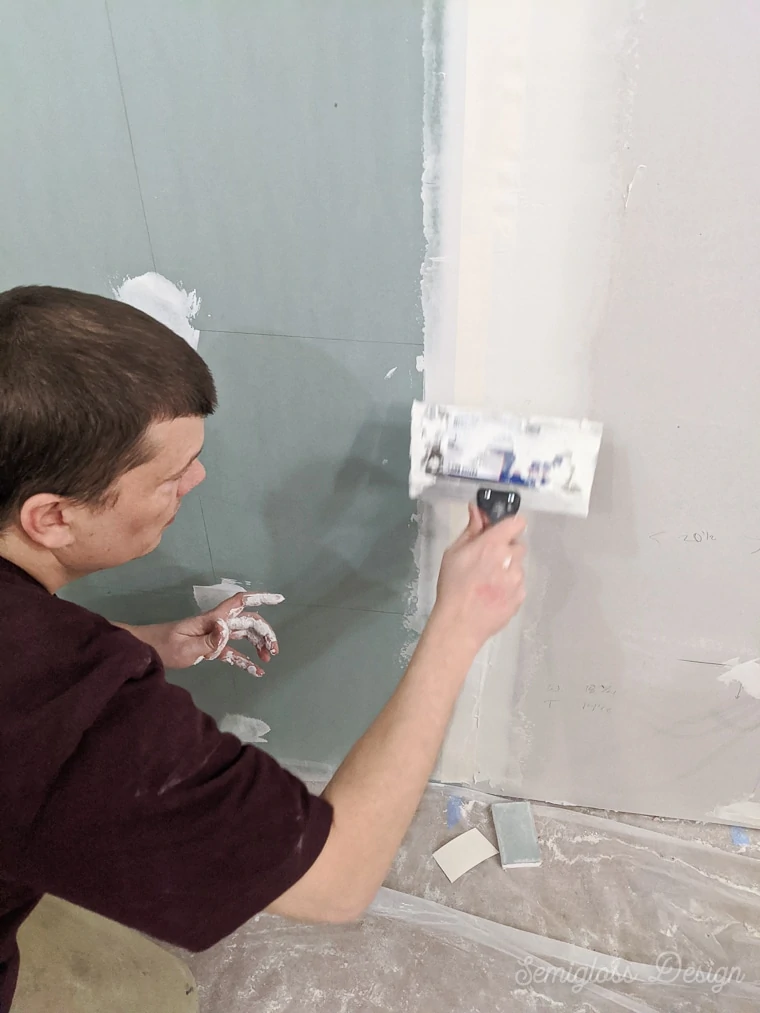
How to Mud and Tape Seams
Be generous with the first layer of the joint compound under the tape. This helps it stick better and you won’t have to go back and fix spots later in the process.
- Fill the seams with a generous layer of joint compound.
- Cut a piece of paper tape that’s long enough for the wall.
- Press it onto the join compound, smoothing as you go.
- Use a 4″ putty knife to smooth the tape and remove any excess mud.
- If the tape isn’t sticking, pull it away and add more joint compound.
- Continue along the wall until finished.
- Let the tape and joint compound dry.
- Sand lightly to remove any ridges. Be really careful around the tape because it will tear and cause a funny texture.
- Once dry, use a 6″ putty knife to add another thin coat of joint compound on top of the tape.
- Continue until the room is finished.
- Let dry.
- Lightly sand away ridges.
- Add another coat of joint compound using a larger putty knife (we used a 10 inch knife.)
- Try to fill any low spots.
- Continue around the room and let dry again.
- Sand well. Use a block sander for difficult spots.
- If needed, add another coat in spots that need it.
- Let dry and sand.
If your tape starts to bubble during the process, you can remove the bubble by cutting it with a utility knife, then apply more mud to the spot. It will require a few light coats to cover the spot.
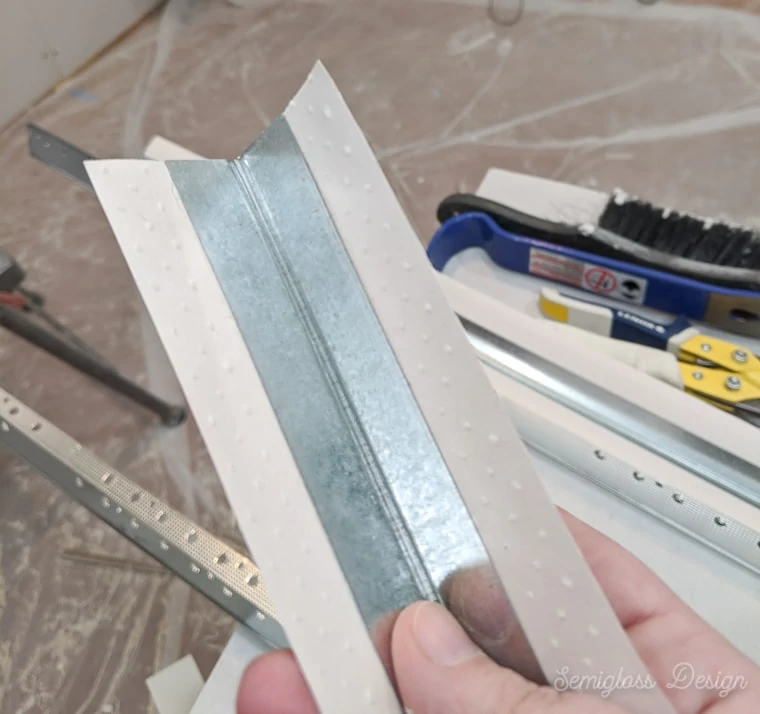
How to Mud and Tape Corners
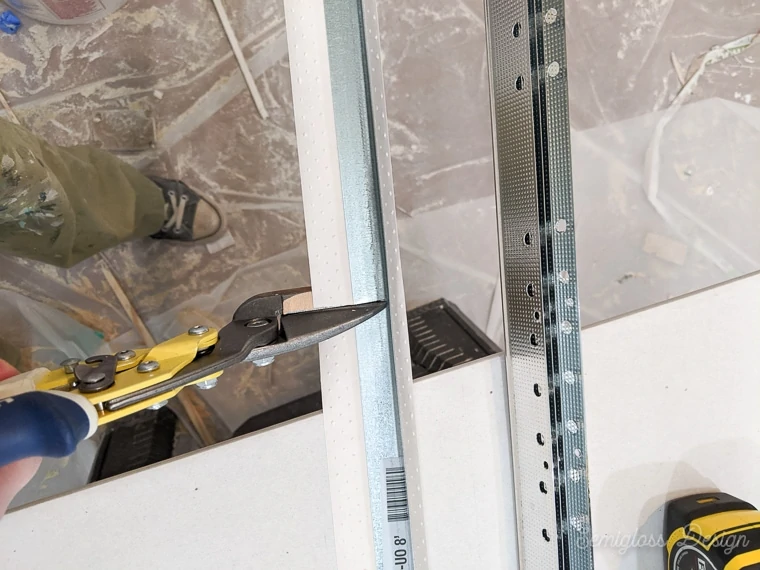
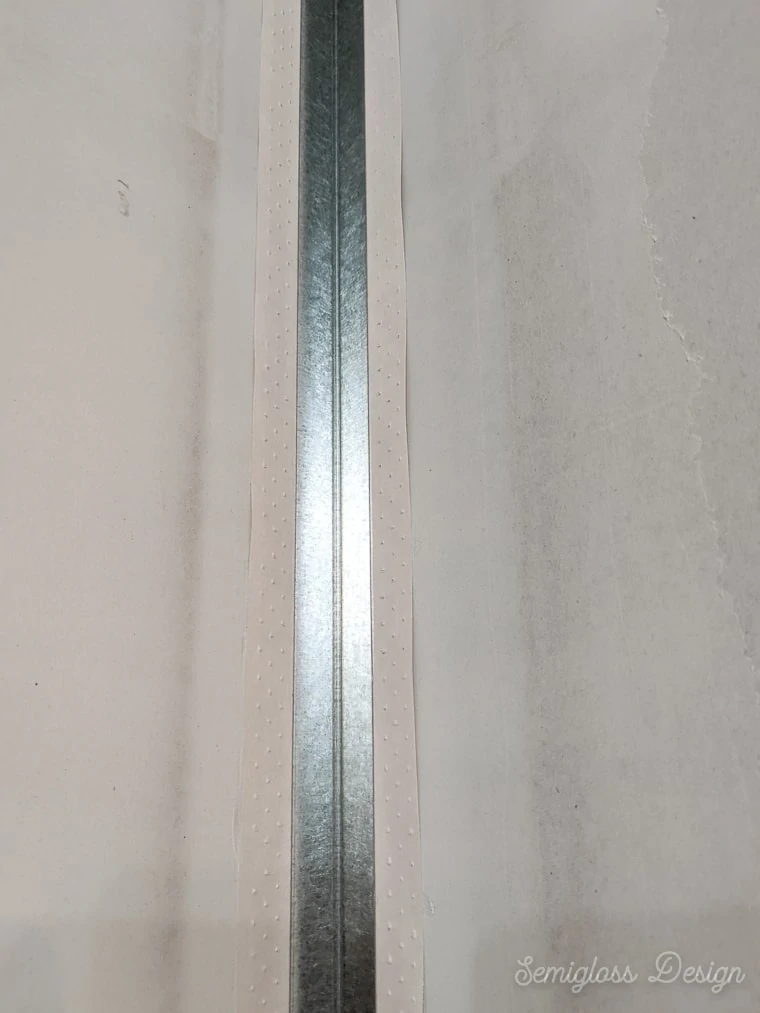
Corners are harder than straight seams. For outside corners, we used these metal corner pieces.
We also bought these pieces with paper and metal corners to cover large gaps.
Since they are rigid, they are so much easier to use than the folded tape method. I recommend using these for all corners instead of wrestling with the paper tape.
Outside metal corner edging will need to be nailed into the drywall (into studs.)
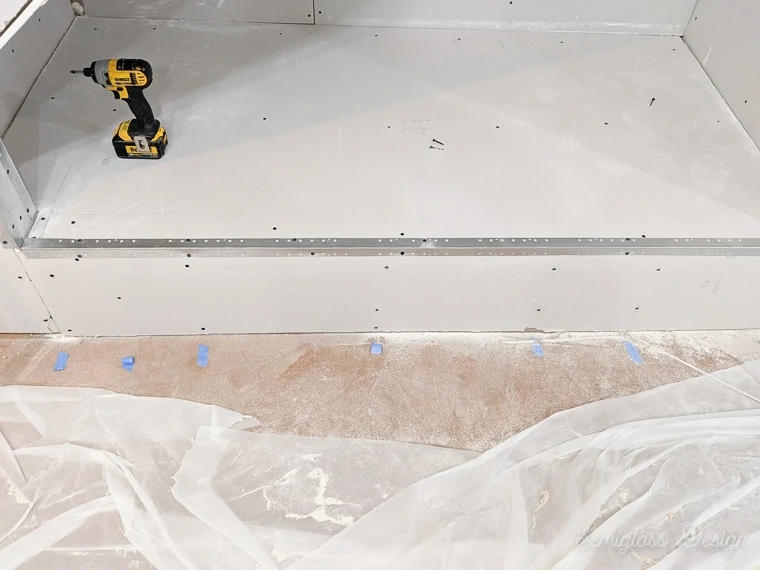
- Apply a generous coat of joint compound to the corner. If you have large gaps, you may need to concentrate more on the drywall edges than the actual gap.
- Measure the corner pieces and mark them with a sharpie. They can be cut with tin snips.

- Place them against the joint compound, smoothing as you go. Use a putty knife to remove excess joint compound.

- Let dry and sand lightly if needed.
- Apply a coat of joint compound on one side of the corner, smoothing as you go.
- Continue around the wall.
- Let dry.
- Go back and cover the other side with joint compound. (It takes longer like this, but it prevents you from destroying one side as you work on the other.)
- Continue like this using larger putty knives as you go to cover the previous layer.
- Outside corners are worked in the same manner, applying joint compound to one side and then the other after the first dries.
You may need to use a smaller putty knife for tight corners.
If you have places where inside corners meet, it’s okay to overlap the tape to cover the gaps. Just make sure the tape is “glued” in place with the joint compound.

There are corner drywall knives, but I’ve never found them to be useful. Instead buy nicer corner pieces and more sizes of putty knives.
How Many Coats of Drywall Mud Do I Need?
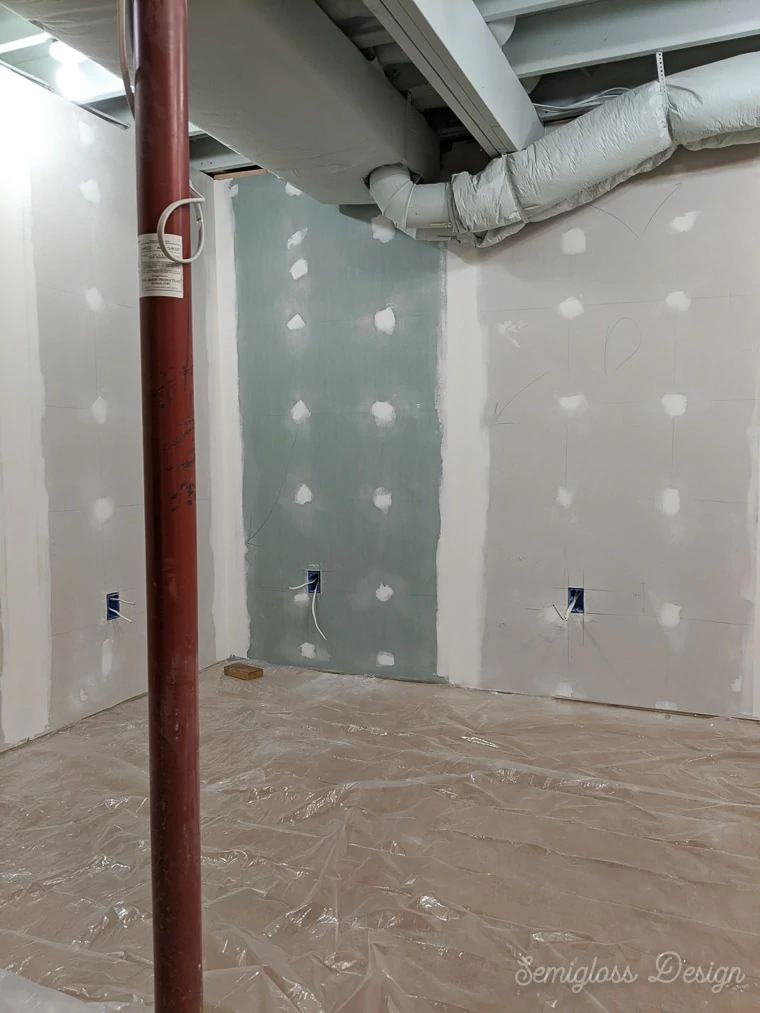
Covering the screw heads took fewer coats of drywall mud than the seams, about 2-3 coats.
Including the initial coat under the tape, each seam and corner took about 4 coats.
There will also be places that need touch up.
You may need more or less depending on your skill level.
The tape and corner pieces should be covered where you can’t see them anymore. The edges should be smooth where you can’t feel them when you run your hand against them.
Uneven Drywall Joints
Whether you have uneven drywall due to framing mistakes or using different thicknesses of drywall*, uneven drywall can be fixed.
*We used a few pieces of old drywall that we already had and although they were both 3/8″ thickness, in reality, they were off a little. I don’t recommend this if you can help it, though.
You will need to work slowly, in layers to correct this problem.
- Apply the tape as directed above and let dry.
- Build up the layers on the lower part first and then add to the higher part.
- Continue adding layers of joint compound and sanding between coats.
- Using a sanding sponge is really helpful for these seams.
The Best Way to Sand Drywall
For general sanding, we used these handheld sanders with 220 grit sandpaper.
They sell up to 80 grit sandpaper, which I think is really overkill. Sandpaper with 220 grit works great.
For tricky spots, I prefer these soft sanding sponges. They can be squished into tricky spots and are great for uneven drywall sections.
If you’re having trouble with the sandpaper gouging your dried joint compound, try these soft blocks.
In the past, we’ve also used a wet sanding technique. You use a damp sponge to remove the excess joint compound.
It makes less mess, but it’s harder to get a seamless look. Plus, it’s possible to remove too much of your hard work.
Cleaning Up the Mess
- Remove the flooring protection.
- Sweep us as much mess as you can.
- Use a shop-vac to remove debris from corners and edges. (Be sure you have a clean filter on the shop-vac for best results.) By the way, don’t use your regular vacuum for this because drywall dust can damage the motor.
- Wipe the walls down with a microfiber rag. The walls will be super dusty.
- Use a damp rag on anything else in the room (or adjacent rooms.)
- Mop the floor as needed, changing the water frequently. If joint compound landed on your floor, it will come up with a bit of scrubbing.
IMPORTANT: Before You Paint
Raw drywall and joint compound needs to be primed before painting! Without primer, the drywall paper will absorb the paint differently than the joint compound and make your paint look splotchy.
Also, be aware that joint compound will absorb a lot of the primer.
I like this primer for walls because it’s pretty cheap but it does a great job. Plus, it cleans up with water.
Tips and Tricks for Drywall Mudding
- Start with a small putty knife and move on to larger putty knives as you go. This allows you to cover and smooth the areas that you previously covered.
- When working with joint compound, ridges are easier to sand than low spots.
- Clean as you go to prevent a huge mess at the end.
- Cover your bucket of joint compound as you work. It can dry out and form chunky spots that are hard to work with.
- If you have more than one person working on mudding the drywall, buy 2 or more mud pans so you don’t have to share or work out of the bucket.
- Perfection is overrated. Paint covers a myriad of sins!
Painting the walls comes next, then installing baseboards and trim!
You might also like:
- How to Paint an Unfinished Basement Ceiling
- How to Frame Basement Walls
- Choosing Lighting for a Basement
Pin for Later!


Emy is a vintage obsessed mama of 2 DIYer who loves sharing affordable solutions for common home problems. You don’t need a giant budget to create a lovely home. Read more…