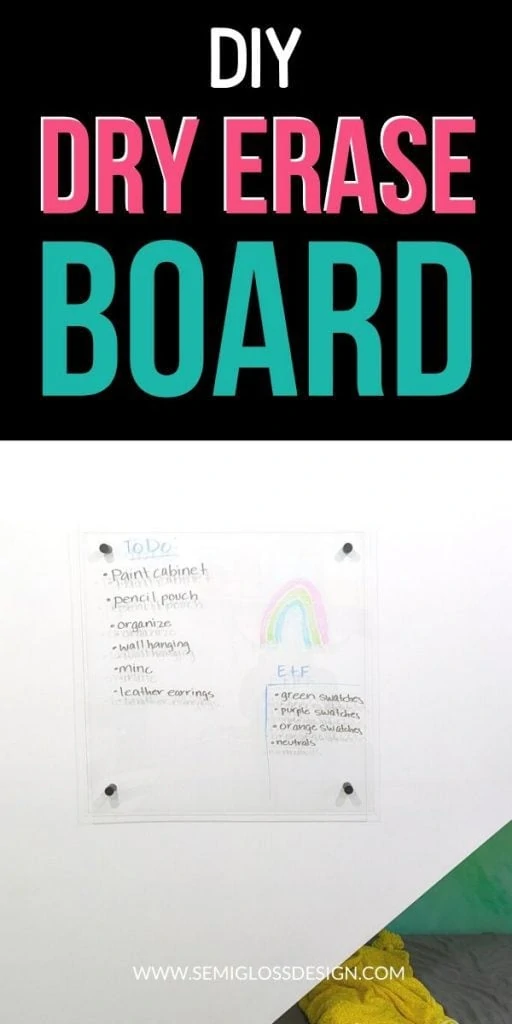
How to Make a Transparent Dry Erase Board
Learn how to make a transparent dry erase board. This floating acrylic board is the perfect modern touch for your office. Write your to-do list in style!
You might also be interested in my craft room reveal, where this dry erase board lives.
This post contains affiliate links. By purchasing an item through an affiliate link, I earn a small commission at no extra cost to you. As an Amazon Associate I earn from qualifying purchases.
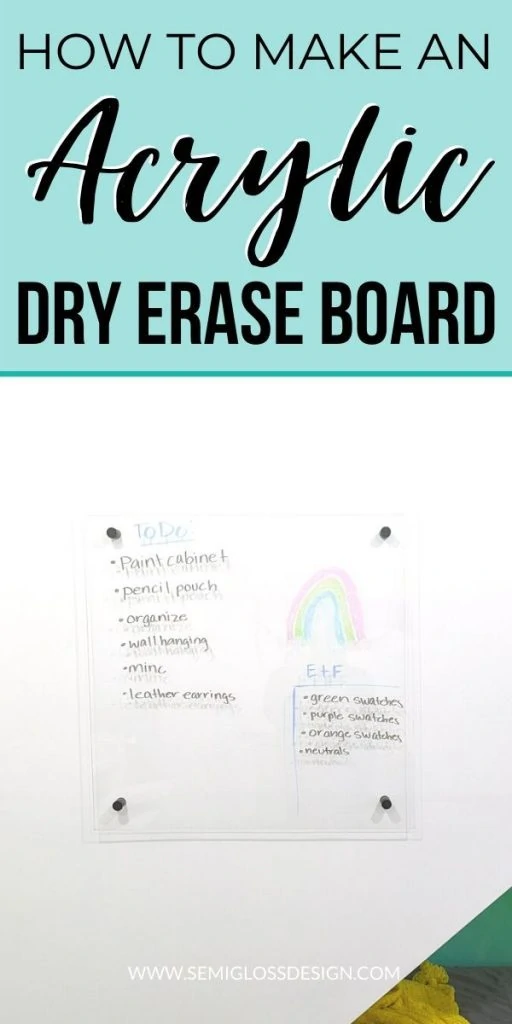
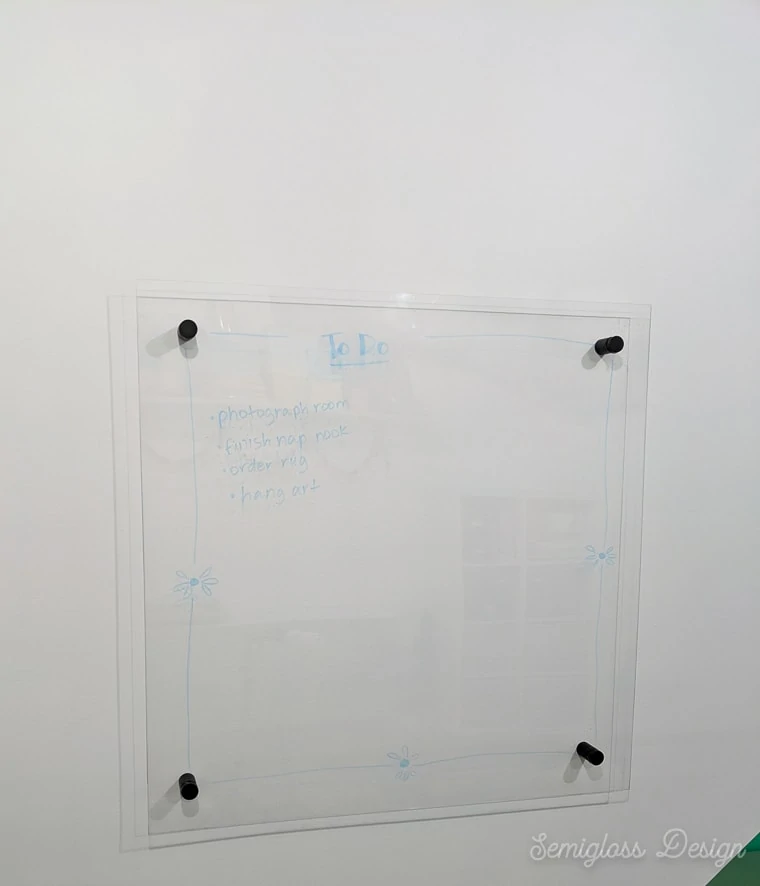
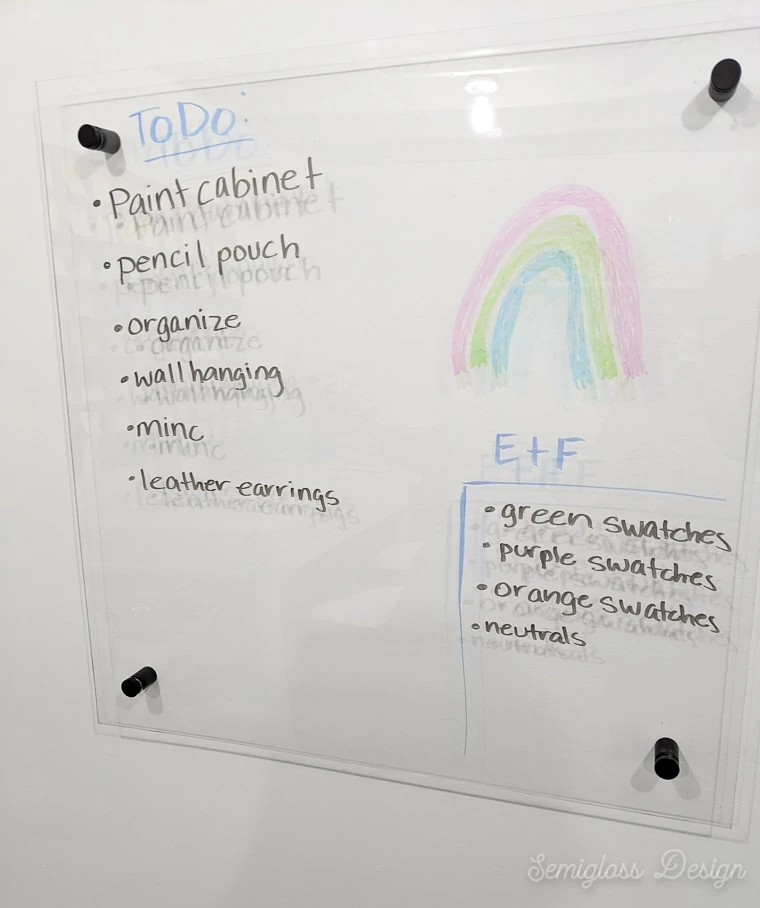
For my craft room, I wanted a running to-do list, but it needed to be pretty. I hate the look of a normal whiteboard. So I made a modern clear dry erase board instead. It looks so cool and it works great for what I need.
If you want a calendar, it would be easy to use a Silhouette or Cricut to add vinyl to the surface. I have one by my desk and it works great. Here’s a link to the SVG file in my etsy shop.
How to Make a Transparent Dry Erase Board
Supplies Needed:
- Acrylic Sheet (also called plexiglass) 1/4″ to 1/2″
- Wall Mount Hardware
- Sharpie (to mark where to drill)
- Drill
- 1/2″ Drill bit*
*Too big of a drill bit is better than too small! The hole will be slightly larger than the screw.
Acrylic sheets can be found in your local hardware store with the glass. They will even cut it for you! If you choose a thinner sheet, go smaller or the dry erase board will be too flimsy. Mine is about 18″ x 18″ and about 1/4″ thick.
Don’t want to make one? Here’s a link to buy one instead!
Directions
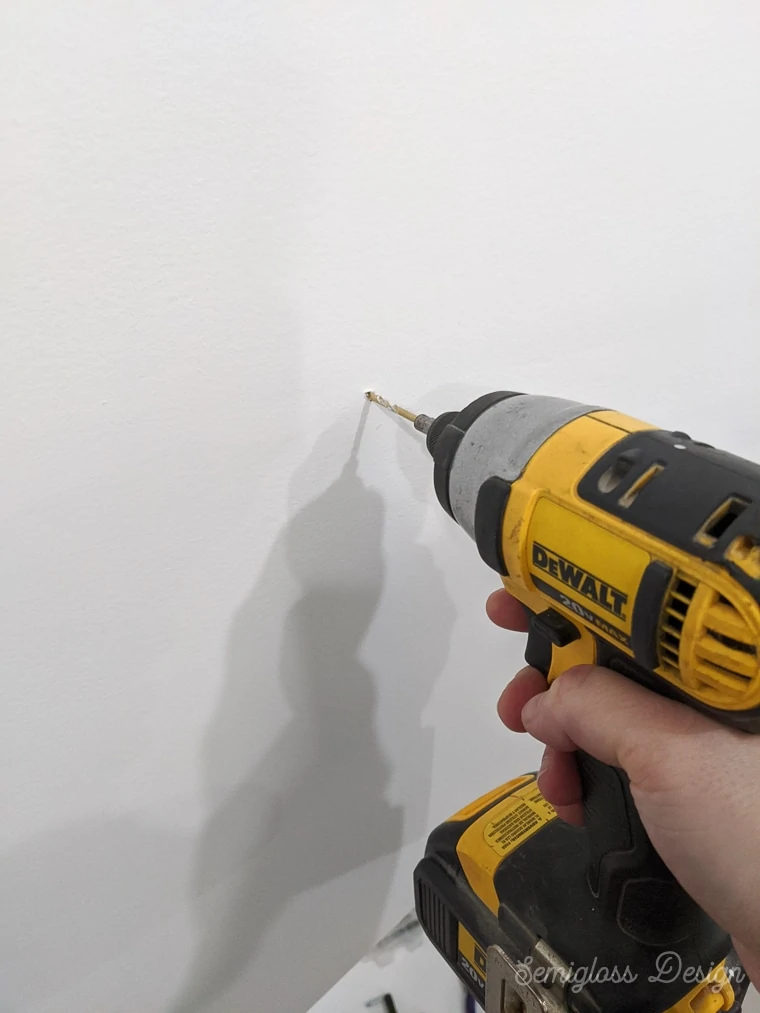
- Use a sharpie to mark the corners of your acrylic sheet for the hardware. I measure in about 1 1/2″ from the edges.
- Use a 1/2″ drill bit to drill in each corner. Go slow for best results. If you have melted pieces, use a small piece of sandpaper to remove the sharp pieces.
- Remove the plastic cover from the acrylic and clean the sheet well. Be sure to get the side that will face the wall.
- Hold it up to the wall and mark where the holes you drilled are. Be sure it is level.
- Pre-drill the holes where you will attach the board. You can install anchors if you want, but this board doesn’t weigh much, so we didn’t install anchors.

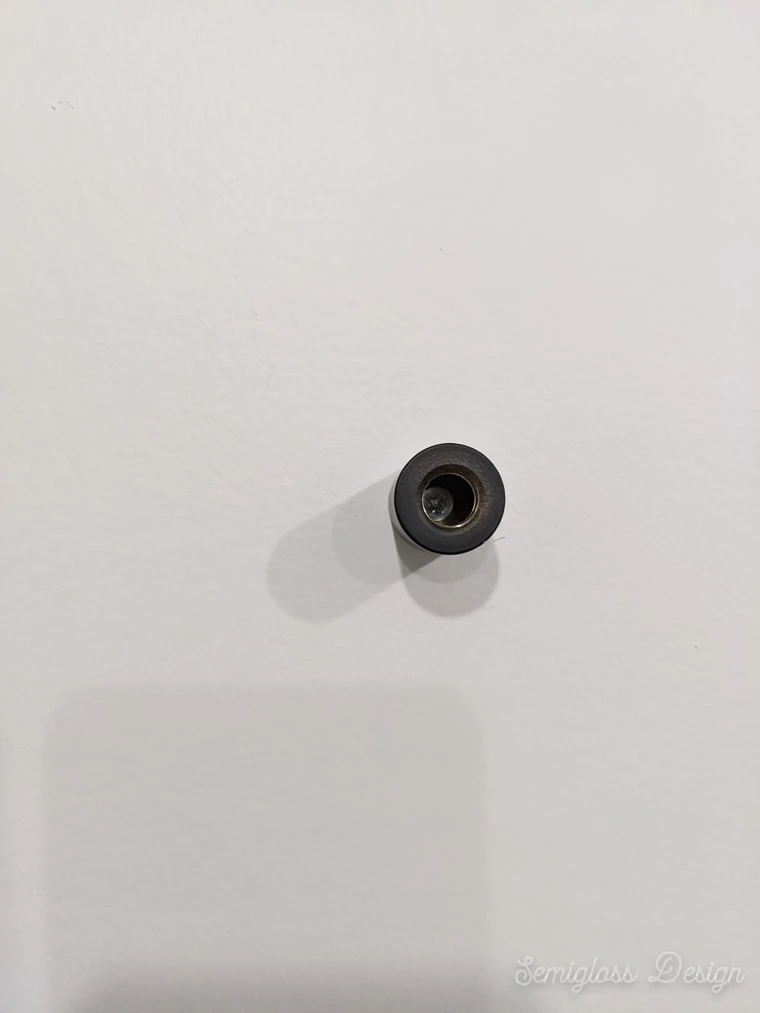
- Attach the hardware. The main mounting piece is attached by screwing it to the wall.
- Repeat for all 4 corners, making sure it fits correctly.
- Layer the remaining hardware and install. After the mounting piece, install a washer, the acrylic sheet, another washer, and then the cap. The cap screws into the mounting piece, securing the whole thing.
- Enjoy your dry erase board.

Cleaning an Acrylic Dry Erase Board
A dry paper towel works best for cleaning this board. If your whiteboard markers stain the surface, try rubbing alcohol to remove the ink.
The Best Markers for a Clear Dry Erase Board
I had such a hard time finding markers that would actually show up on this board. My normal thin whiteboard markers didn’t work, so then I tried chalk marker, but they weren’t great either. Finally I found the winner.
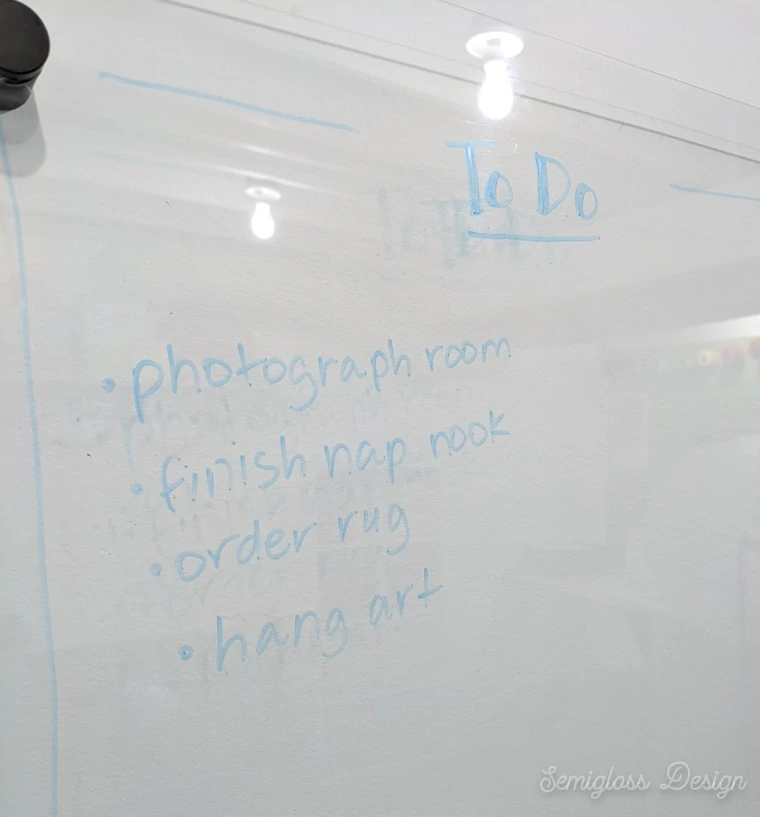
Thick EXPO markers in normal colors work best. The fun colors don’t show up well and the thinner size doesn’t either. So stick with the basic pack for best results.
You might also like:
Pin for Later!

Emy is a vintage obsessed mama of 2 DIYer who loves sharing affordable solutions for common home problems. You don’t need a giant budget to create a lovely home. Read more…


Thank you so much for sharing! Have you considered using transparency markers? Back in the day, I used them on projectors and the colors were vibrant. You erase with a damp paper towel.
I’ll have to find some and try those. Thanks for the tip.