How to Refinish Concrete Floors in a Basement
Learn how to refinish concrete floors in a basement.
We’re working on renovating our basement to turn it into a studio space for me to work in.
After painting the ceiling, we decided to stain the floor next.

This post contains affiliate links. By purchasing an item through an affiliate link, I earn a small commission at no extra cost to you. As an Amazon Associate I earn from qualifying purchases.
We’re staining the floor before framing the walls to avoid water sitting under the wood.
Staining a floor is a wet process and we wanted clear access to the basement drain.
Unfortunately, there was a giant paint spill in the center of the room. And we didn’t want another disappointing stain job like in our garage.
So we decided to resurface the concrete to make the whole job easier.
We’re skim coated concrete before in the sunroom and it was very expensive (but totally worth it!)
In researching stain colors, I ran across a new concrete resurfacer product from the same store where we buy the stain.
This saved us from going to more than one store, but it also ended up saving us a ton of money!
By the way, it’s totally worth going to those smaller stores to buy these specialty products.
The employees have a wealth of knowledge and can instruct you on better techniques and products to save you time and money, as we found out.
Skim Coating Concrete Floors FAQ
Can you skim coat a concrete slab?
Yes! It’s possible to skim coat concrete. You can even skim coat old concrete.
Just make sure you clean the surface well before applying the new concrete coat.
Why would you resurface concrete?
Ease of staining.
New concrete is so much easier to stain than old concrete. It absorbs the stain well and reacts correctly with the acid stain.
Cover Paint Spills or Ugly Concrete
We had a huge paint spill on our floor to deal with.

Chemicals can make the concrete stain not react correctly, so they weren’t an option for removing the paint.
And I didn’t want to sand the spot either.
Uneven Concrete
Resurfacing concrete can also be great for fixing uneven concrete. It’s often used to level a floor before tile.
How is this process different from the process I used in my sunroom?
We used Flo-Coat concrete re-surfacer last time. It took about 25 bags to cover the surface.
This time we used Kingdom Buildable Overlay. Although the price is higher per bag, we only used 2 bags for the whole room in our basement.
Cost
This product cost us about $100 to resurface a room that’s about 300 square feet.
The sunroom was about the same size and it cost us roughly $700 to use the Flo-coat. (We were covering a rougher surface and had to cover old mastic from the tile we removed.)
Texture
The Kingdom Buildable Overlay product left a rougher texture, which is great for spaces where you’re concerned about slipping. (It would have been perfect in our sunroom.)
The Flo-coat was much smoother and self-leveled a little better.
Color
Kingdom Buildable Overlay is available in both gray and white. We chose gray to dull the orange tones down a bit.
White would have been lovely under the aqua.
Flo-coat (like many concrete products) only comes in gray.
Ease of application
The Kingdom Buildable Overlay was applied with a squeegee and a long pole, which meant almost no kneeling down (though there were some tight areas that had to be applied by hand.)
We applied the flo-coat with a trowel, which meant sitting on my knees for hours. Thank goodness for knee pads!
Time
It took about 30 minutes to cover the entire floor.
The other process took about 1 1/2 hours and took multiple people mixing more batches as I spread a batch on the ground.
See the finished craft room here!
How to Refinish Concrete Floors
Supplies Needed for Refinishing a Basement Floor
- Concrete Buildable Overlay
- 5 Gallon Bucket
- Concrete Mixer and Drill
- Squeegee
- Extension Pole
- Water
- Small Trowel or Putty Knife
- Shop-vac
- Push Broom
- Neutra clean
- Sander
- A Helper – this job goes a lot faster with an extra person
How to Clean a Basement Floor
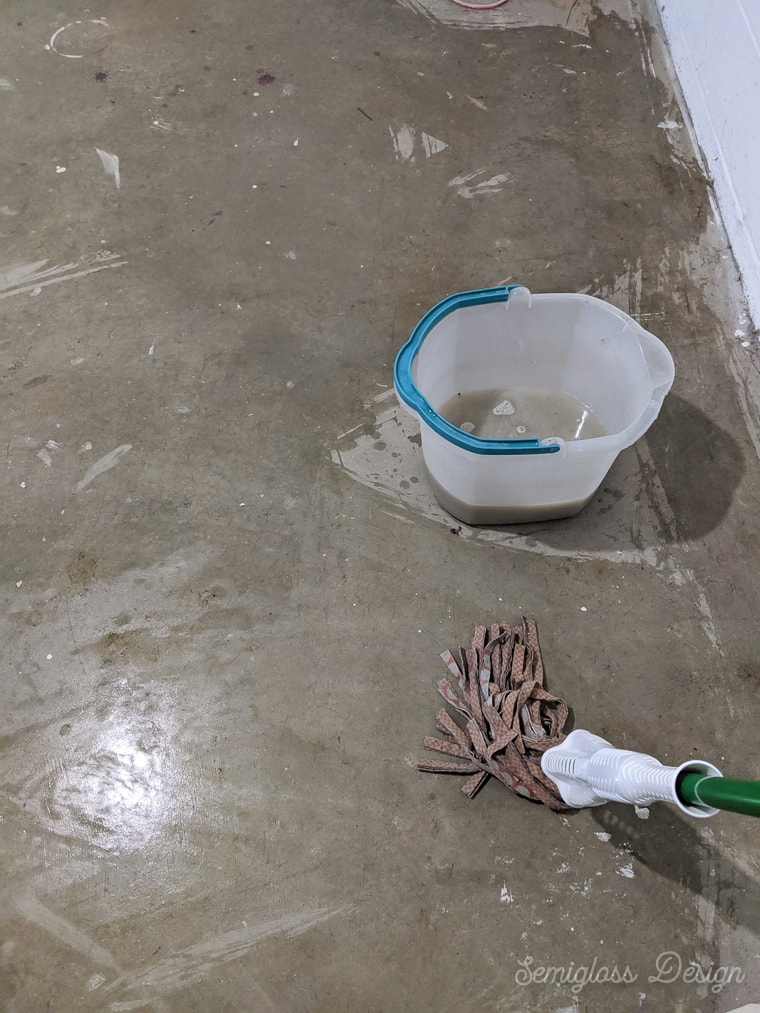
As in many renovation projects, this was a process of cleaning the floor, making a mess, and cleaning it again.
I had already mopped the floor when I was removing the paint overspray, but we still cleaned the cement floor as instructed.
Luckily a basement is an easy room to stain because it has some handy features built into it that make the job easier.
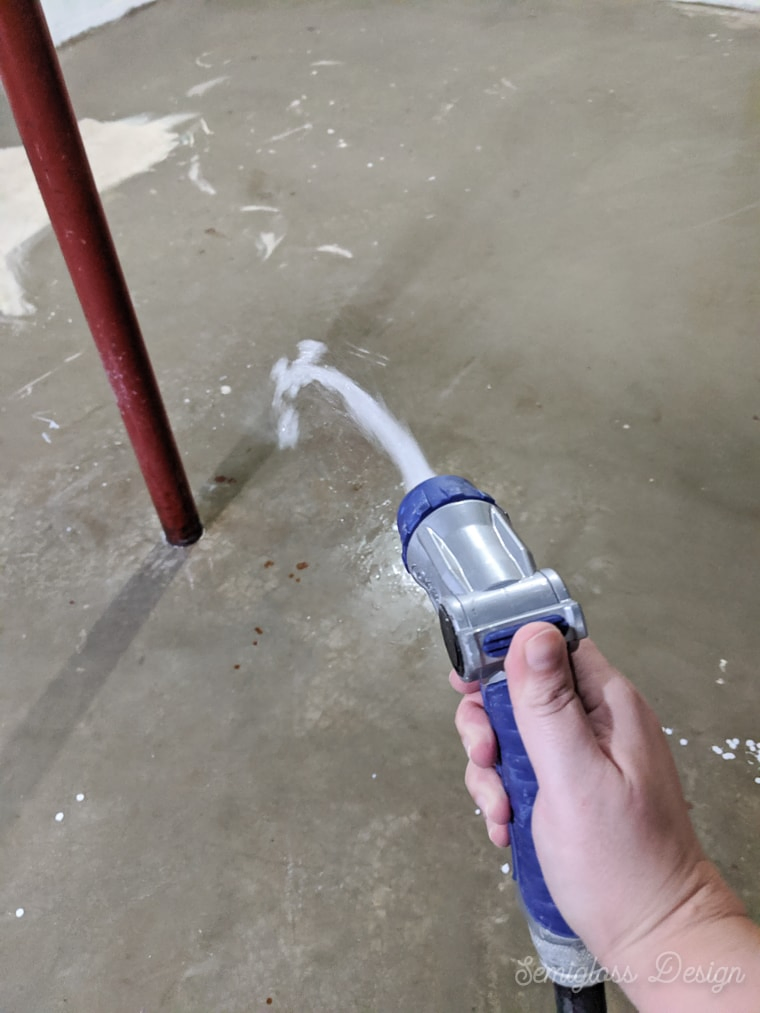
Our basement has a drain that connects to the septic tank. It also has water hookups to allow us to attach a water hose.
If your basement doesn’t have these features, it’s still possible to do this project.
Drag a hose in from outside and use a shop-vac to remove the water.
- Use a broom and a dustpan to remove any large debris before starting.
- Sweep up any dust.
- Use a shop vac if necessary.
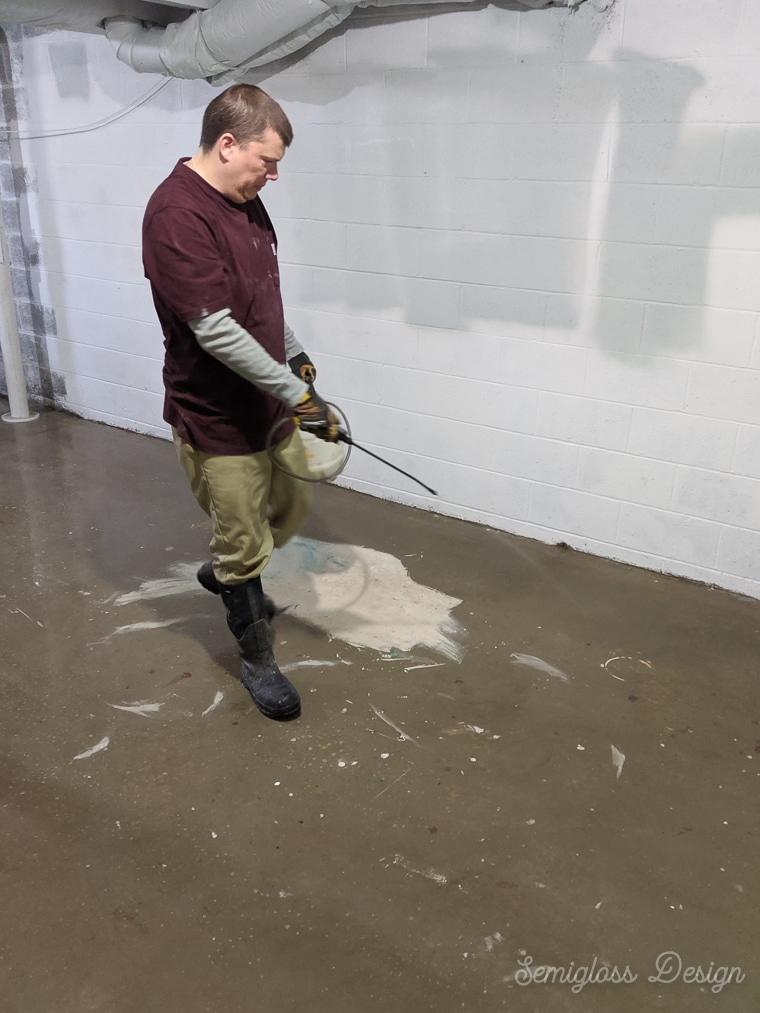
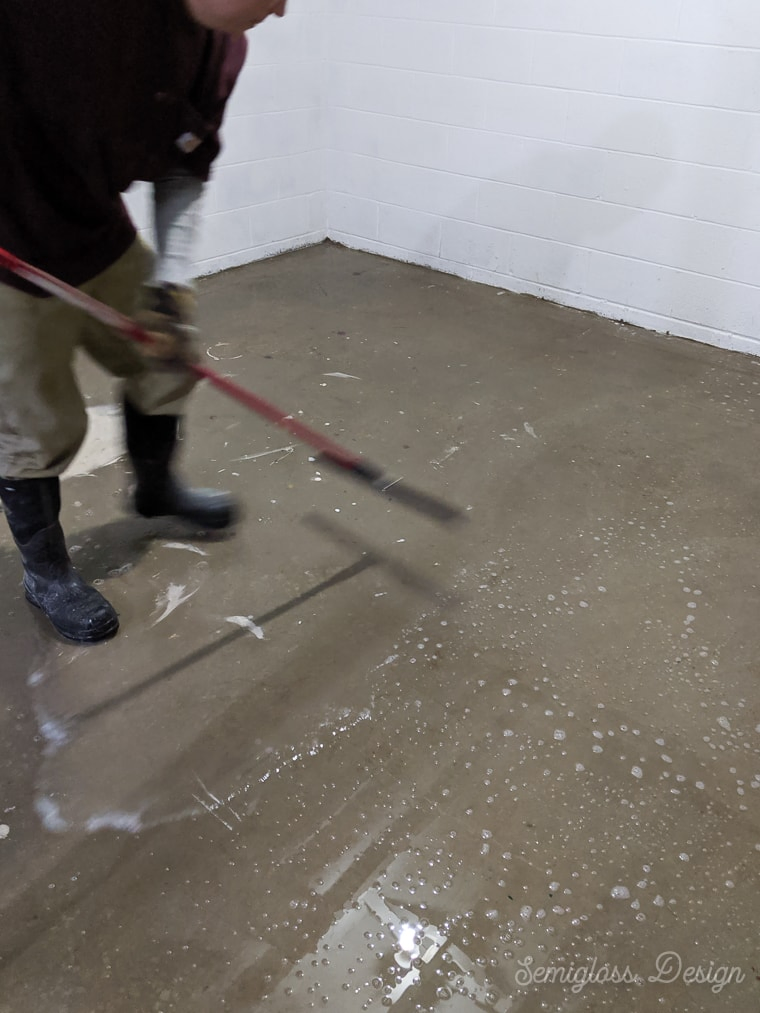
- Spray the floor with a 1:1 mixture of Neutra clean and water.

- Wet the floor using a water hose.
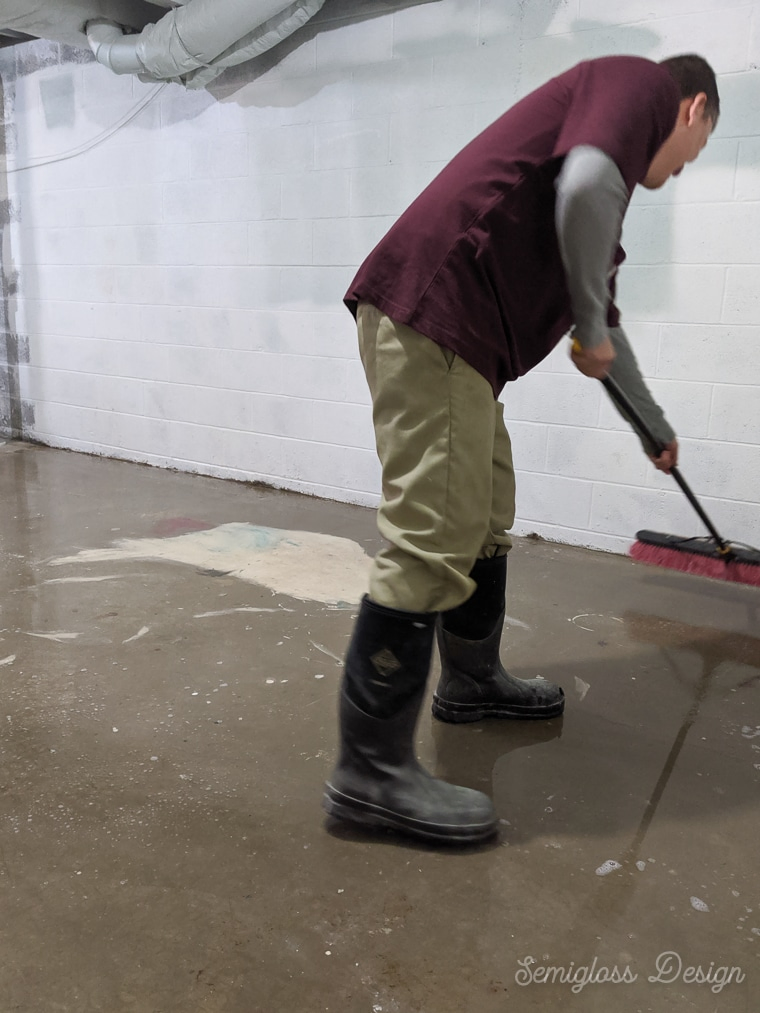
- Scrub it with a push broom.
- Use the squeegee to push the water to the drain.
- A shop-vac can be used to remove the water if you’re working in a room without a handy drain built in. (Don’t let it get too full or it will be too heavy to dump out.)
- Repeat until you’re happy with how clean the floor is. There should be no suds left.
Mixing the Concrete
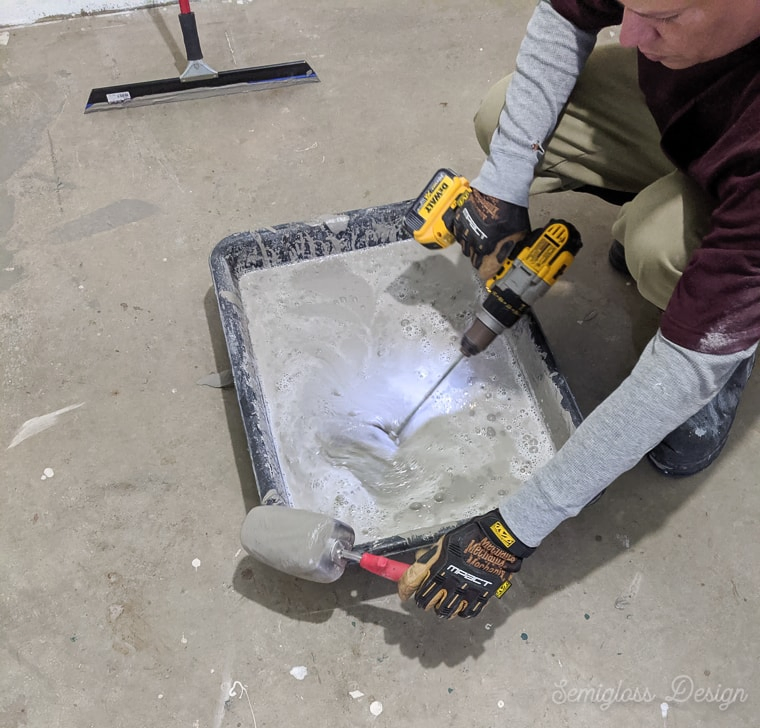
Use a 5-gallon bucket for easier pouring. We mixed our first batch in a concrete trough and it was not fun to pour.
If you use a battery-powered drill, make sure that you have plenty of extra fully charged batteries on hand. Use the drill on low power.
- Pour the concrete into a 5 gallon bucket.
- Add water and mix. You want it much thinner than you think (about the consistency of a smoothie.)

- Keep adding water until you get it nice and thin. It needs to be spreadable with the squeegee.
- Let the mixture sit for 5 minutes and then mix again.
- To avoid bubbles in your mixture, don’t bring the drill mixer to the surface while spinning. You can also run a sander against the bucket for a few minutes to bring all the bubbles to the top.
We ended up with bubbles, but we decided to embrace them as part of the imperfect beauty of concrete.
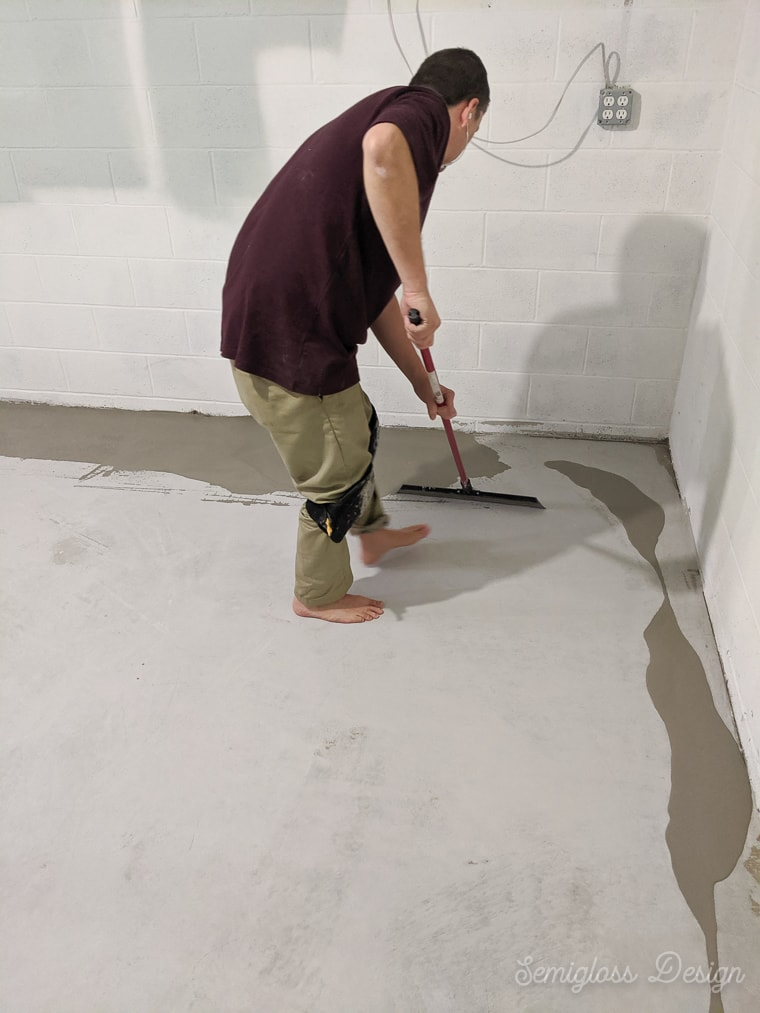
Applying the Concrete Skim Coat
Despite the thinness of the concrete, it doesn’t self-level, so keep that in mind while working.
This first coat should be about 1/4″ thick.
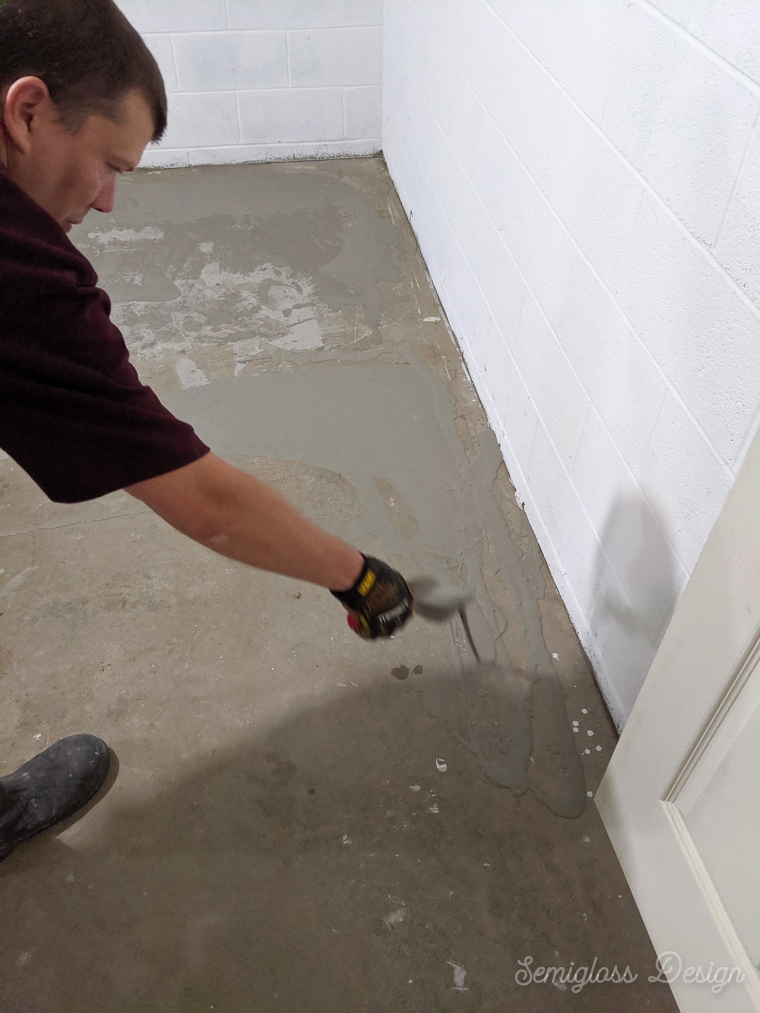
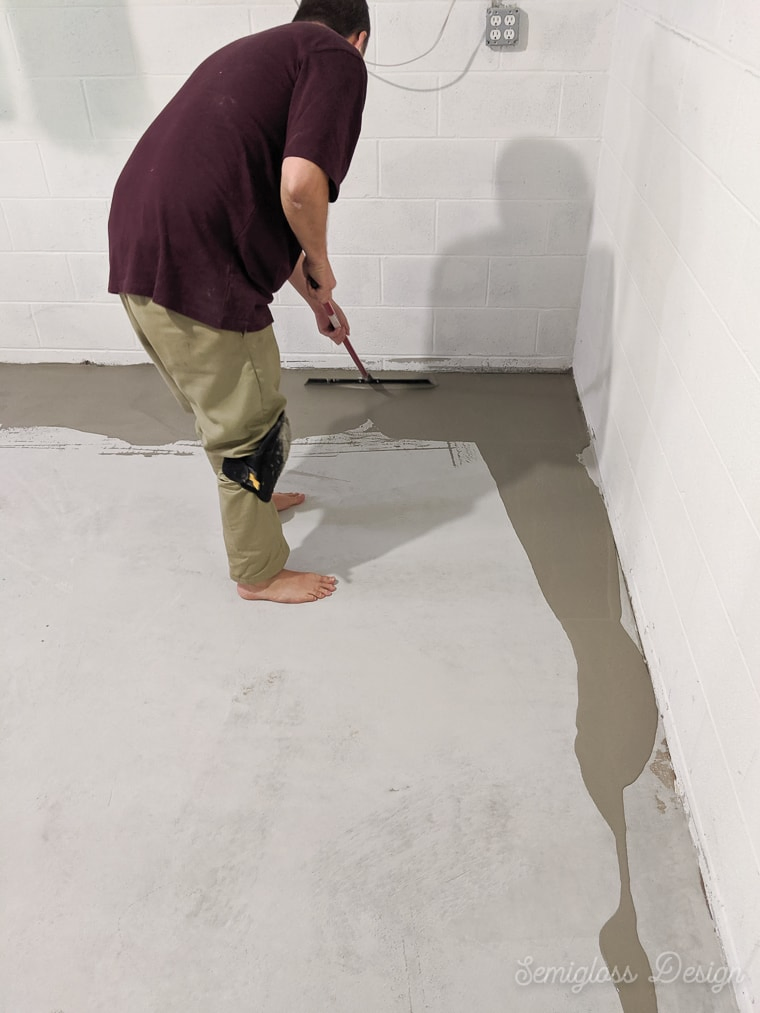
- Have one person pour the concrete and one person spread it and smooth it with a squeegee.
- Work from one side of the room to the other, making sure you don’t back yourself into a corner!
- Use the squeegee to get the surface smooth as you go.
If there are spots where it overlaps, you can scrape them away with a putty knife when it’s starting to dry.

Letting the Concrete Dry
Place a high-powered fan in the room to help it dry faster. It still takes several hours to a day.
It takes longer to dry over covered paint spills and anywhere the new concrete layer is super thick.
Some spots will dry darker and look wet even though they’re dry. Touch it to see if it’s actually dry if you’re in doubt.
Sanding the Concrete
Concrete dust is rough, so take proper precautions when sanding the surface.
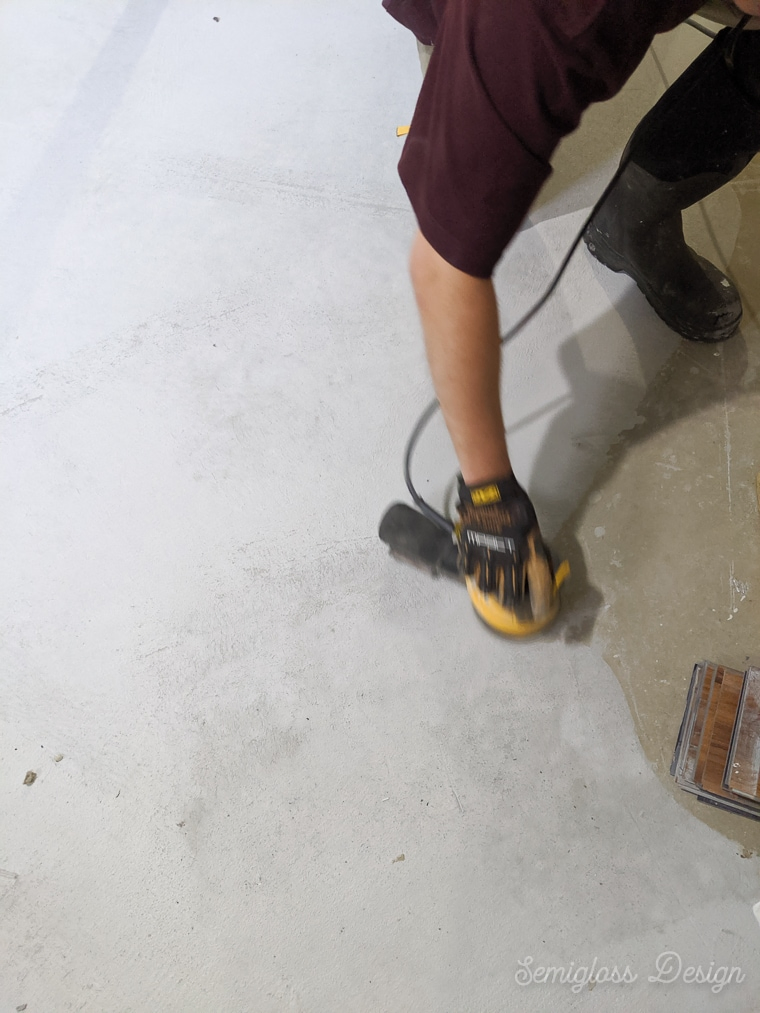
Use 80 grit sandpaper on a sander.
It’s only necessary to sand the rough spots. The purpose is only to knock down the ridges, not to get a buttery smooth surface.
If your sander has a dust collector on it, be sure to empty it as needed. It’s amazing how heavy it becomes with the concrete dust.
Let the dust in the air settle.
Then use a shop vac to remove the dust from the floor.
Applying a 2nd Coat of Concrete
This coat is applied even thinner. The consistency should be like melted ice cream. This coat should be about 1/8″ thick.
Apply in the same manner, but be even more careful about leaving ridges with the squeegee.
Let the concrete dry completely and sand again. This time, sand the entire surface.
Use a shop vac to clean the dust again.
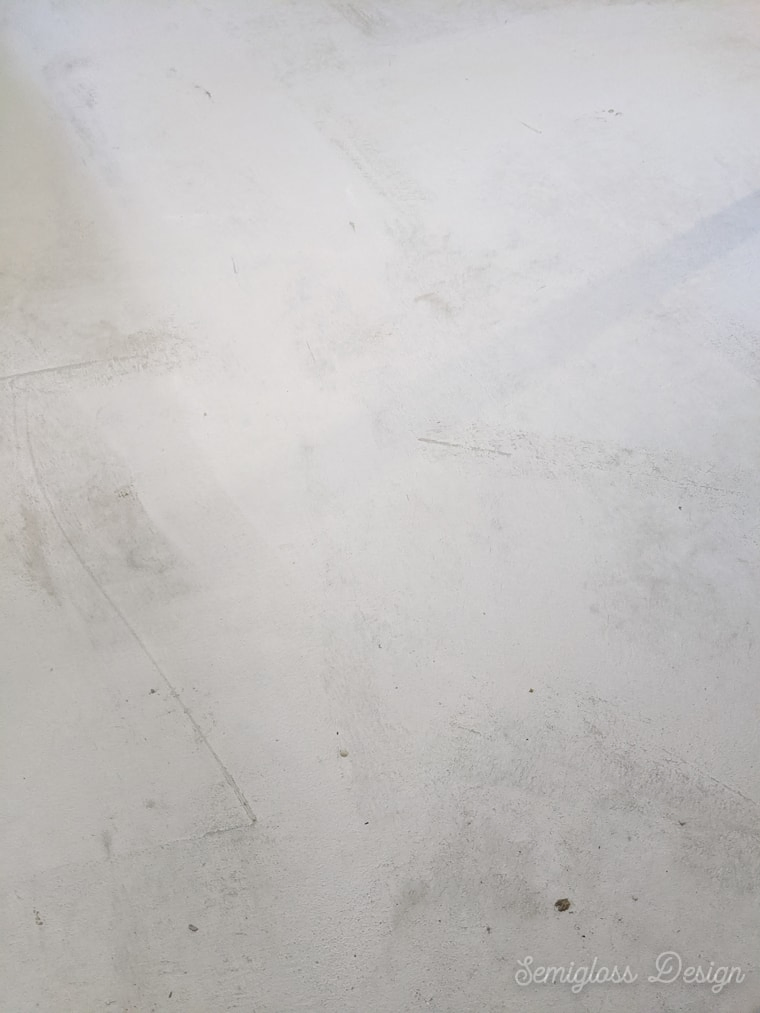
The refinished concrete surface is ready for concrete stain after 24 hours.
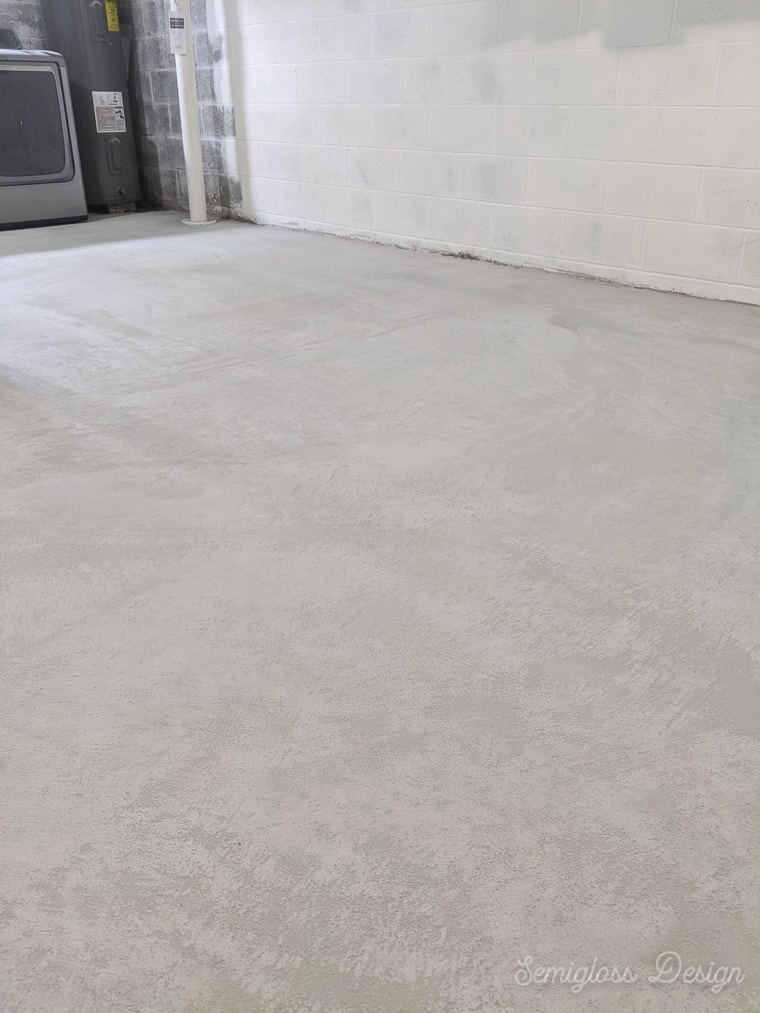
The perfect blank canvas.
Check out how I stained the basement floor!
You might also like:
Pin for Later!

Emy is a vintage obsessed mama of 2 DIYer who loves sharing affordable solutions for common home problems. You don’t need a giant budget to create a lovely home. Read more…


Did you have problems with chipping? We recently did this and found that some parts were rather thin and chipped up when we started sanding. Now we’re stuck with these massive patches. Any thoughts?
We didn’t have that problem. It sounds like it might have been too thin. I’ve had similar problems with grout though and I think it was because I mixed it with water that was too cold (it was winter.) I would try adding another thin layer and seeing if that helps.
On the sunroom resurfacing page you did an update that said you have some cracks after some time. Have you had the same experience with this room? I live in an area known for foundation shifts and am trying to decide which method will give me the fewest cracks over time (I realize I for sure will have cracks either way but would like to minimize the number/depth/size).
The basement has no cracks so far (it has been a little over a year since it was finished.) I think the sunroom has cracks because it is over a crawlspace and not a slab on the ground. It also experiences more temperature variation.
Did you have to sand the concrete for the sunroom? Do both require sanding. Trying to decide which product to use in my guest bedrooms.
It’s been a while, but I think we had to knock down any ridges or rough spots with a sanding block. I preferred this version to the sunroom one because it was much cheaper. We needed less concrete so it was less work to mix the concrete.
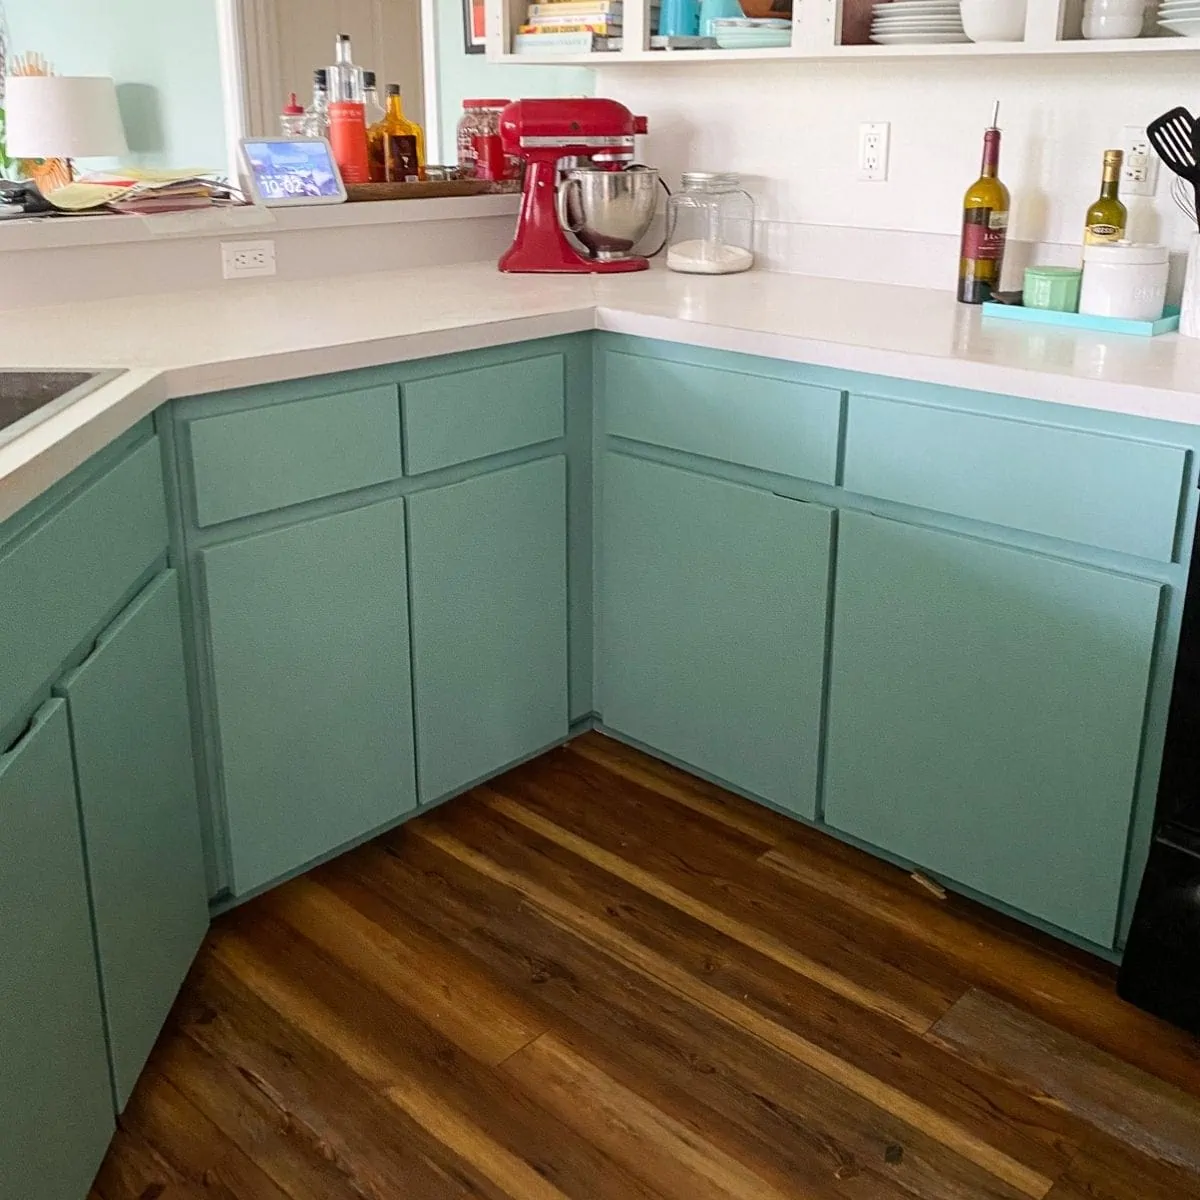
I’ve been thinking about doing with to our kitchen floor. Would you consider the texture to be too rough for a kitchen considering how much time is spent in a kitchen (with bare feet usually)?
For a kitchen, I would consider a few different things. Where you live will have an impact. If you live in a colder environment, a concrete floor is going to be really cold. It might be better in a warmer environment. Are you going to add rugs? You stand a lot in a kitchen and concrete can be uncomfortable to stand on for long periods of time. I have joint issues and it would be really painful for me. I would also make sure that it’s sealed well so that it’s easier to clean.
I loved our concrete floors for the sunroom and basement. We lived in Maryland, which gets pretty cold in the winter. The floors were cold, but we had rugs to keep it from being uncomfortable. I’m not sure that I would do it in a kitchen. However, it does make a great base to add a tile floor down the line.
Hope this helps.