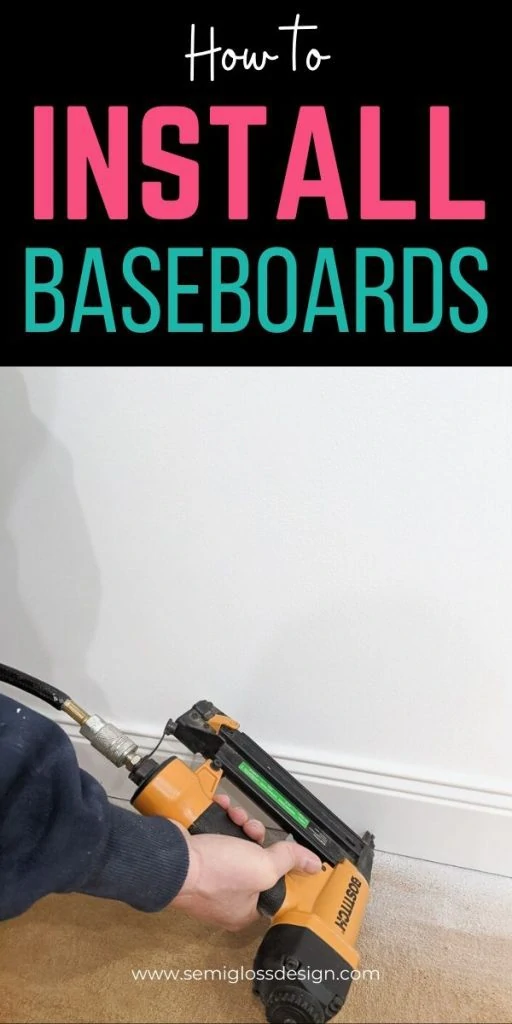
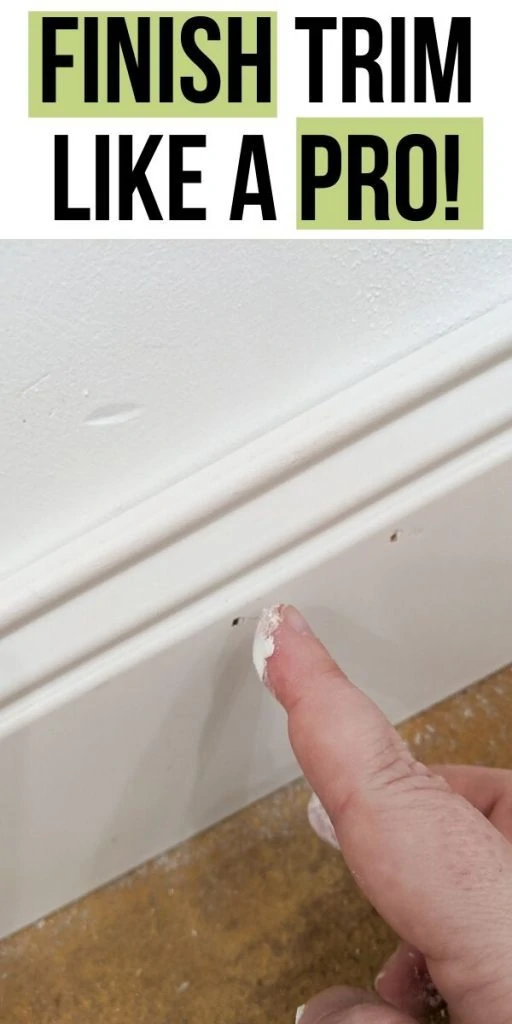
How to Install Trim in a Basement
Learn how to install trim in a basement. Installing trim helps a room feel finished. It can also be used to cover gaps or add pretty details to a room.
You might also like this post on removing a chair rail.
This post contains affiliate links. By purchasing an item through an affiliate link, I earn a small commission at no extra cost to you. As an Amazon Associate I earn from qualifying purchases.
Trim Installation FAQ’s
How do you fill the gap between the wall and baseboards?
A gap between a wall and baseboards (or other trim) can be filled with caulk. Use paintable caulk for best results. See my caulk tips below.
What is the best baseboard type for basements?
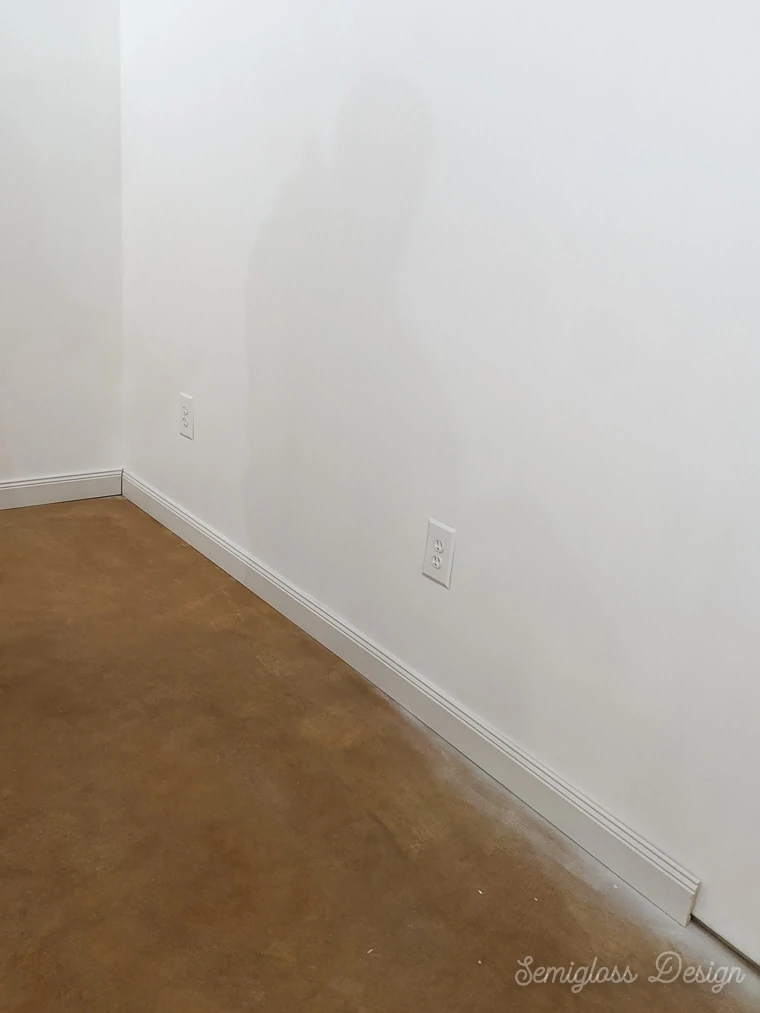
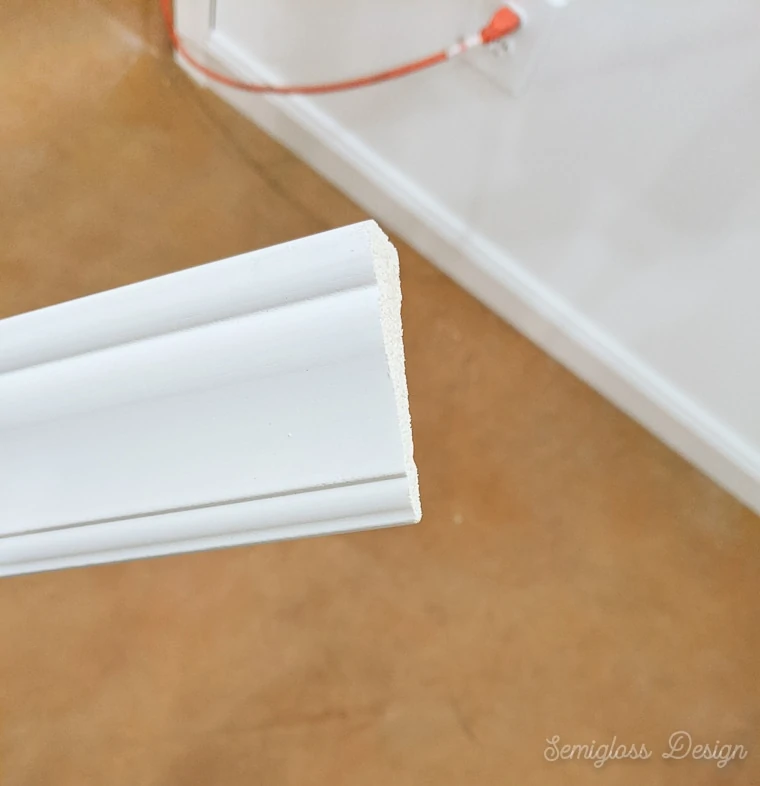
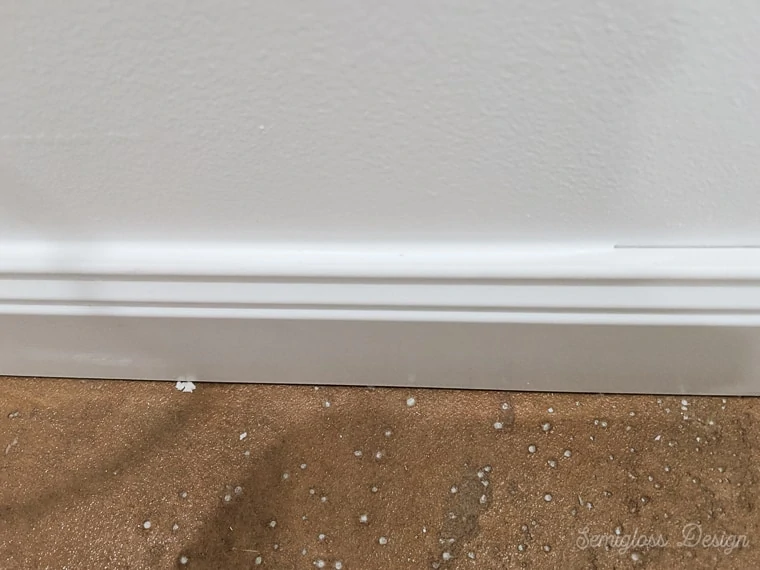
We used polystyrene baseboards in our basement. Polystyrene trim is the plastic type trim in the hardware store.
This trim looks cheap until it’s installed, caulked and painted. Then you can’t tell the difference.
I like it because, in the case of moisture issues, water won’t make the baseboards swell.
Polystyrene is very easy to cut, but use a fresh saw blade to get nicer cuts.
Avoid baseboards made from MDF. MDF swells and gets bumpy when water sits on it.
Even if you don’t have water issues, basements are a bit more damp, so extra precautions should be taken to avoid problems down the road.
How much space should be between a floor and a baseboard?
Since we used polystyrene baseboards, we placed the baseboards right against the floor. If you’re concerned about it, leave a tiny gap of about 1/16″.
Can you install baseboards without a nail gun?
Yes, baseboards can be installed without a nail gun. You can use finish nails, a hammer and a nail punch.
However, a nail gun will finish the job in minutes, where a nail and hammer are going to take longer for installation.
How do I know which trim to buy?
Trim is usually labeled for use in the store. For instance, trim for windows and doors is labeled as such.
You can use these types of trim for different uses if desired, though.
You can also use stock lumber, like 1x4s.
A good rule of thumb is to go bigger than you think. It will always look more luxurious than skimpy trim, especially baseboards.
How to Install Trim in a Basement
Supplies Needed:
- Trim
- Miter saw
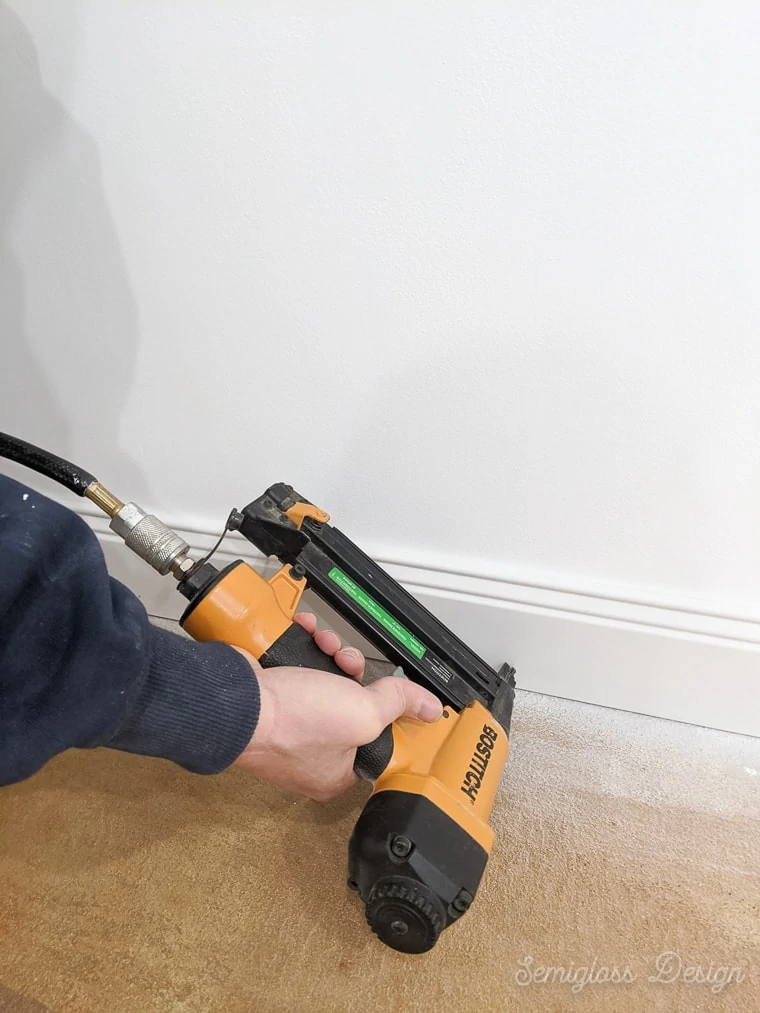
- Nail gun
- Nails
- Caulk gun
- Paintable Caulk
- Spackle
- Sand Paper
- Paint
Installing Baseboards
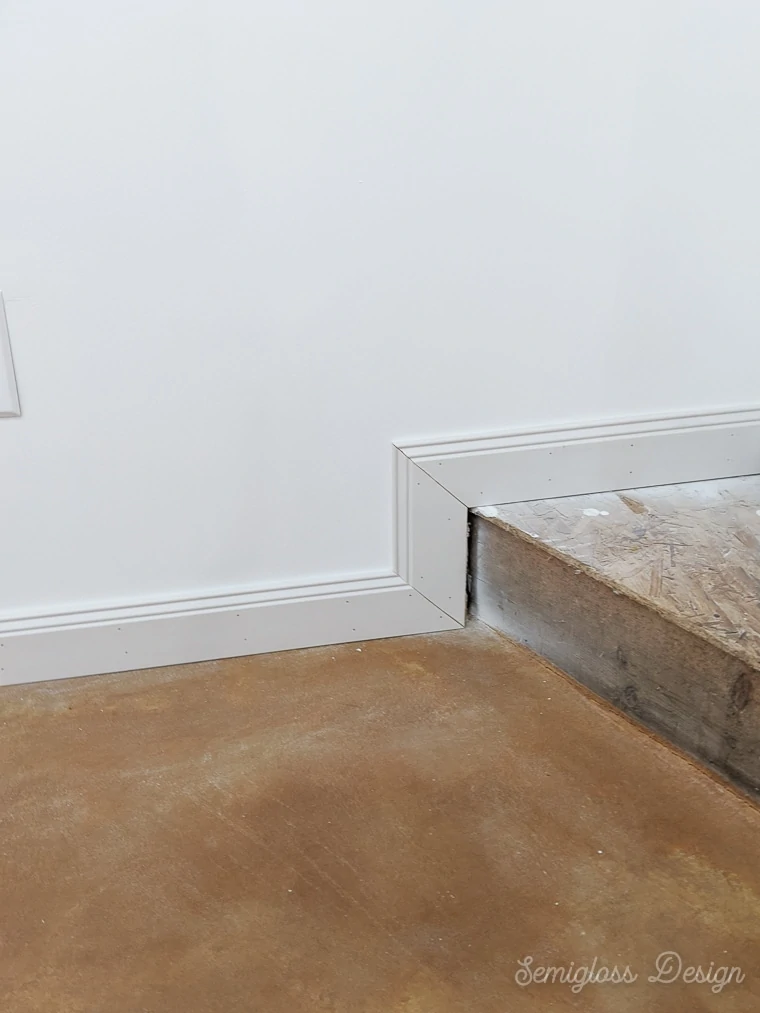
- Start with a long span of the wall. If necessary, cut the trim to fit.

- Corners need to be cut at 45º.
- Be sure to sand the edges where you made the cuts.
- Use a nail gun to install the trim into studs.
- Butt the edges where they meet along the wall.
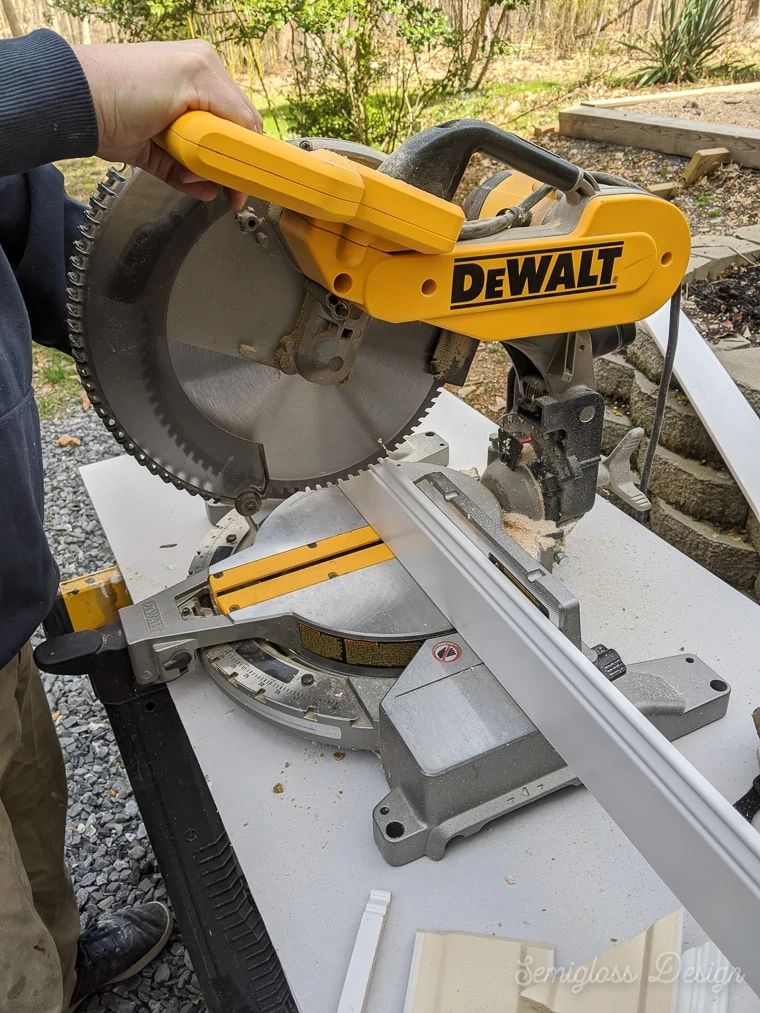
How to Cut Baseboards and Trim
- Use a miter saw for best results. You can also use a saw and a miter box, but it will take a lot longer.
- Use a fresh blade if you’re using polystyrene trim. It still melts the edges a little, but it can be sanded off.
- Trim should be placed against the back edge and cut.
If you have weird spots like this stair edge, you may need to lay the trim flat instead for cuts.
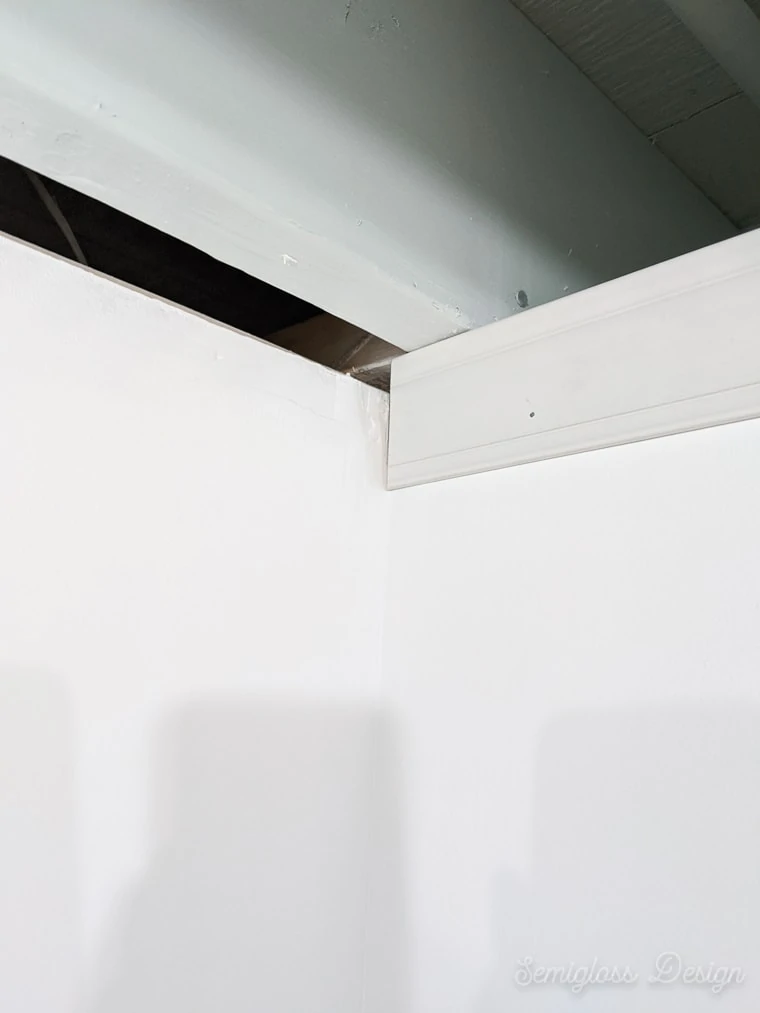
Faux Crown Molding for an Unfinished Ceiling
We wanted a way to cover the drywall edges, but our unfinished basement ceiling meant that we couldn’t do traditional crown molding. Traditional crown molding is installed into the walls and ceilings, with the trim sitting at an angle.
We used wood window casing trim instead, turned upside down. It creates the illusion of crown molding and looks nicer than the jagged drywall edge.
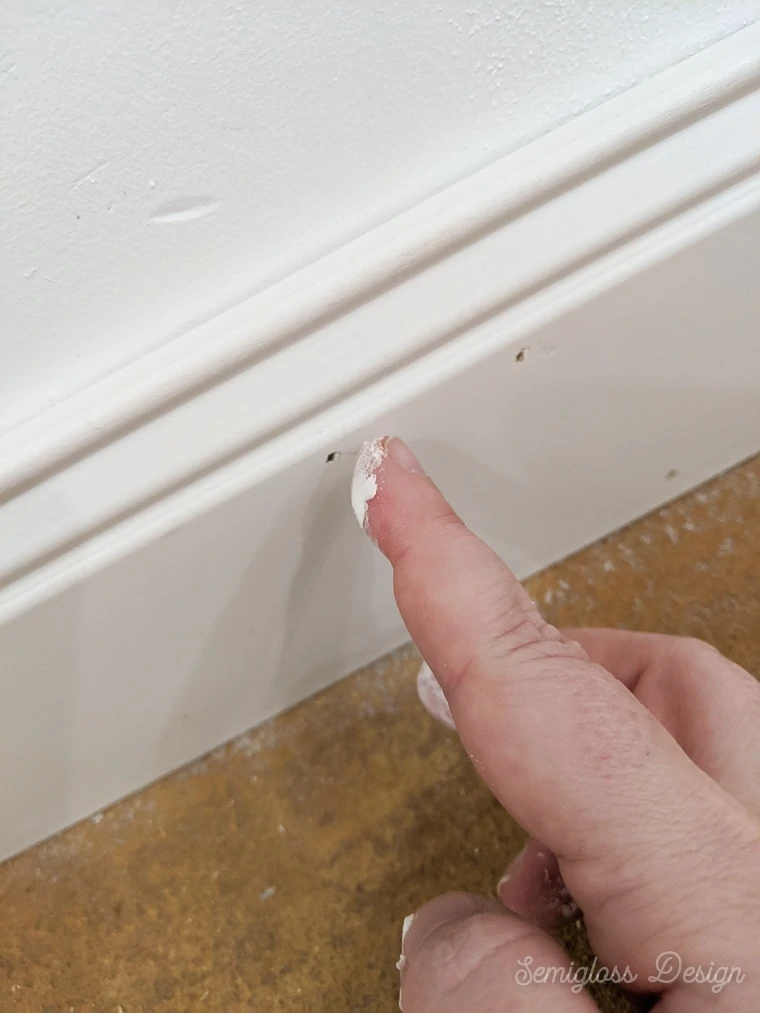
How to Finish Trim
Caulk and spackle are the ways to make a DIY job look professional. A good caulk job will not be noticeable, but a bad caulk job will be.
- Fill each nail hole with spackle and let dry.
- Use spackle to fill where one piece of trim meets another piece of trim.
- Sand each spot.
- Use a caulk gun to fill where the wall meets the trim.

- Smooth the caulk as you go with your finger. (Use paper towels to wipe the excess caulk on.)
- Let dry.
- If needed, apply a 2nd coat of caulk, smoothing as you go.
- Let the caulk dry and paint as desired. Semigloss paint is best for most trim.
Caulk Tips
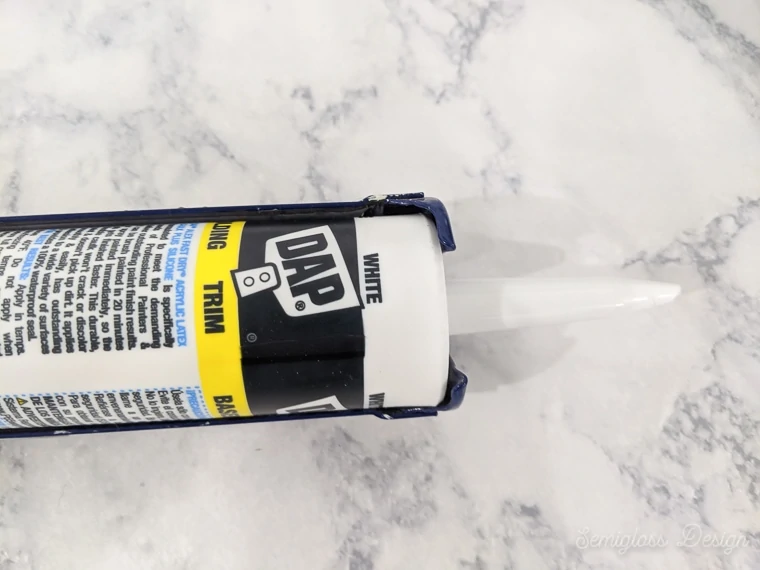
- Do not use the cutter on the side of the caulk gun to open your caulk. The hole will be WAY too big and you will just make a mess.
- Instead use a utility knife to cut a small opening, at an angle.
- Hit the stop lever after each line of caulk.
- Dried caulk can not be fixed, so smooth as you go. It cannot be sanded smooth, only removed.
- Dipping your finger in cold water before smoothing can prevent the mess on your fingers.
- An opened bottle of caulk will not keep, even with caulk caps.
- Dried caulk needs to be sealed with paint or it becomes an un-cleanable dust magnet.
Be sure to check out the finished basement craft room!
You might also like:
- Installing Drywall in a Basement
- Tips for Mudding and Taping Drywall
- How to Paint a Room for Beginners
Pin for Later!

Emy is a vintage obsessed mama of 2 DIYer who loves sharing affordable solutions for common home problems. You don’t need a giant budget to create a lovely home. Read more…