The Ultimate Guide to Staining a Basement Floor
Staining a basement floor is an easy and affordable way to update concrete.
I recently refinished my basement floor with a fresh coat of concrete, so it was time to stain. I love concrete stain because it’s incredibly affordable and an easy DIY for homeowners.
Even if you’re not that handy, staining a concrete floor is pretty easy.

This post contains affiliate links. By purchasing an item through an affiliate link, I earn a small commission at no extra cost to you. As an Amazon Associate I earn from qualifying purchases.
Staining Concrete FAQs
Why is stained concrete a good choice for a basement?
Basement floors are often prone to water issues, which makes typical flooring options a bad choice.
Concrete stain is durable and can’t get damaged from water or moisture, until carpet and wood.
It also won’t flake over time, like paint.
What is the difference between painting and staining a concrete floor?
Paint sits on top of the concrete, while stain soaks into the concrete. This means that paint can get scratched and can peel. Stain can’t get scratched, so no upkeep is needed.
Paint comes in any color you want, but acid stain comes in a limited selection.
Paint can be slippery when wet (though there are additives for the paint to make it less slick). Concrete stain doesn’t make the surface slippery unless you choose a high gloss or wax finish.
Should You Stain a Floor Before Framing the Walls?
We chose to stain the floors before starting on the walls. Since there is a drain in the corner of the room, it made sense to use it to remove the water. Having no walls made the job much easier.
We also didn’t want to chance getting water under the wood.
Stained concrete is pretty sturdy, so framing the walls afterward is not damaging it. We will cover it with paper when it’s time to work on drywall and painting though.
My Color Choice
We LOVE the stained aqua floor in our sunroom, but it creates a blue tint on everything in the room. Since this room will be my video and photography studio for the blog, I need colors to read correctly.
I considered using black and watering it down or even just sealing the concrete, but I worried that it would feel too cold. The ceiling is painted SW Sea Salt, a pale aqua color and all of the furniture will be white. Plus it will have 100% artificial light.
So I worried that it would feel too stark. I chose Malay Tan even after our garage floor fail. I love that it adds warmth without being too dark.
If it’s too orange for you, you can tone it down with some green stain. I chose to leave it as it is. Once I add rugs and furniture, it will be the perfect background color.
Staining a Basement Floor
Supplies Needed
- Concrete Stain (I used Malay Tan)*
- Neutra Clean
- Plastic Sprayer Tank**
- Water Hose
- Push Broom
- Concrete Sealer
- 1/4″ Roller Cover
- Extension Pole
- Roller
*We used 2 gallons total of stain for a room that’s about 300 sq feet. Each coat used 1 gallon.
**It’s very important that the sprayer be 100% plastic with no metal pieces. The acid stain can react to the metal.
Steps for Staining a Basement
- Clean the Floor
- Let it Dry
- Apply Stain
- Let it Dry
- Apply 2nd Coat of Stain
- Let it Dry
- Clean Floor
- Let it Dry
- Apply Sealer
- Let it Dry
- Apply 2nd Coat of Sealer
Cleaning the Concrete Floor Before Stain
We skipped the cleaning part, because we had just applied fresh concrete. Cleaning the concrete is a great idea though. It neutralizes the concrete to get it ready for stain.
Just spray on a 1:1 mixture of water and neutra clean, add water, scrub a bit with a push broom and rinse.
Our basement has a drain in it, so we directed all the water to the drain. However, a shop-vac also works well if you don’t have a drain.
Let the floor dry before applying stain.
Staining the Concrete Floor
Fill a sprayer with a 1:1 mixture of stain and water. Be sure to use a sprayer that contains no metal.
Spray the floor working around the edges first.
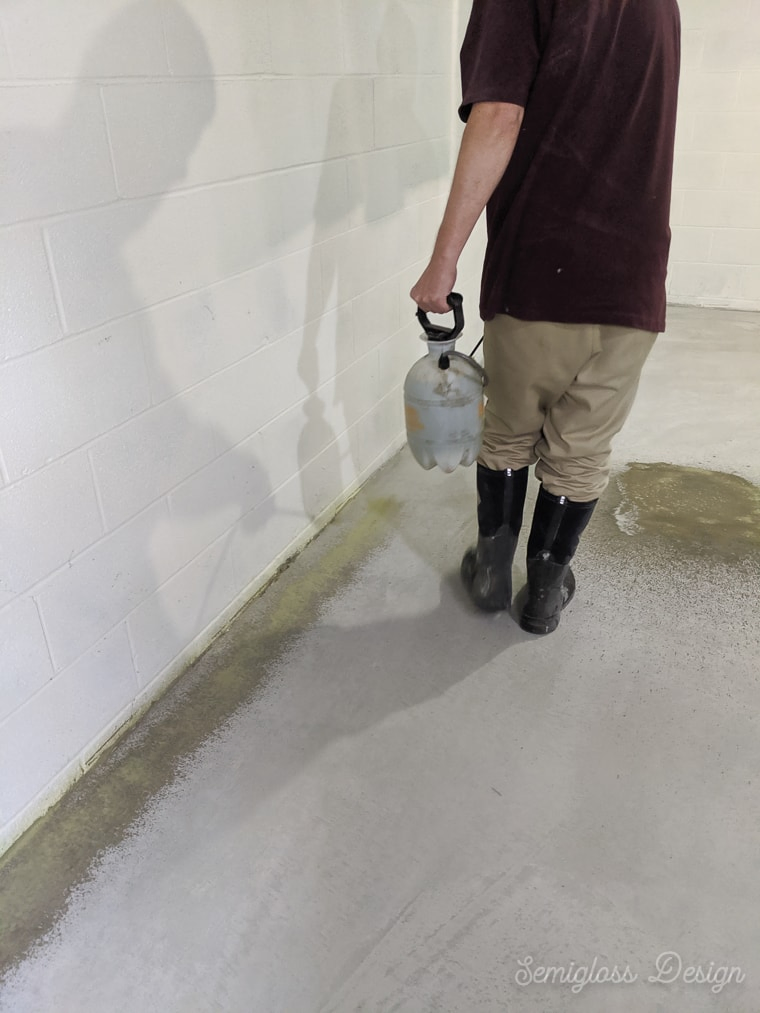
If you have walls or other objects that you don’t want to get stain on, use cardboard to mask the area when spraying.
Spray in a varied pattern to avoid a striped pattern.
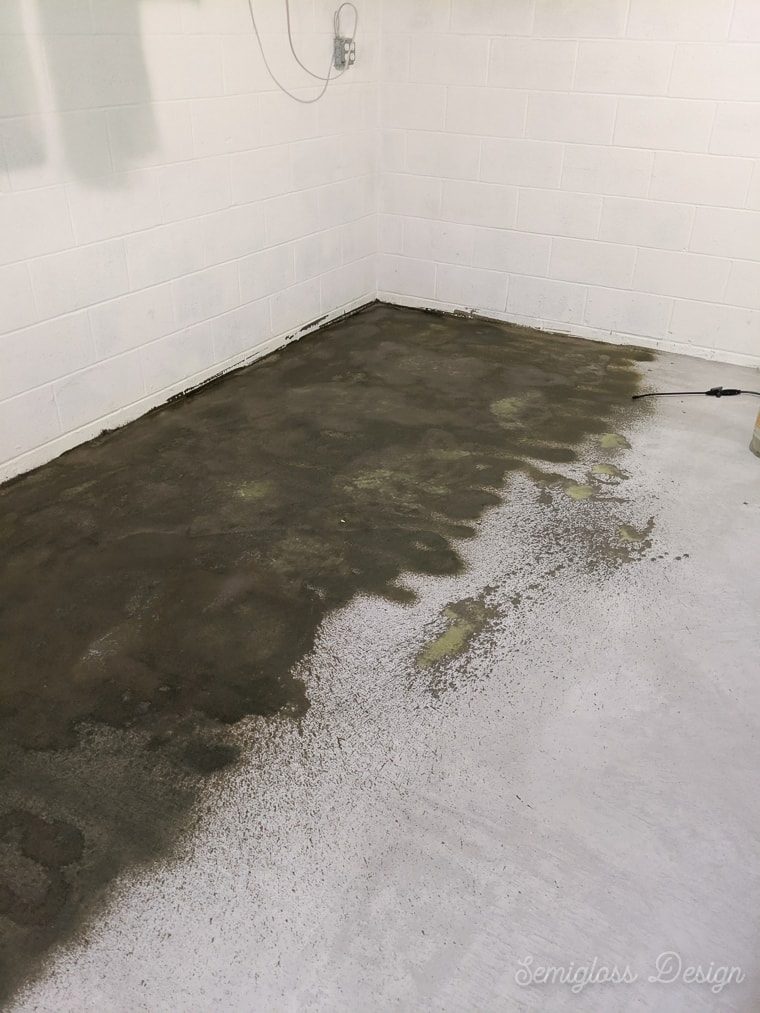
When we were done, we sprayed a random pattern all over it, letting some areas pool up. The variation is what makes it beautiful.
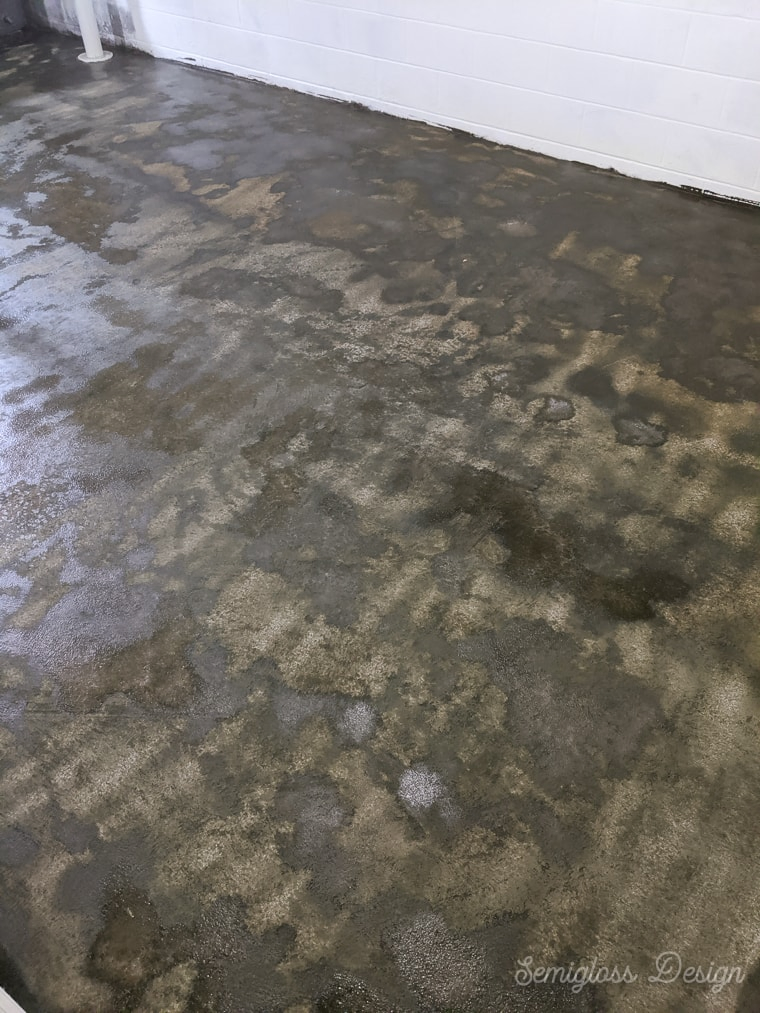
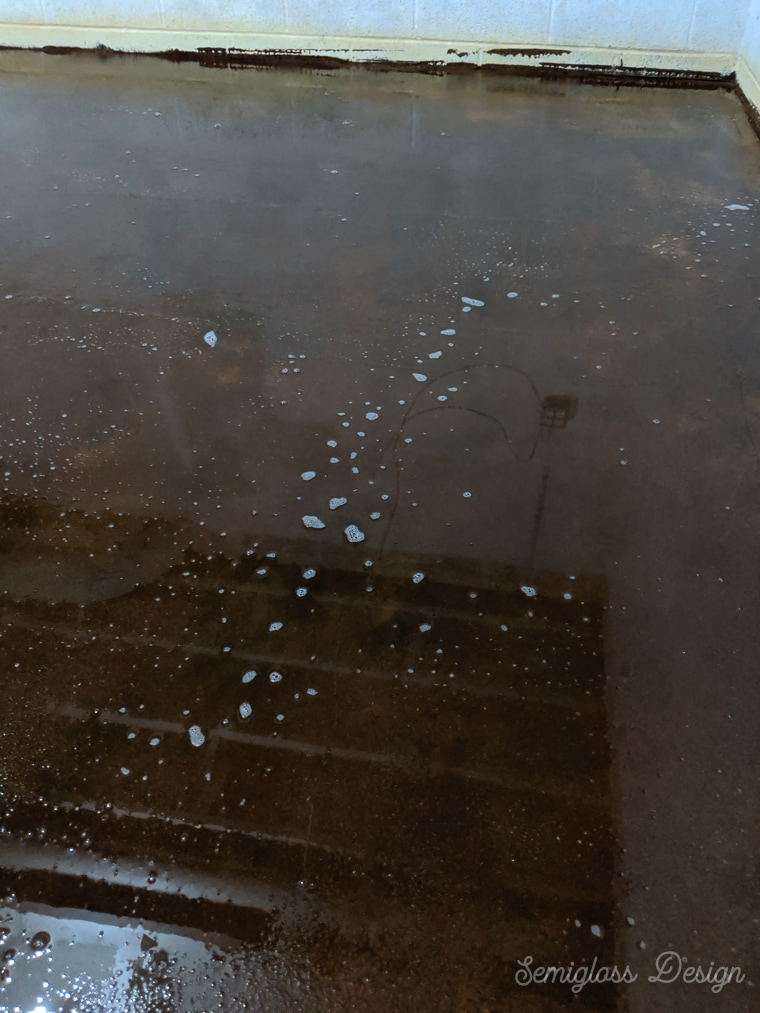
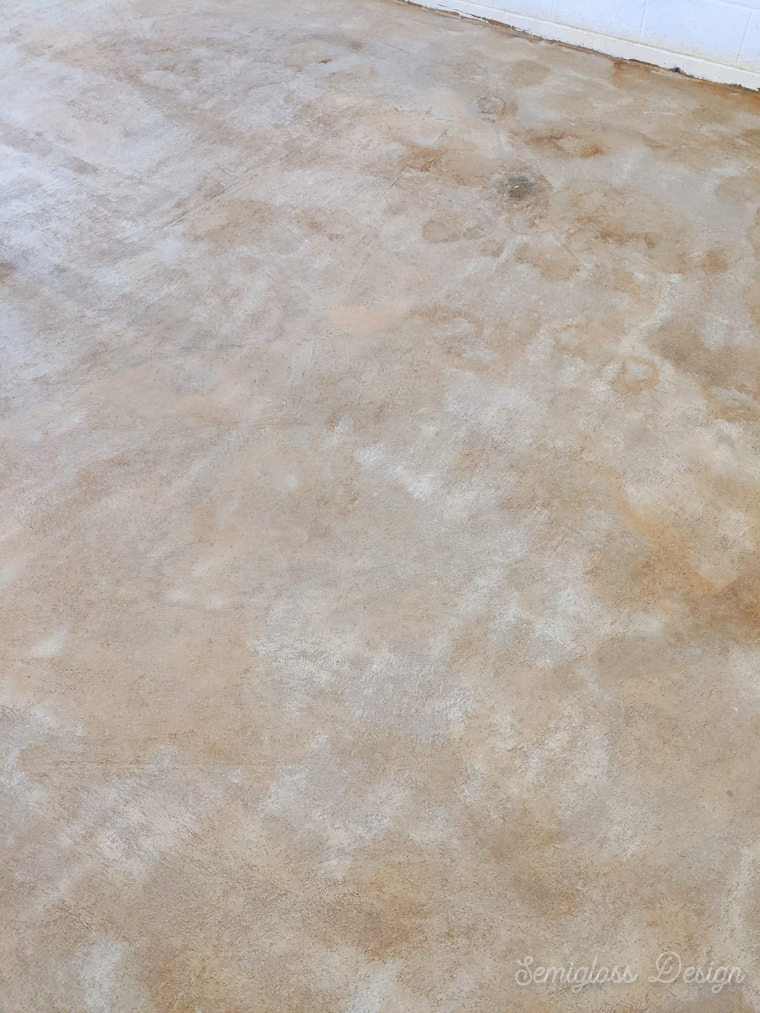
It’s normal for the stain to change color as you work. It might look clear when you start and turn really dark. The color will lighten when it dries and then lighten more when you clean it.
Let the stain dry. It takes about a day to completely soak in, especially where it’s applied thicker.
Applying a 2nd Coat
When the floor is dry, you can apply the 2nd coat. Apply it in the same way, making sure to vary the pattern and amount when you spray.
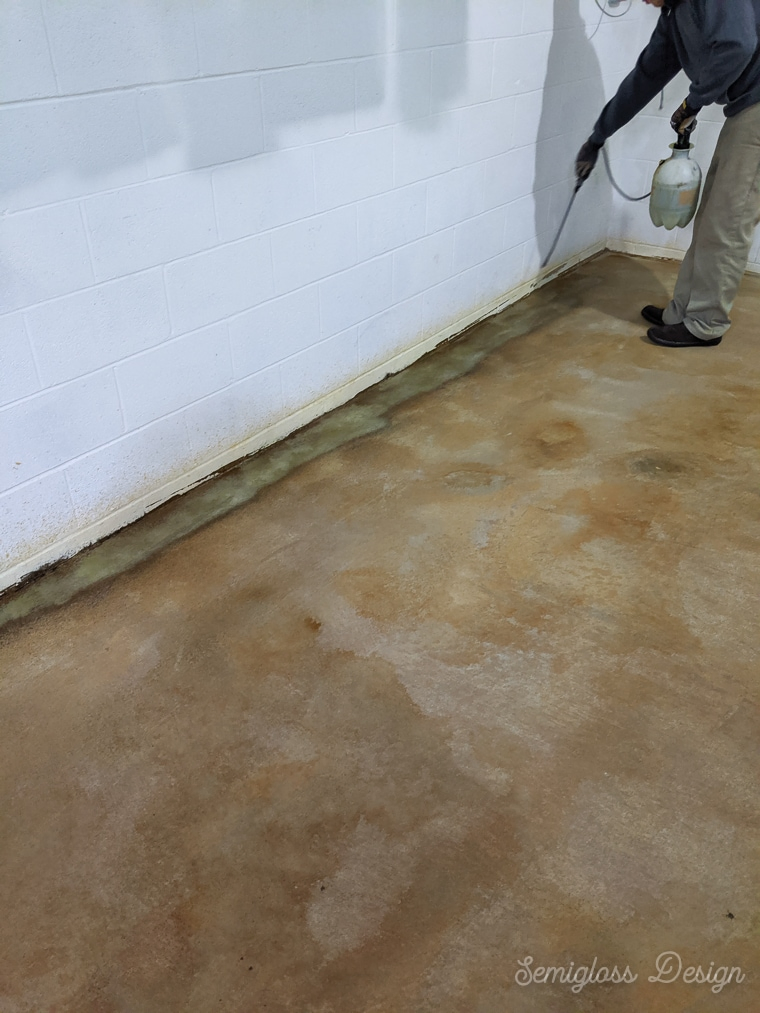
Let it dry completely. It may appear appear very dark in this step, but don’t worry. The color will lighten when you clean it in the next step.
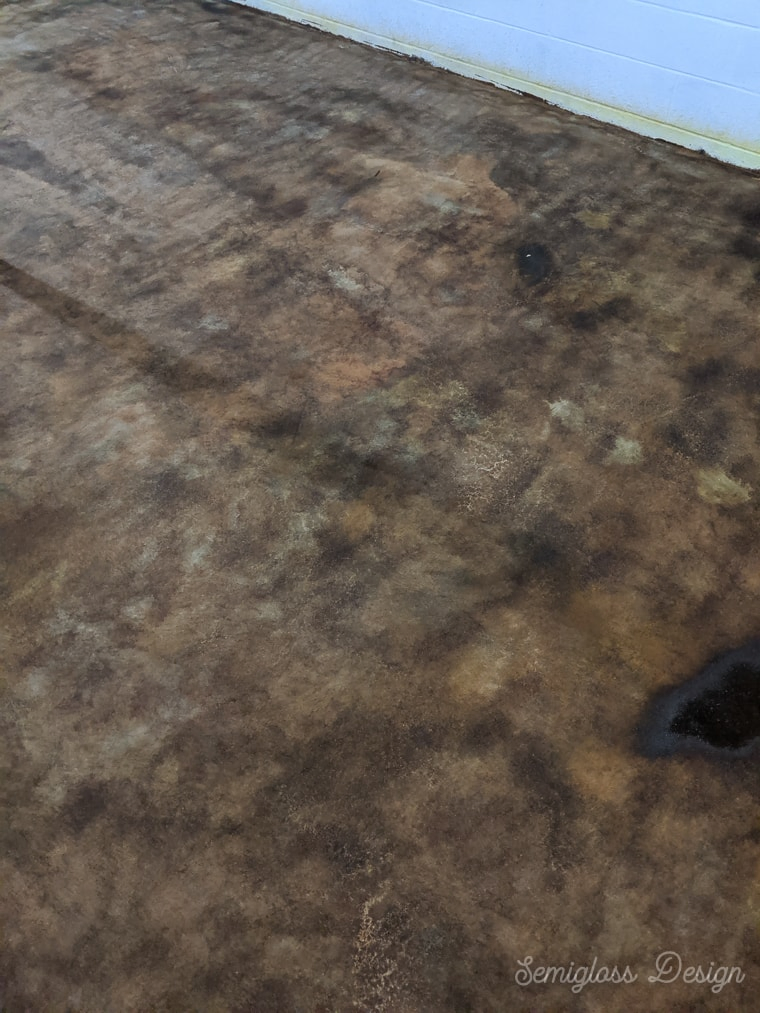
Cleaning the Stain
This is probably the step that takes the longest.
It’s a good time to see if there are any cracks along the edge of the basement floor. Be sure to seal those when the floor is dry.
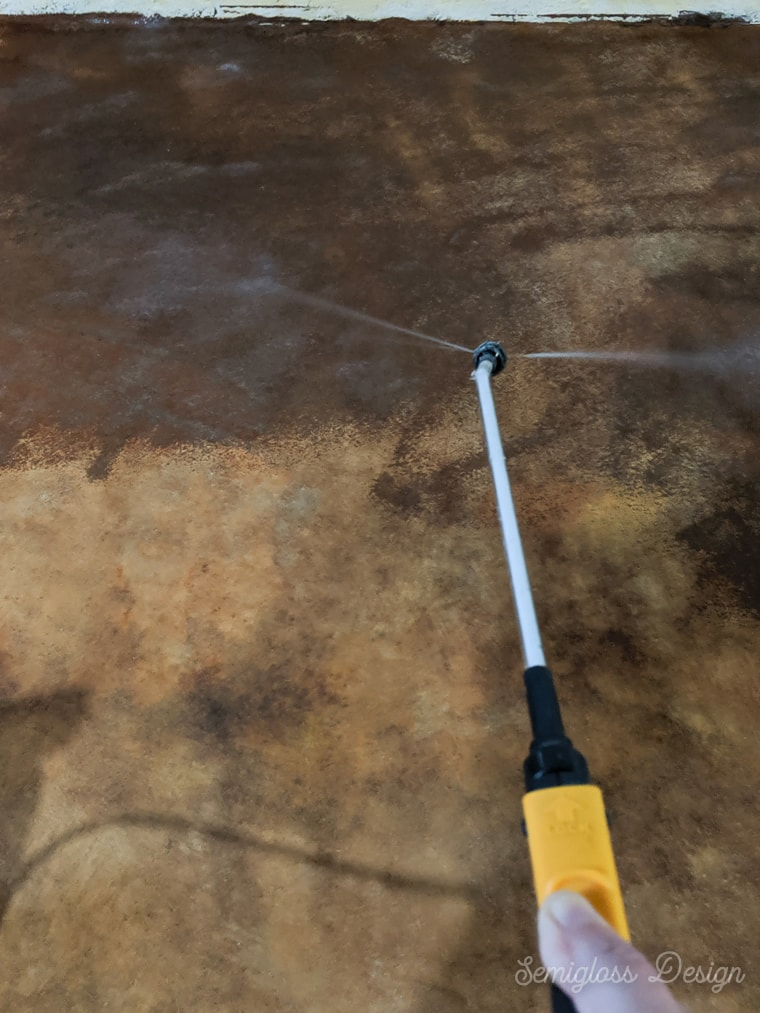
- Spray a mixture 1:1 Neutra Clean and water onto the floor.
- Spray the floor with water.
- Scrub with a push broom, paying attention to the edges where more stain rested.
- Rinse the floor and remove the water as you go.
- Keep washing the floor until it’s you no longer see colored water. The floor should be clean when you wipe it with a white towel.
- Let the floor dry.
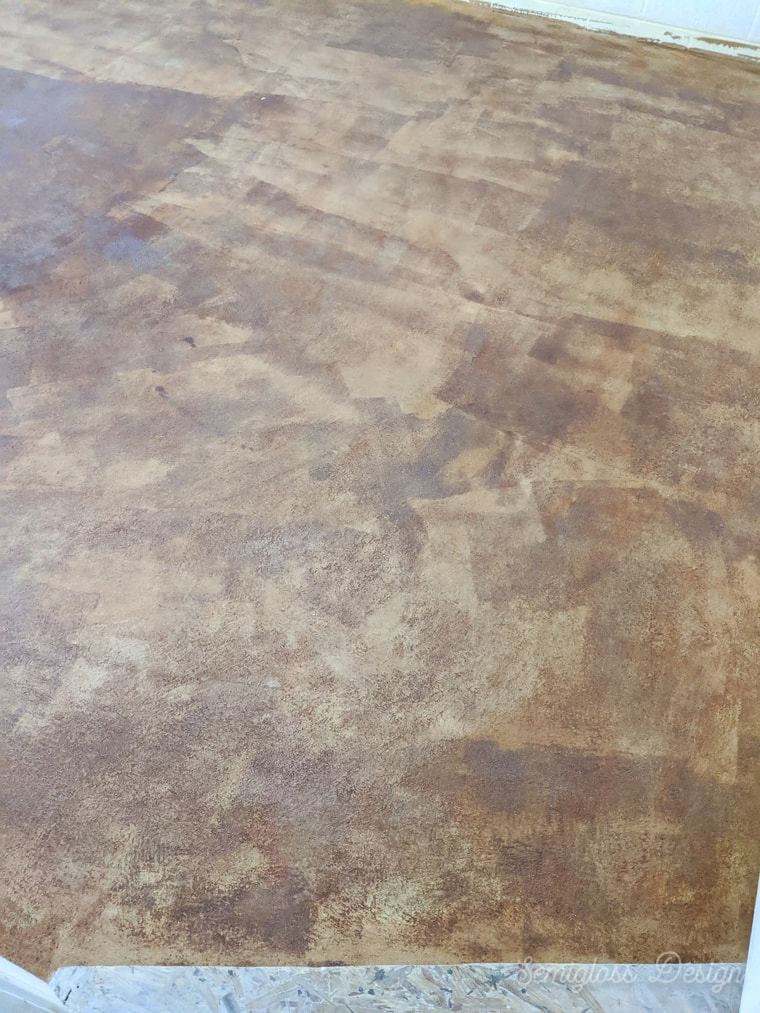
Applying the Clear Sealer
The 1st coat of sealer takes longer to apply because the concrete soaks up the sealer. The 2nd coat goes so much faster.
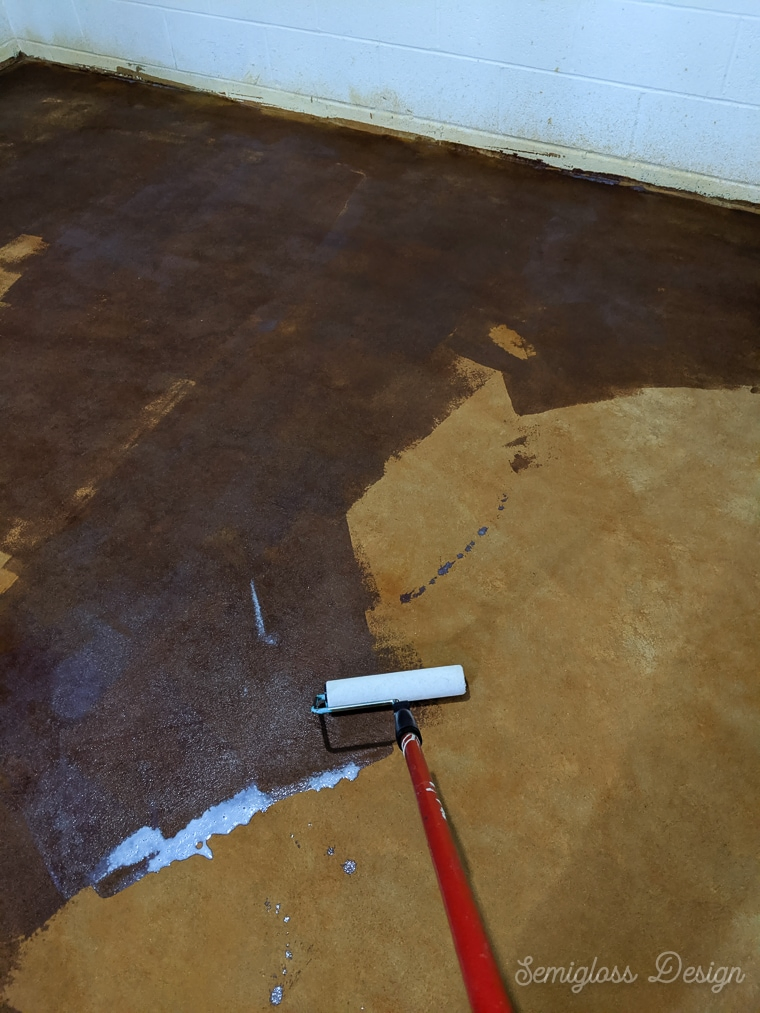
- Use a low nap roller to apply a clear coat to the floor.
- Roll it on using an extension pole.
- If you already have walls, the edges need to be painted with a paint brush. (Our edges will be covered with walls eventually, but we got as close to the edge as possible with the roller.)
- Let it dry. It’s safe to re-coat it after about 4 hours.
- Apply a 2nd coat and let dry.
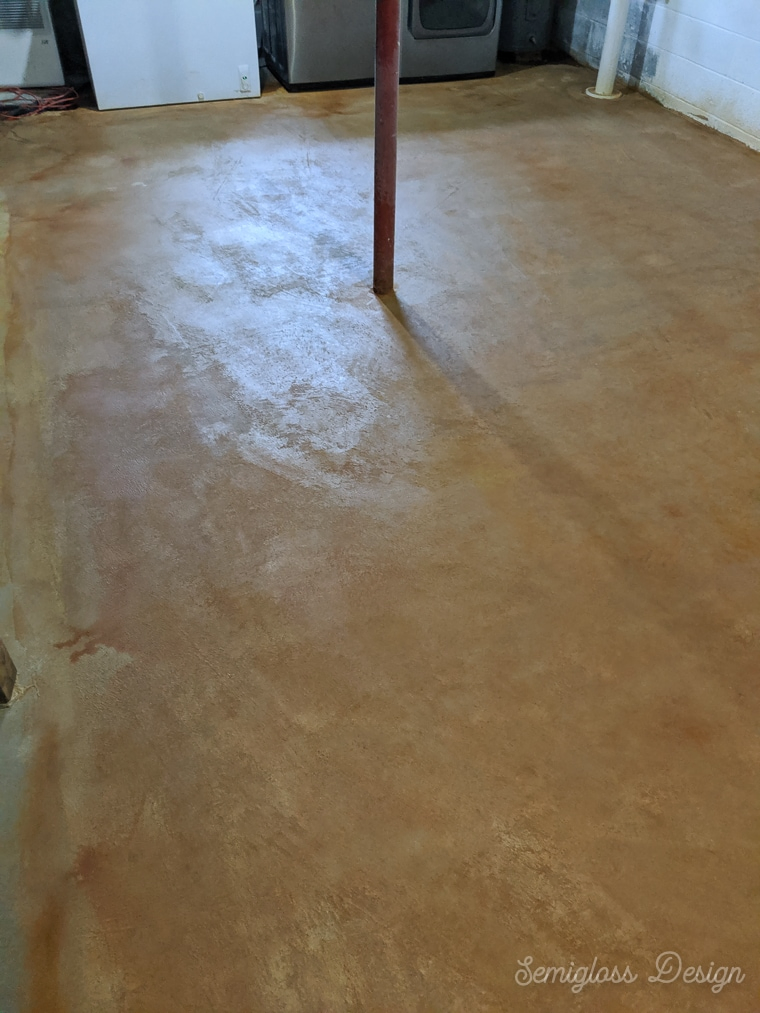
The floor needs to dry for 24 hours before you can walk on it.
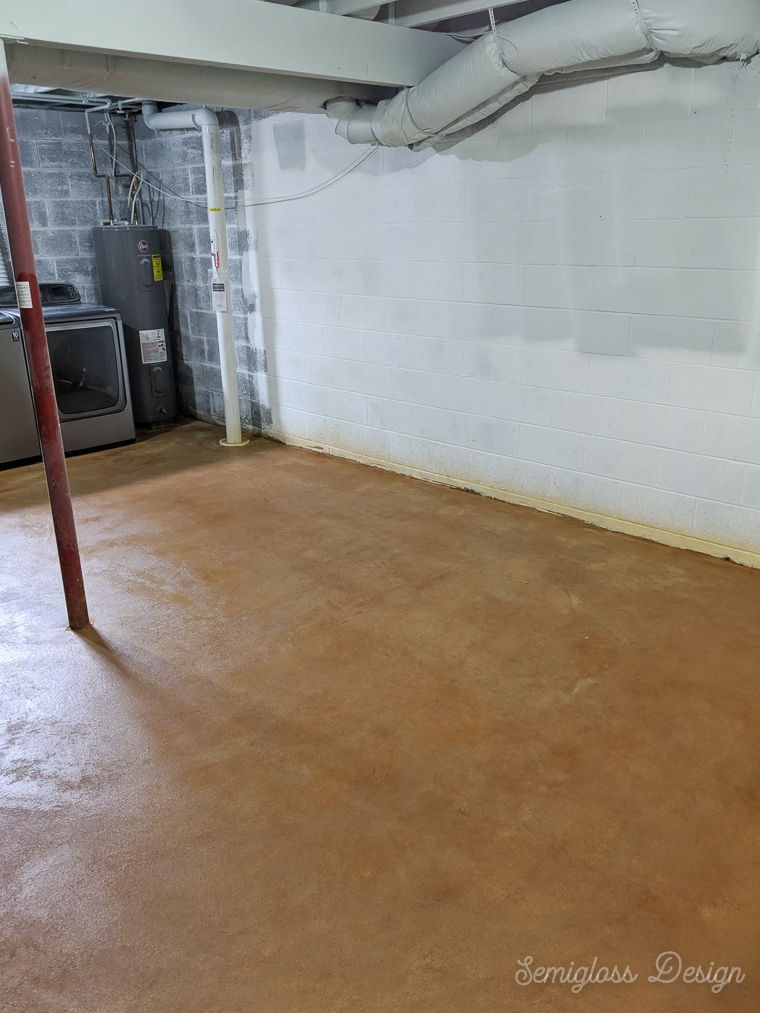
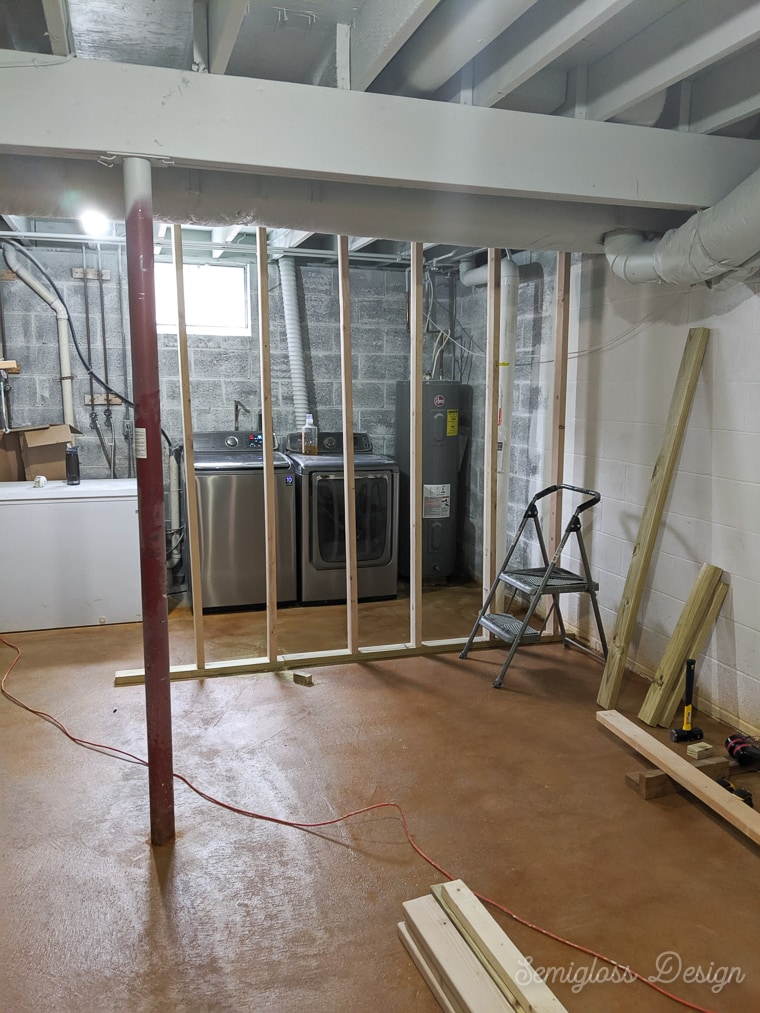
Sneak peek of current progress:
You might also like:
Pin for Later!

Emy is a vintage obsessed mama of 2 DIYer who loves sharing affordable solutions for common home problems. You don’t need a giant budget to create a lovely home. Read more…


