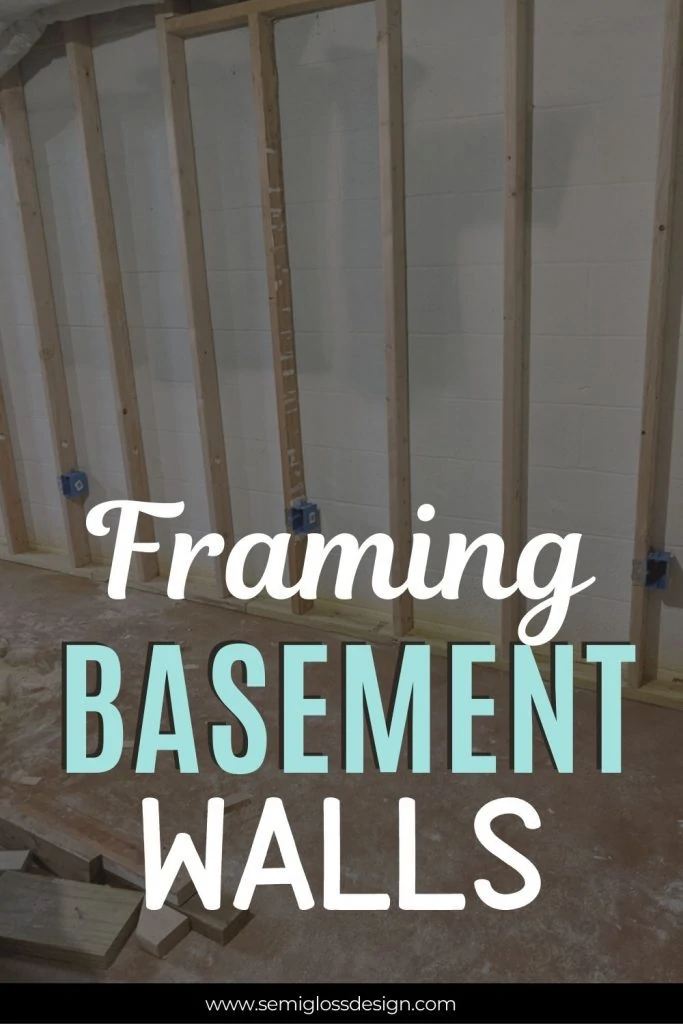
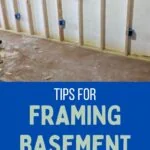
Tips for Framing Basement Walls
Framing basement walls is the first step for building a room in a basement. Learn our tips for building walls.
One of the most exciting parts of our basement renovation is seeing the walls go up.
We decided on a layout in the planning stage of the basement, but seeing the walls come to life has been so much fun.
I don’t want to do a full tutorial on how to frame basement walls because code varies so much depending on where you live.
Today, I’m sharing some basics for framing a basement.
This post contains affiliate links. By purchasing an item through an affiliate link, I earn a small commission at no extra cost to you. As an Amazon Associate I earn from qualifying purchases.
Basement Framing Basics
Suggested Supplies
- Pressure treat 2x4s
- 2x4s
- Level
- Hammer
- Rubber mallet
- Miter saw
- Nailgun and air compressor
- 1″ Auger bit (the screw tip works better than a typical paddle bit)
- Corded Drill
- Single shot powder actuated hammer tool
- 2″ Drive pins (nails for hammer tool)
- .22 Caliber powder loads
- Ear protection
As with all building projects, it’s important to start with straight lumber. Inspect every single 2×4 that you buy to get the straightest wood possible.
Cheaper 2x4s are usually more warped, so we head straight to the higher-quality 2x4s to save time.
Get my DIY freebies
All of My DIY Printables in One Place
Sign up for my newsletter and get access to my library of free printable resources and building plans.
Tips for Framing Basement Walls
Framing the walls took much longer than I anticipated. Spraying the ceiling, refinishing the concrete, and staining the floor were all such quick projects, so I was surprised at how long it took.
If this is your first time, just know that you might not even finish an entire wall in one day.
Getting Started
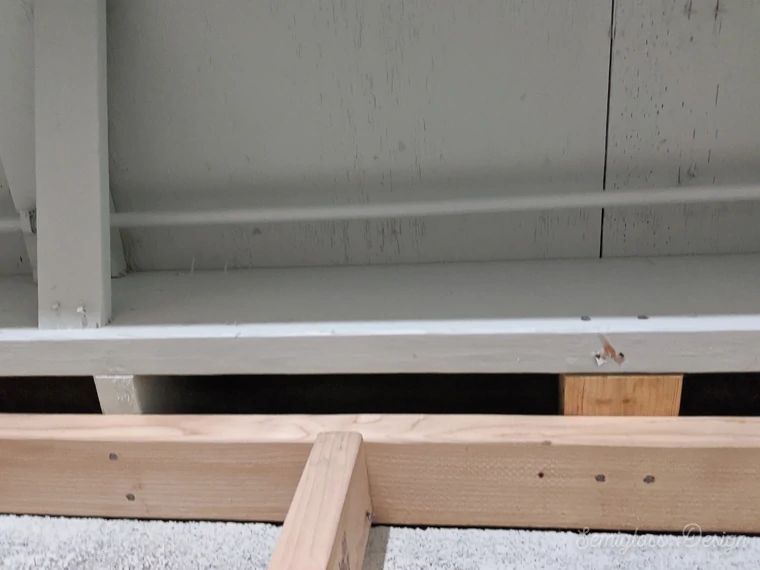
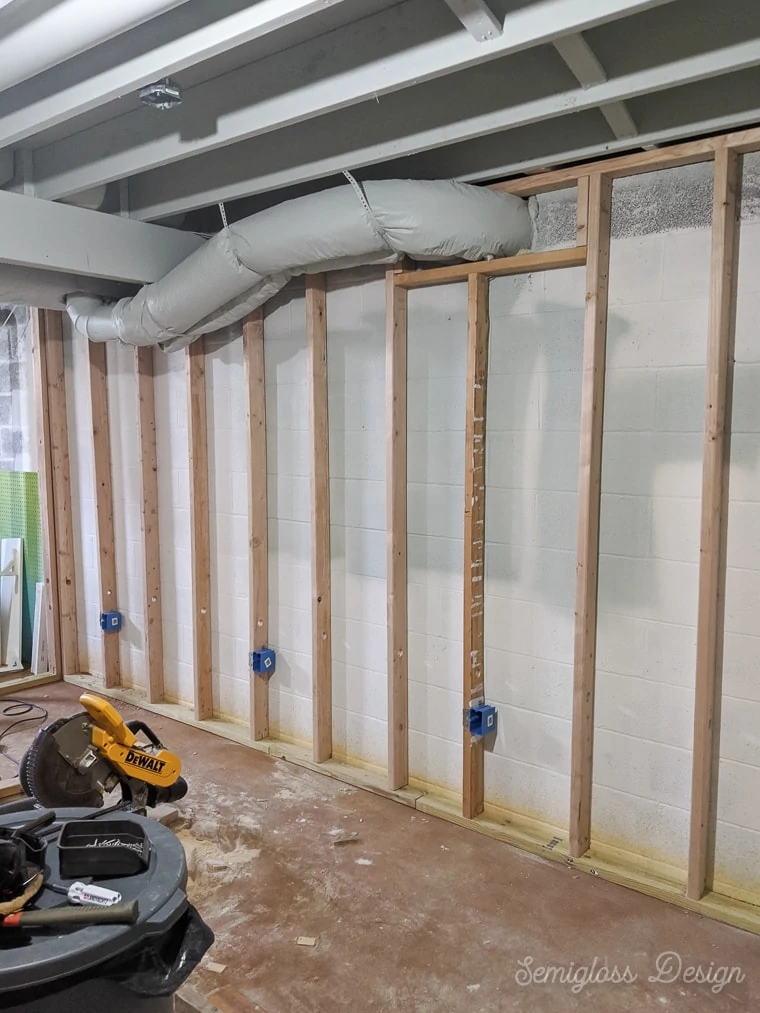
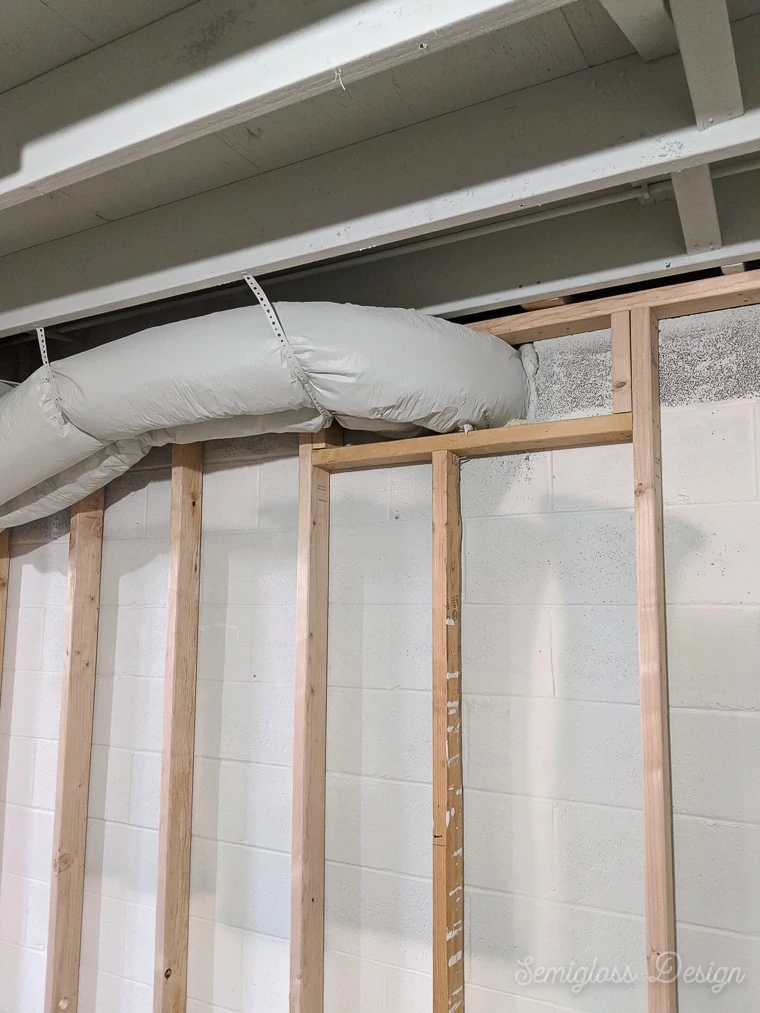
- We started by adding blocking to the ceiling joists for attaching the top plate to. These are 2×4 scraps that are cut to size and toe-nailed into place. (These pieces were not visible once we added the drywall, but if you can see yours, they might need to be touched up with paint later.)

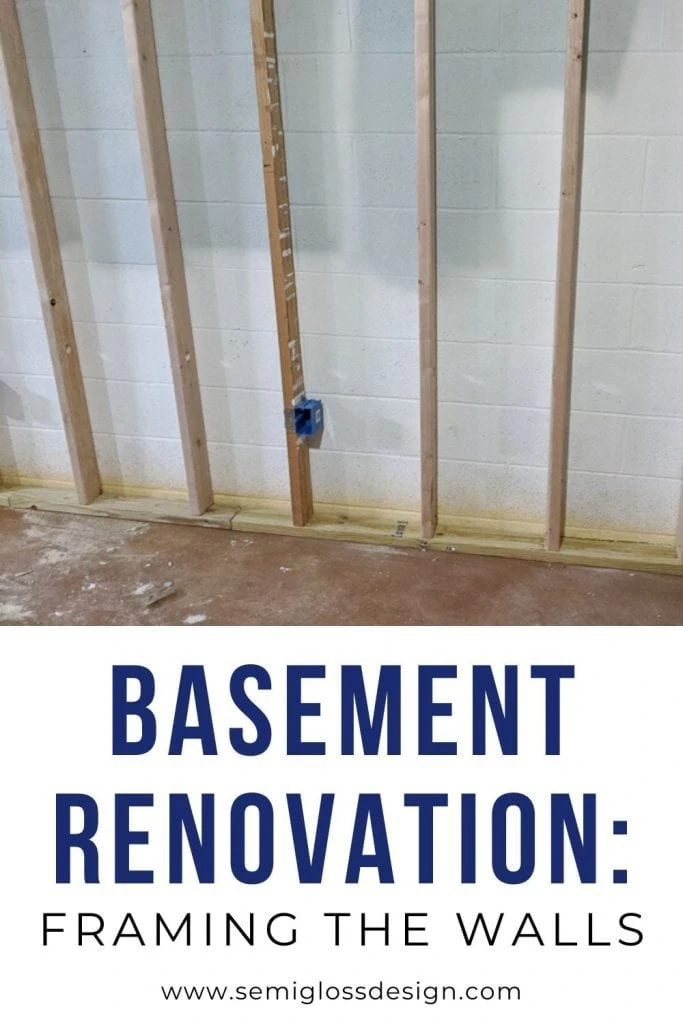
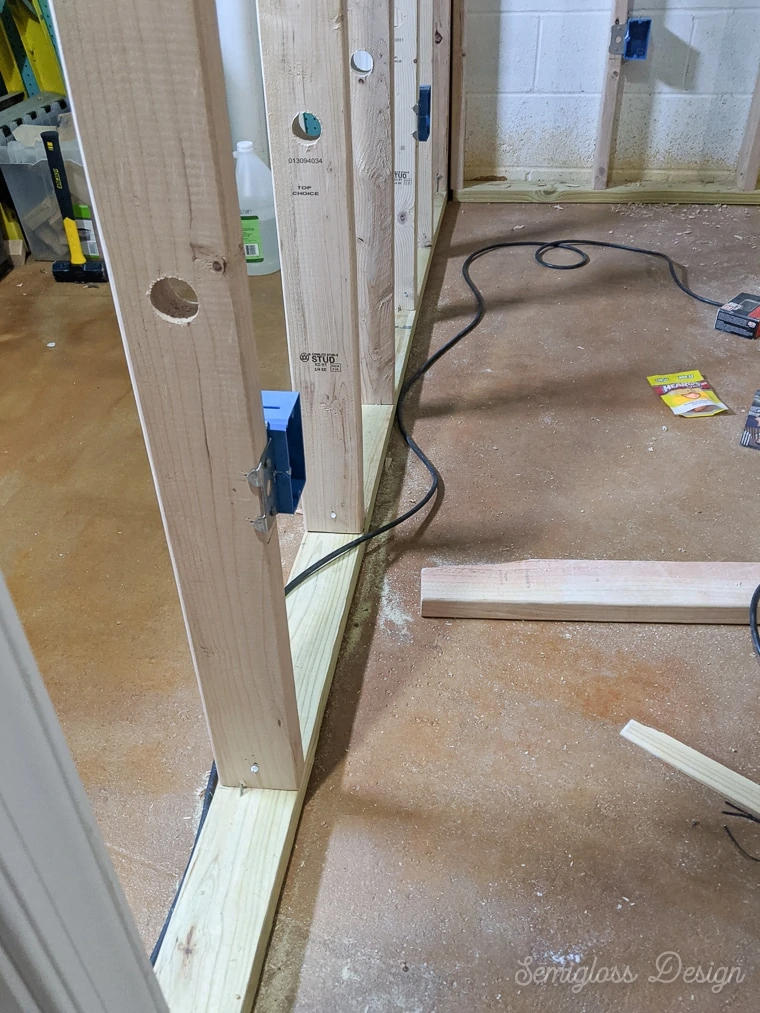
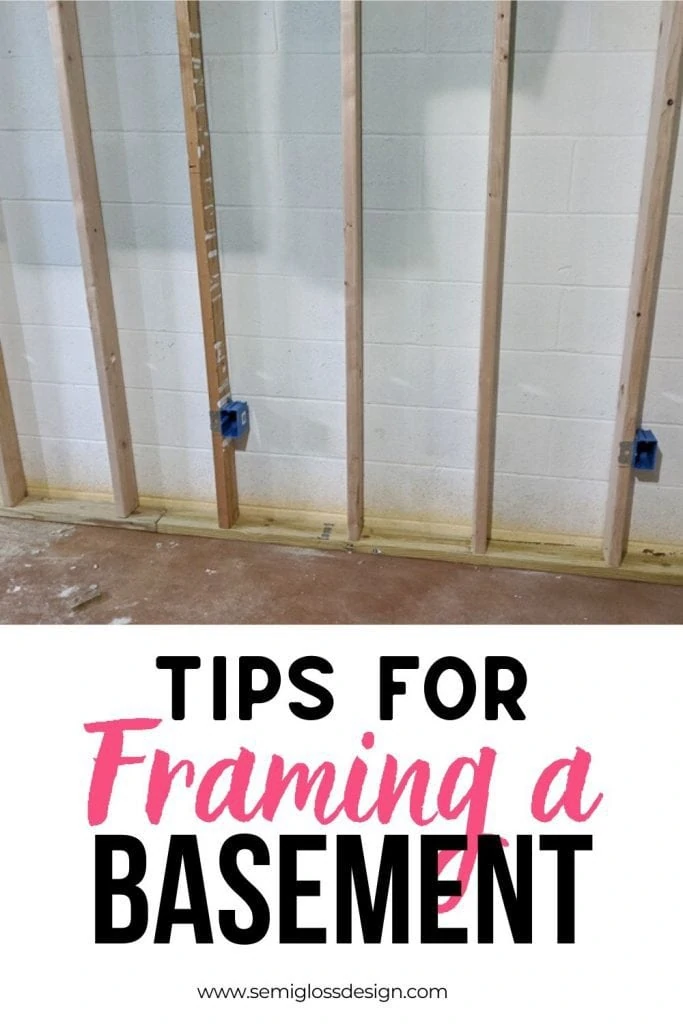
- Before we placed the studs, we pre-drilled them for electrical wires to run through. Holes are placed 20-24″ from the ground.
This makes the job so much easier. We bought a corded drill and these bits. Even though we have nice battery-powered drills, we needed the extra bit of power from a corded drill to get through all of the studs.
Framing Basics for Building a Basement Wall
- Studs are placed every 16″. This is really important because the insulation is 16″ wide and drywall is 48″ wide, so placing the studs in the correct place will make your life easier later.
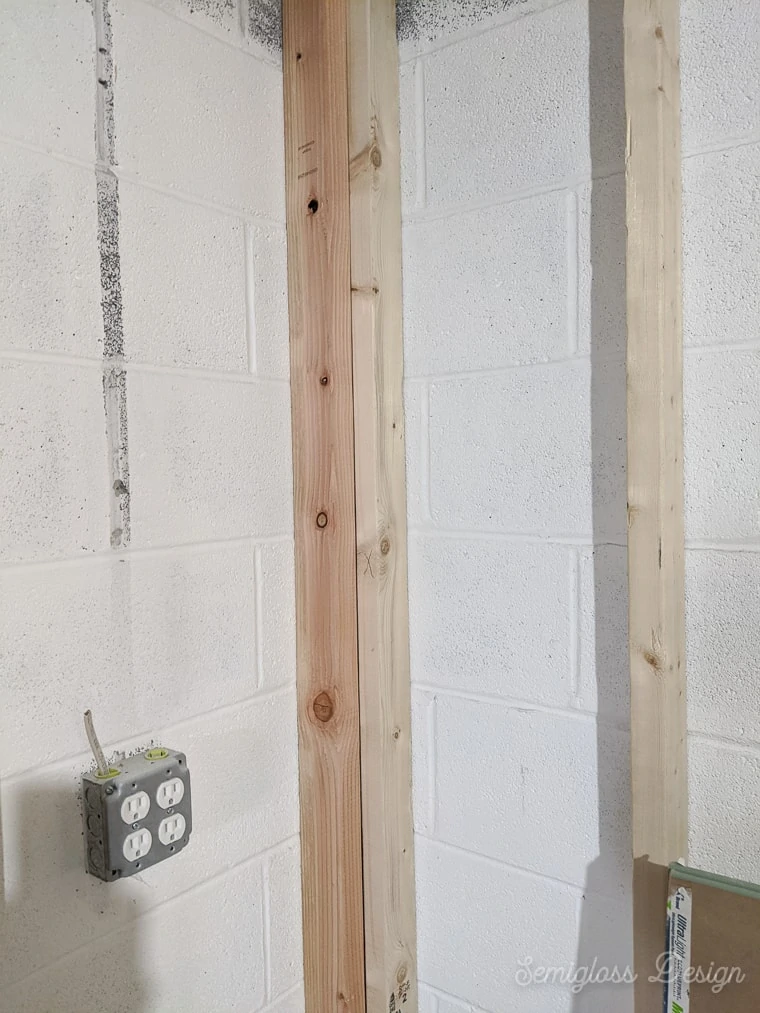
- Use pressure-treated 2x4s for the bottom plates of the wall. Since that piece of wood sits on concrete, it needs to be pressure treated to avoid rot. (Concrete holds moisture.)
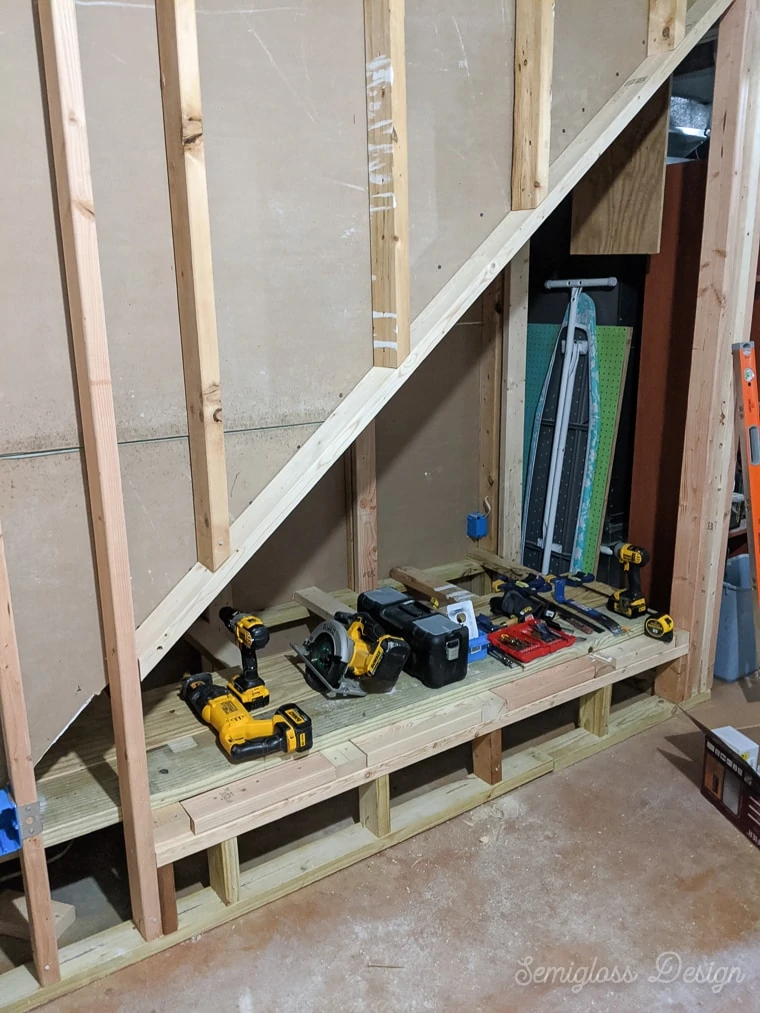
- A lot of tutorials recommend building an entire wall and lifting it into place. That doesn’t work so well in a basement with obstructions like pipes and vents, so we built the wall in place, stud by stud.
- Each stud was cut to the exact measurement and hammered into place. Since it was a tight fit, they were able to stay in place.
This allowed us to place the walls and adjust them where necessary before nailing them in permanently. - A nailgun made quick work of attaching the studs to each other.
- We used an actuated hammer tool to attach the pressure-treated studs to the concrete. This tool uses bullets, but it’s much quieter than I anticipated. Not silent or anything, but just not the loud boom that I thought it would make.
Tricky Details for Basement Framing
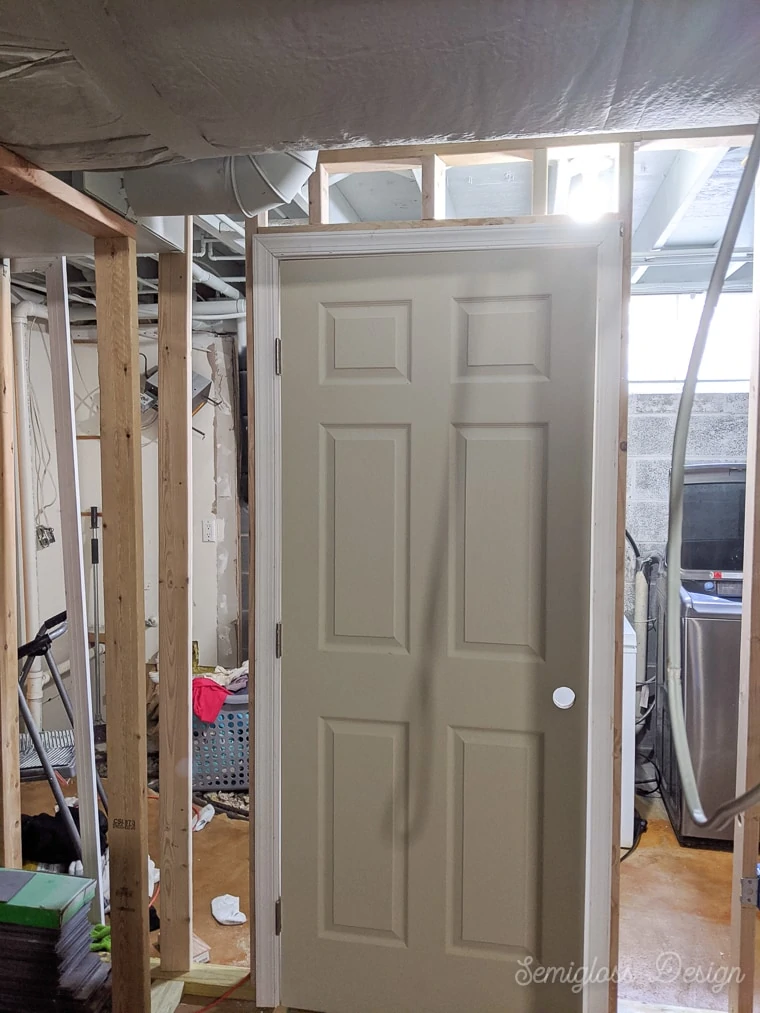
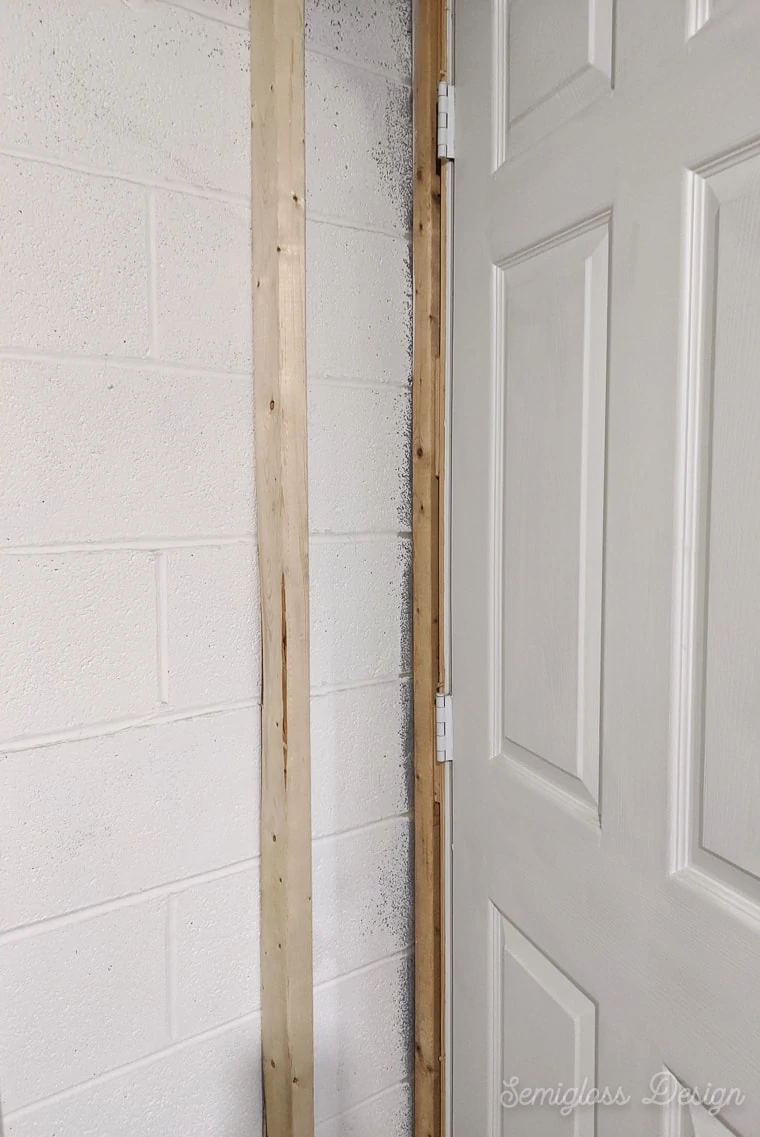
- We added a door to the laundry room area. Since we are new to framing, we built the wall around the door frame structure, leaving space for drywall on the trim.

- Speaking of drywall, the corners have to be built away from the wall in order to have space to screw the drywall into place.
- Due to weird obstructions, some spaces were too small to use a hammer and nails to attach the wood, so we used a driver and screws in those spots.
- One wall needed to be shallow to accommodate an existing door opening, so we used 2×3’s instead of 2x4s. Since this is not a load-bearing wall, it’s within code for our state. Check with your local code.

- A vapor barrier will be installed after the framing. This gives us something to attach it to besides the cinder block walls. Local code for installing the vapor barrier varies depending on where you live, so be sure to look that up.
Electrical work comes next! Then, the insulation installation. Then drywall. I can see a light at the end of the tunnel!
See the finished craft room here!
You might also like:
- How to Paint an Unfinished Basement Ceiling
- How to Stain a Basement Floor
- How to Refinish Concrete in a Basement
Pin for Later!

Emy is a vintage obsessed mama of 2 DIYer who loves sharing affordable solutions for common home problems. You don’t need a giant budget to create a lovely home. Read more…


Great post! I love the detailed tips on framing basement walls. The step-by-step process you provided makes it seem much more manageable. I especially appreciate the advice on moisture control—definitely something I’ll keep in mind for my own project! Thanks for sharing!
Great tips! I never thought about the importance of moisture barriers when framing basement walls. Thanks for sharing your insights; they’re really helpful for my upcoming project!