Tips for Planning a Basement Renovation
Learn my tips for planning a basement renovation.
We started a very exciting project over the weekend: finishing the basement to create a studio for me!
My current workspace is a nightmare to use because it’s the room where we enter the house, so it becomes a mess so easily. It also has skylights, which are lovely, but provide harsh lighting during the best photography hours.
It’s going to take months to finish since we’re doing all of the work ourselves and I plan on writing about the process, decisions and DIY projects as we go.
This is a budget conscious makeover, so if you’re looking for a high end basement renovation, this probably isn’t for you.
But if you have a blank slate of a basement and you’re trying to figure out how to finish it yourself, keep reading.
This post contains affiliate links. By purchasing an item through an affiliate link, I earn a small commission at no extra cost to you. As an Amazon Associate I earn from qualifying purchases.
Planning a Basement Renovation
There are so many things to consider when planning your basement renovation. Here are a few things that we thought about during the planning phase.
Budget
Like I said earlier, a small budget is a major concern for this basement makeover.
We just replaced our HVAC over the summer, so we’re hoping to keep the costs low. This will affect how we finish things like the floor and ceiling, which can really add up.
This also means we will be doing pretty much all the work ourselves.
Budget is always a concern, but I still want it to look good. So stay tuned for creative solutions.
Existing Features in the Basement
Our basement is split by the staircase into 2 portions. Half is pretty much finished (it has a drop ceiling which I hate and could use more outlets and better lighting, but is otherwise finished.)
The other half is cinder blocks and concrete floors. It contains the laundry area and where a bathroom used be. I
t also contains the HVAC and ductwork that is lower in places. Then there’s a structural pole in the center of the room.
Due to a limited budget, we will be working with the ductwork and pole. The laundry and bathroom will be walled off and finished later down the road. Hooray – more DIY posts!
The HVAC will also be walled off and storage will be added under the stairs. Eventually, the stairs need to be refinished as well.
We also have a lot of wonky pipework to consider. This is one of the reasons that we will be leaving the ceiling exposed than trying to cover it.
Local Code Requirements
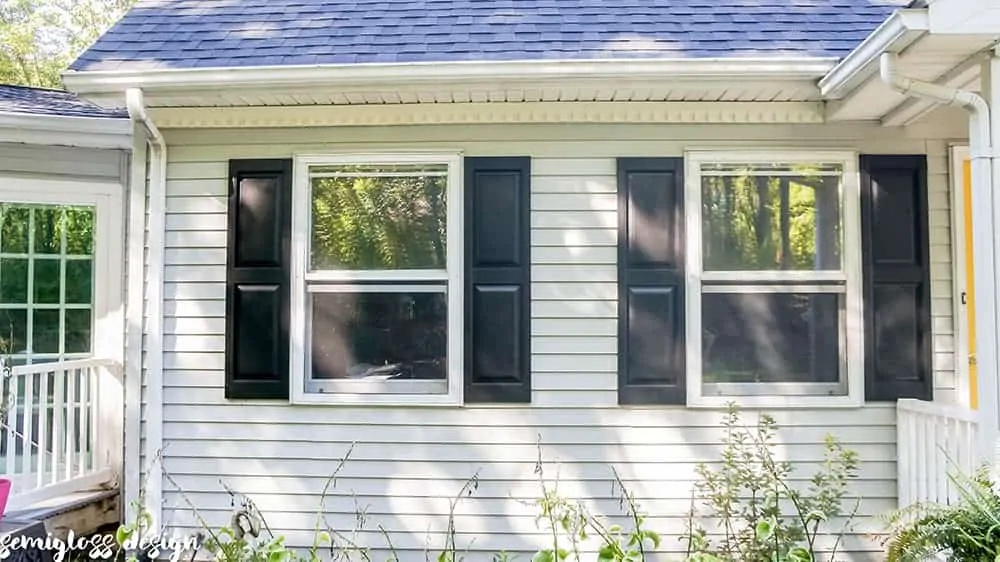
Originally, we wanted to make a bedroom in this area for my teenage son. However, code requirements dictate that we would need an egress window added to the space.
While you can get away with using a space as a bedroom without an egress window, it won’t be considered a bedroom when you sell the house – just something to keep in mind.
What You Want
So we’re making my studio in the basement instead. Here’s the thing though: I kind of hate being in the basement because I really like natural light.
So fantastic lighting is necessary. I need tons of storage and lots of wall space for photographing and filming projects. Plus, space to create.
The room currently has 2 lights for the whole space and 3 outlets, so we’re planning on adding a lot more outlets as well.
Resale Value
While we don’t plan on selling our home anytime soon, it’s a consideration that we need to think about now. Our country home is slowly being surrounded by luxury home neighborhoods, so we have to keep those things in mind as we improve our home.
For instance, I really dream of a VCT floor for the perfect vintage look, but it’s not for most people. So we’re staining it instead.
We talked to a realtor a few years ago and he suggested keeping that room as storage to show that there’s plenty of space.
So with that in mind, we’re keeping the finishes simple enough that it can be used as storage or even a kick-ass teenager hang-out spot – just add tv and x-box!
You might be interested in learning more about how I plan a room makeover.
Need help getting started on a room makeover?
Get my 34- page printable decorating workbook for just $9.97!
Starting a new project is so much easier when you’re organized!
Steps to Finish a Basement
Our steps may look different than yours, so keep that in mind. And this is just the main list. Each step actually has sub-steps.
We’re hoping to be finished sometime in January 2020 (writing this at the end of October 2019.)
Every step will have a post and detail our reasons for each choice.
- Plan everything out.
- Clean room out. (DONE)
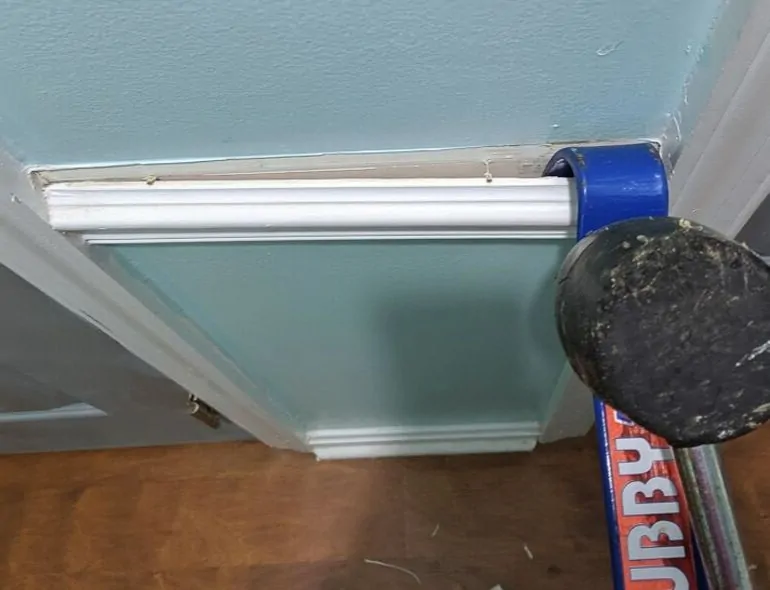
- Demo if necessary. (We had to remove old insulation from the ceiling.) (DONE)
- Clean and get rid of trash/donations.
- Drylock existing cinderblock walls. (Optional)
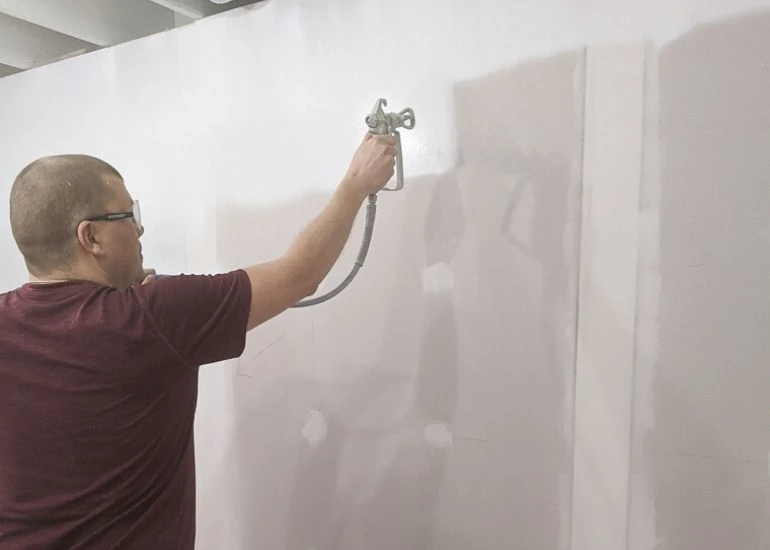
- Spray the exposed ceiling. We’re leaving it exposed for many reasons and I’m really excited about the idea!
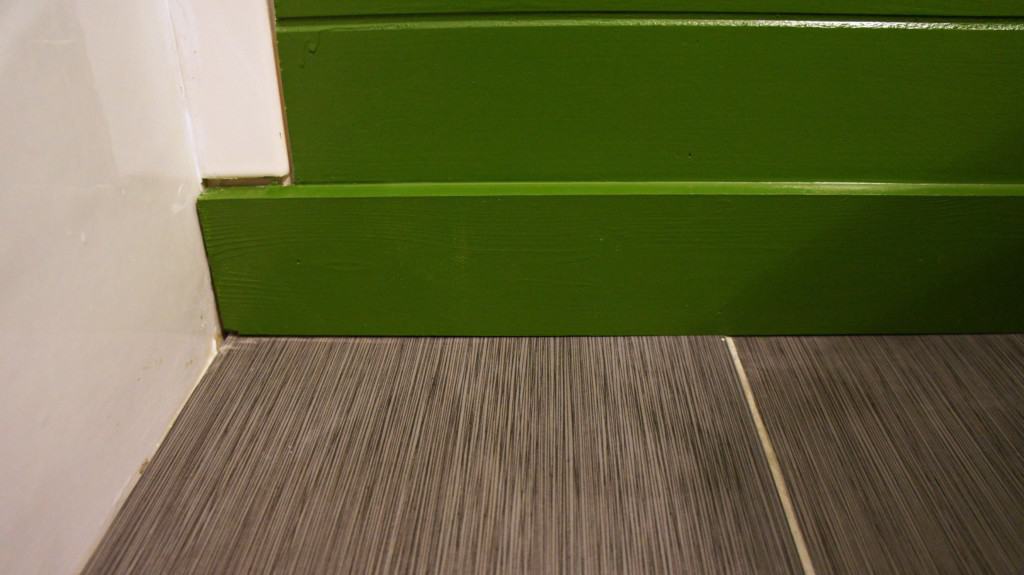
- Stain the floor. I used this same process in my sunroom and garage. It’s affordable and beautiful.
- Frame the walls.
- Insulate the walls.
- Install the electrical outlets and lighting.
- Install drywall and finish it with mud and tape.
- Painting the walls.
- Install trim and baseboards.
- Finishing the walls.
- Decorating. This is the fun part.
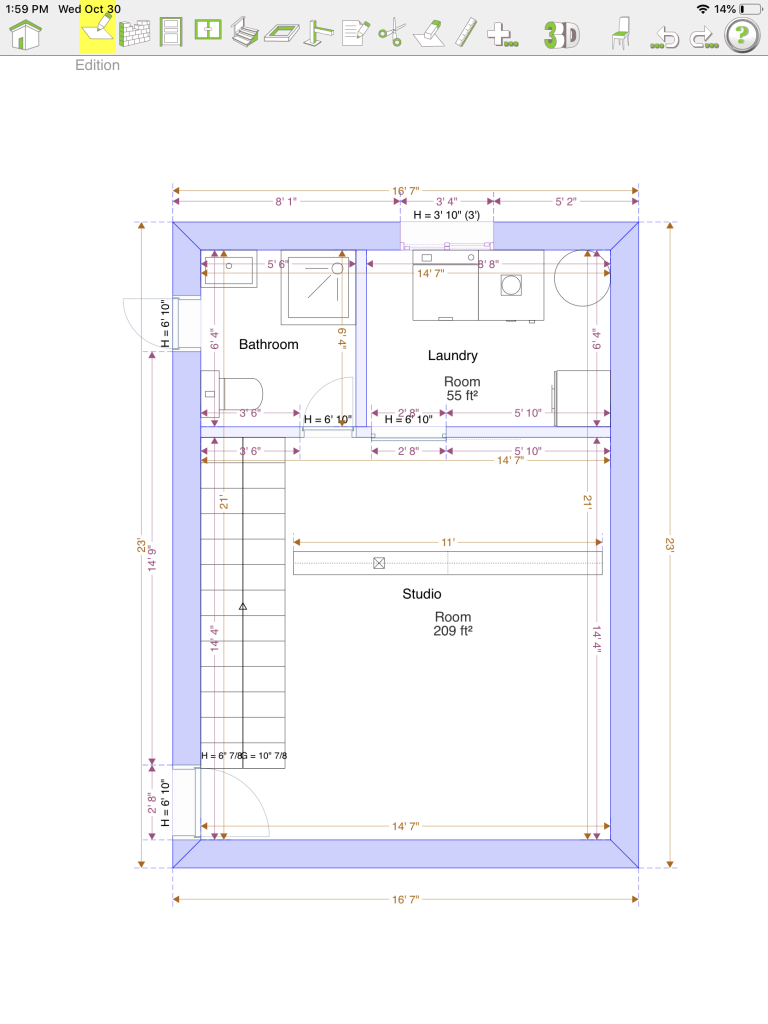
How to Design Your Own Basement Floor Plan
Designing the floor plan has been the hardest part. I bought the Quickplan 3d app for my iPad and it has been very helpful in the process.
Note: It’s worth it to pay for a floor plan app because the free ones come with serious limitations, like having to pay to save your image. Some have upgrades to design with pretty furniture, but I don’t find that necessary. I just want to see the furniture placeholders.
Graph paper is another good way to plan a space, but it can be difficult to make changes as easily.
What I Like About the App
- It works with the Apple pencil, so you can be very accurate with your placement.
- It’s pretty easy to use and change the design. I find it easiest to add and move walls until you’re satisfied. You can easily see what will work or what feels too tight once you add doors.
- It doesn’t rely on the camera to measure the space. (In a basement without walls, I can’t see how that would be very accurate or easy to use.)
What I Don’t Like
- It doesn’t allow you to add electrical information, like switches, outlets and lighting.
- The other thing to be aware of is that the sizes for furniture and objects are a bit off, so measure and adjust to make sure that your washer and dryer are the correct size.
- It’s also hard to perfect nuances, like designing under the staircase. But it’s a good place to start.
A few things to keep in mind as you’re designing your floor plan.
- Clearances. Hallways need to be a certain size.
- Door openings – sizes. For instance, a laundry room door needs to be big enough to get appliances through when they need to be replaced.
- Door openings – which way they open. Our last house had a cluster of doors that all opened into each other, which was a nightmare.
- The space under staircases are perfect for adding shelving, storage or even fun spaces like a dog kennel or playhouse for kids.
My Basement Renovation Design Plans
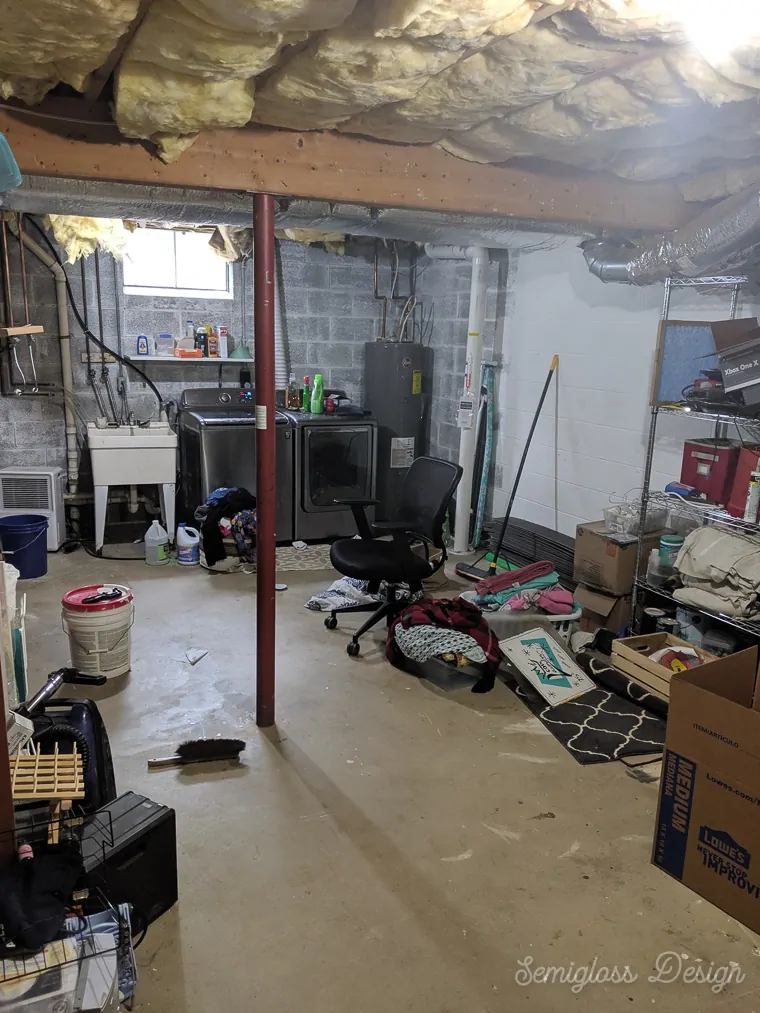
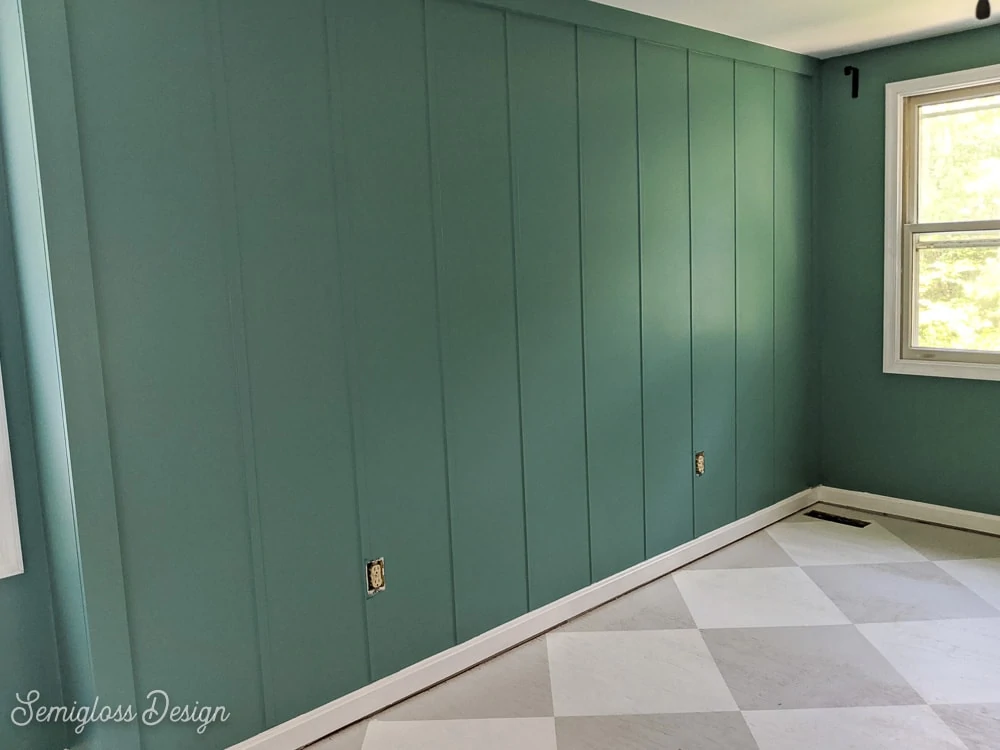
Basement Before
It’s just a big open space, filled with junk. Over the weekend we cleaned it out so that we have a blank slate.
The final details will probably change, but here’s what I’m thinking so far.
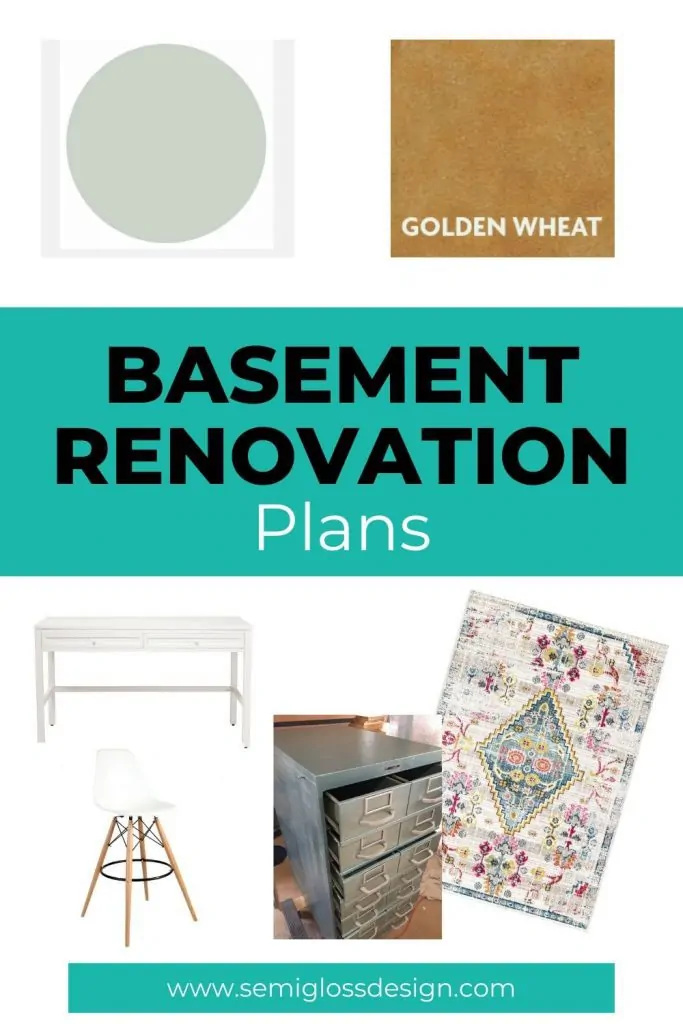
- The walls will be a bright white.
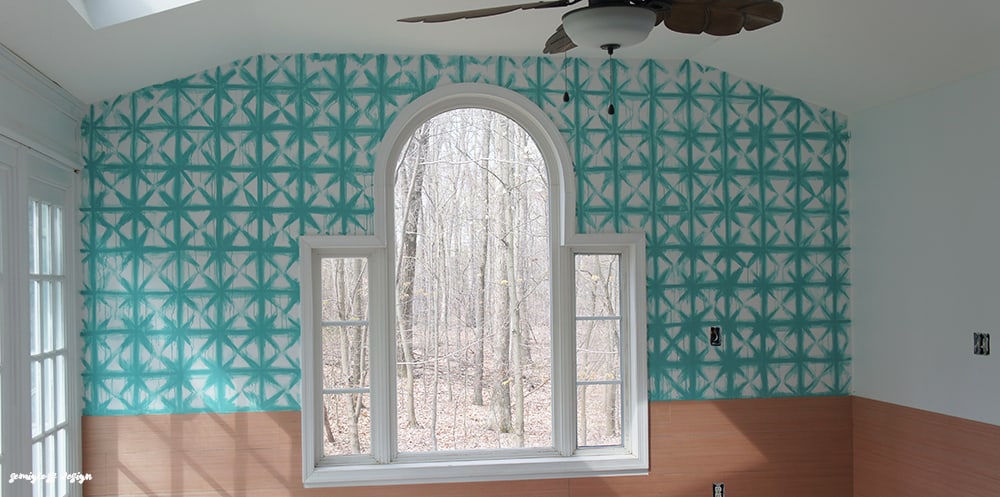
- The ceiling will be sprayed a grayish aqua blue. Gray covers better than white, but isn’t as dark as black. The color shown is SW Sea Salt, but that still needs to be tested. Aquas are hard to get right because the bright ones almost seem neon in bad lighting.
- Stained floors.
- Furniture will be a mix of existing Martha Stewart craft furniture, vintage pieces and IKEA.
- A colorful, busy patterned rug or 2 to soften the space and provide a warm spot for my dog to hang out near me.
- I’m also considering adding some sliding doors to save space. Think barn door, but modern.
- Lighting will be recessed.
You might also like:
Pin for Later!

Emy is a vintage obsessed mama of 2 DIYer who loves sharing affordable solutions for common home problems. You don’t need a giant budget to create a lovely home. Read more…
Thanks for sharing this article, I am planning to renovate my basement.