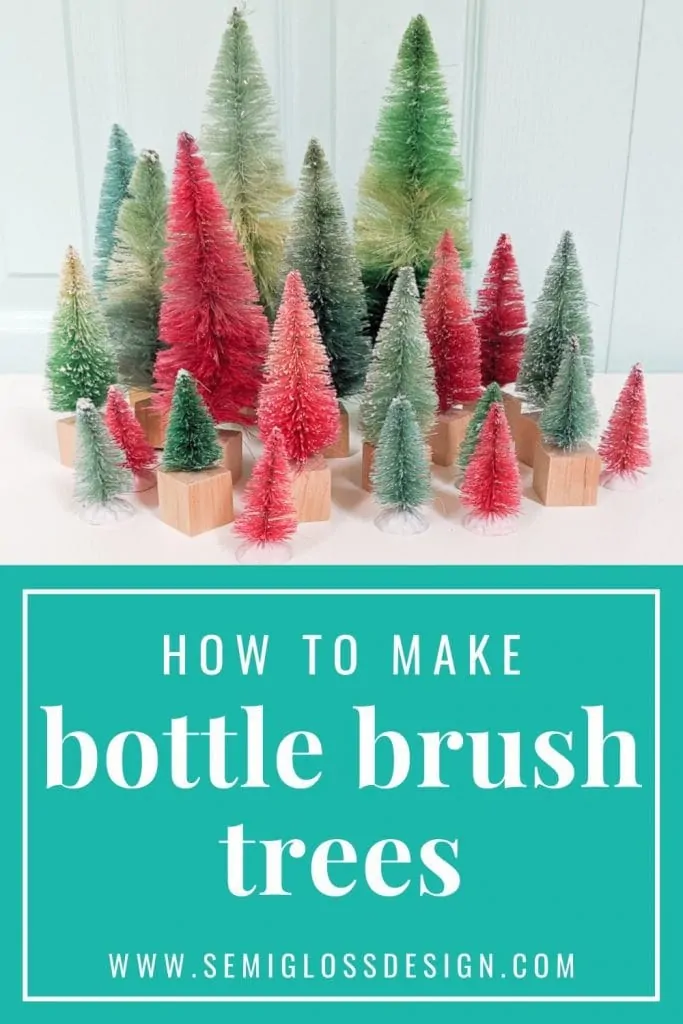
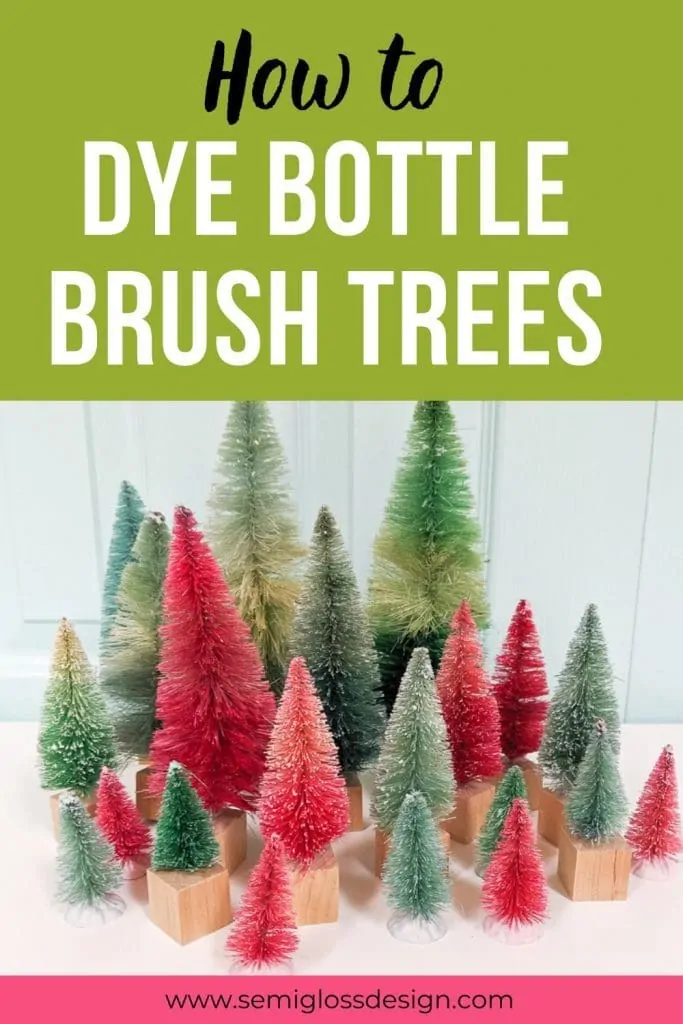
How to Make DIY Bottle Brush Trees
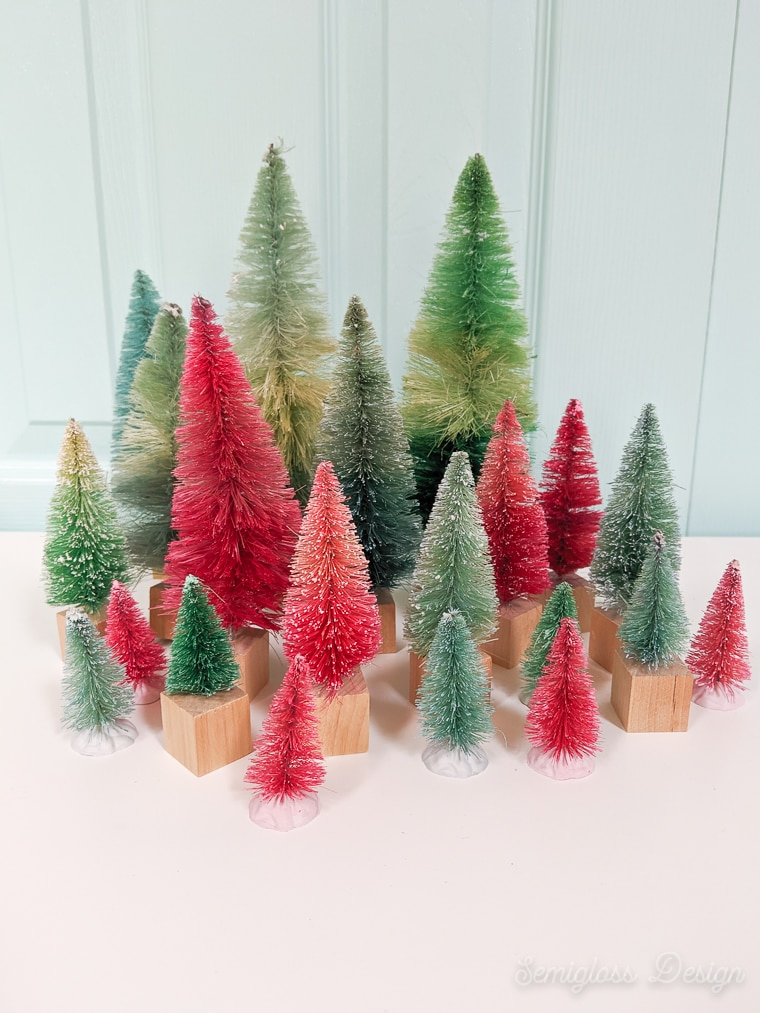
DIY bottle brush trees are perfect for a retro Christmas look. They’re so easy to make and it’s possible to make a whole forest of bottle brush trees for your mantle!
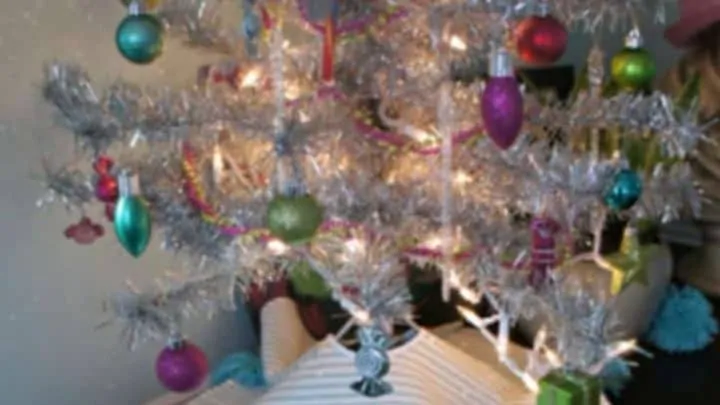
They have such a vintage charm to them and look great with DIY Christmas decor, like this tinsel wreath or retro tree topper.

This post contains affiliate links. By purchasing an item through an affiliate link, I earn a small commission at no extra cost to you. As an Amazon Associate I earn from qualifying purchases.
I’ve been making these colorful bottle brush trees for years.
They’re even cute enough to leave up in January for non-holiday specific winter decor. (You might also like this fun pom pom wreath for winter.)
DIY Bottle Brush Trees
Supplies Needed
*Bottle brush trees need to be made of sisal for the best results. Bleach doesn’t work on other brush types. Plastic and metal will not bleach at all.
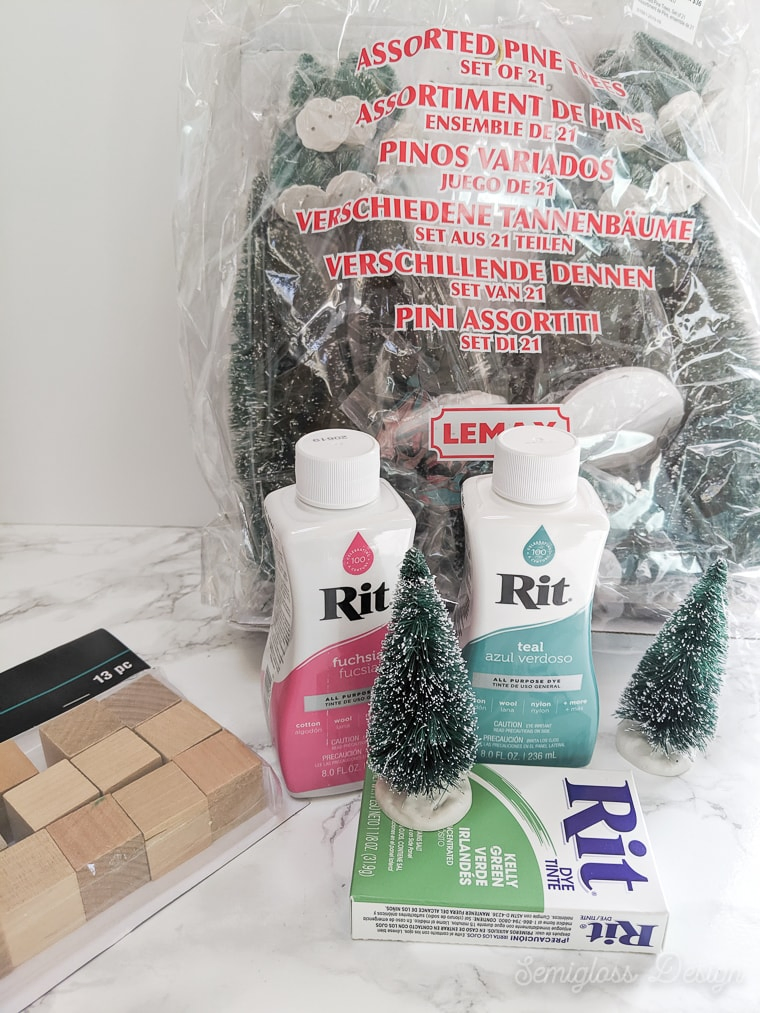
**Dye Alternatives for Coloring Bottle Brush Trees
In the past, I’ve had success using a few different things to dye trees. The color saturation varies, but these choices allow you a wider variety of colors.
- Food coloring
- Watered down acrylic paint
- Watered down chalk paint
- Kool-aid
Can You Paint Bottle Brush Trees?
Yes, you use watered-down paint to dye bottle brush trees. I’ve used the same technique of soaking the bleached trees in the paint mixture.
Can You Spray Paint Bottle Brush Trees?
Yes, it’s possible to spray paint bottle brush trees as well. I’ve always avoided it because it’s typically too cold to spray paint where I lived. (Spray paint doesn’t work well under 50 degrees.)
For best results, apply thin coats to bleached trees that are dry.
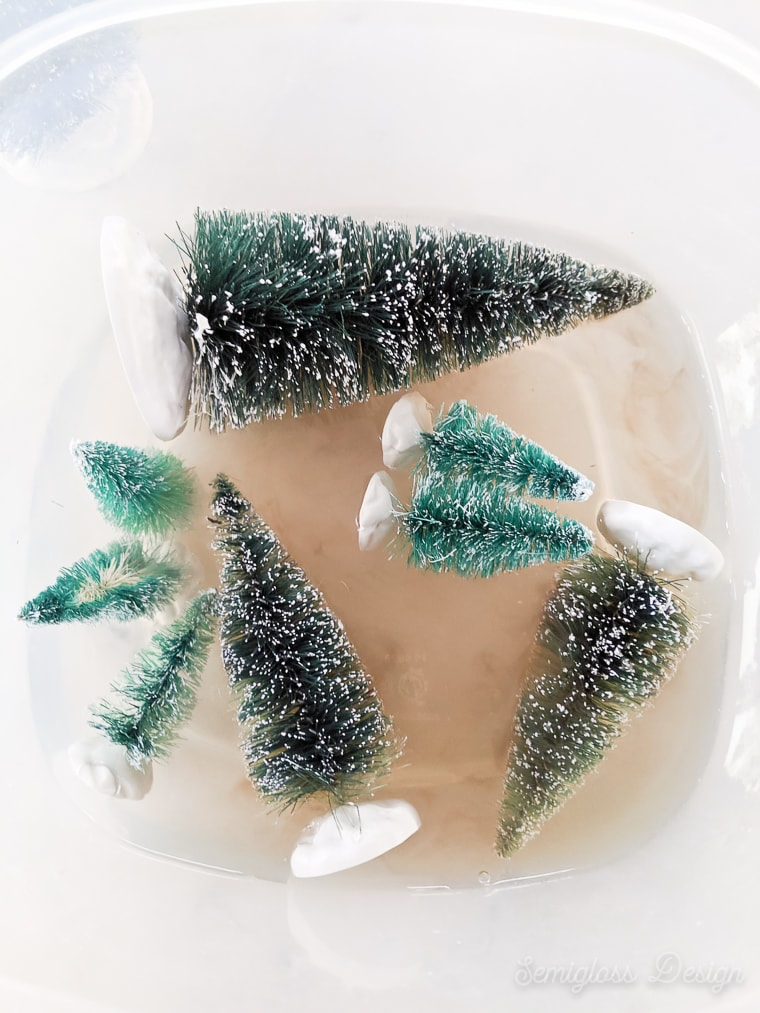
Bleaching the Bottle Brush Trees
You can use straight bleach for faster results. Just stand nearby and don’t leave them submerged for too long.
I’ve also noticed that a new batch of bleach and water works better than an older one that you’ve been using.
If you’re not getting the white trees you want, dump the solution and try a new batch with more bleach.
- Fill a container with bleach and water.
- Submerge the trees.

- Remove the trees when they turn white.

- Rinse the bleach from the trees.
- Bigger trees will need to be turned to get full coverage.
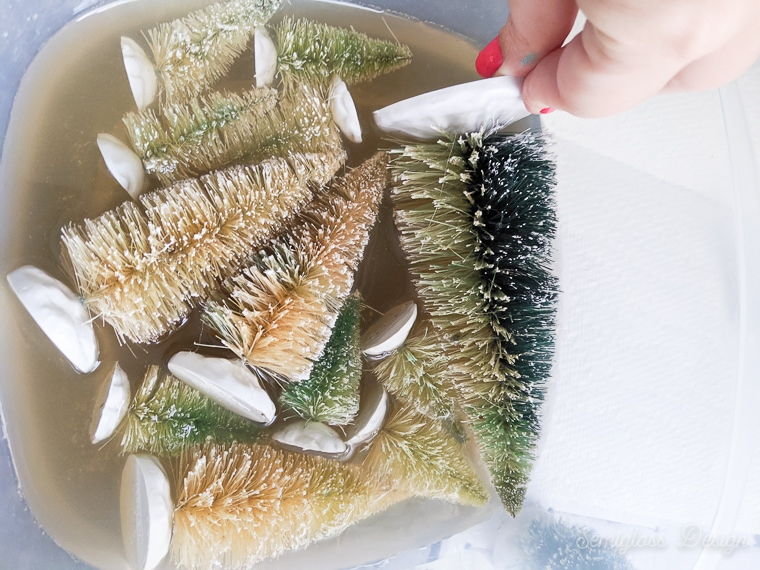
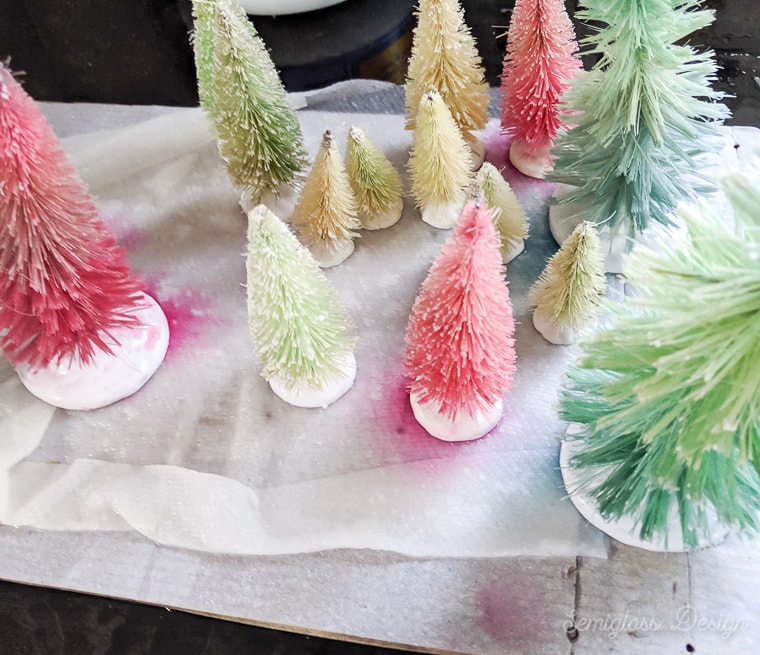
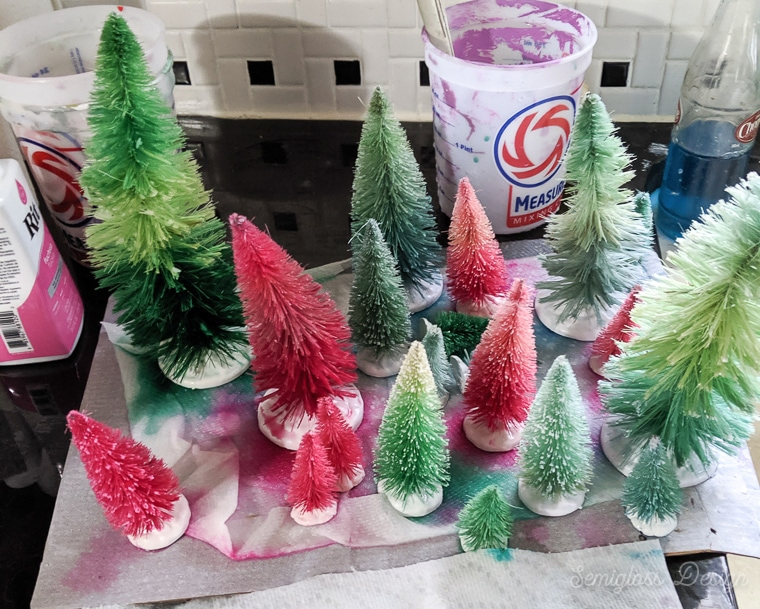
How to Dye Bottle Brush Trees
The dye can stain surfaces, so work in an area that doesn’t matter or is easy to clean.
- Fill containers with hot water.
- Add a few tablespoons of dye. Dilute the mixture for a pastel color or use more dye for a saturated color.

- If you’re using powder dye, mix the solution.
- Place the tree in the dye solution. For a pastel tree, only leave it in for a few seconds. For brighter trees, let them sit longer.
- Remove the trees and let them dry on paper towels.

Getting a Dip Dye Effect when Dyeing Bottle Brush Trees
- Dip the top of the tree into the dye solution for a few seconds.
- Remove the tree and dip it in the dye, right side up.
- Hold it in for a few seconds before pulling it up and letting the bottom sit for another few seconds.
- Let dry on paper towels.
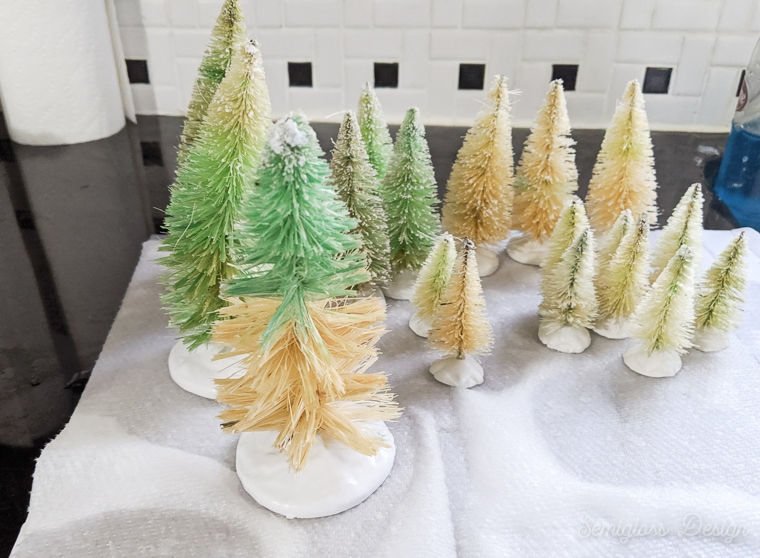
How to Comb Your Bottle Brush Trees
Sometimes bleaching and dyeing bottle brush trees leave them looking a little worse than wear. Some of mine were clumpy.
Luckily it’s pretty easy to fix.
- It’s easier to fix the trees while they’re still wet. Hot water makes the bristles soft and easy to manipulate.
- Straighten the tree as needed by bending the main wire stem.
- Use a paintbrush comb to comb the bristles.
- Try to remove any snow clumps.
- Comb until it’s fluffier.
- Let it dry and comb it some more if needed.
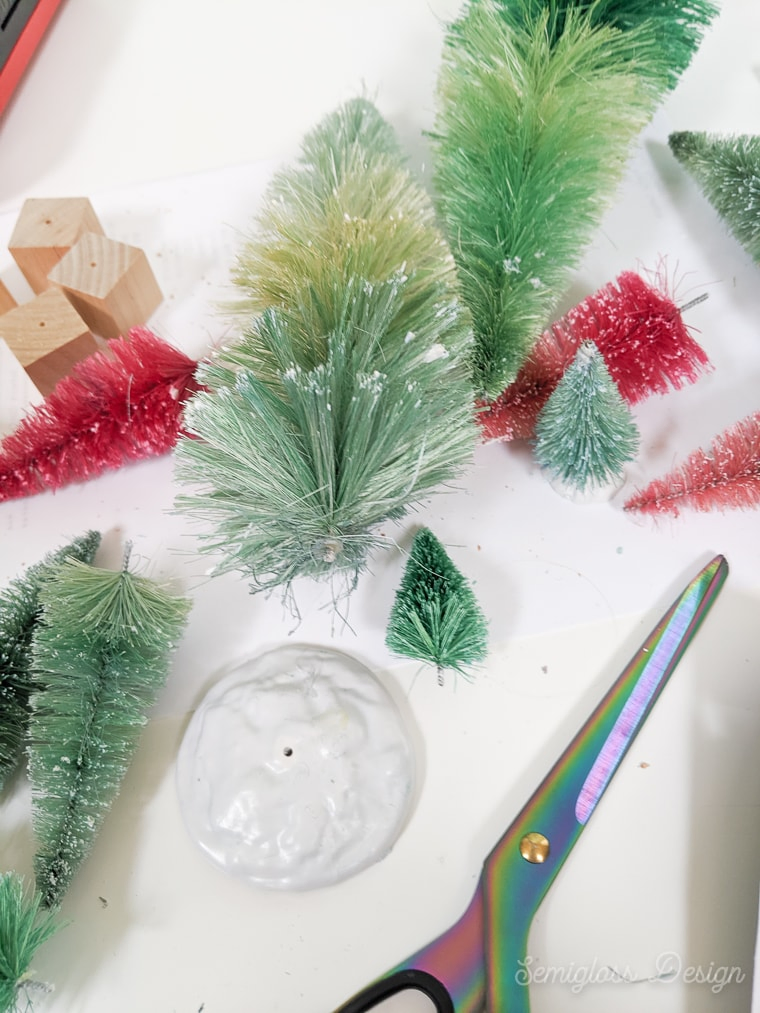
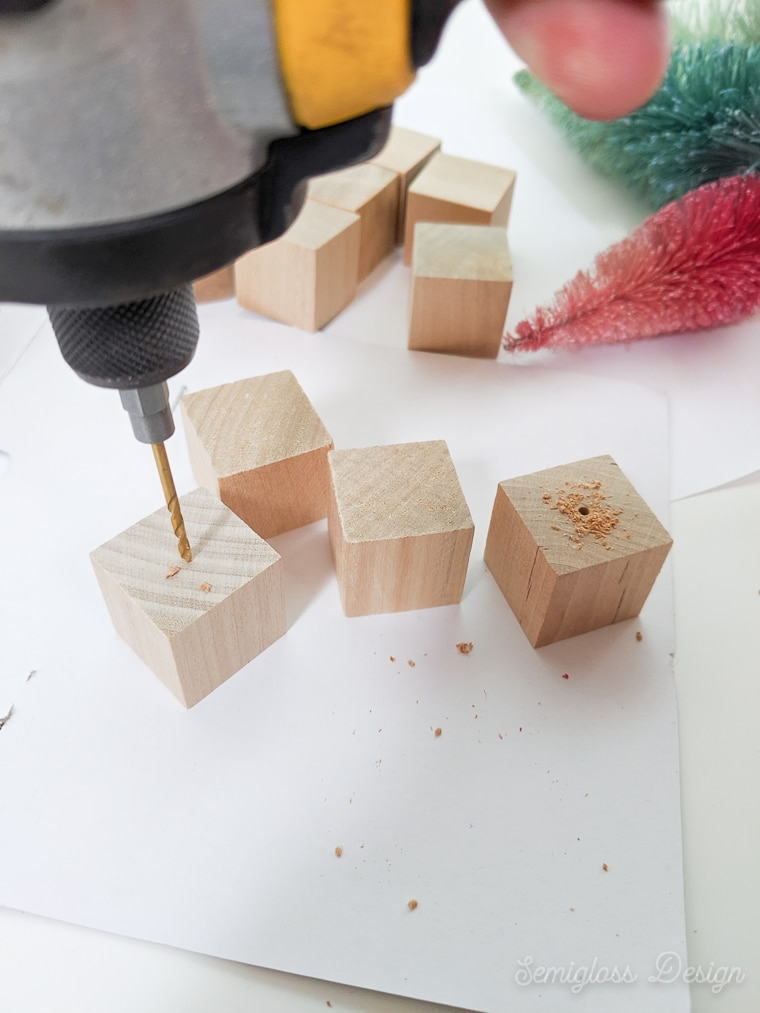
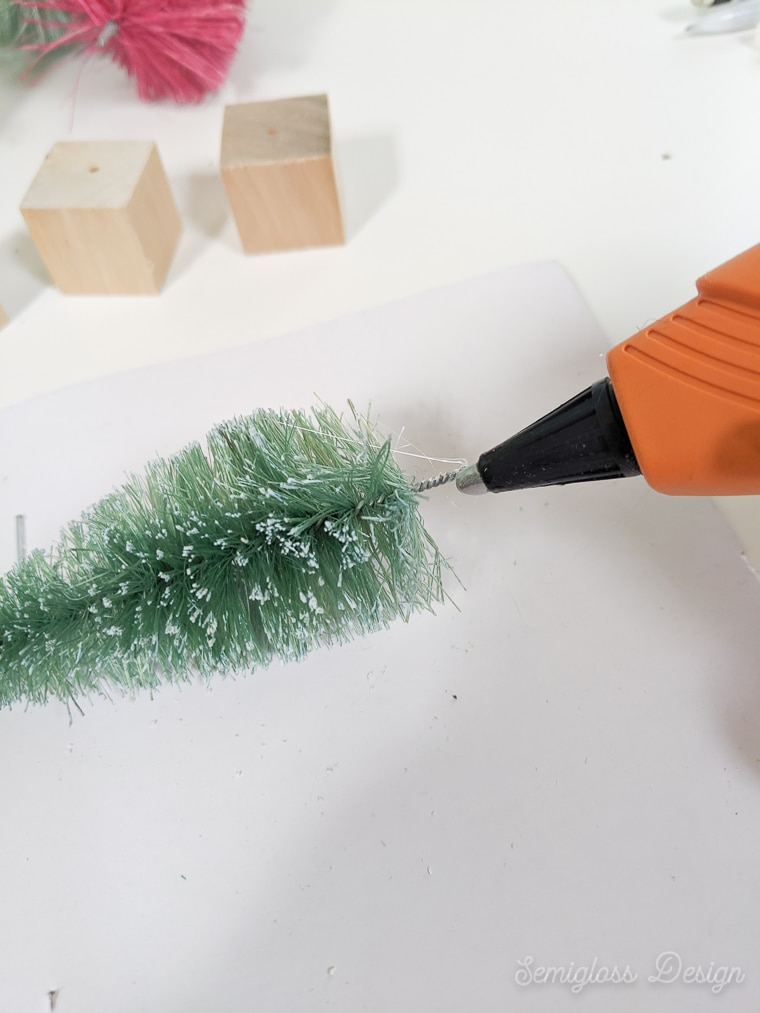
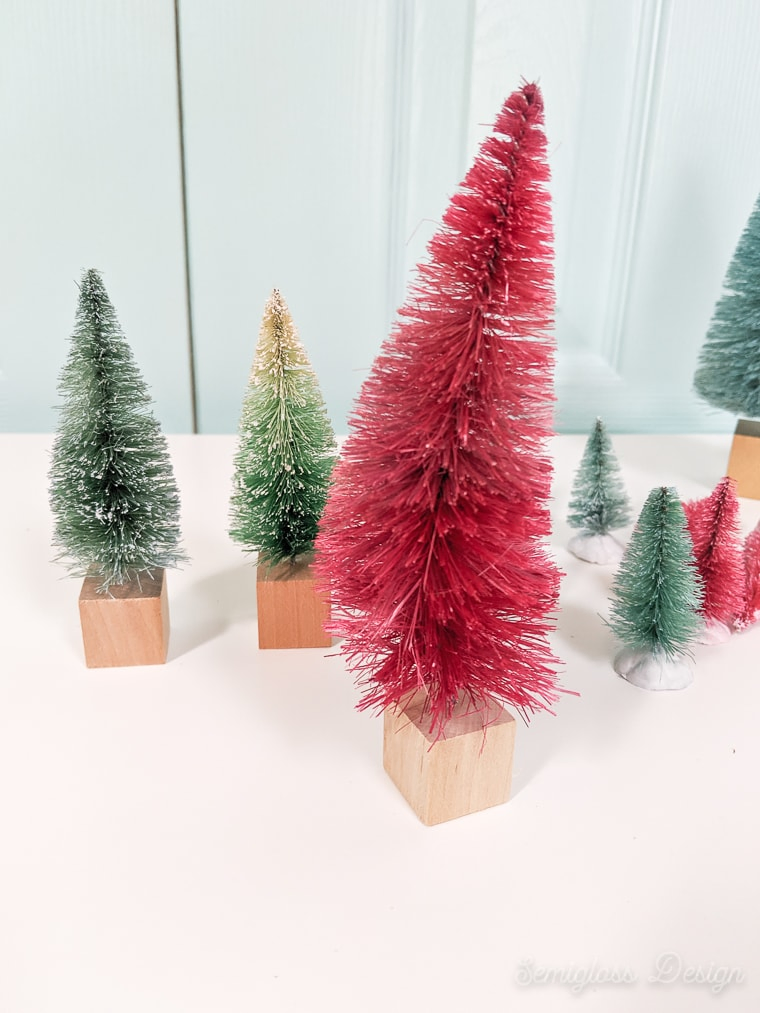
Making Wood Bases
I hate the look of the plastic bases, so I decided to give them an upgrade with wooden blocks.
The trees I bought also had fake snow clumps in them that turned into a gooey mess when wet.
- Remove the plastic bases from the bottom of the tree. Twisting slightly makes it easy to remove them.
- Drill holes into wooden blocks. They can be painted or stained as desired. You can even use wood slices for a natural look!
- It might be necessary to remove old glue or even trim unsightly bristles before gluing the trees to the wooden blocks.
- You’ll need a slightly bigger hole for the bigger trees.
- Apply hot glue before you shove the wire into the hole.
Storing Bottle Brush Trees
There’s nothing sadder than a crushed bottle brush tree, so take care when you store them.
I normally store mine in a plastic bag. They provide cushions for each other.
A box is another good solution.
Don’t place anything heavy on them.
Store them in a temperate controlled environment.
I haven’t had any yellow over time, but I’ve ruined other Christmas decor by storing it in a hot attic, so now I’m trying to be more careful.
DIY Christmas Decorations
Easy to make Christmas decorations for your home.


DIY Flocked Christmas Tree: Saving a Yellowed White Christmas Tree
How to flock a white Christmas tree


You might also like:
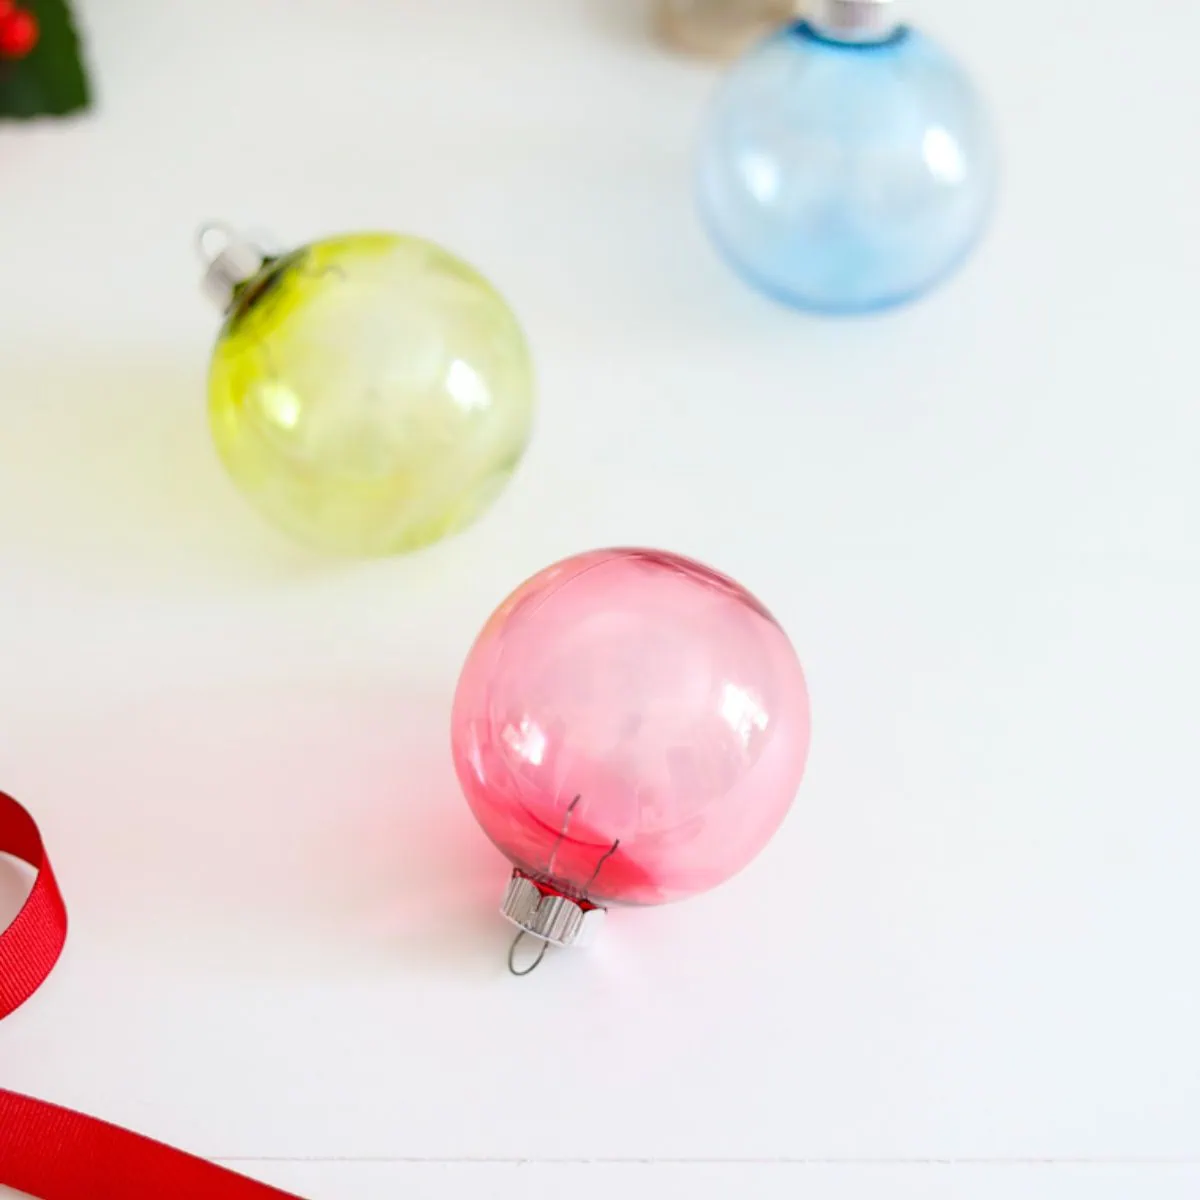
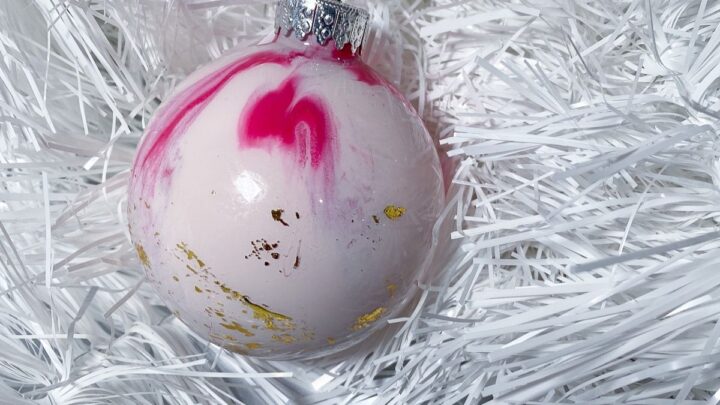
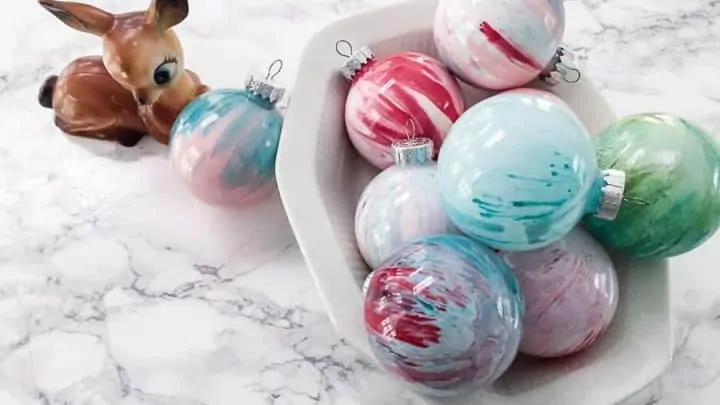
- Paint Swirl Ornaments
- How to Flock a Christmas Tree
- Tinsel and Ornament Wreath
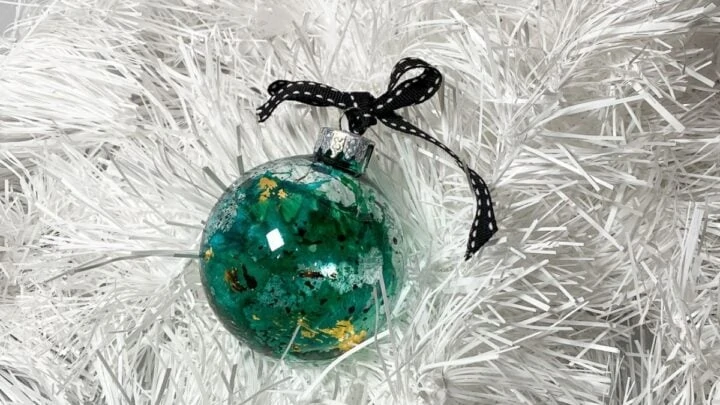
- DIY Alcohol Ink Ornaments
Pin for Later!

Emy is a vintage obsessed mama of 2 DIYer who loves sharing affordable solutions for common home problems. You don’t need a giant budget to create a lovely home. Read more…