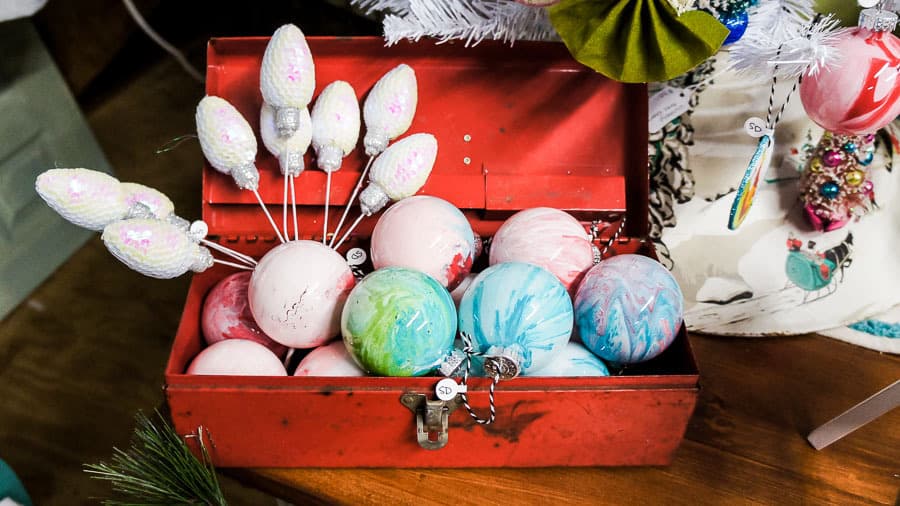
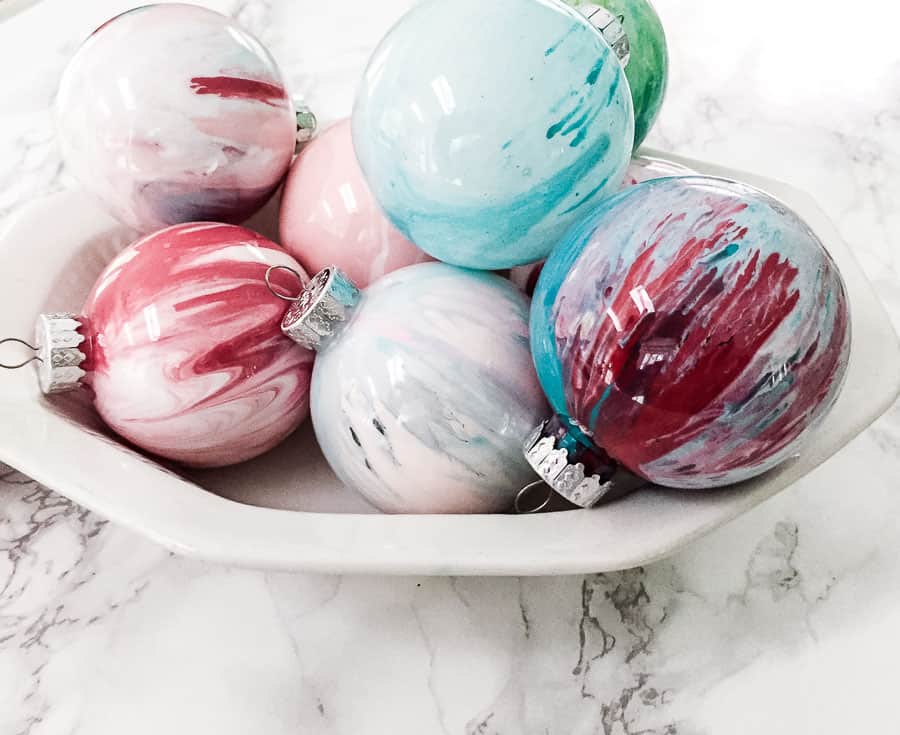
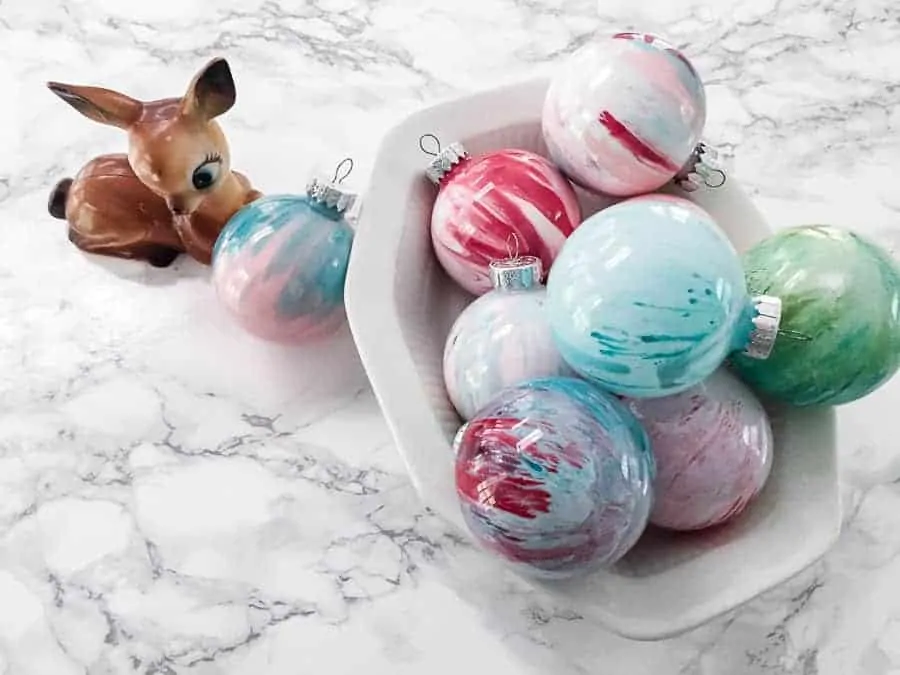
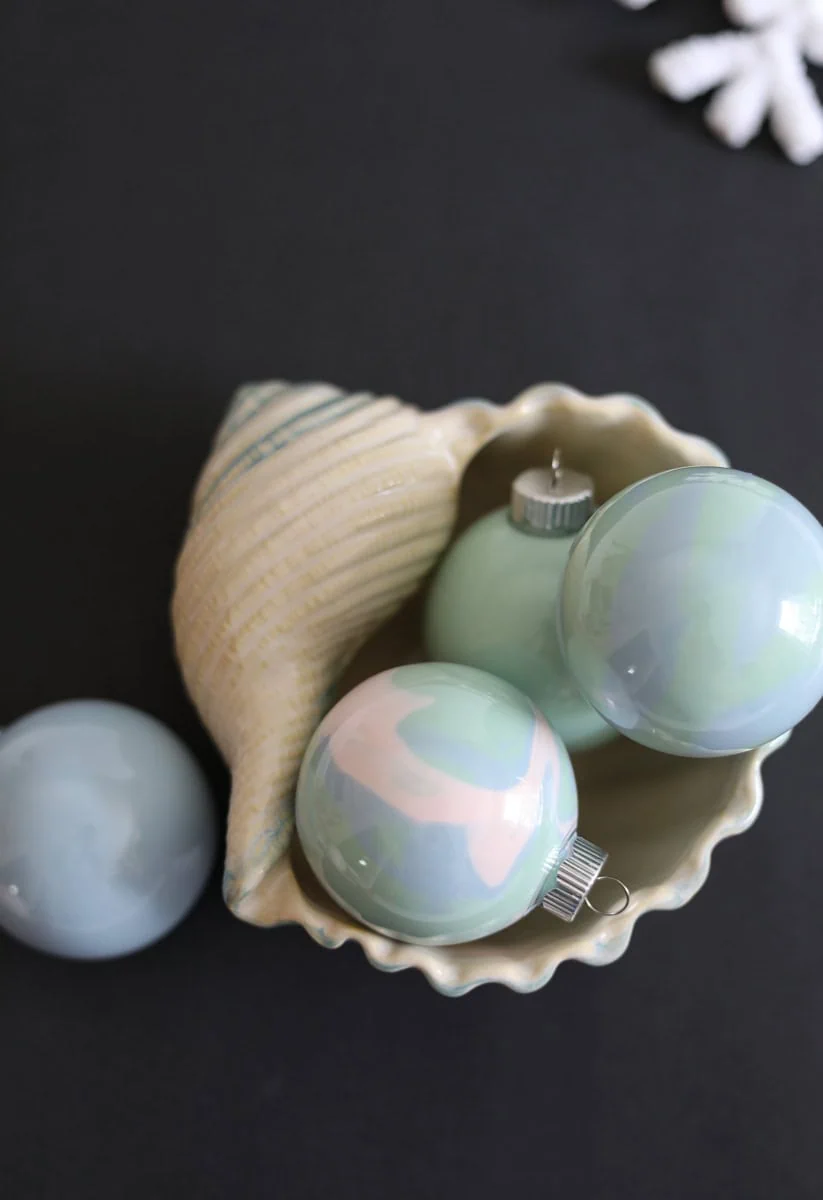
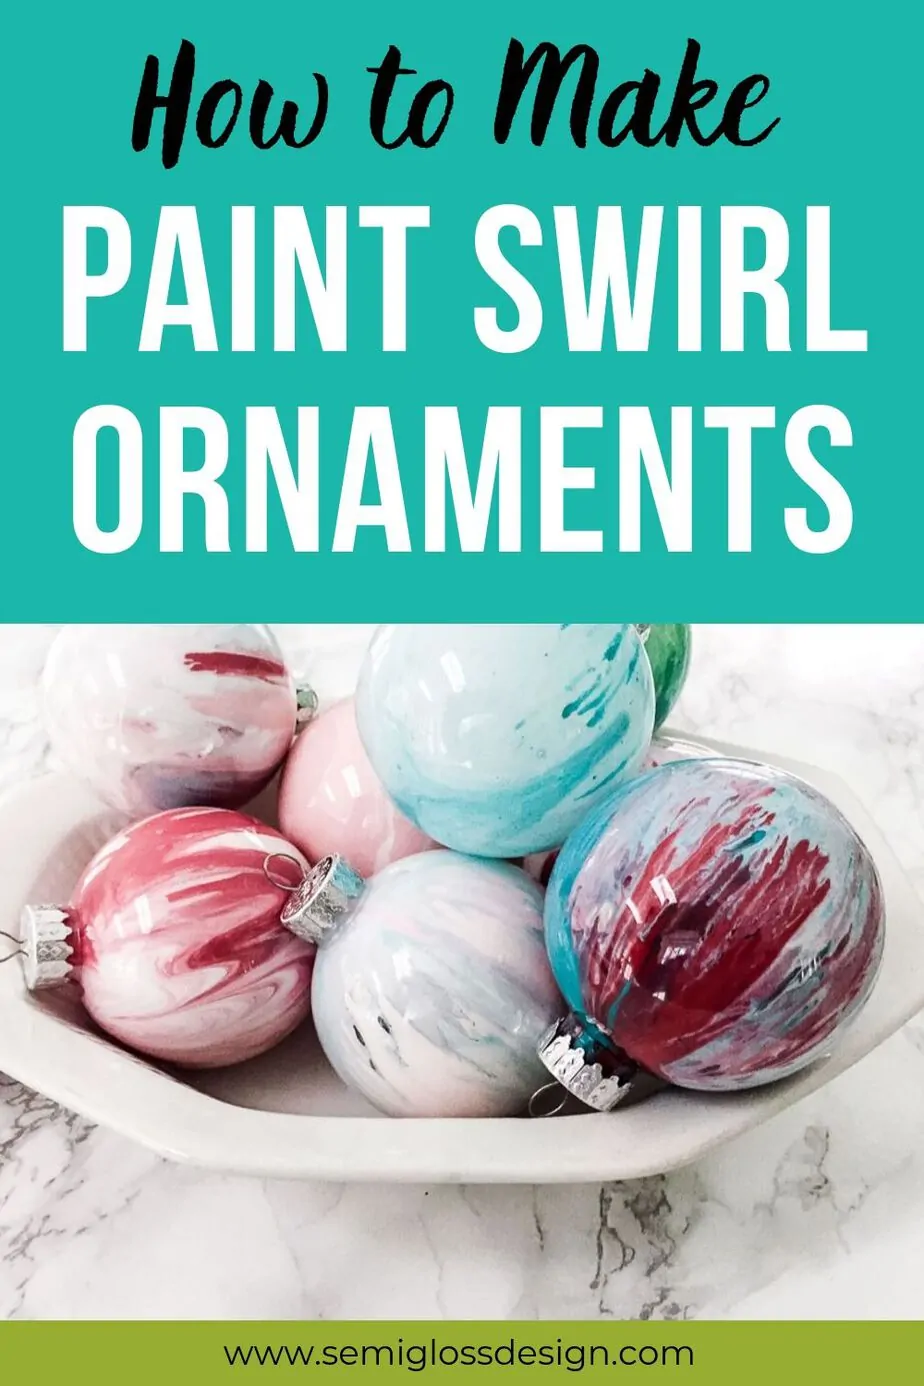
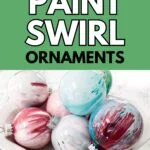
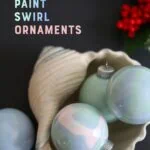
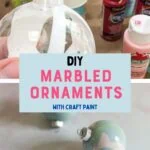
Make Your Own Christmas Ornaments: Paint Swirl Ornament
These paint swirl ornaments are so easy to make. No special painting skills are required to create these marbled ornaments for your tree.
I’ve been making these ornaments for years, and every time I make them, I’m amazed by how amazing they turn out. They simply use glass (or plastic) balls and craft paint, but the results look so impressive. You will love how easy these ornaments are to make.
This post contains affiliate links. By purchasing an item through an affiliate link, I earn a small commission at no extra cost to you.
Since these ornaments are so easy to make, they’re perfect for making with kids. Just protect your work surface since paint is messy. I also recommend having the kids wear smocks or aprons.
Tips Before You Get Started
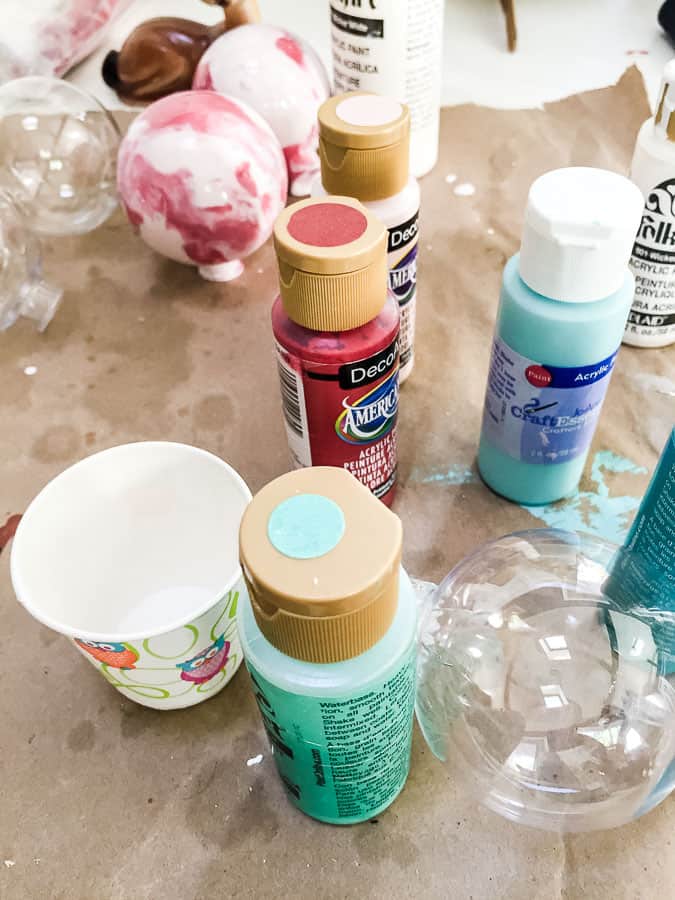
- New paint works the best because it doesn’t separate or sputter all over the place.
- If you use old paint that is too thick, add a small amount of water to make the paint flow more smoothly. It will dry more translucent, though. You could also try a paint pouring medium, which may extend the drying time.
- Color mixtures look best if they are related (for instance, pinks and reds). But I also love the contrast of different colors. Be aware of contrasting colors that make brown (i.e., avoid red and green).
- The paint swirl ornaments take a couple of days to dry. Your dry time may vary due to humidity and temperature.
- Craft acrylic paint works best in this process because artist acrylics are way too thick.
- Be generous with the paint. It wastes a lot of paint, but maybe you can find another fun way to use it!
Make Your Own Christmas Ornaments: Paint Swirl Ornament
Supplies Needed
*You can use the glass version if you want. I prefer plastic because my kids still break things, and so does my crazy dog.
Read about more glass ornament options here.
DIY Ornament Prep Work
- Protect your workspace. This process can be pretty messy.
I used brown craft paper from a package I received in the mail, but I also like using freezer paper to protect my desk. An old table cloth or drop cloth will also work.
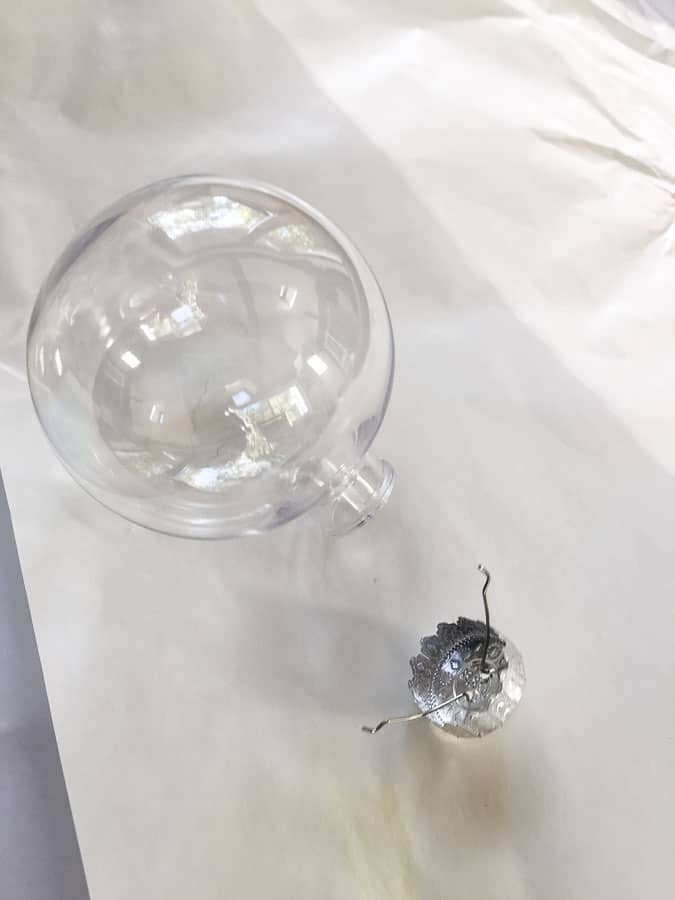
- Remove the tops from the ornaments and set them aside.
Just squeeze the ring at the top to compress the hooks for easy removal.
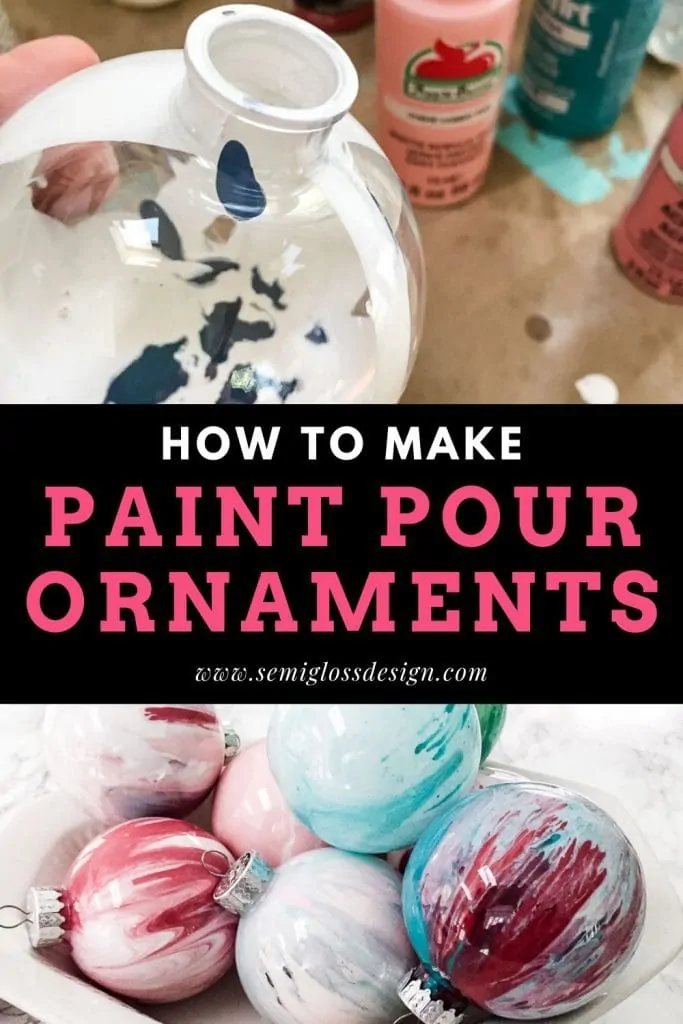
Painting the Ornaments
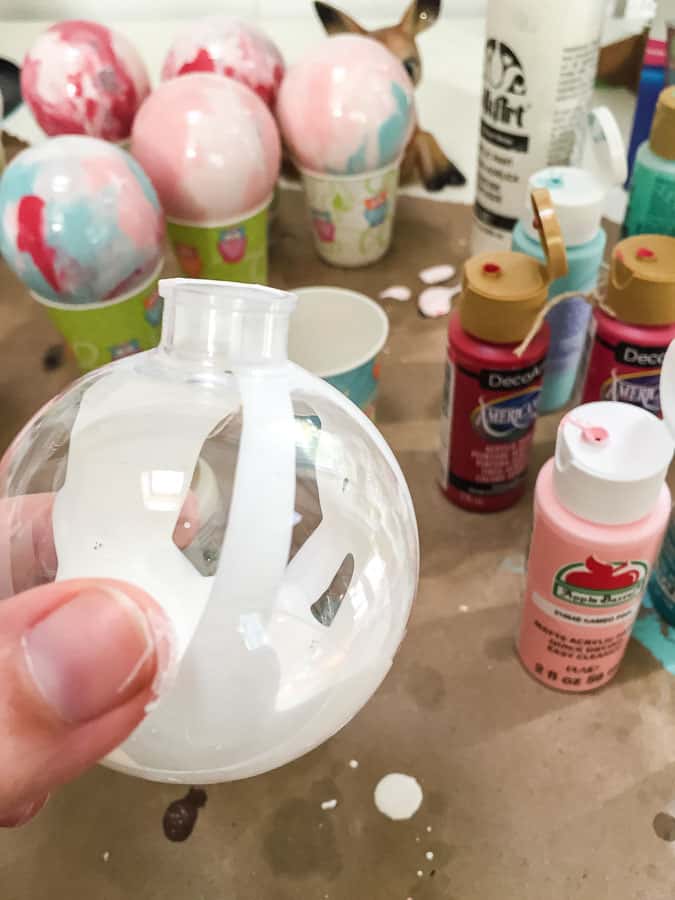
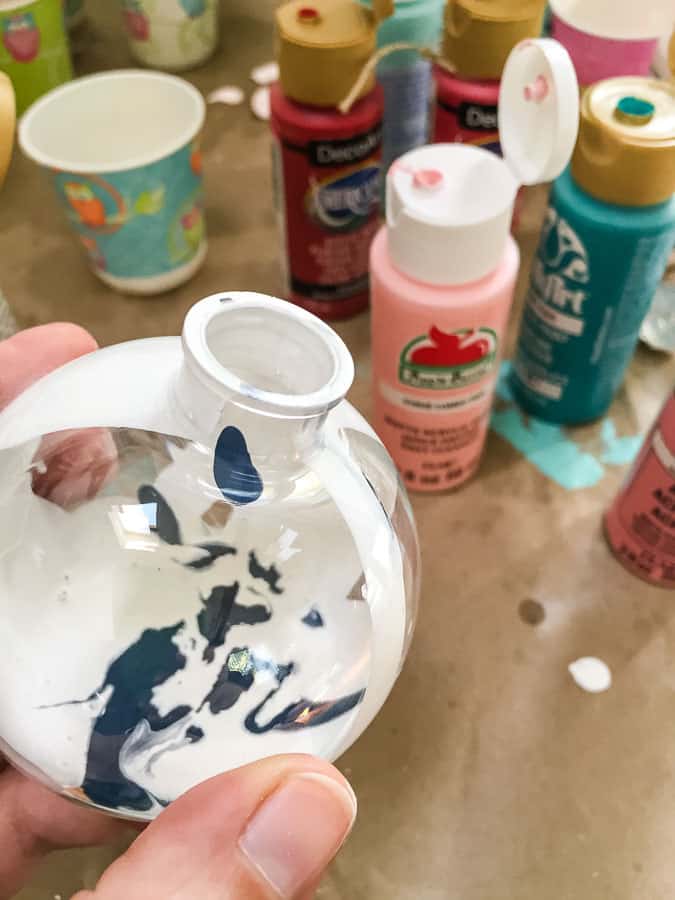
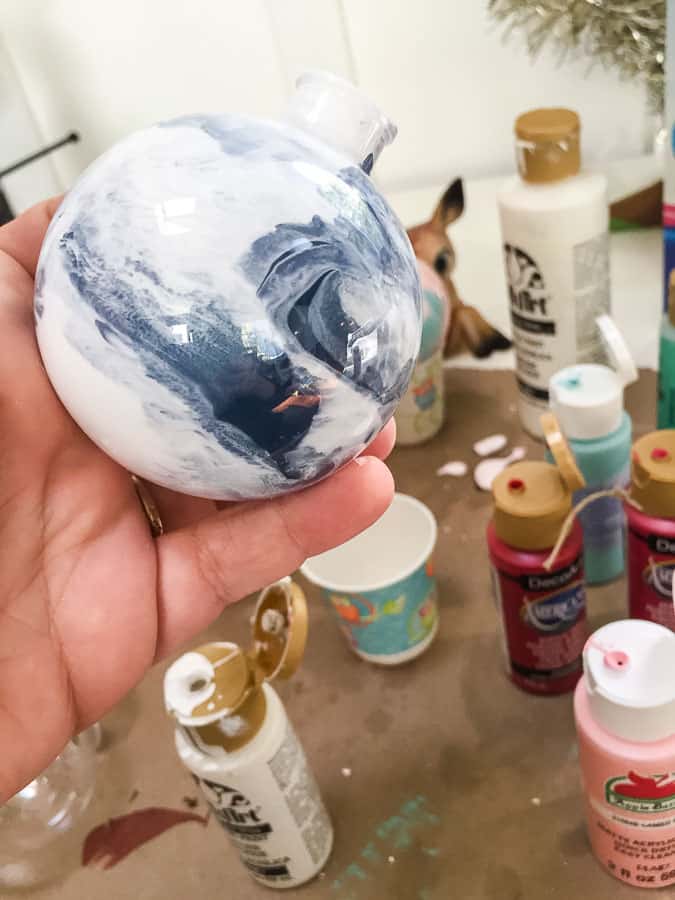
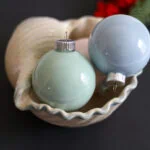
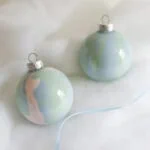
- Start pouring your paint inside the ornament. I started with white.
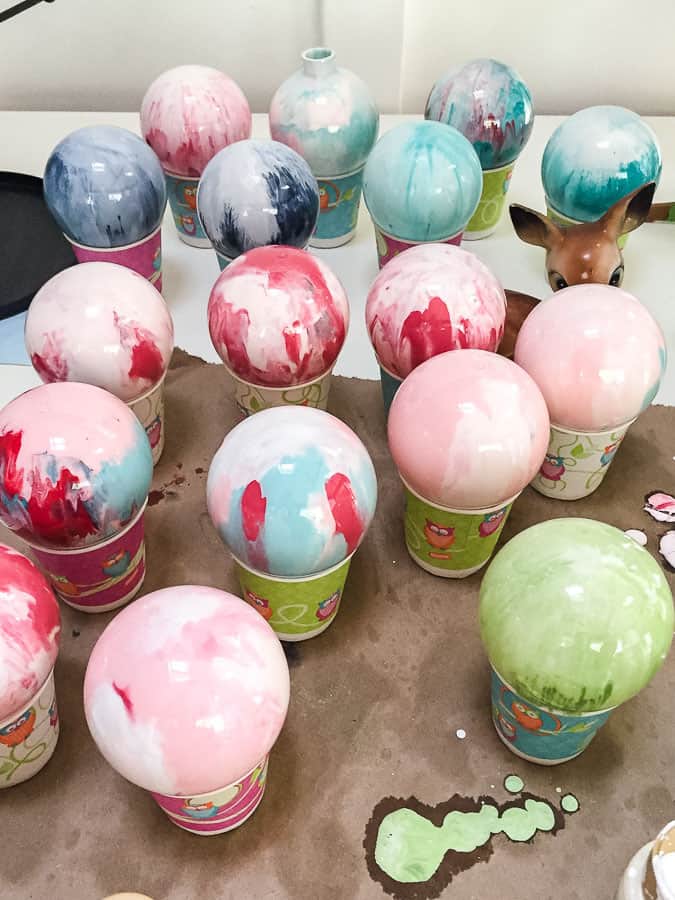
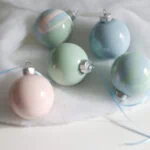
- Then, add other colors. Some ornaments were monochromatic, using only shades of pink or red. Others used mixed color palettes.
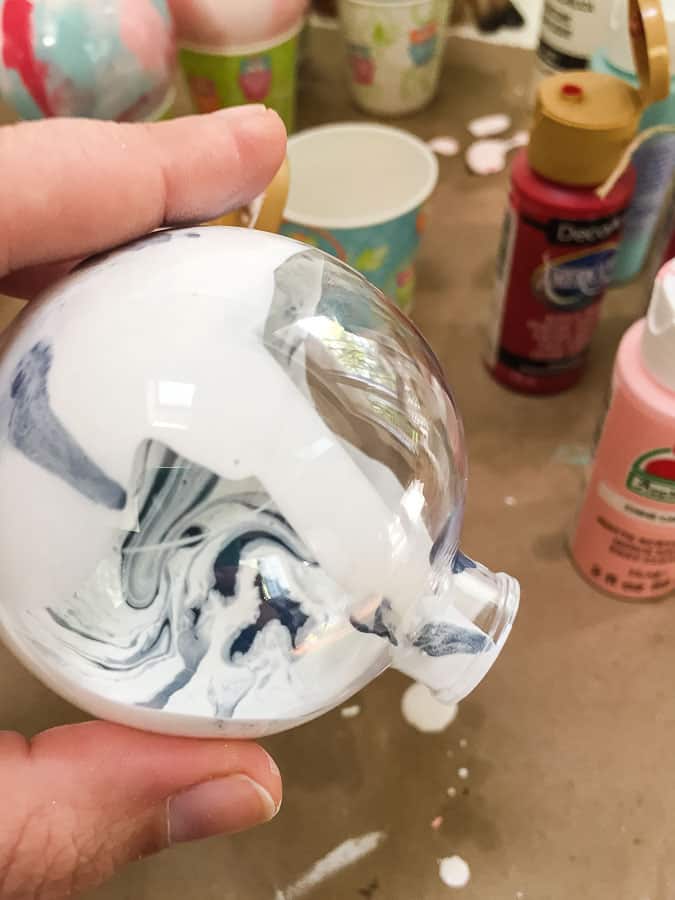
- Roll the ornament around in your hands to move the paint until the whole thing is covered.
- Turn upside down in a cup to let the excess paint pour out. Letting the ornaments dry in disposable cups makes cleanup easy!
Finishing the Paint Swirl Ornaments
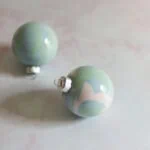
- Let dry for 1-2 days.
- Replace the ornaments’ tops. If the topper scratches the paint, the rim hides it pretty well.

- Make ornament hangers with baker’s twine.
You can also use metal ornament hooks or ribbon, but I like the contrast of the black and white string with the colorful ornaments.
Paint Swirl Ornament FAQs
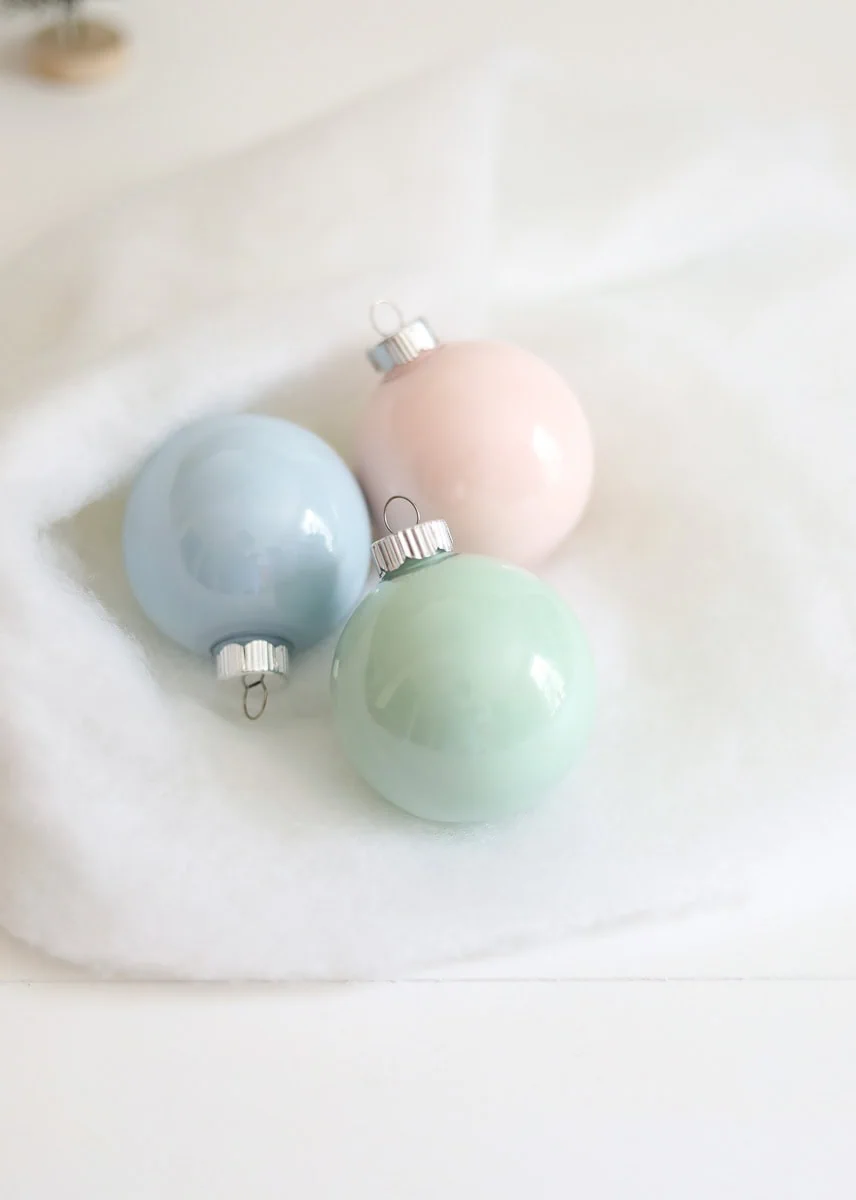
Can You Use This Technique to Make Solid Colored Ornaments?
Yes, you can make solid-colored ornaments using this technique. Pour more of one color into the ornament and swirl it around until it’s covered.
Can You Use Iridescent Ornaments?
Yes, you can use iridescent ornaments with this technique. The colors will be slightly different, giving the ornaments a magical look!
Can You Use Glitter?
You can use glitter to make paint swirl ornaments. Be sure to read this post to make sure the glitter sticks to the ornament!
Looking for a way to make these ornaments even better? Why not try adding gold leaf to ornaments?
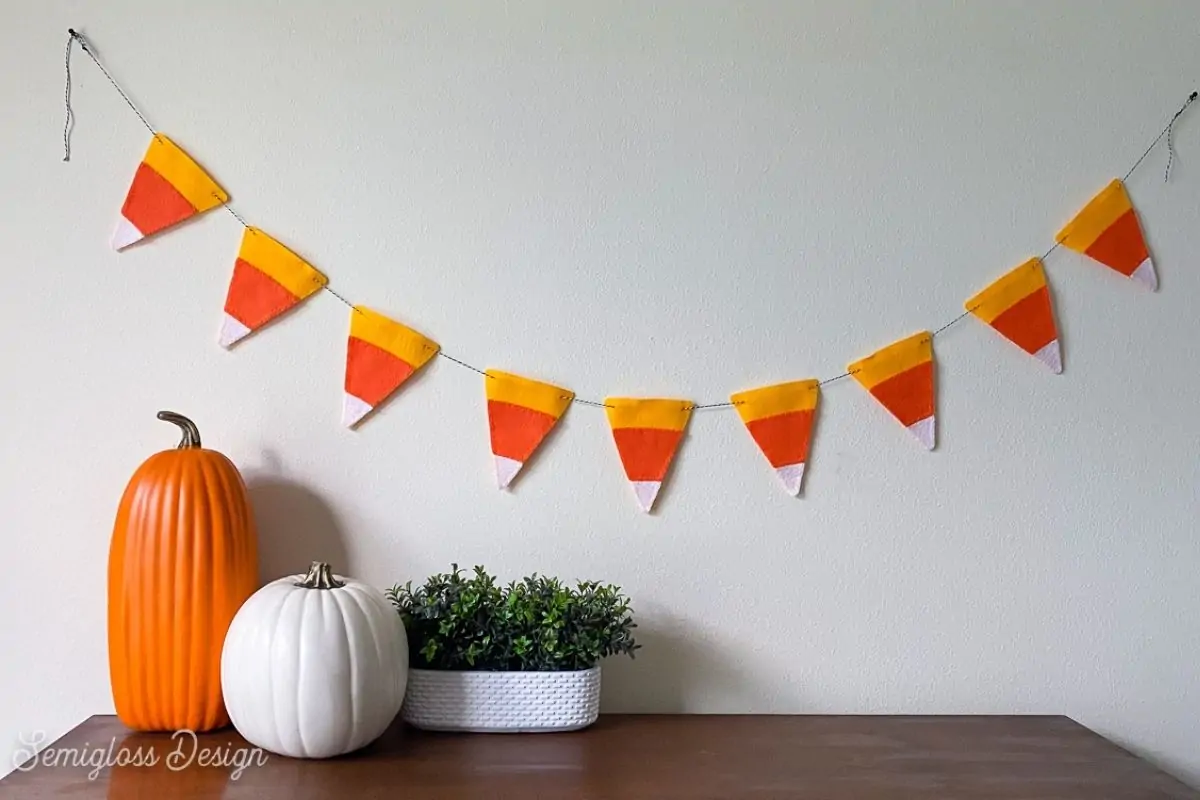
More Easy Christmas Ornaments to Make
Is there anything better than DIY ornaments? Here are some of my favorite tutorials.
If you like this technique, you’ll love these easy alcohol ink ornaments. These beautiful ornaments have a translucent look that glows when the light shines through them.
Glitter ornaments are always fun to make.
Here are fun ways to fill leftover clear glass ornaments.
These decoupaged ornaments feature vintage images from books, adding a fun, retro feel to your Christmas decor.
Pin for Later!

Emy is a vintage obsessed mama of 2 DIYer who loves sharing affordable solutions for common home problems. You don’t need a giant budget to create a lovely home. Read more…


Hi, I love this page, so easy to do and good tips for drying in a cup.
I would love to try this for a christmas craft night with children. Do you think it would work using liquid tempera paint? Have you tried it? My only hesitation with craft paint is that it does stain clothes if it isn’t washed right away.
Thanks, Suzeelili
Hi Suzee,
Tempera paint dries in a similar manner to acrylic craft paint, so it’s worth trying it out beforehand. I’ve never tried it, so I can’t vouch for it though.