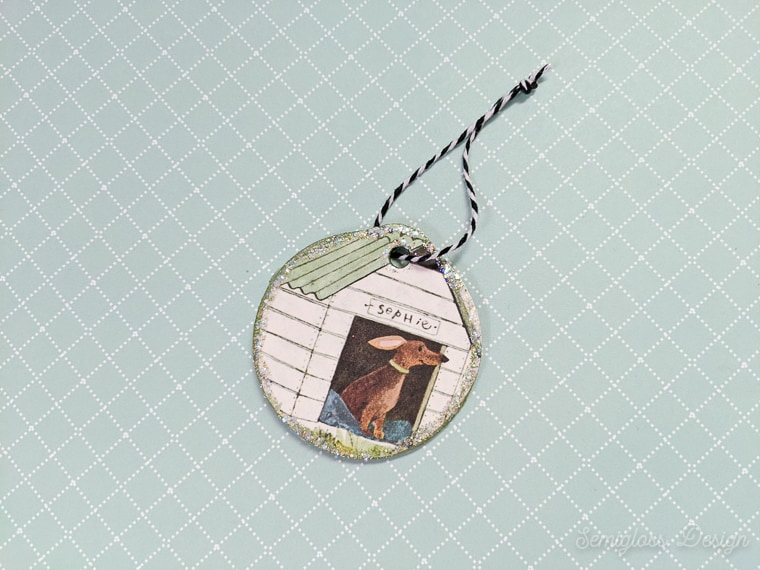
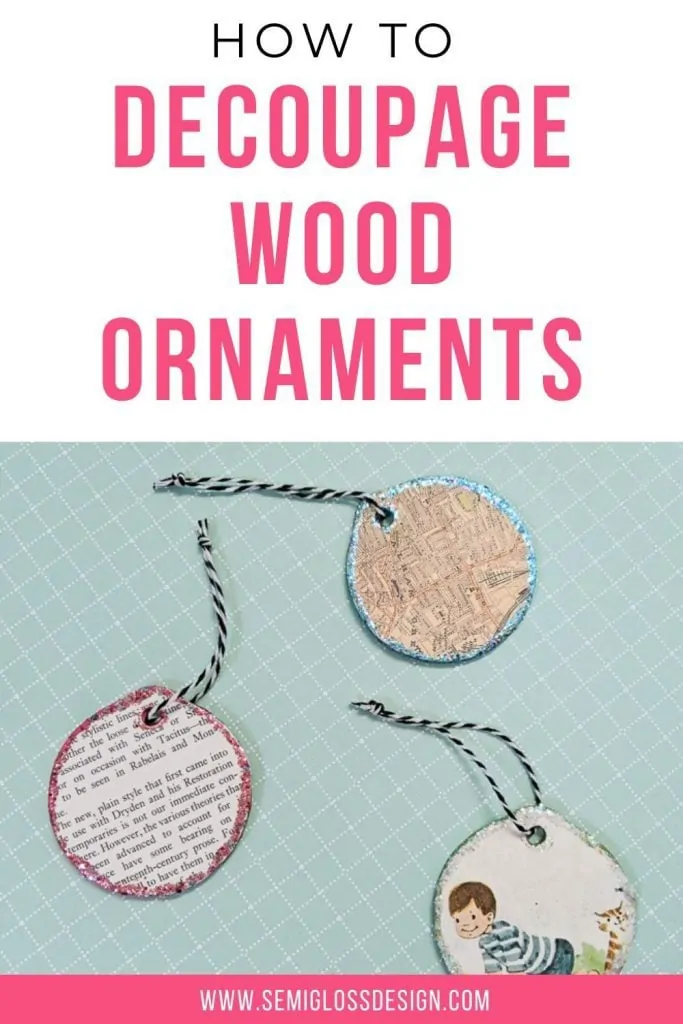
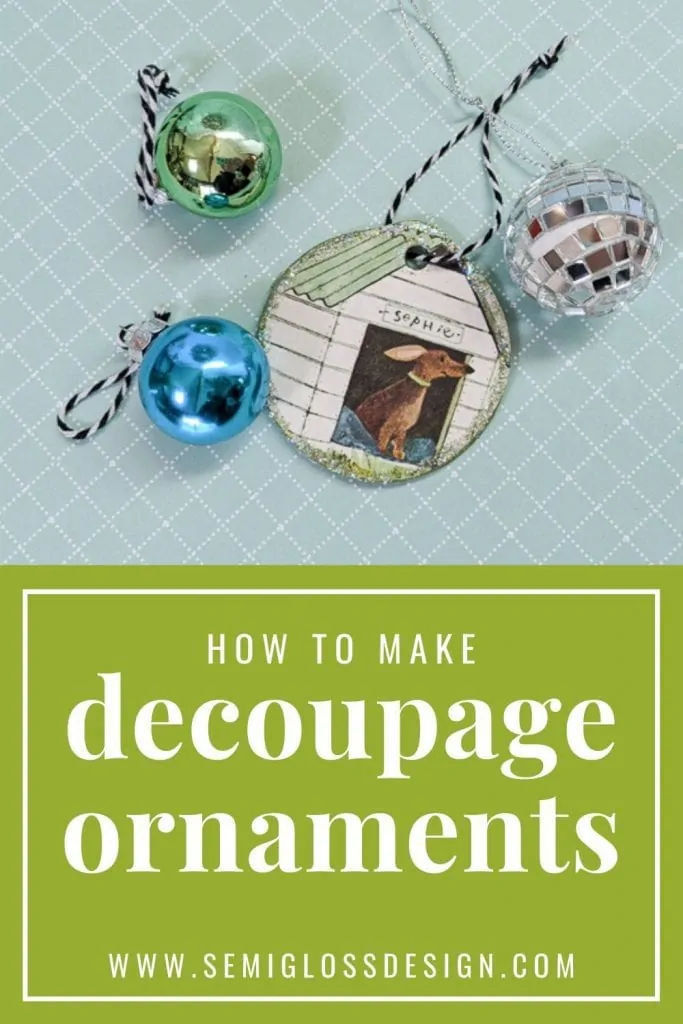
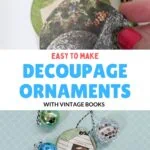
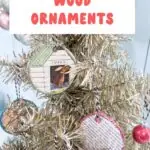
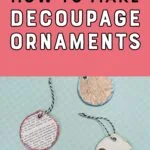
DIY Decoupage Wood Ornaments for Christmas
These decoupage wood ornaments feature images from vintage children’s books. They’re a fun way to add a retro touch to your Christmas tree.
They’re so fun and easy to make. It’s possible to customize the ornaments to your style or even to give them as gifts.
This post contains affiliate links. By purchasing an item through an affiliate link, I earn a small commission at no extra cost to you. As an Amazon Associate I earn from qualifying purchases.
Decoupage Wood Ornaments
Supplies Needed
- Wood Ornament Blanks
- Old books, pretty paper, or even photos
- Decoupage glue
- Paint Brush
- Paint
- Glitter Paint
- Baker’s twine or ribbon
- Hole punch
- Scissors
Paper for Decoupage Ornaments
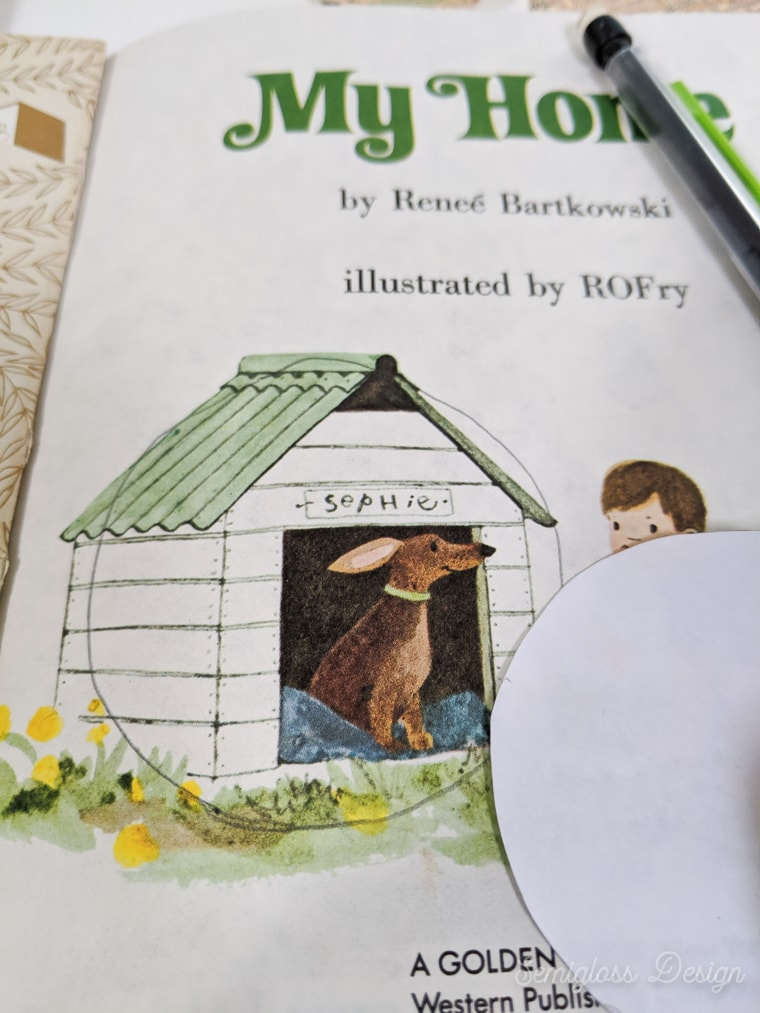
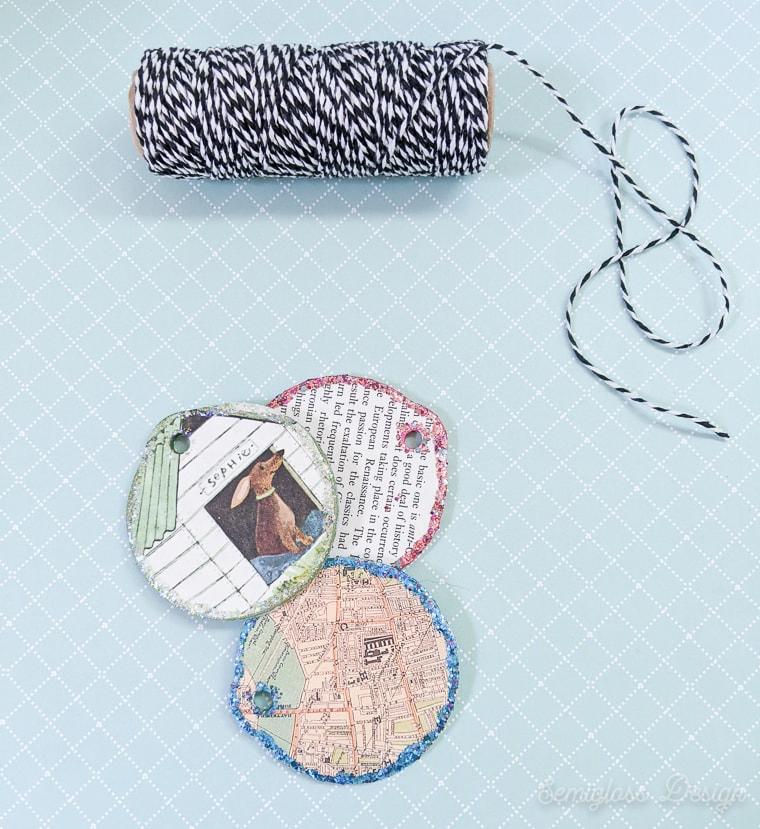
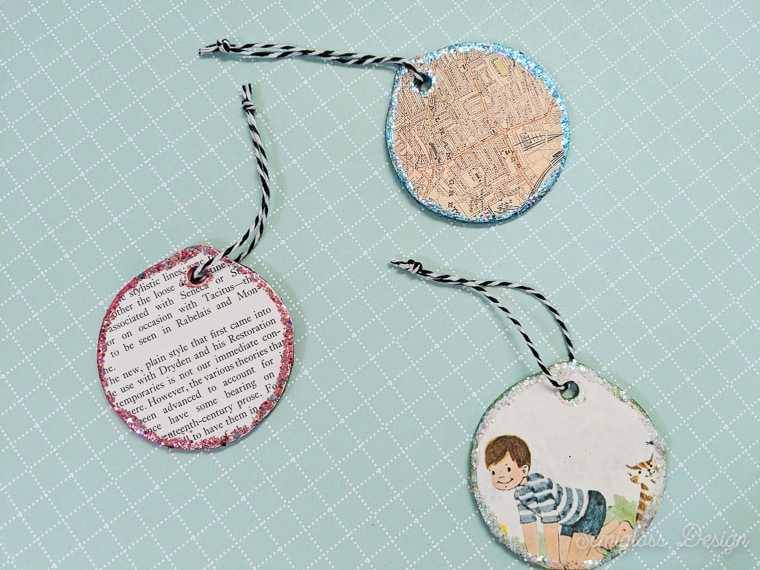
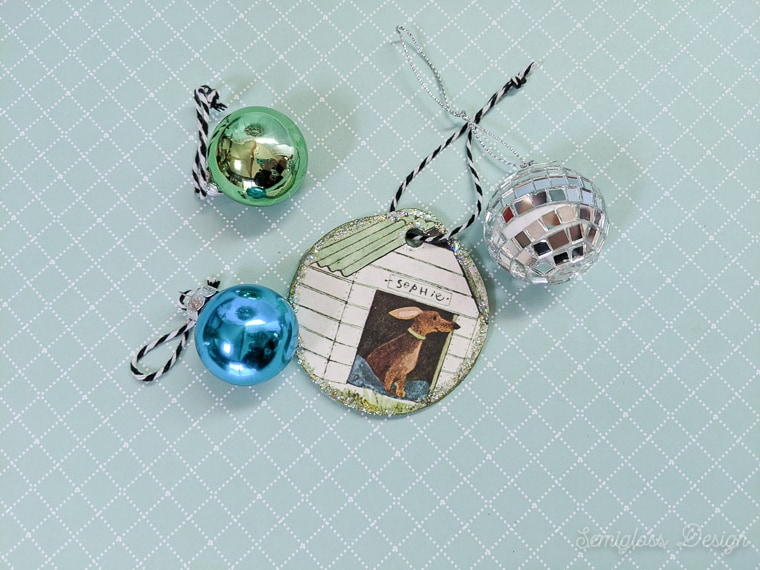
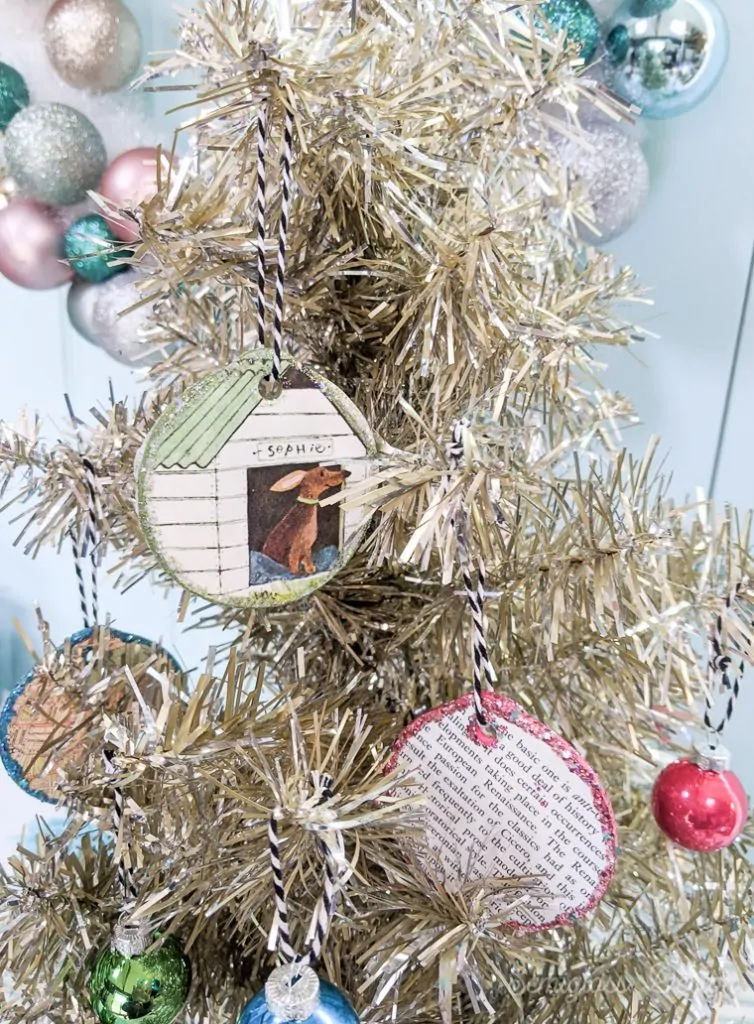
I used old Little Golden Books for my ornaments because I love the illustrations.
You can find them for a dollar or two in thrift stores. Look for ones with cute illustrations that speak to you.
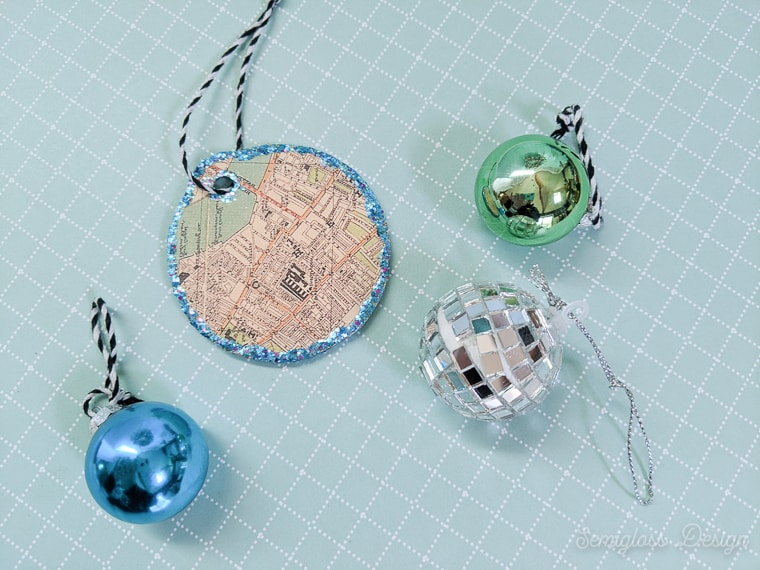
I also used map wrapping paper, which was a bit thicker and needed more glue.
The other paper I used was from an old book of prose. If you hate destroying books, you can make copies of the images instead.
Use a laser printer or print them at a copy shop to prevent ink from running.
Other ideas for papers to use:
- Pretty wrapping paper
- Paper napkins
- Scrapbook paper
- Patterned Tissue Paper
- Photos (use photocopies for best results)
Prep Work for the Decoupage Ornaments
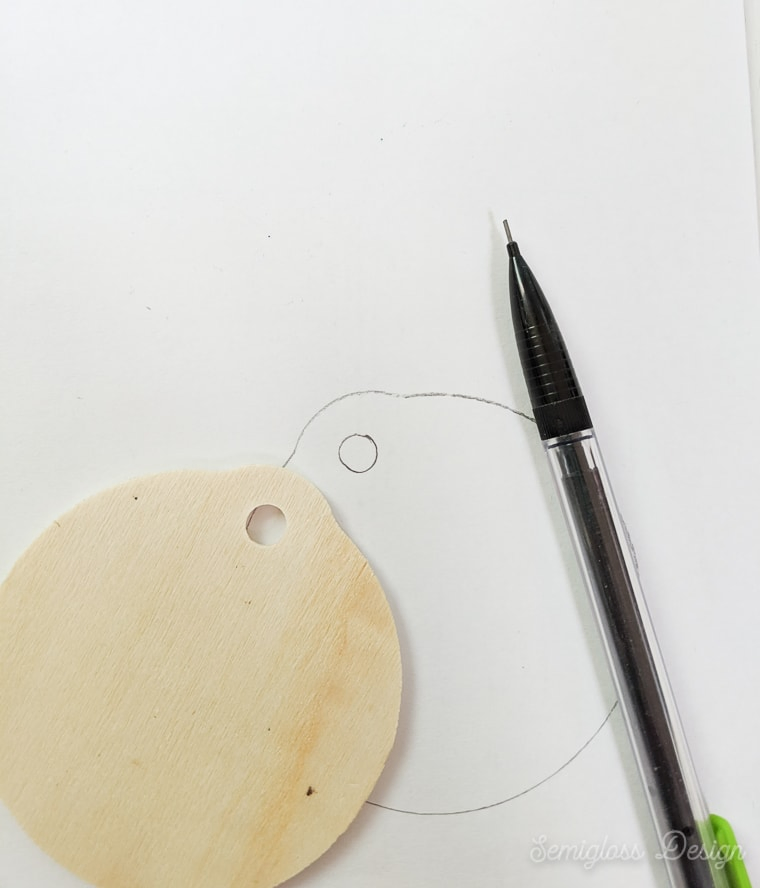
- Create a template on scratch paper by tracing the wooden ornament blank and cutting it out.

- Trace the template onto the images you want, trying to place the shape in a good place to capture the image you like. Be sure to pick two images (one for each side).

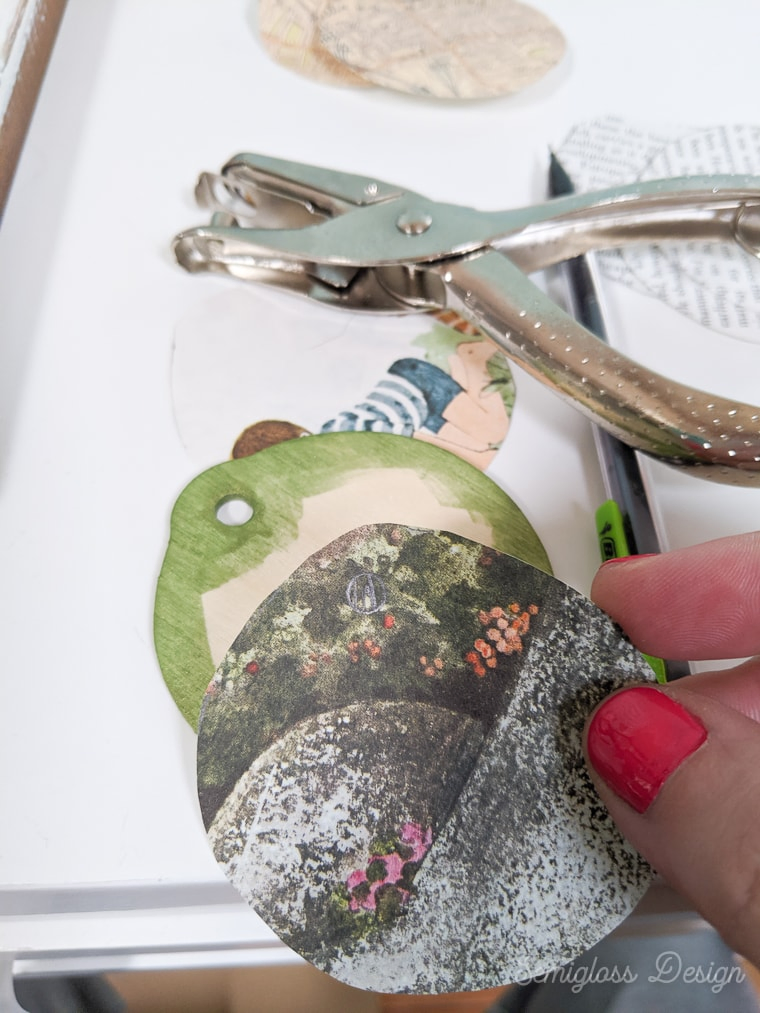
- Dry-fit the image on the wooden blank and cut away any excess bits of paper. (Your edges don’t have to be exact because the glitter will cover the mistakes.)
- Use a hole punch to cut a hole for the string.

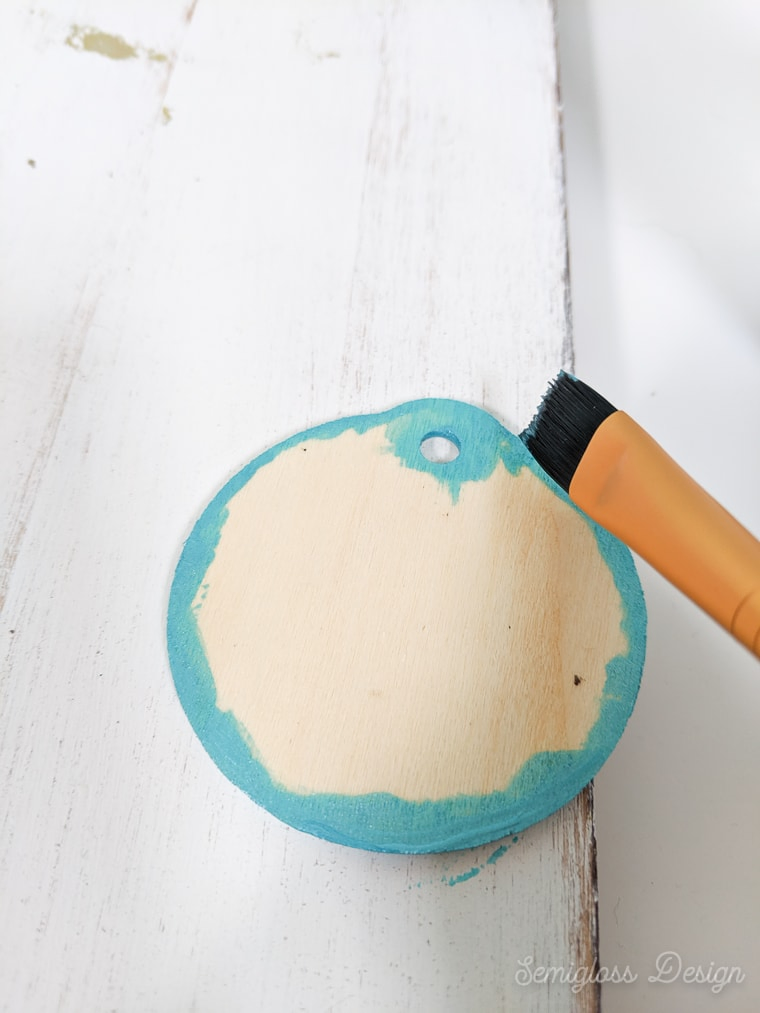
- Once your images are cut out, pick out coordinating paint colors for the edges.
- Paint the edges, including the hole for the string.
- Let it dry and paint the other side.

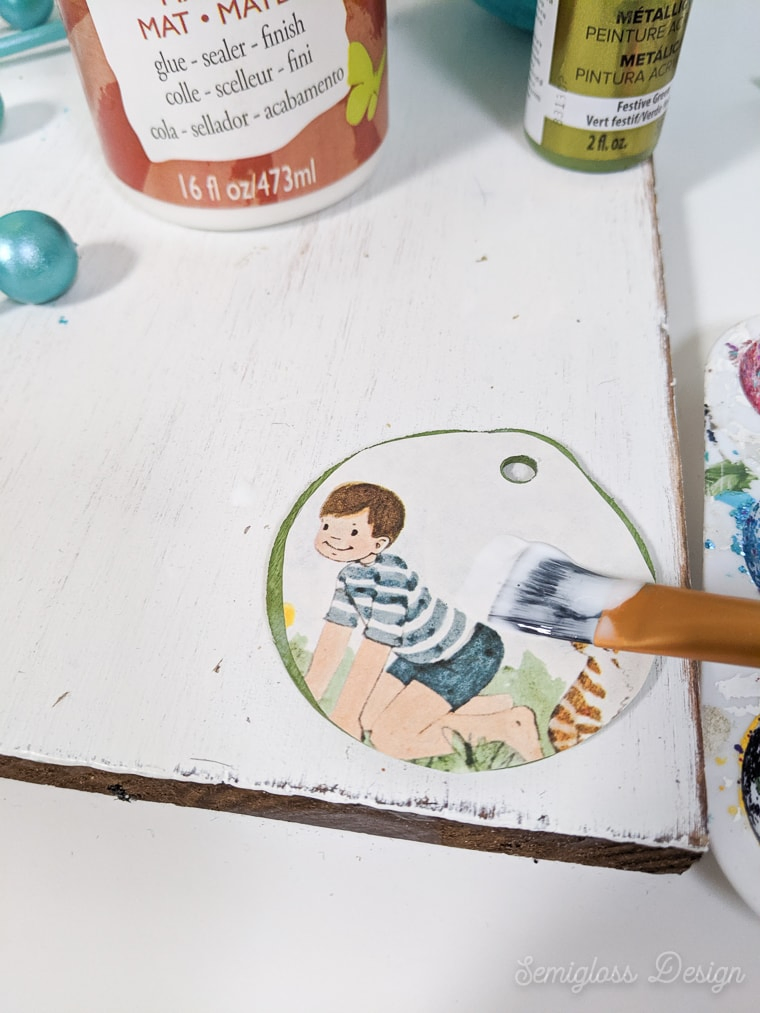
Decoupaging the Paper
- After the paint has dried, apply a thin layer of decoupage glue to the wooden ornament. (Thicker papers need extra glue.)
- Attach the image, smoothing the image as you work.
- Apply extra glue under the edges if needed.
- Apply a thin layer of glue to the top (while the bottom layer is still wet.)
- Let it dry, and repeat the steps for the back.

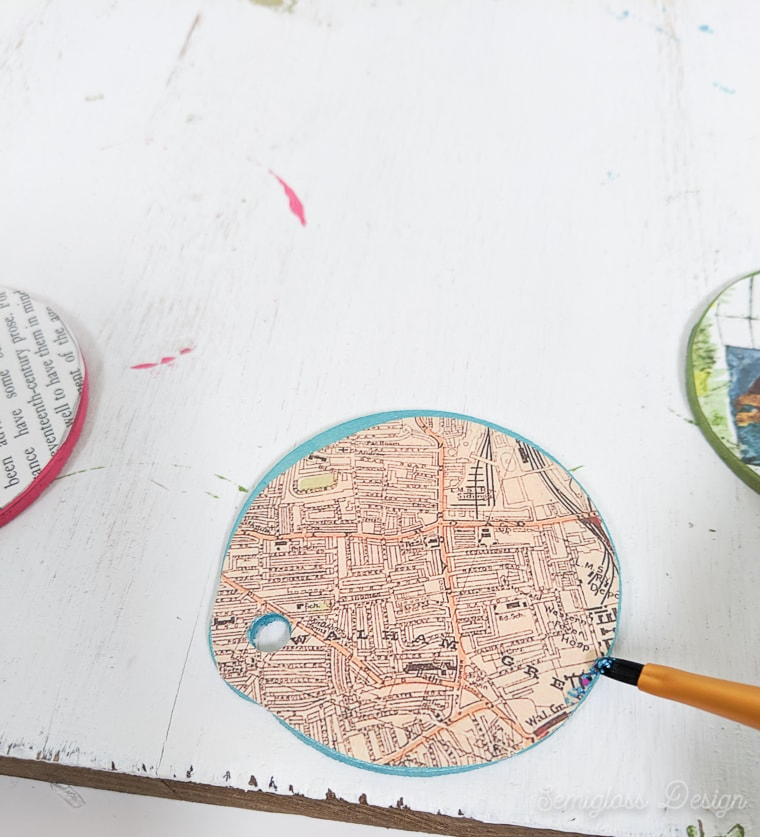
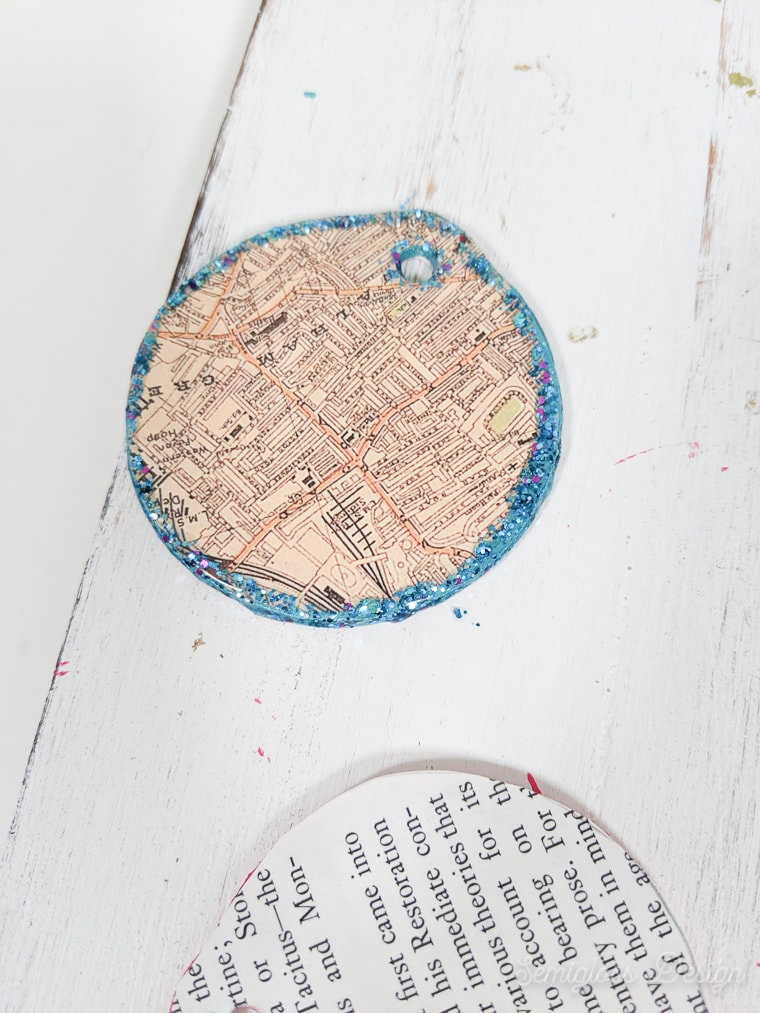
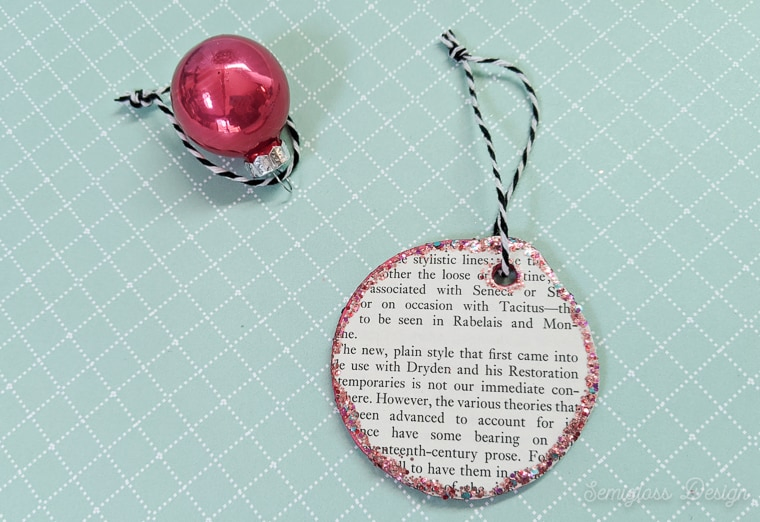
Applying Glitter to the Edges of the Ornament
Look, I get it. Glitter is the worst. But glitter paint allows you to have shiny goodness without the mess. It’s life-changing…
- Use a small round craft paintbrush to apply glitter paint to the edges.

- When using glitter paint, you really want to glob it on for full coverage. Be super generous.
- If your edges are wobbly, you can use a brush to straighten the edges a bit.
- Don’t forget the hole for the string!
Attaching the String to the Ornament
I use simple baker’s twine to tie a loop for my ornaments. I love the graphic quality of the black and white string.
You can use twine or even ribbon for a rustic look.
More Handmade Ornaments to Make
Christmas ornaments are so much fun to make. Here are some of my favorites.
If you love this technique, be sure to check out my napkin decoupage ornaments. Paper napkins come in the prettiest patterns, so it’s possible to use them to create beautiful DIY ornaments.
These paint swirl ornaments are so easy to make. They’re perfect for making with kids, by the way!
Glitter ornaments are a great way to add more glitz and glam to your tree.
Looking for more shine? Why not add gold leaf to your ornaments? This easy technique makes DIY ornaments shine!
Pin for Later!


Emy is a vintage obsessed mama of 2 DIYer who loves sharing affordable solutions for common home problems. You don’t need a giant budget to create a lovely home. Read more…


For the wooden ornament, mine cracker after due to the moisture , any tips to avoid that from happening?
I haven’t had that happen with the thin wood blanks that I use, but I’ve heard of it happening with the log slice type. My only suggestion is to use less glue and place it somewhere that allows it to dry slowly.