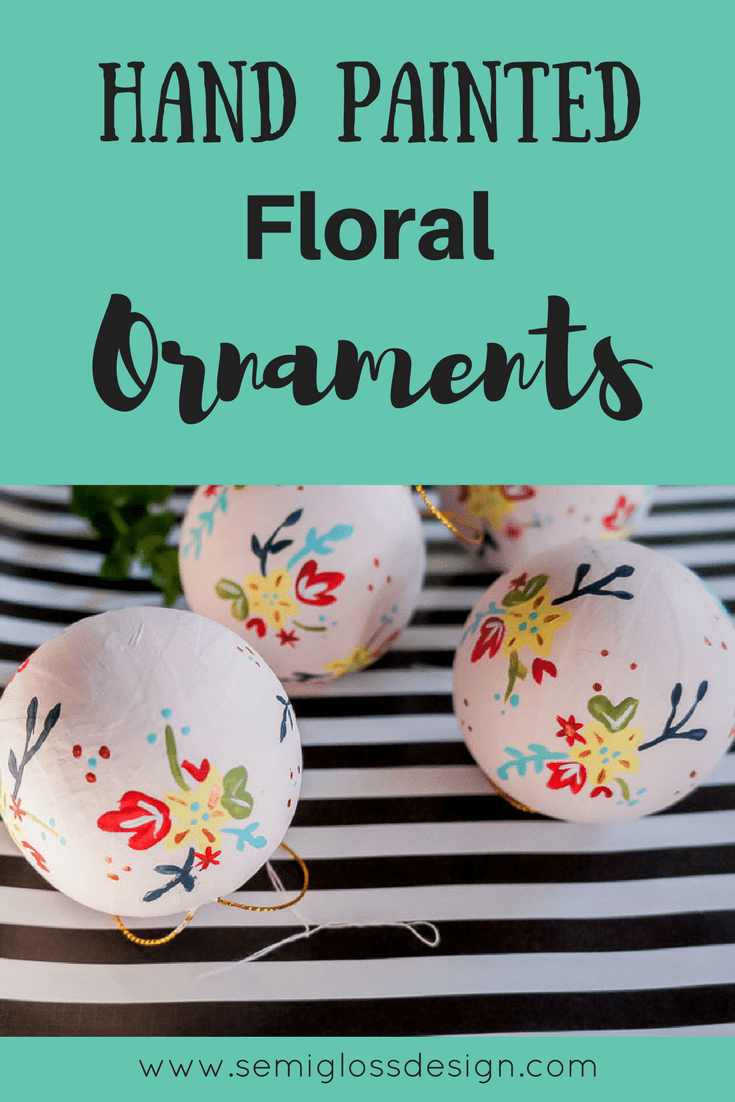
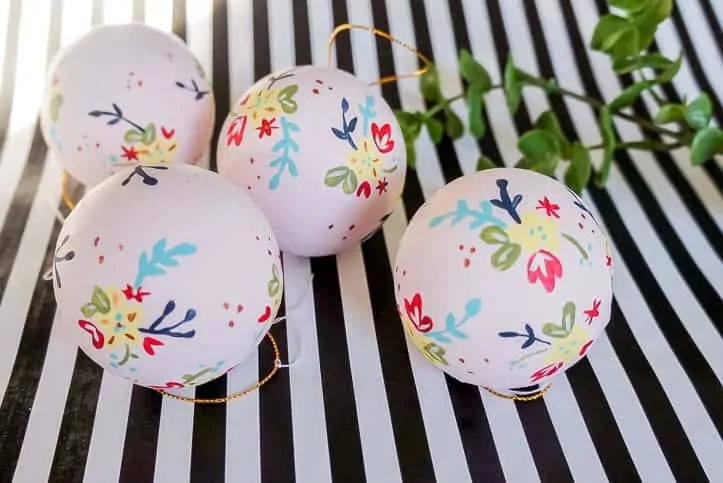
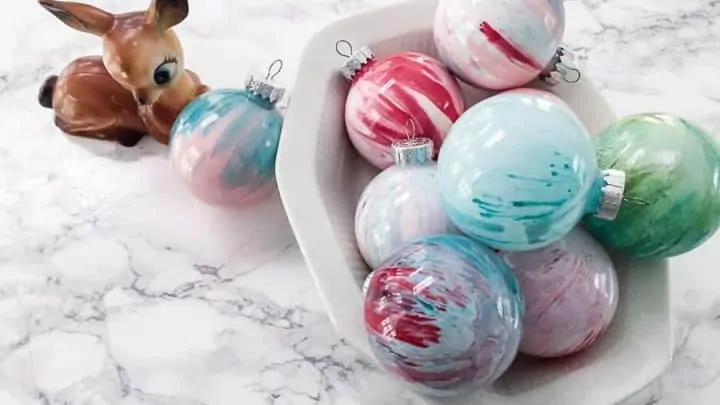
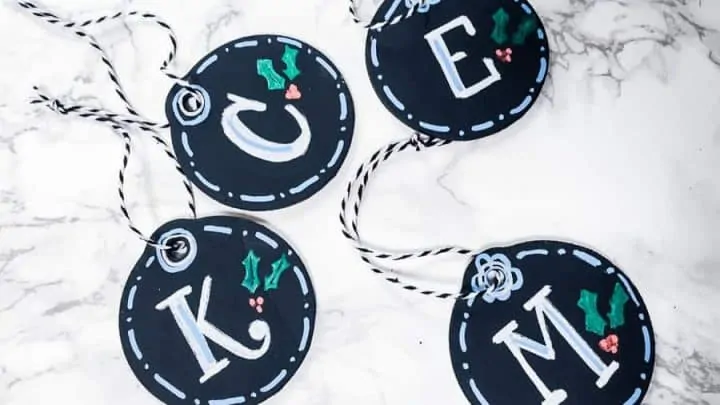
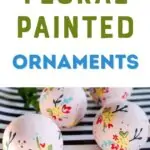
Learn how to paint your own hand-painted floral Christmas ornaments.
If “hand-painted” sounds scary, this post is for you. These ornaments are painted with simple shapes and I’m going to share a little secret with you: the brush does most of the work.
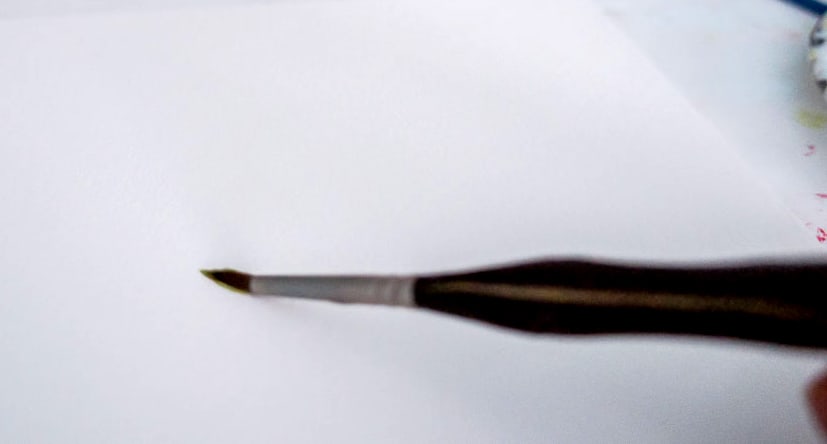
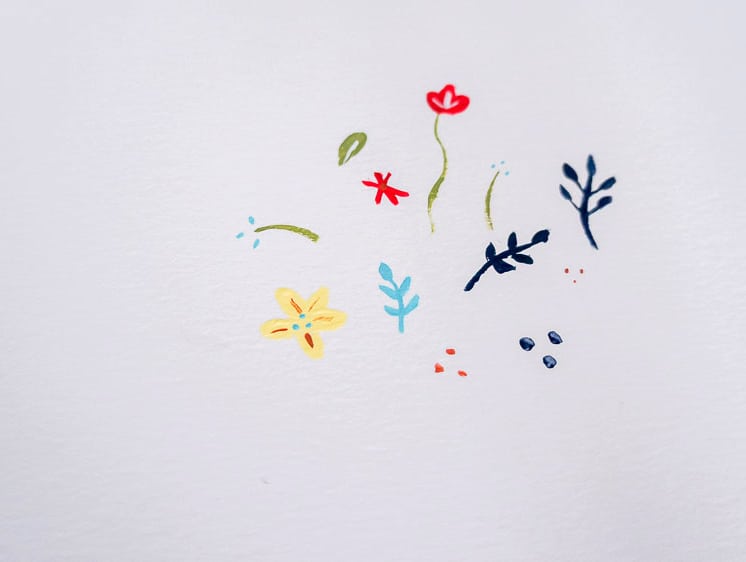
Start by practicing your floral paint strokes. Load your #3 round brush with paint and press it against a piece of paper. Tada! You made a leaf. If you join 5, you’ve made a flower. A stem is just a curved line made with your #0 brush. Use the #0 round brush to make dots. These are fun to add, but also make great flower buds on stems. You can also use the #0 brush to add details to the flowers. Add leaves to stems for a fun piece of foliage. If you want roses (not shown), just paint a circle and add a few curved lines. The simplicity of these flowers is what makes them so cute.
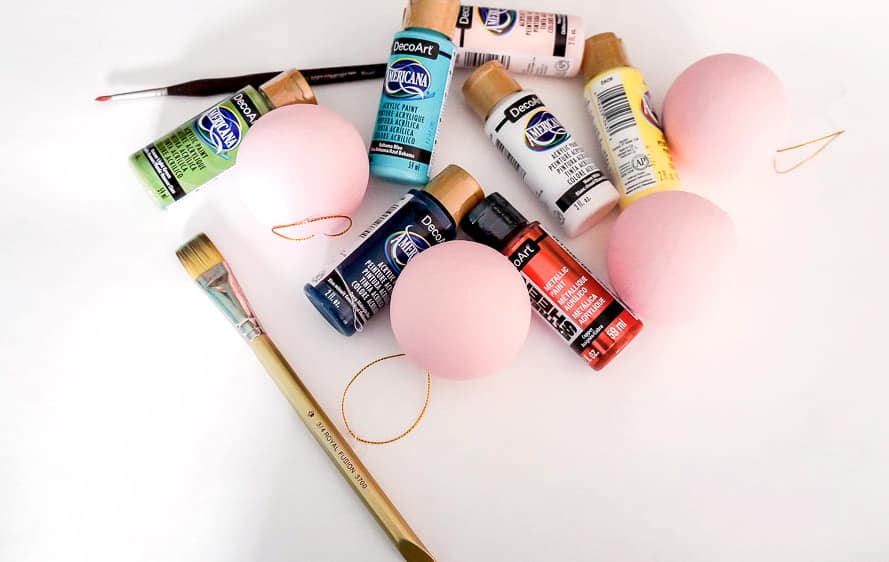
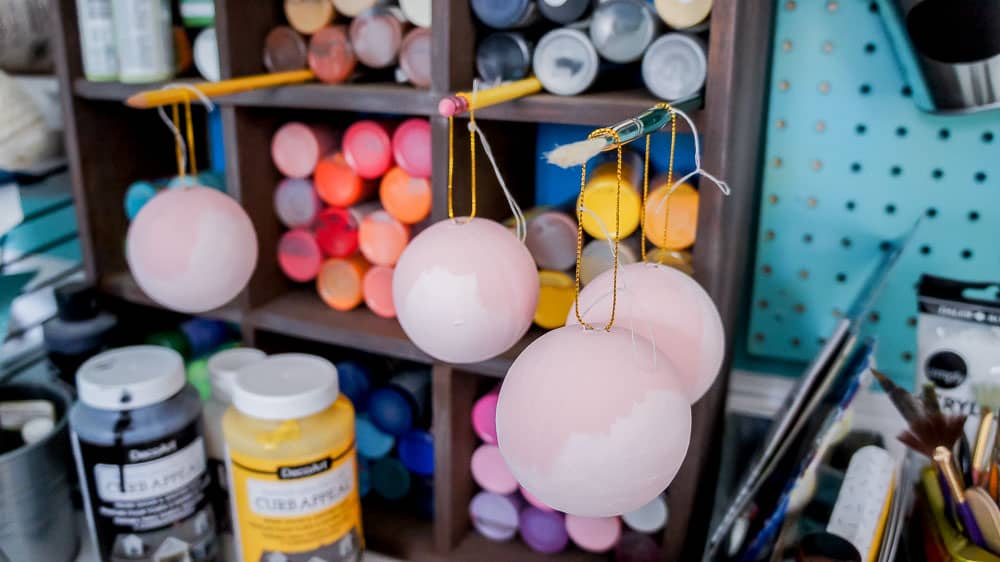
Paint your ornament the background color. I used pink chiffon.
I hung my ornaments to let them dry between coats. You can keep practicing your flowers while they dry. It doesn’t take very long though.
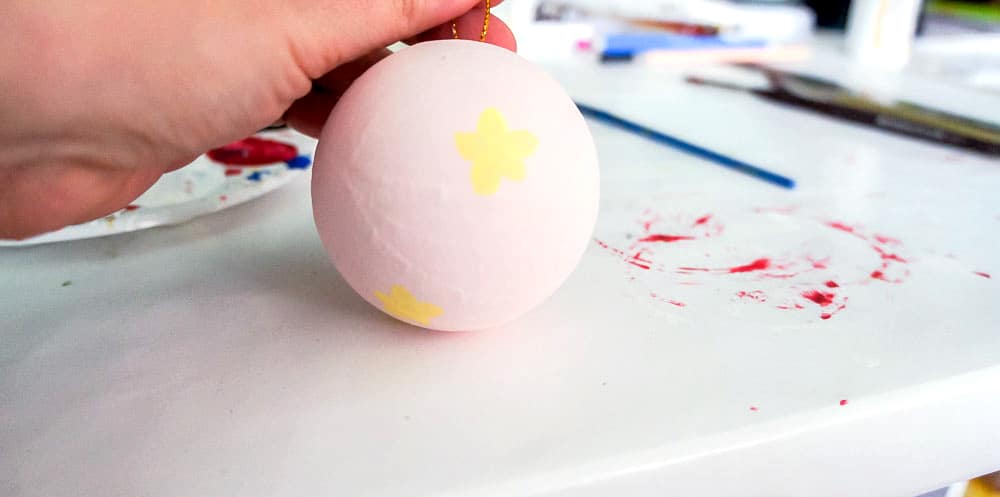
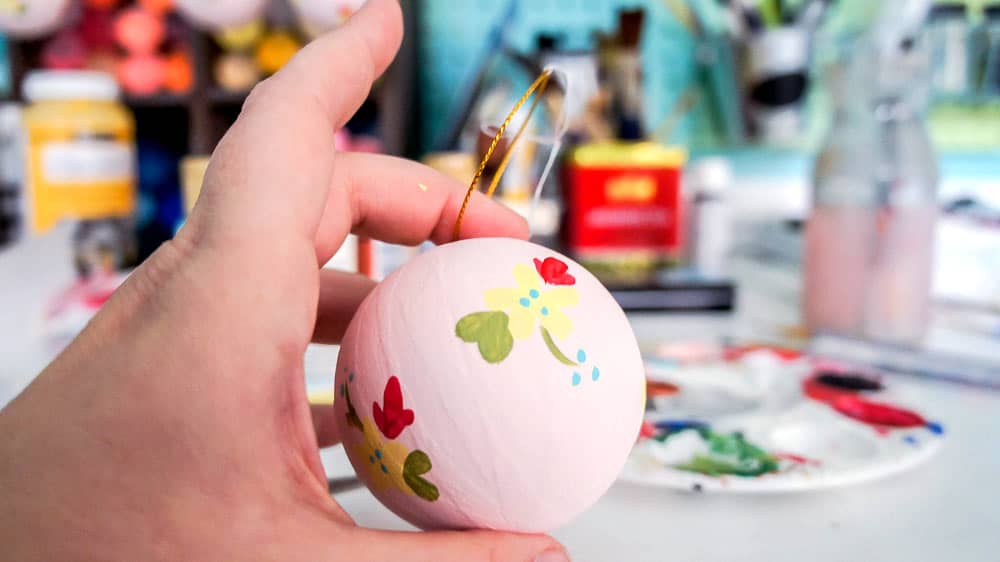
Once dry, I started with my first set of flowers.
I used pineapple (a light yellow) to add flowers around the ornaments. As previously stated, this shape consists of 5 leaf shapes from pressing my brush down to form a flower shape.
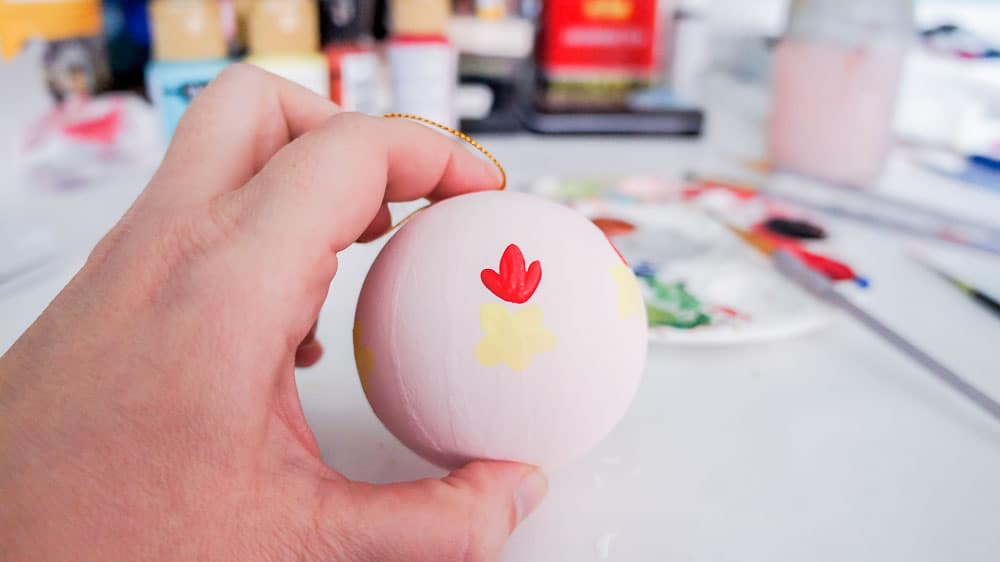
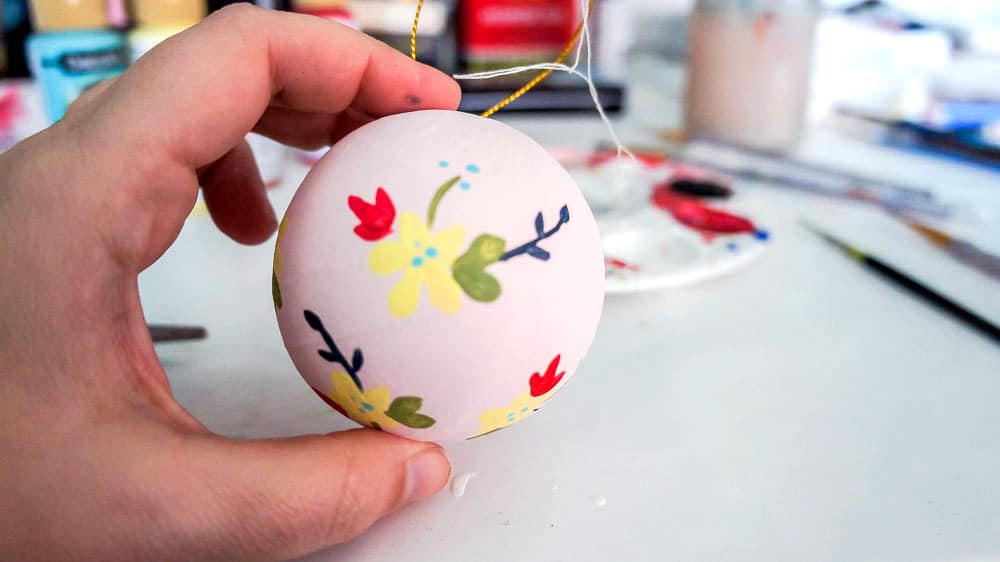
Then I added more flowers. This time I used primary red to make tulip type flowers. I used a variation of 2-3 leaves per bloom.
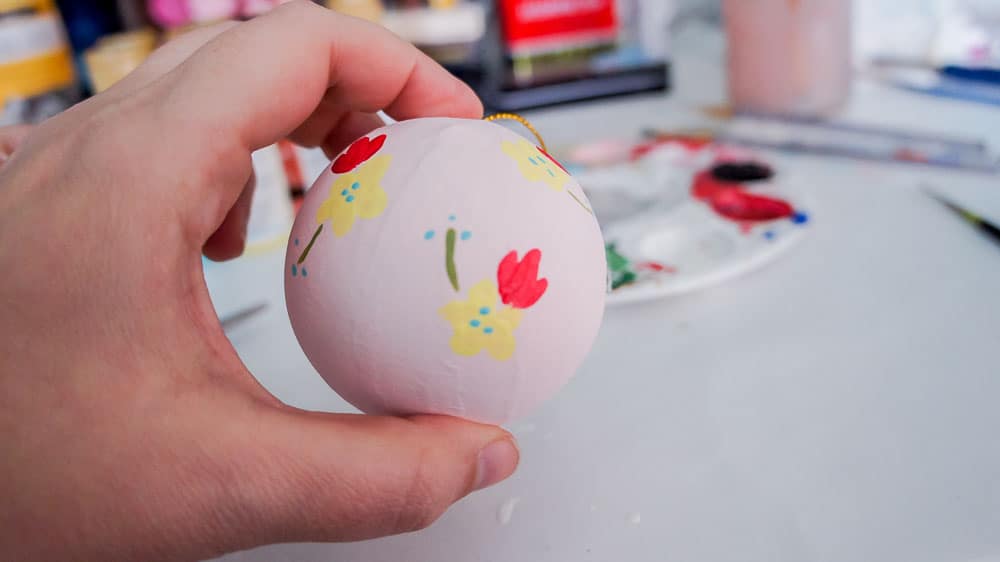
Next, I used hauser light green to paint stems. Then I used Bahama blue to add dots to the center of the yellow leaves and to the stems to look like flower buds.
Next, I added leaves with the hauser light green.
Then, I added foliage with deep midnight blue.
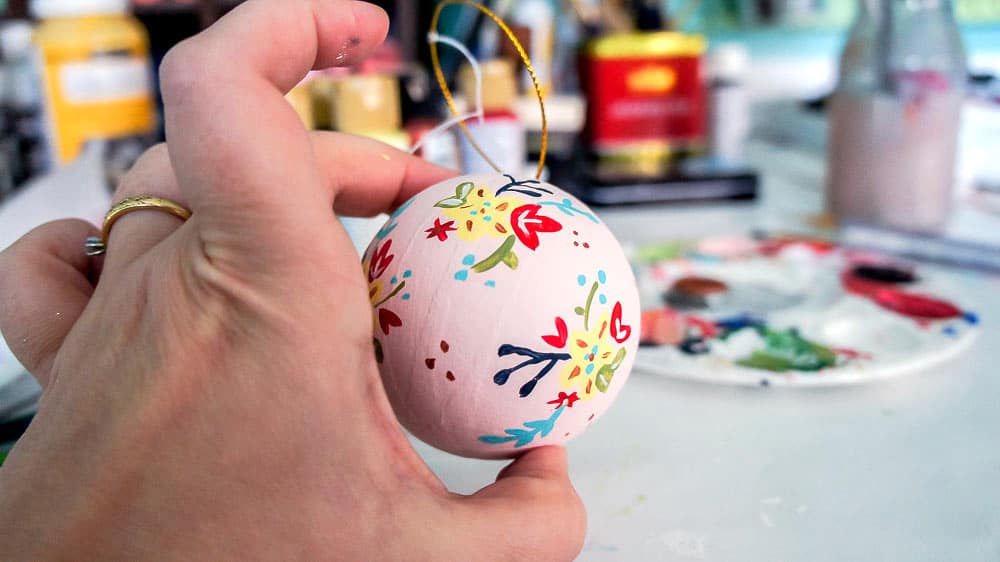
I kept adding details as I went. Warm white was used to accent the flowers. The copper was added for details as well.
Add as many details to your hand painted floral ornaments as you want.
If you mess up during this process, just let it dry, paint over it with your base color and try again.
If you’ve tried to paint before and have struggled, get round tipped paint brushes. They are very versatile and make painting so easy.
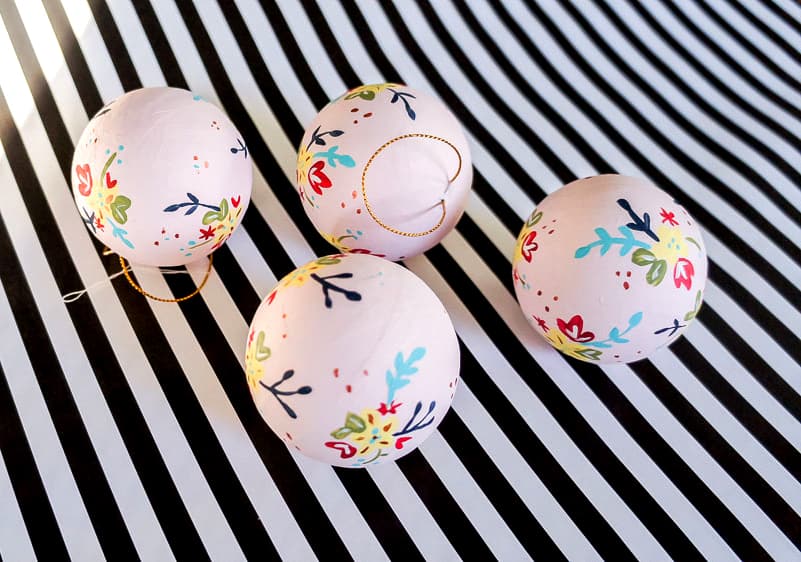
Don’t worry too much if your flowers aren’t perfect on your hand-painted Christmas ornaments.
They’re “organic” and have character. Besides, you want them to look hand-painted.
Would it be weird to set up my Christmas tree this early? 😉
Emy is a vintage obsessed mama of 2 DIYer who loves sharing affordable solutions for common home problems. You don’t need a giant budget to create a lovely home. Read more…


these are so pretty! you painted them so well. hope the weekend went well for you!