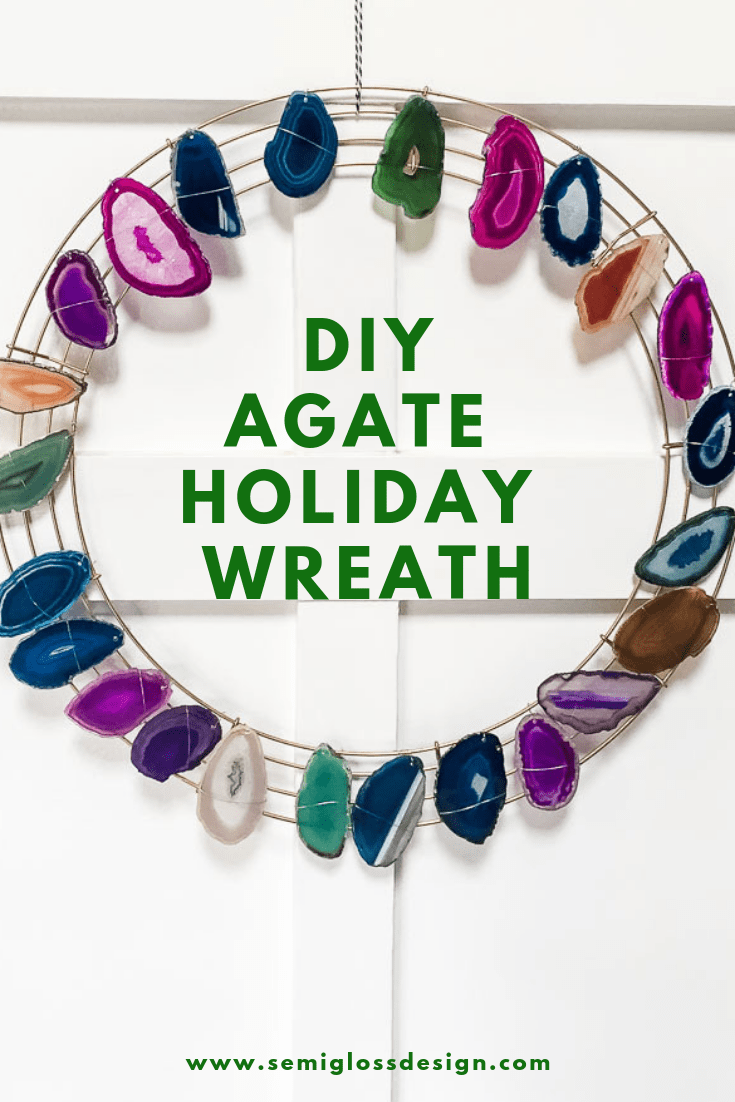
How to Make a Boho DIY Wreath with Agate Slices
Learn how to make a boho DIY wreath with agate slices. I love unusual wreaths, like my mushroom wreath!
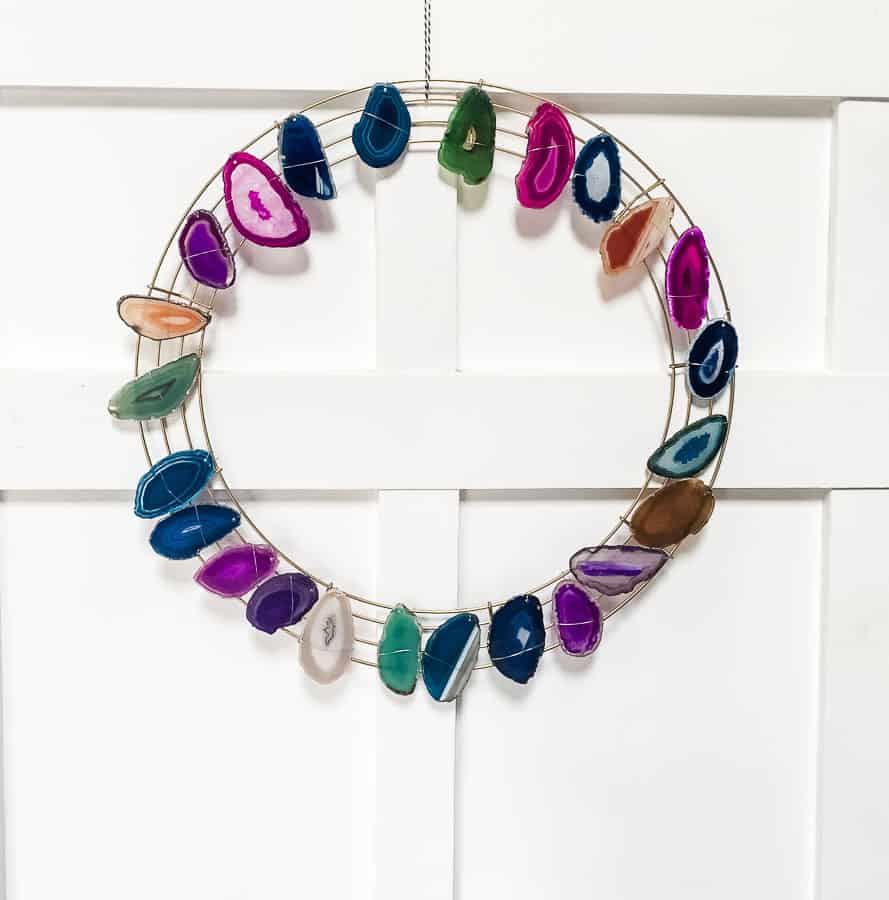
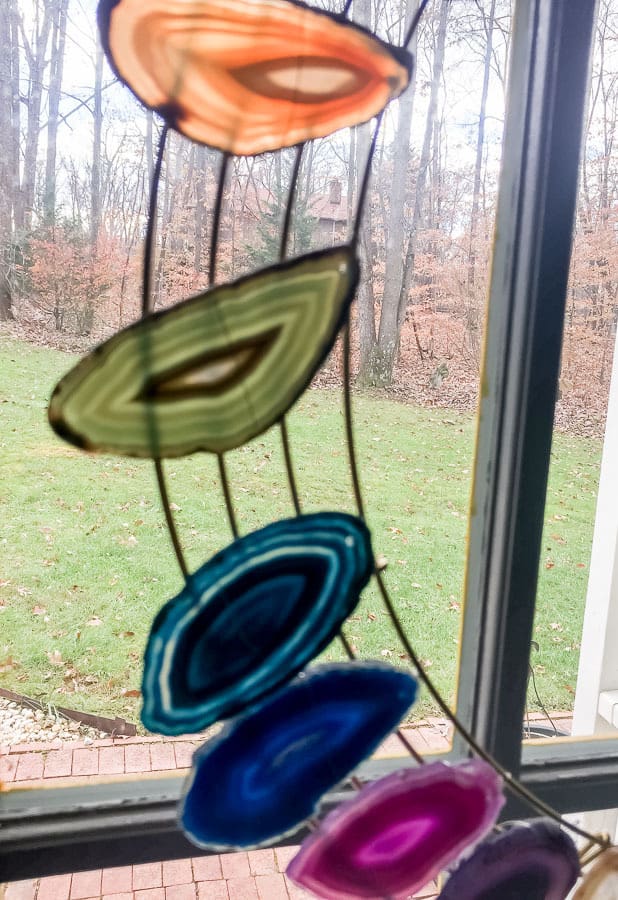
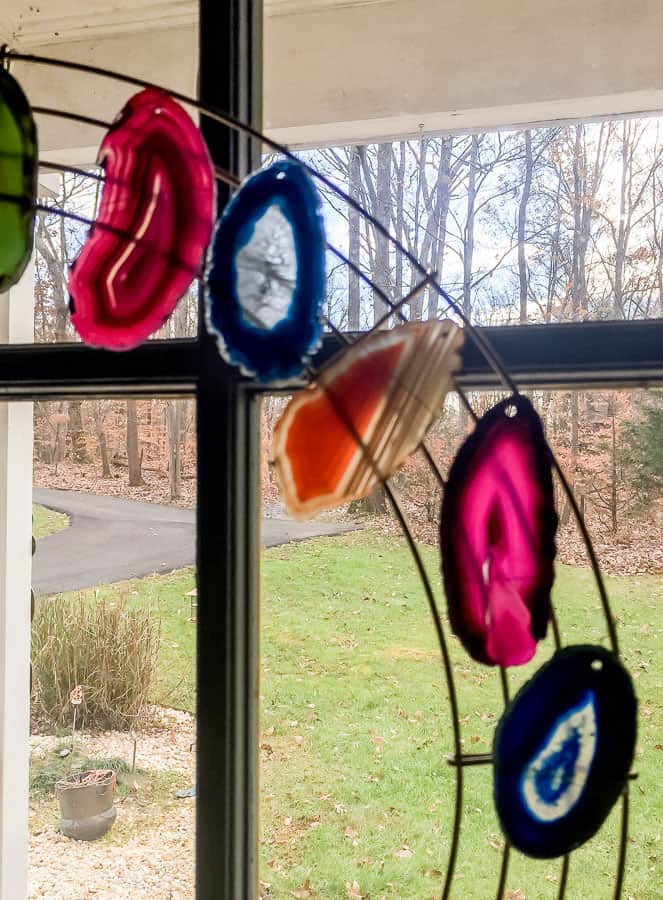
This might be my favorite project that I’ve ever made. I love the look of agate slices (I’ve been dying to make these lamp finials!) This wreath is a bit delicate and definitely for indoor use only. Place it on a window to let the light stream through the agate!
How to Make a Boho DIY Wreath with Agate Slices
Supplies Needed
This post contains affiliate links. By purchasing an item through an affiliate link, I earn a small commission at no extra cost to you.
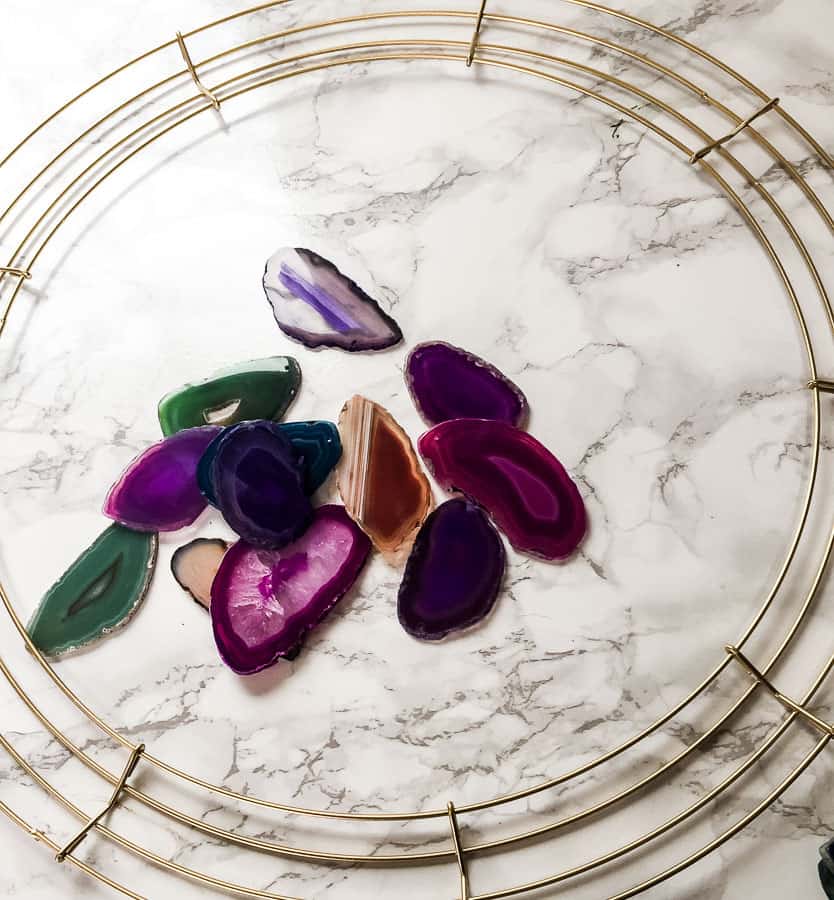
- Agate slices (this is a good deal on a large pack. The variety of colors in the pack that I received was perfect.)
- 16″ Wire wreath from
- Gold spray paint (I love this gold spray paint!)
- Wire
- Wire cutters
- Pliers
- Wreath hanger
- Spray the wreath form gold with spray paint and let it dry.

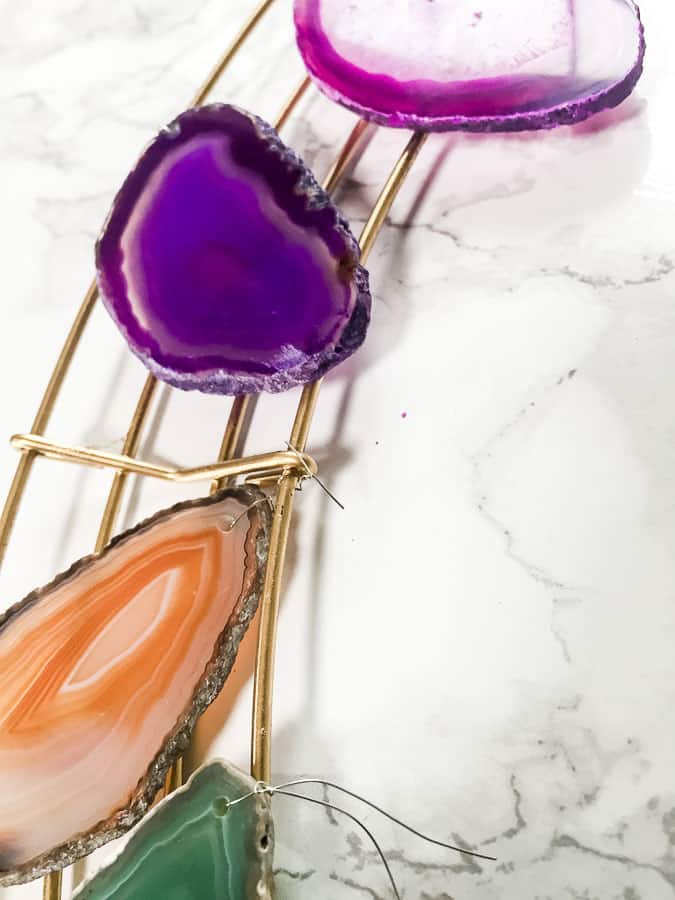
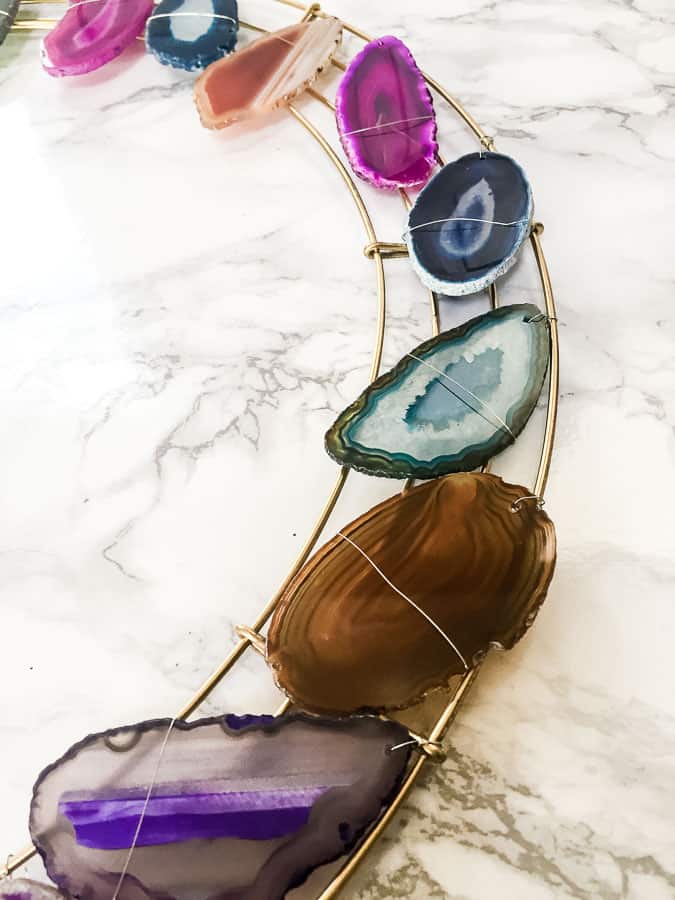
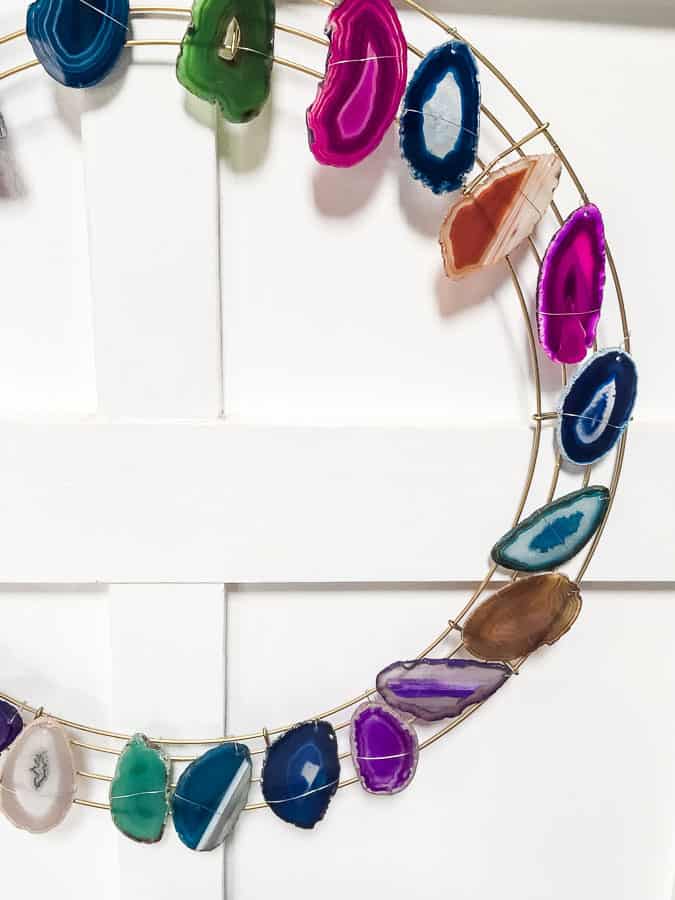
- Lay out the agate slices on the wreath form to figure out where you want each one placed. I tried to vary the color pattern.

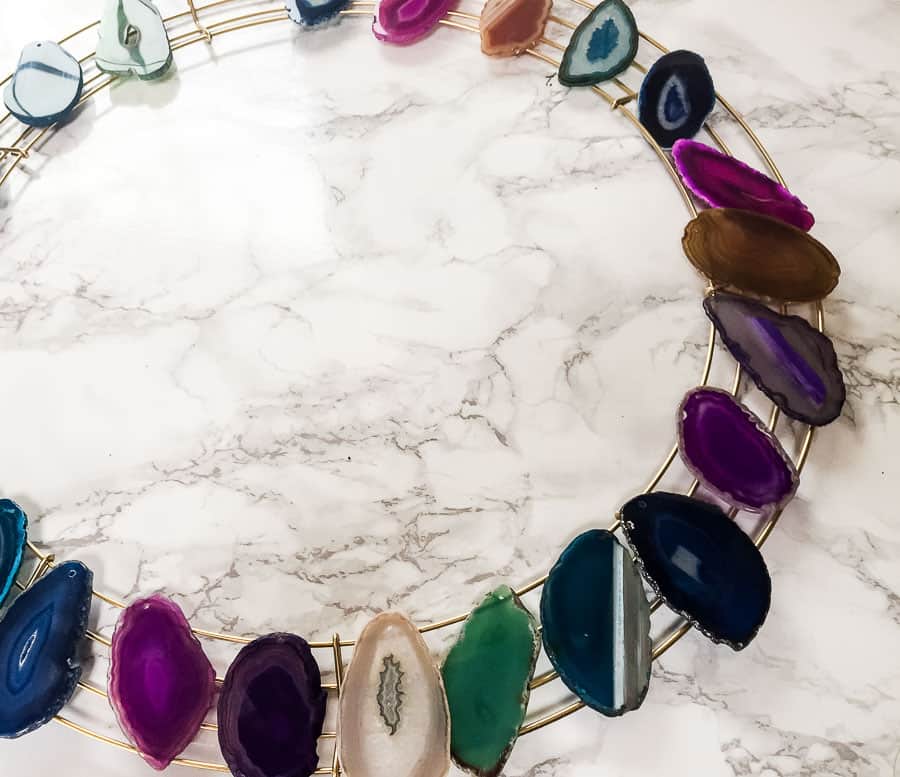
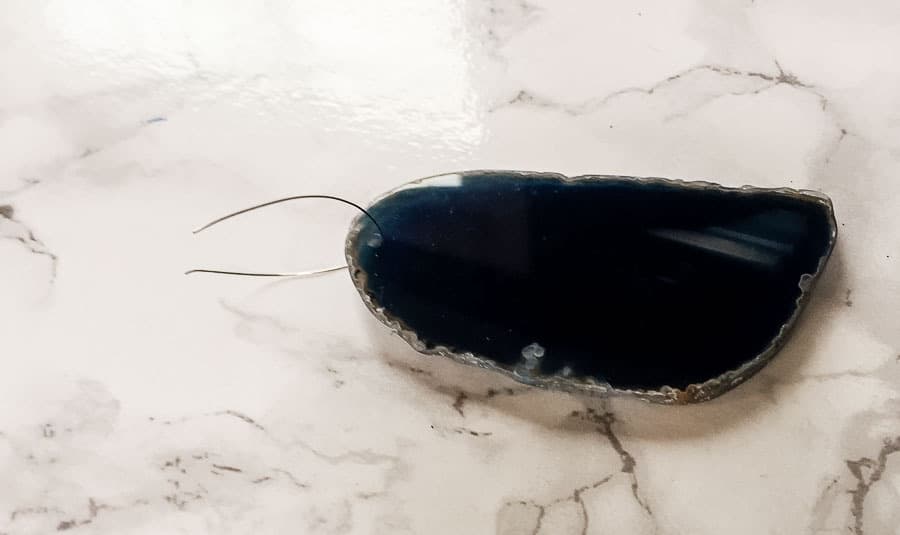
- Start wiring each agate slice. The pack I bought came predrilled in one spot. Place wire through the hole and twist the wire to secure it.

- Attach each agate slice to the wreath form using the wire. Some will hang funny because of gravity. We’ll fix that in the next step.

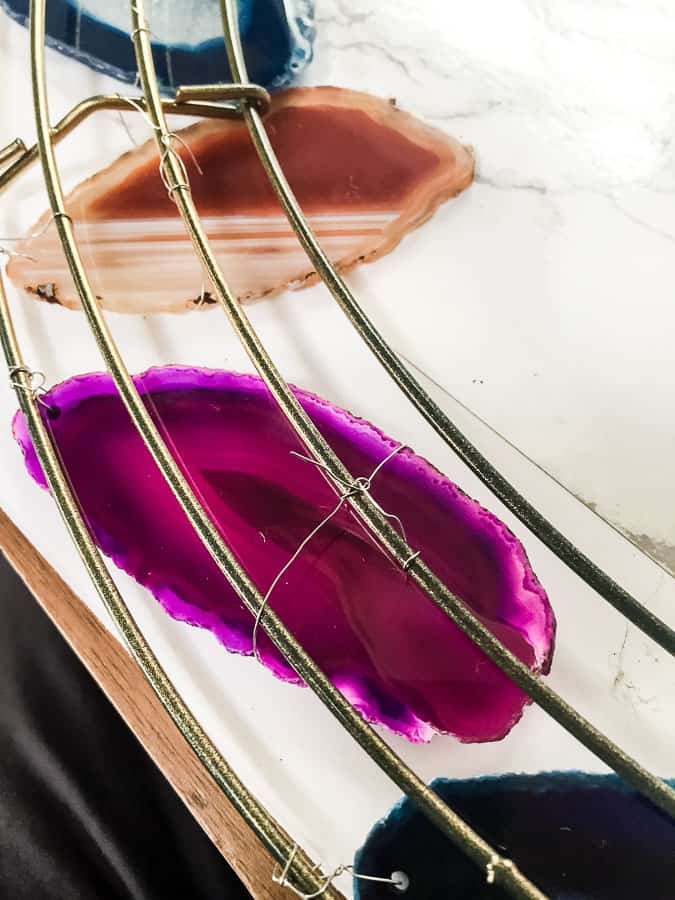
- Cut longer lengths of wire to place around the middle or bottom parts of each agate slice and secure it to the wreath form. Use pliers to get the wire tight.
- Flip the wreath over and tighten the wire. Use the wreath form to secure the wire in several places if necessary. Some agate slices need more help than others.
- Hold the wreath upright to see which agate slices still need help and tighten the wires as needed.
- Hang your DIY Christmas wreath and enjoy it.

I love how my agate wreath looks with light streaming through it. The colors look so much brighter and almost rainbow like.
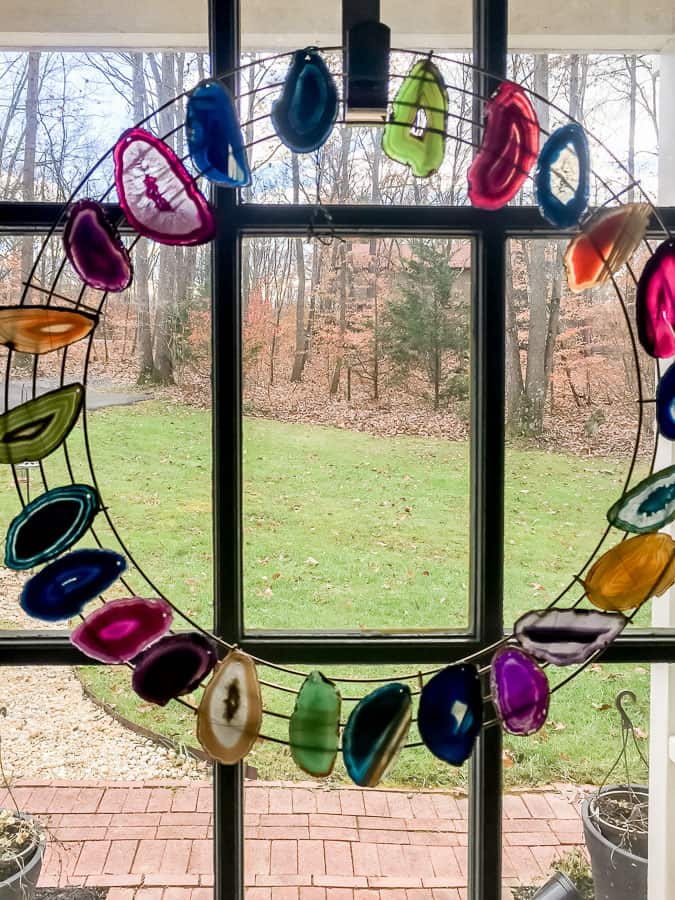
Isn’t it pretty?
Looking for more Boho decor ideas?
- Indian Inlay Stenciled Mirror
- Stenciled Fireplace Surround
- DIY Chalkboard from Vintage Frame
- Tropical Leaf Vase
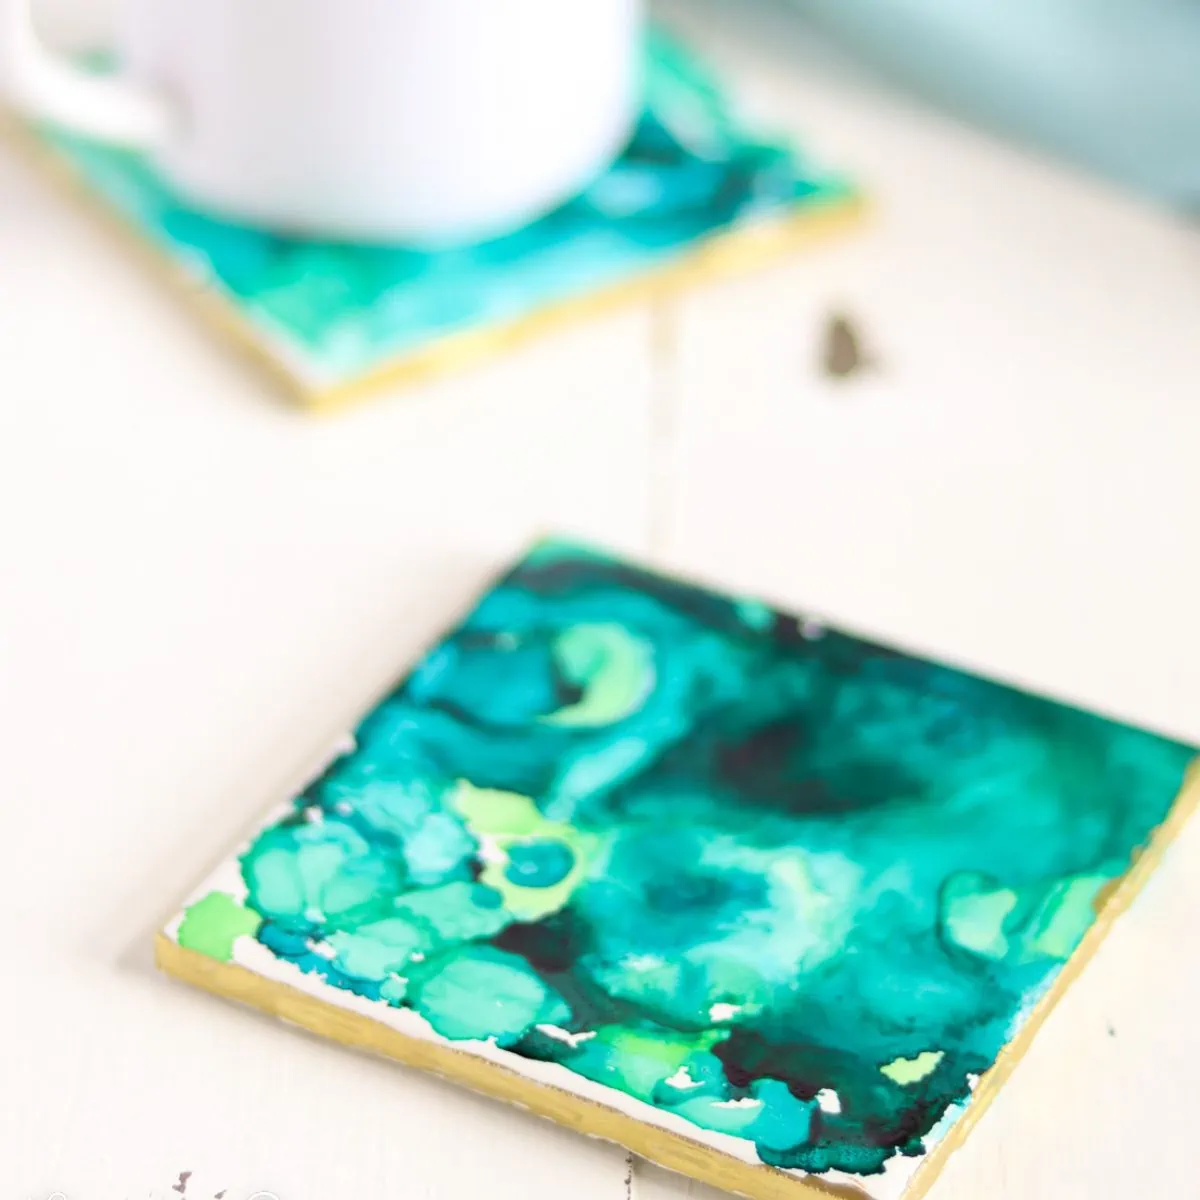
- Paint pour coasters
Pin for Later!

Emy is a vintage obsessed mama of 2 DIYer who loves sharing affordable solutions for common home problems. You don’t need a giant budget to create a lovely home. Read more…