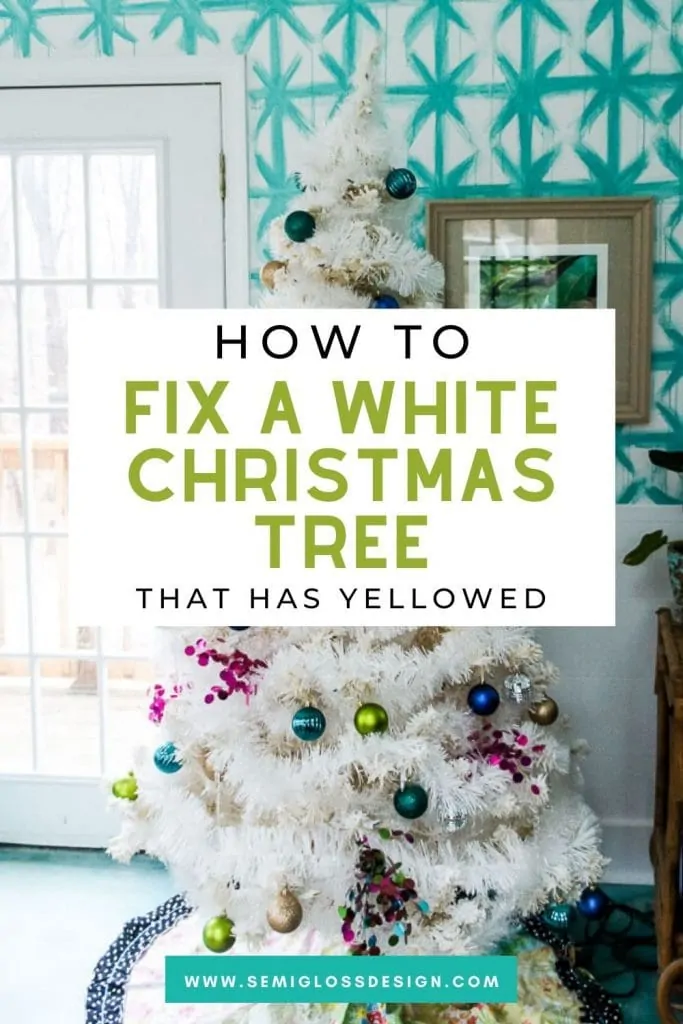
DIY Flocked Christmas Tree: Saving a Yellowed White Christmas Tree
Learn how to make a DIY flocked Christmas tree.
Flocking a Christmas tree is a great way to add a snowy look or even give an old tree new life.

This post contains affiliate links. By purchasing an item through an affiliate link, I earn a small commission at no extra cost to you.
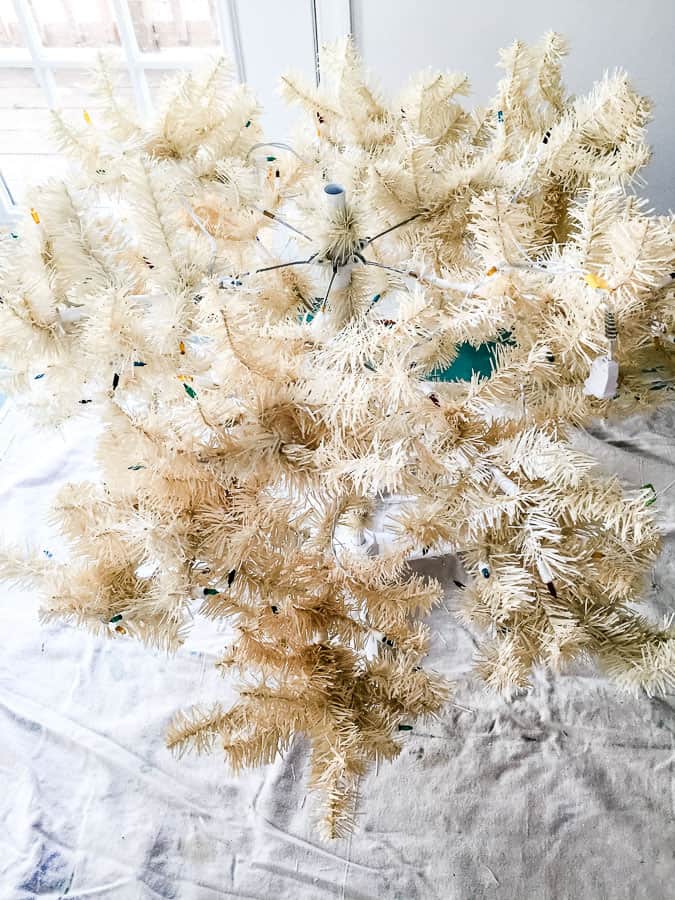
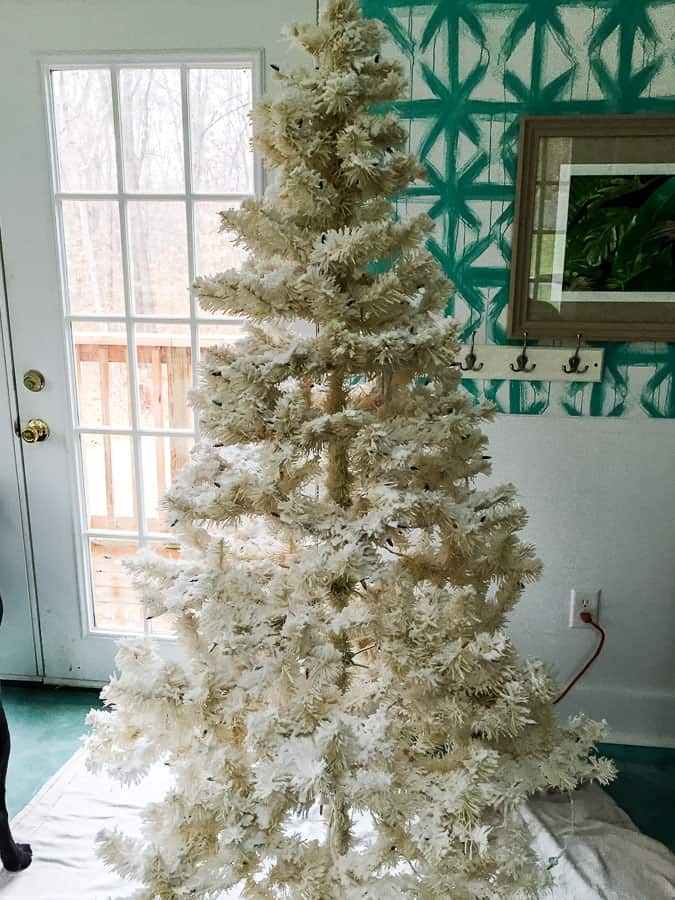
I love white Christmas trees, but they can yellow when stored in a hot attic. Guess where I store my Christmas decor? Yep.
Although the tree was pretty yellow when I brought it down, I was determined to get another year out of it. I hate the thought of it going into a landfill.
So I decided to flock my white Christmas tree to give it some new life and I love the results.
When I was growing up, the only way that you could flock a tree came out of a can! This method is a bit easier and a lot less toxic.
DIY Flocked Christmas Tree
Supplies Needed
- Christmas Tree
- Snow Flock (I bought the 5 lb bag, but 2 lbs would have been enough for my 6′ tree)
- Spray bottle
- Kitchen Strainer*
- Drop cloth
*Don’t use your kitchen strainer for this. I used a large, inexpensive strainer that I bought specifically for this project.
Prep Work for Flocking a Tree
There’s no need to remove the lights from your tree. Just make sure that it’s not plugged in and try not to cover the ends of the cords with flocking.
Let dry completely before plugging the lights in.
Test the lights to make sure they work beforehand, but be sure to unplug the cord from the wall.
- Protect your work area. I used a drop cloth folded in half, but I should have laid out the whole thing. This process makes a larger mess than I thought it would.
- If your tree comes in pieces, do each piece separately. Start with the bottom. Set it up as normal and fluff out the branches.

How to Flock a Christmas Tree
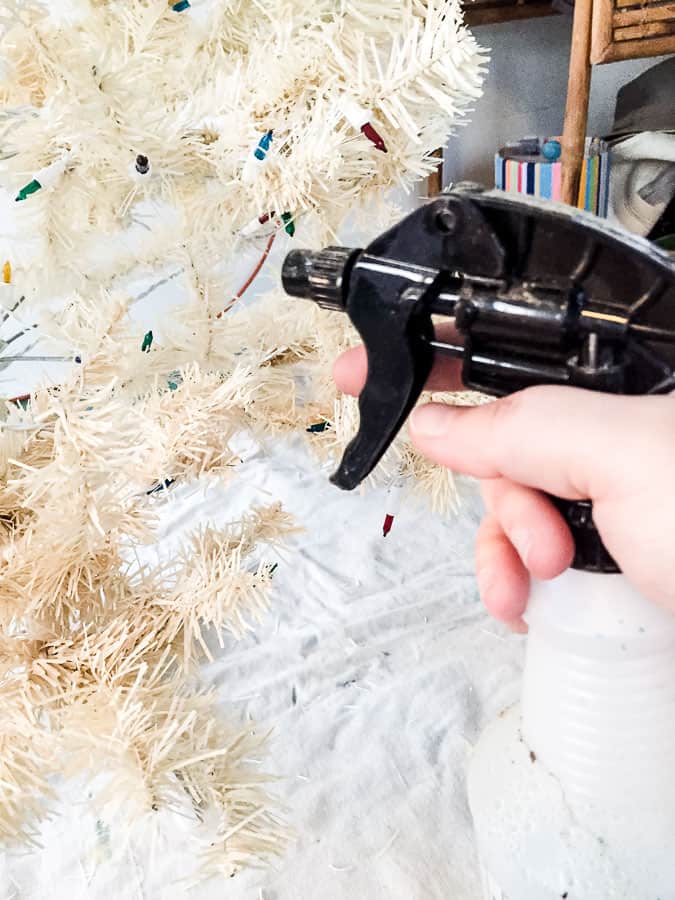
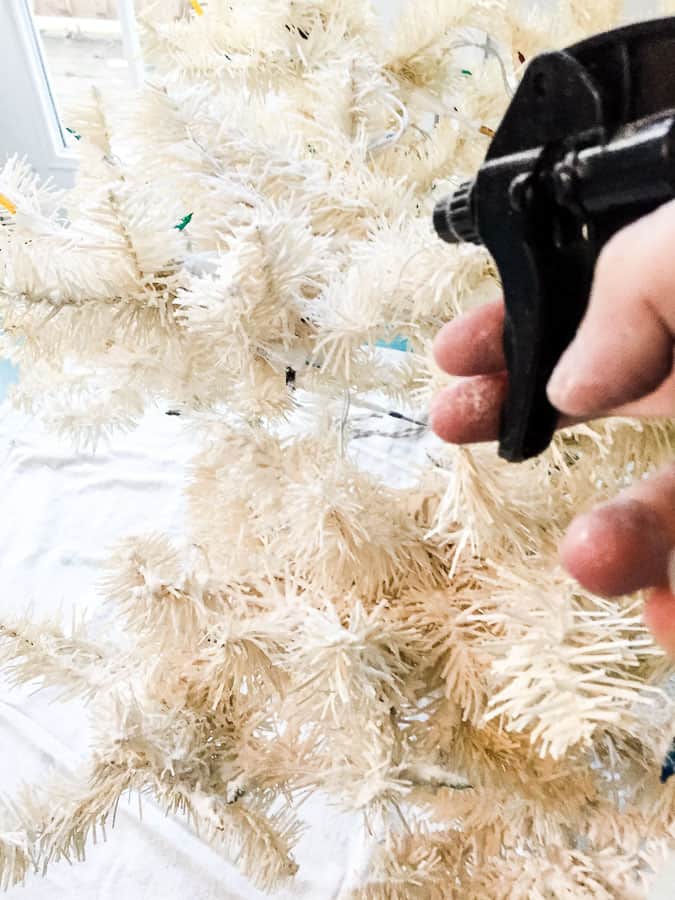
- Use a spray bottle to spray the tree with water. I worked in small sections to make sure that the area I was working in stayed wet.
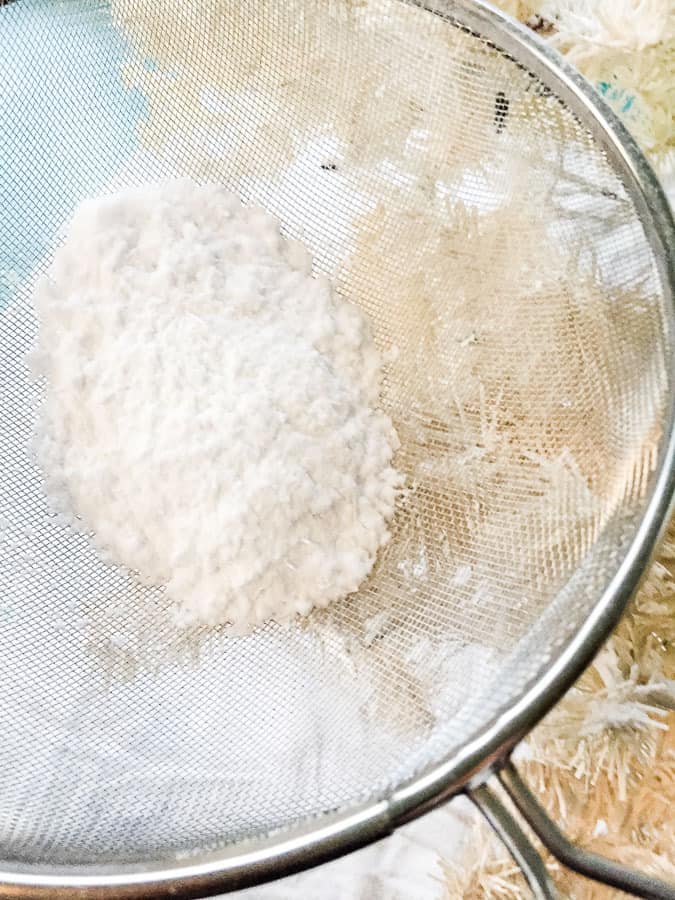
- Use the strainer to sift flocking onto the limbs while the branches are wet. (I found it easiest to use a cup to scoop the flocking into the strainer.)
- Move the strainer around to cover the branches. Each time you empty the strainer, you will have bits of shiny “snow” left. Use your hands to sprinkle those bits onto the tree.
- Spray more water on top of the flocking as you go. The water activates the adhesive to make the snow flock stick to the tree and to itself.
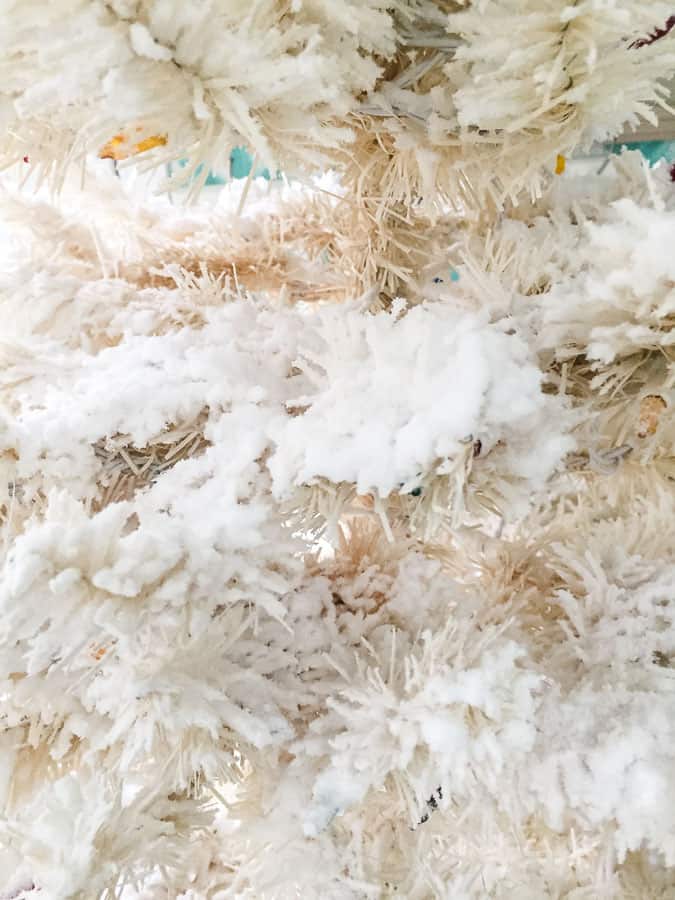
- Keep alternating the spraying and flocking until the bottom part of the tree is thick enough.
Lift branches if necessary to get full coverage. - Continue this process for the rest of the tree, remembering to spread the branches out as you assemble the tree.
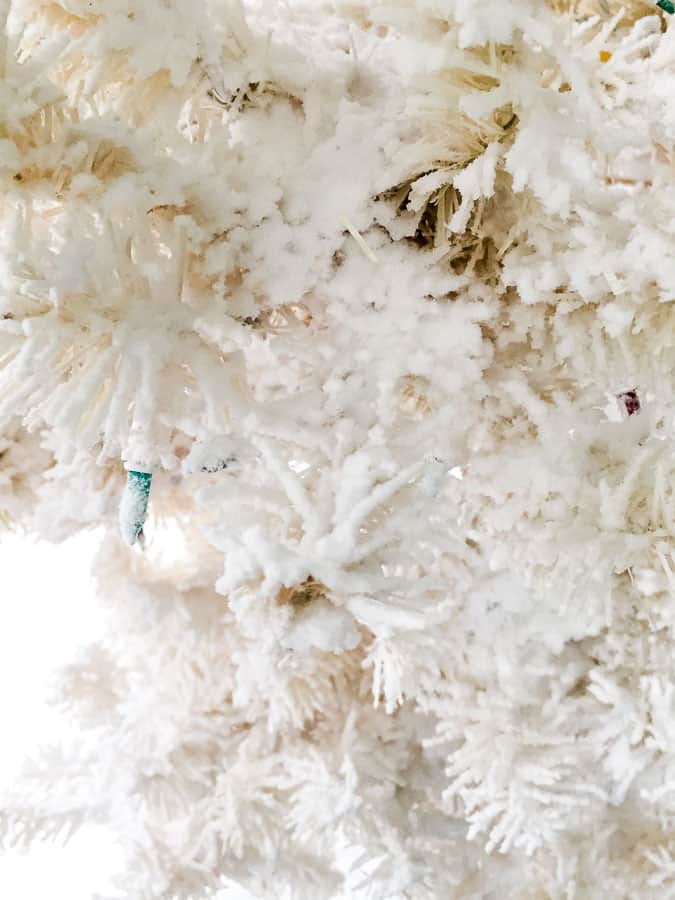
- The top is tricky, because the flocking sticks to the top of the branches (like snow). However, you can’t see the tops of the branches so the top part looks unfinished.
I did as best as I could using the strainer, but after that, I sprayed those branches again and dabbed snow underneath the branches using my hands. It goes on thick, but it works. - When you’re finished, spray the tree one last time. If you shake it and the flocking falls off, the tree needs to be sprayed with more water.
Tips for a DIY Flocked Christmas Tree
- This process is *much* messier than you think it will be. Don’t bother cleaning beforehand. And use a large tarp.
- Wear old clothes while working.
- Your shoes will be slippery after this process, so be careful.
- If you’re prone to lung irritation, wear a mask. You’re breathing the powder in.
- Same for skin irritation. Wear gloves if needed.
- Be heavy-handed with the flocking for thicker looking snow.
- This process is really easy, but it takes a while to get full coverage.
- If you need to, add a second coat of flocking after the 1st one dries.
- Any type of breeze spreads the snow more. Including the air from the heater.
- The snow flock can be cleaned with a mop if it gets on the floor.
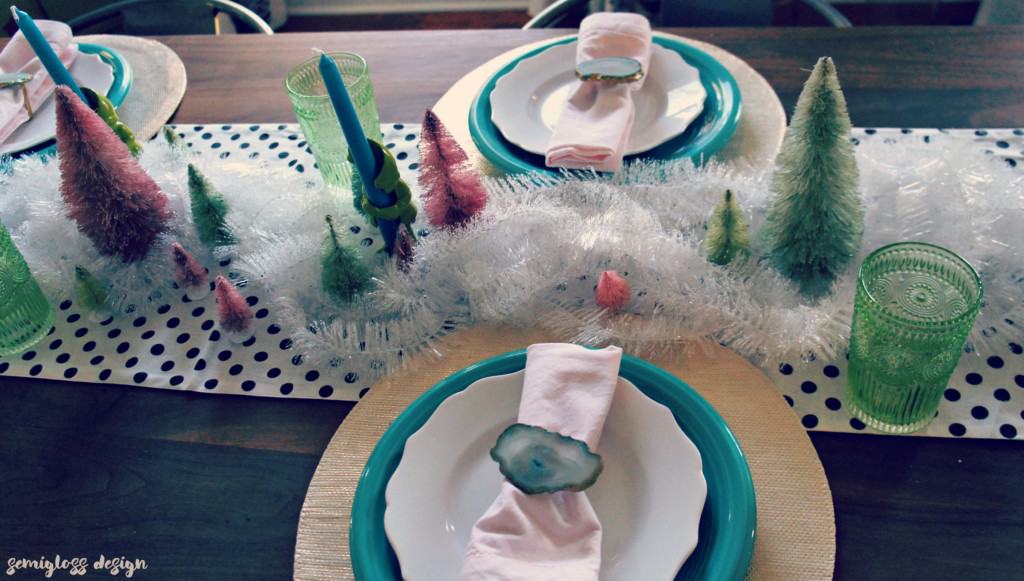
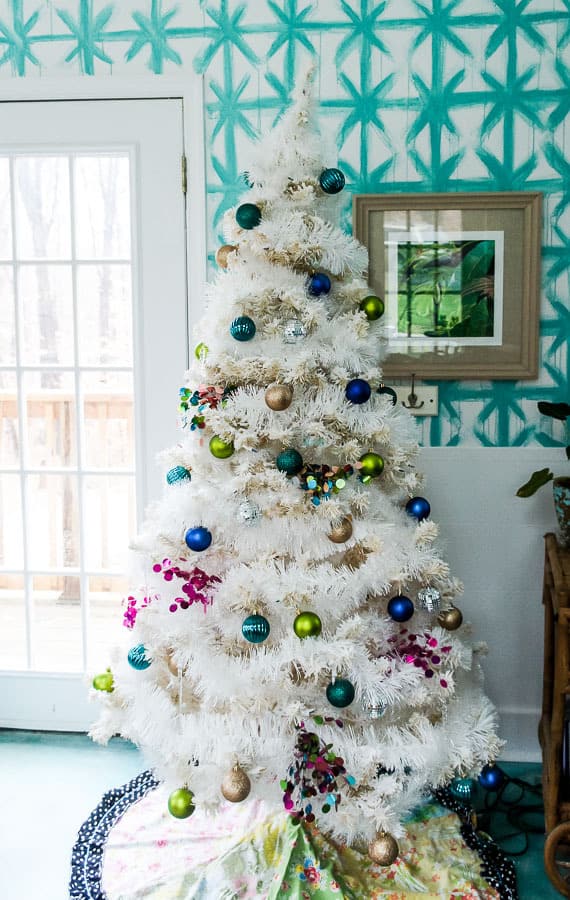
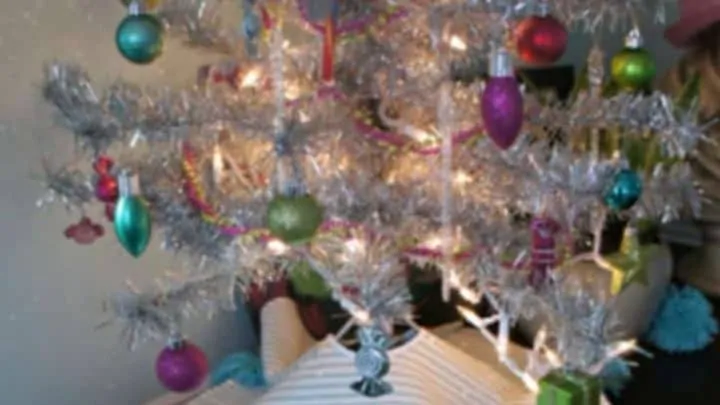
When the tree was dry, I added about 8 stands of white tinsel to the tree as well.
This is a good way to fluff up a wimpy, fake tree.
I love my DIY flocked Christmas tree!
This tree would look great with this retro tree topper!

DIY Christmas Decorations
Easy to make Christmas decorations for your home.


Looking for more Christmas inspiration?
- How to Make a Christmas Tree Skirt
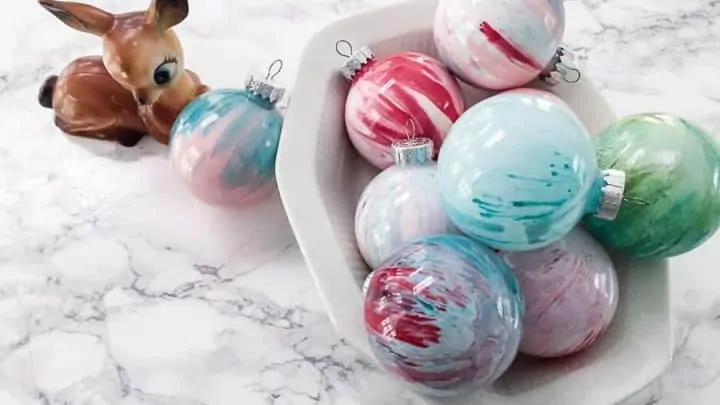
- Paint Swirl Ornaments
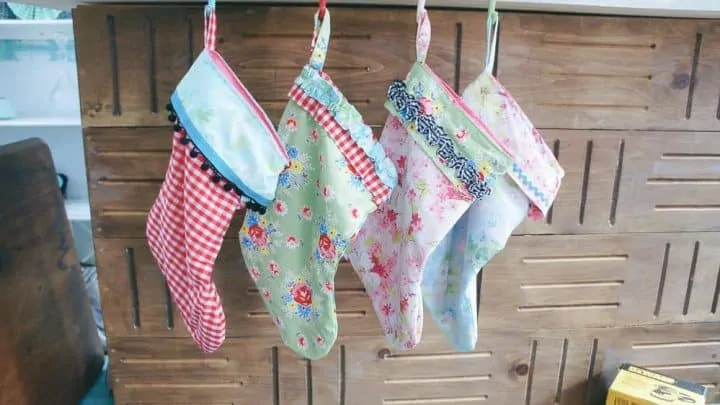
- DIY Christmas Stockings
- Agate Wreath
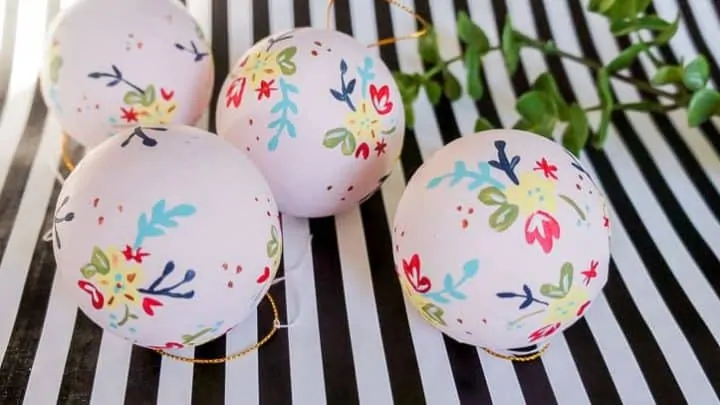
- Floral Painted Ornaments
Pin for Later!

Emy is a vintage obsessed mama of 2 DIYer who loves sharing affordable solutions for common home problems. You don’t need a giant budget to create a lovely home. Read more…