How to Make a DIY Chalkboard with a Vintage Frame
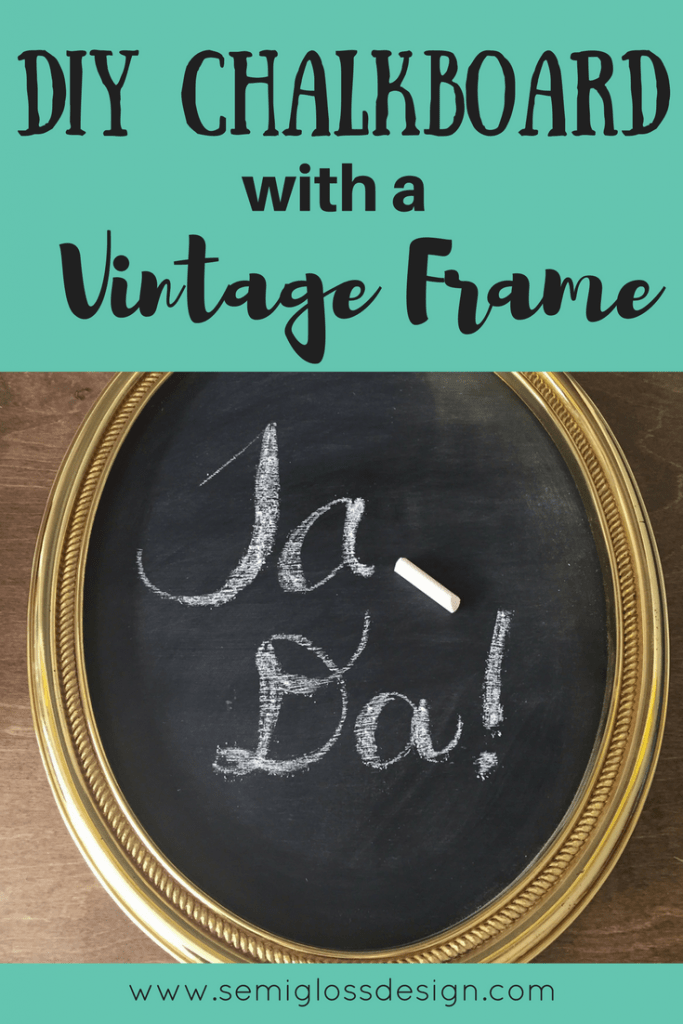
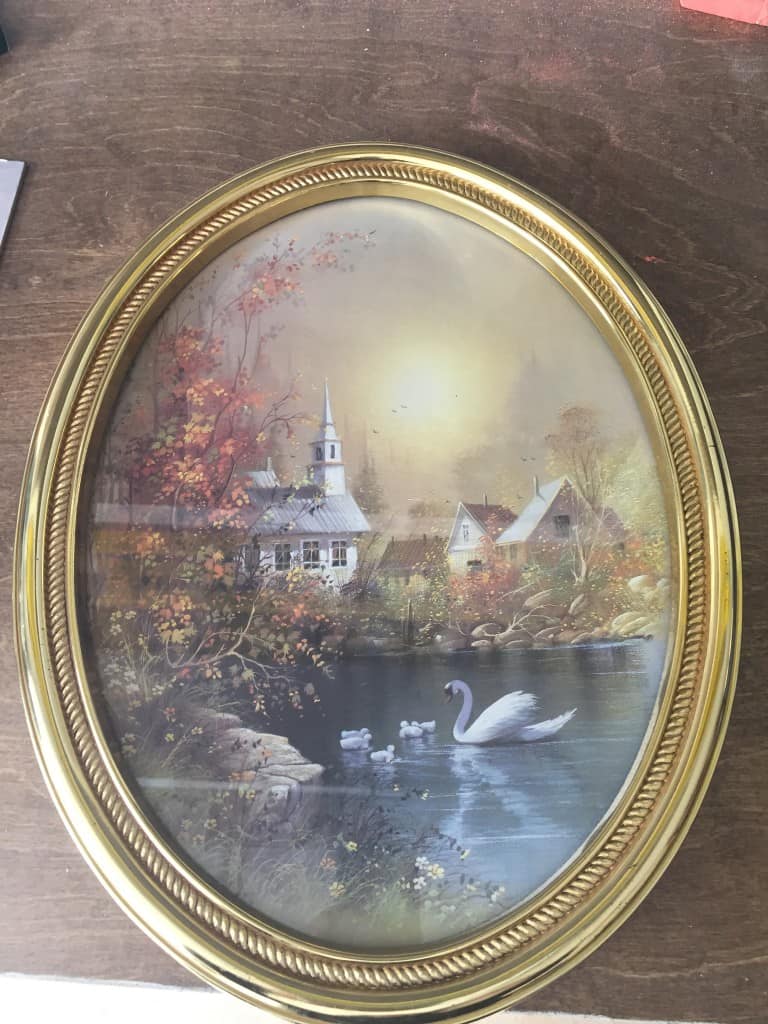
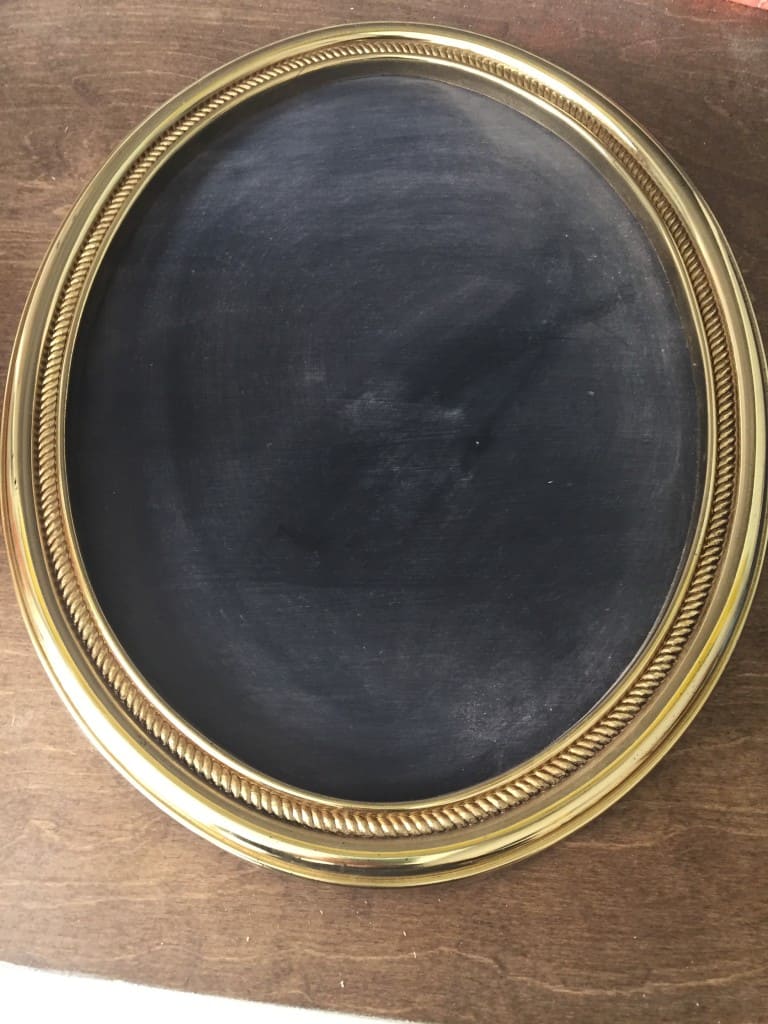
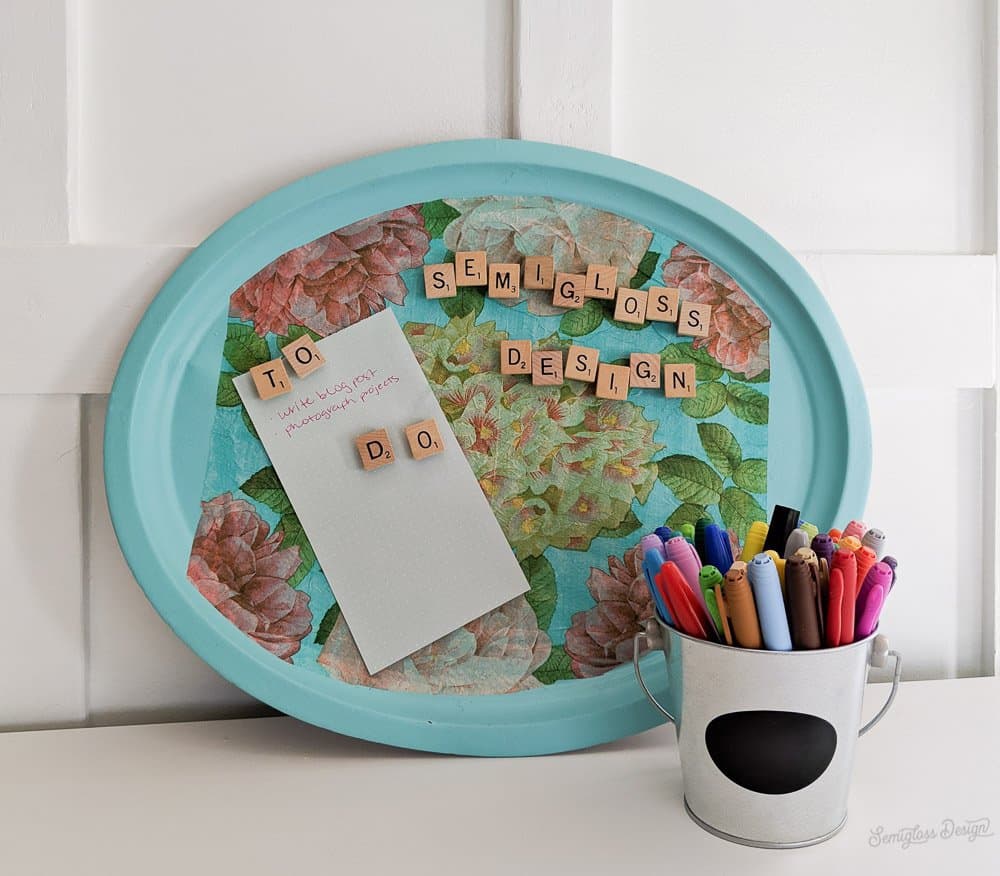
When thrifting, do you ever run across cool frames with *ahem* not cool art? I do all the time. Recently I came across 2 Syroco frames with dusty florals that just weren’t that cute. So I made them into chalkboard. Keep reading to learn how to repurpose old picture frames into a DIY chalkboard.
This is the kind of project that I procrastinated on for about a month, but ended up taking a few minutes to complete.
How to Repurpose Old Picture Frames into Chalkboards
Supplies
This post contains affiliate links. By purchasing an item through an affiliate link, I earn a small commission at no extra cost to you.
- Vintage frame
- Jigsaw
- Screwdriver
- Chalkboard sheet wood*
OR
*I already had luan that I had painted with chalkboard paint, but our local hardware store sells pre-painted chalkboard sheet wood. You could also paint your own luan or even paint the existing art or glass. I’ve painted plexiglass with chalkboard paint in the past and it held up well.
**One more note: I do NOT recommend using chalk markers with painted chalkboards. They seem to become permanent. Just stick with chalk.****
- Find an old picture frame to repurpose. You can spray paint it a fun color if you want.
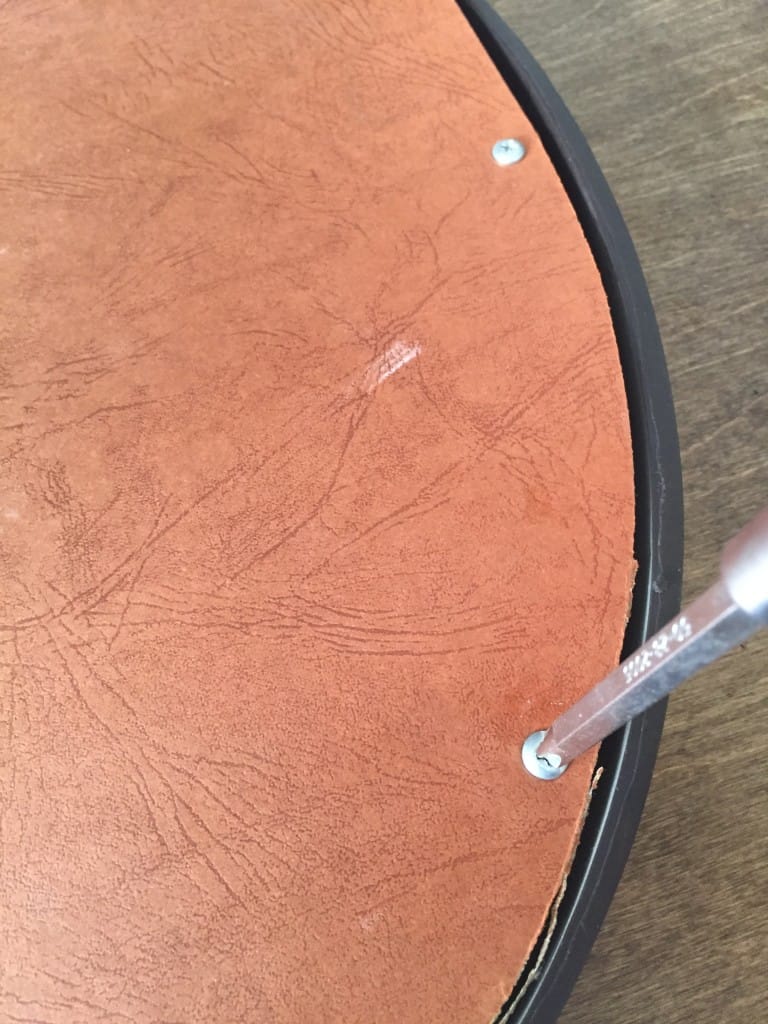
- Remove the back from your art. Mine was attached with small screws. If your frame attached like this, keep the back for later to secure the chalkboard in place.
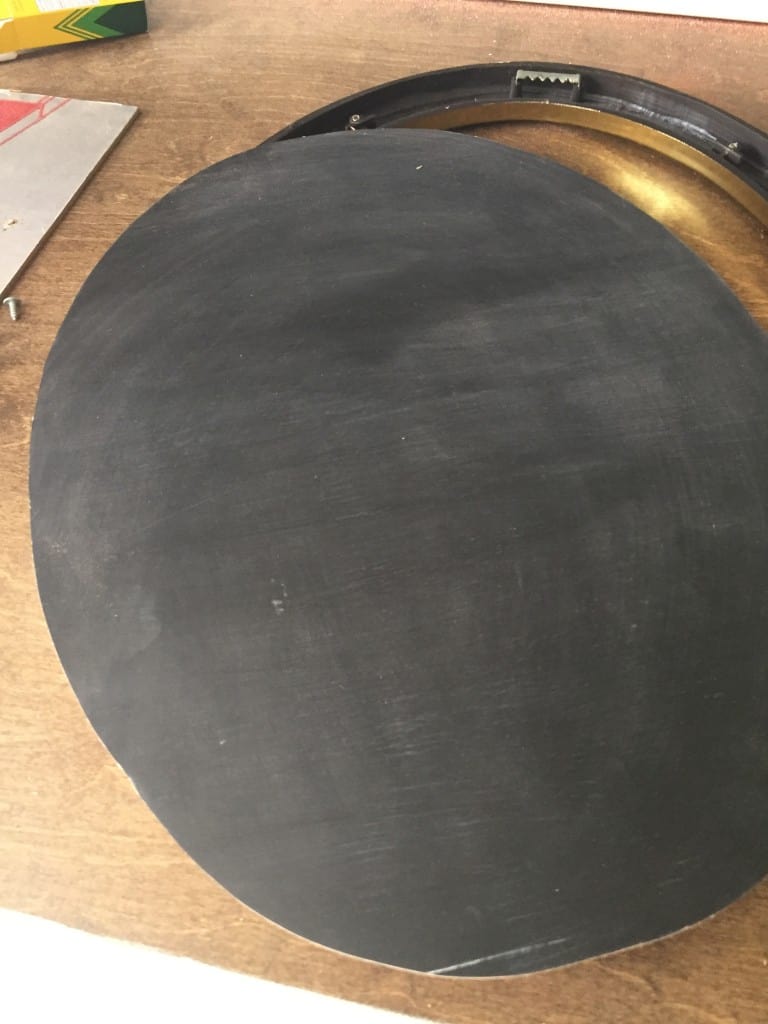
- Use the art as a template on the luan. Flip it to the wood side and trace around the edge.
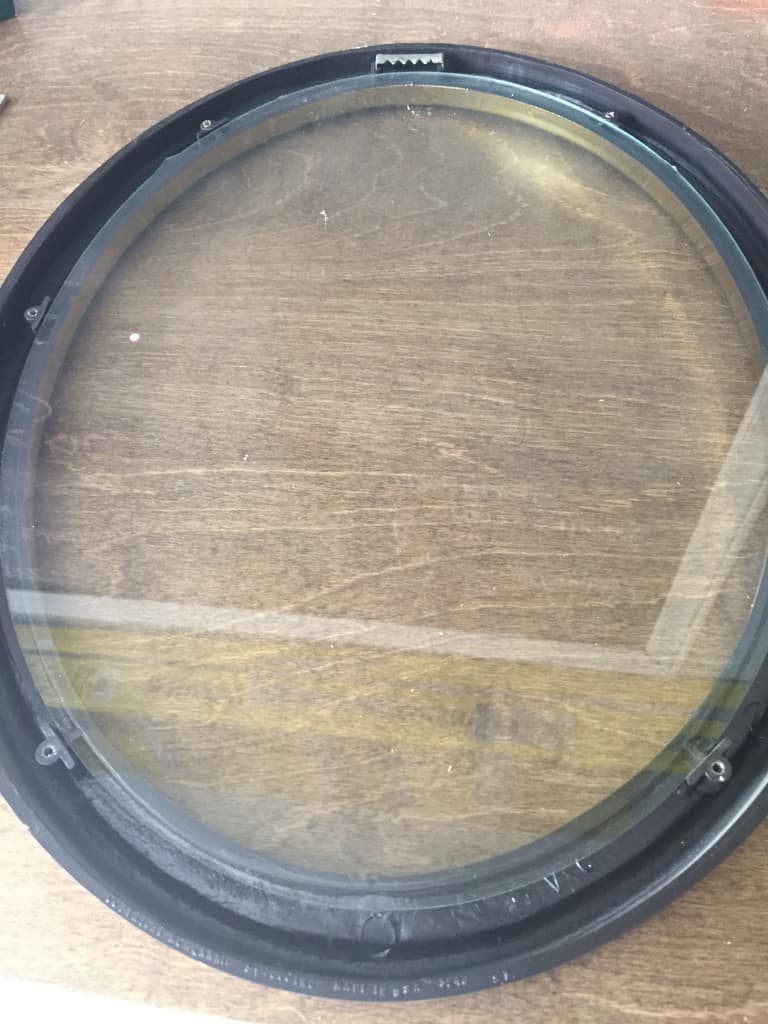
- Throw the glass away (or paint on it if you want. I recommend the chalkboard spray paint if you use glass or plexiglass.)
- Carefully cut around the lines you marked. Err on slightly smaller that the lines your traced. It’s okay if it’s not perfect. The frame will cover the edges. My frame was oval, which isn’t the easiest to cut. Make sure it fits right.
- Rub chalk onto the surface to season it. Then wipe away the excess dust. This will prevent your writing from staying on the surface forever.
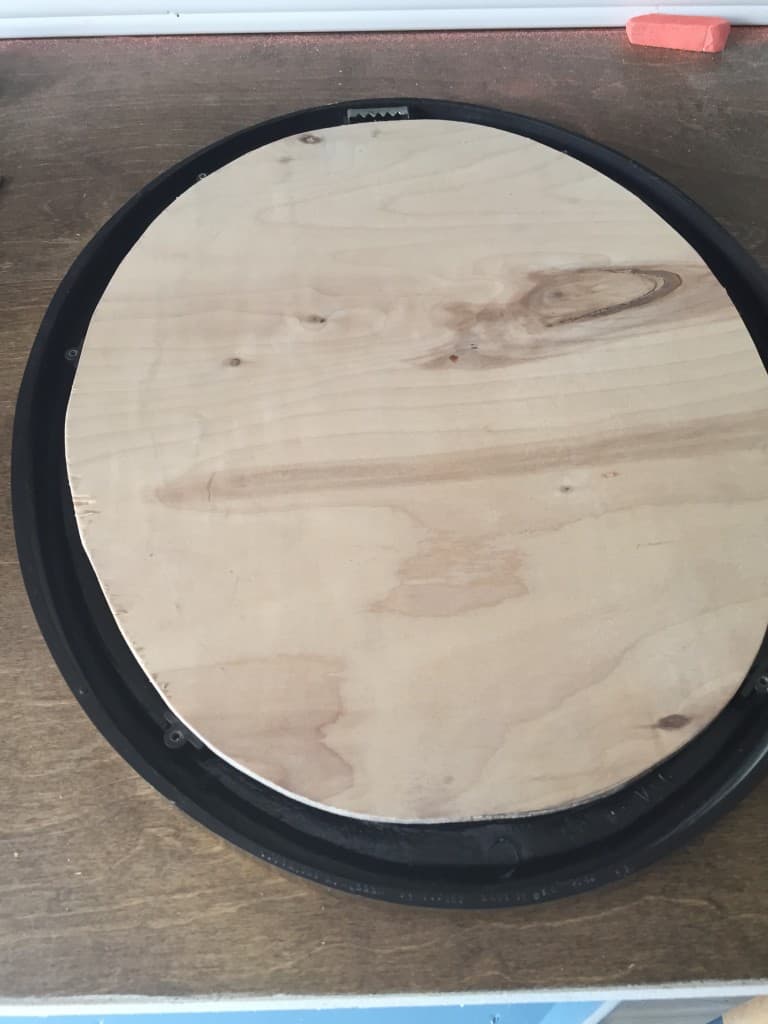
- Place the wood into the frame, chalkboard side down.
- Replace the back using the screws and back piece. Even though the wood is slightly thicker than the previous art and glass, it still fit just fine.
What other ideas do you have to repurpose old picture frames?
Pin for Later!

Emy is a vintage obsessed mama of 2 DIYer who loves sharing affordable solutions for common home problems. You don’t need a giant budget to create a lovely home. Read more…


