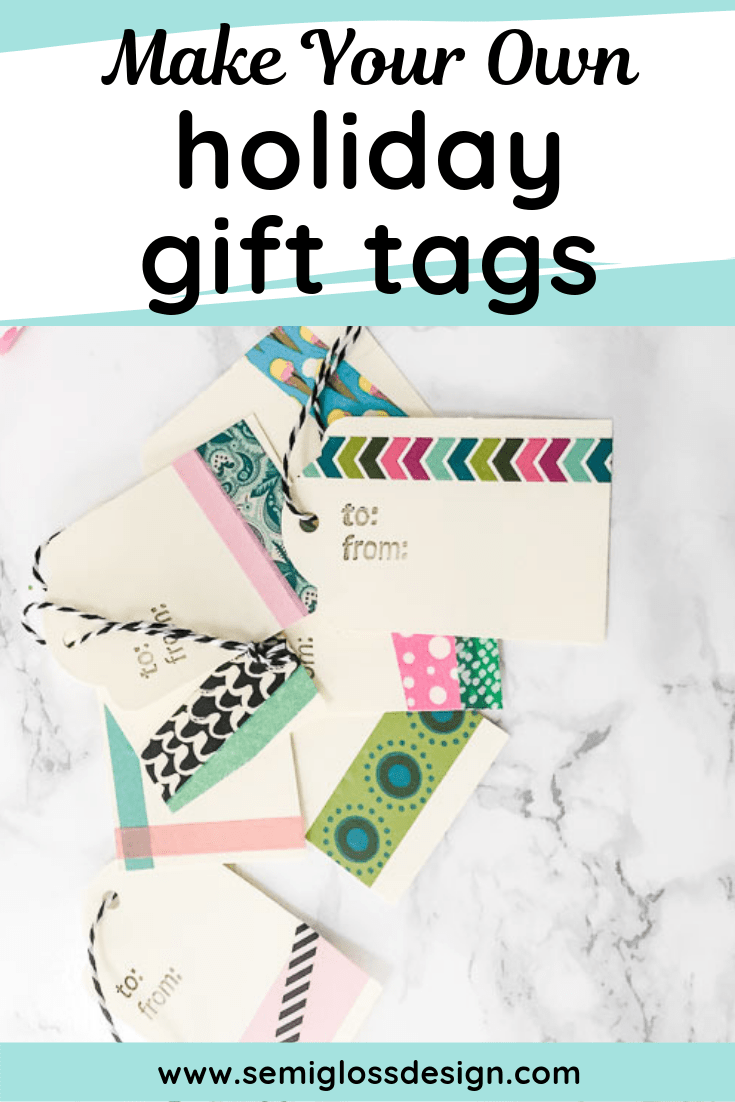
Make Your Own Holiday Gift Tags!
Make your own holiday gift tags! This process is pretty quick and easy, but if you need something even easier, check out my printable gift tags.
During present wrapping sessions, it never fails that I run out of gift tags. Luckily, they’re pretty easy to make. And the tags can be used in many ways! I use this same method to make tags for the stamped jewelry that I make for my vintage booth.
Make Your Own Holiday Gift Tags
Supplies Needed
This post contains affiliate links. By purchasing an item through an affiliate link, I earn a small commission at no extra cost to you.
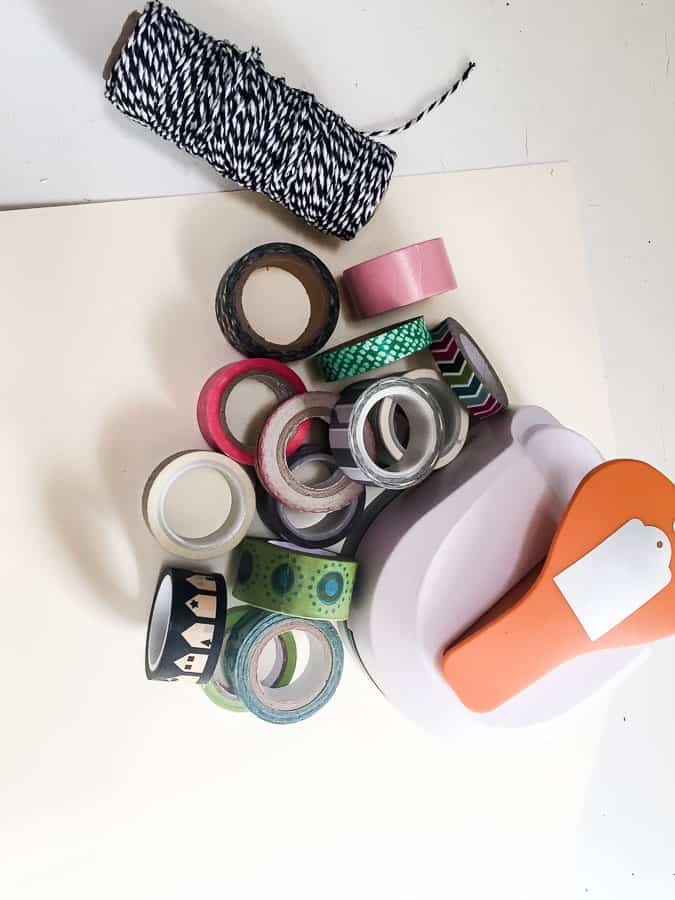
- Cardstock
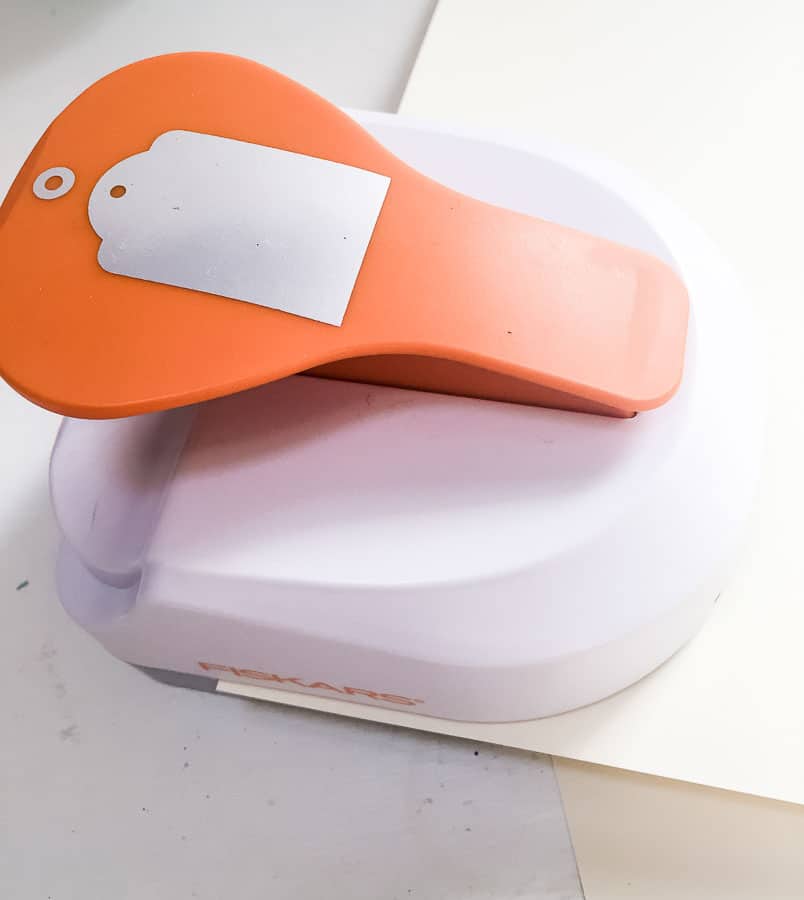
- Tag maker punch
- Scissors
- Washi tape
- To and From Stamp (optional) I have this exact set and it’s very versatile for Christmas crafting!
- Stamp Block
- Stamp ink pad (optional)
- Baker’s twine (optional)
- Sticker paper (if you would rather the tags be sticky!)
Make the Tags
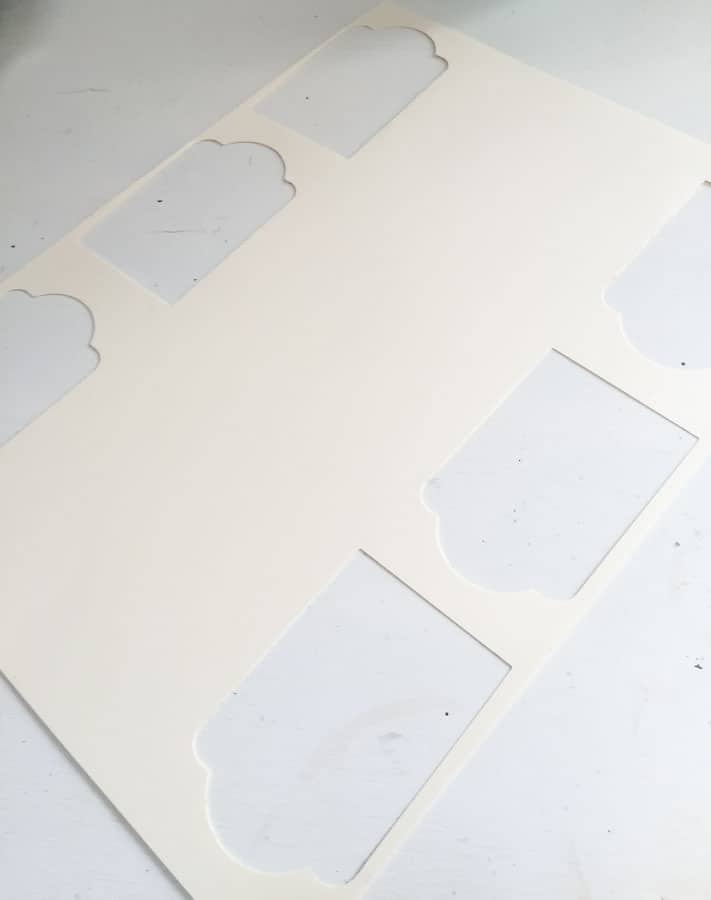
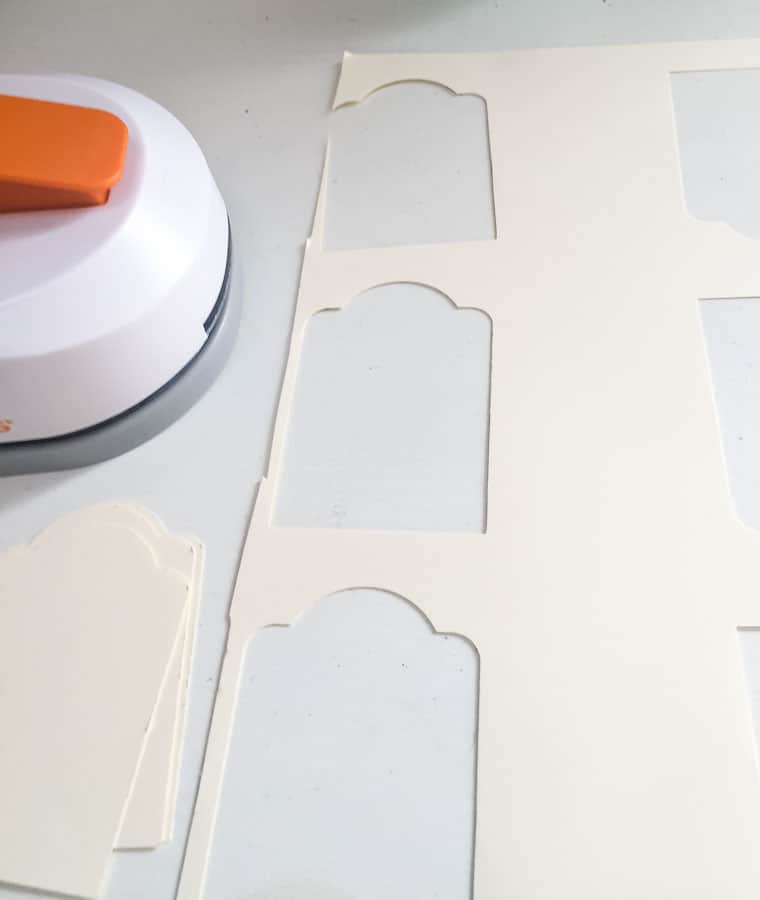
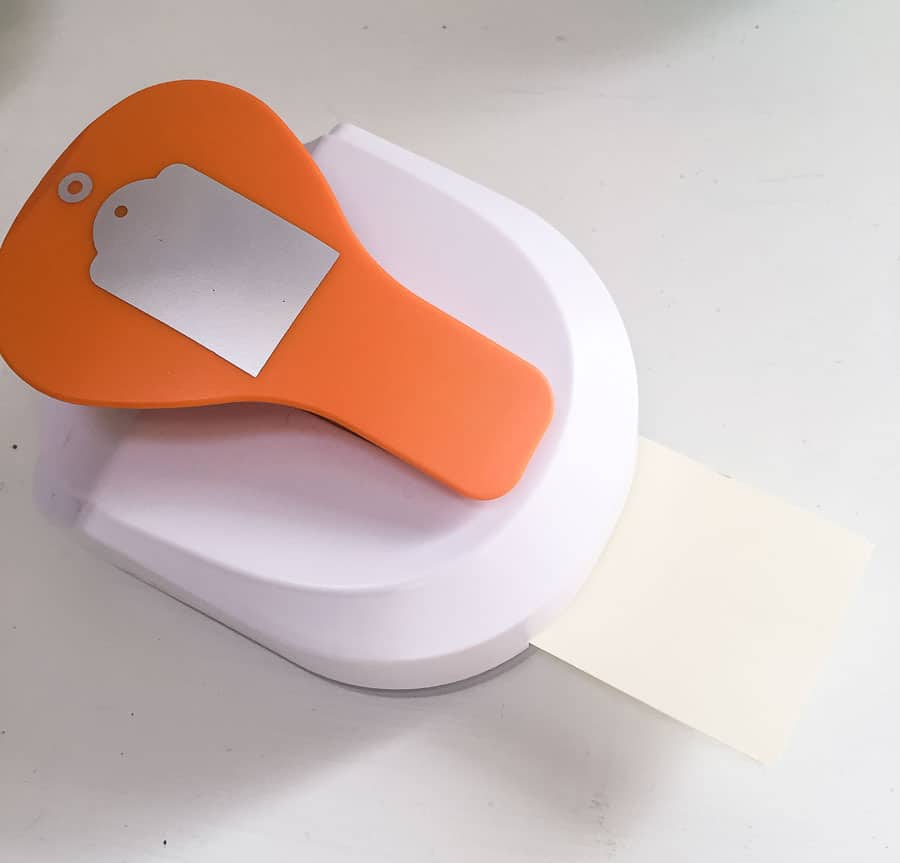
- Use the tag maker punch to make the tags on a sheet of cardstock.

- Maximize the paper by punching 3 tags along each side of the cardstock.

- Then, cut away the tag leftovers to get the center part of the cardstock.

- Use the tag maker punch to get 3 more tags from the center of the paper.
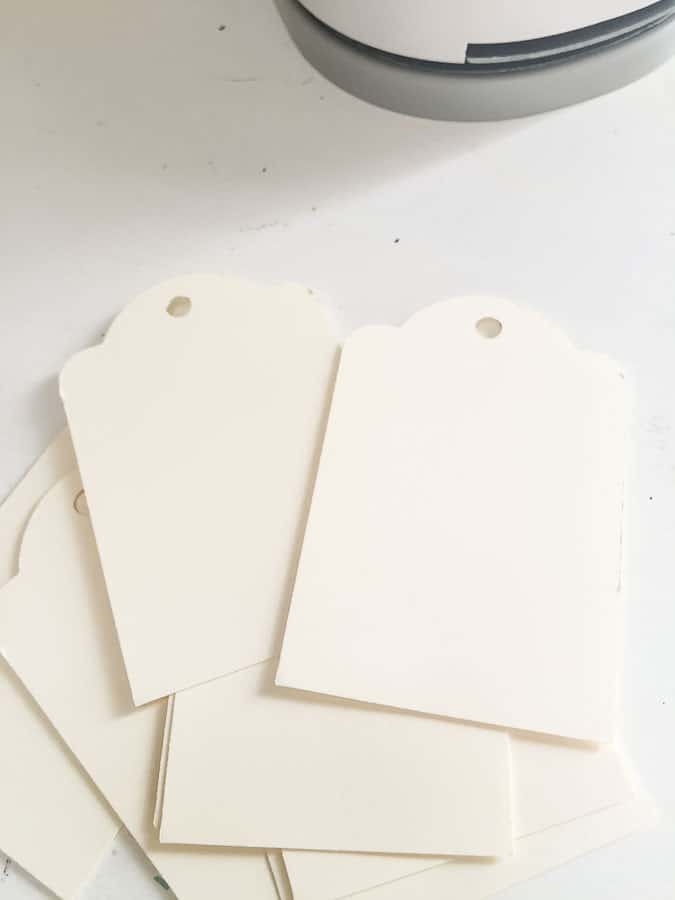
- Insert the tags to punch the holes.

Decorate the Holiday Gift Tags
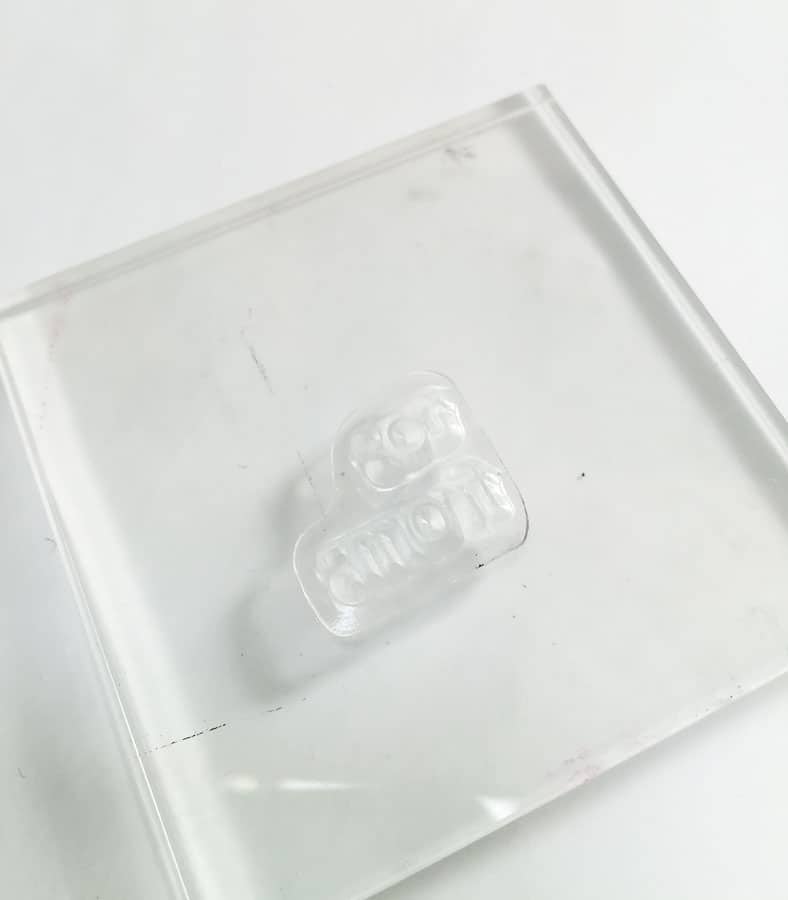
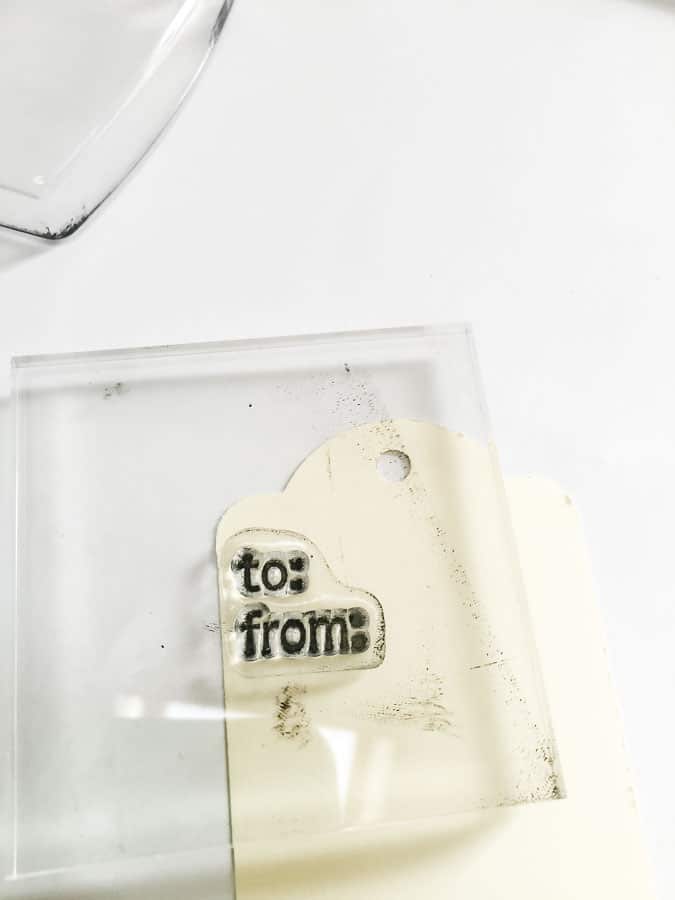
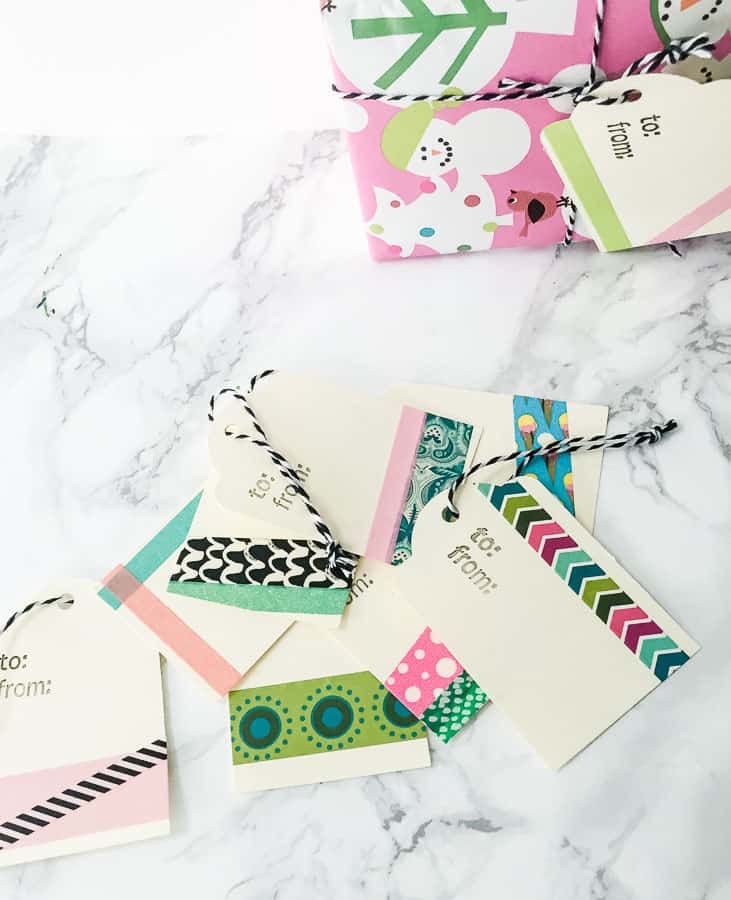
- Use a stamp to stamp “To and From”. My “To and From” stamp came in a holiday stamp kit, but alphabet stamps would work as well. Or you could even write it out.
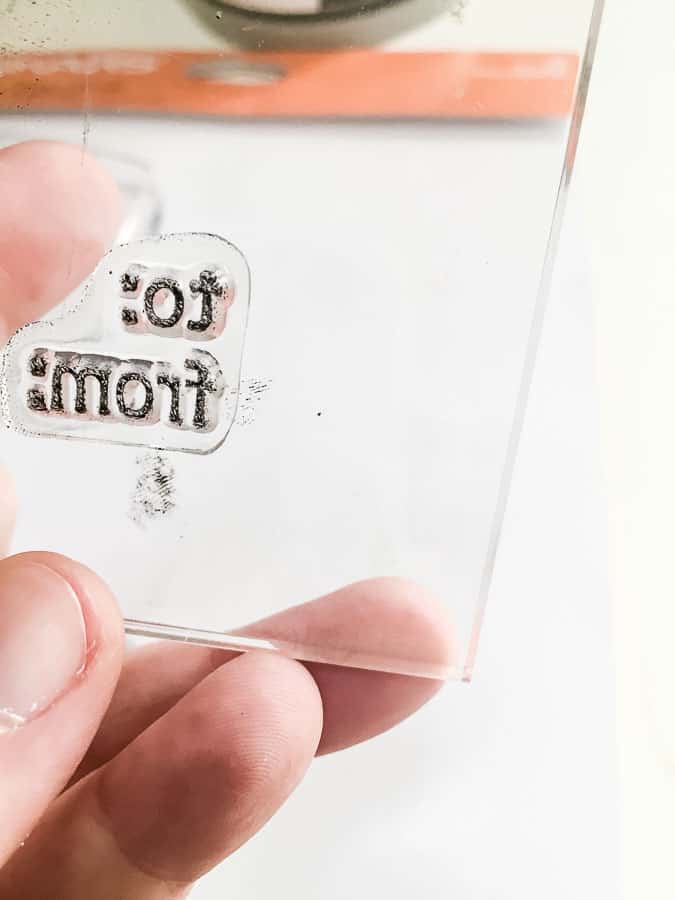
- Place the clear stamp onto a stamp block.

- Apply ink to the stamp.

- Press the stamp to the paper.
- Repeat these steps for each tag.
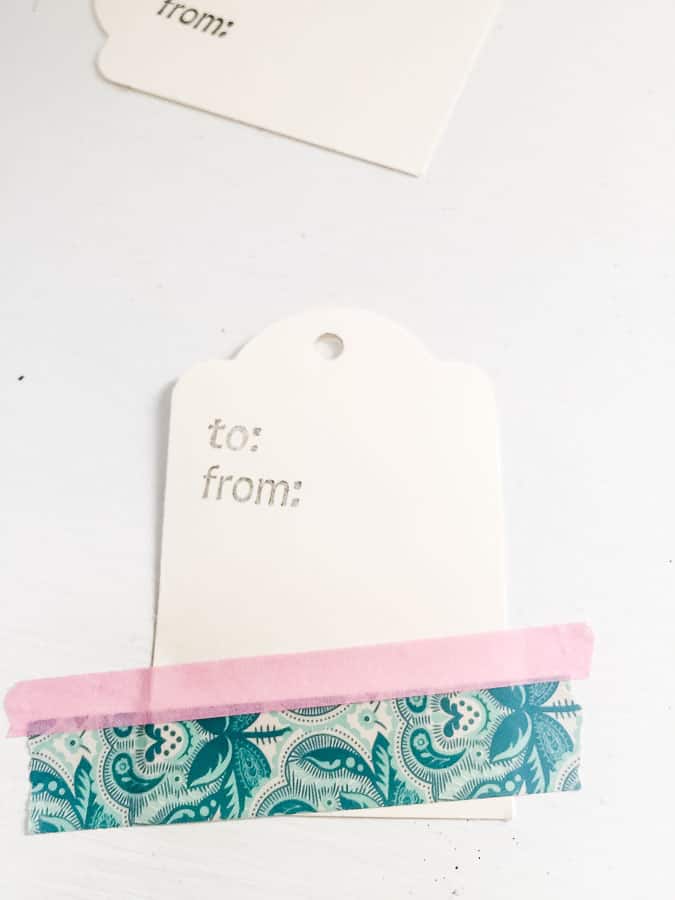
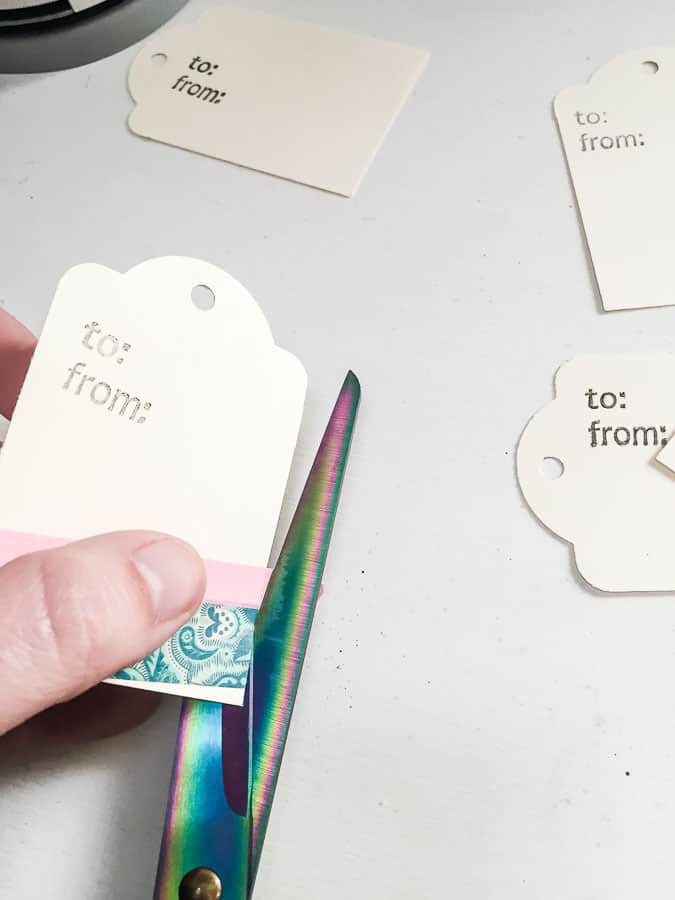
- When the ink it dry, you can start embellishing the tags. I start by applying a piece of washi tape that is too large for the space. Be sure to leave room to write.
- Add more washi tape as desired.
- Use scissors the cut along the edge of the tags.
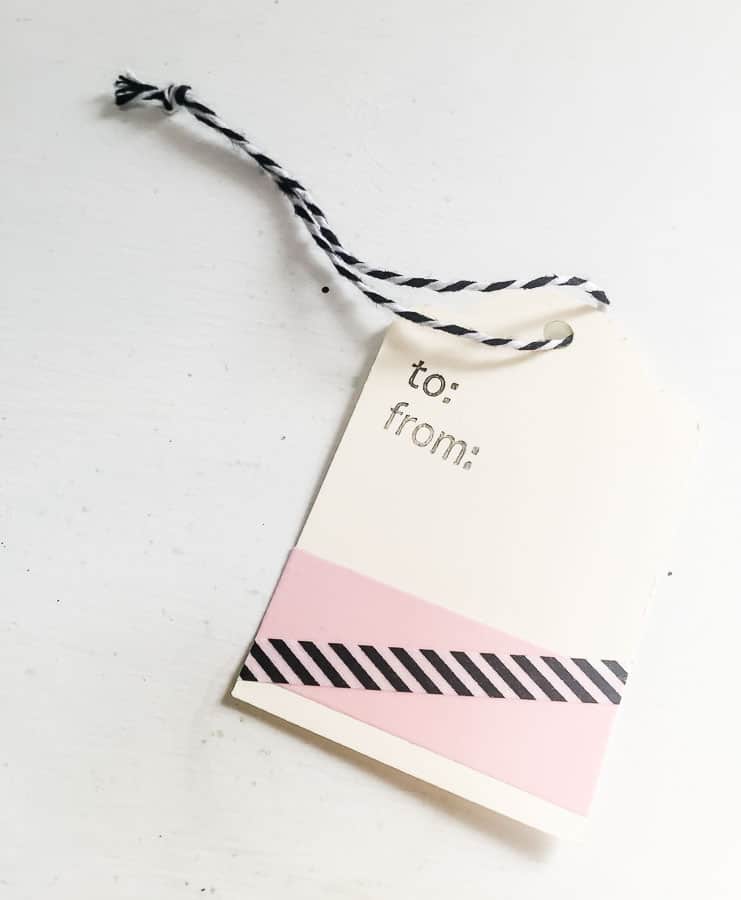
- Add ties to the tags if desired. Cut a 6″ piece of baker’s twine and tie it to the gift tags.

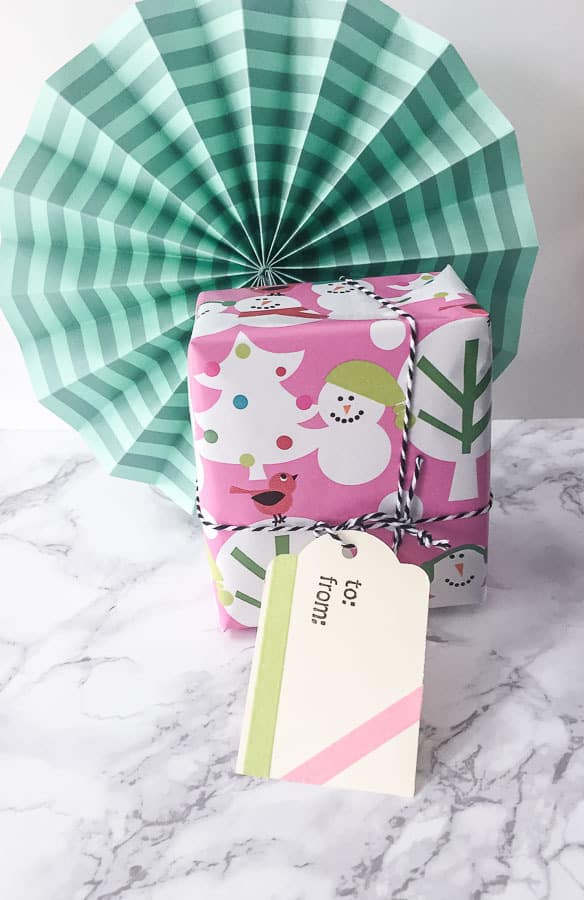
Now, I just need to finish all of my Christmas shopping!
Other Holiday Gift Tag Ideas
- Use colored or printed card stock
- Use stamps to decorate the gift tags.
- Glue pieces of scrapbook paper to the tags to make designs.
- Cut the shapes from sticker paper instead.
Pin for Later!

Emy is a vintage obsessed mama of 2 DIYer who loves sharing affordable solutions for common home problems. You don’t need a giant budget to create a lovely home. Read more…