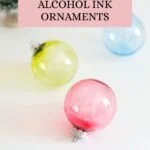
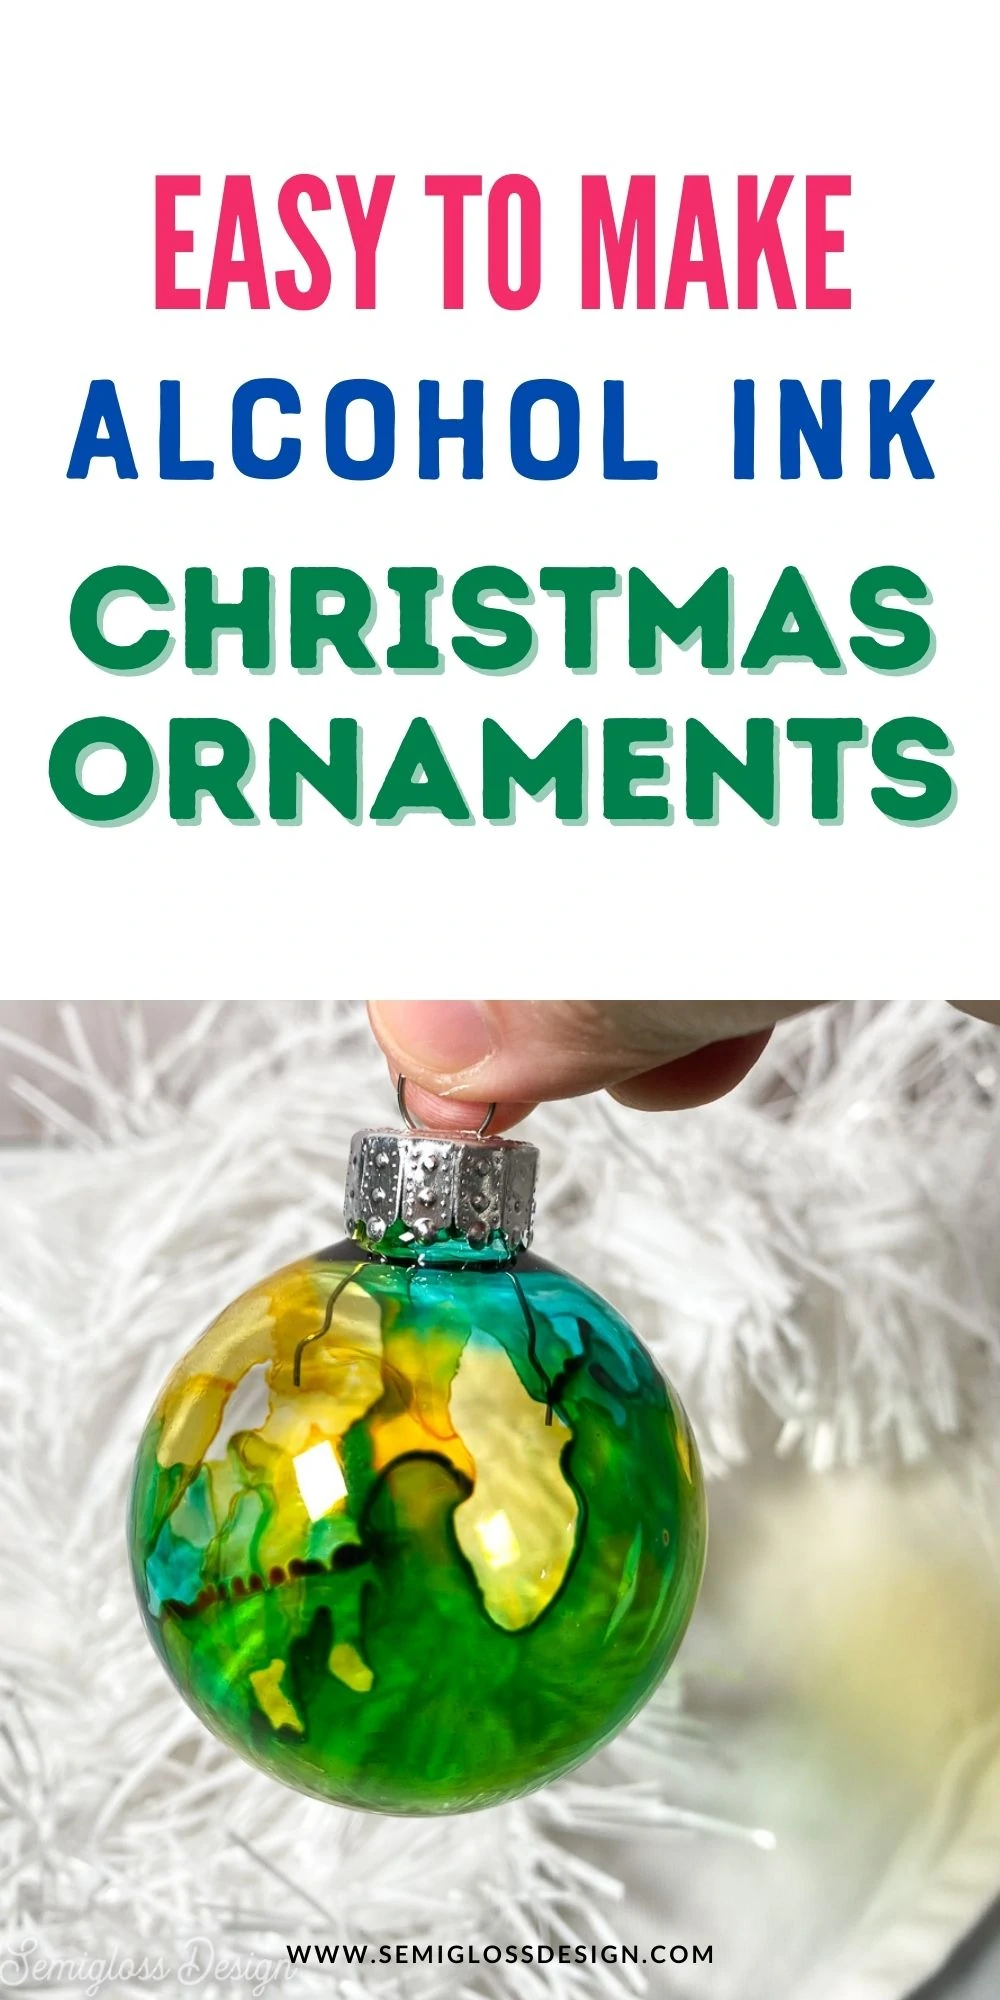
How to Make Alcohol Ink Ornaments
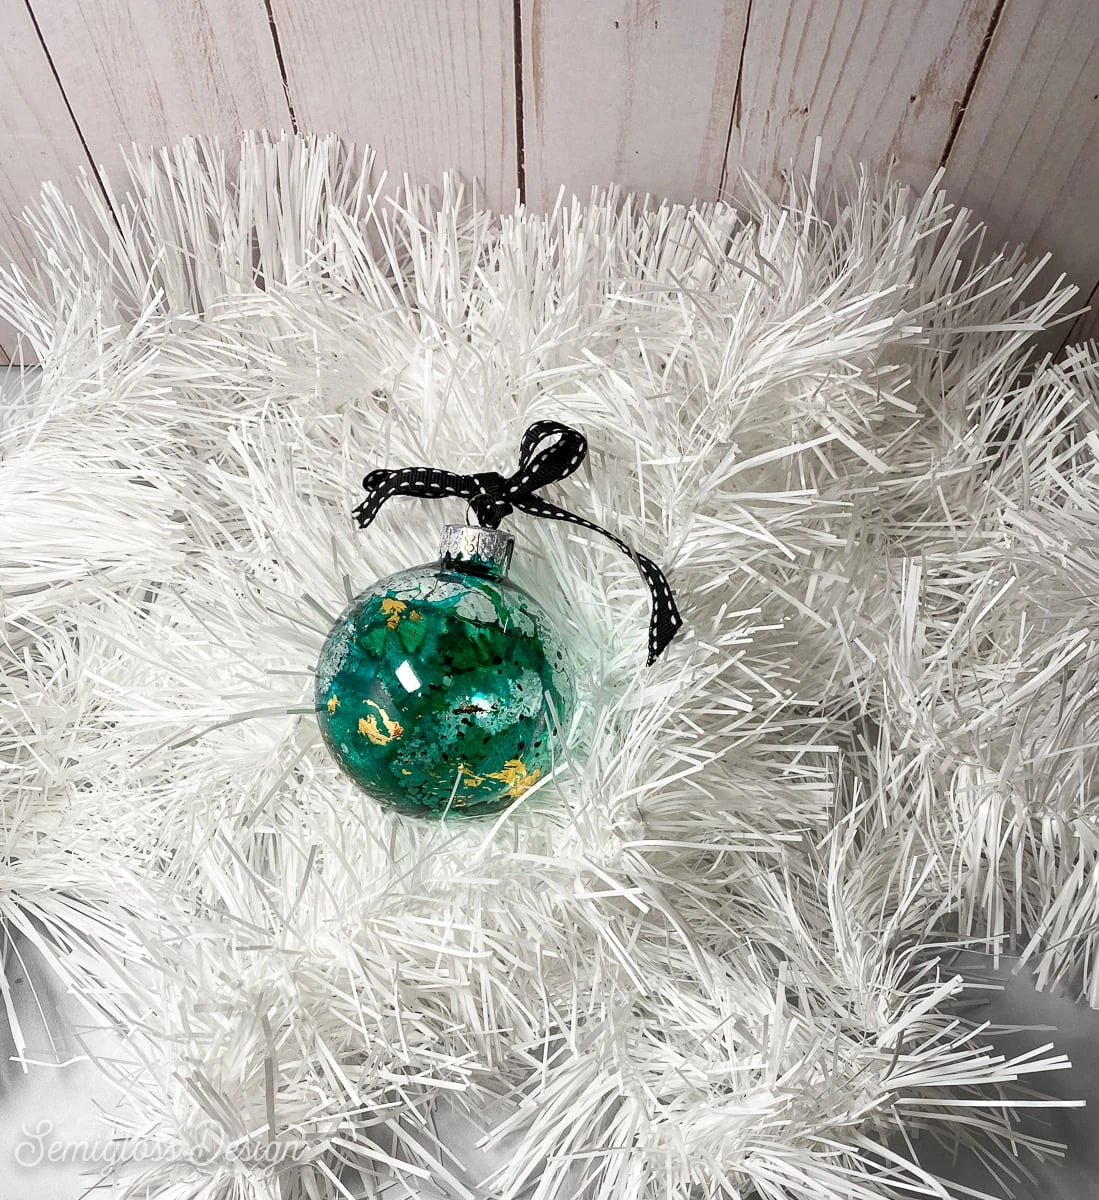
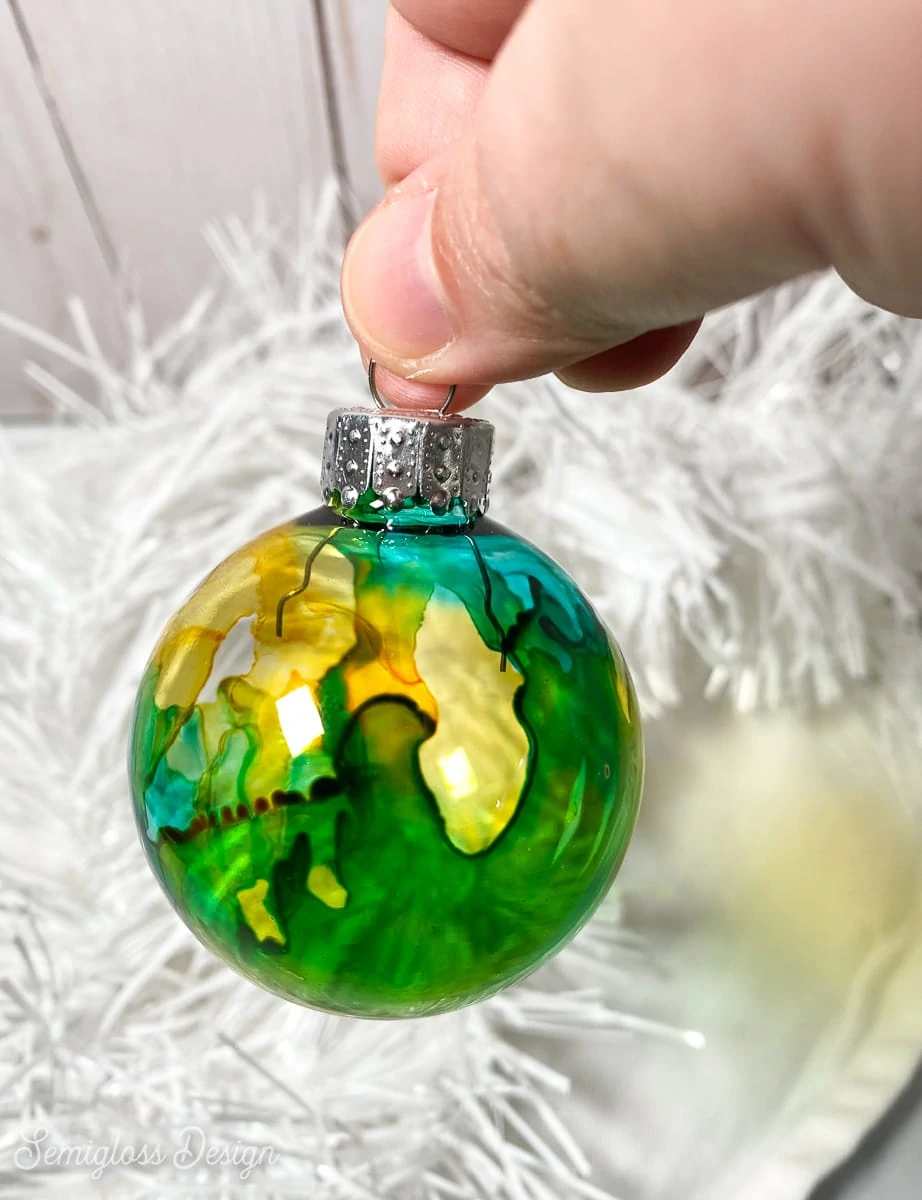
Decorate for Christmas with these easy alcohol ink ornaments. These simple ornaments have a beautiful translucent watercolor-like texture that looks beautiful when the light shines through.
After making my paint swirl ornaments, I wanted to try other kinds of paint. I had alcohol inks lying around and gave them a try. The results are so much better than I imagined.
I’m sharing my tips and tricks for getting good coverage and how to fix mistakes.
This post contains affiliate links. By purchasing an item through an affiliate link, I earn a small commission at no extra cost to you. As an Amazon Associate I earn from qualifying purchases.
How to Make DIY Alcohol Ink Ornaments
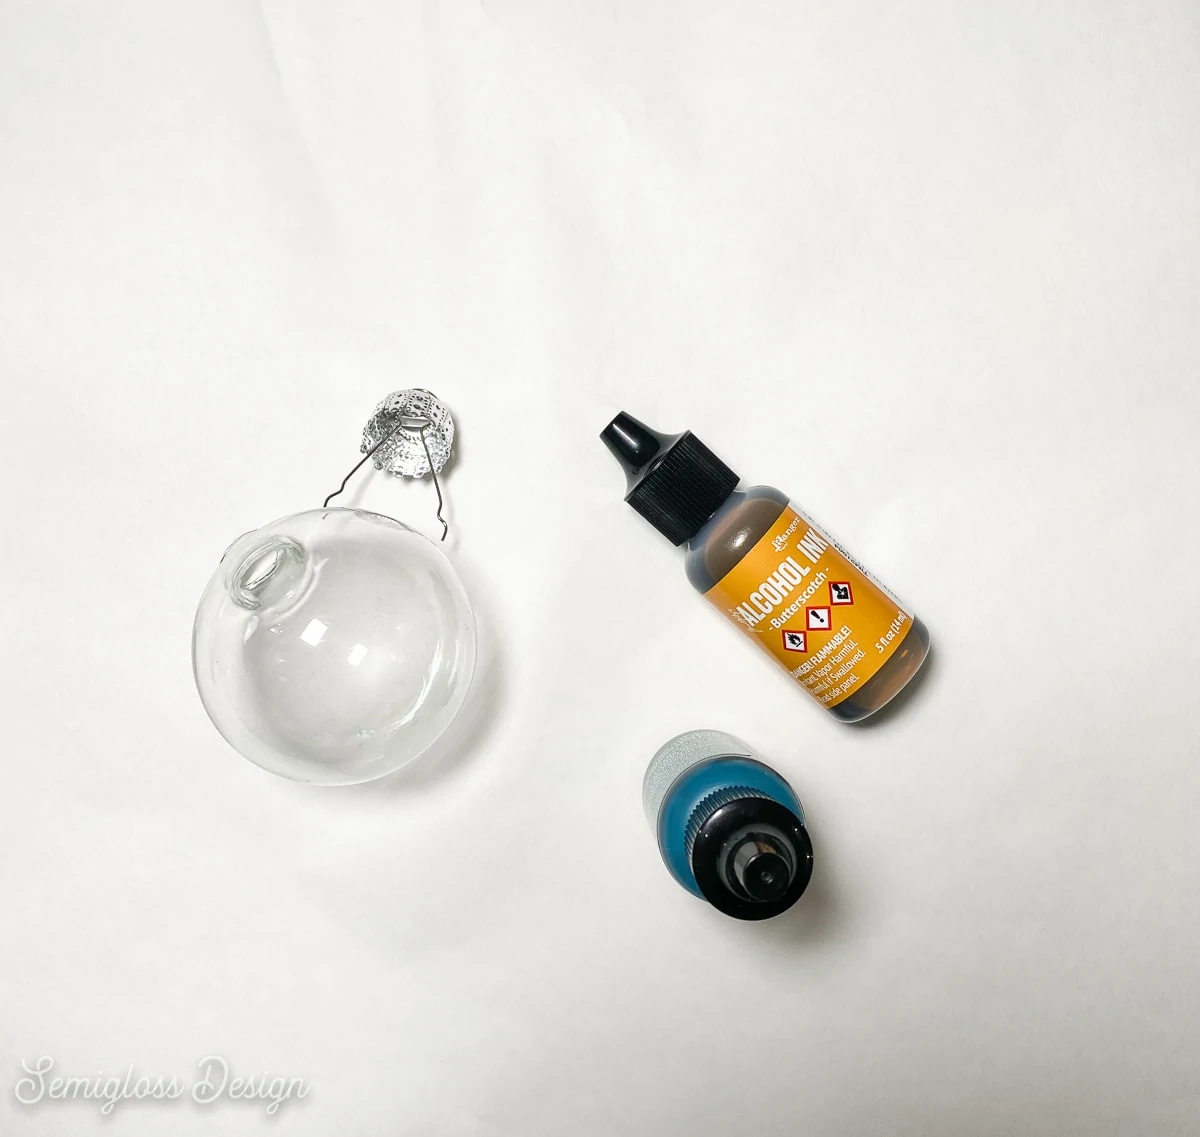
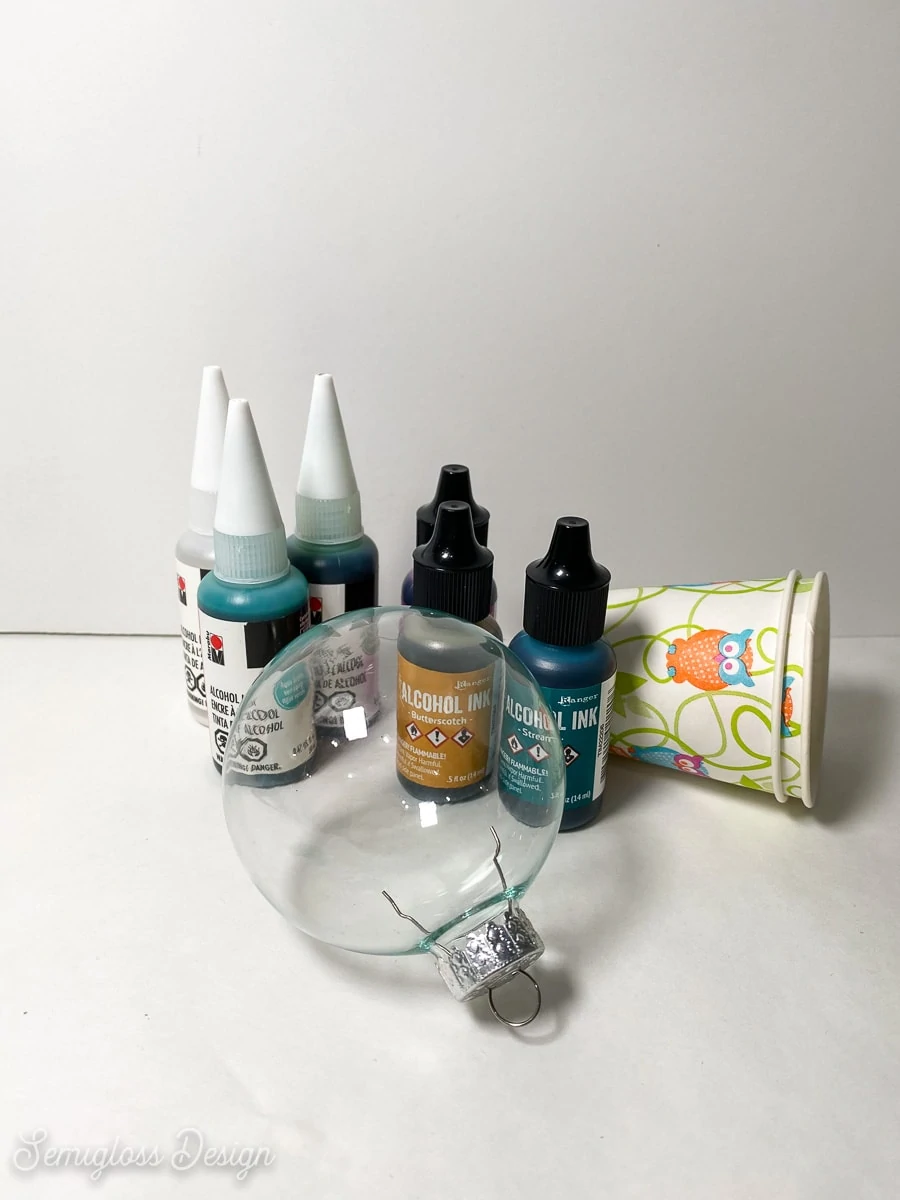
Supplies Needed:
- Clear Ornaments
- Alcohol Ink
- Canned Air
- Rubbing alcohol (for clean up)
- Paper cups (for draining excess ink)
- Something to protect your work area
- Gloves if desired
For more information, see the notes about supplies section below. It’s lengthy, so I moved it to the bottom of the post.
Instructions
- Protect your work surface because alcohol ink stains. I used a sheet of freezer paper with the shiny side down. The glossy side keeps the ink from leaking through the paper onto my desk. (You might want gloves as well.)
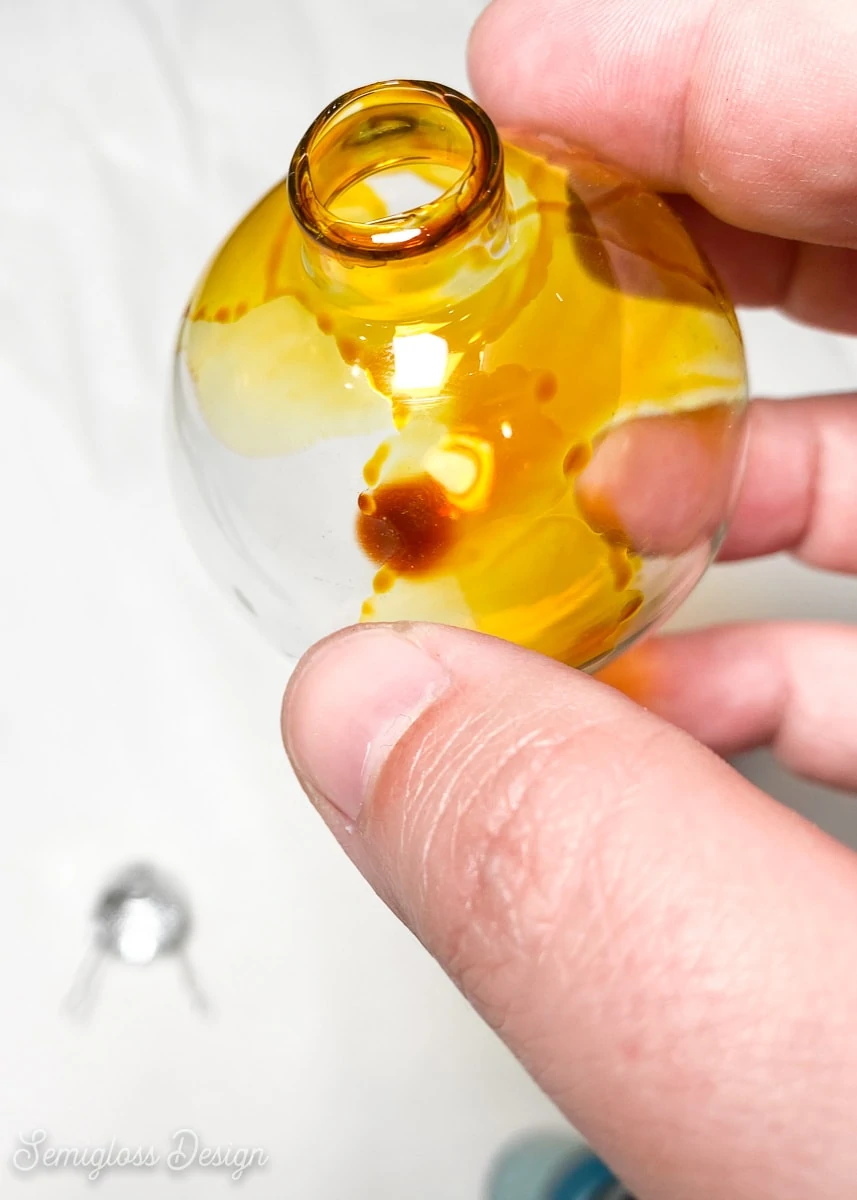
- Remove the metal ornament hanger.

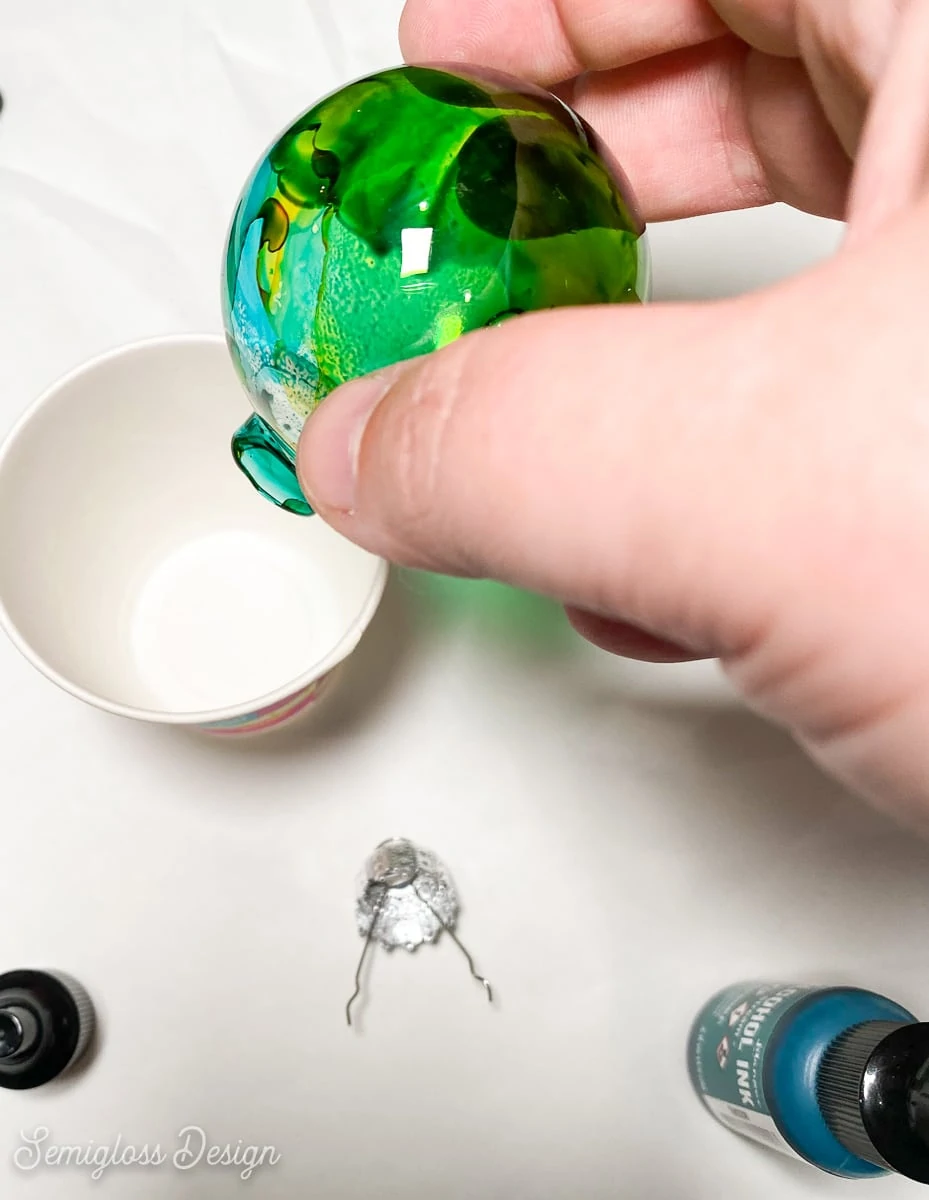
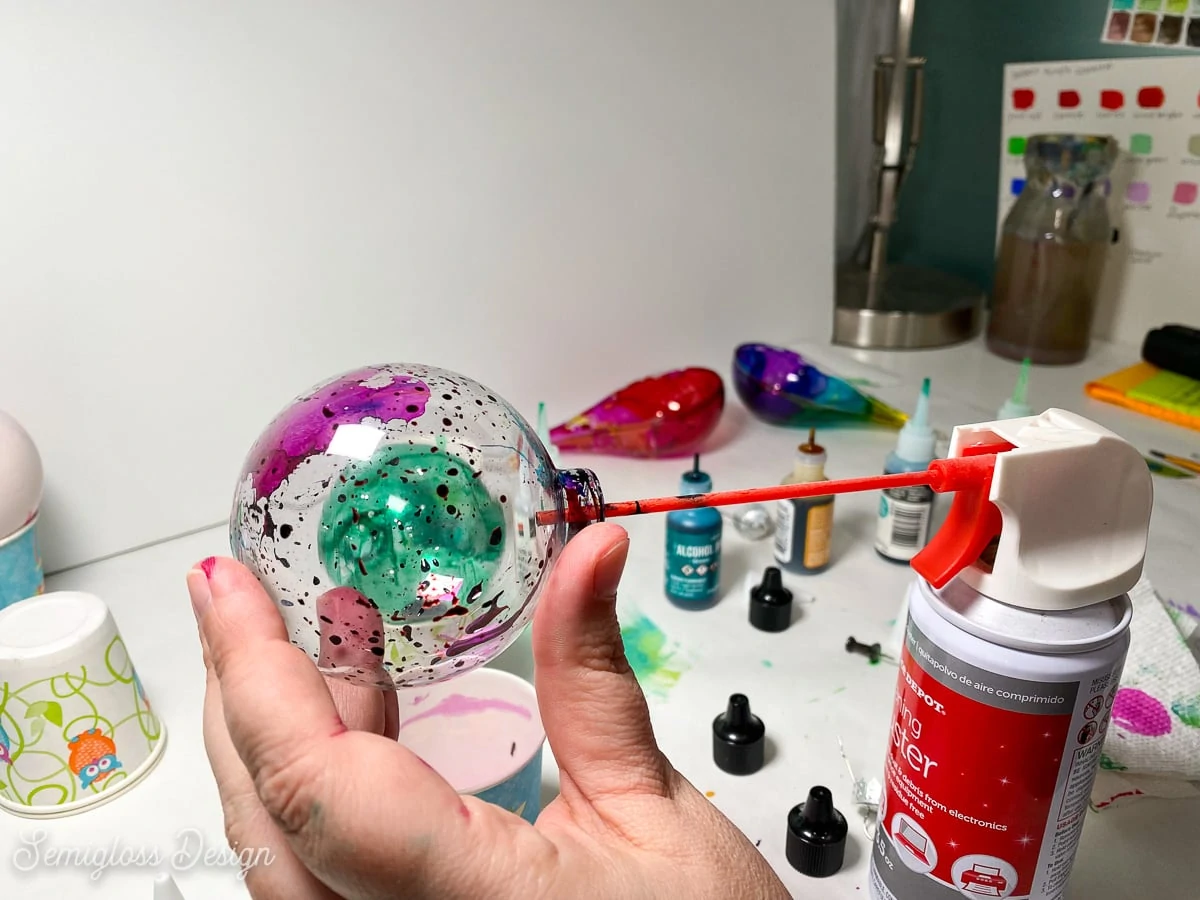
- Add a few drops of alcohol ink to the inside of the ornament and let them swirl around.

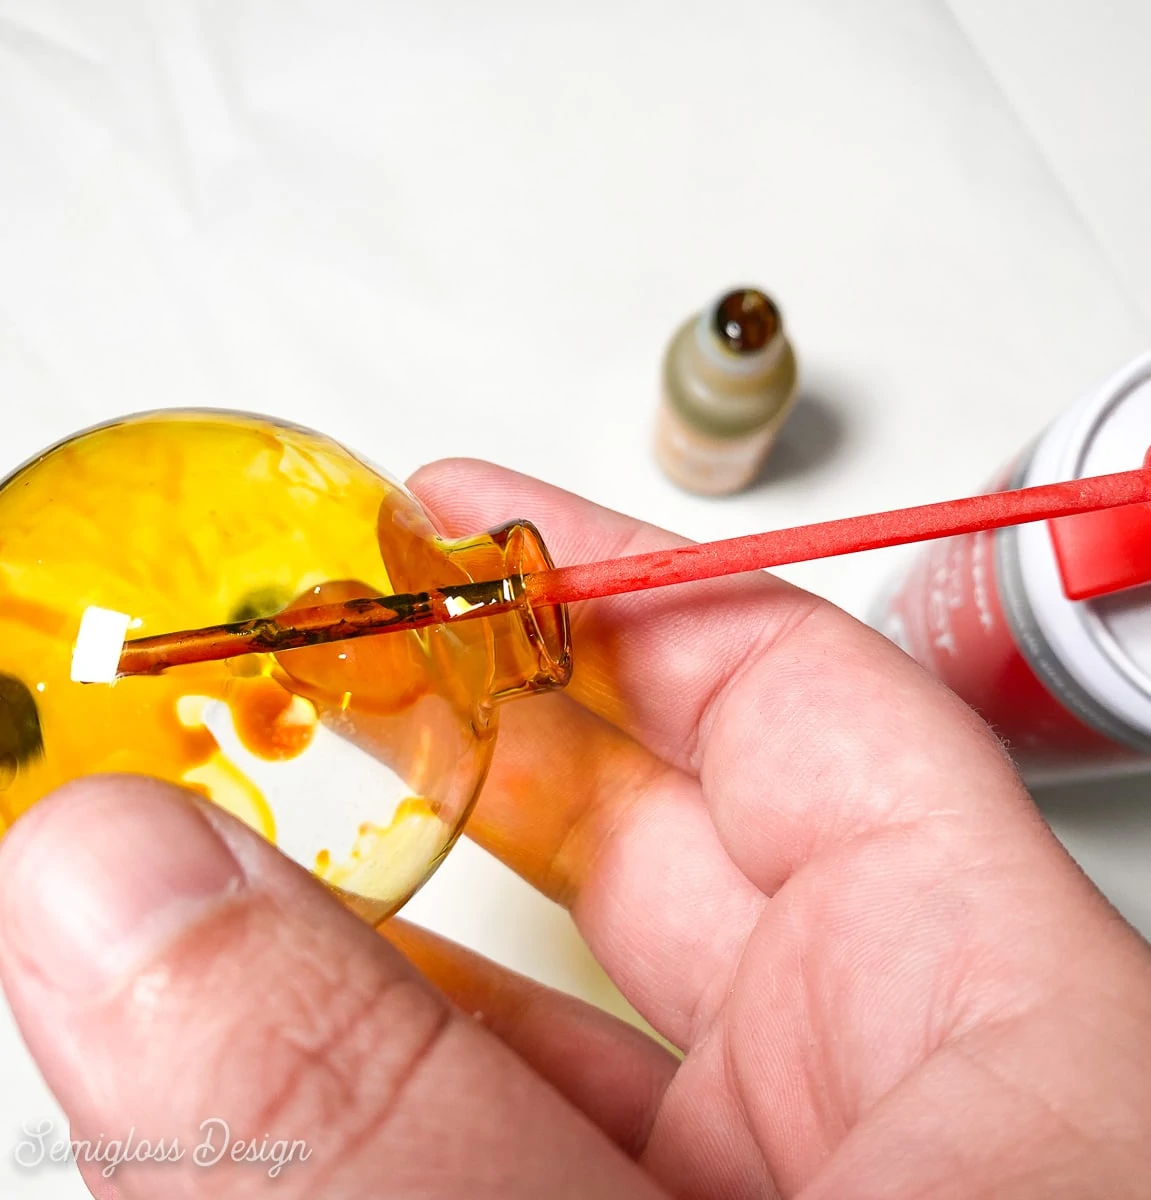
- Use the canned air to make the ink dry faster.

- Add a few drops of another color and swirl it around. The color will mix with the 1st color where it hits.

- Apply more canned air to dry the ink.
- Let the excess ink drain into a paper cup.

- Let the ink dry thoroughly before replacing the ornament hanger.

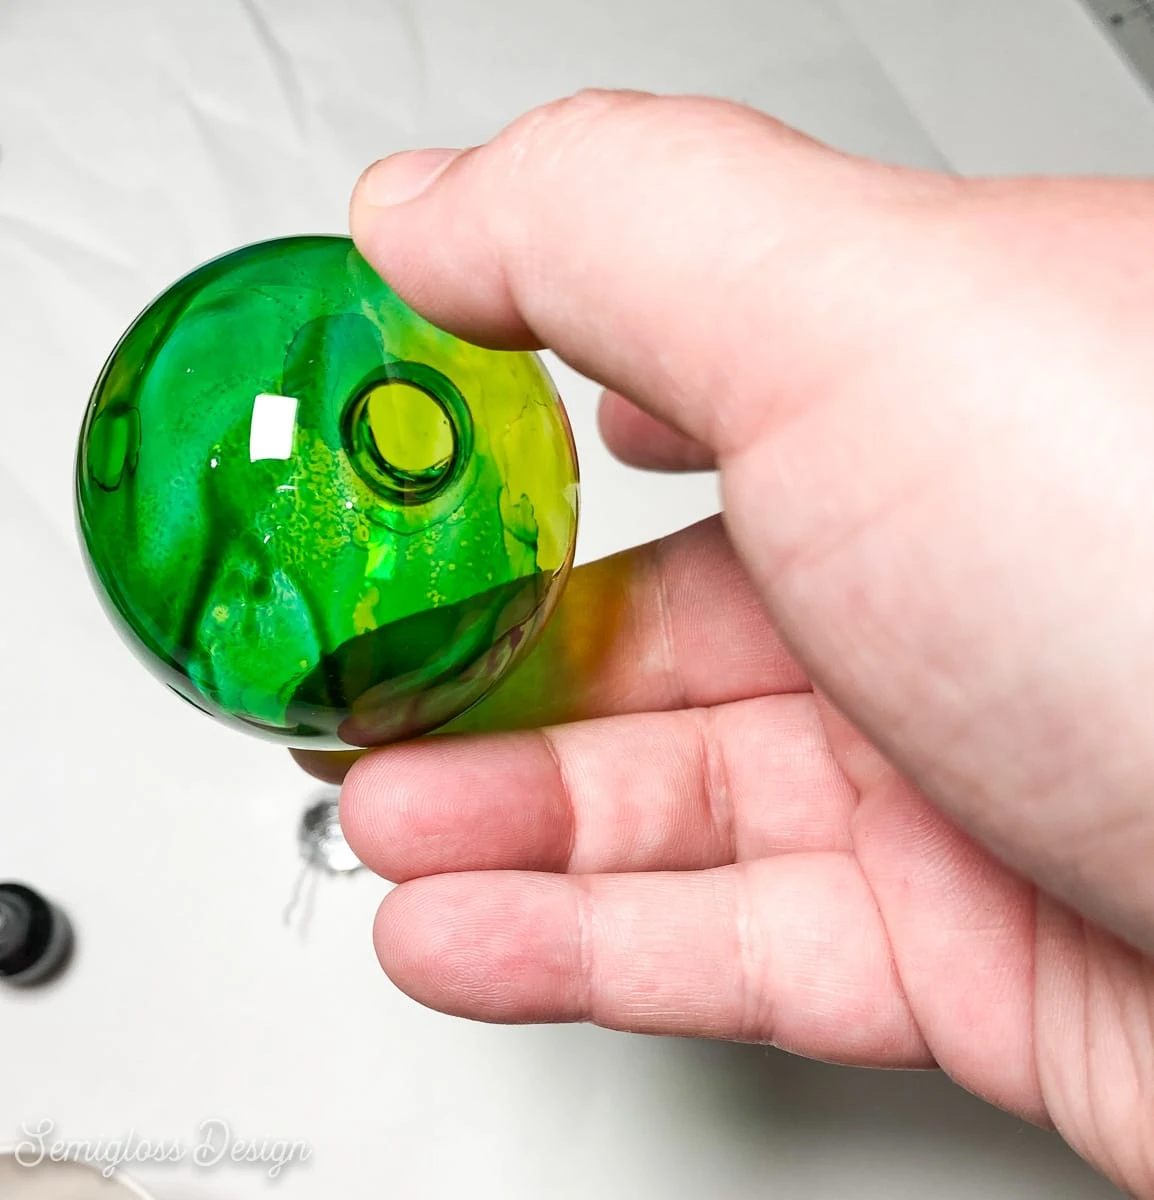
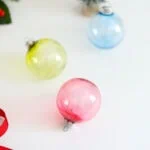
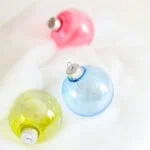
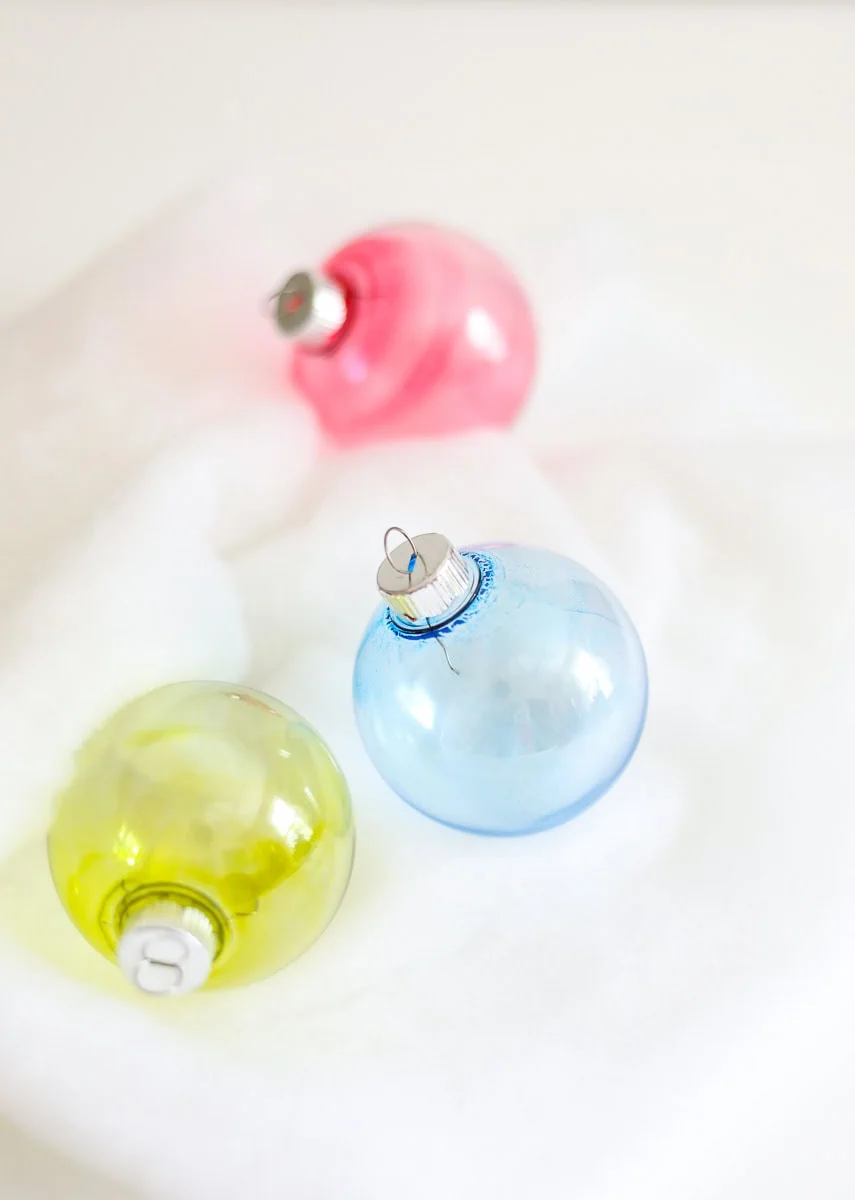
Making Solid Colored Alcohol Ink Ornaments
It’s also possible to make solid-colored alcohol ink ornaments. Apply one color and swirl it around. Let the excess ink drain into a cup.
Notes about Supplies
Ornaments
Glass vs plastic. I tried both plastic and glass ornaments to see how they would work. The alcohol ink had an easier time sticking to the plastic ornaments.
The glass ornaments were harder to use. For my first batch, the ink wouldn’t stick at all, even after I cleaned them with rubbing alcohol.
I bought another batch of glass ornaments and had no problems at all. I believe that some glass ornaments are coated with a substance during production.
If you’re having trouble, try plastic or another brand of glass ornaments.
You can also try using less ink or spraying it with the canned air to make it dry faster.
Sizing. I bought ornaments online and was shocked when I opened the box to see the crazy sizes I had accidentally ordered.
Standard ornaments are about 100 mm or 3 inches.
The smaller glass ornaments worked better than those I had bought in the store.
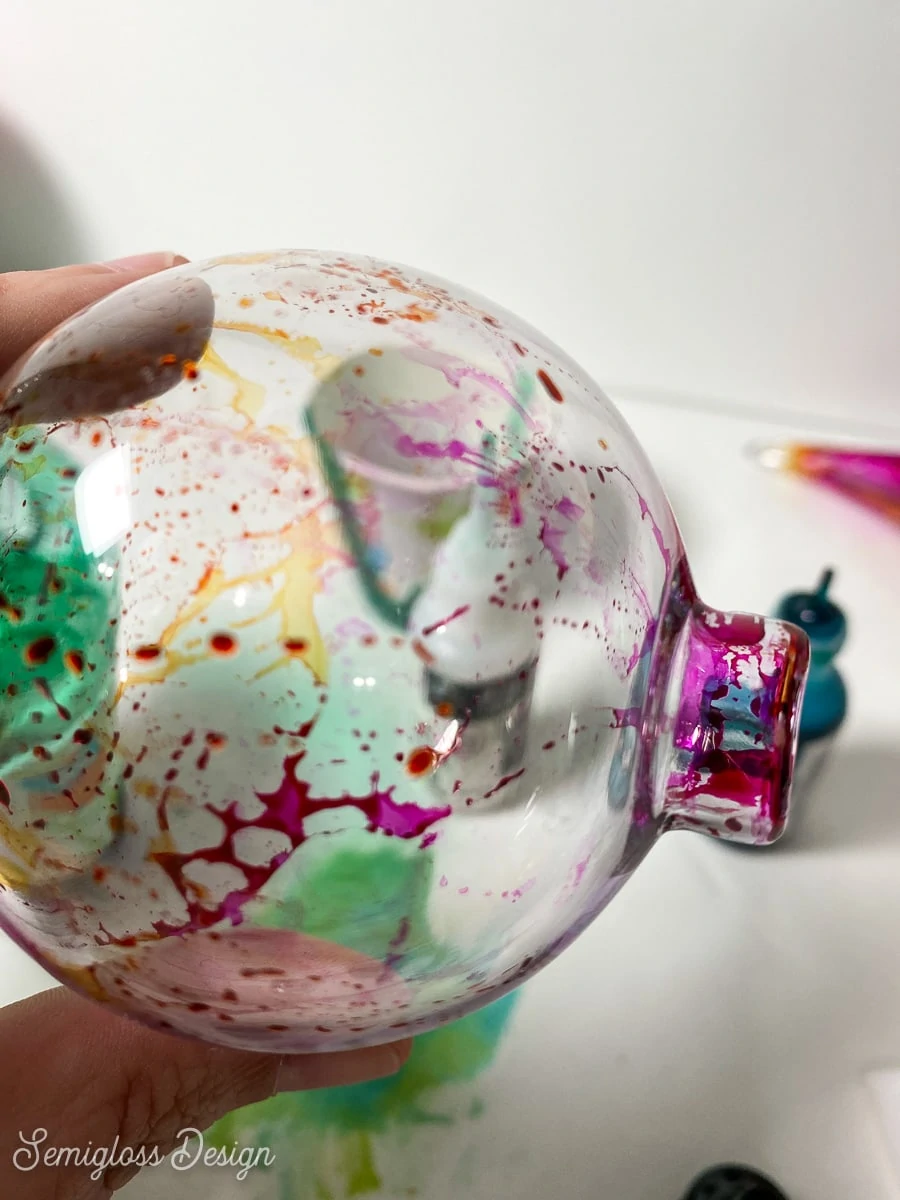
Ball Vs. 2-Piece Ornaments. The other mistake I made when ordering clear ornaments was not paying attention and accidentally getting 2-piece ornaments.
It’s really easy to put fun stuff inside the ornaments, but they might not be what you’re looking for. (Plus, the ones I bought are huge.)
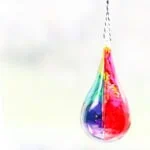
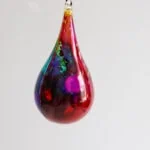
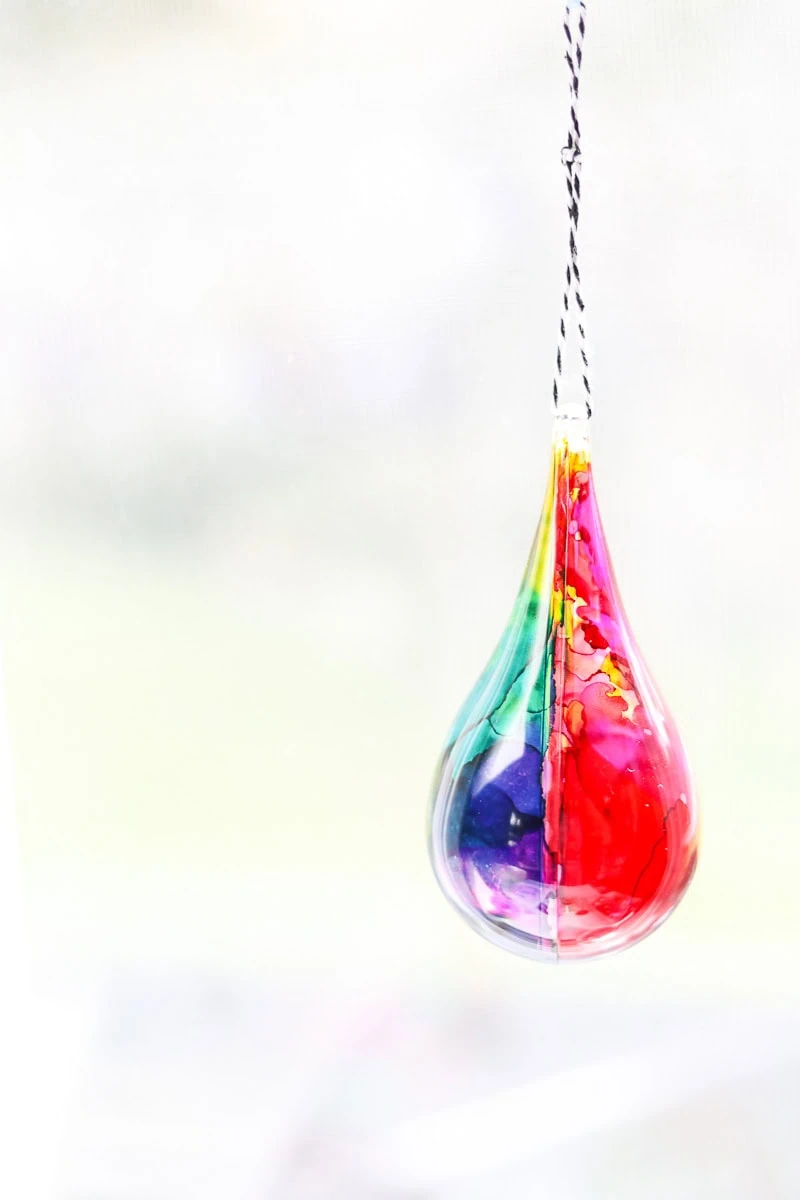
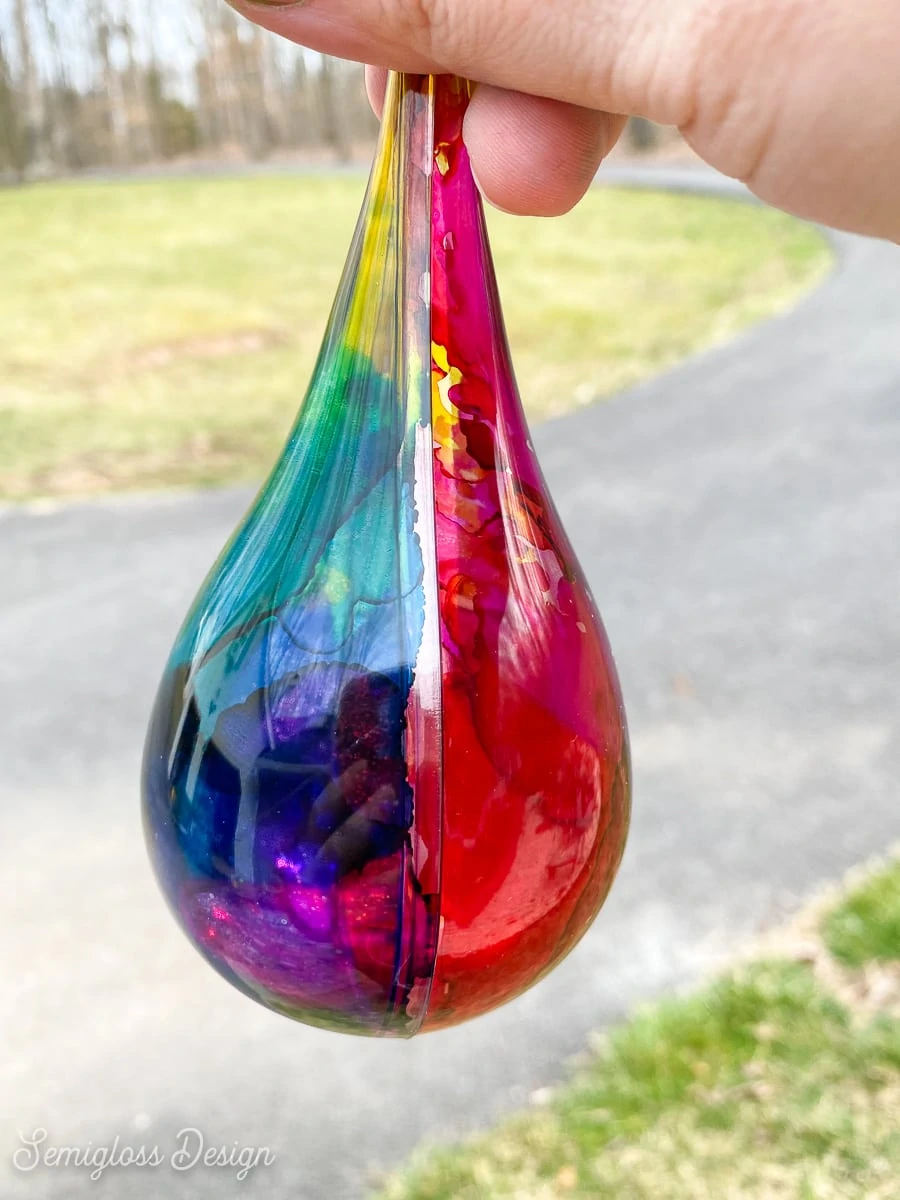
I also had some of these tear-shaped ornaments on hand, which turned out lovely.
They are also 2-piece ornaments, and I had a lot more luck with how they turned out.
I think it’s because so much air reaches the ink, so it can dry faster.
Alcohol Inks
Alcohol inks are not created equally. I bought some from an art supply store and some from the craft section.
I liked the craft quality way more! The colors were more vibrant and thicker, and they just worked better.
I bought this kit with magenta, yellow, and cyan, which were perfect for creating every color of the rainbow.
By the way, alcohol ink is different from standard calligraphy ink. Since it’s made with rubbing alcohol, it dries much faster and is also more translucent.
Don’t try to use standard ink.
Colors still mix when they are dry. Even when the ink had dried, they would reactivate and mix with the fresh color, so be careful.
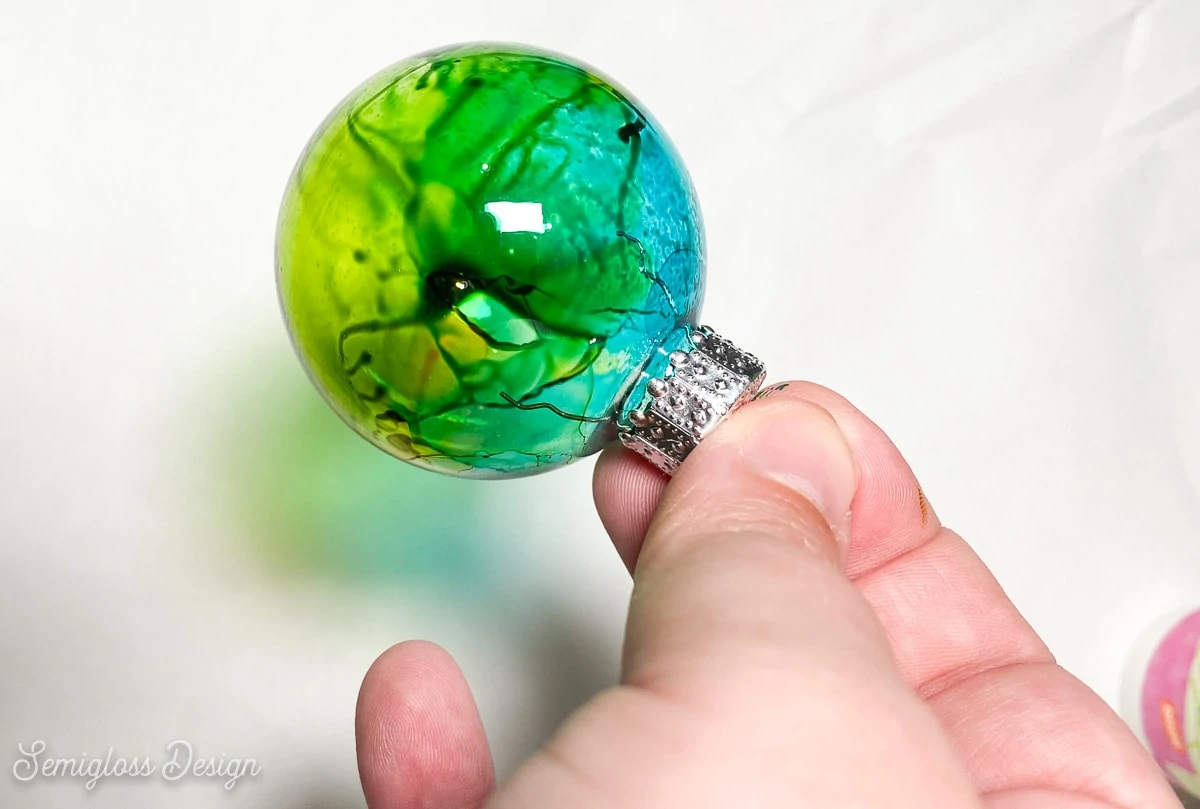
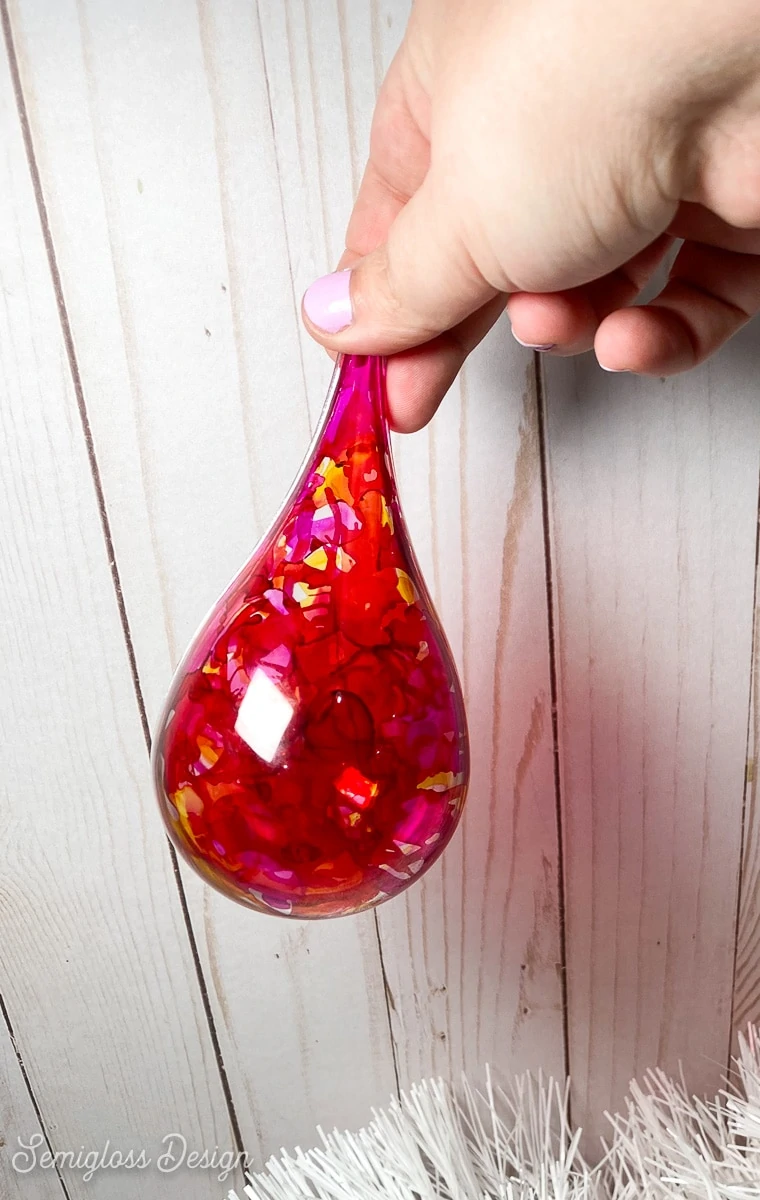
Adjacent colors look best in one ornament. Remember the color wheel when working with alcohol inks.
When all three colors mix, they become brown or black. This is not a great look for a Christmas ornament.
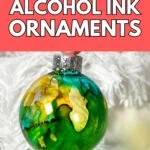
Alcohol ink clean-up. If you mess up, you can remove the ink with rubbing alcohol.
You can also try rescuing an ornament with some gold leaf. It made this ugly ornament better looking.
The ink stains, so you might want to wear gloves. It’s a little smelly, but nothing toxic.
Sealing alcohol ink. If you use alcohol ink on the outside of the ornament, it’s a good idea to seal it with a few light coats of clear polycrylic.
Let it dry between coats.
Alcohol ink may fade if exposed to light. In my spare time, I’m an artist. Since alcohol ink markers are NOT lightfast, I assume the same to be true of this ink. This just means that if they’re exposed to sunlight, the ink will fade and, in some cases, disappear.
I haven’t noticed this happening yet, but I wanted to mention it in case it does.
More Easy Ornament Tutorials
I love making Christmas ornaments. Here are some of my favorites.
These galaxy ornaments are fun and easy. This tutorial offers two different methods for creating these beautiful ornaments.
I used vintage children’s books to create these cute decoupage ornaments. They add a fun, retro feel.
Bought too many clear ornaments? Here’s a ton of fun ways to fill glass ornaments.
Glitter ornaments are so much fun to make. Best of all, the glitter stays inside the ball, so it doesn’t make a mess.
Pin for Later!


Emy is a vintage obsessed mama of 2 DIYer who loves sharing affordable solutions for common home problems. You don’t need a giant budget to create a lovely home. Read more…