Learn How to Make Stocking Name Tags with Chalk Markers
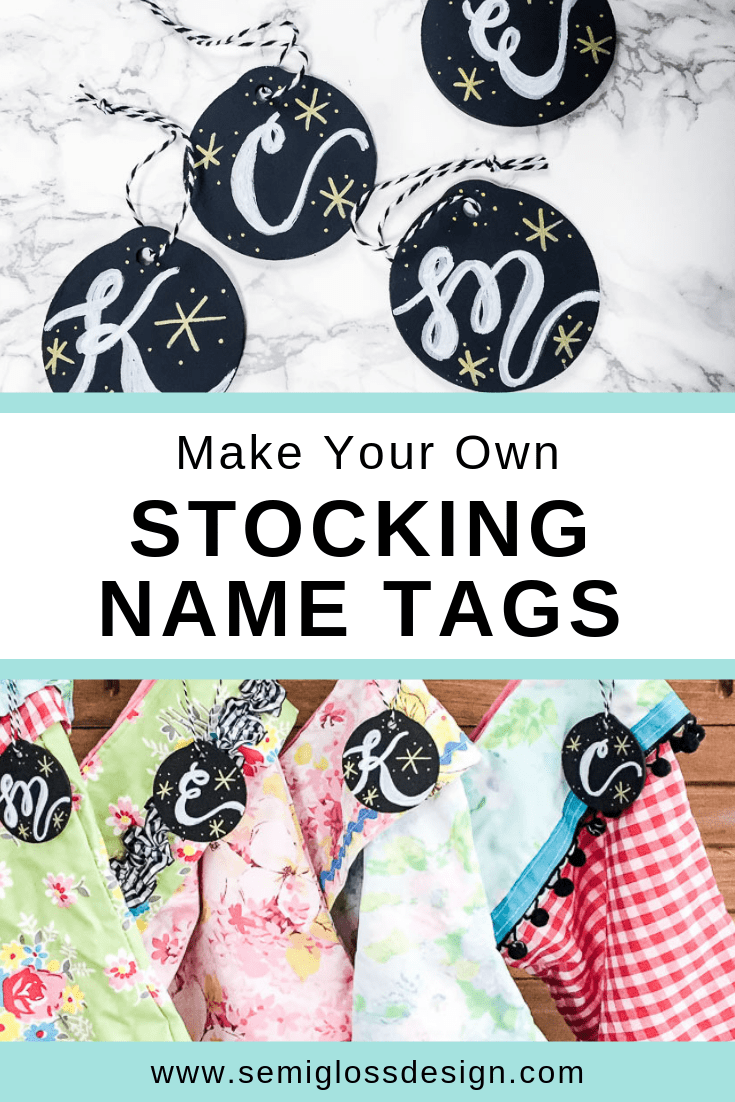
Learn how to make stocking name tags. These name tags look great on my DIY stockings and with my wooden house stocking holder!
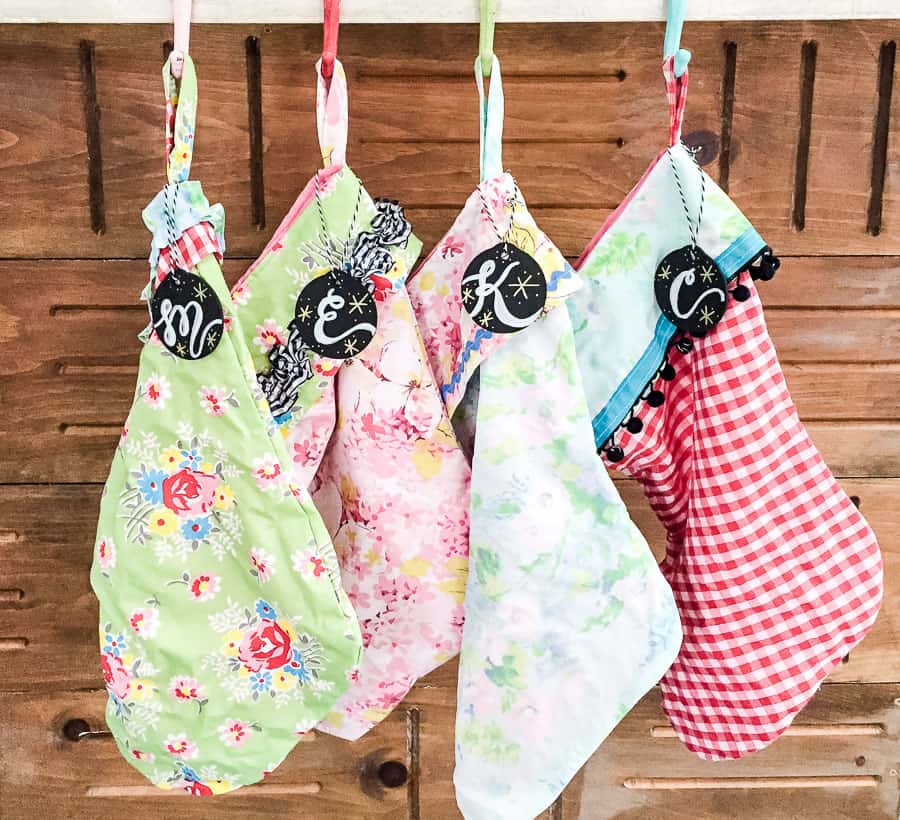
After the stockings were hung for my Christmas tour, my daughter came to me with a very serious question. Which stocking was hers and which was her brother’s stocking? She kindly suggested we label them, so I decided to take her advice. Best of all, she can switch it up when she decides next year that pink is not her color. These would also make great ornaments or even gift tags!
Chalkola provided me with chalk markers for this project, but all thoughts and opinions are my own. I would never recommend products that I wouldn’t buy or use on my own. Your support helps me make more projects like this one!
Chalkola Chalk Markers
Chalkola Chalk markers are easy to use and very versatile. I used mine on chalkboard name tags, but they also work great on glass plastic, whiteboards, and ceramics. Chalkola chalk markers are great for kids, teachers, chalk artists, moms, and DIYers.
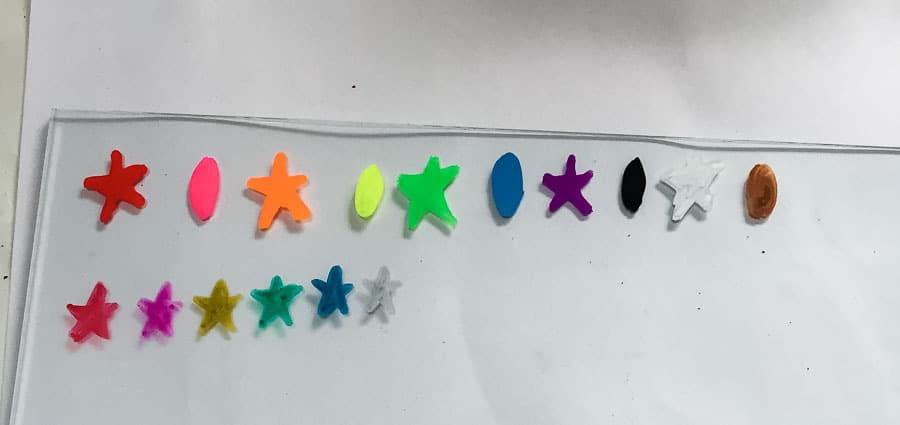
I played with them a bit to see the colors. After shaking each marker, press the tip until it fills with ink. Then write.
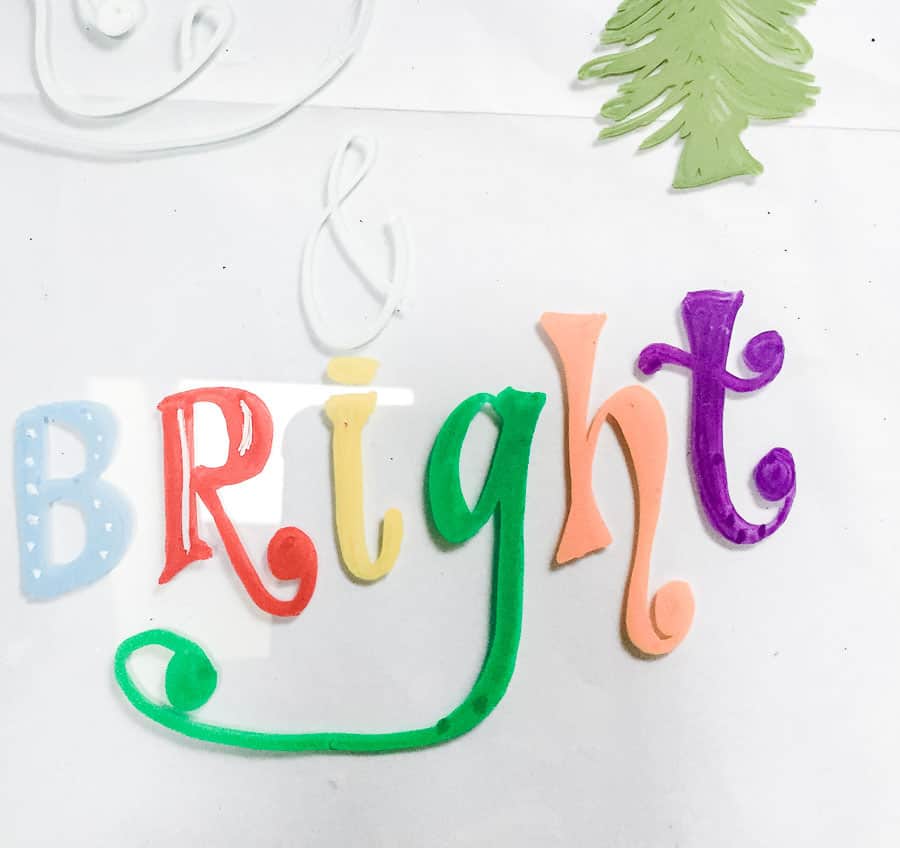
I found that it worked best to work all at once. If you add a layer over a color, like I did for these letters, make sure the 1st layer is completely dry.
I loved the metallic markers because they have fine tips. It would be fun to create amazing chalkboard art with these.
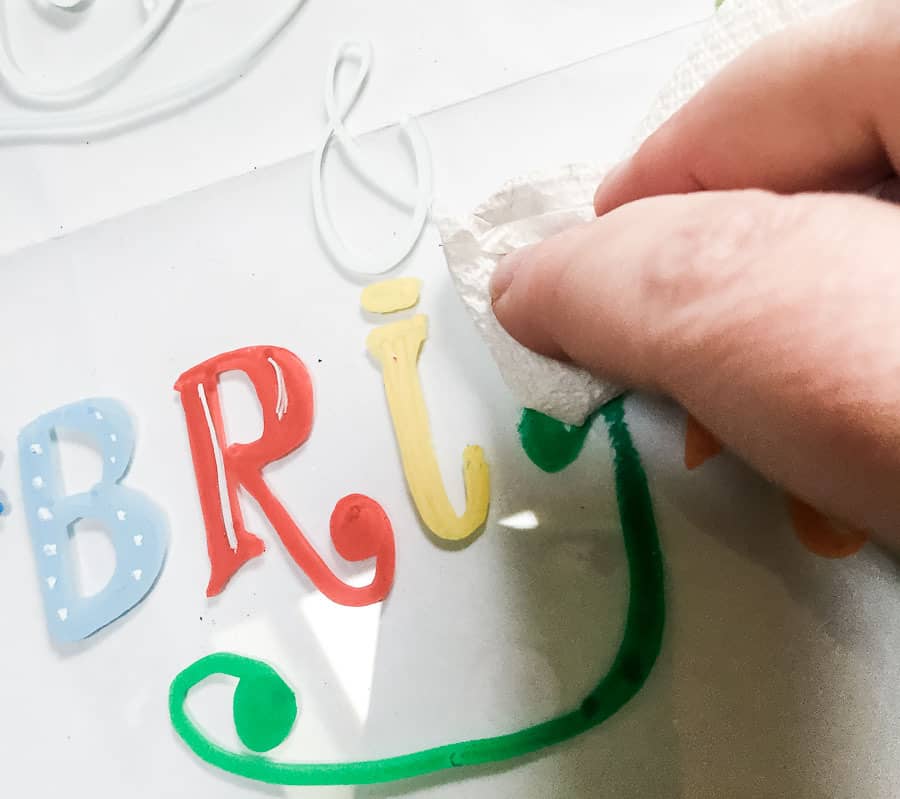
The markers wipe away with less effort than a dry erase marker. These chalk markers are great for temporary decor or even marking names on glasses at a party.
Stocking Name Tags
Supplies Needed
This post contains affiliate links. By purchasing an item through an affiliate link, I earn a small commission at no extra cost to you.
- Painted chalkboard ornaments*
- Chalkola Markers (I used this neon and metallic pack and this earth pack)
- Christmas Stamp
- Baker’s twine
*Another option is to use these acrylic ornament blanks.
Painting the Stocking Name Tags
I used a piece of glass to practice my lettering first to determine my style. In the end, each side got a different style. These are the earth colors.
These are the neon and metallic colors. It was a good idea to play with them first so that I could see which colors I liked and get a hang of how the pens worked.
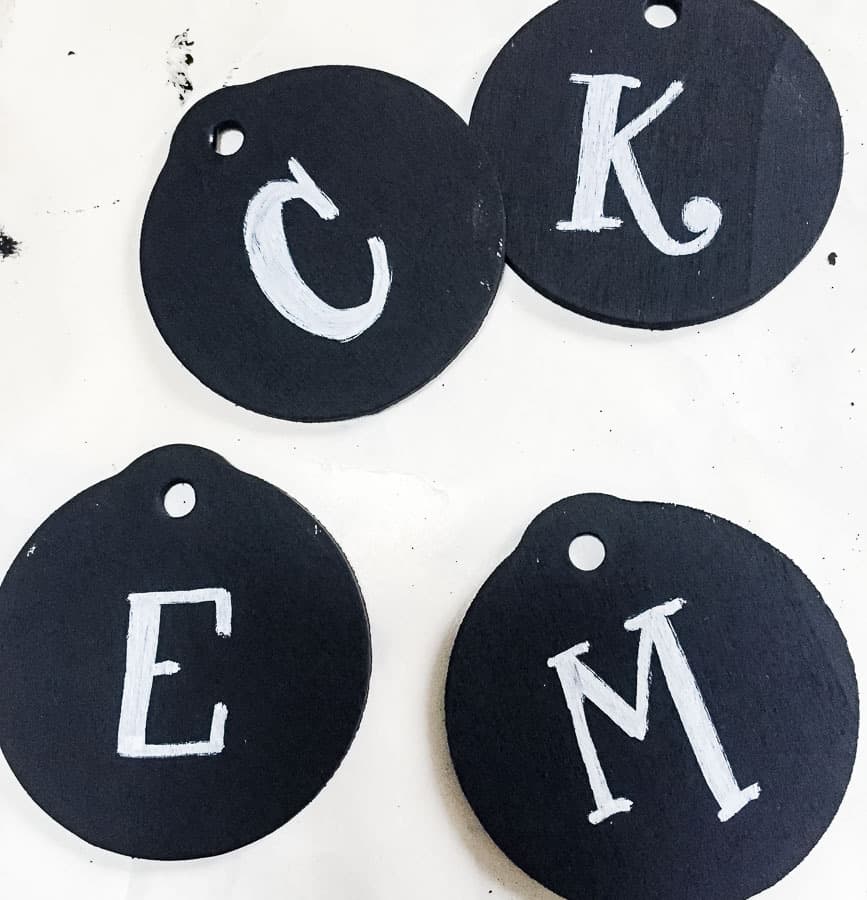
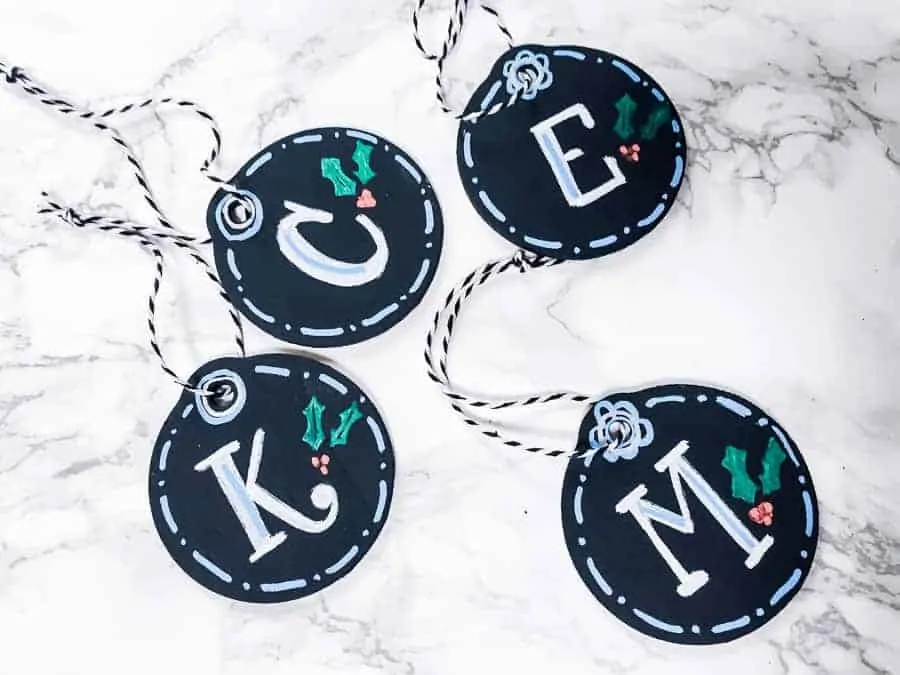
- Draw out the letter for each name tag. I used white to contrast against the black background. If you want your lettering to look fancier, it looks best when each down stroke is thick. Just draw another line and color it in. The pens work best when you work wet on wet. Don’t let it dry and come back.
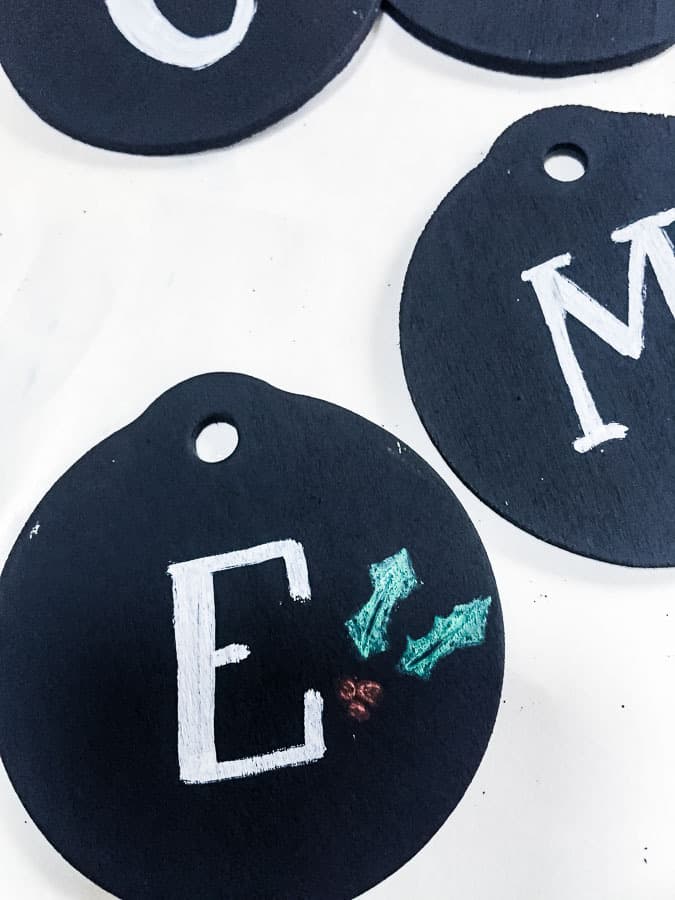
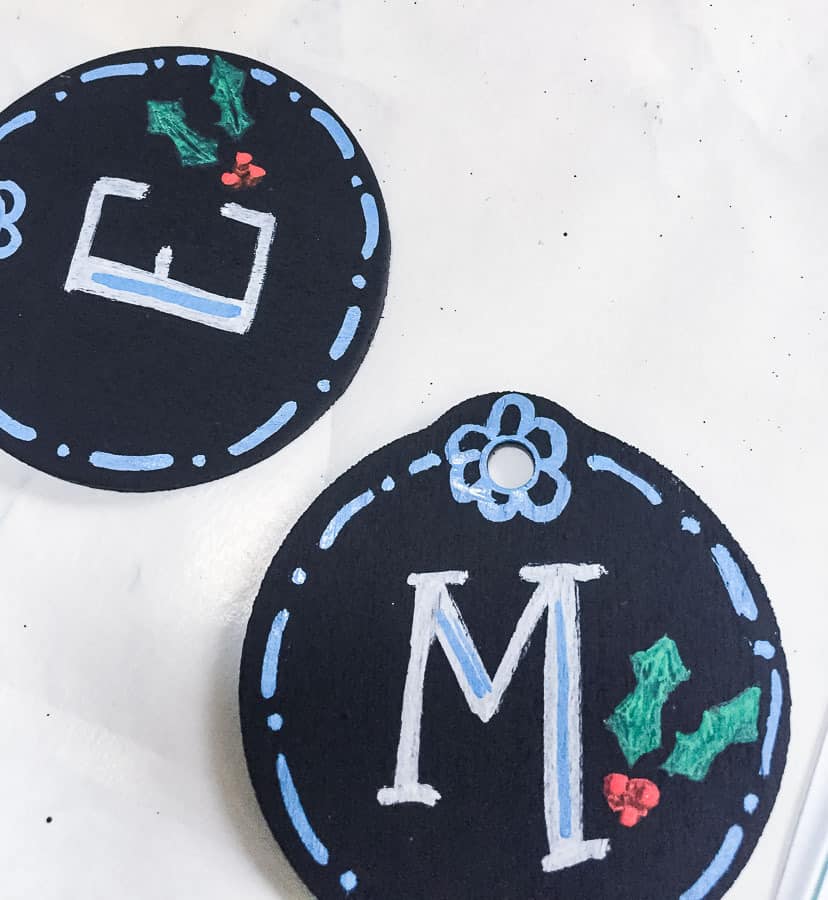
- Then I added a stamp using the chalk markers. Color the stamp and press it down. Once it’s dry, you can go back in and draw over the top to give it more detail. I used the metallic markers for this.
- I used the blue to add dashes and dots around the edges and to the letters. This blue was from the Earth colors pack.
- Let the chalk markers dry thoroughly.
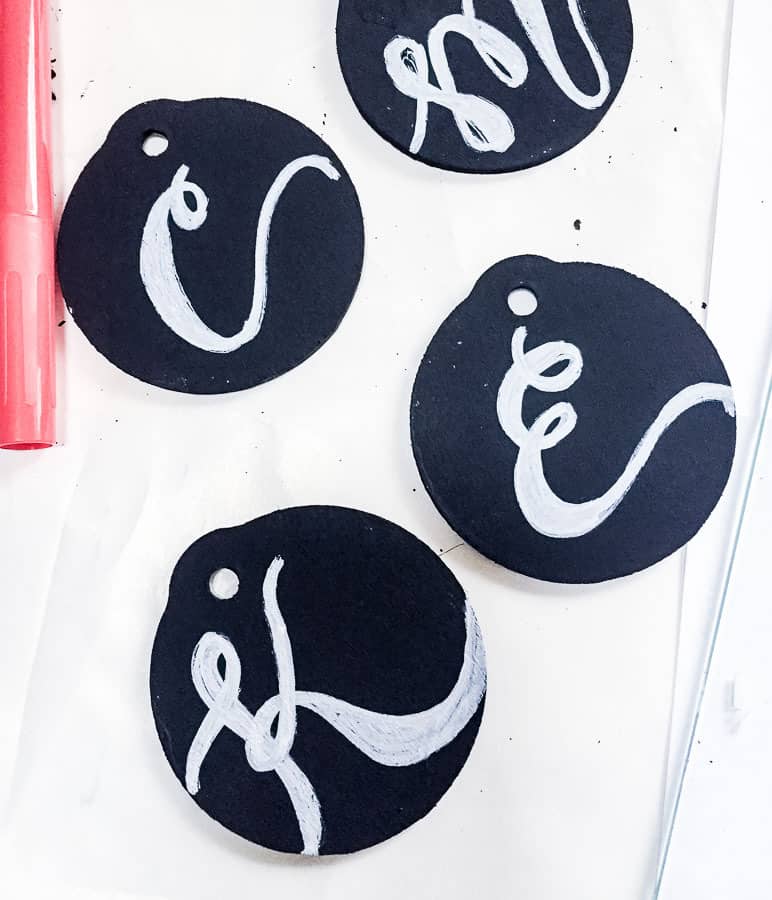
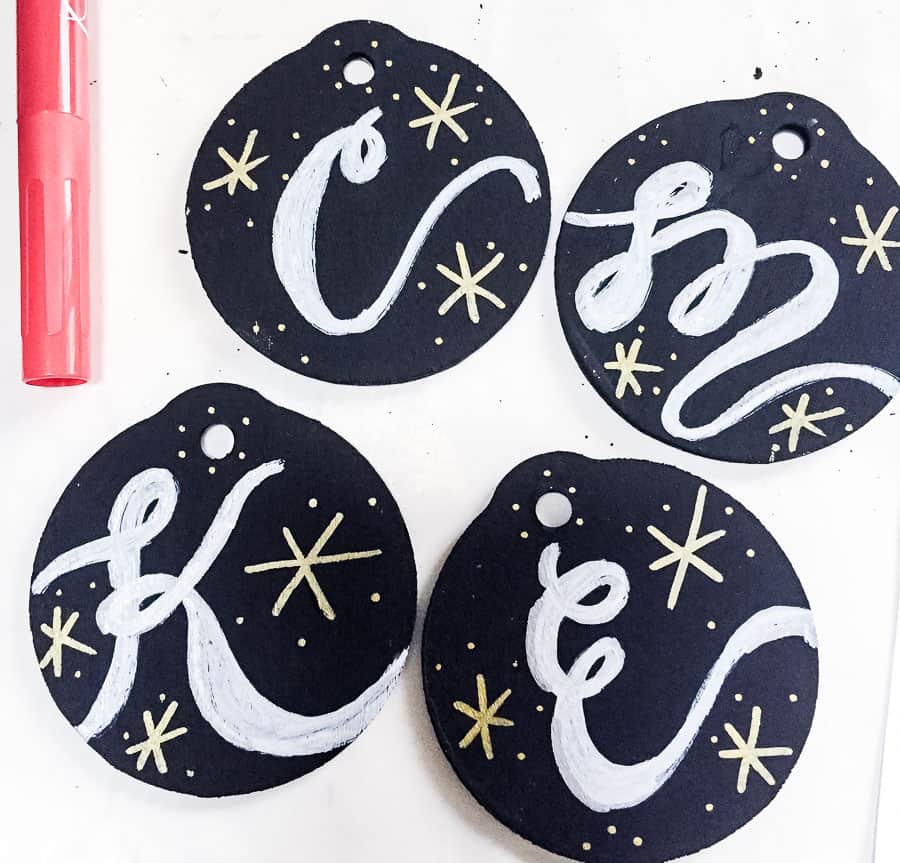
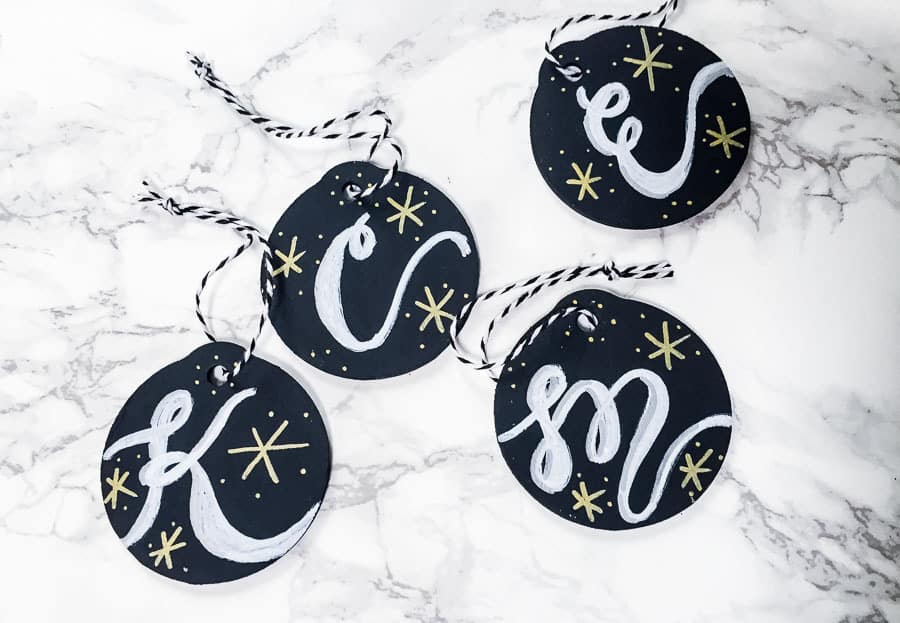
- Painting the other side is optional, but I decided that it would be a fun way to experiment with a different style. The lettering style for these was more like faux calligraphy. Once again, I emphasized the downstroke by making it thicker.
- Then I added starbursts and dots in gold around the edges.
- It’s hard to see, but I also added some silver details on the left edges of the lettering. The silver is really pretty, but it doesn’t show up well next to the white.
- When everything was dry, I tied on some baker’s twine to make my stocking name tags easy to loop around each stocking.
Discount Time!
Chalkola is offering my readers 10% off purchases of chalk markers! The coupon code works on both their website and Amazon. Get these amazing chalk markers today!
Use coupon code: 10OFFYTA for 10% off.
Pin for Later!

Emy is a vintage obsessed mama of 2 DIYer who loves sharing affordable solutions for common home problems. You don’t need a giant budget to create a lovely home. Read more…


