How to Paint and Stain Stairs for an Updated Look
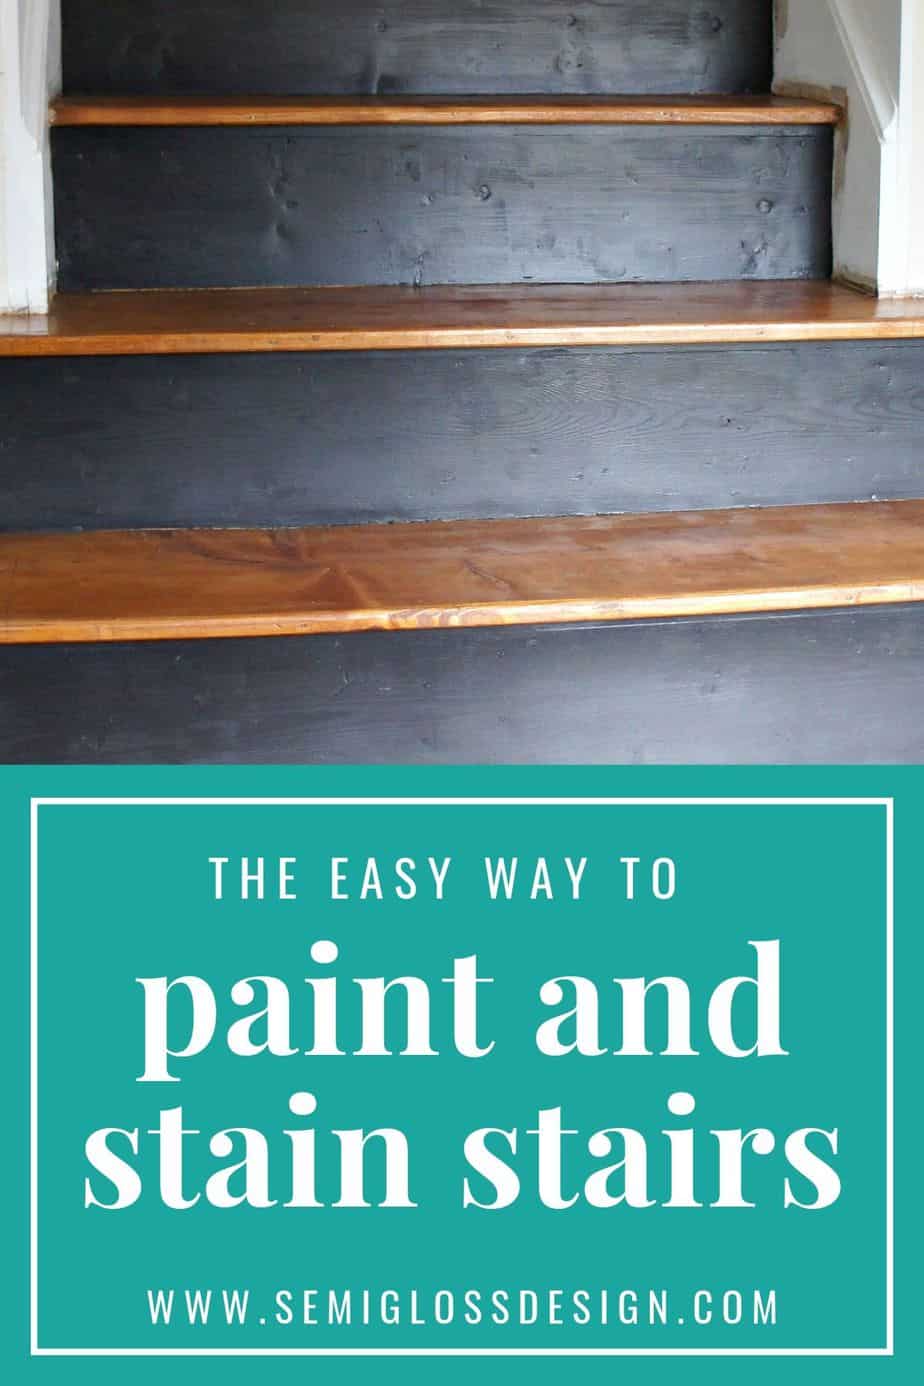
Learn how to stain stairs.
It’s been forever since I talked about my staircase and hallway makeover. Sometimes life gets in the way of getting stuff done. Other times, the project stumps you a bit. This was a bit of both.
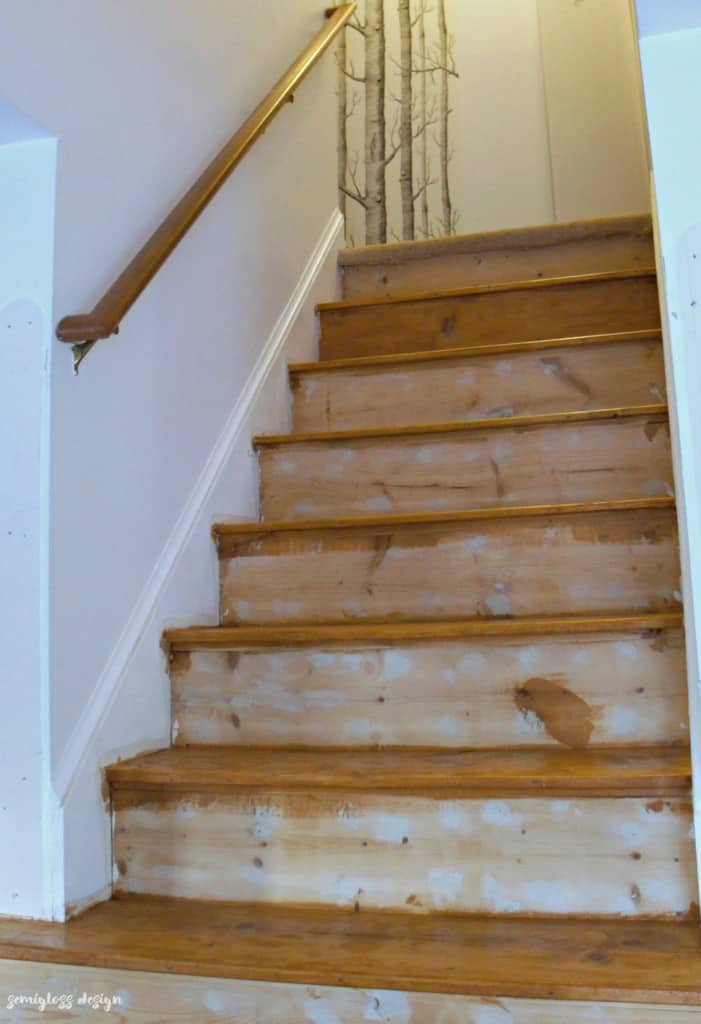
When I last wrote, I shared how we removed the carpet from the stairs and prepped for staining the stairs.
I stained them, but wasn’t happy with them. It took a few weeks to decide whether to re-stain them or just paint the stairs.
Unseasonably warm weather convinced me to try re-staining them and I’m super happy with how they’re looking.
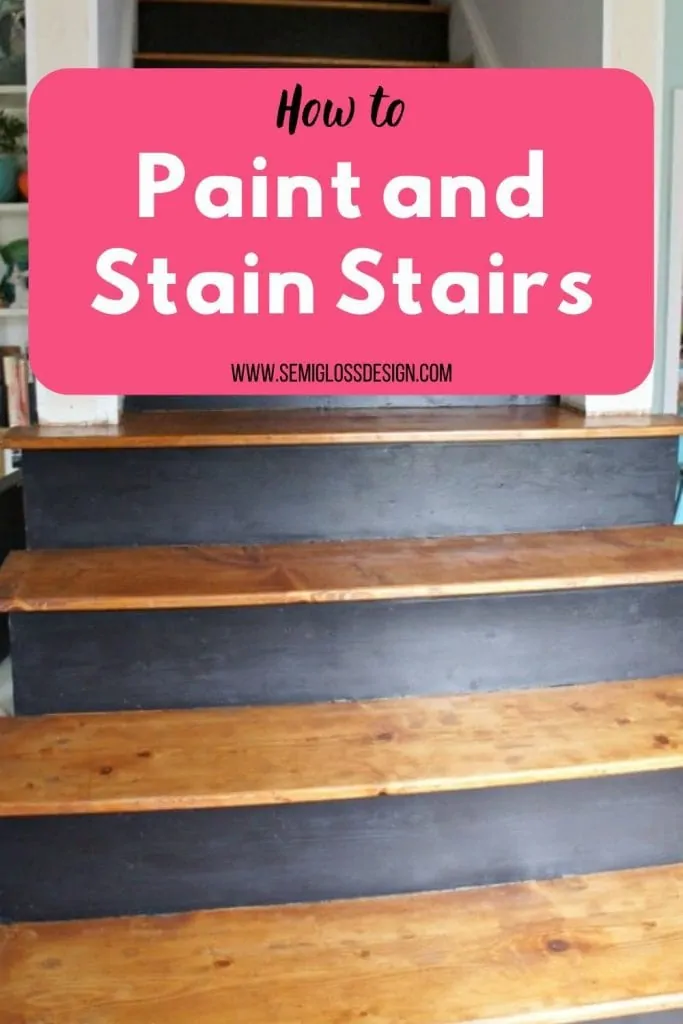
Today I’m sharing how to paint and stain stairs to make them beautiful, as well as my missteps along the way and what I would do different.
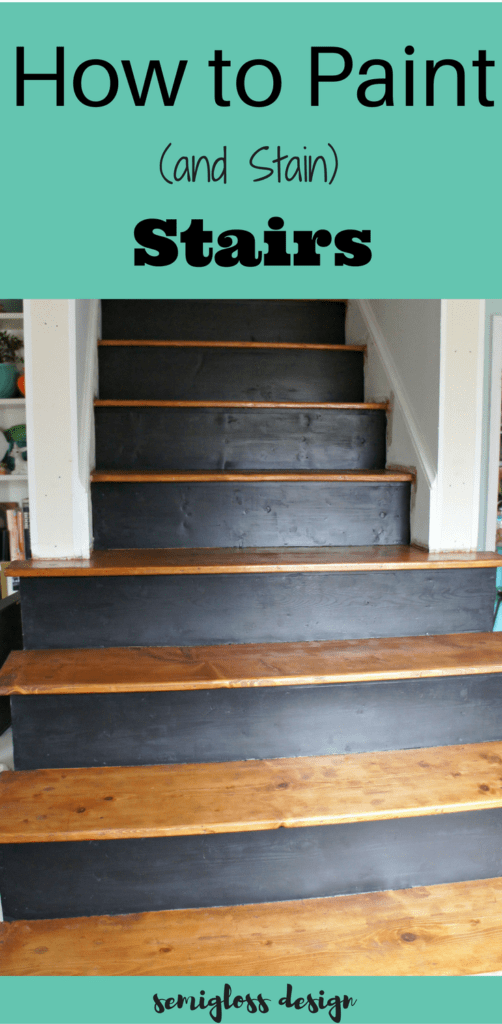
To see the finished results, check out this post: Staircase Renovation Reveal
How to Paint and Stain Stairs
The Order for Refinishing Stairs
In case you are planning a similar project, it’s helpful to have a plan for work order.
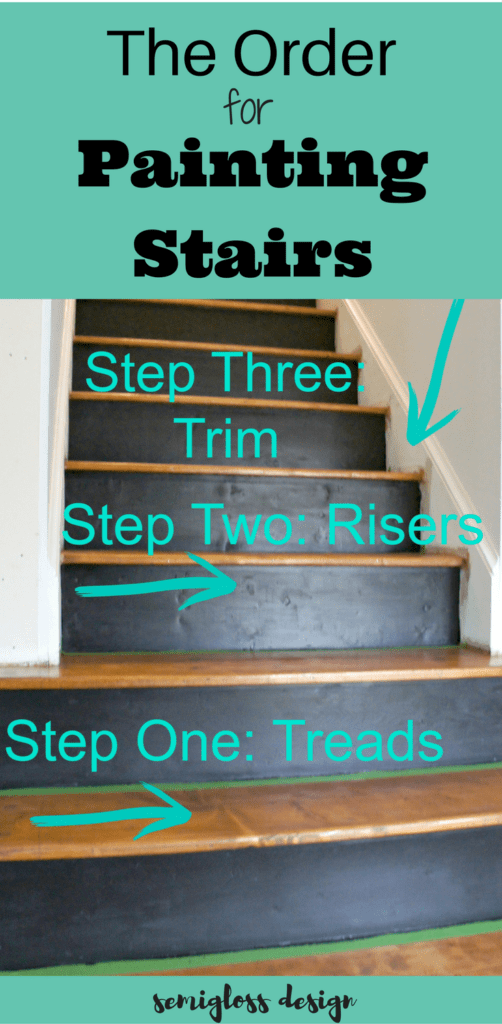
- Stain Treads
- Paint Risers
- Paint Trim (still needs to be done)
Edited to add: See the staircase makeover reveal here!
How to Stain Wood Stairs (Treads)
Supplies Needed
This post contains affiliate links. By purchasing an item through an affiliate link, I earn a small commission at no extra cost to you.
- Stain (I used Minwax Special Walnut)
- Foam brush
- Rags
- Polycrylic
- Paintbrush
- Start with very clean stairs. I vacuumed up dog hair and kept a microfiber cloth with me to wipe away any stray hairs that I missed.
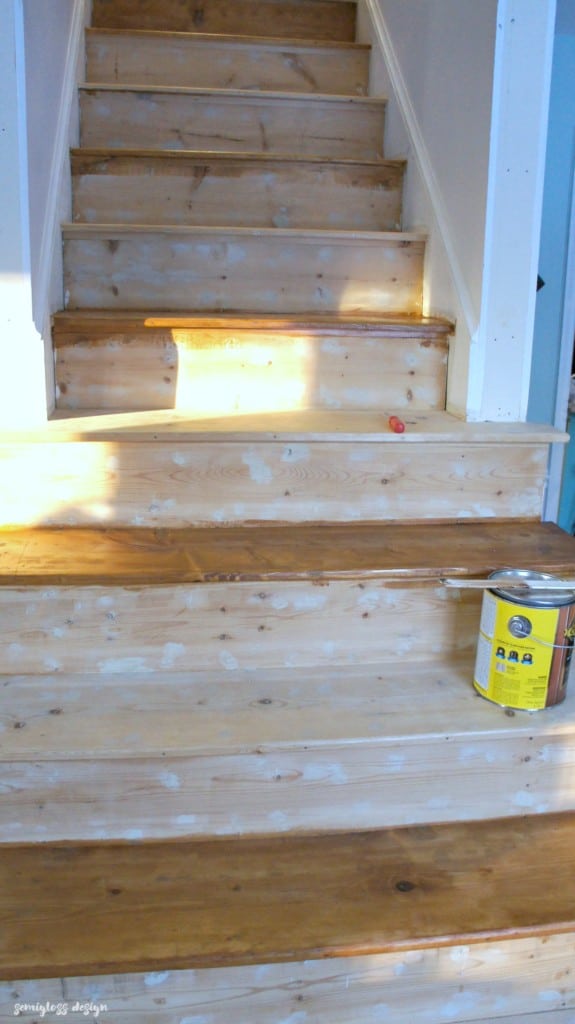
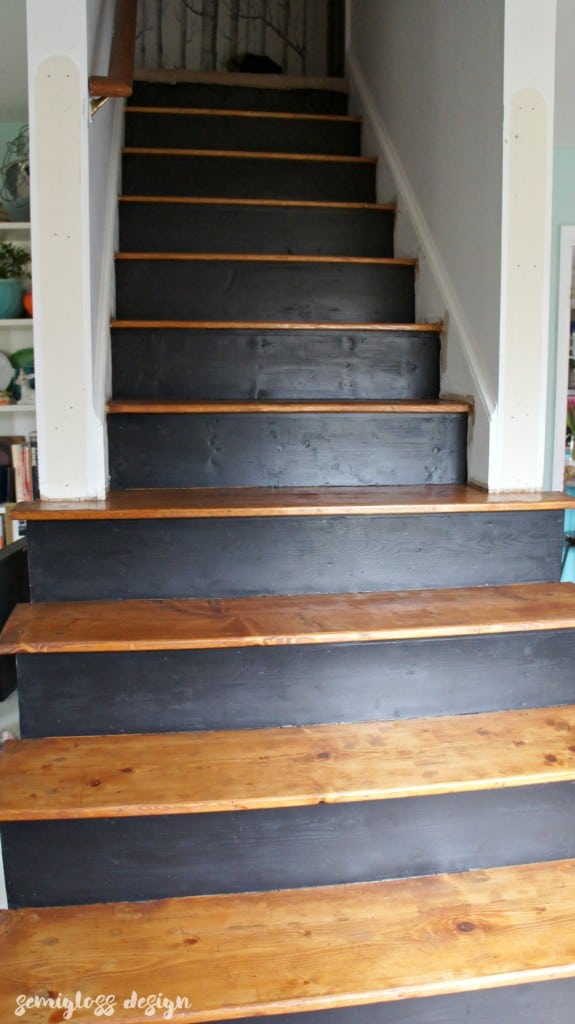
- Stain every other stair tread. This allows people to still get upstairs since the stain takes a long time to dry.
- Mix the stain well and apply with a foam brush.
- Let it sit for a few minutes and wipe off the excess stain with a clean rag or old t-shirt. The longer you let it sit, the darker it will be.
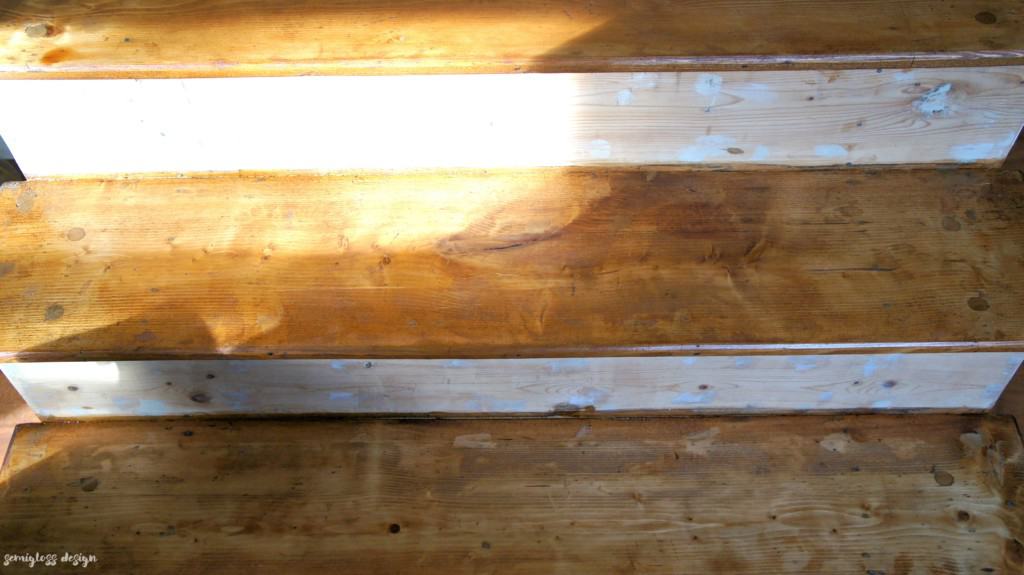
- Let dry for about 8 hours before using the stairs. I let my stairs dry for a full day before applying the coat of stain on the rest of the treads. In the picture, you can see where I considered staining the risers as well. It was also an easy way to see the color of the stain from far away.
Protect the Stain Finish on Your Stairs
- When all of the stairs are dry for a full day, apply a clear coat of poly. I used a satin water-based poly so that it won’t yellow over time. It goes on milky, but dries clear. It was fully dry after about 2 hours, but this will vary depending on the brand you use. The poly protects the wood, but also enhances the wood’s beauty.
- Apply a second coat of poly if desired. I’m installing runners on my stairs, so I skipped the 2nd coat.
To remove stain from your hands, wash your hands with a bit of olive oil mixed with soap. Add sugar to the mix if it’s really bad. Not only does this make your hands soft, it removes all of the oil based stain from your skin. This also works for spray paint! Check out this DIY hand scrub!
How to Paint Stairs (Risers)
Supplies Needed
- Paint
- Paintbrush
- Painter’s Tape
- Primer (if needed)
If you’re paining the risers white, please read my guide on how to paint furniture white. It’s the same concept for stairs and other wood projects. If your stairs are pine, they WILL bleed through, so take precautions to avoid ruining your hard work.
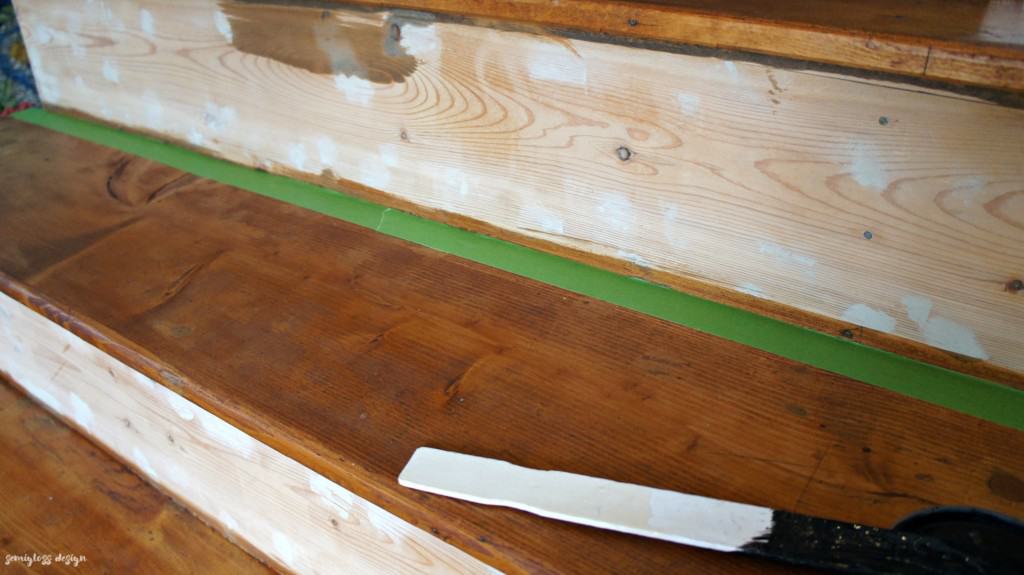
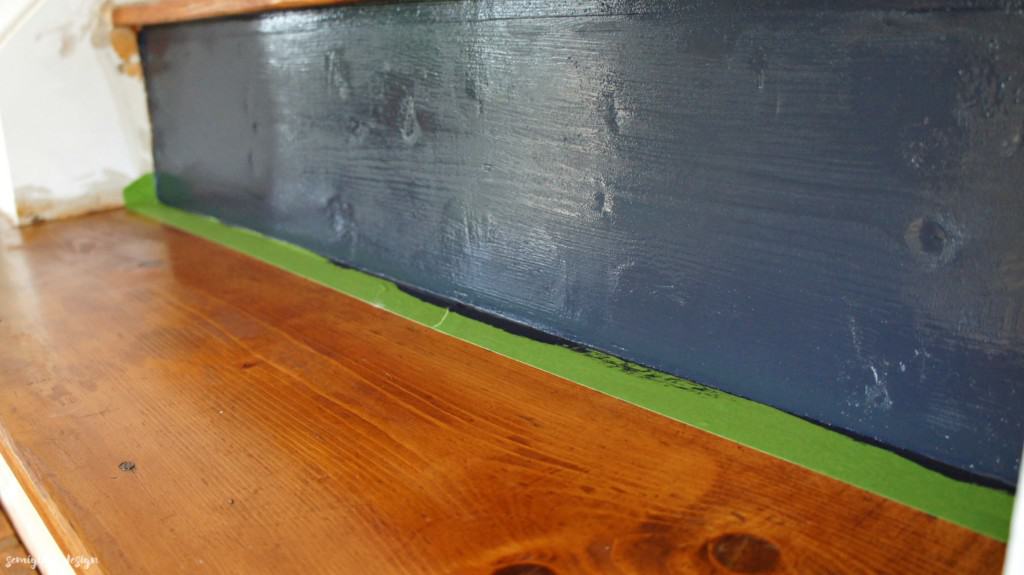
- Tape off the stained treads. I only taped the bottoms because I’m decent at cutting in at the top. If that makes you nervous tape the top too. If your trim needs to be repainted, don’t worry about taping it off either. After you apply your tape, rub the edges well to create a seal.
- Use primer if you’re painting the risers white. Pine has knots that will bleed and make your white paint yellow. I recommend this primer because it’s the best. It’s a bit stinky, but not horrible. Use a chip brush and clean it with household ammonia.
- If you’re painting the steps black, skip the primer, unless you just like priming. I used Sherwin Williams for HGTV paint from Lowes in Tricorn Black. This paint is so thick and it goes on nicely with 2 coats. I used satin, because it covers well, but it’s still cleanable. You can use semigloss, but be prepared to apply more coats. I do not recommend flat paint.
- Apply a thin coat, especially at the taped edges. Let dry.
- Apply a second coat as needed.
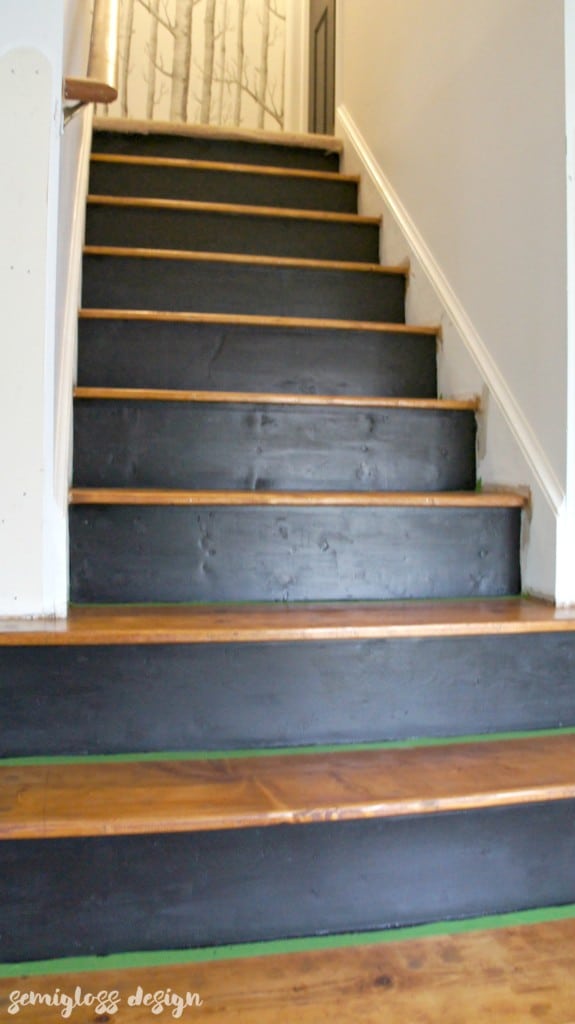
- When it’s dry, remove the tape, and voila! Your stairs are gorgeous! (Besides the trim…)
If your paint bled under the tape a bit, you can either leave it because it’s unlikely to be noticeable when walking on it, or you can gently scrape it off with a razor blade.
Things I Would Do Different
- For the prep work, I had filled in all of the gouges and nail holes, and then sanded. If I had to do it again, I would skip the filling part. The stain looked awful on these parts, so I had to re-sand portions of the stairs. On dark surfaces like stain, the holes will not show up anyways.
Staining Stairs FAQs
How long before you can walk on stained stairs?
Stain takes about 24 hours to dry, but that can vary due to humidity and other factors.
How to stain stairs and still use them?
I stained every other stair so that our staircase was still usable. It was easier to work on a day where my kids were at school and I started early in the morning to give it plenty of time to dry.
What happens if you don’t wipe off stain?
If you don’t wipe off stain, it takes forever to dry. But more importantly, it doesn’t show as much of the beautiful wood grain. With time, it might start flaking as well. The beauty of stain, is that is soaks in the wood, making it a more durable finish than paint.
Can you stain pine stairs?
My stairs are pine and I stained them. Just understand that pine is a soft wood and will never look perfect. Dents are going to show on pine.
If you’re just getting started and need some tips for removing carpet, I can help! It’s easier than you think with a few easy tricks and tools.

So what do you think? Do you want to paint and stain your stairs?
Related Staircase Posts
- Final staircase reveal
- How to install runners
- How to build a modern railing
- How to make a copper pipe handrail
- How to wallpaper
- How to remove carpet from stairs
- How to paint doors
Pin for Later!

Emy is a vintage obsessed mama of 2 DIYer who loves sharing affordable solutions for common home problems. You don’t need a giant budget to create a lovely home. Read more…




I’m bookmarking this for when the time is right to tackle my own steps. Very helpful! Your steps look beautiful!
Nice job! I like that you did the risers in black (or very dark grey? hard to tell in the pictures). I have seen filler that is supposed to take stain like wood. Was this that kind so I know it LIES? I have a big gouge I’d like to fill on a bench when I refinish it this summer so I want to make sure I get the right kind.
Thanks!
They’re black. I’ll show you the wood filler that I used on Friday. It stained okay, but not perfectly. There’s another kind that smells like death and destroys the stairs. Don’t use that one. Test it out on scrap wood first.
Hi! I love the finished product!! Just wondering where in can purchase the birch tree wall paper? So pretty!
Thanks Melissa! The wallpaper is called In the Woods by Cole and Son. I got mine at Wallpaper Direct because they have the best price. There’s also a less expensive one by Graham and Brown that is similar, but quite lovely.
Were these stairs carpeted before this upgrade? I’m worried that when I remove existing carpet the quality of the woodunderneath will be garbage and no amount of paint will render a quality end product.
Hi Adriana. These stairs were carpeted before. I could feel a lip on the treads under the carpet, so I was confident that I could salvage them. My stairs in the basement, however, are not salvageable. They’re made of construction grade wood with giant gaps in the cracks. I plan on redo-ing them next month. I plan on refacing the risers with luan and adding new treads to the tops of the stairs using standard lumber, then caulking everything. I’ll probably end up adding a runner to the top, just to soften the noise a bit.
The other option is to use a product called “retro-treads.” They’re about $25 a tread, but look easy to install. I’m hoping that my method is easy as well, but more affordable.
I suspect we have construction grade crgp under ours. One option we will be considering is using snap-on premade stair treads to match vinyl plank flooring that we will be installing next year. Not cheap. But expedient.