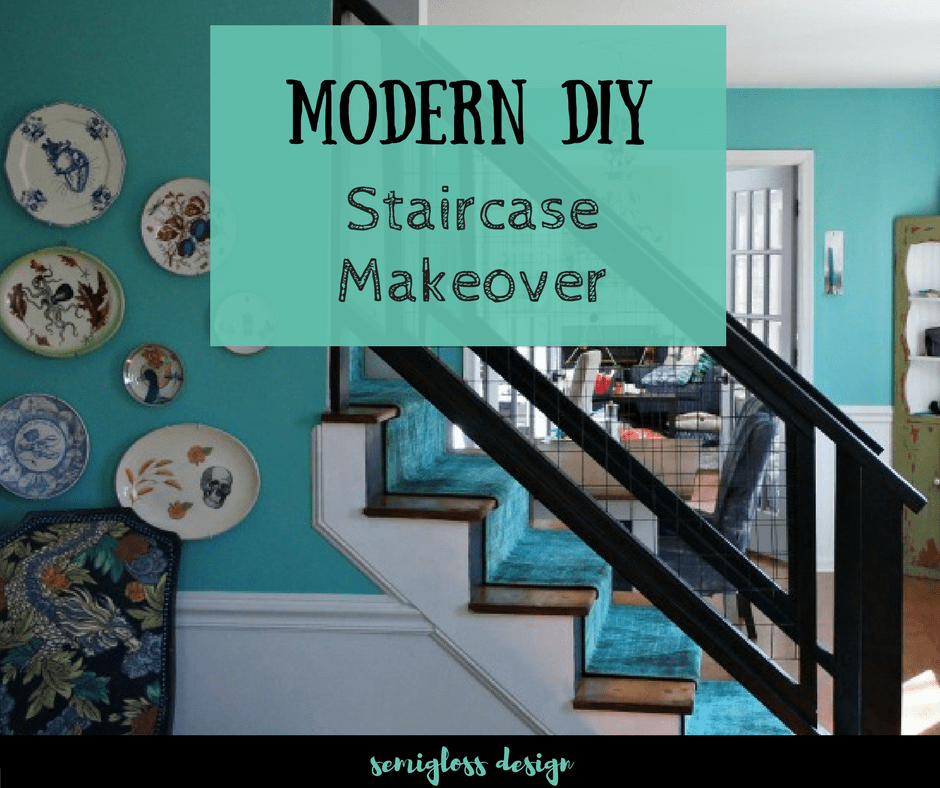
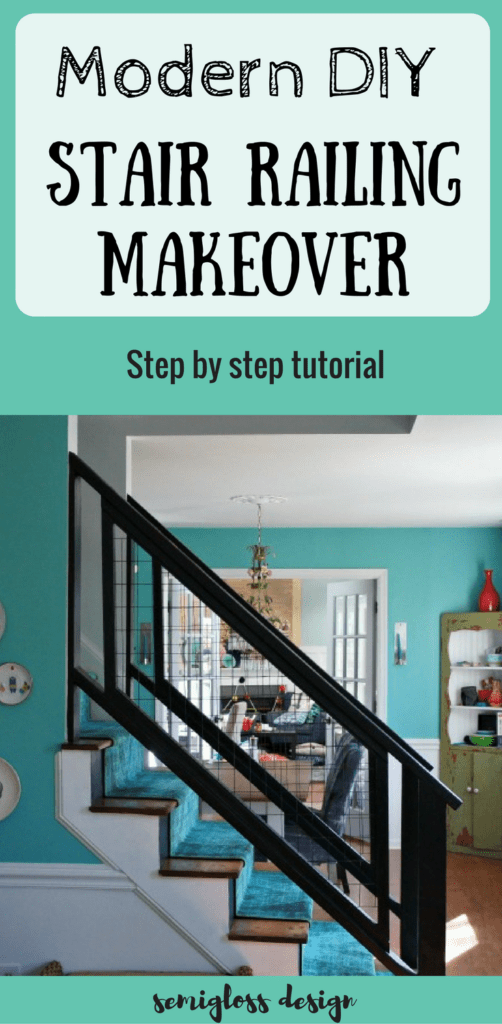
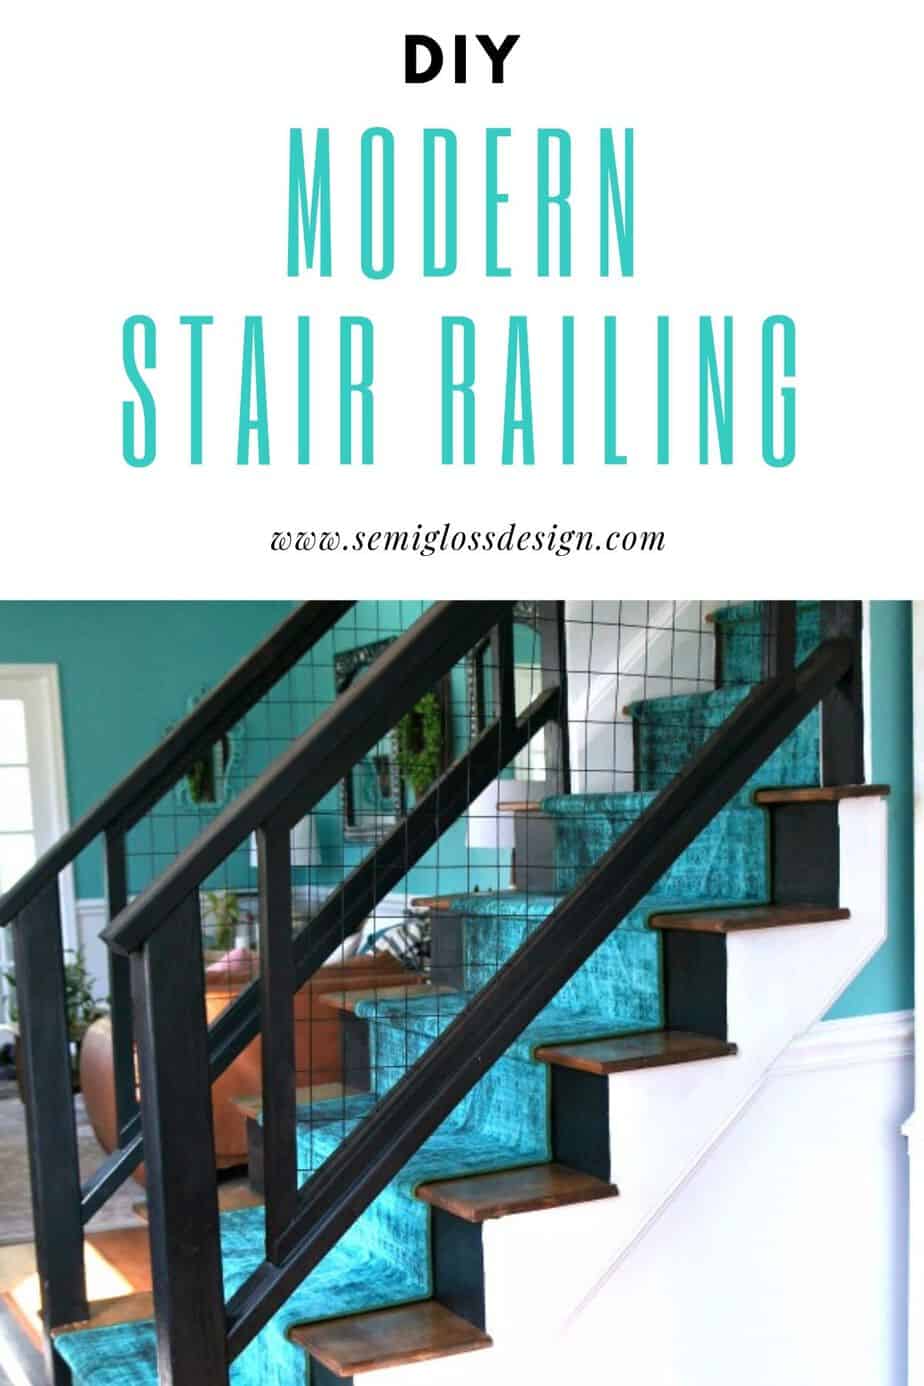
Learn how to build a modern DIY stair railing for your staircase.
Good things take forever. At least that’s what I’m telling myself about my recent staircase makeover that I shared yesterday.
After 4 long months, it’s finally done. Today I’m sharing my DIY stair railing makeover tutorial.
I had a vision for this staircase and I’m so glad that it came out even better than I anticipated.
I feel like this post needs a few disclaimers. So let’s get those out of the way.
This is a super long post.
This DIY is not for the faint of heart. It wasn’t easy and it made me want to cry a few times. We had to walk away from it several times and come back to it. There are just so many steps and we had to do everything twice since there are 2 sides to the staircase.
When working on a project, I don’t stop to tidy while taking pictures. As a result, my pictures show a lot of messes. Sorry about the real life. 😉
Semigloss Design is not responsible for any accidents or code violations. Please look up your own local codes before attempting projects that could cause bodily harm. Be safe, people.
Organize Your Home Improvement Projects
Stay organized with a printable home improvement planner. Keep all of your ideas in one place. Print as many copies as needed.
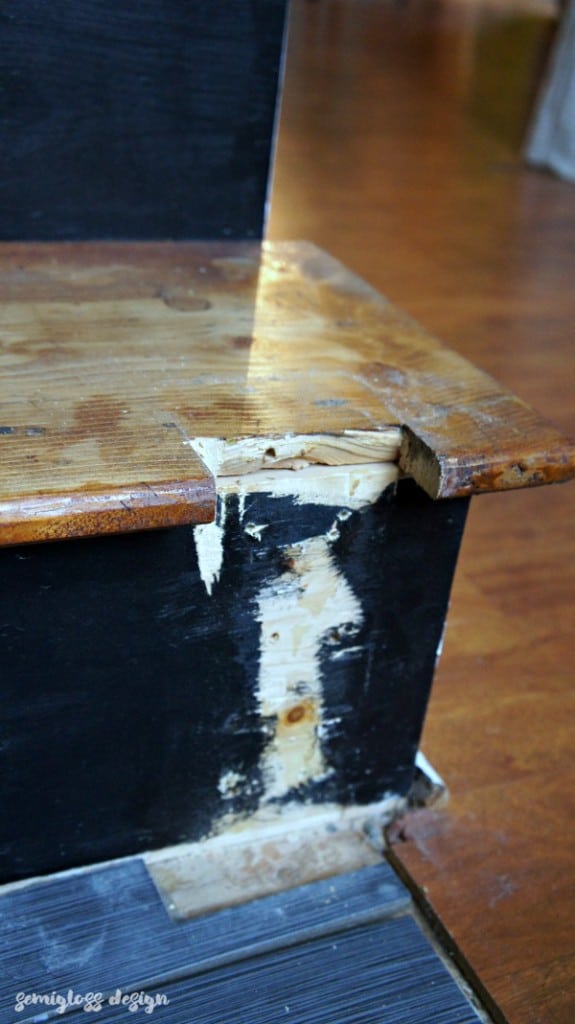
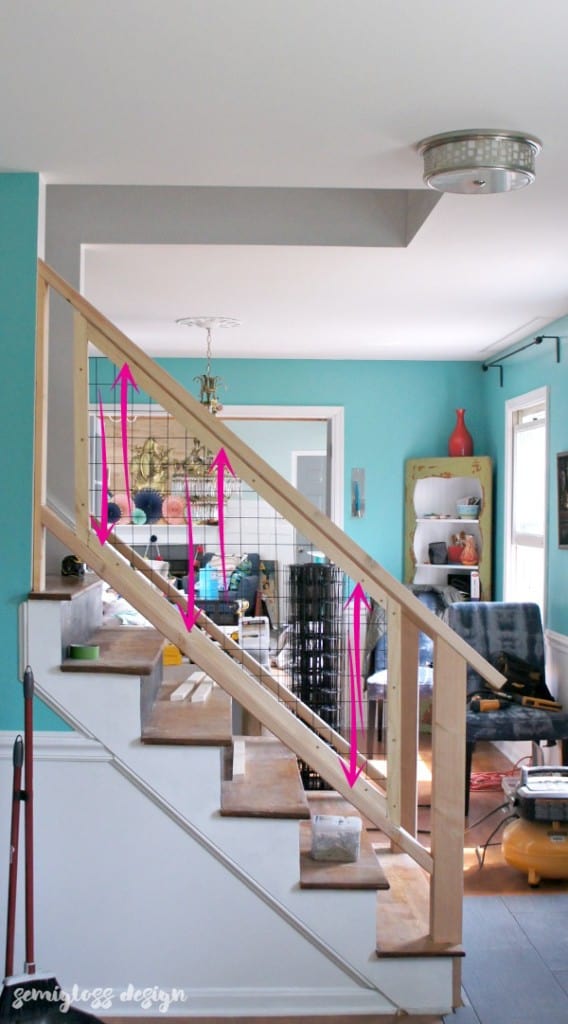
Cut a 4×4 to 4′. It doesn’t need to be the exact size just yet. To fit our stairs, it had to have a portion of it notched out. The bottom stair looked like this:
Excuse the crappy paint job. It will be covered.
Temporarily attach the 4×4 in place with enough screws to hold it steady.
Cut your half newel post. Cut your 1×4 long enough to fit between the stair and the ceiling. This will be your half newel post. It fits on the wall under the handrail.
Find the correct angle of the stairs. Clamp the handrail to the 4×4 and the wall. Draw under the handrail to find the angle. Also draw the angle on your 1×4 (half newel post.)
Remove the 4×4 for cutting.
Use a square to figure out what angle your stairs are. Mine were consistently 42 degrees but we still measured every angle since houses are never perfect.Find 42 degrees on your mitre saw and make the cut. Cut your 1×4 at this time also. The handrail should be somewhere near 36″ high.
Attach the 4×4 to the stairs. We used about 5 screws so get it nice and secure. Use a shim if necessary to get it perfectly plumb.
Lay the handrail on top of the 4×4 and 1×4. We used clamps to hold it in place so we could screw it in place. Always drill pilot holes so that you don’t split the wood.
You will find the bottom rail in the same way as the top and then attach it in place also.
Repeat these steps for the other side. Now the main part of your staircase is built. The hardest part is over!
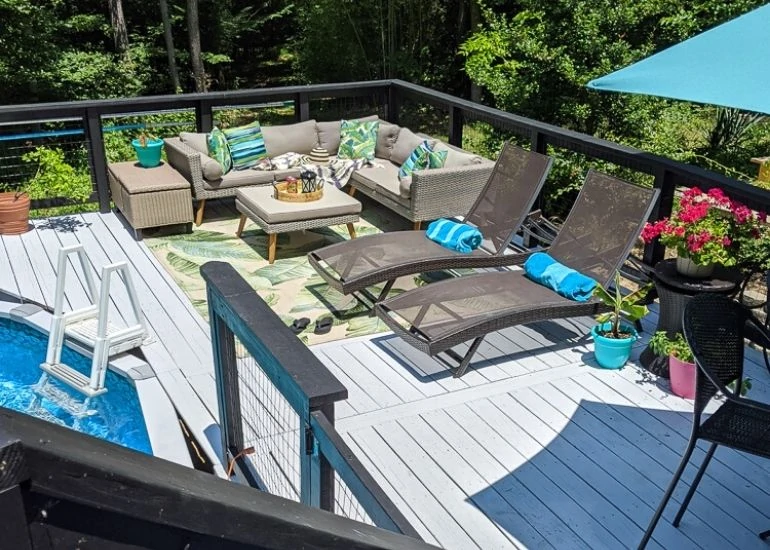
We recently used a similar technique to create a modern deck railing. Check it out!
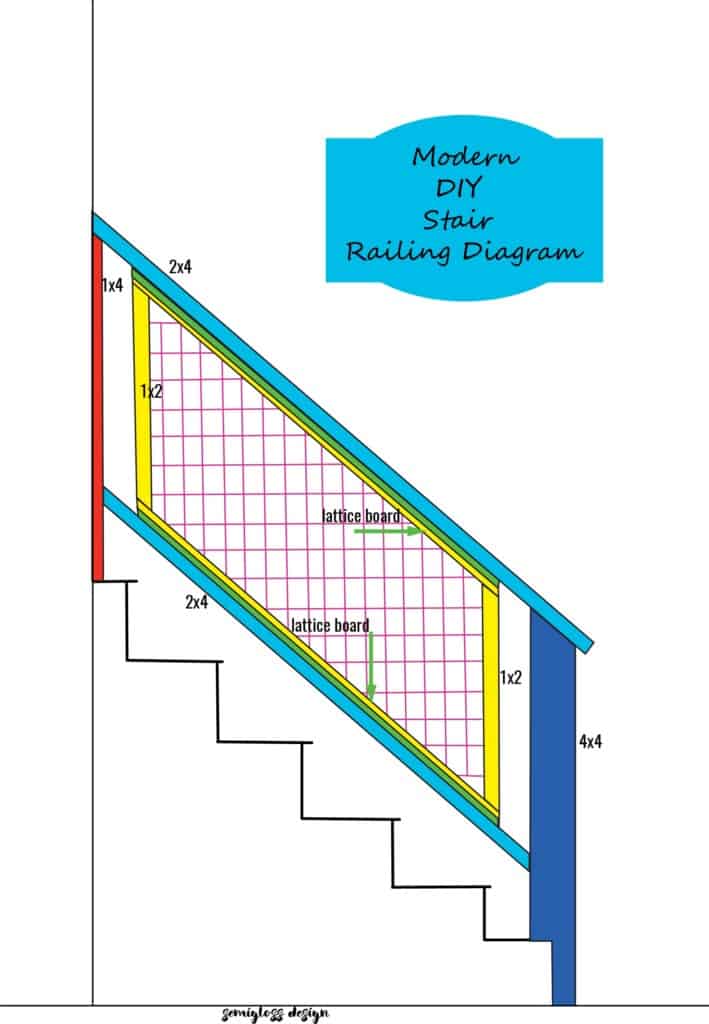
Building the grid panel
We used 16 gauge fencing for the panels. It seems flimsy on its own, but sandwiched between the frames makes it incredibly sturdy. I highly recommend wearing gloves during this project. Cutting wire can be dangerous.
***Each panel consists of 2 panels, so for stairs, we had to make 4 in total.***
Figure out the angles for the panel pieces. You’re probably a pro by now. Ours were 42 degrees just like our stairs, but I would still check it just in case. Our code calls for no spaces over 4″, so we left a 4″ gap between the panel and the newel post. You don’t have to leave a gap, but it gave us plenty of wiggle room for mistakes. (Insert foreshadowing.)
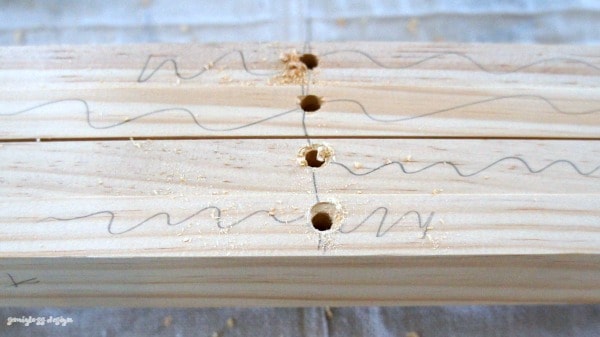
Drill pilot holes in the top and bottom rails. We lined them up to drill the holes. Once they were drilled, they needed countersink holes drilled. Since the wood is 1 1/2″ thick, you need to drill down a bit so that you can use a shorter screw.
Not sure why there are scribbles? Hubby felt artistic???
Make sure you’re drilling into the bottom of the top rail and the top of the bottom rail because you will be attaching the pieces from the panel side into the handrail and bottom rail. We don’t want to have a million screw holes on the handrail and the bottom rail is going to be hard to access from underneath.
Make the frame. We attached it with small brad nails and reinforced it with staples on the corner edges. We dry-fitted it and it fit perfectly.
Lay the fencing on top of the panel frame. We wanted ours to be parallel to the wall, not the handrail. This left little open triangles of space at the very top and bottom corner, but we went with it.
Staple the wire in place. We stapled on one side and then pulled it tightly across the the other side, keeping it lined up right.
Cut the wire to fit. We used tin snips and wire cutters because that’s what we had on hand. Bending it where it needed to be cut made maneuvering around it easier.
Bend any loose end over with pliers to hide the sharp edges.
Make another frame, but leave one side off. Unfortunately, pulling the wire taut slightly warps the frame, so this is our attempt to get them to align correctly. Clamp those 3 sides in place and screw them to the other frame. You’ll need screws that are shorter than 1 1/2″ long or they will go through to the other side.
Attach the last piece of the frame, using clamps where needed. Screw it to the other frame like you did in the last step.
Repeat steps 1-9 for the other side.
Attach the grid panel to the stair railing
Attach the panel to the bottom rail first. Remember that wonkiness I talked about? It’s about to become clear.
Despite fitting perfectly during the dry fitting, getting the wire night and tight warped the frame a bit and now there’s a gap. Womp womp.
Use deck screws to screw into the railing.Good screws and a strong drill will force the panel and the railing to come together.
That almost fixes it perfectly. However, the corners don’t quite meet.
I decided to hide the last bit of wonkiness with trim. I used lattice boards because they are very thin and minimal. If you aren’t painting your stair railing, use real wood lattice. The lattice boards were attached with a nail gun.
The stair railing is done at this point and is ready for the finishing steps. I know, more work.
Finishing the DIY stair railing makeover
Fill all the screw and nail holes with wood filler.
Sand them smooth.
Caulk all the edges.
Paint! Because I really know how to party, I found a tiny paintbrush to get between the cracks of the 2 panels.
Whew! So much work, but so worth it. I’m thrilled with the results! Maybe just easy projects from here on out!
Emy is a vintage obsessed mama of 2 DIYer who loves sharing affordable solutions for common home problems. You don’t need a giant budget to create a lovely home. Read more…
Pretty sure we have the same color walls!! I am curious about what other projects you have in your house to match??
I was wondering how much this project cost you? Thanks! Love it!
The roll of fencing cost about $50 (we have a ton left and plan to redo our deck with it) and the lumber was probably about $30. We already had the tools and paint for the project.
Hello, I was wondering how much this project cost you? Thanks! Love it!
Hi Harry. The roll of fencing cost about 50, so with the lumber it was probably about 75 total. We already had all of the tools.
Where did you get the 4×4?
We had to search the websites for our local hardware stores to see who carried non-pressure treated 4x4s. It ended up being a Home Depot, instead of our closest Lowes store.


Wow – what an amazing tutorial! I love how it turned out, and it’s incredible that it was a DIY project!
Thanks Jenny! It was a rough one, but totally worth it! 🙂
Love how it turned out!
Thanks Kristina!
One hell of a job my friend! I would have lost my cool several times over.
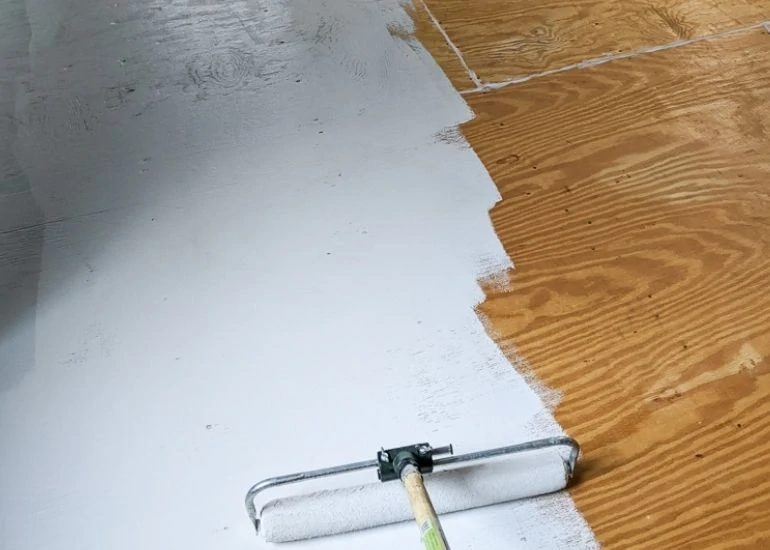
We had to walk away from it a few times. My ORC floor made me lose it this weekend. I wanted to cry and give up. Thank goodness for stubborn husbands.
Pretty sure we have the same color walls!! I am curious about what other projects you have in your house to match??
I was wondering how much this project cost you? Thanks! Love it!
The roll of fencing cost about $50 (we have a ton left and plan to redo our deck with it) and the lumber was probably about $30. We already had the tools and paint for the project.
Hello, I was wondering how much this project cost you? Thanks! Love it!
Hi Harry. The roll of fencing cost about 50, so with the lumber it was probably about 75 total. We already had all of the tools.
Where did you get the 4×4?
We had to search the websites for our local hardware stores to see who carried non-pressure treated 4x4s. It ended up being a Home Depot, instead of our closest Lowes store.