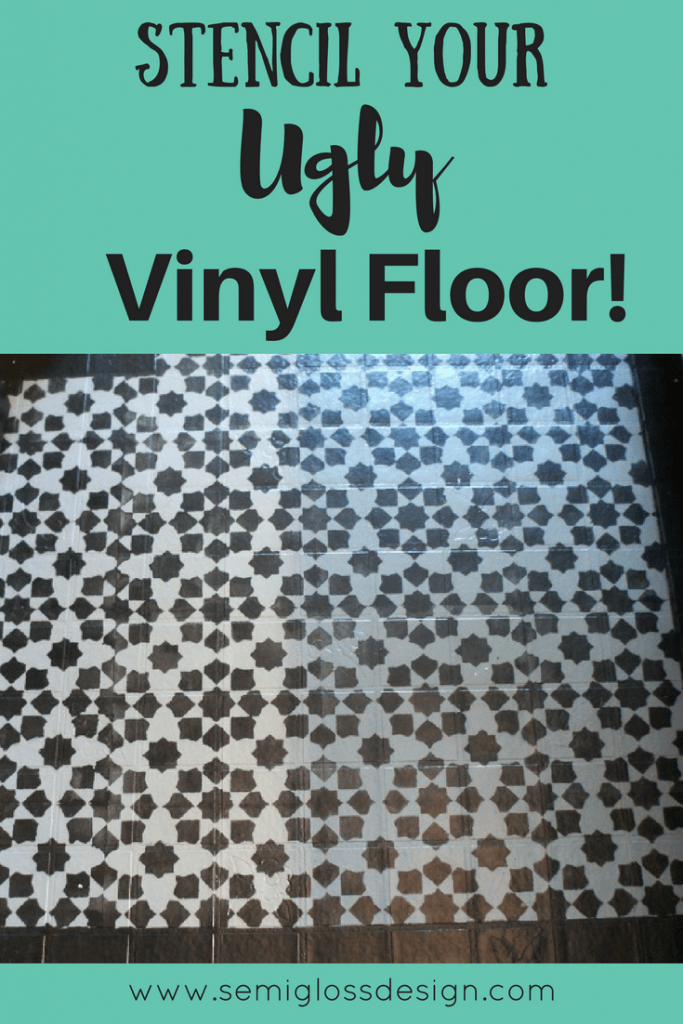
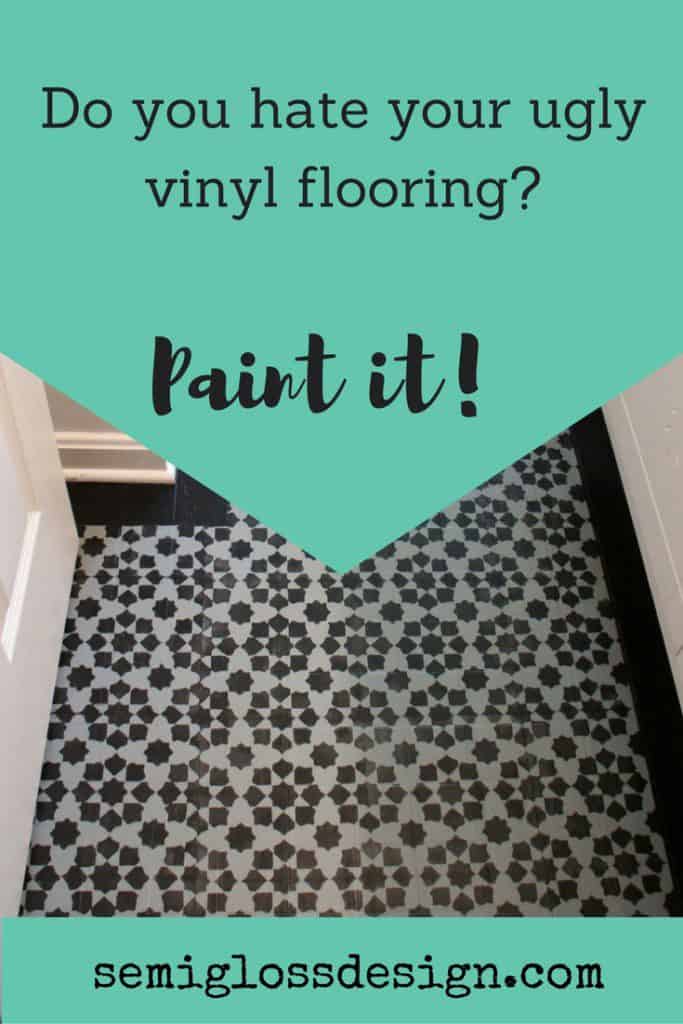
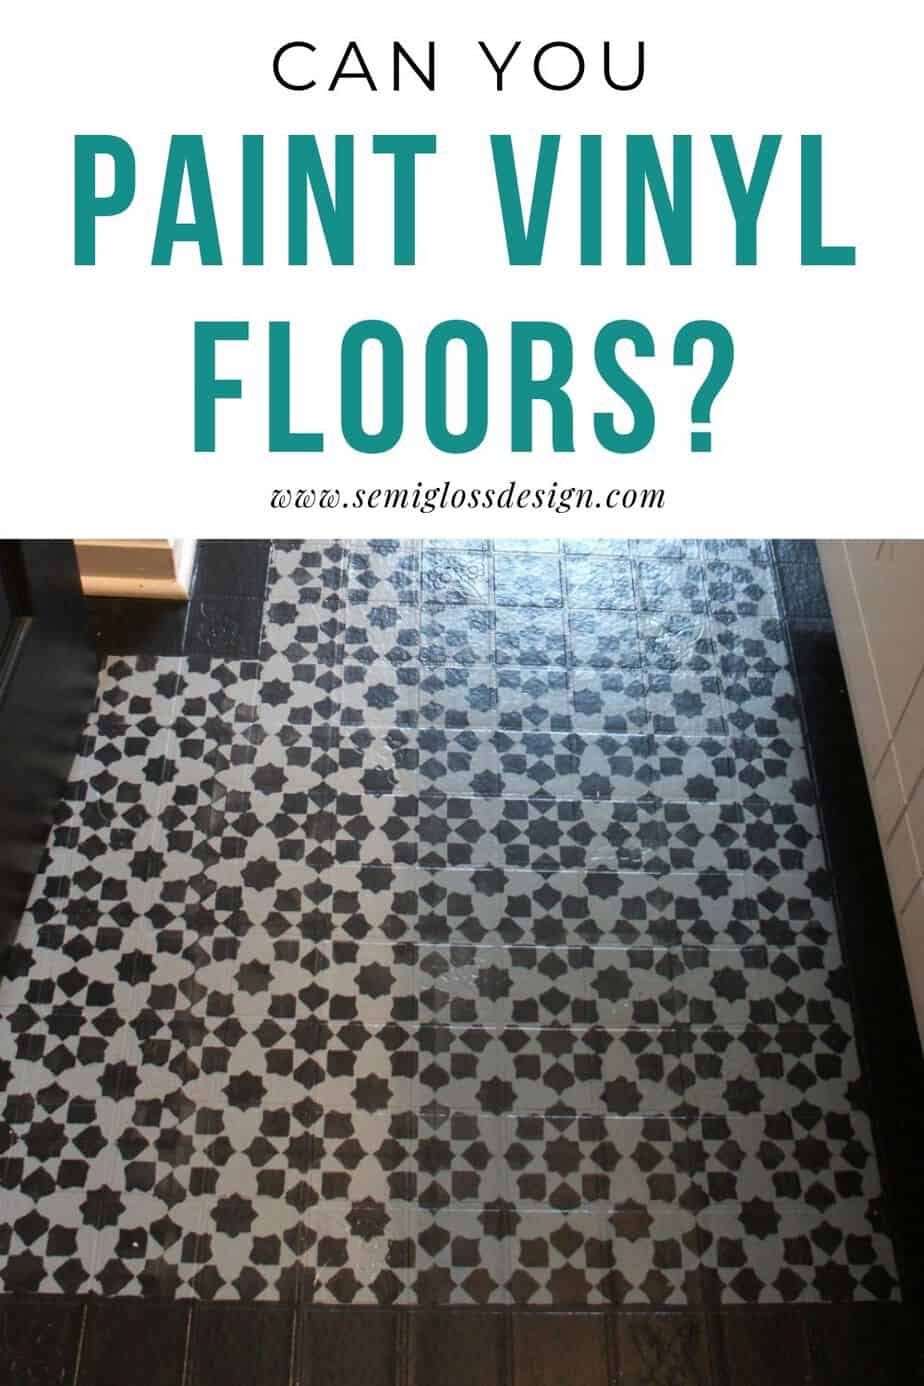
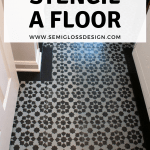
How to Paint Vinyl Floors: The Budget Friendly Way to Update Floors
Learn how to paint vinyl floors! Update your ugly bathroom floor without spending a ton of money.
My favorite projects are inexpensive and simple, like installing shiplap, painting cabinets, and stained concrete.
Paint is the most powerful way to change your house on a budget. Paint can make something ugly look pretty; it can make something dirty look clean!
I have a major crush on paint.
This post contains affiliate links. By purchasing an item through an affiliate link, I earn a small commission at no extra cost to you. As an Amazon Associate I earn from qualifying purchases.
So when my husband told me he had to go out of town for a few days, I knew I needed a project! After painting the room, the floors were still glaringly ugly, so it was time for a change.
Today, I’m sharing my tips for painting a vinyl floor and adding a stencil. This floor stencil makes me smile every day!
Painting Vinyl Floor FAQs
Can you paint vinyl flooring?
Yes! But prep is key for a durable finish. Don’t skimp on the prep work! Clean the floor and then clean it some more.
I also recommend a top coat for added durability.
Can you paint linoleum flooring?
Unless you live in a really old house, it’s probably vinyl flooring, not linoleum.
To answer the question, yes, as long as the finish is dulled. If it’s super shiny (and feels waxy), you’ll need to use more deglosser to ensure that it sticks.
Why Should You Paint Your Vinyl Floor?
- Painting vinyl flooring is budget-friendly. New flooring can be expensive, even for small spaces!
- Less mess. Ripping out old flooring is messy. So is installing new flooring.
- It’s much faster. Laying the new tile would have taken about a week to complete! That’s a week without a bathroom. Paint is quick for when you want that ugly floor gone NOW.
- There are more options in colors and designs. Floor tile options are pretty limited. Paint colors and stencils are not.
- It’s an easy way to experiment with patterns. If you hate it, paint over it.
- It’s fun. Maybe it’s just me, but I love a good paint project.
About the Stencil
I chose the Cadiz Tile stencil from Royal Design Studio. They have so many lovely stencil designs to choose from. This stencil looked like the expensive cement tiles that I love so much.
I spent some time researching how to paint a vinyl floor and decided to combine the advice.
If you want to make your own stencil, check out my post on how I made stencils with my Silhouette.
How to Paint Vinyl Floors
Supplies Needed
- Deglosser
- Primer
- Floor paint in quart size (Valspar Flannel Gray and black)
- Stencil
- Foam rollers
- Paint brush
- Painter’s tape
- Polycrylic
***Porch and Floor paint is crucial to a lasting paint job! Regular latex paint does NOT work as well. ***
Prep Work for Painting Vinyl Floors
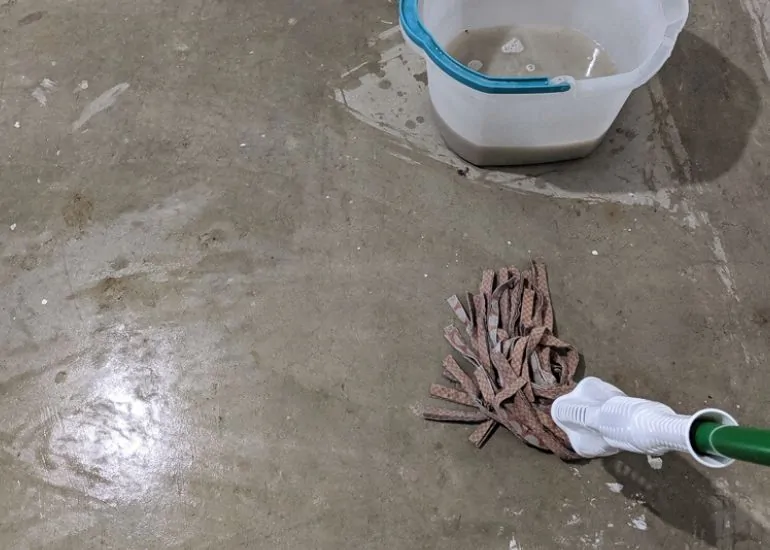
Thoroughly clean your floors. I started by cleaning the floor as well as I could with sweeping and mopping. When the floor was dry, I swiffered it as well to get any stray dog hairs (because my doggy BFF likes to sit right beside me when I work.)
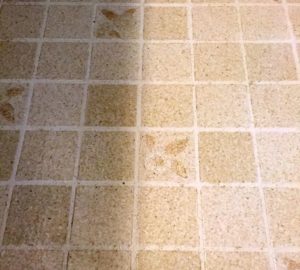
Degloss the floor. This is probably the most important step in painting a vinyl floor! I applied the deglosser and let it dry. It made the floor matte and dull.
I wore cotton socks any time I went in there to prevent my skin from sticking and making weird marks. This also helped to keep the floor clean from skin oils.
We have floor vents, so I removed it to spray paint later. This also helped me paint around the area well.
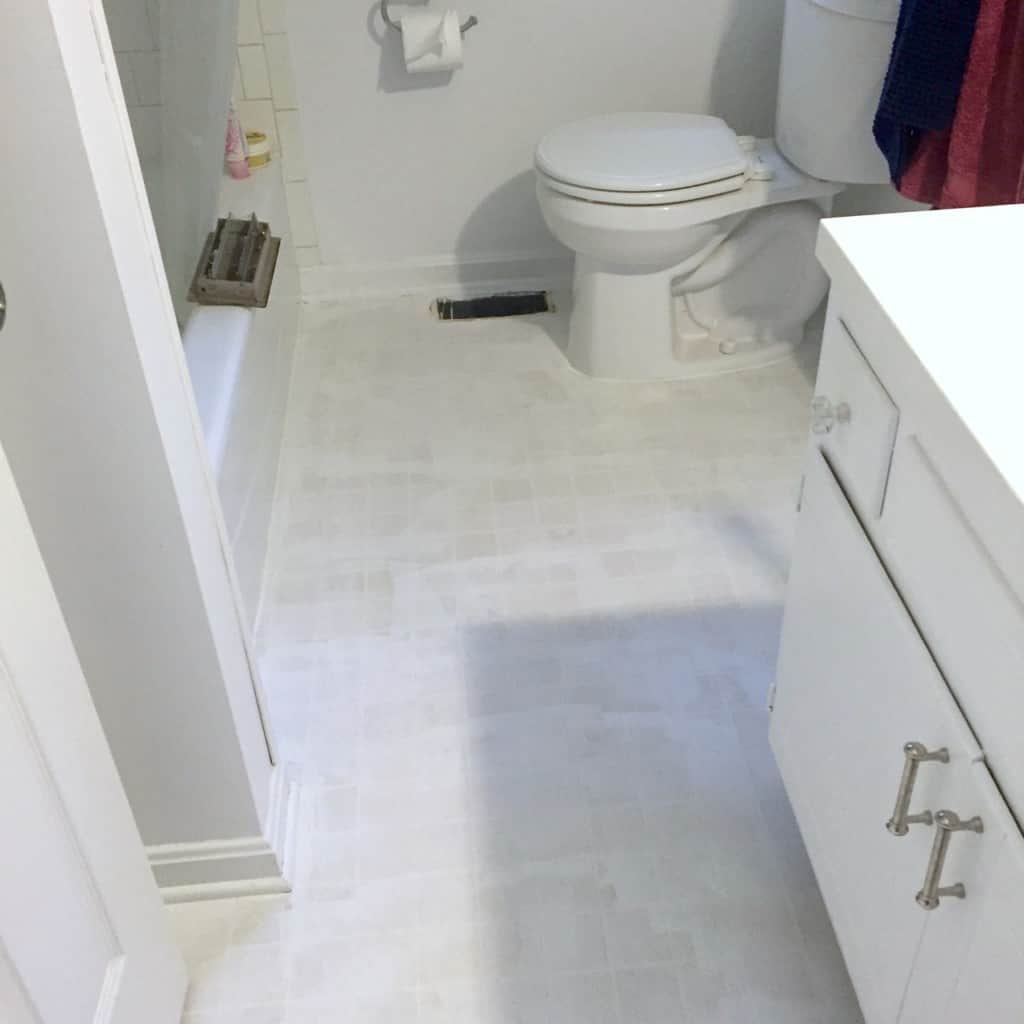
Prime the floor. I primed the floor with my favorite primer, which I knew would work well. When I painted the cabinet, I accidentally got some on the floor, and it was still there despite numerous cleanings. It sticks to everything, even if it stinks.
(Use ammonia to clean your brushes; don’t use good brushes with this stuff. Chip brushes work fine because the primer self-levels.)
The primer made it look so much better!
How to Paint Vinyl Floors
Paint the background color. Roll on a coat of your base coat or background color. Mine was gray.
Let it dry, and paint one more coat for full coverage.
Painting a floor is surprisingly easy and fast!
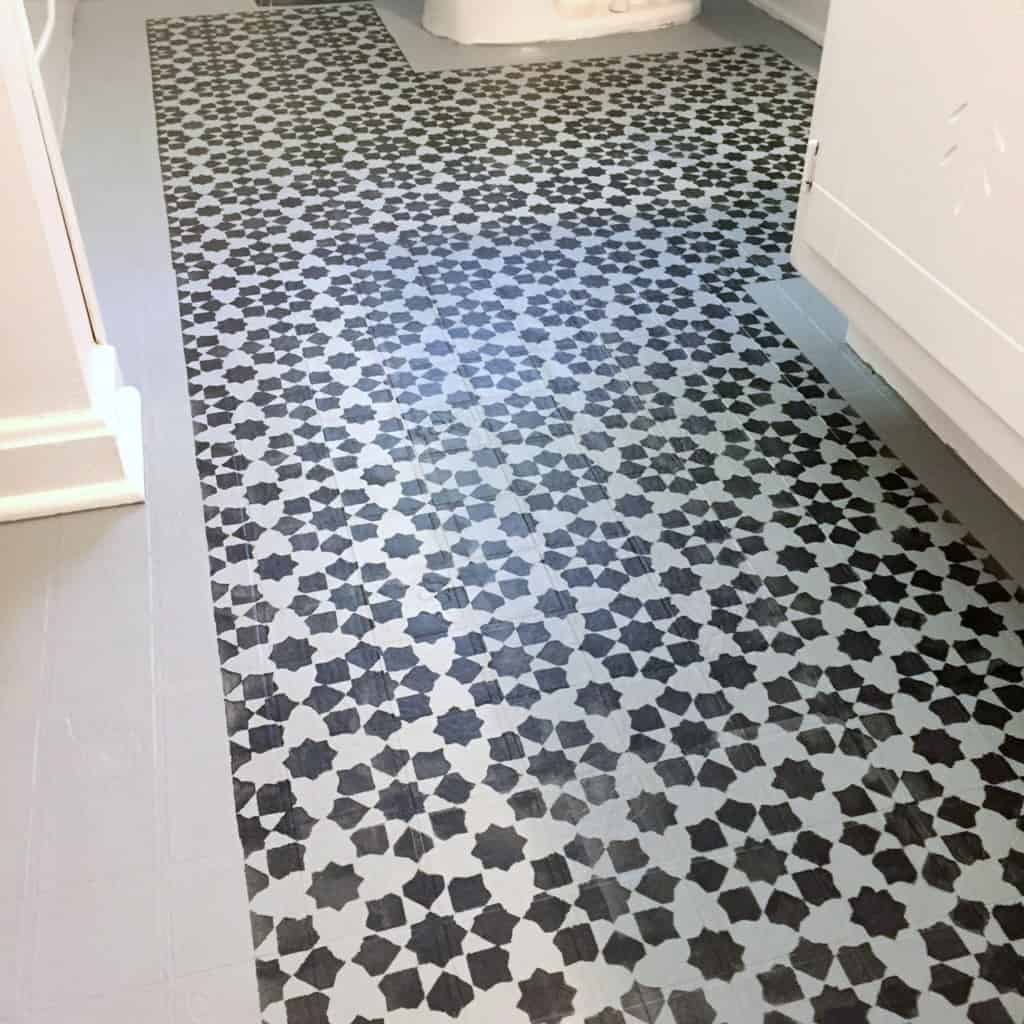
Stenciling the Vinyl Floor
Start stenciling. I put on some podcasts and started the stenciling part the next day.
You’re supposed to place the first one in the middle, but I eyeballed it, aligning it with the “tile” lines on the vinyl flooring.
My first stencil turned out horrible! I had over-saturated the roller. I considered wiping it off with a towel and painting over it, but I persevered.
Using an almost dry roller gives better results than a wet roller. (Use a paper plate or roller pan to remove excess paint.
Keep stenciling until you’re only left with the tricky parts and edges.
Don’t worry if your stencils aren’t perfect. It will look great as a whole. Just use way less paint than you think!
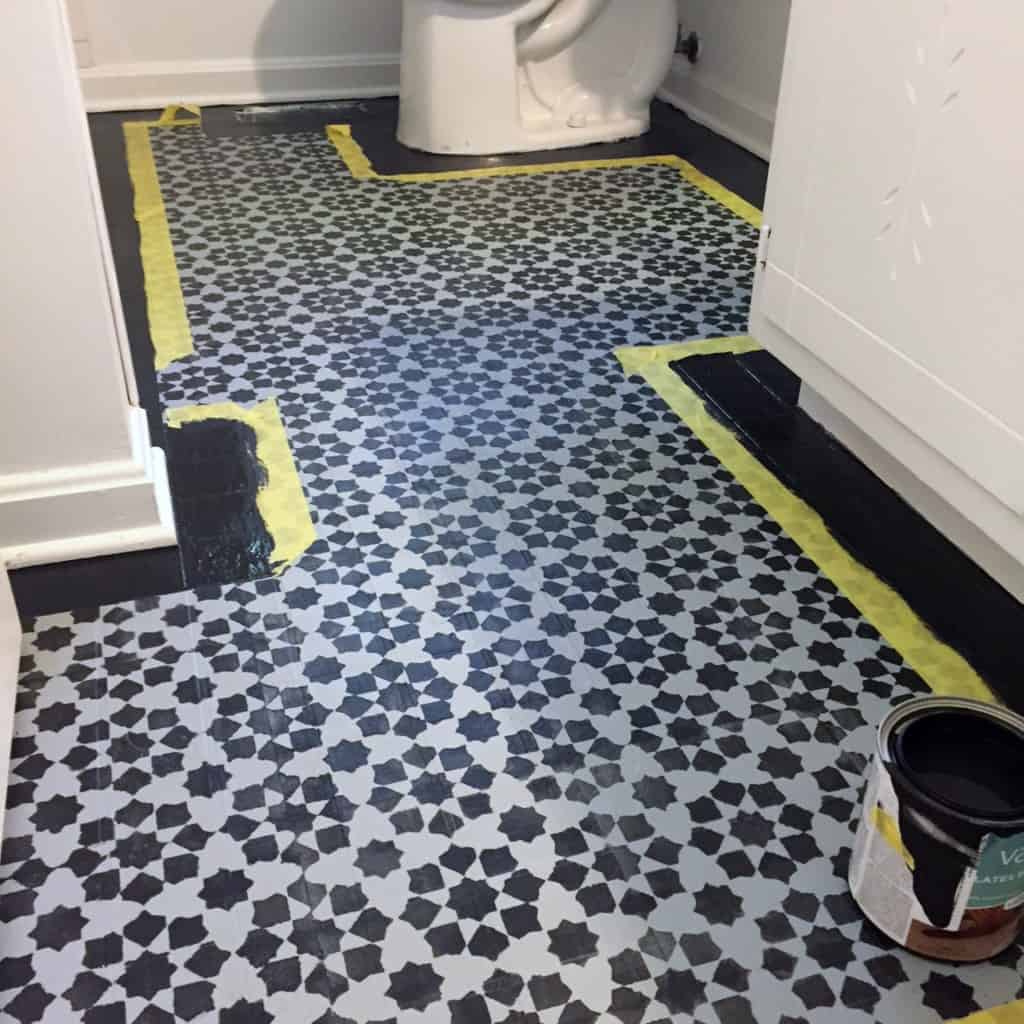
The edges. For the edges, I tried the stencil folding method, but it kept slipping and leaving a big mess. I also tried free-handing the designs, but I decided that I don’t hate myself that much.
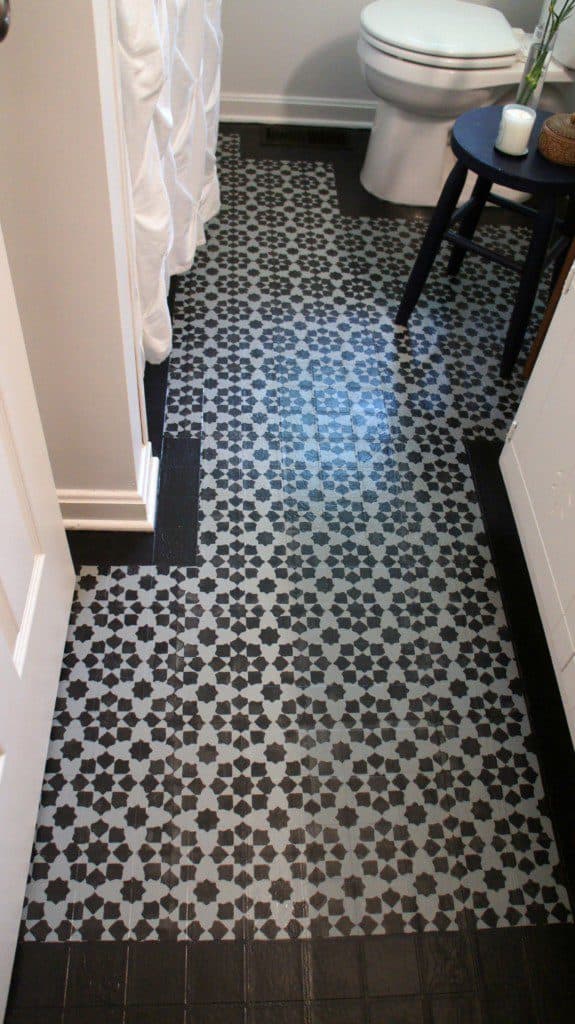
So I took those mistakes and made them birds. Or a border.
It looks intentional, adds detail, and hides all the ugly spots. I used tape to get crisp, straight lines. I went back and touched up the obvious mistakes.
You can’t even notice the bad parts when you look at it all together. I was very surprised at how forgiving the pattern was.
I think the texture of the vinyl flooring made it hard to get perfectly crisp lines, but in the end, it added to the charm. Some of the stencils don’t line up perfectly and I kind of like the effect. My stenciled floor is so pretty!
Apply a Top Coat to the Floor
After the paint was thoroughly dry, I used a Swiffer on the floor again to remove stray dog hairs and applied 2 coats of polycrylic to the floor. Polycrylic is my choice because it doesn’t turn yellow, and it cleans up easily with water.
I used a brush because I prefer brush strokes to foam roller bubbles. In the end, you can’t see the brush strokes anyway. Painting a floor with a paintbrush sounds painful, but it went fast.
My husband came home and actually liked the floor stencil. I was shocked! It was definitely one of those projects that he would have said no to if I had asked him before I did it.
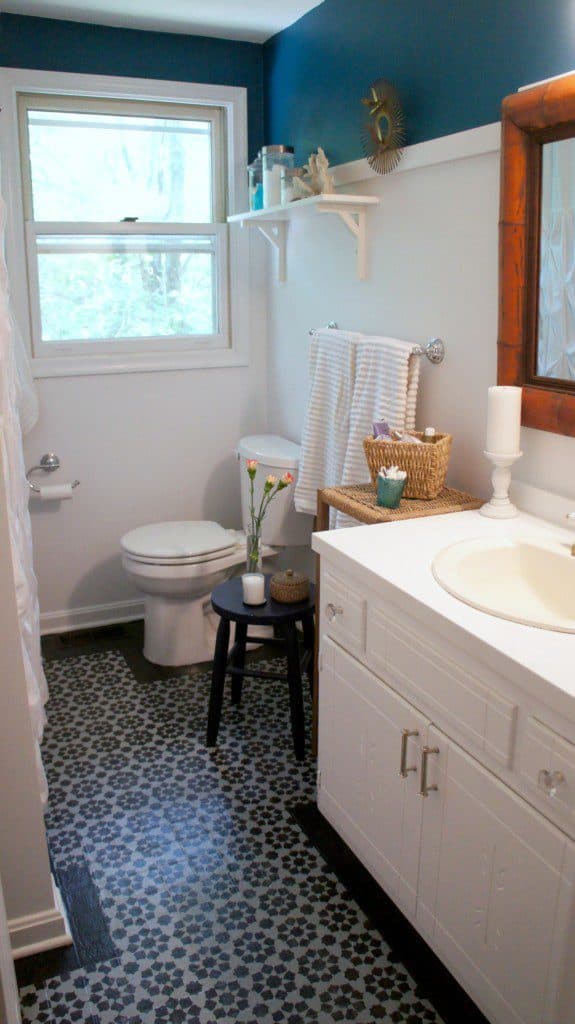
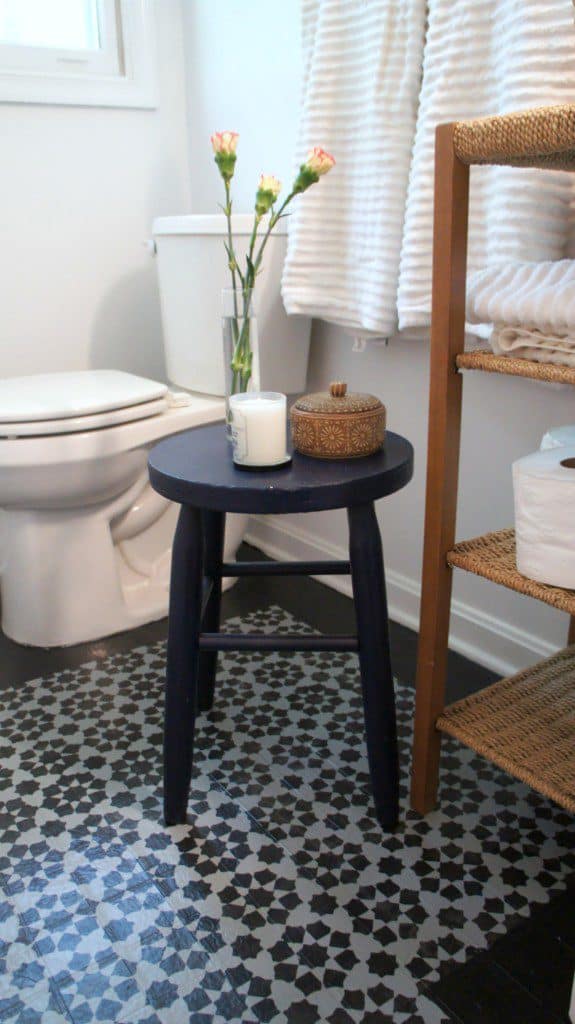
I love my new painted vinyl floor!
Stenciled floor tips:
- A stenciled floor will not be perfect, so expect some blemishes. All together, it reads as perfect. If you’re a perfectionist, a more organic style stencil might make you happier.
- Don’t overload the roller. It did best when it felt almost too dry.
- A good primer will make the paint job last longer. I wouldn’t skip this part.
- Don’t skimp on prep work. It is the KEY to a long-lasting finish.
- A border is a nice way to deal with the edges.
- Choose a time when there will not be many other people around. My husband was out of town, which allowed me to work in the bathroom without worrying about him. Luckily, my kids use the downstairs bathroom.
- If you end up hating it, remember: It’s only paint!

Bonus tip!
Have you ever spilled paint on carpet? I know I have! This project was no exception, and I spilled some primer on the carpet.
Did you know that rubbing alcohol takes paint right out of carpet? Yep, even my stinky shellac primer! All you do is pour some on the spot and rub it with a clean cloth until it’s gone. It’s like magic!
Curious how my stenciled floor is holding up after a year?
Read my update and my thoughts on this project!
If you liked this post, you might also like these posts:
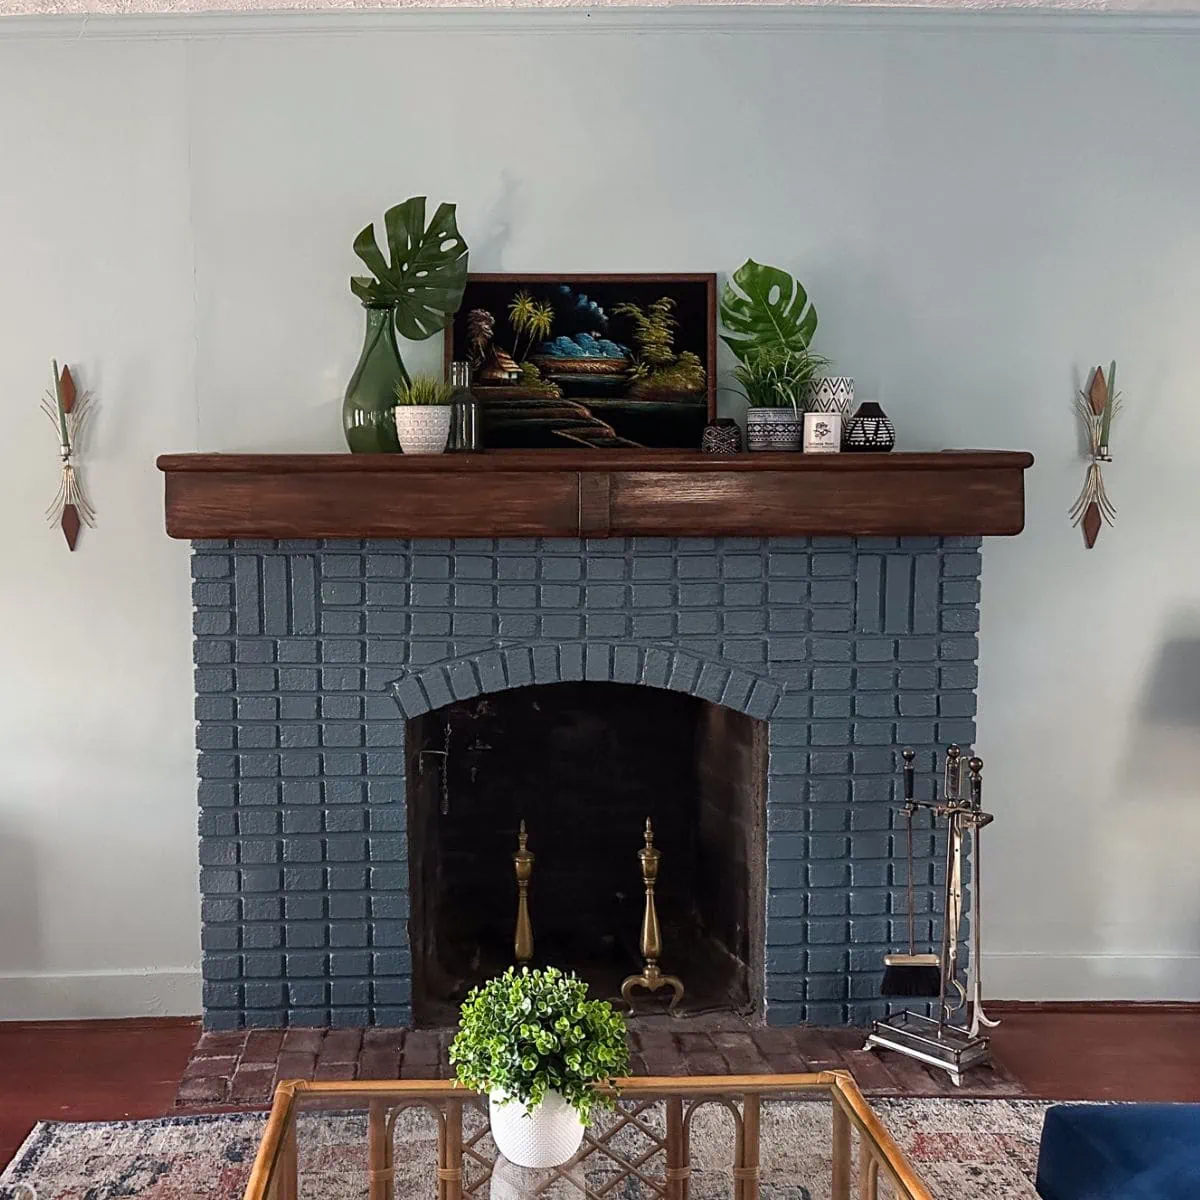
- Stenciled fireplace surround
- Adding budget friendly shiplap
- How to build a wood countertop for a bathroom
- Tips to stencil walls
- What to Consider When Choosing New Flooring
Pin for Later!

Emy is a vintage obsessed mama of 2 DIYer who loves sharing affordable solutions for common home problems. You don’t need a giant budget to create a lovely home. Read more…

neat!
I realize this post is a few years old, but I just found it and am intrigued! My old vinyl floor in the bathroom is millions of times uglier than yours was, but the main problem I see is that there are numerous places where it has small damages like little dents, cuts, and dings. Can you suggest a way to fill these in before painting? Thanks!
If the spots are little, just prime and paint over them. For bigger spots, I would try filling them with wood filler and sanding them. I’m not sure if it will work, but it’s worth a shot. Also, be careful sanding your old vinyl floor. Good luck!