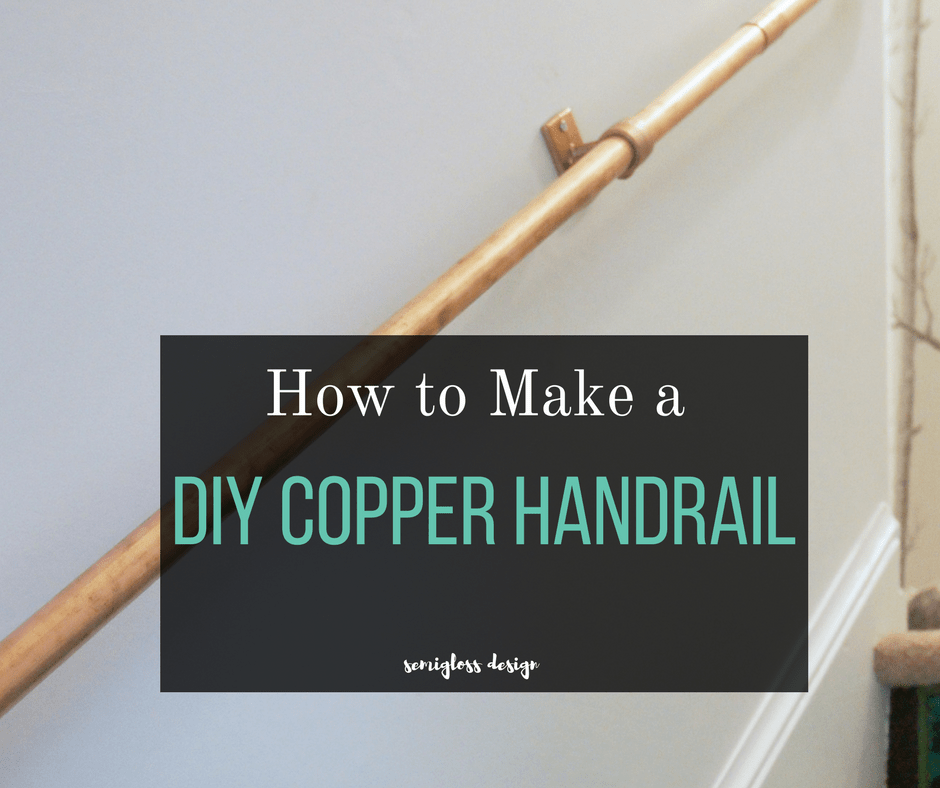
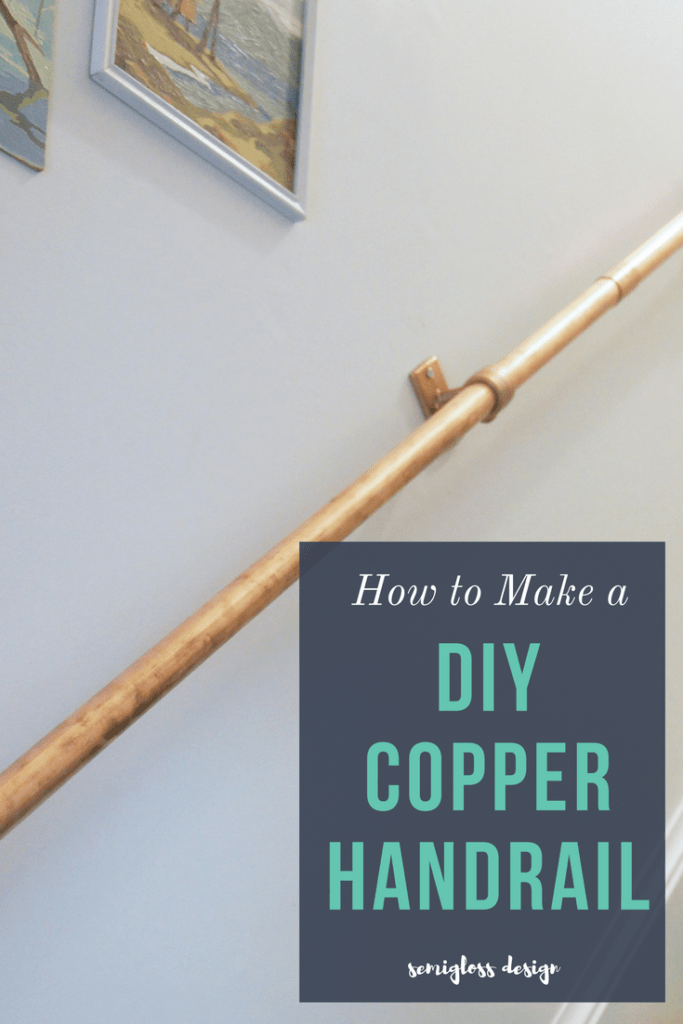
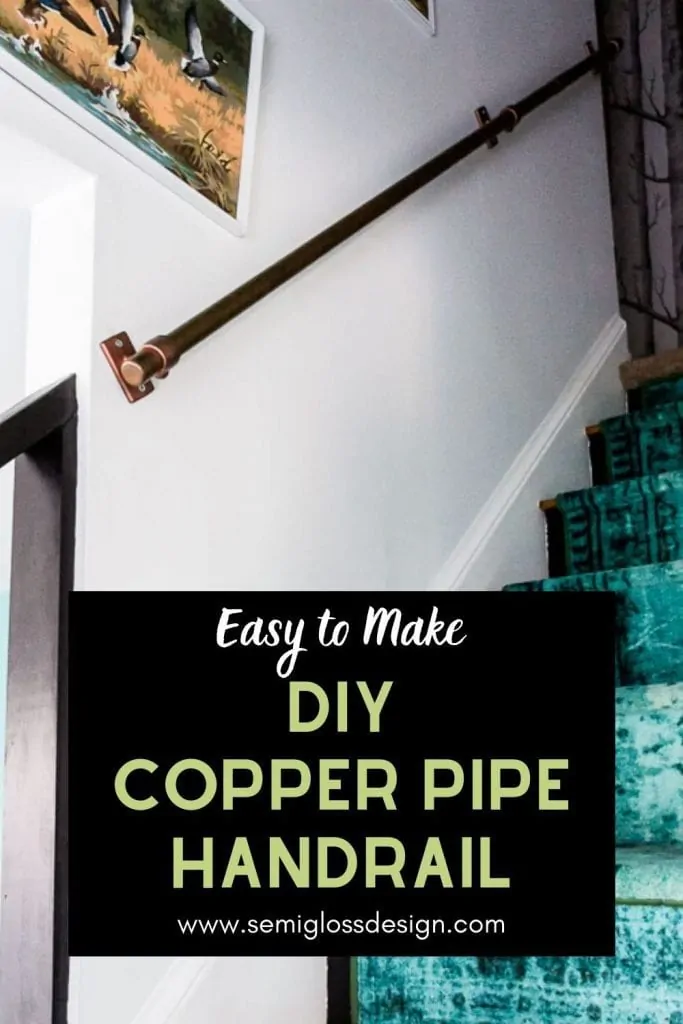
Super Easy DIY Stair Handrail Made from Copper Pipe
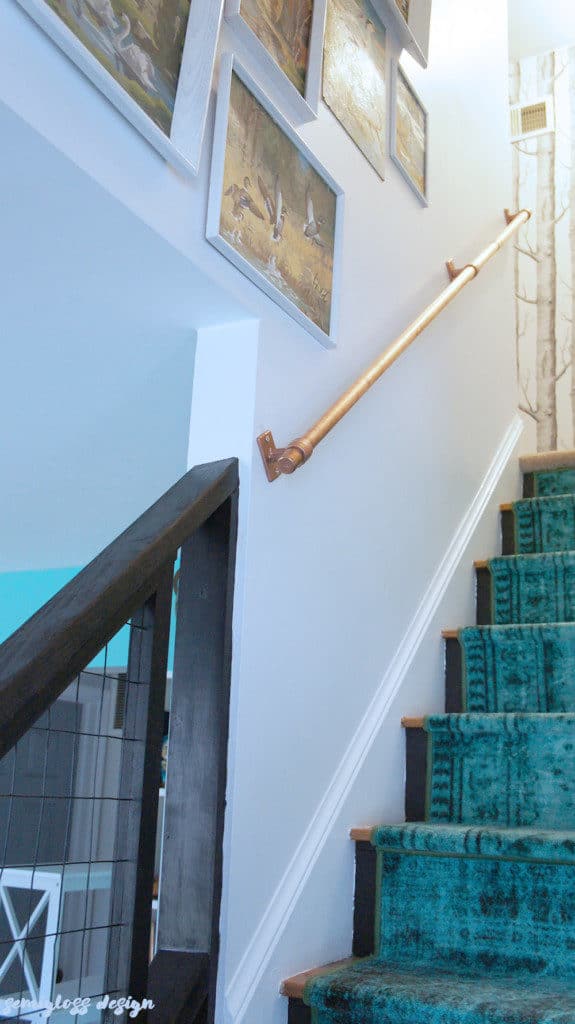
A copper pipe handrail makes a huge statement for your staircase. This gorgeous handrail is so easy to make, but it looks so expensive and custom!
If you like this, you might also like my DIY pipe shelves.
One of the biggest eyesores in my old staircase was the handrail. I don’t know why they bug me so much, but handrails are usually so ugly. So my choices were to paint it so that it disappears, spend a lot of money on a new one or invent a less expensive one!
Naturally, I chose to invent one. After a bit of brainstorming, I decided to use copper pipes. I’m always fascinated by the copper pipe section at the hardware store, so it was an easy choice. Today, I’m sharing how I made a DIY stair handrail from copper pipe.
After using it for about a week so far, I am loving it. Copper feels so nice to touch and that tiny little detail makes me happy every day.
Disclaimer: Please check your local code before completing this DIY. Our code states that the handrail must be “graspable” and 1 1/2″ from the wall, which this meets.
How to Build an Easy DIY Stair Handrail from Copper Pipe
Supplies Needed
This post contains affiliate links. By purchasing an item through an affiliate link, I earn a small commission at no extra cost to you.
- Copper spray paint
- Clear spray paint (optional)
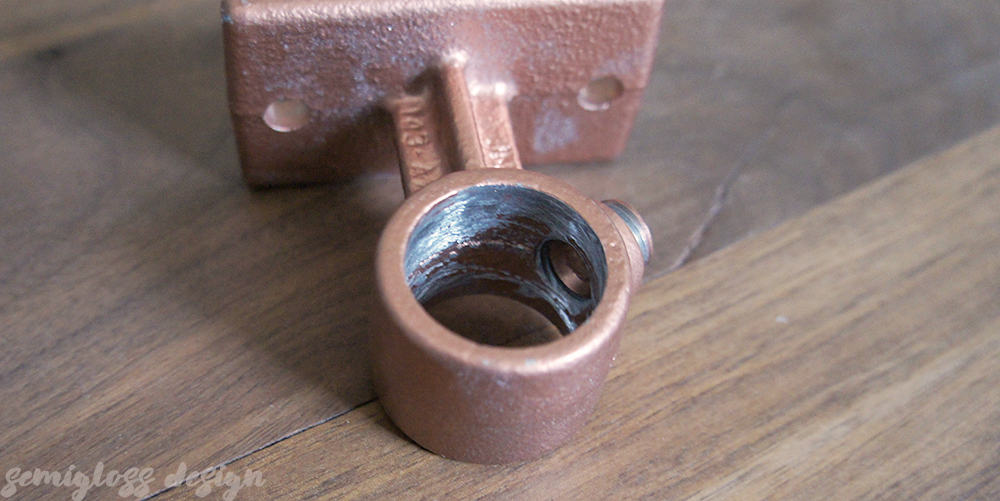
- 3/4″ Rail Support * (See note) We used 3 rail supports for a 7′ span.
- 1″ Copper Cap (2)
- 1″ Copper Coupling
- 1″ Copper Pipe **
- Drill
- Allen wrench
- Screws
- Hacksaw
- Laser Leveler (optional)
- Measuring Tape
- Dremel and grinding bit
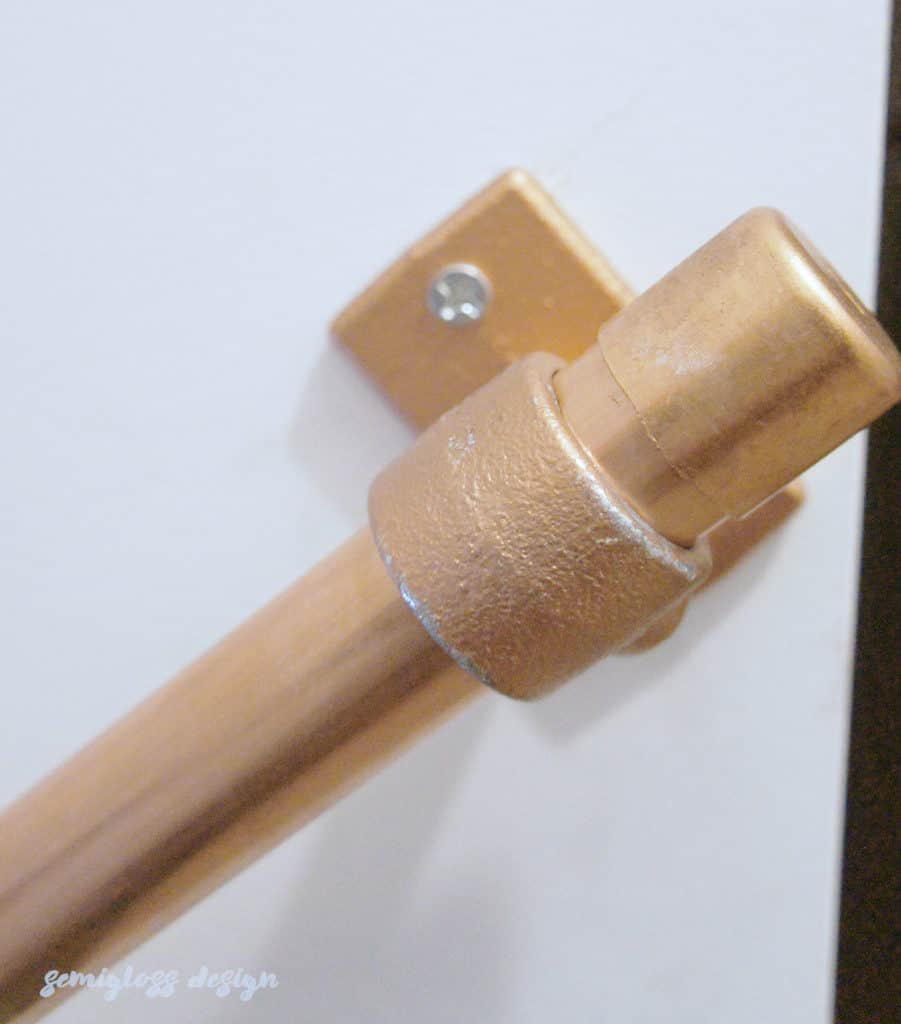
*Try to buy rail supports with very smooth insides. Ours were a bit rough, so we had to use a dremel to smooth them out. The 1″ pipe fits even though it says 3/4″, but just barely. The next size up was 1 1/4″ which was ridiculously oversized in person. The pipes look great with the rail supports that fit perfectly. Plus they’re super secure, so it’s worth grinding down any ridges to make them fit. It only took a few minutes.
**Unless you have a crazy large car, you most likely can’t fit the 10′ pipe in your car. I ended up buying 2 shorter pieces for my handrail span: a 5′ and a 2′ piece.
DIY Handrail Tutorial: Prep Work
- Clean everything. The pipes will have stickers on them that need to be removed. I used a bit of cooking oil to remove the residue and then washed it off with soap. Remove the ink from the pipe with nail polish remover on a paper towel. This also removes the last bit of residue from the pipe. If your pipes are tarnished, ketchup will make them shiny again. Just wash it off when you’re done.
- Shiny or patina? Decide if you want your pipes to develop a patina. I love copper patina, so I left my pipes as they were. If you want your pipes to stay shiny, spray them with clear spray paint.
- Cut pipe to length. If you bought a super long pipe, cut it to size now. Wait to cut them if you bought smaller portions to join together.
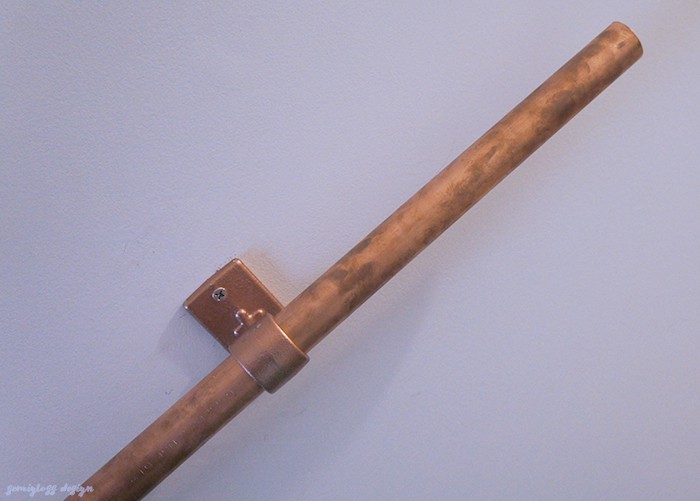
- Spray paint the rail supports. These only came in galvanized metal, so I had to make them match. A few light coats of spray paint and they were good. The spray paint that I linked to is such a pretty color. I want to use it one everything!


Installing the DIY Copper Handrail
- Find your studs on your walls. Since we had removed our old handrails, we knew exactly where they were. Or you can use anchors. Just be sure to use really strong ones.
- Decide how high you want your handrail. The standard height is anywhere between 30″-36″. Our old one was in the lower range, so I raised the handrail to 36″ to match the height of the stair railing.
- Smooth the inside of the rail support. Use a grinding stone and dremel to smooth out the inside of the rail support if needed. Make sure that the allen screw part is unscrewed so that it’s not visible from the inside!

- Put the pipe in the first rail support. Use an allen wrench to tighten it. We left enough space to put the cap on the end of the pipe.
- Get the pipe in place. Align the rail support and pipe onto the wall, using a laser level if necessary. The rail support needs to sit on the studs. Extra hands are very useful in this step!
- Attach the rail support to the wall. Screw the rail support into the wall, being sure to hit the stud.
- Place the next rail support on the pipe and move it to where the stud is. Attach it to the wall.

- Determine the length of the next piece of pipe. Measure the remaining space to cover and cut the pipe with a hacksaw. Be sure to sand the edges down so that the cap will fit. We used the dremel to make it faster.
- Join the 2nd piece of pipe. The 2nd piece of pipe was joined with a coupler, which just slides onto the pipe. You can glue them in place, but ours fit very solidly without glue.

- Attach the last bracket and screw it into the stud.

- Place caps on the end.

- Admire your work.

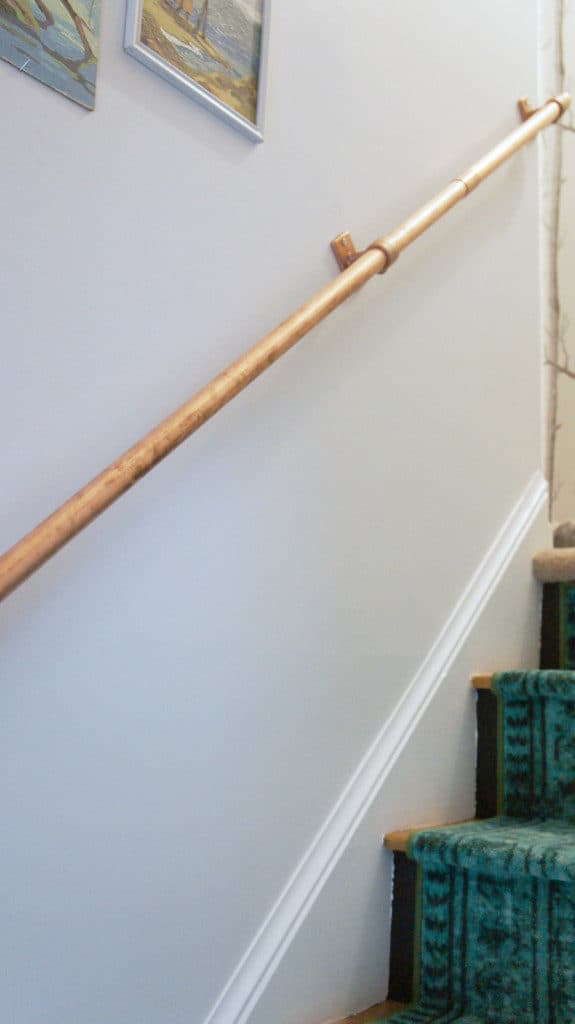
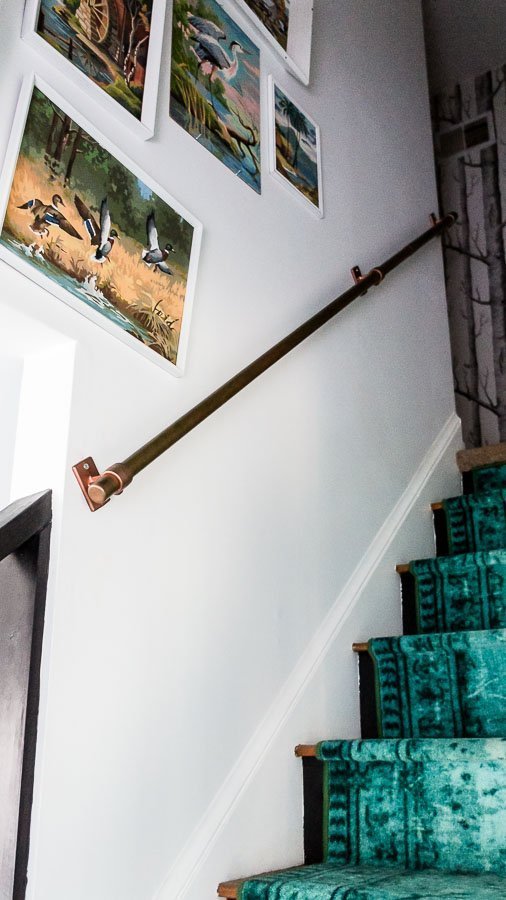
We were able to complete this project (minus the spray painting) in about an hour. Making our own DIY stair handrail out of copper pipe is one of my favorite details of my staircase makeover.
You might also like:
Be sure to pin this post to save it for later!
You might also like these other staircase posts:

Instagram | Pinterest | Facebook

Emy is a vintage obsessed mama of 2 DIYer who loves sharing affordable solutions for common home problems. You don’t need a giant budget to create a lovely home. Read more…


I am confused. The piece to attach the pipe to the wall is 3/4″. Did you actually use a 3/4″ pipe not 1″?
Thanks!
Hi Beth,
The directions are correct. The 1″ piece for the wall would have been way too big for the 1″ pipe. I’m not sure how they measure pipe, but we found that the 3/4″ fitting worked for the 1″ pipe for a tight fit. It might be because the fittings were for thicker pipe?
Thanks,
Emy
I did this!! Thank you so much for the post!! I used black brackets and painted the screws black. Please note the bottom hole of the rail will need screw anchors. The top hole should be screwed to the stud. All the other tips were on point! I used a dremel to smooth the 3/4” brackets to slide in the 1”pipe. I hate spray painting so I jumped on the black brackets when I saw them. They are the same brackets only black.
Thanks for the tip. Ours are screwed into studs, but anchors work well too.
Just came across this post, and it seems to be an old one. I’m just curious how you are still liking the pipe as a railing?! I’ve been searching for handrail alternatives and like this one so much!
I moved a few years ago, but I loved it until the day we left. The patina was lovely, but we did end up polishing it before we sold the house.