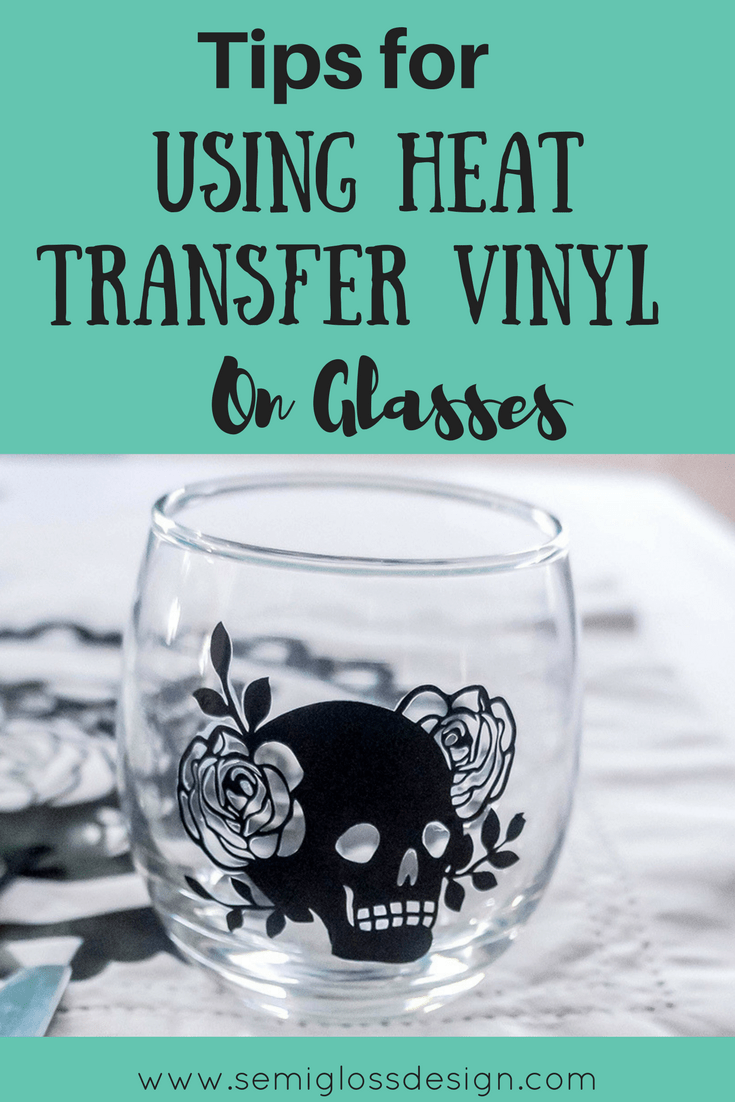
Easy Tips for Using HTV on Glasses, Mugs or Ceramics
Learn how to use HTV on glasses. You might also like this post on how I used permanent vinyl on wine glasses.
I’ve also made a cool retro drink pitcher using vinyl.
This post contains affiliate links. By purchasing an item through an affiliate link, I earn a small commission at no extra cost to you.
I’ve always looked at glasses with designs and wondered how they put those designs on glasses.
And more importantly, I wondered how I could do it myself!
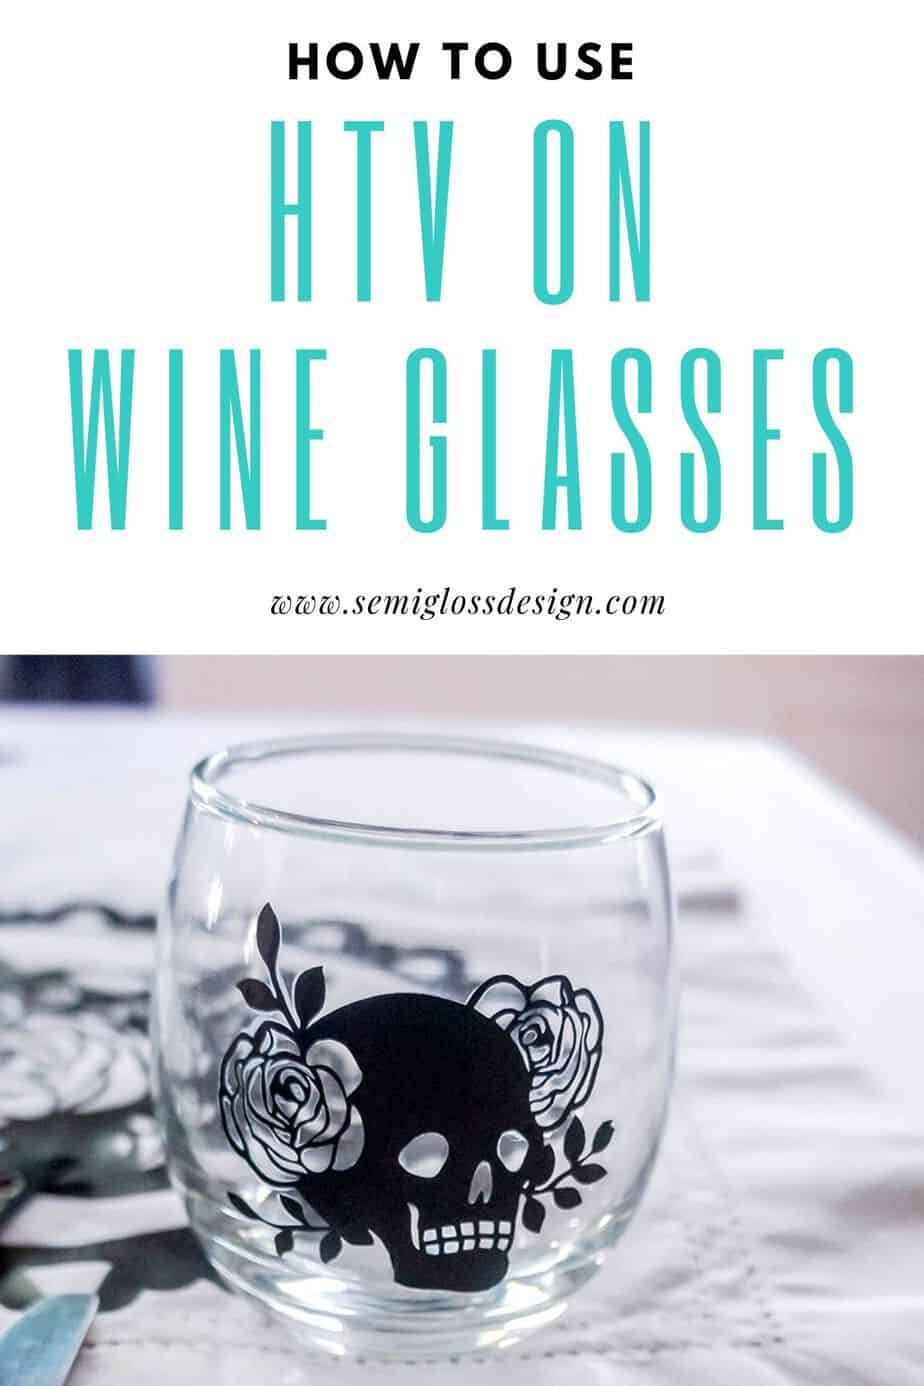
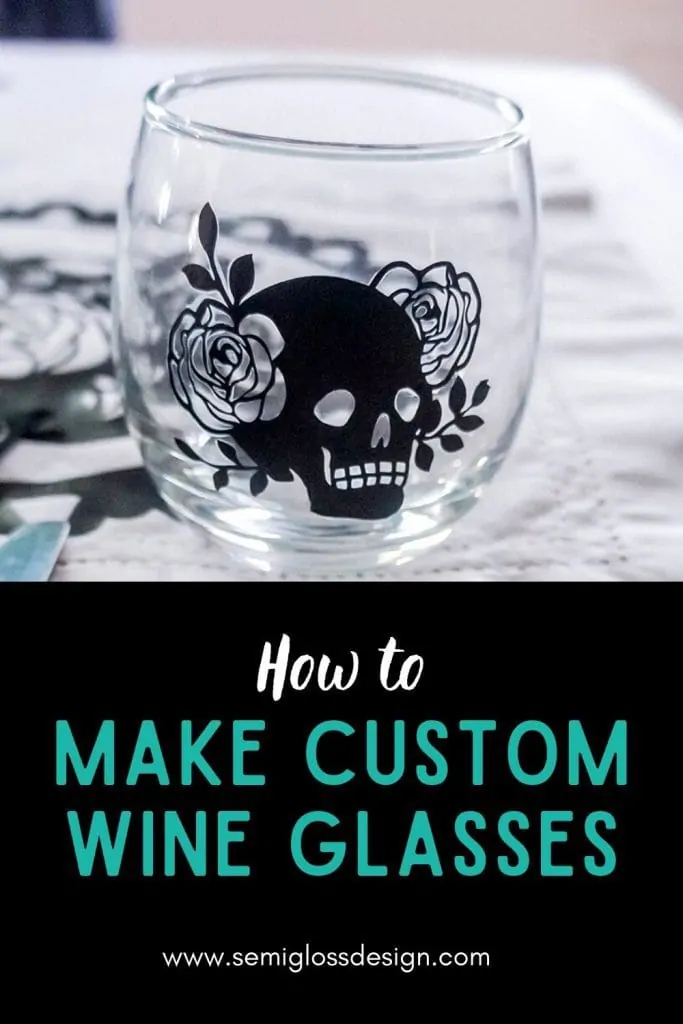
When I learned that I could use HTV on glasses, I was thrilled!
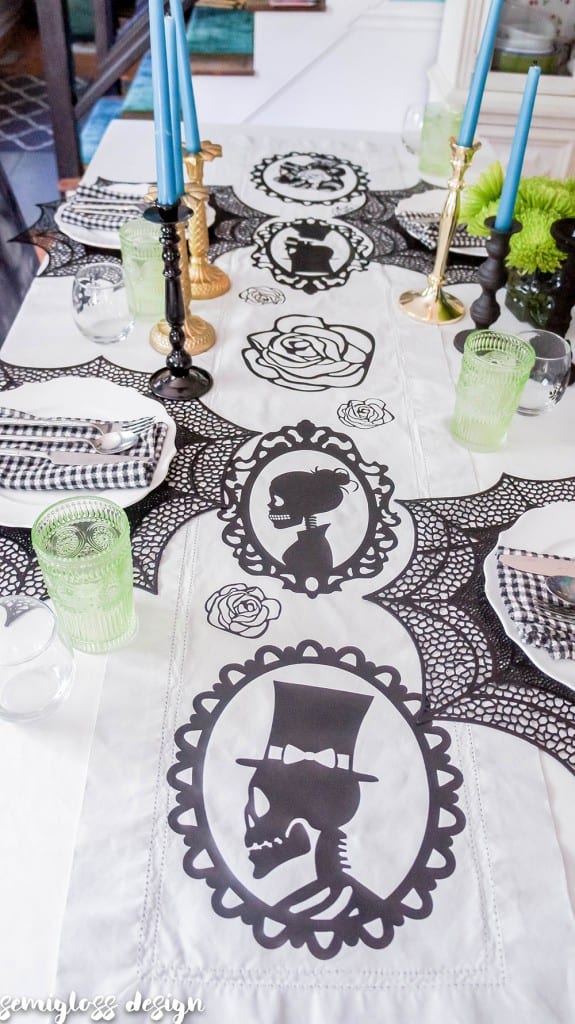
For my Halloween tablescape, I made glasses with skulls on them and I learned so much during the process!
Today, I’m sharing my best tips for using HTV on glasses.
Please note:
***After washing my glasses, I learned that the HTV might not stick to the glass permanently. Think of it as a temporary tattoo for glasses.
Some of my glasses still have the designs after several weeks of use and gentle washing.
If you want yours to last longer, iron the design on for a bit longer to ensure that it has fully adhered and hand wash your glasses. Do not let them soak in water.
Even if the designs aren’t permanent, I’m okay with it. Now I can make other designs for other holidays and occasions without having a cabinet full of specific holiday glasses.***
Check out this post to learn how to use permanent vinyl on mugs!
Heat Transfer Vinyl FAQ’s
What is heat transfer vinyl?
Heat transfer vinyl is vinyl that is applied with heat. Heat transfer vinyl is also known as HTV or iron-on vinyl.
Heat transfer vinyl can be applied using an iron or a heat press. There are even mini heat presses for smaller items!
HTV is often used on fabric, such as t-shirts, but it can also be used on glass, wood and so many other surfaces!
When using HTV, which side goes down?
Place the shiny side of heat transfer vinyl onto the mat.
Tip: I use post-it notes on my Silhouette lid to remind me of cut settings, to mirror the image, and to place the HTV shiny side down.
Do I need to mirror the image for HTV?
For the most part yes. This is very important for text and images that need to be facing a certain direction. For symmetrical designs, it doesn’t matter.
What kind of vinyl should I use on wine glasses?
You can use heat transfer vinyl (iron-on) or you can use permanent vinyl.
Both of these vinyl types will require special care with use. Do not put it in the dishwasher or microwave.
Hand-wash for best results. Do not let glass soak in water.
How do you get vinyl to stick to glass?
No matter what kind of vinyl you use, make sure that your glass is clean.
It’s best to clean the glass with rubbing alcohol to remove the oils from fingerprints.
Tips for Using HTV on Glasses
Supplies Needed
- Stemless wine glasses (similar)
- Silhouette
- Silhouette weeding hook
- HTV (heat transfer vinyl) in black
- Iron***
***I used a regular iron because I don’t have a mini iron and not many people do.
If this is a project that you’re going to do a lot or if these are gifts and you want them to be perfect, invest in a mini iron. A regular iron worked but was a bit awkward.
Semigloss Design is not responsible for any accidents that occur while attempting this project. Do so at your own risk.
Now that the necessary disclaimers are out of the way, just be careful. Irons are hot.
I worked on a space covered in a towel so that it could keep my glass steady and be nearby in case the glass became hot. That never happened, but I was prepared.
Tips for Your Design
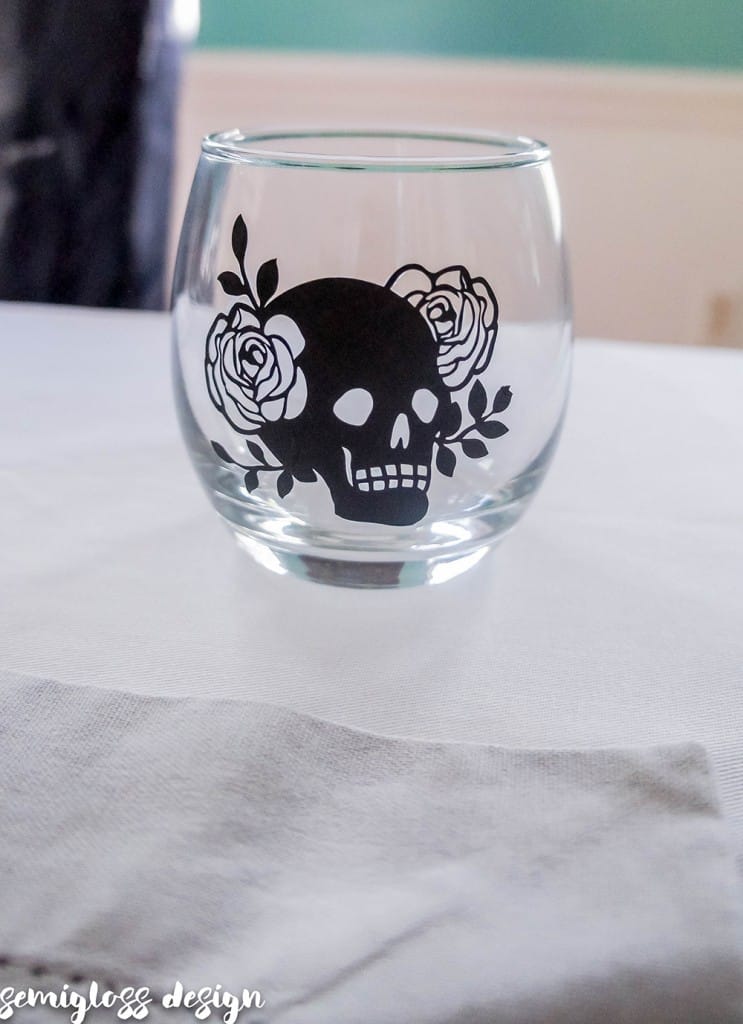
Choose a small, simple design. Since glasses are round, your design should either be small or you should be able to cut it apart.
I chose a skull, which is not able to be cut apart. If I did it again, I would make it smaller.
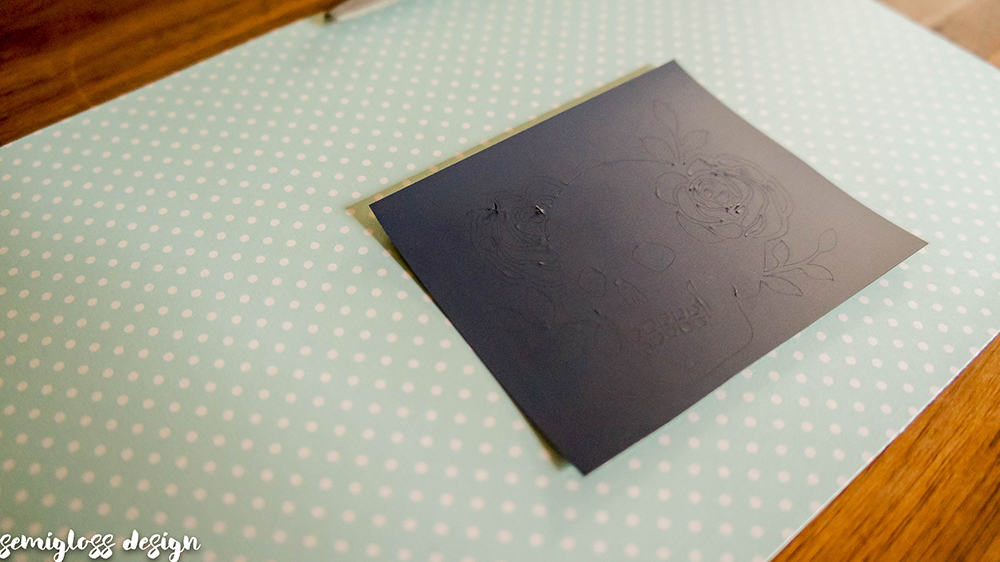
Measure the area on the glass where you want your design. Make your design but smaller than that to account for the glass being round.
Need some tips for weeding small designs?
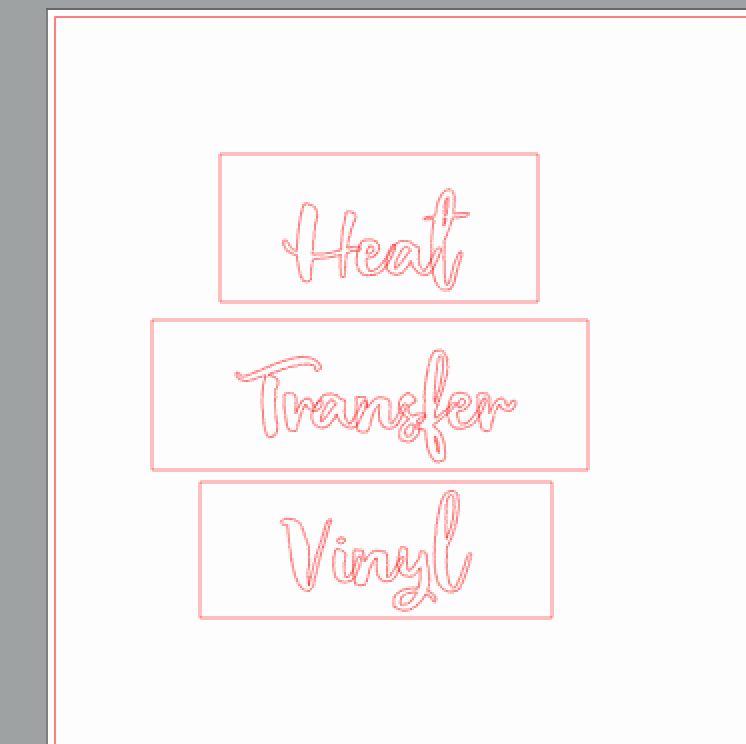
For phrases, space them in a manner that makes them easy to cut apart. When you apply them, cut close to the edges so that you can place them closer together on the glass.
Cutting the phrase apart will allow you to wrap the design around the curves of the glass easier.
Also, if you do text, make sure you weld it together so that it doesn’t cut funny where the letters meet.
Don’t forget to mirror the text when using HTV.
Applying the HTV to Glass
Start with very clean glasses. Use rubbing alcohol on the glass to remove any oil from your fingers.
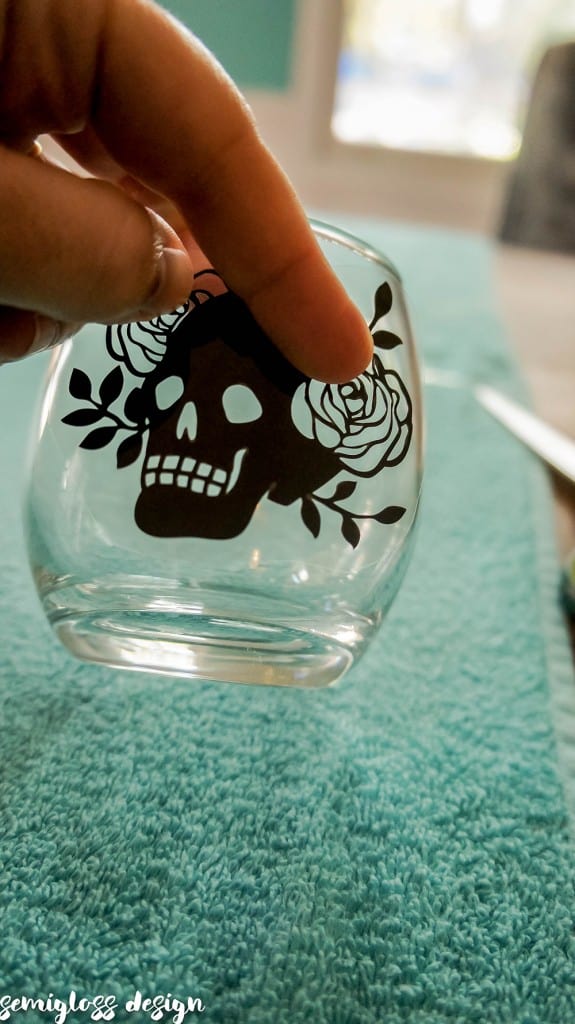
Iron for about 30 seconds. On fabric, you only need to iron the HTV for 12-15 seconds, but glass needs much longer! It needed closer to 30 seconds for each area to adhere.
Normally with HTV, I use freezer paper to protect my iron from the plastic film.
It wasn’t necessary during this part of the process. In fact, it made it feel dangerous and I couldn’t get the vinyl to stick until I removed it.
I would love to try this technique with a mini-iron and see if that helps.
You can tell when it has adhered because it pulls away from the plastic and sticks to the glass.
Pull the plastic off. After you pull the plastic off, cover it with freezer paper and iron it a bit longer, especially the tiny parts.
Care for HTV on Glass
Gently hand-wash your dishes after use.
Do not let them soak in the water or the design will come off.
Do not microwave.
Do not place in the dishwasher. HTV is not dishwasher safe.
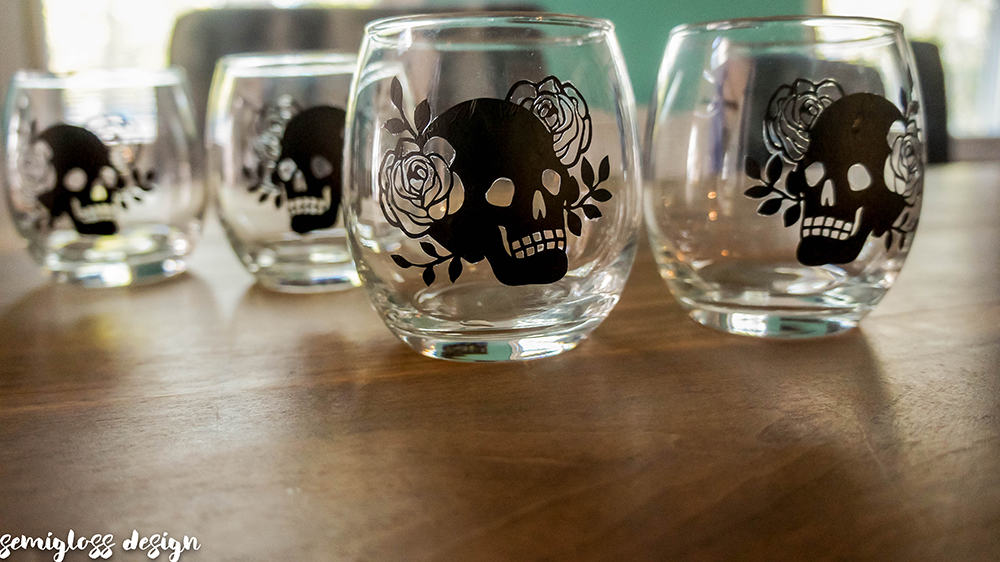
My design was a little too large for my glasses, so they are not perfect. If you look at them closely, you can see wrinkles. From far away, they look fantastic, though!!
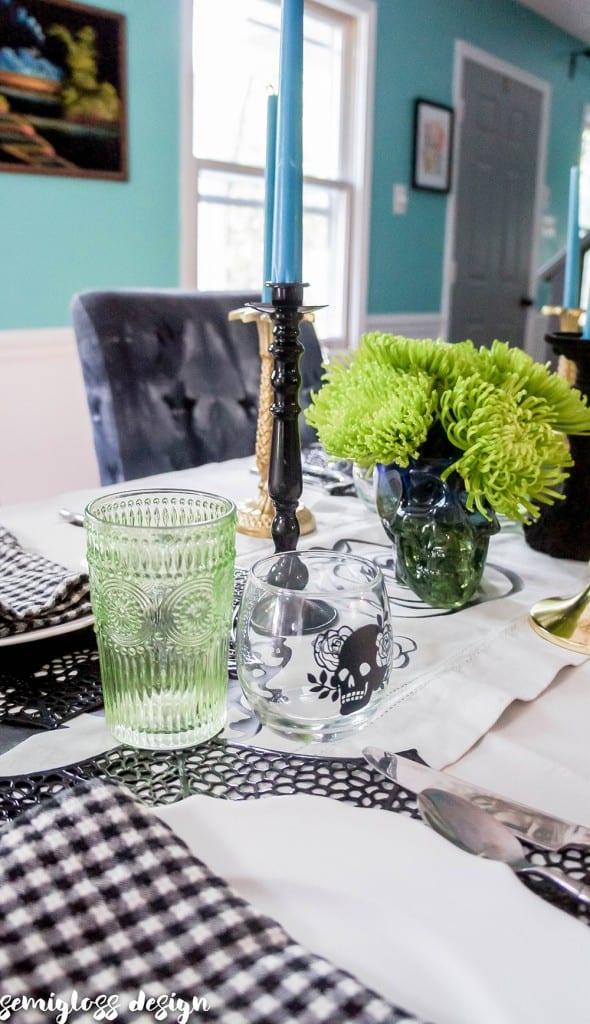
Do you like my table runner? It’s made with HTV as well!!
If you liked this post, you might also like:
- Valentine’s Conversation Heart Mugs
- Tropical Leaf Vase
- Vintage style pennants
- HTV Dishtowels
- Retro Resin Table
Pin for Later!

Emy is a vintage obsessed mama of 2 DIYer who loves sharing affordable solutions for common home problems. You don’t need a giant budget to create a lovely home. Read more…
these are awesome! you are SO good at crafty things!!!!
Thanks Cassie! When my son was little, I used to write a craft blog. Crafting kept me sane during those early years. My projects have grown in scope, so it’s nice to do little ones. 🙂 Painting furniture and rooms are really just giant craft projects.
Thank you! I’ve been using a heat gun. Struggling a bit. How hot was your iron?
I’ve never used a heat gun with HTV. For the iron, I used the cotton setting (the highest setting) and left it on longer than I thought. Regular permanent vinyl might be a better option.
I use Con-tac shelf adhesive paper…have washed it in the top load of dishwasher, it works! Cheap and cuts like butter!
I can not get my HTV to stick on my glass plates it pulls off as soon as I peal it off. What is the temp and the seconds to leave it on . I tried every thing and nothing has worked please could u give me some ideas why it will not stick. At wits end.
Hi Jackie,
I set my iron as high as it will go and press until it doesn’t peel away. It took about 45 seconds to a minute for it to stick. It might take longer if your iron doesn’t get as hot.
I prefer using permanent vinyl instead because it’s easier to work with and you don’t have to mess with an iron, so if nothing else, try that instead.
Thanks!
These look great!!! Nice job. Going to attempt done glasses now that I saw this lol. I have a mini iron so getting excited about trying this!!!