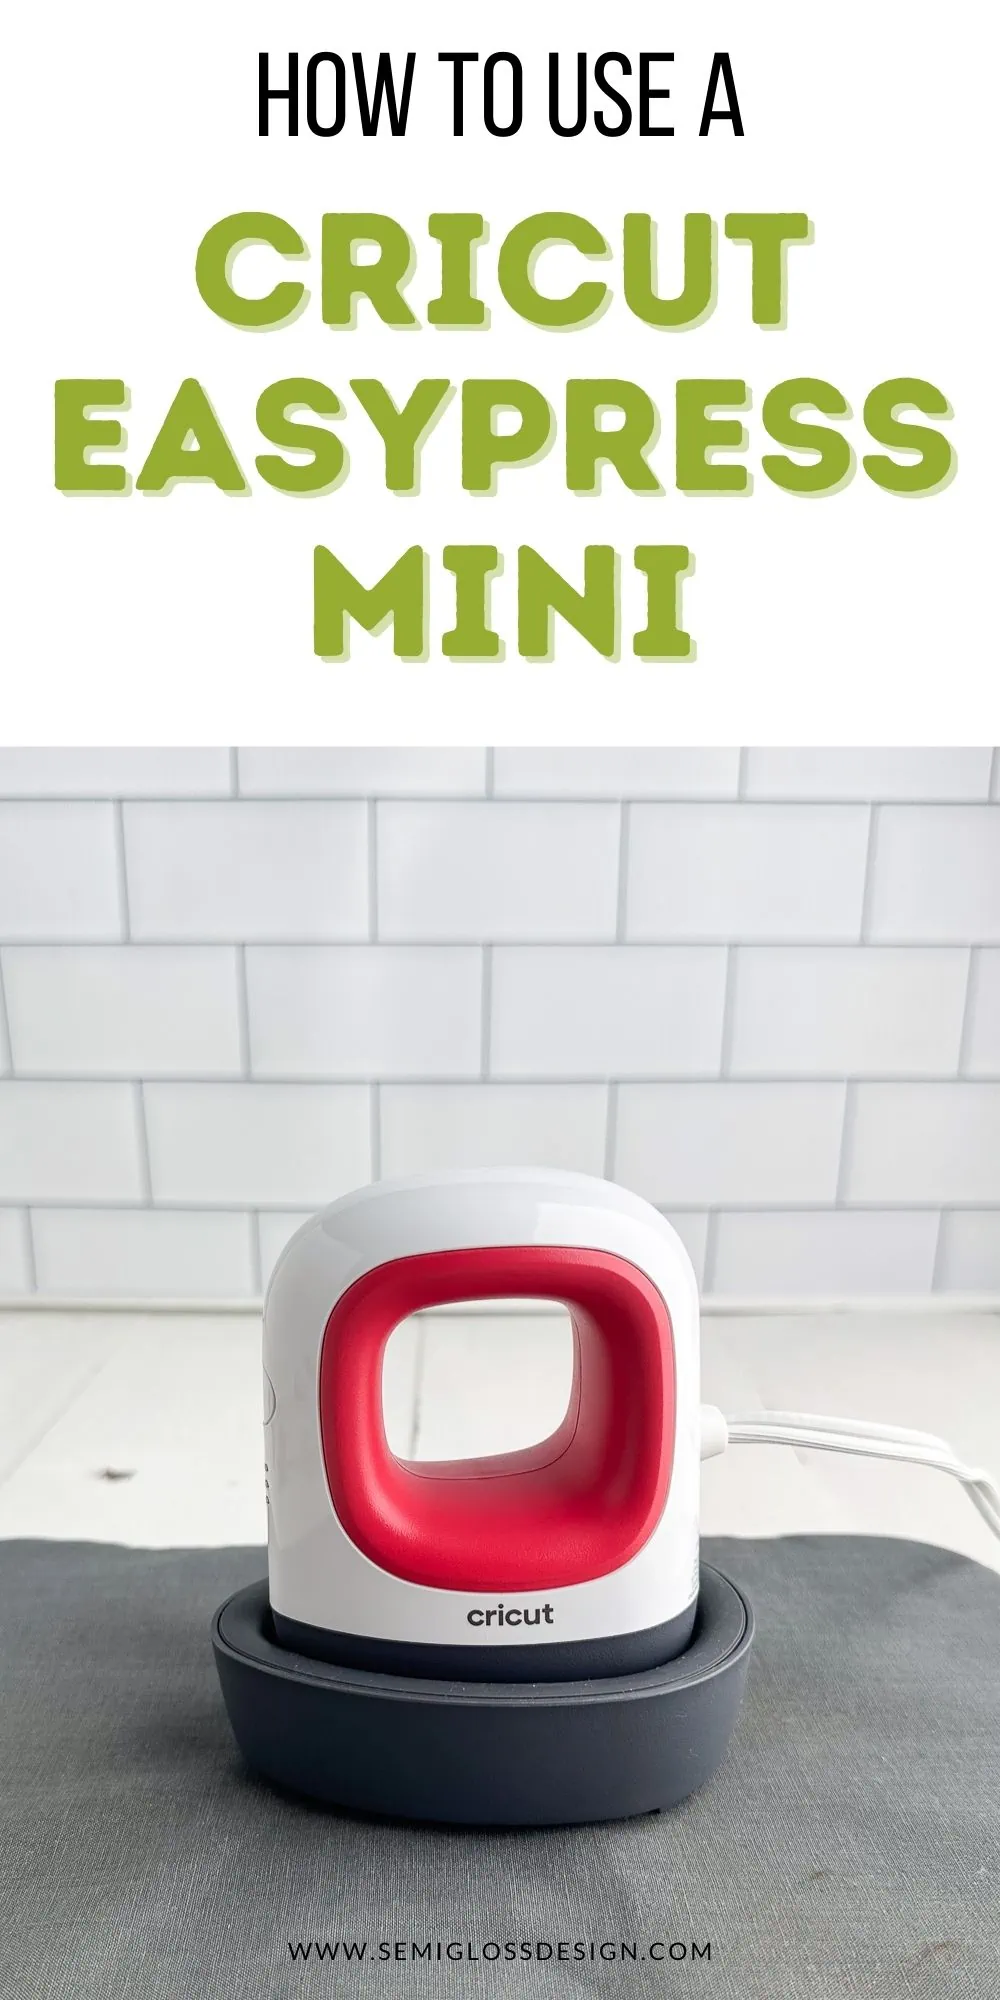
How to Use the Cricut EasyPress Mini
Learn how to use the Cricut EasyPress Mini. This compact heat press has the power of a regular EasyPress in a tiny package. It’s perfect for creating small crafts and adding little details to your projects.
You might also like this post on using the regular EasyPress.
This post contains affiliate links. By purchasing an item through an affiliate link, I earn a small commission at no extra cost to you. As an Amazon Associate I earn from qualifying purchases.
I love my Cricut EasyPress Mini. When I bought it, I wasn’t sure it would get much use. I love my 9″ x 9″ EasyPress, so would it even be necessary?
I’m so glad I bought it, though. It’s the perfect size for small crafts like jewelry and keychains.
Plus, it’s really easy to use. And if you’re a scaredy cat (like me) about using new craft tools, it’s less intimidating than a full-sized heat press.
So open that box and get ready to use it!
All About the Cricut EasyPress Mini
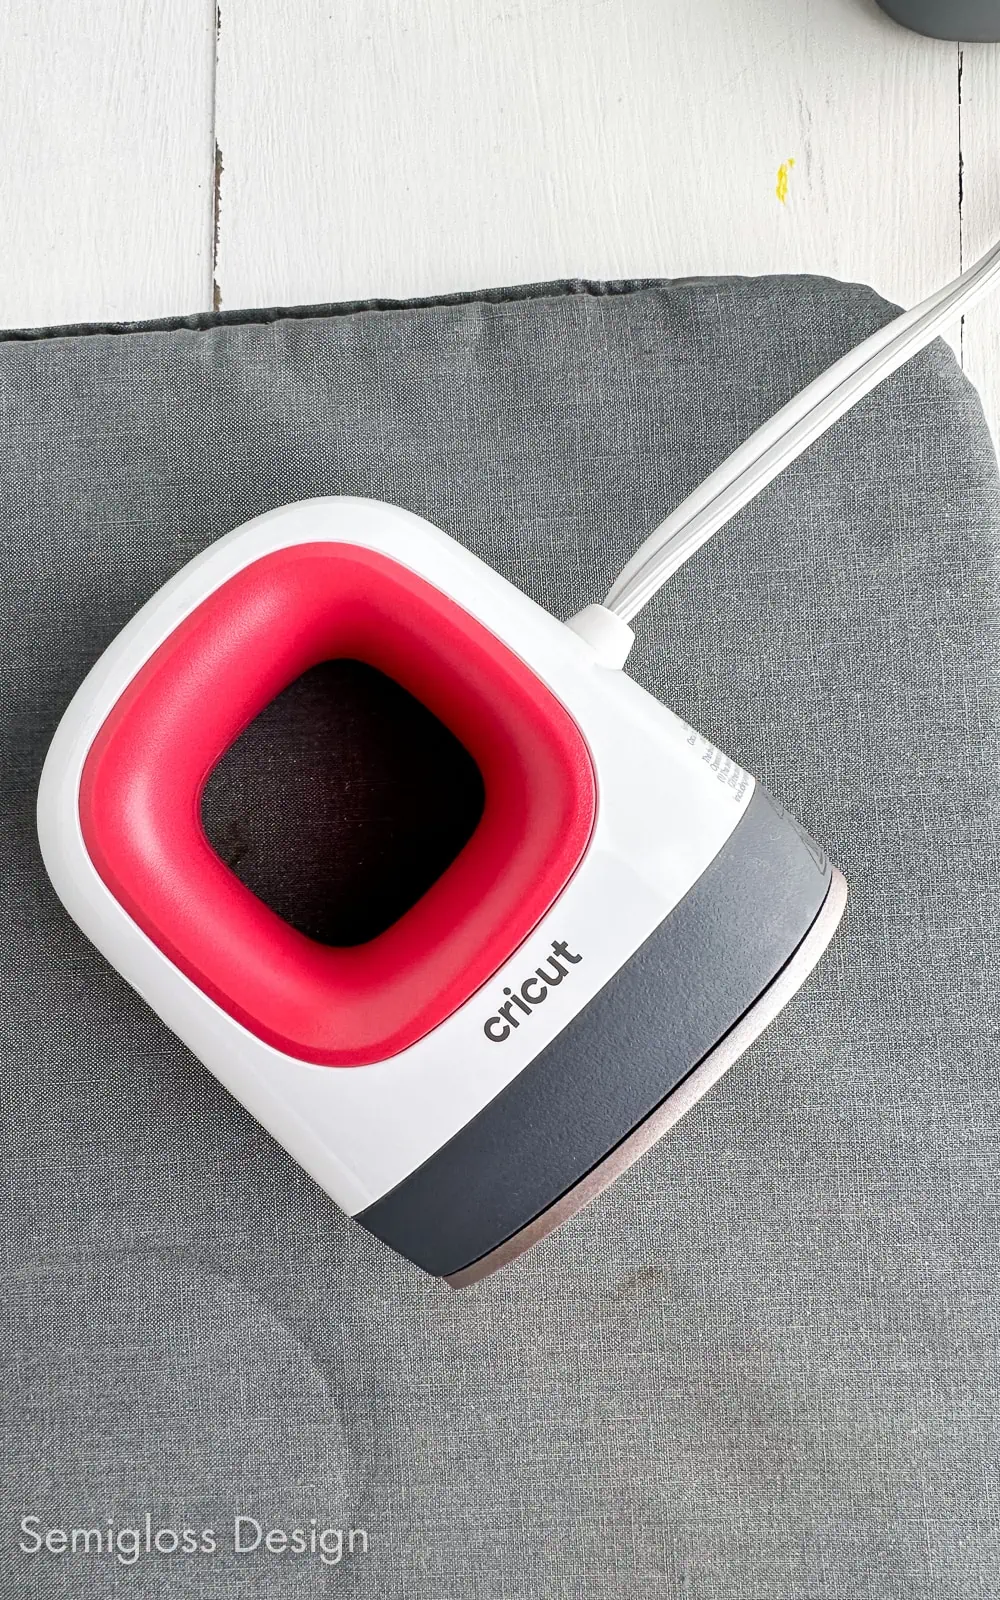
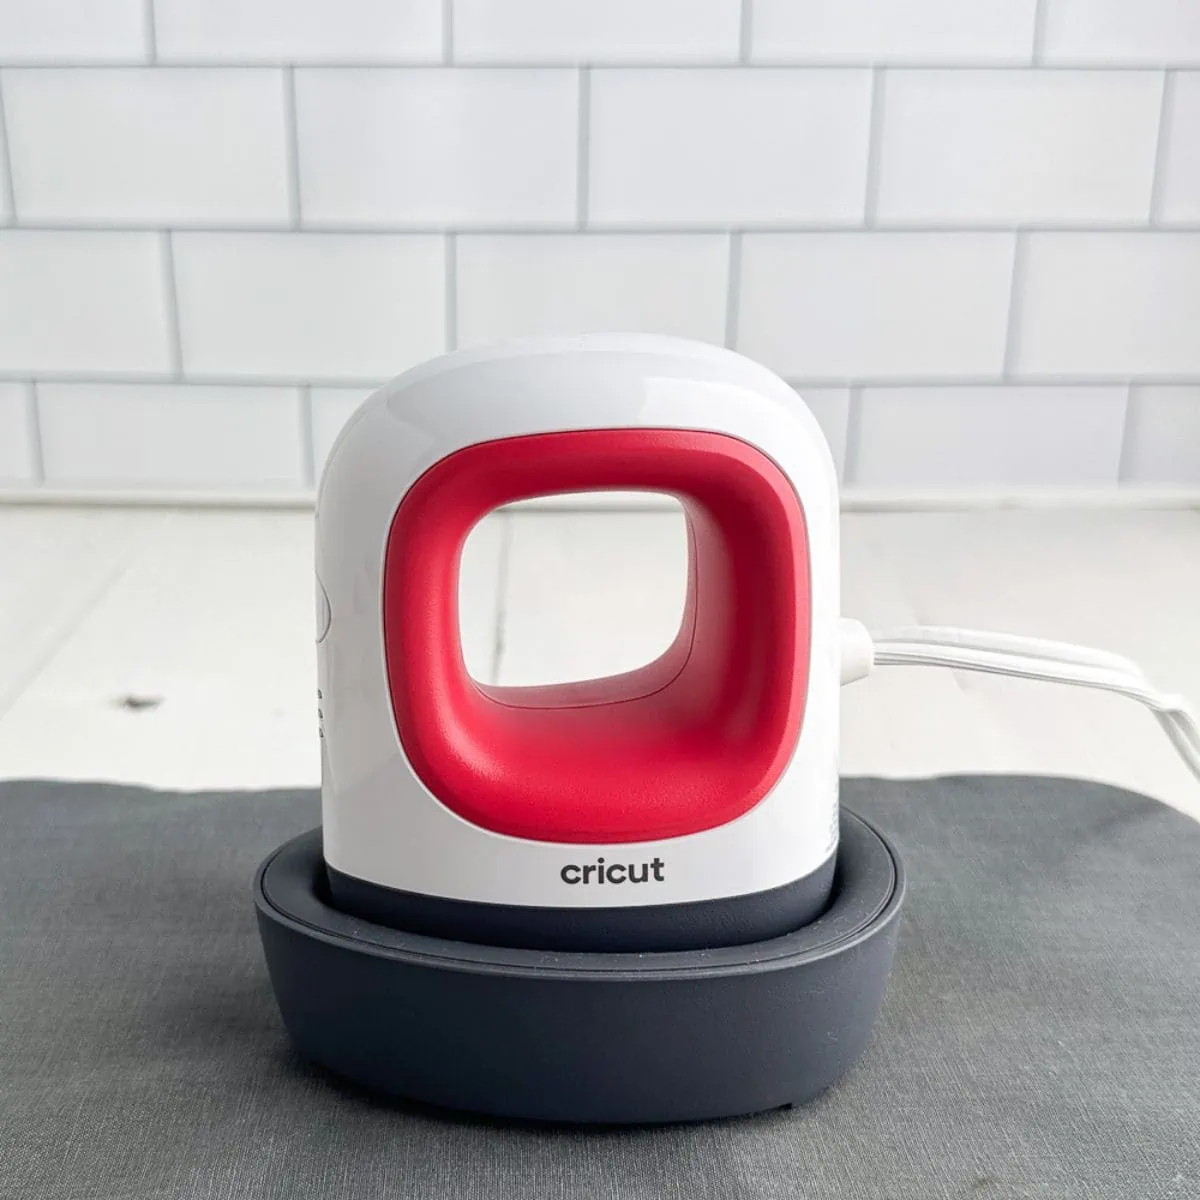
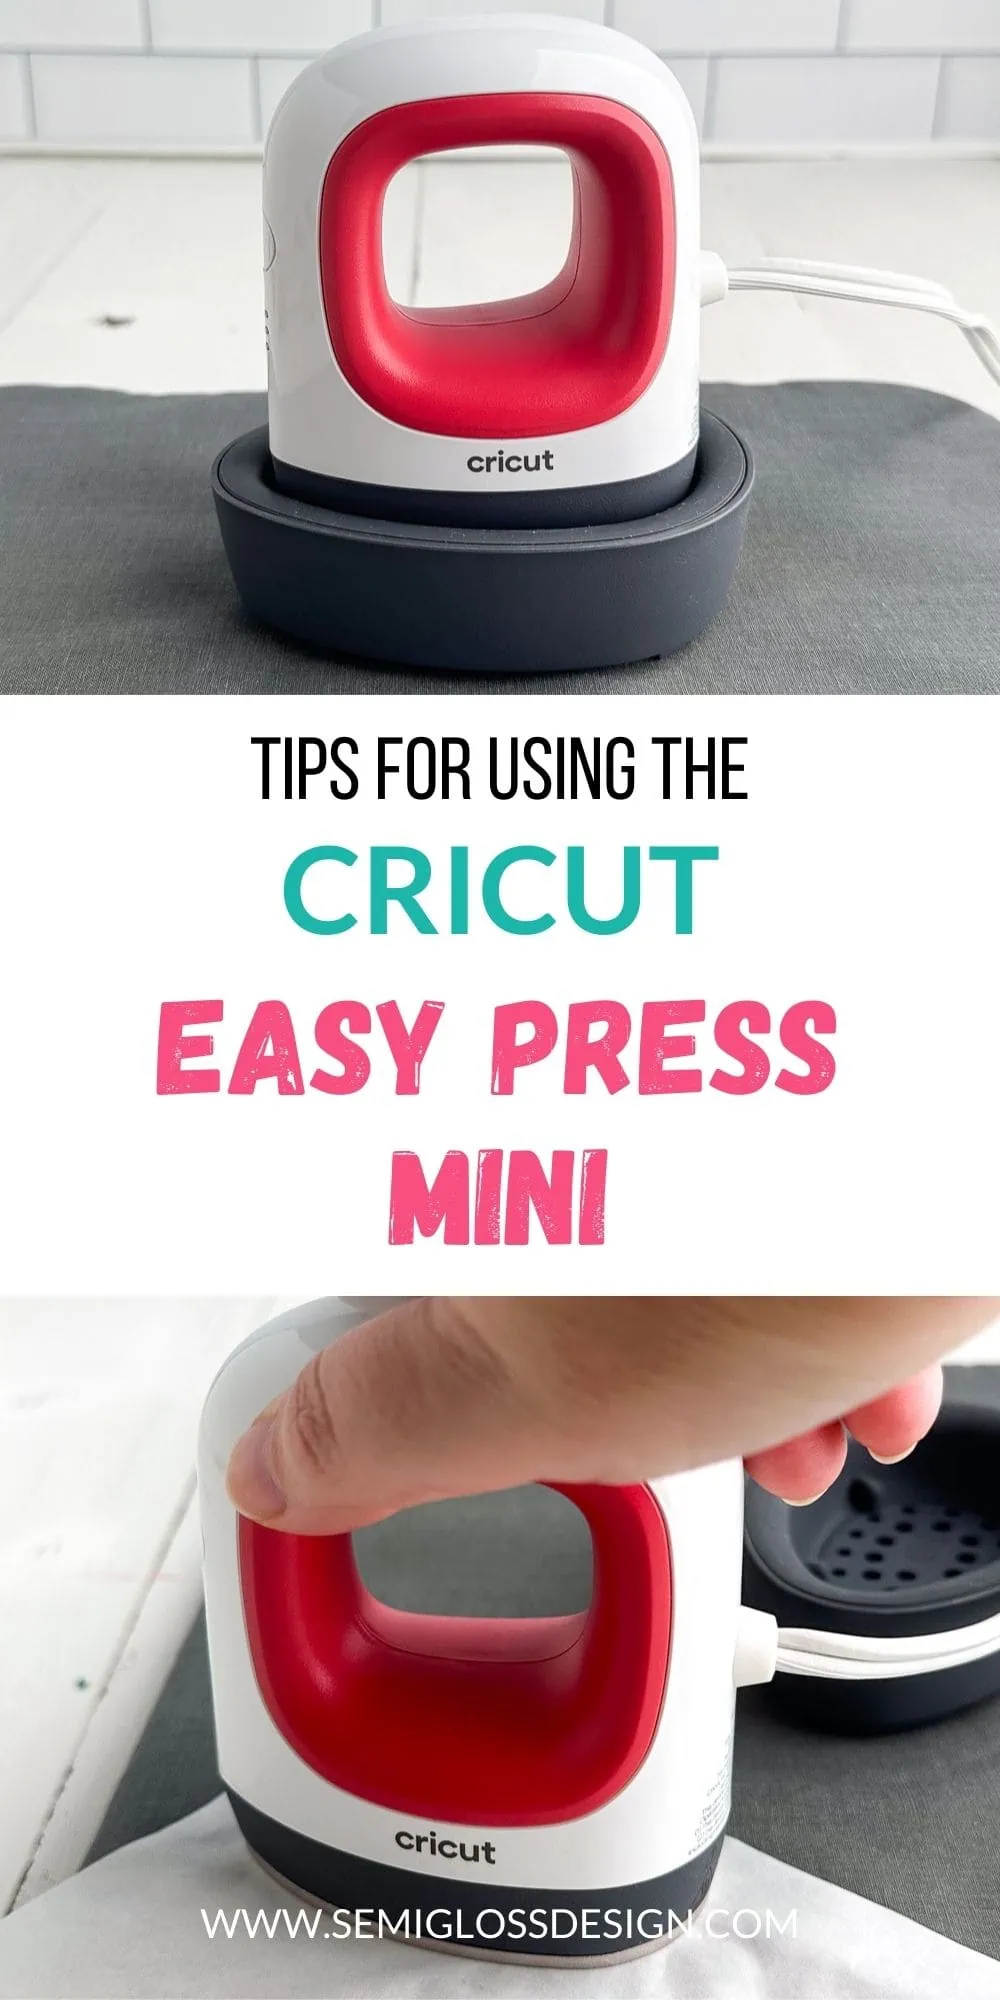
The Cricut EasyPress Mini is a small heat press machine that is perfect for smaller crafts. The pressing surface is roughly 3.25″ x 1.92″, and it’s shaped like a teardrop.
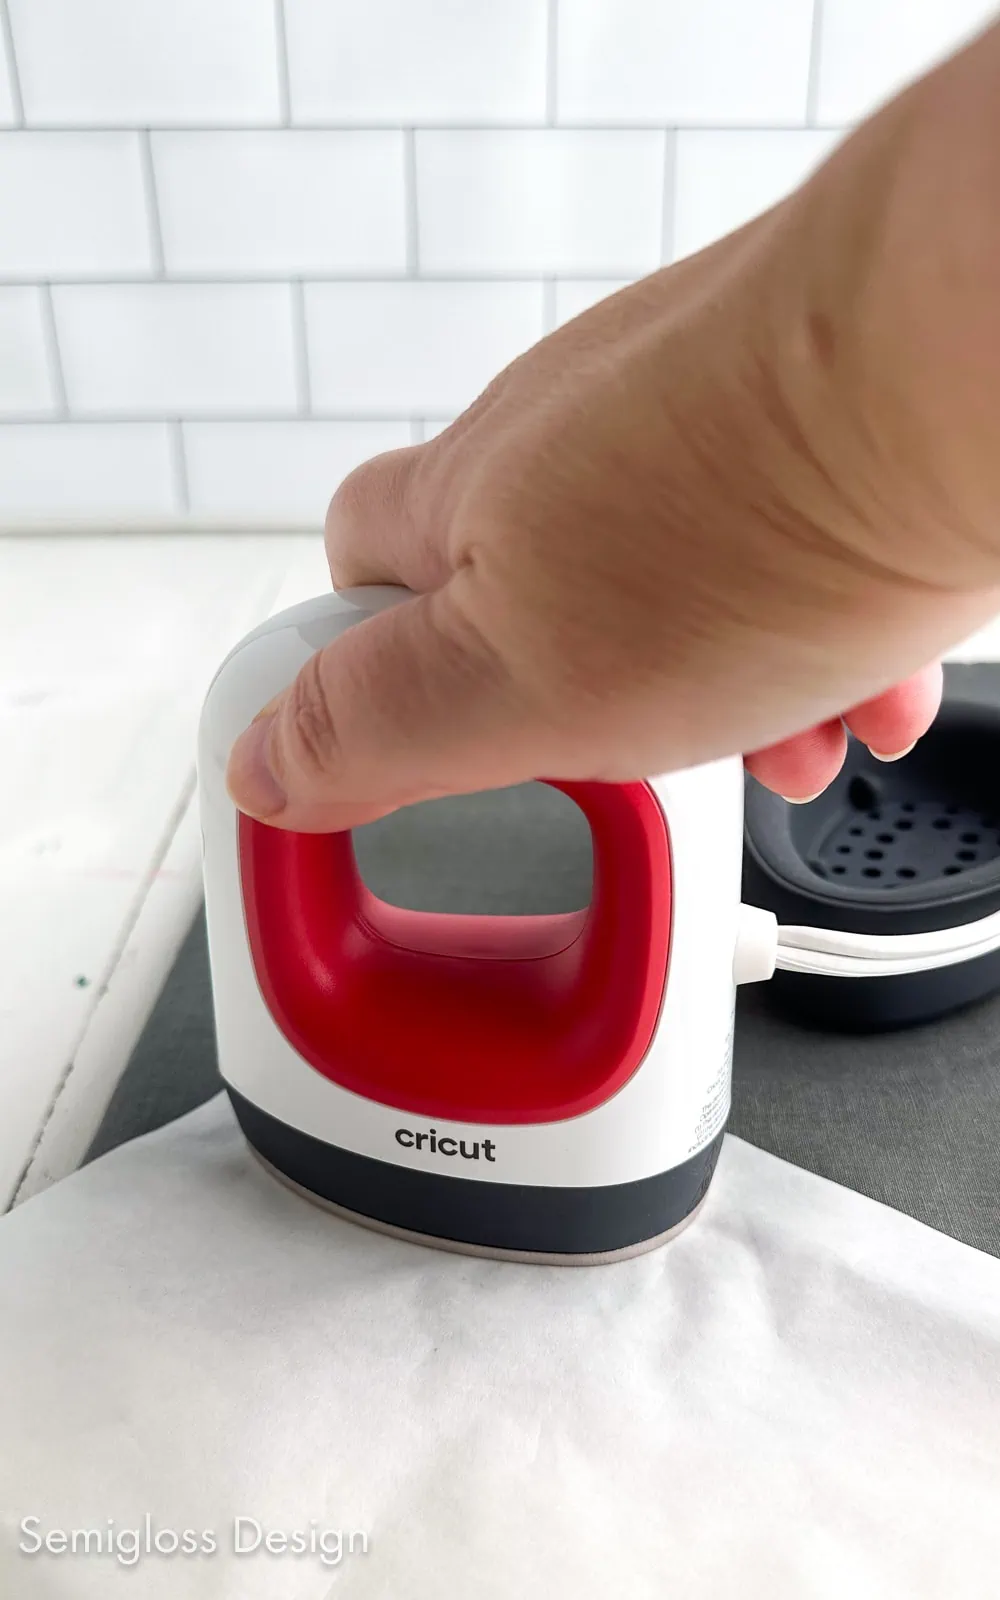
The EasyPress mini has a small handle that allows you to maneuver the machine.
The box contains the EasyPress mini and the cradle. It does not come with any supplies to make projects. If you’re anything like me, you never use those supplies anyway.
Easy Press Mini vs Iron
You’re probably wondering why you would use an EasyPress instead of an iron.
There are a few important reasons. The most important reason is that the EasyPress heats evenly across the surface, but irons have hot spots. This means that some iron-on vinyl parts will adhere to the surface while others do not.
Before I bought an EasyPress, I used to use my iron, and I found the process so tricky to get right. When I switched to an EasyPress, it was much easier to get perfect in less time! And it made crafting fun again.
With a normal EasyPress, the size also makes a difference. Pressing something at once ensures the entire design is properly adhered to the surface.
With the EasyPress mini, the same is true, but for smaller items. You can press them without worrying about burning yourself.
If you’re a fan of infusible ink sheets or sublimation designs, they need to be heated to 400º, which an iron can’t do. The EasyPress mini doesn’t reach that temperature either, but it works with infusible ink.
In full disclosure, I’ve never tried to use an iron with infusible ink because they’re a bit pricey to possibly ruin them. I’ve heard that a lower temperature causes the color to be dull.
Safety Features
The EasyPress Mini has a cradle to rest the press while heating (and cooling off.) It protects the surface from the heat.
The EasyPress Mini automatically shuts off after 13 minutes of not being used.
Get access to my SVG Library.
Get access to over 50 SVG sets and Cricut cheat sheets. Join my SVG library.
How to Use the Cricut EasyPress Mini
- Plug in the outlet.
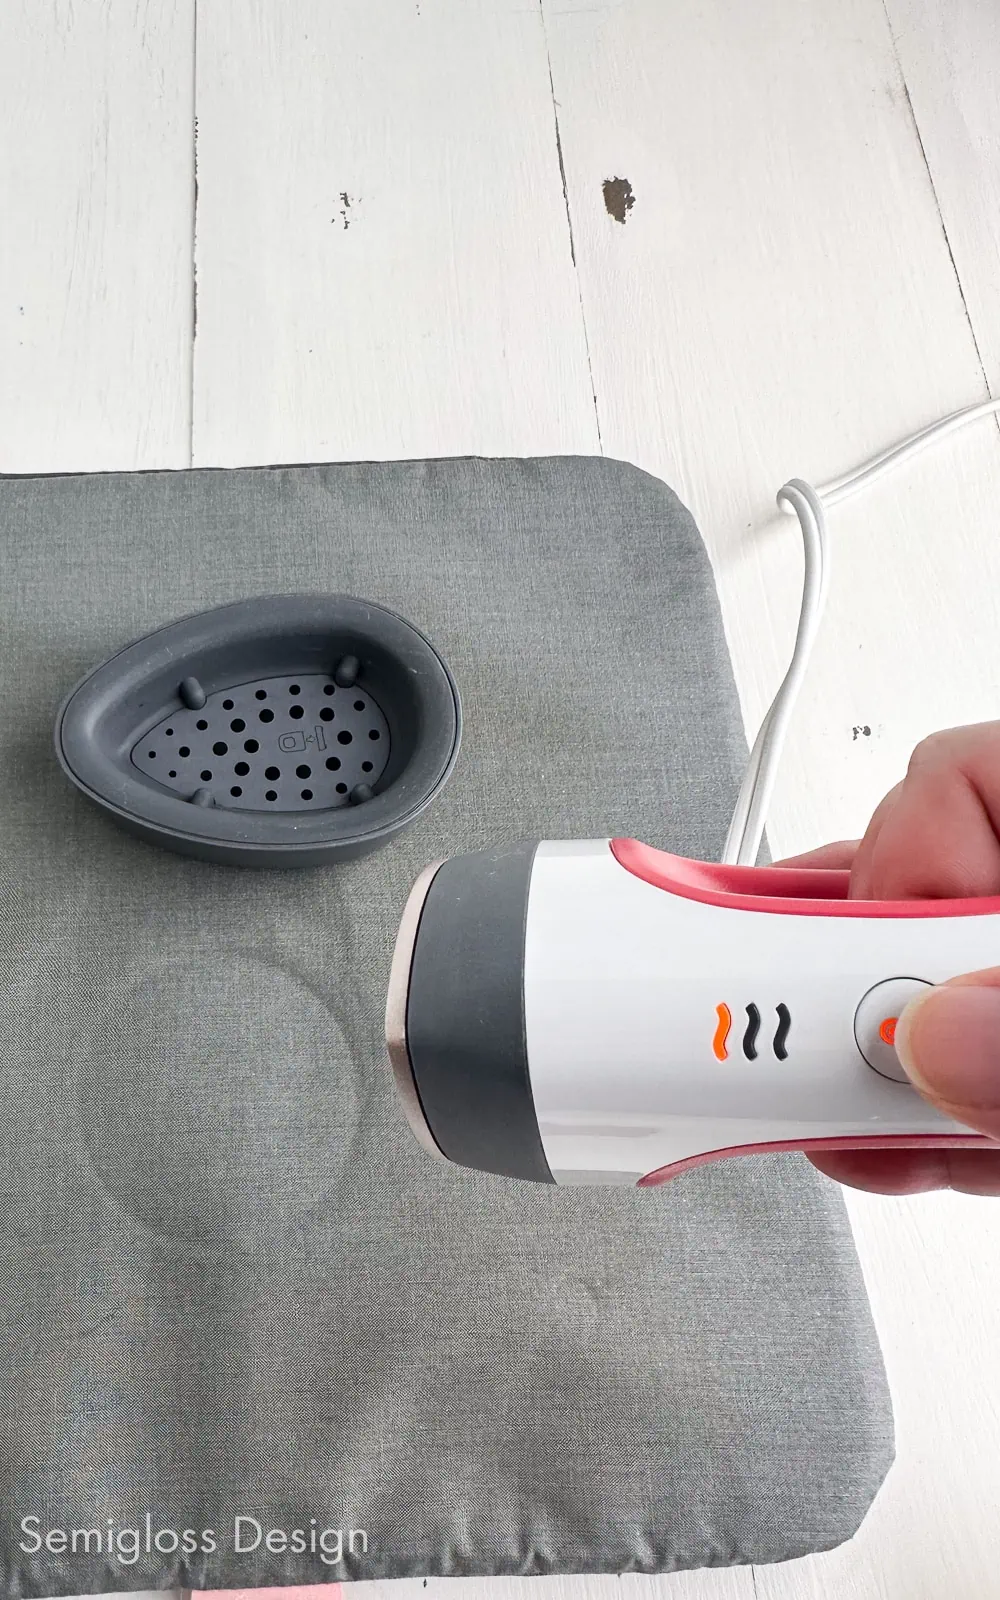
- Push the temperature button to turn on the machine. This is the low setting and is indicated with one bar.

- Press it twice for medium (2 bars) or three times for high (3 bars.)
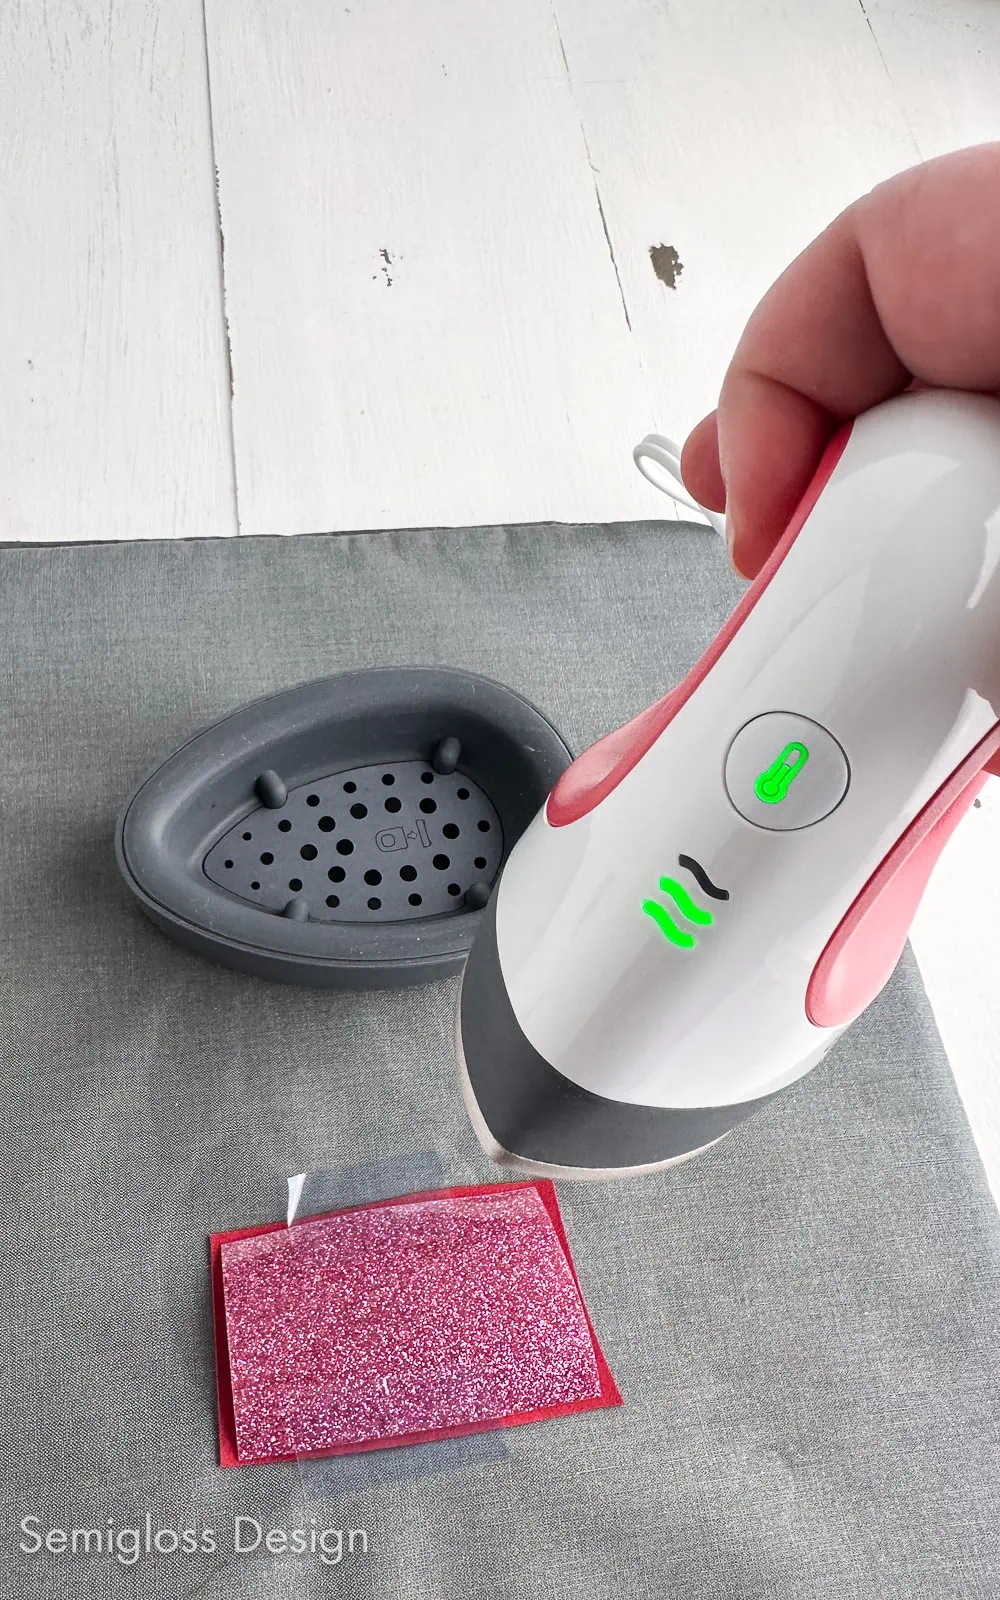
- When the light turns green, it’s ready to use.
- Always use an EasyPress mat with the EasyPress mini.
- Cover the material with parchment paper to protect the surface of the EasyPress mini.
- The exact heat setting and time can be found here.*
- Press the surface using even pressure.
- Count to the correct time and remove the EasyPress from the surface.
- Replace it in the cradle to cool off.
*The heat guide isn’t perfect. I recently made faux leather earrings with layered iron-on details. The heat guide recommends 30 seconds on low, but I pressed it for 10 seconds on low, and it was perfect. If you’re crafting with delicate materials, always err on the side of caution and try the lower temperature first.
If it seems crazy, go with your instincts. And take notes for the next time you make that project.
Heat Setting Controls
There are three heat settings: low, medium, and high.
Low (1 Bar) – Use for delicate materials like faux leather, foil, and sports flex iron-on.
Medium (2 bars) – Use for everyday iron-on and glitter iron-on.
High (3 bars) – Use for infusible ink sheets or markers.
Other Supplies Needed
A few supplies are recommended to use with the EasyPress mini. If you’ve been using a Cricut for a while, you may already own these.
EasyPress Mat – I already own the 9″ x 9″ size, so I use it with my EasyPress mini and my normal EasyPress. This protects your work surface from heat.
Parchment Paper – This protects the EasyPress heat plate from getting dirty.
Heat Resistant Tape – This tape holds small pieces in place and doesn’t melt from the heat.
Materials for Your Project – Iron-on vinyl and a surface material.
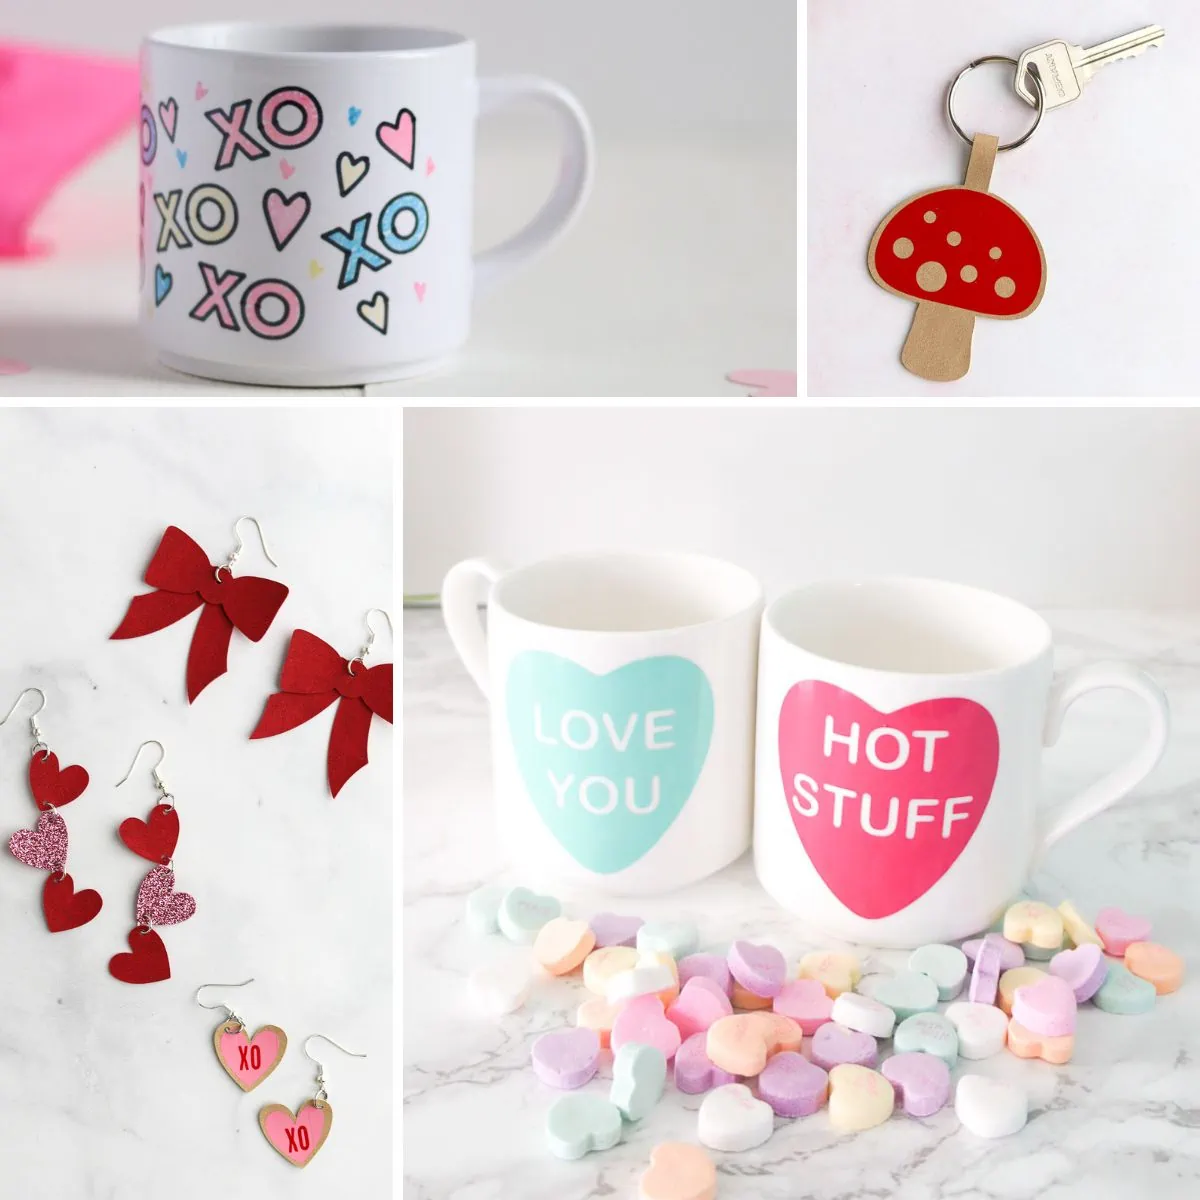
Projects that Work with the Easy Press Mini
The EasyPress mini works great for small projects. Here are some of my favorite small Cricut crafts.
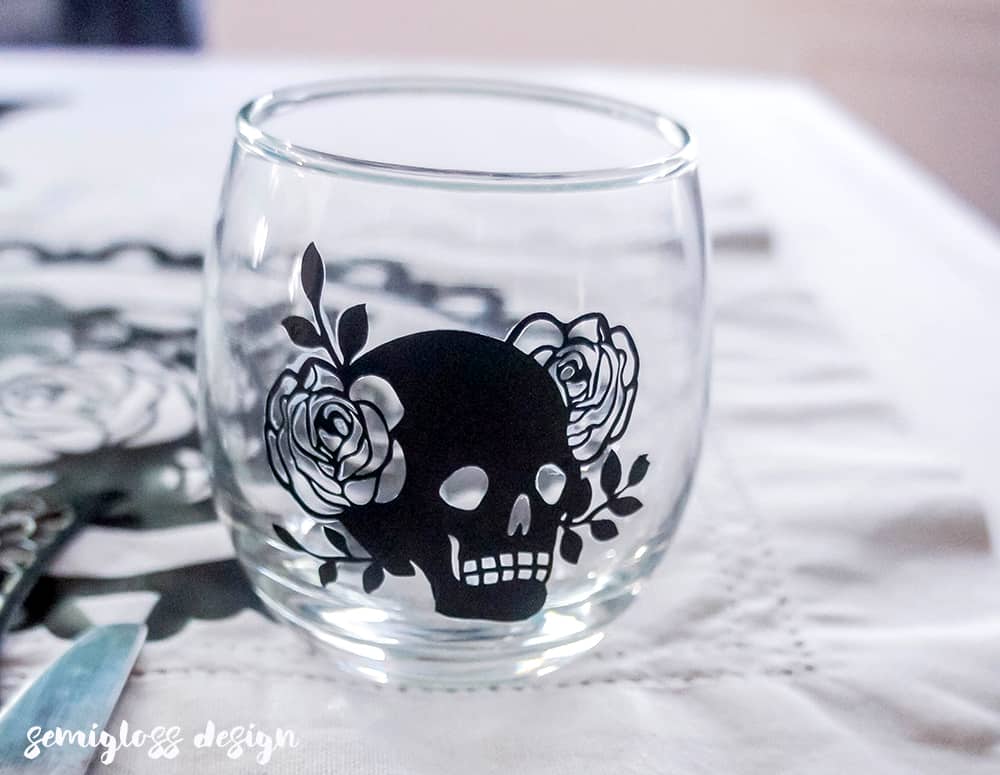
- Earrings
- Jewelry
- Keychains
- Hats
- Shoes
- Baby Clothes
- Doll Clothes
- Hair Accessories
- Stuffed Animals
- Bows
- Dog Accessories
- Small Bags
- Wallet
- Small Iron-on Clothing Projects
- Small Sewing Projects
- Ornaments
Should You Buy the Easy Press Mini?
I think it isn’t a must-have, but it’s nice to have if you make a lot of smaller crafts.
The EasyPress mini is really affordable, and it’s always on sale. It’s nice to have in addition to a regular-sized heat press.
If I could only have one, I would opt for a larger-sized EasyPress. I have the 9×9, and it’s perfect for most things. I resisted buying it for so long, but I’ve never regretted it.
Pin for Later!

Emy is a vintage obsessed mama of 2 DIYer who loves sharing affordable solutions for common home problems. You don’t need a giant budget to create a lovely home. Read more…