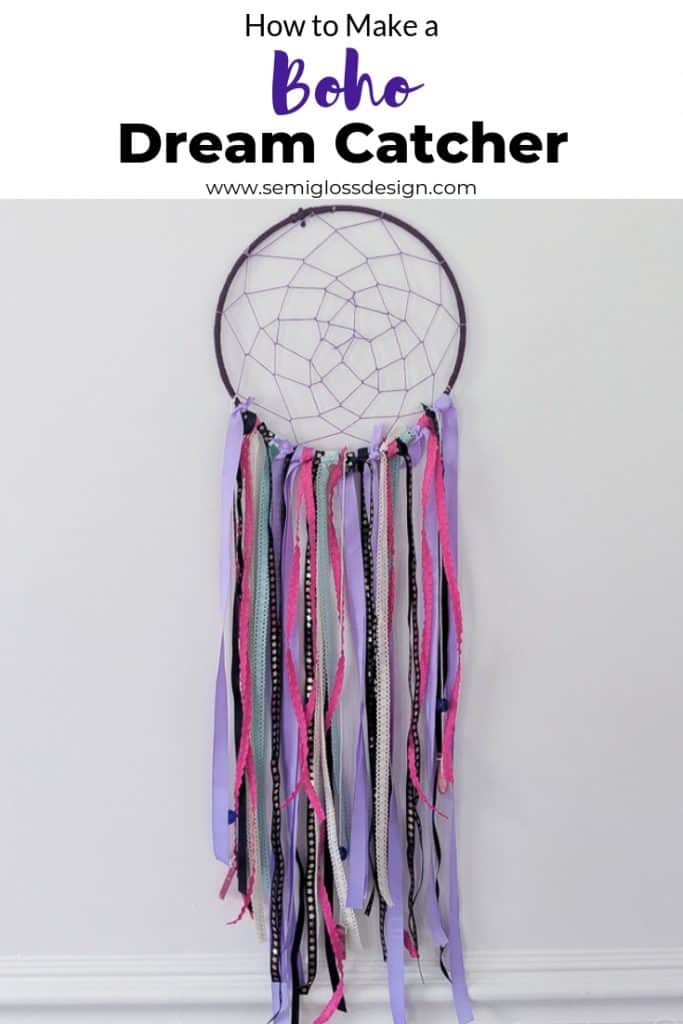
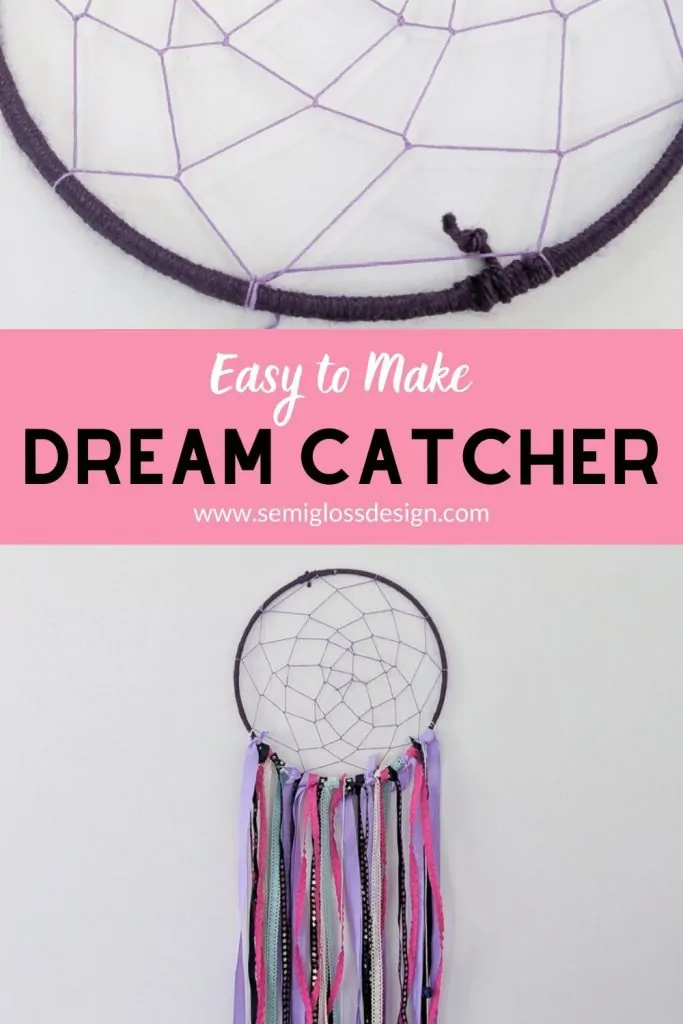
How to Make a DIY Dream Catcher
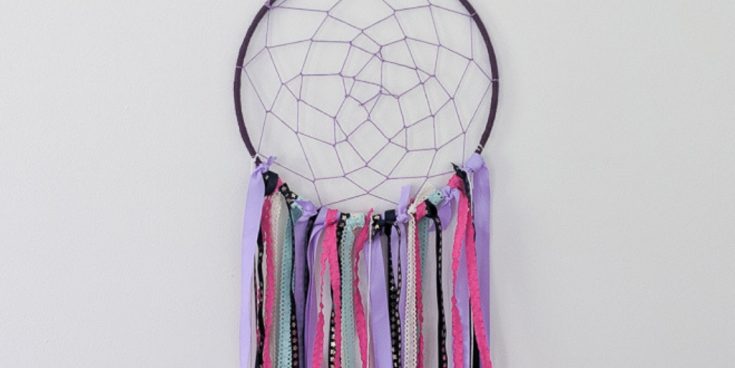
Learn how to make a DIY dream dream catcher. This dream catcher features long, colorful ribbons and beads that give it a lovely, boho feel.
For my daughter’s colorful boho room makeover, she wanted to make a dream catcher. I had one when I was a kid, so I was willing to help her out.
One Room Challenge Week 4
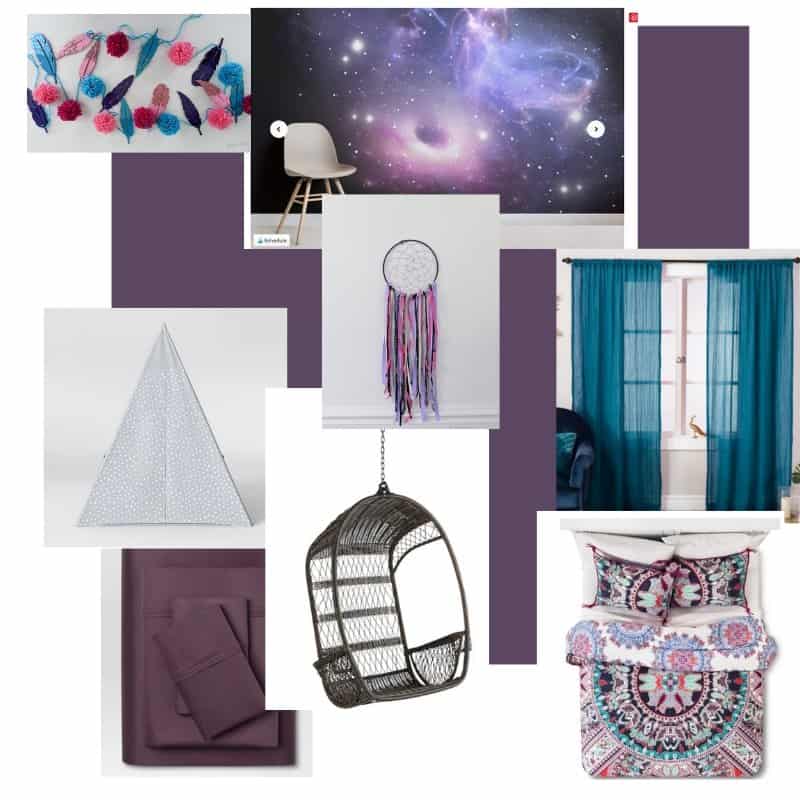
This post was a part of the One Room Challenge, where I’m working on my daughter’s room to give her the colorful, boho room of her dreams. She’s a budding illustrator and she wants a room that reflects her colorful personality.
- Week 1: Boho Room Plans
- Week 2: Painting a Galaxy Mural
- Week 3: Painting an Ombre Wall
- Week 4: This post
- Week 5: How to Build a Modern Canopy Bed
- Bonus: DIY Bone Inlay Stencil
- Week 6: Boho Room Reveal
The room still looks exactly like it did last week. Maybe a little messier. Last week was spring break, so she needs to clean her room before I can work in there.
Until then, I worked on a smaller project for her room: a dream catcher.
Still to do:
- Build a bed and get it painted. This is a huge project to have going on at this stage of the challenge! I must be crazy.
- Install everything and make it look cute.
What is a Dream Catcher?
A dream catcher is believed to protect children by some Native American cultures. Resembling a web, it is similar to a good luck talisman and has little to do with dreams.
My daughter just loves the boho look of dream catchers. As such, it should probably be called a woven wall hanging instead of a dream catcher.
How to Make a Dream Catcher
This post contains affiliate links. By purchasing an item through an affiliate link, I earn a small commission at no extra cost to you. As an Amazon Associate I earn from qualifying purchases.
Supplies Needed
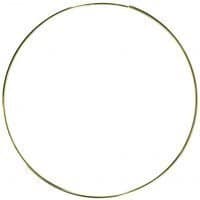
- Metal wreath hoop
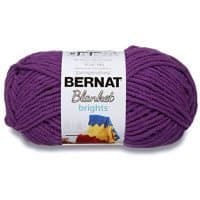
- Yarn
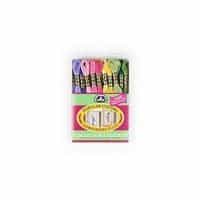
- Embroidery floss
- Scissors
- Beads
Tips for Making a Dream Catcher
- Wrapping the ring with yarn takes the longest.
- Pre-wind your yarn and embroidery floss to make it easier to work with.
- Space the first row of loops further apart to make a more open dream catcher. This will also make the middle part easier to work in.
- Don’t worry about perfection. My dream catcher turned out pretty wonky because those center loops are confusing. By my daughter likes how “unique” it turned out.
- You can add beads to the embroidery floss as you’re making the loops. Use a needle to make threading easier.
- Feathers can be added to strings by tying them on.
Full instructions for making a DIY dream catcher can be found below in the printable DIY card.
DIY Dream Catcher
How to make a boho dream catcher
Materials
- Metal Wreath Ring
- Yarn
- Embroidery Floss
- Ribbon
- Beads
Tools
- Scissors
Instructions
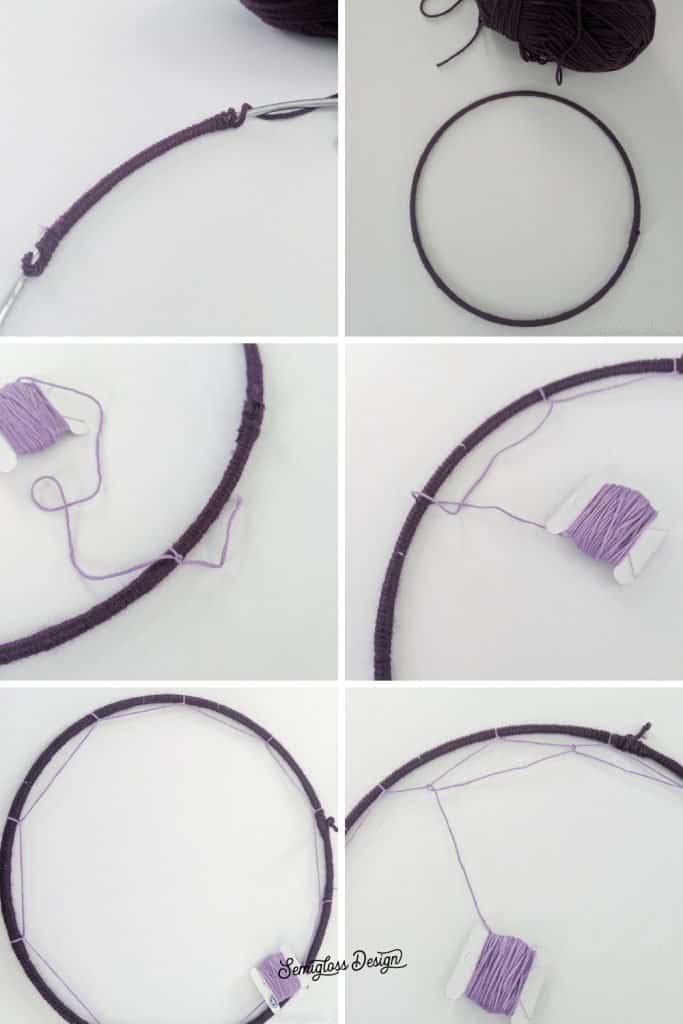
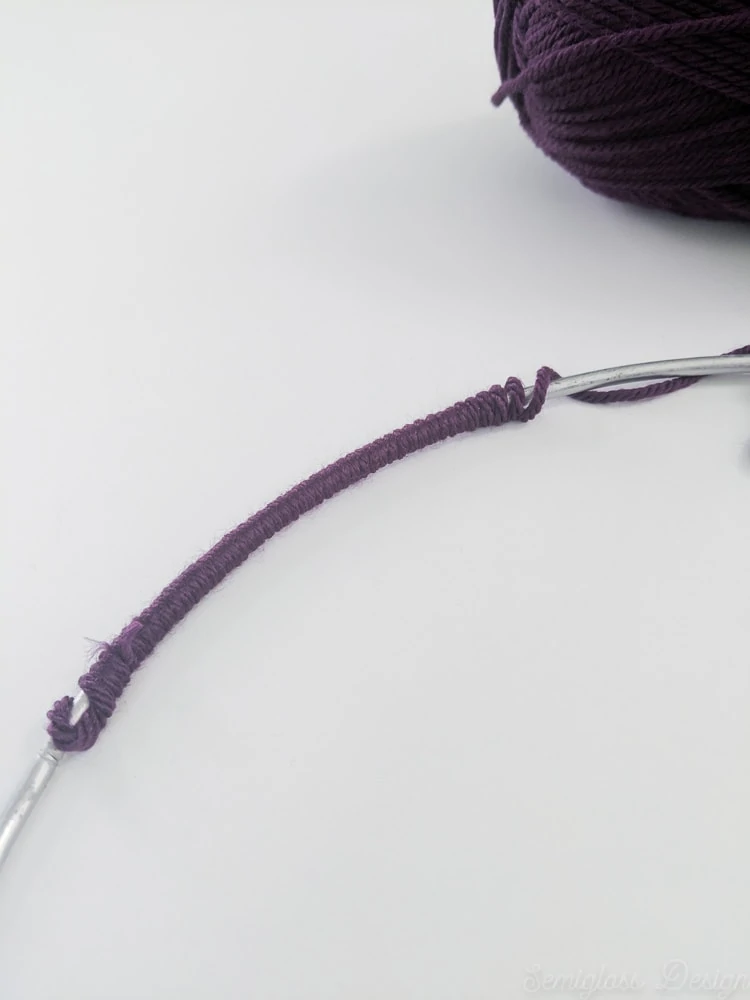
- Wrap the metal ring with yarn. Tie off the yarn with a small knot when finished.

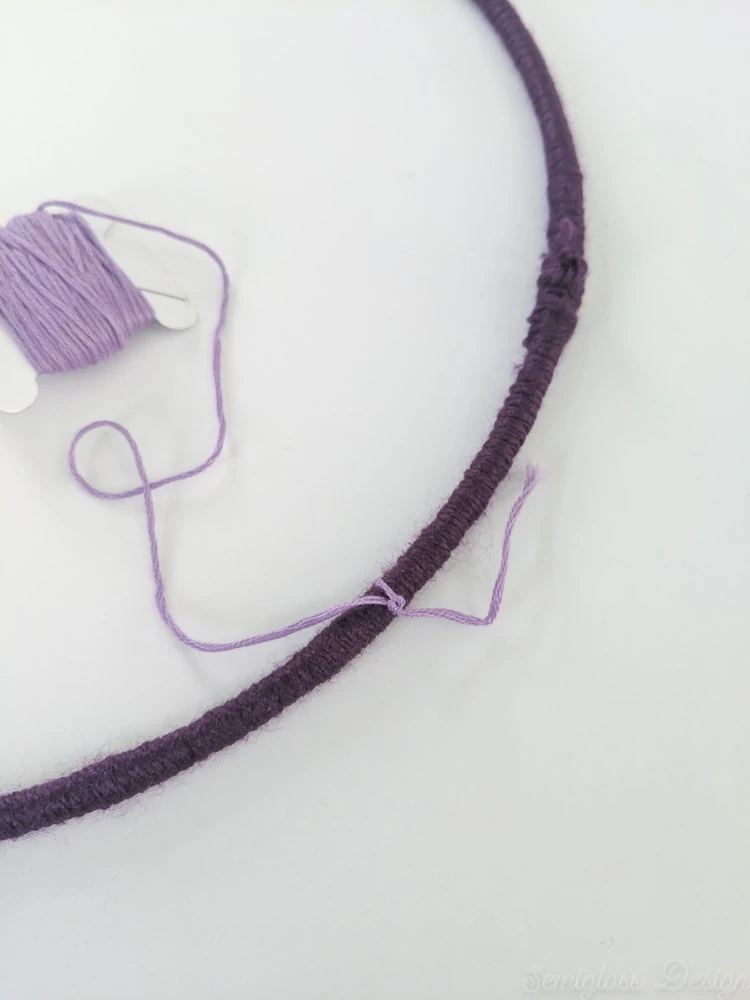
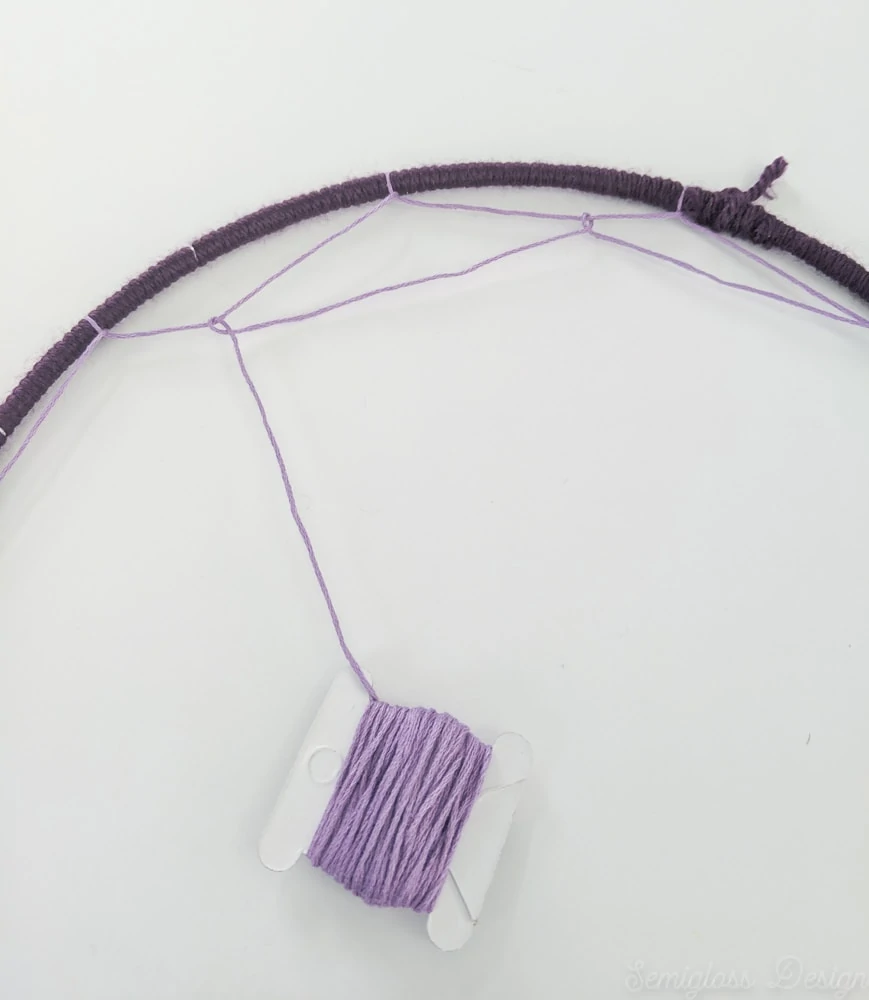
- Tie a small knot onto the rink using embroidery floss.
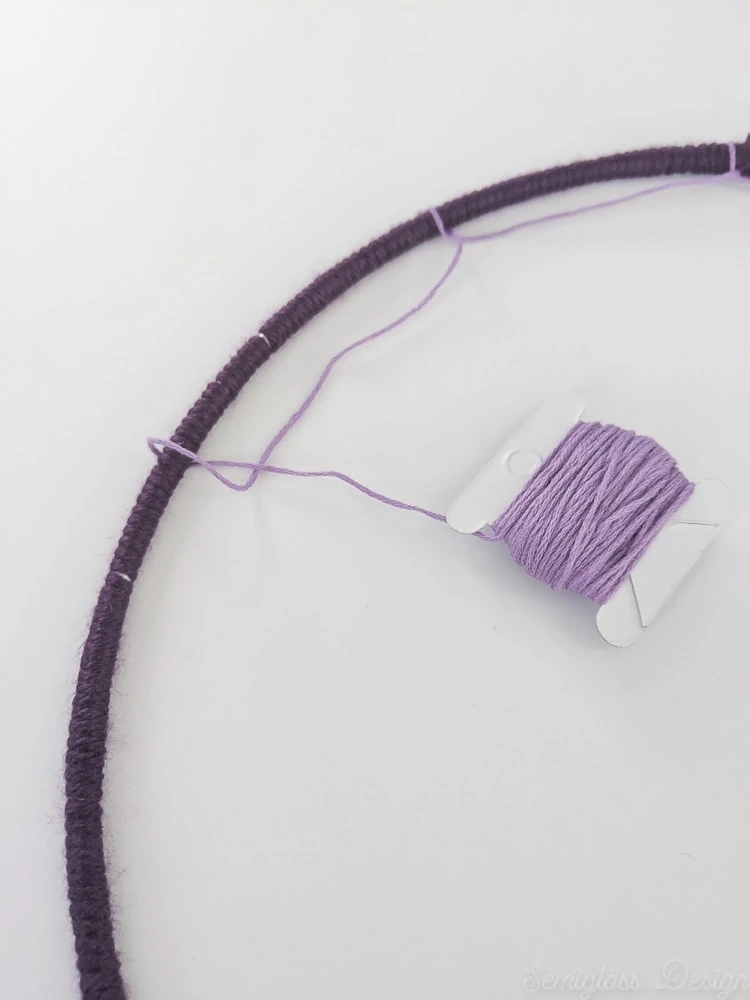
- Take the embroidery floss and wrap it around the ring, looping through the loop you just made. (See photos for clarification.)
- Continue on like this until you have your first row of loops finished.
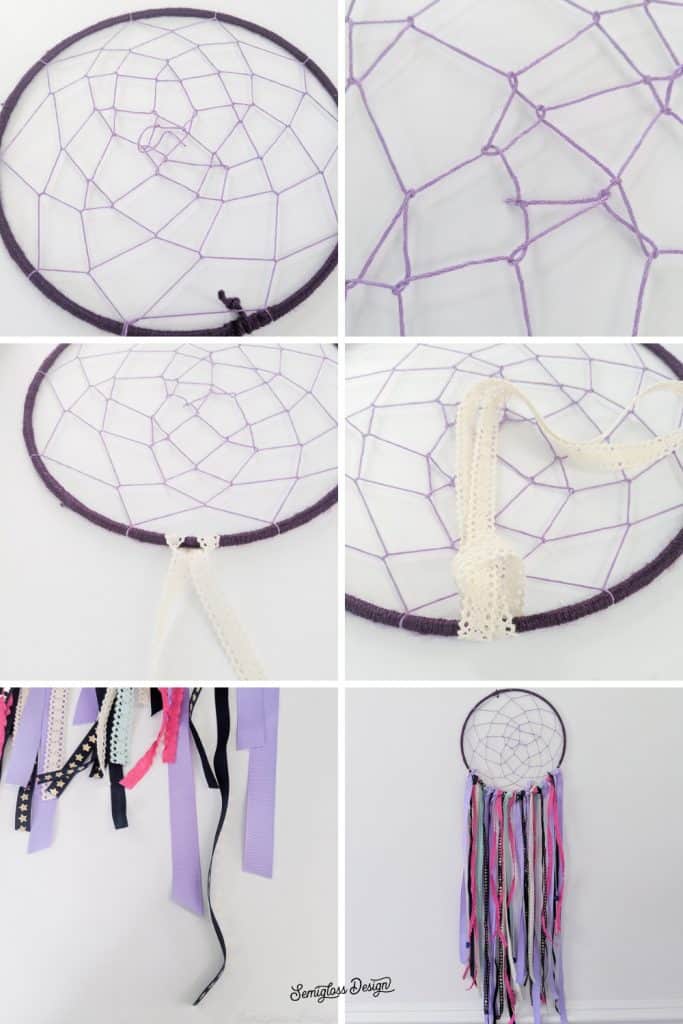
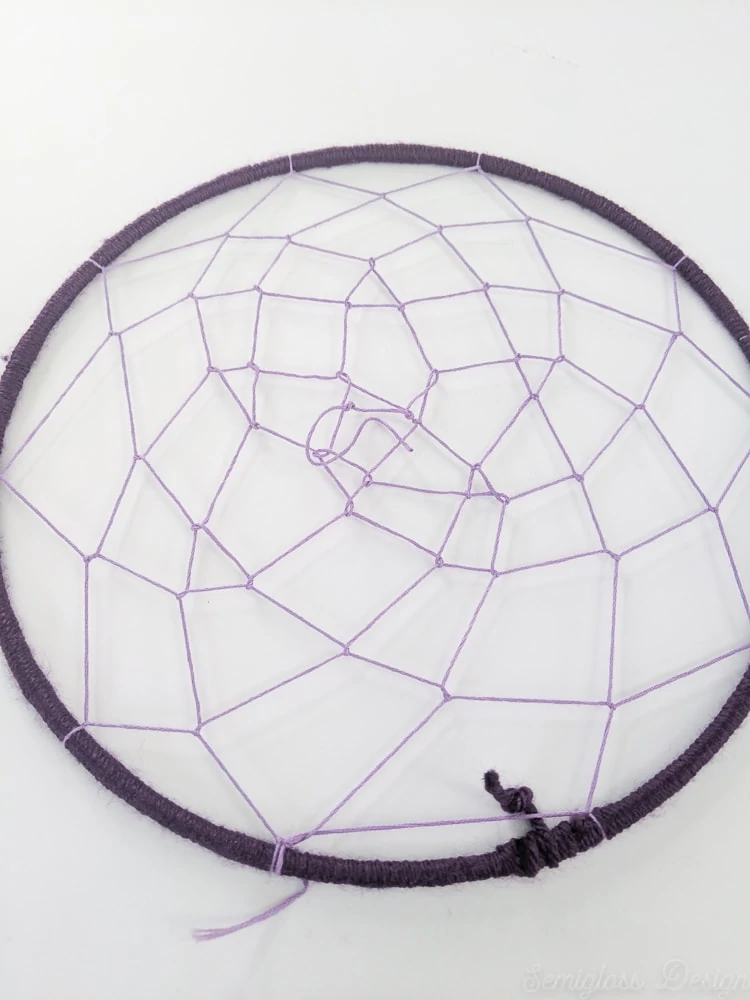
- Then, continue looping through the center of each loop in the row before until you get the center.

- Cut your floss about 2" longer than you need and tie it off. Trim the excess thread.
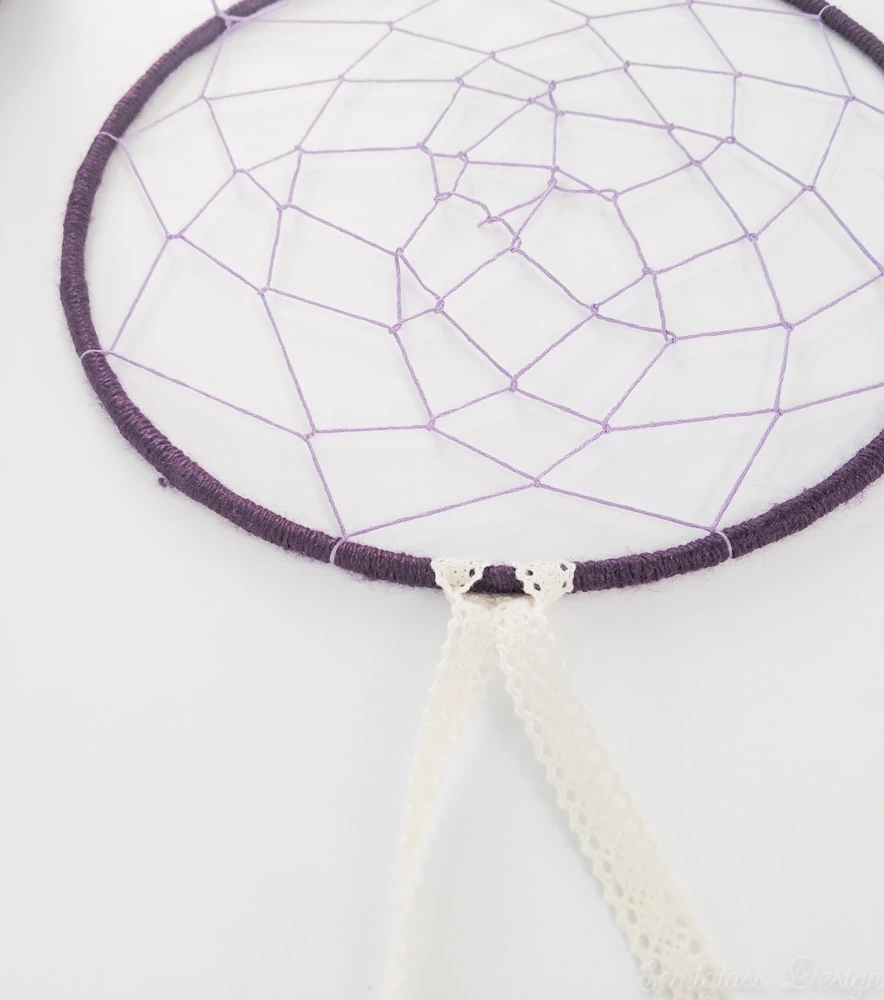
- Cut ribbon in lengths of about 3' long.
- Tie them to the bottom of the ring by making a loop and passing the ribbon lengths through them.

- Thick ribbon needs to be tightened more, so add single strands of ribbon next to those by tying them onto the ring. Cut the excess away.
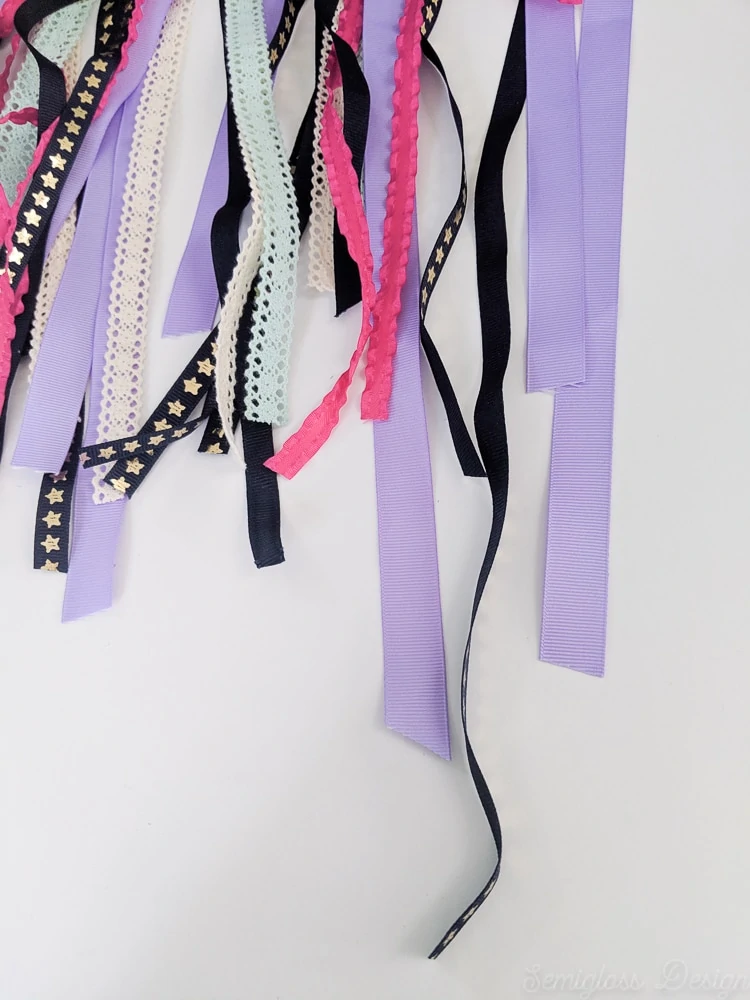
- Keep going with the ribbon until you have the desired amount.
- Trim any ribbon ends that are too long.
- If desired, add beads to strings and tie those on as well.

Notes
- If you space your first row of loops farther apart, the middle rows will be easier to complete.
- Tighten the string as you go.
- Add feathers if you want by tying them to strings.
- Loose yarn gets hard to work with when wrapping the hoop. I suggest wrapping the excess tightly around the skein of yarn while you work.
- The same for embroidery floss. Instead of working with loose floss, I used some that was wrapped around embroidery floss bobbins and it was much nicer to work with.
Recommended Products
As an Amazon Associate and member of other affiliate programs, I earn from qualifying purchases.
You might also like:
Pin for Later!

Emy is a vintage obsessed mama of 2 DIYer who loves sharing affordable solutions for common home problems. You don’t need a giant budget to create a lovely home. Read more…


How adorable is this! Love the fabrics in the tails…especially the lace. Nice touch.
What a lucky gal to have a mom as creative as you!
This is such a fun project! My daughters would love to make something like this for their room! Great tutorial, Emy.
This is such a fun project! My kids would love to make something like this for their rooms! Great tutorial, Emy 🙂
What a fun project! I actually bought one of these for my son’s girlfriend for Christmas, but I guess I should have DIYed it! I am pinning this for next time 🙂
What a sweet DIY. Perfect for a teens room. Your daughter is going to love it.
So cool I have really been into dream catchers this year. I love the DIY for them.
Thank you for providing such a great description for this project! My 7 year old and I just finished one & he loved making it!!
Glad you enjoyed it!