Make Your Own Decorative Tea Towels with Vinyl
I love fancy tea towels from Anthropologie, but I don’t love the price! That seems like a crazy amount of money to pay for something that is used for grubby hands or to wipe up spills. Everything in my house gets used heavily, so there’s no such thing as “just for show” tea towels.
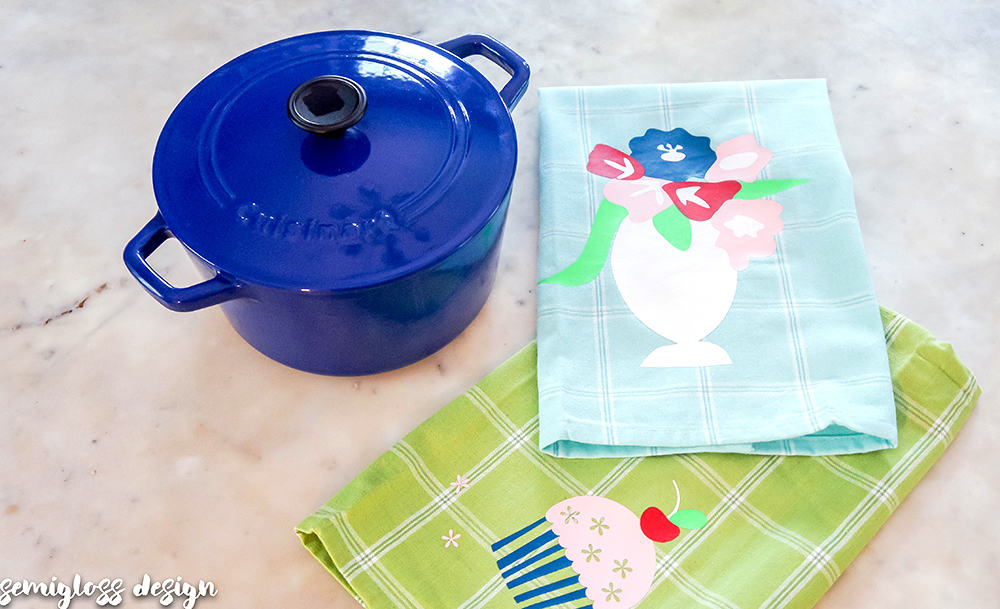
Recently, I ran across some heavily clearance priced tea towels at my grocery store and I knew that I could make them just as special as the pricy Anthro ones. Making your own decorative tea towels with vinyl is a fun, fast way to add personality to your kitchen on a budget!
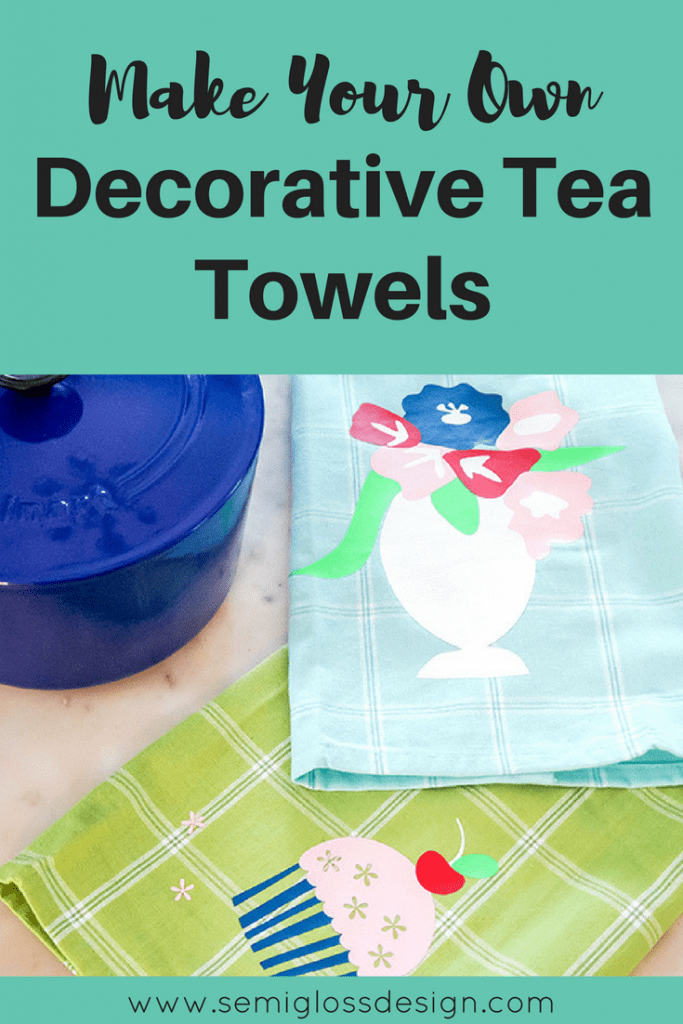
For my designs, I wanted cute, but simple. There are a ton of cute sayings available online, so I wanted to do something different.
To get your free cut files, scroll to the end of the post to get access to them. They are in .dxf which will open in both brands of die cut machines.
How to Make Your Own Decorative Tea Towels
Supplies
This post contains affiliate links. By purchasing an item through an affiliate link, I earn a small commission at no extra cost to you.
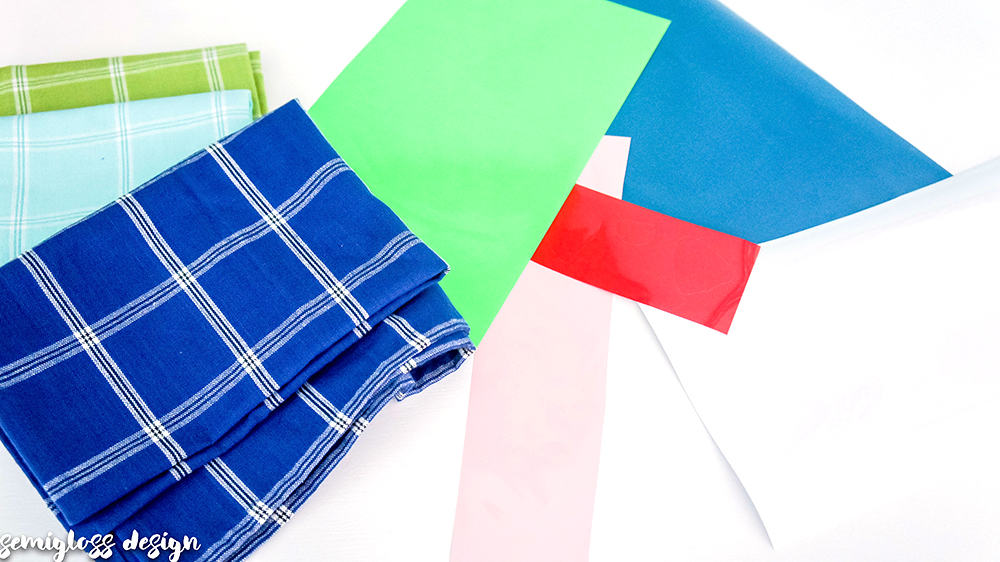
- Tea towels (similar)
- Heat transfer vinyl
- Turquoise HTV
- Cut files (scroll down to get yours)
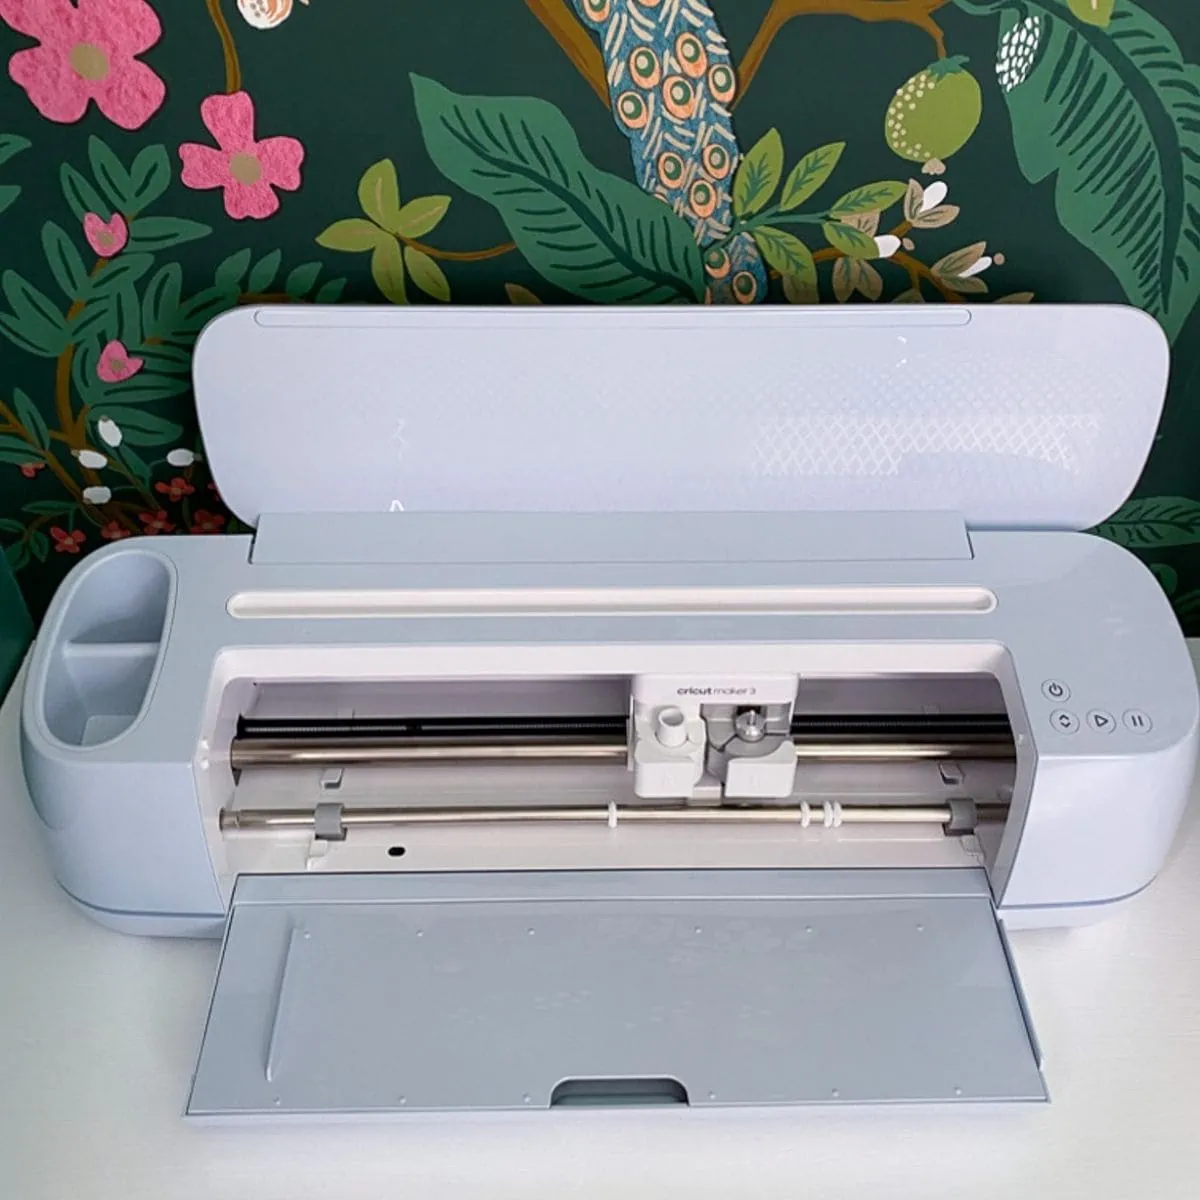
- Silhouette
- Silhouette weeding hook
- Scissors
- Iron
- Parchment paper
How to Use Multiple Colors – Simple Design
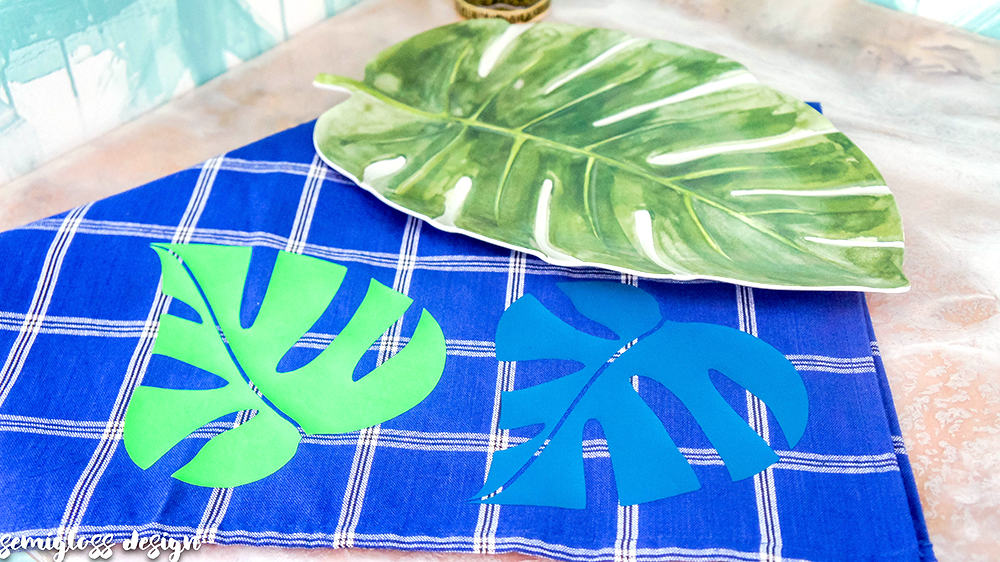
- Use your silhouette to cut the vinyl. You can download the cut files I used at the end of the post. They are already separated by color for easy cutting. Don’t forget to mirror any text and place the heat transfer vinyl shiny side down! For more through instructions for using a silhouette, check out this post. For more information on using heat transfer vinyl, this post has more in-depth instructions.
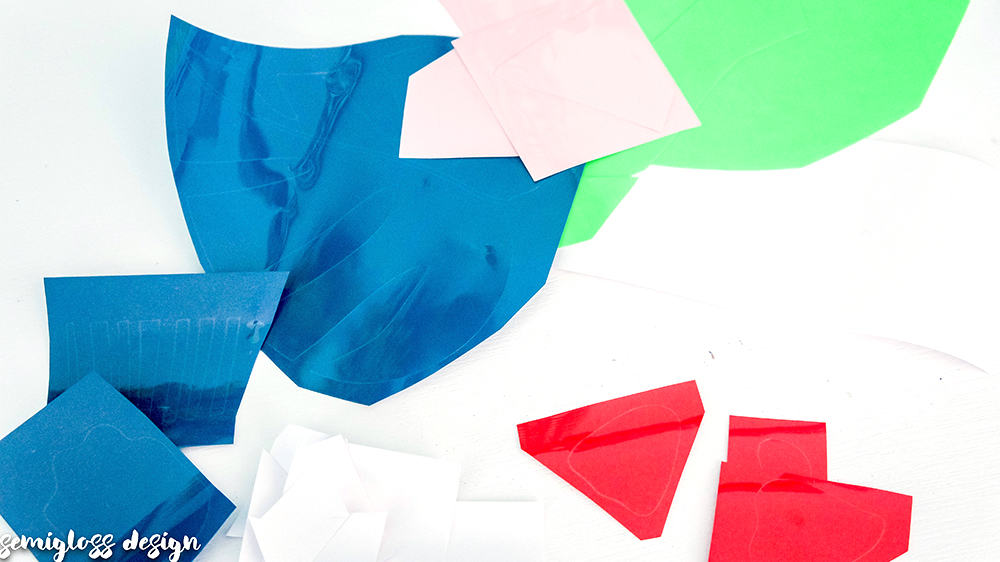
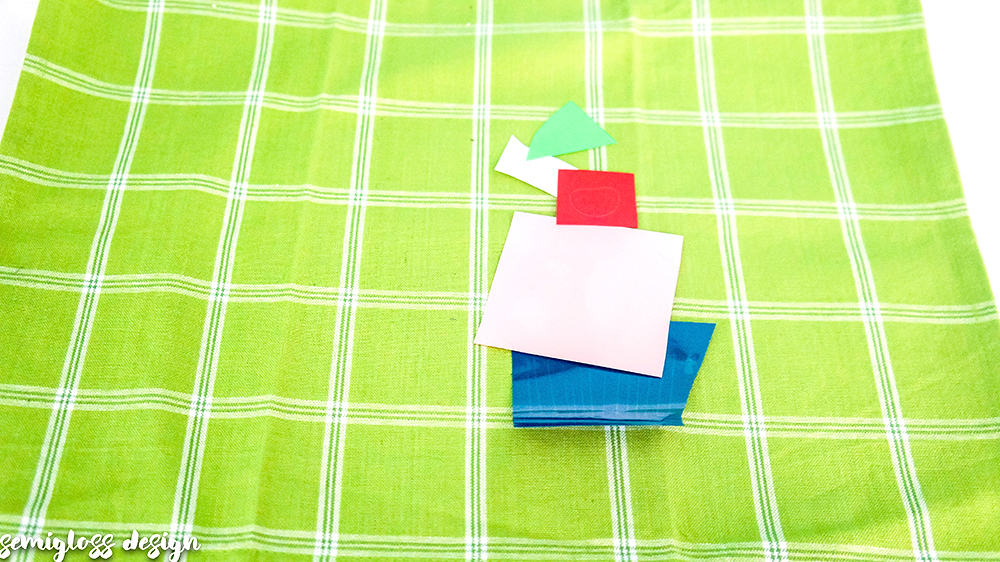
- Cut apart each piece of vinyl into smaller pieces.
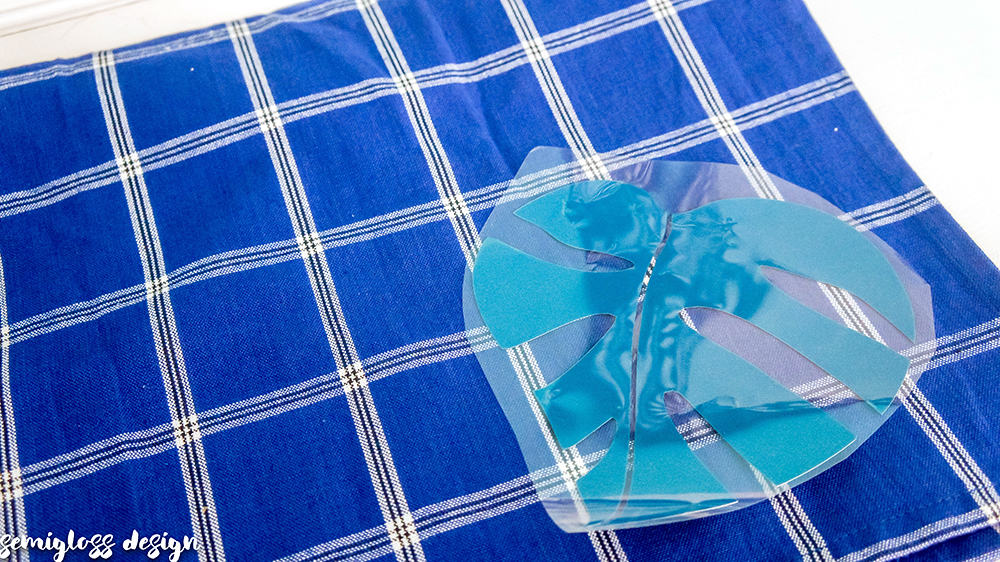
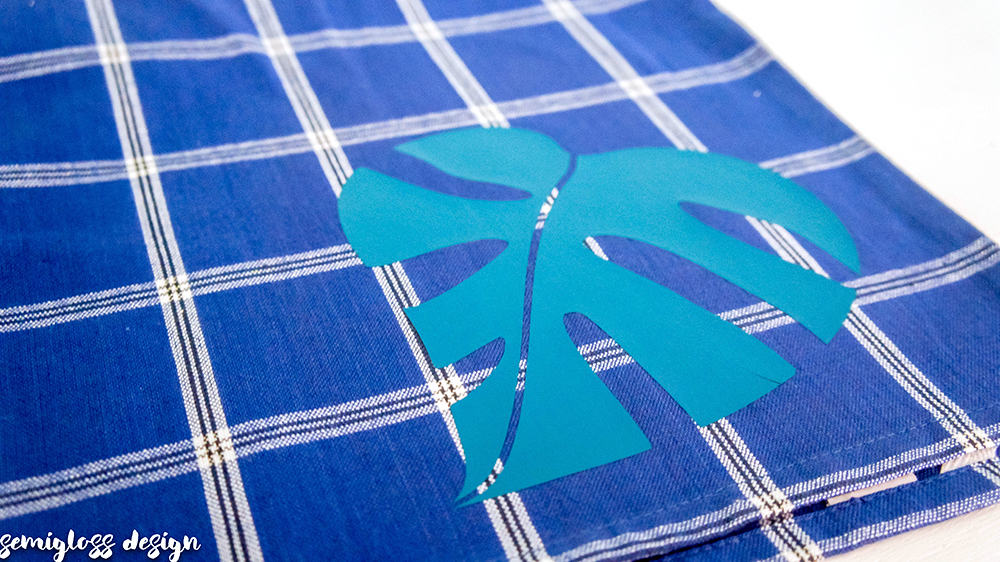
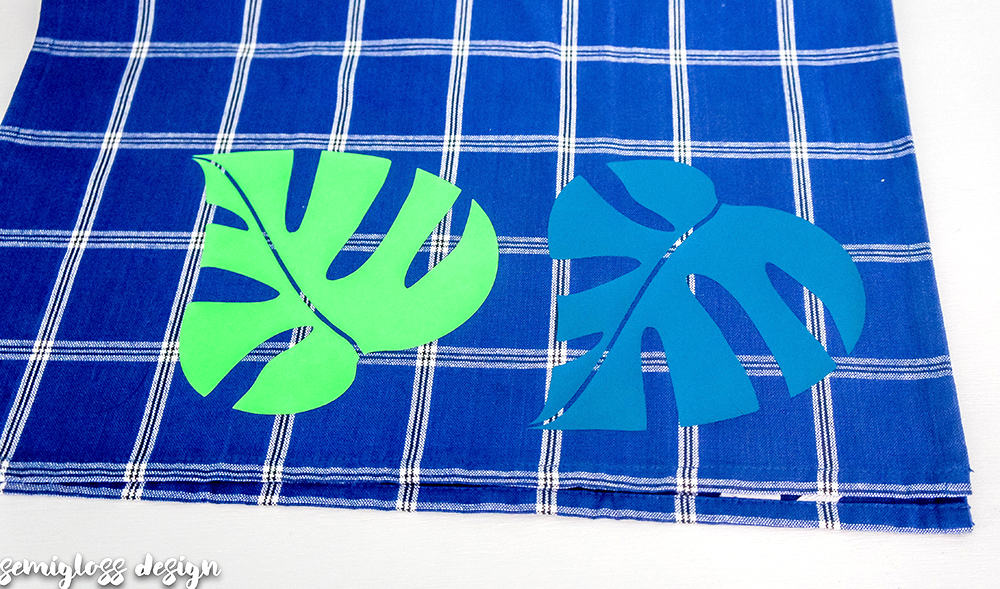
- Designs without overlap are really easy. If they don’t touch at all, you can iron them at the same time. I wanted my leaves close, so I applied the different colors separately. Place the design shiny side up onto your tea towel. Cover with parchment paper and iron. These took around 15 seconds for the vinyl to stick.
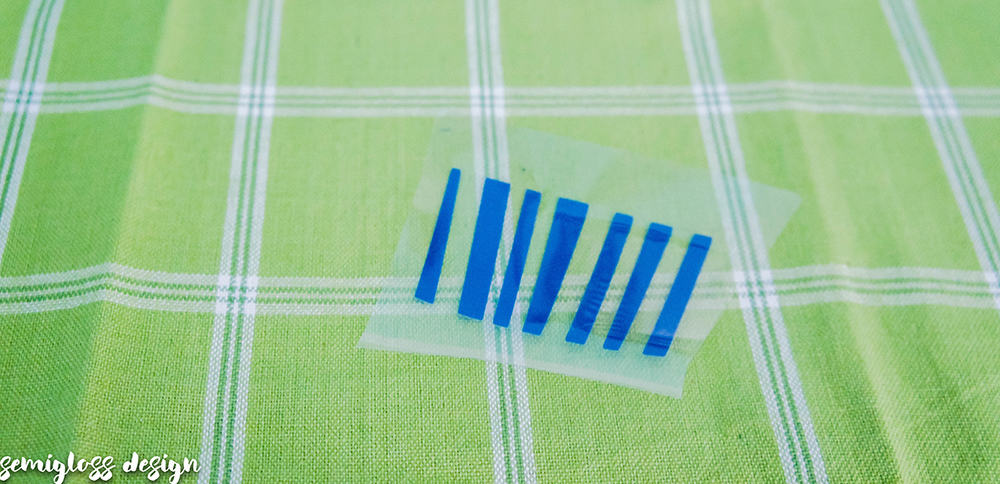
- Remove the clear plastic while it’s hot.
- Apply the second color the same way!
Layered Color Designs for Decorative Tea Towels
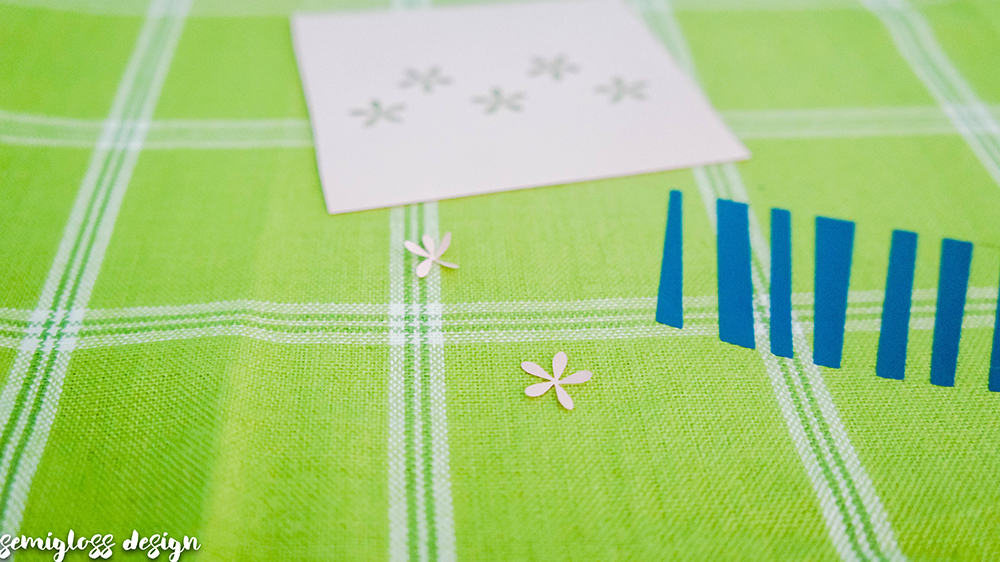
- Layered designs take a bit more thought. You have to think about it backwards. The bottom layer will be applied first.
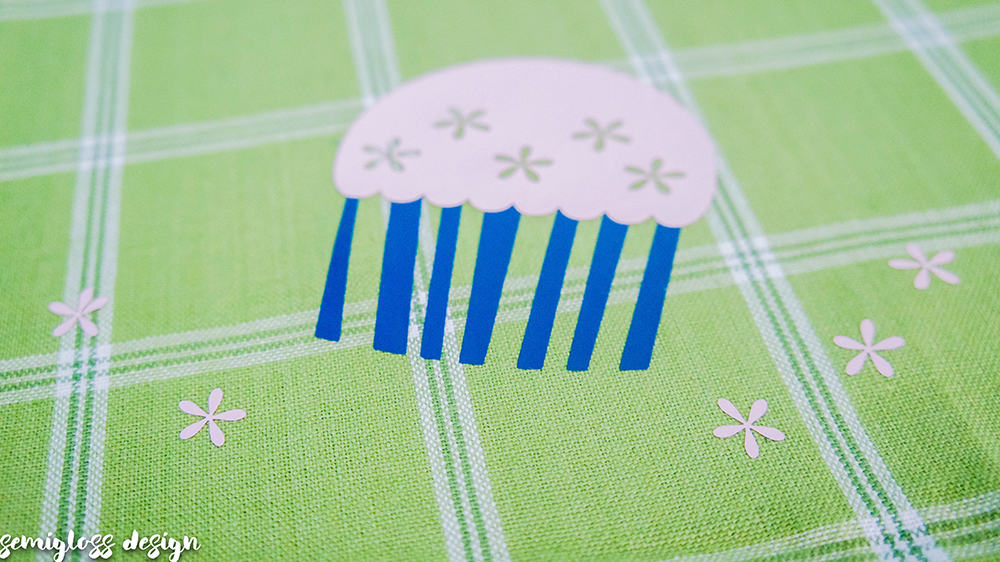
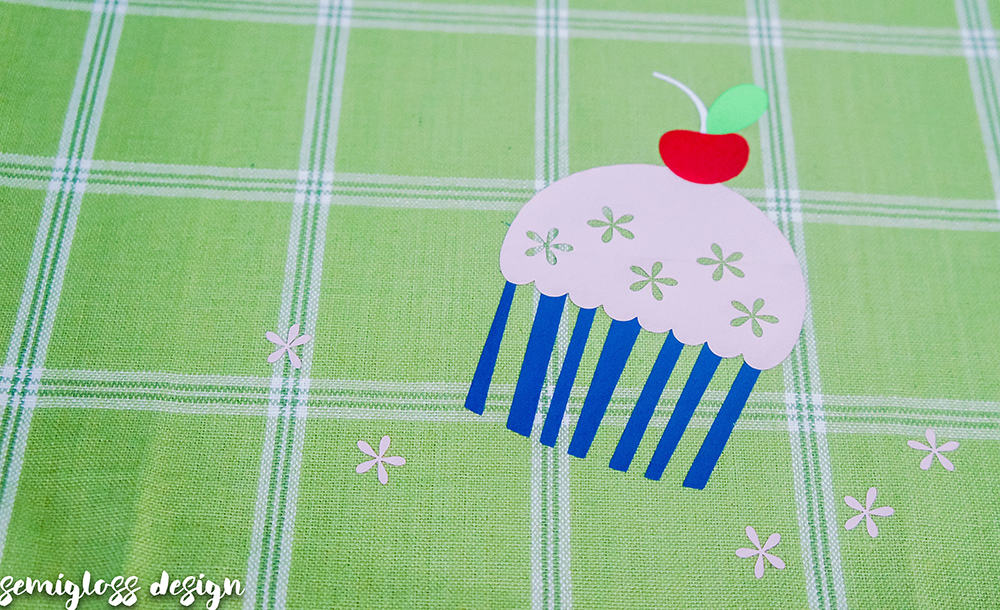
- For this cupcake, that meant that the cupcake wrapper needed to be applied first.
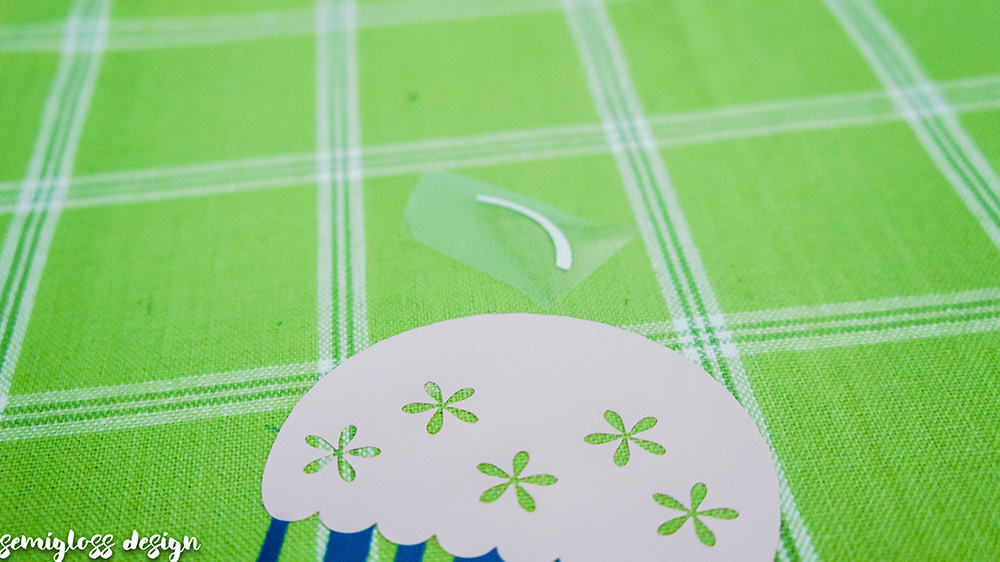
- The pink cake part of the cupcake is next. I weeded each design as I went because vinyl seems to attract dog hair like crazy. While weeding the cupcake, I was left with my tiny flower “sprinkles,” so I decided to use them in the design. If your sprinkles curl up, you can use a piece of the clear plastic from other designs to hold it in place.
- Place the pink cake part over the cupcake wrapper, cover with parchment paper and iron as usual. It’s amazing how it fuses together and doesn’t get bulky!
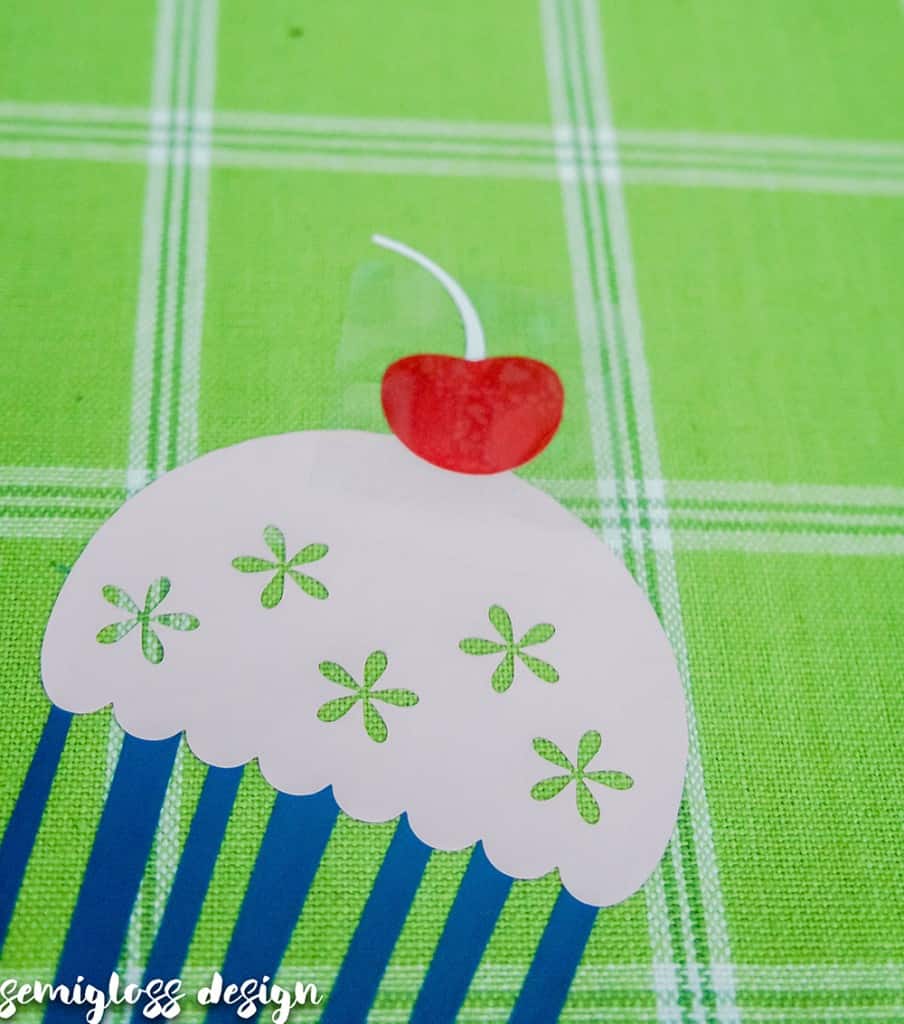
- The cherry comes next. I applied the stem first, so that it would be under the cherry and leaf.
- Then the cherry and leaf go on top of the stem. Apply them separately if they are too close together.
- And with the leaf.
Another layered design, but more complicated.
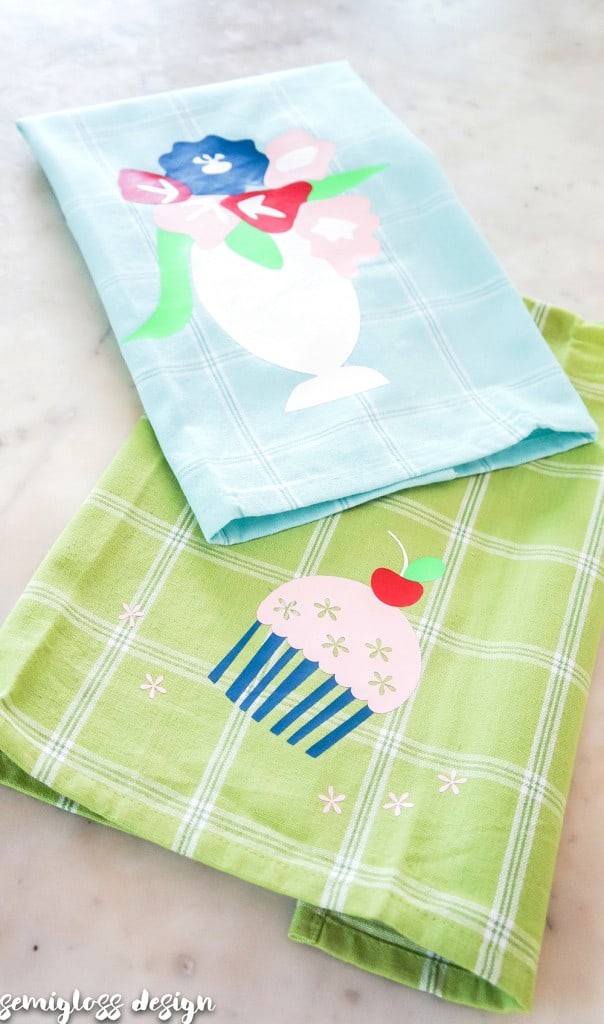
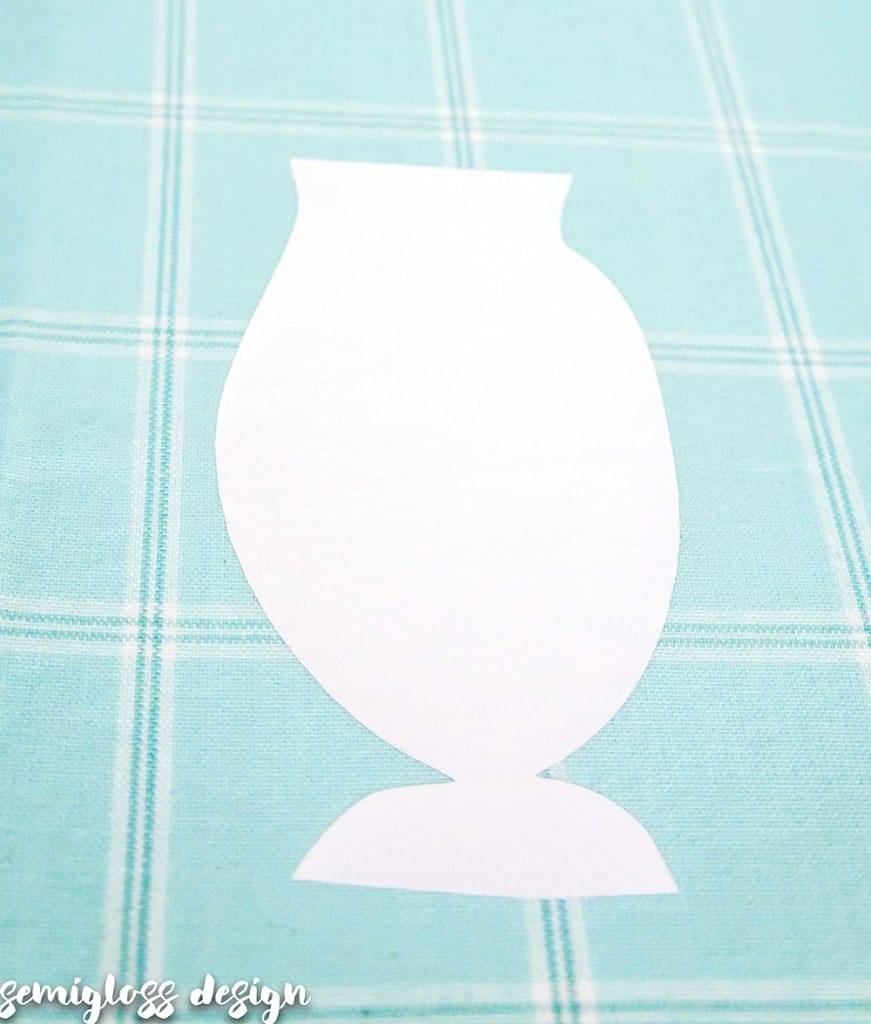
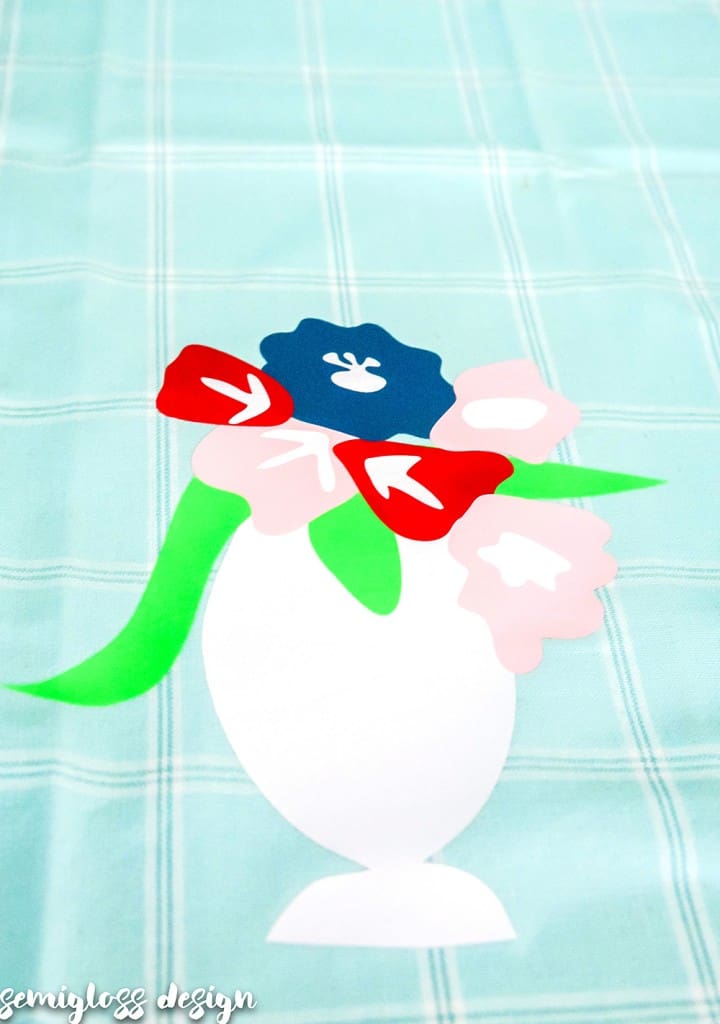
- For the flower vase, the vase goes first.
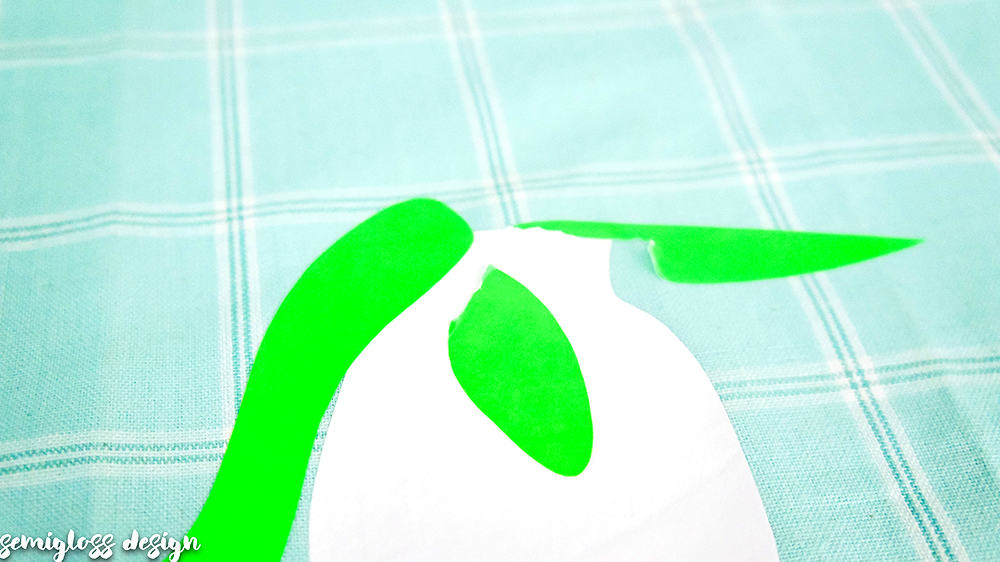
- Then the leaves. Note: I messed up here and tried to take a shortcut that ruined some of my leaves. Oops. Luckily they are getting covered in flowers.
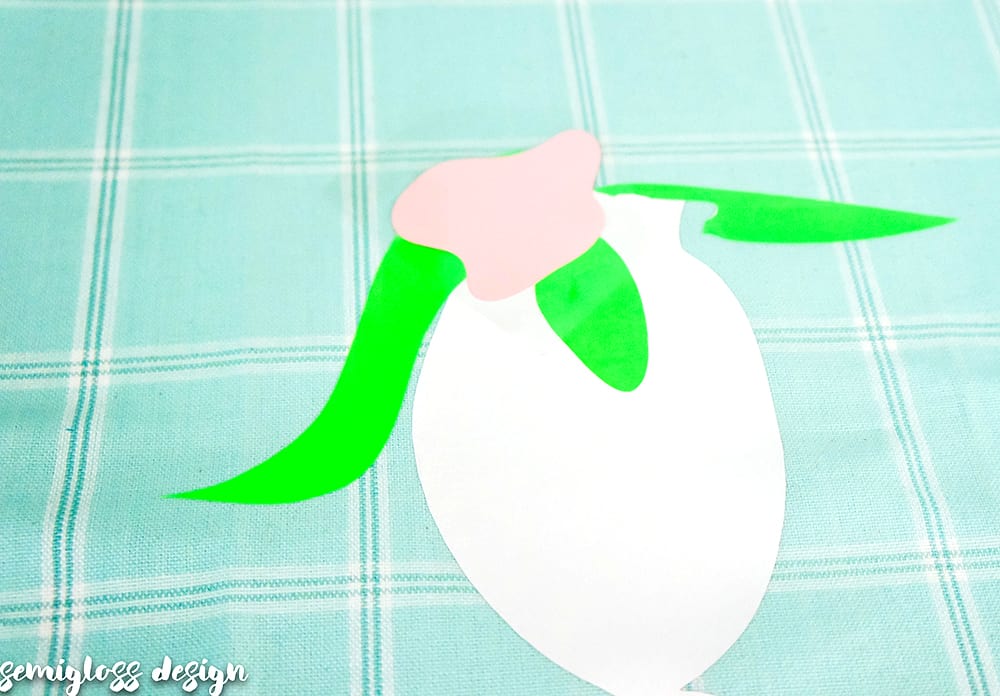
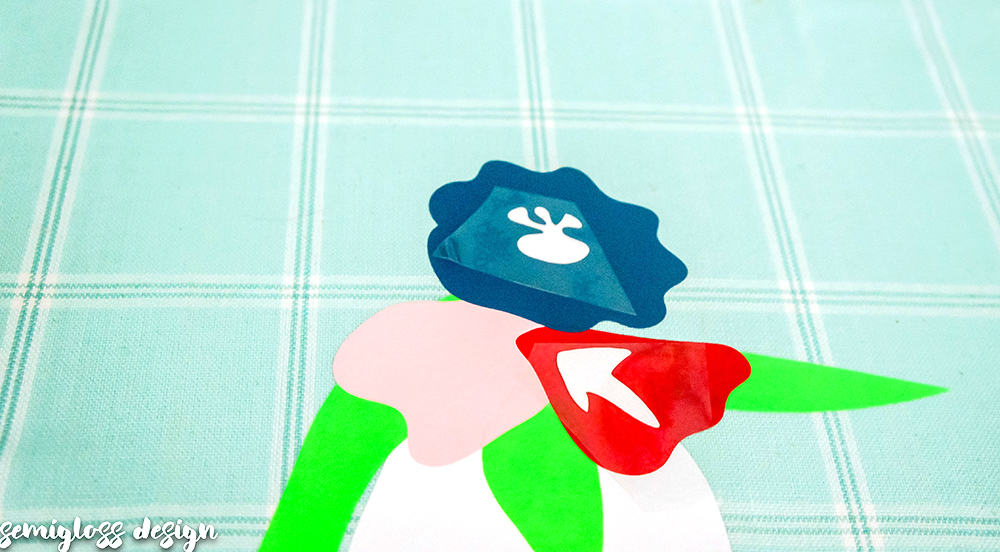
- I started with some flowers to cover up the leaves, being very careful that the clear parts did not overlap anything.
- I kept adding flowers and flower middles as I went.
- Here’s the finished results.
This project just fueled my obsession with my silhouette and heat transfer vinyl. It’s so much fun to work. I love how soft it feels. It reminds me of a printed t-shirt. I’ve used iron on decals (printer) and they feel so stiff. Heat transfer vinyl is lovely to work with!
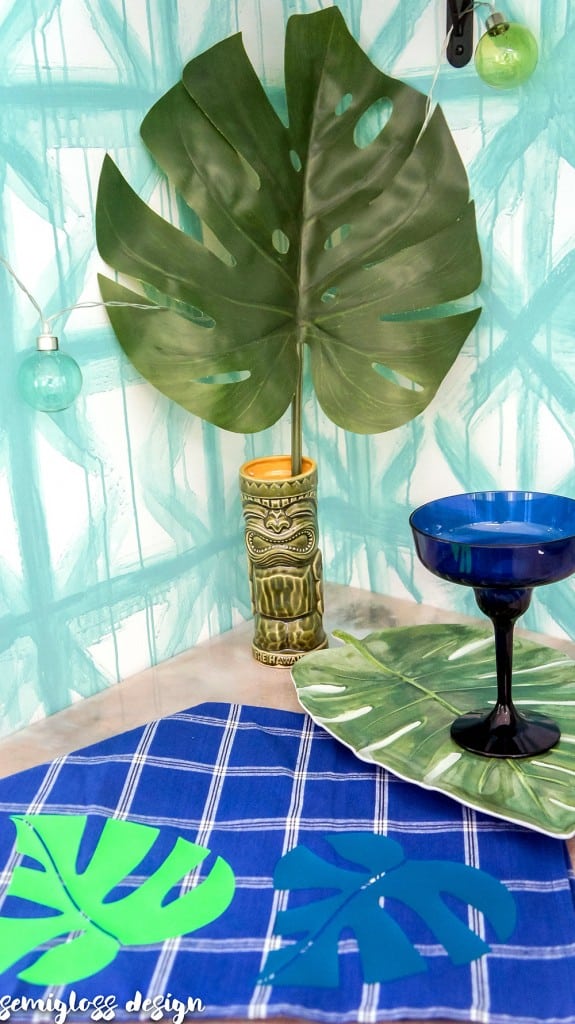
The monstera leaf tea towel goes great in my sunroom!
Free Cut Files
The cut files are in .dxf, which is readable by both types of machines. They are packaged in a zip file with a page of all of the designs, plus pages containing each color separately for ease of use.
You might also like:
Pin for Later!


Emy is a vintage obsessed mama of 2 DIYer who loves sharing affordable solutions for common home problems. You don’t need a giant budget to create a lovely home. Read more…


these are so cute! you are so crafty!
Thanks Cassie! 🙂