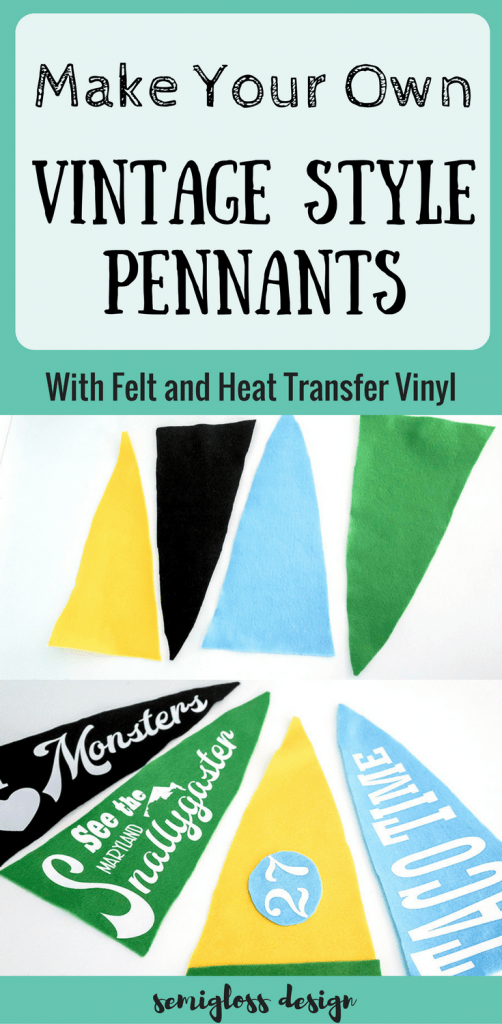
Make Your Own Vintage Style Pennant Flag!
Learn how to make your own vintage-style pennant flag. Designing your own pennant is so easy.
Sometime last year, I bought a vintage pennant for my son’s room. I finally got around to hanging it a few weeks ago, and he loved it. A lightbulb flashed over my head and making my own pennants seemed like the best idea ever.
It was one of those ideas that is so exciting that I couldn’t stop thinking about it. Those are always good ones.
My cutting machine didn’t cut felt very well, so I hand-cut the flag base and used my cutting machine to cut heat transfer vinyl instead. Here’s how I did it.
How to Make Vintage Style Pennant Flag
Supplies Needed
This post contains affiliate links. By purchasing an item through an affiliate link, I earn a small commission at no extra cost to you.
- Felt
- Heat transfer vinyl (colored pack)
- Scissors
- Silhouette
- Weeding hook
- Parchment paper or thin fabric
- Iron
- Tacky glue
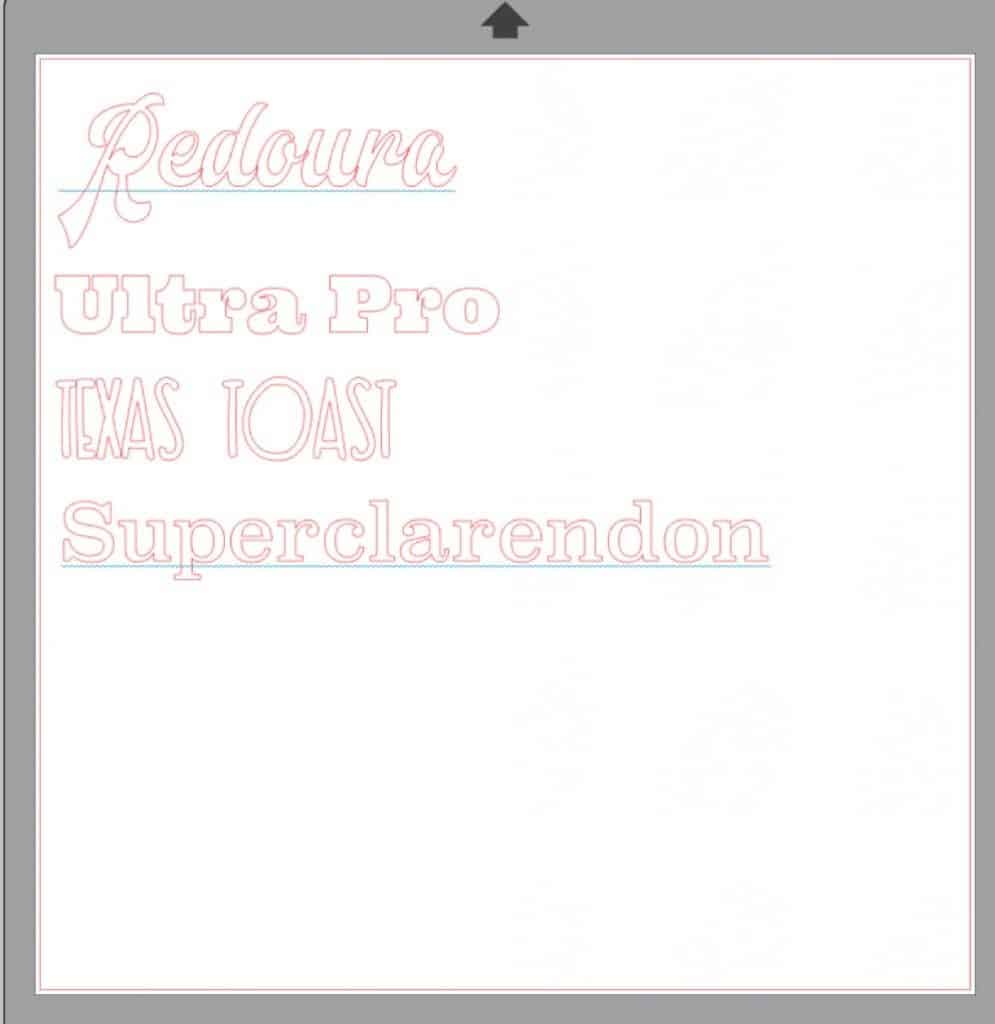
Fonts used:
How to Design a Pennant Flag in Your Cutting Machine Software
I used my Silhouette for this project, but the same concept can be applied with a Cricut.
- Design your pennants in Silhouette Studio. I drew out a triangle to use as a guide. My triangles were about 6 inches high by about 13 inches long. They don’t fit on the page, but you won’t use the pointy end anyway.

- Then I figured out the wording and spacing. To make the letters different heights, I clicked on weld, then played with the sizing, adjusting the height of each letter. I didn’t want to waste any heat transfer vinyl, so I tried to place as many elements on the page as possible. Then I deleted the triangle because I don’t want those cuts. (Although in retrospect, they wouldn’t have hurt and would have made weeding easier.)
- I was able to fit 3 pennants on a page by turning one upside down. Don’t forget to click on mirror and delete the original image.
- Adjust the settings for the machine. My settings were 2,6,9. (I slowed the speed to 6 because I had tons of tiny cuts.)
- Place the heat transfer vinyl SHINY SIDE DOWN onto the mat and load.
- Send to the silhouette for cutting.


Making A Pennant Flag with Vinyl
- When it’s done, unload the mat from the silhouette and remove the vinyl from the mat.

- Carefully cut your designs apart into triangle shapes and start weeding the excess vinyl, leaving the lettering attached to the clear layer. I used the pick tool for all of the tiny bits. Be sure you get all of them. (I missed a few spots like the middle of an “e” and the Maryland Bay. Oops.)
- Cut your felt into triangles. I used my cut out portions of the designs as a guide, but you can also print out a template to cut.

- With the clear layer still attached, position the designs onto the pennants.
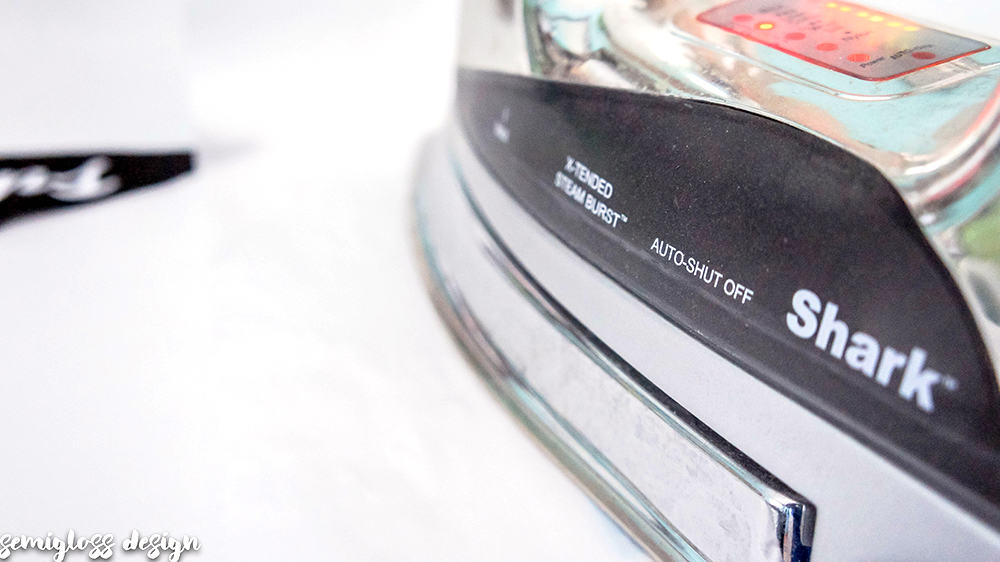
- Turn on your iron and set it to “cotton”.
- Cover with parchment paper and iron in sections.
- My directions said to leave it on for 4 seconds, but it took about 8 seconds for my iron.


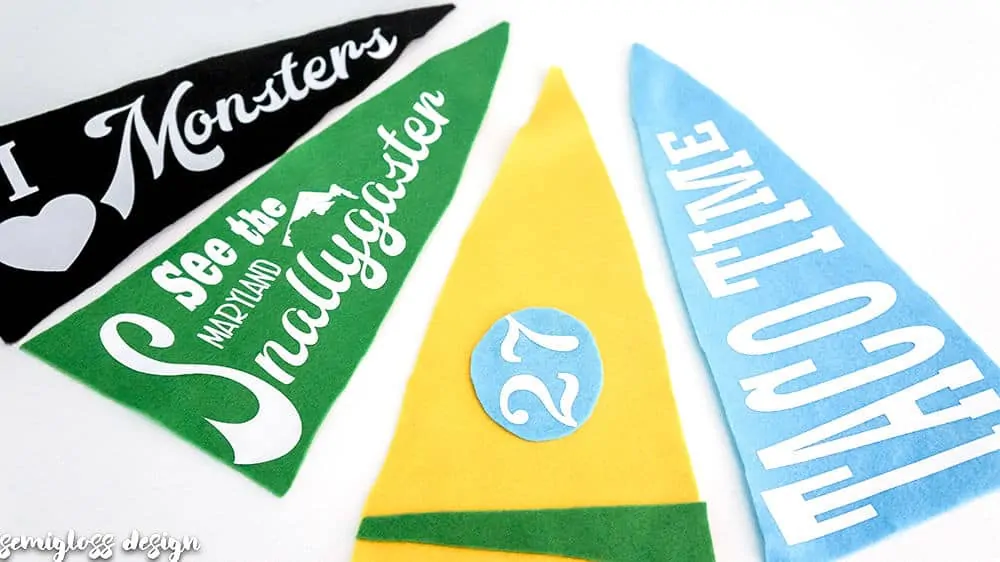
A little about each pennant design
The best part about making your own pennants is that you can make them special. So I used phrases or subjects that are special to us.
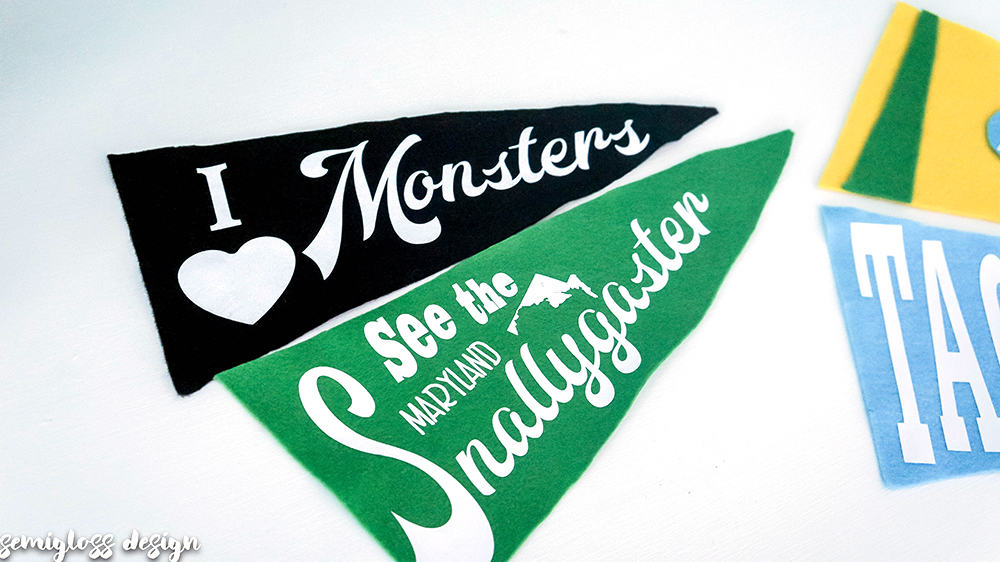
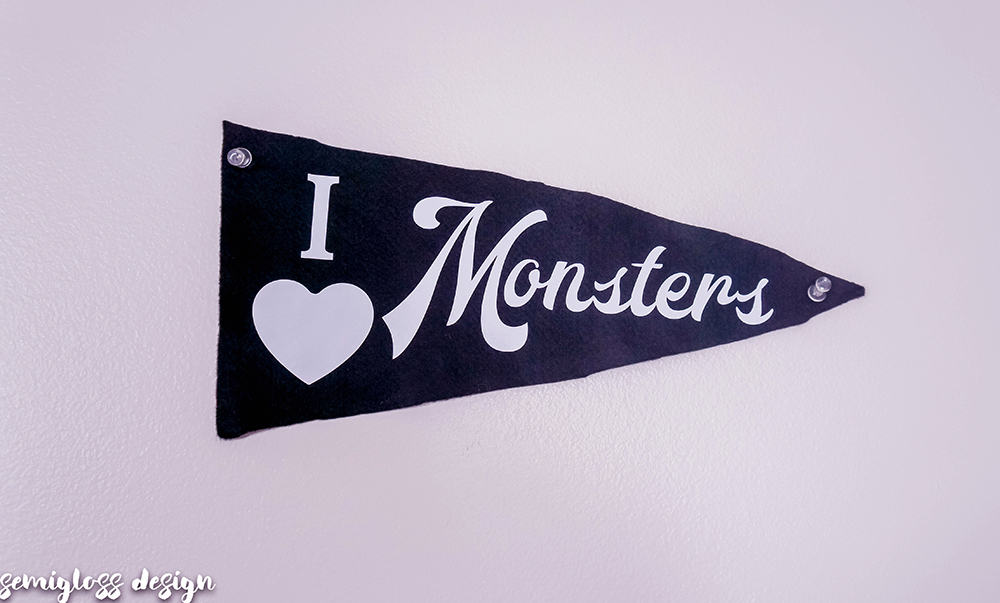
I wanted to include my daughter in the fun. She’s obsessed with all things scary at the moment, so this felt appropriate.
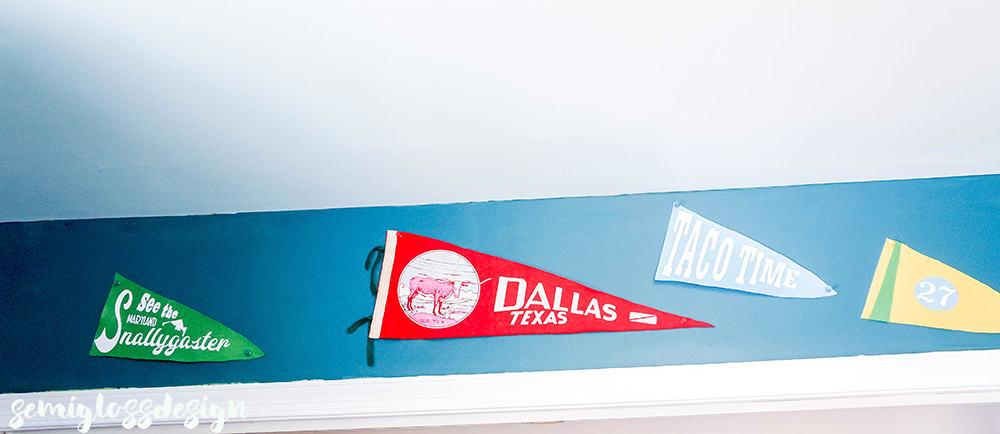
We live in Maryland, and I wanted to celebrate a local legend that I find really cool, but very disappointing when you learn more about it: the Snallygaster.
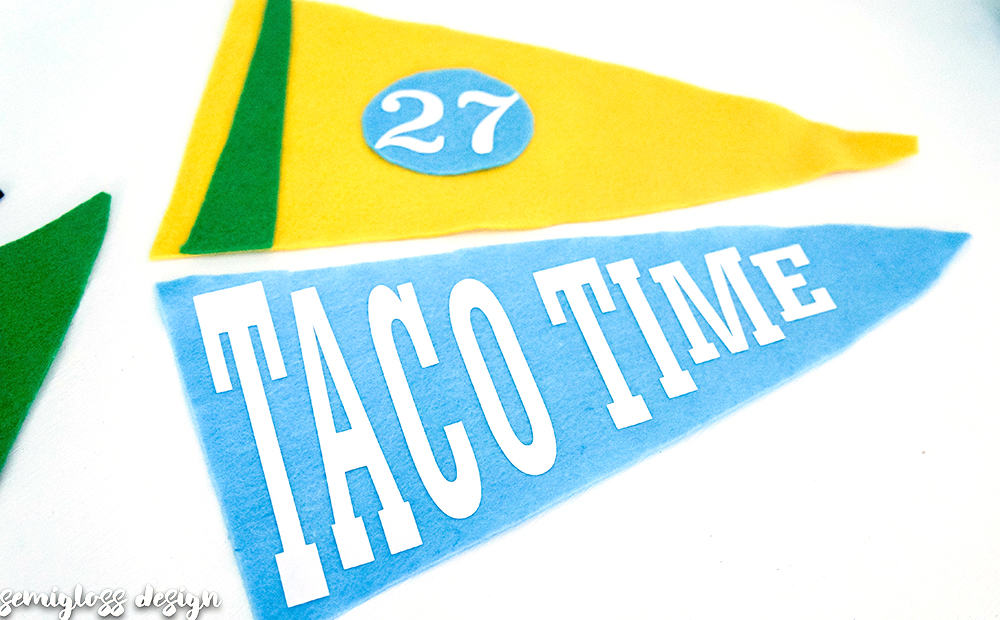
I wanted to maximize my heat transfer vinyl usage, so I came up with a tiny design to fill in more space.
27 is my son’s birthday, and also my husband’s and my “fell in love” anniversary. Yes, we celebrate it.
My husband and I are from Texas and we eat an abnormal amount of tacos on the reg. We often joke about being on taco cleanses. Apparently, other families don’t eat tacos as much as we do…
And here they are in my son’s room. I just used pushpins to hang them. They’re hanging above his closet.
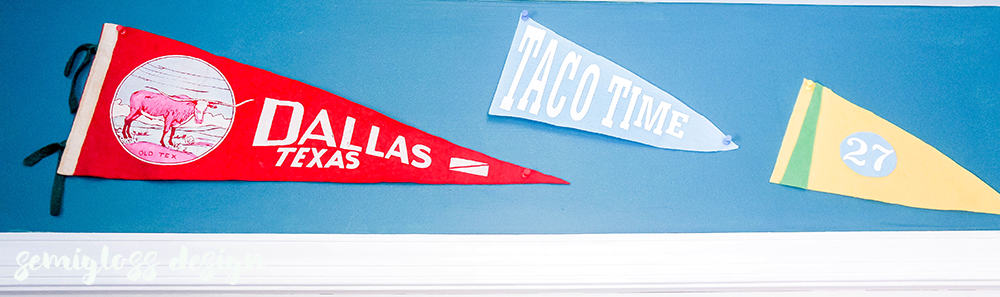
He has mentioned wanting to collect more when we go to flea markets, so I left space for ones we find. It was hard not to get carried away though. I want to make a “Team Flint” one (our last name and inside joke) and a “Semigloss Design” one for my new office space.
And in my daughter’s room. (Carefully cropped to avoid toy mess.) 😉 Psst… she’s getting a small room makeover soon…
So what do you think? Would you make a vintage-style pennant for your local legend or spot?
You might also like these Silhouette projects:
Pin for later!

Emy is a vintage obsessed mama of 2 DIYer who loves sharing affordable solutions for common home problems. You don’t need a giant budget to create a lovely home. Read more…


Great tutorial! My son has his dad’s old pennants in his room, and I’ve been wanting to add a name pennant to the collection! Now I know how ☺️
Wow. This post is so detailed I think I could even manage it now. Great work 🖤
Thanks Lauren! <3
How clever! I love this idea and how you have made them so personal.
Thanks Catherine! The pendants are one of my favorite projects ever!