How to Make SVG Files with Canva
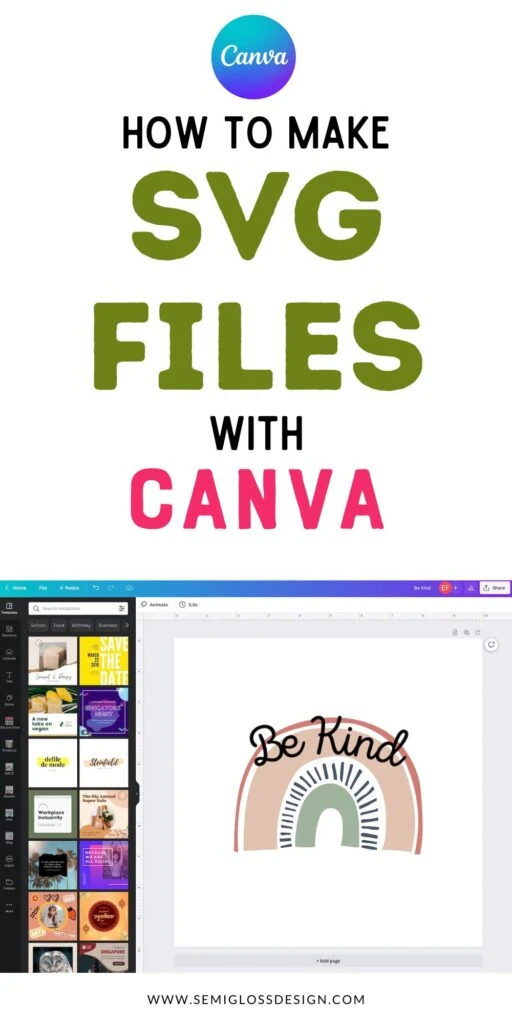
Learn how to make SVG files with Canva. This easy-to-use software allows you to make cut files to use with your Cricut.
You might also like this post on how to use a Cricut Maker.
This post contains affiliate links. By purchasing an item through an affiliate link, I earn a small commission at no extra cost to you. As an Amazon Associate I earn from qualifying purchases.
If you’ve never used Canva, you’re missing out. I discovered it in college when I needed to make a slide presentation and the thought of making a boring one made me want to cry.
Since then I use it almost every day for my work.
Canva is online design software that includes thousands of fonts and beautiful graphics to use.
Canva is free for most things, but you need the Pro version to make SVG files. The Pro version gives you access to a ton of other features, more fonts, and more graphics.
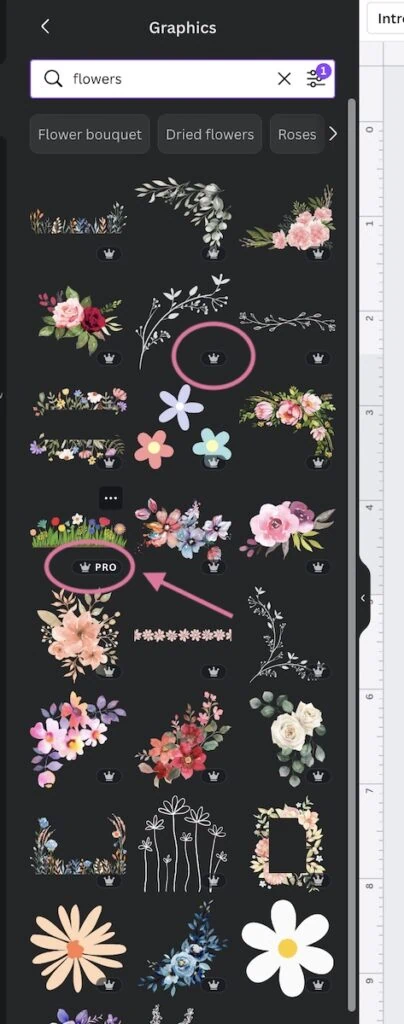
Anything with a crown icon next to it indicates that it’s for Pro accounts only.
Canva is really easy to use, even if you’re not a creative person.
How to Make SVG Files with Canva
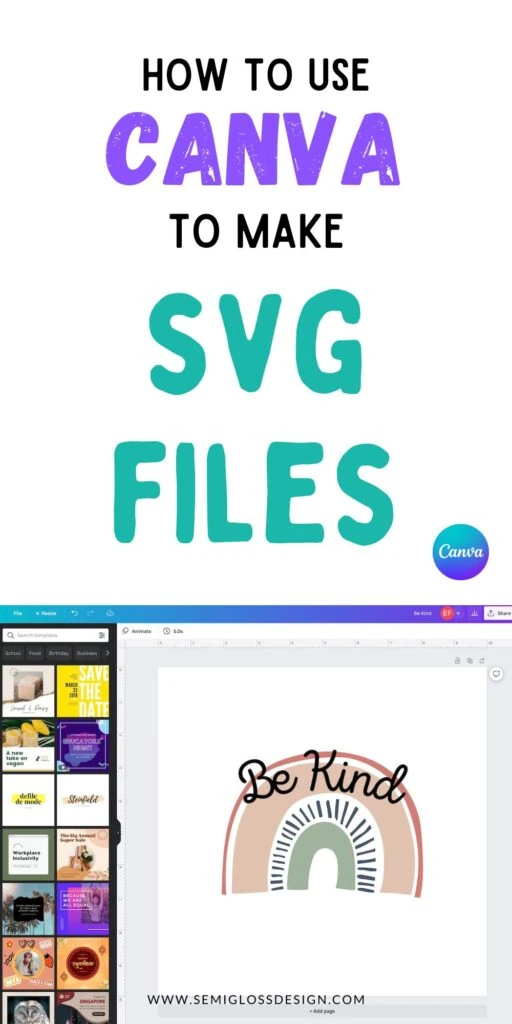
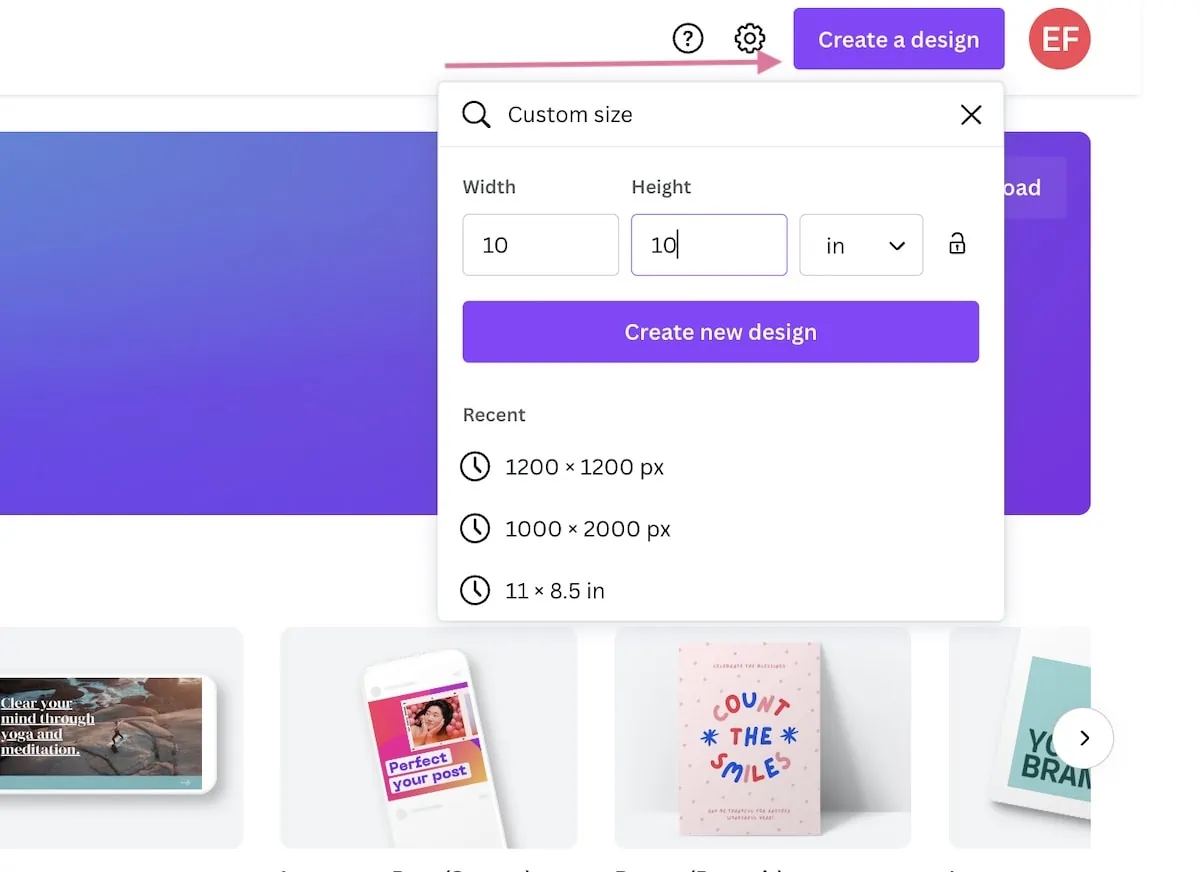
- Make a new canvas. The size isn’t really important since SVG means that it can be scaled infinitely. For the sake of giving a size though, we’ll go with 10″ x 10″.
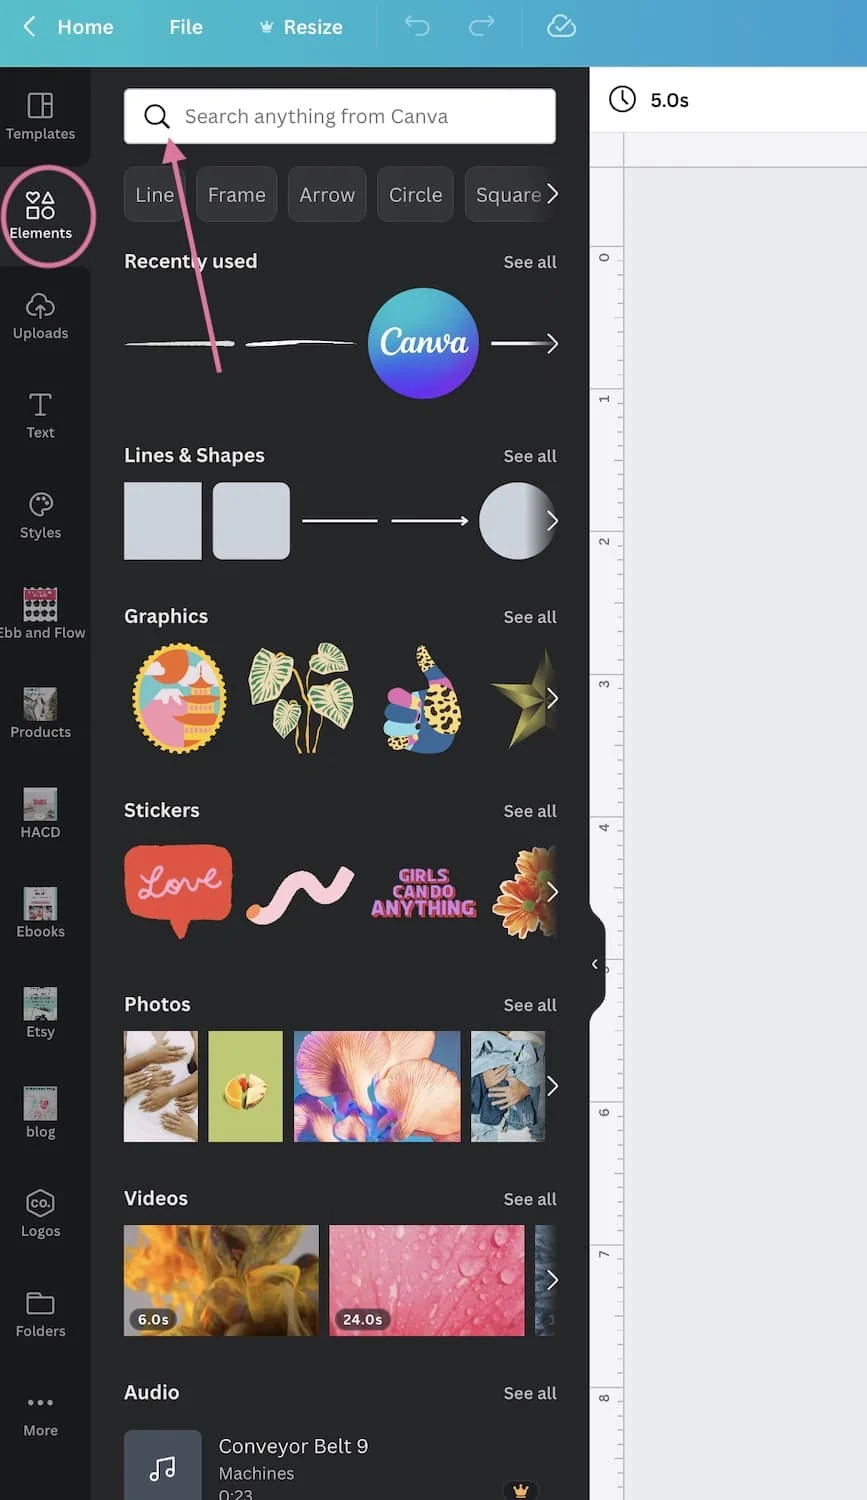
- Find the graphics you want to use. There’s a search bar or you can scroll and browse.
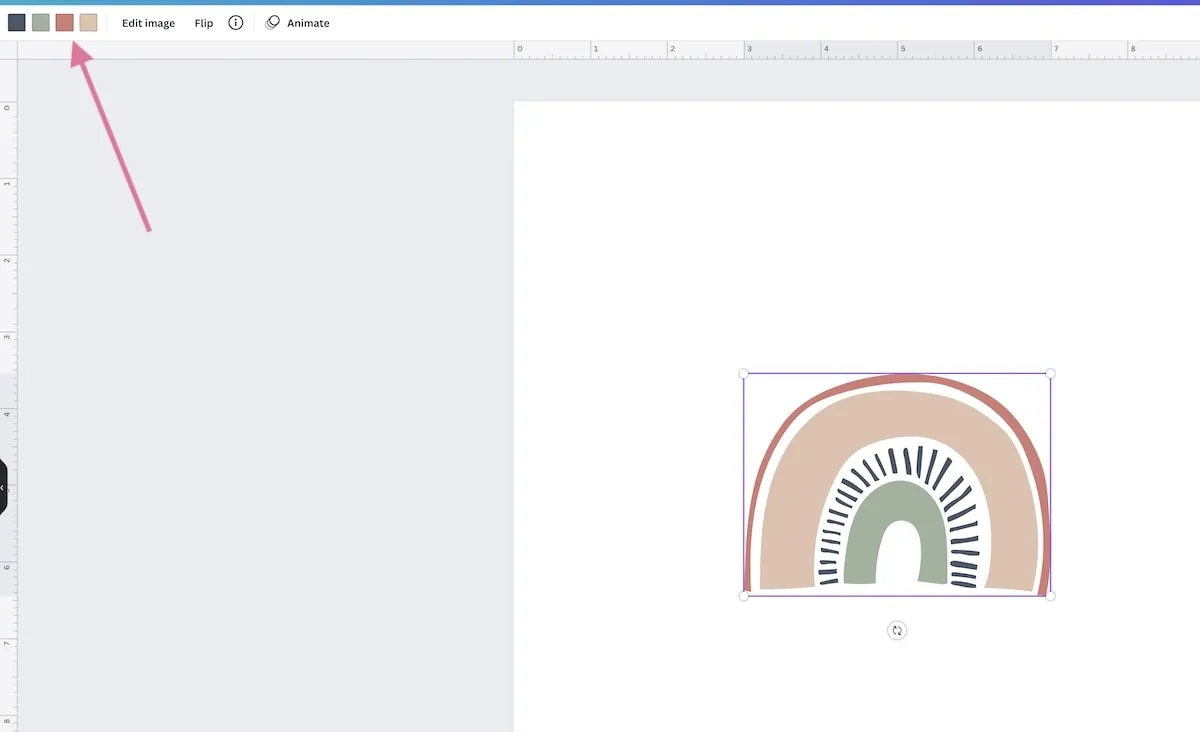
- If the image you choose includes color dots at the top, you can change those by clicking on each dot. (You can also change these in Cricut Design Space.)
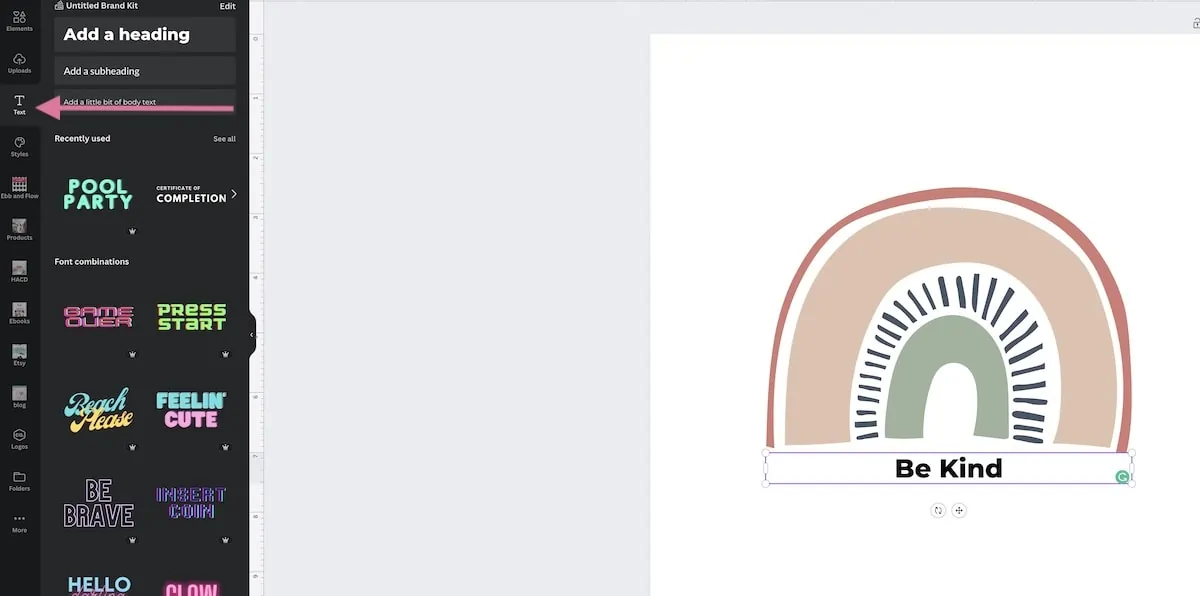
- Add text by clicking on the text tool and typing. (When saved as an SVG, the text is no longer editable in Cricut.)
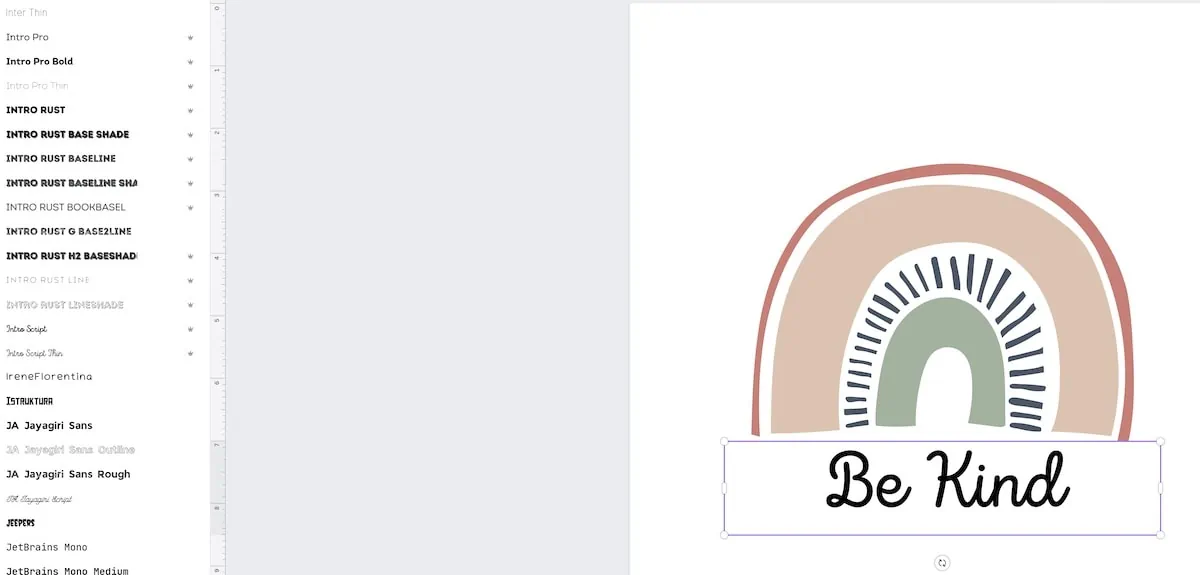
- Highlight the text and choose a new font. It can also be resized.
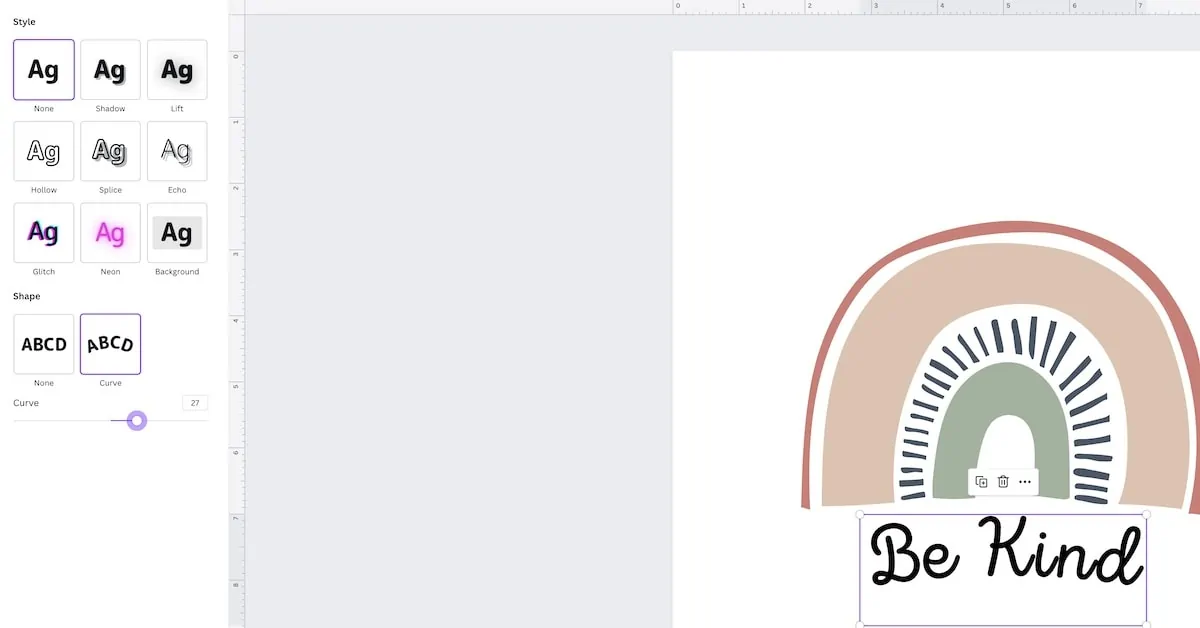
- Your text can also have fun effects added. For SVG designs, I like the curve tool.
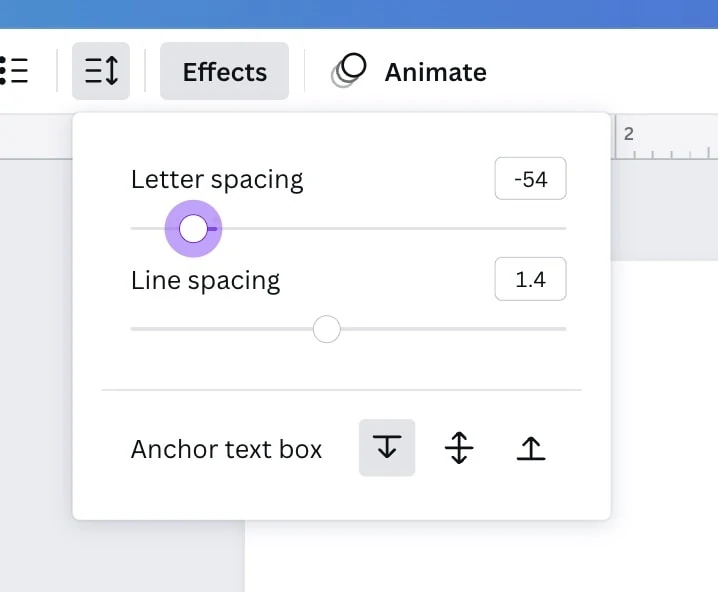
- You can change the letter spacing and the line spacing if needed.
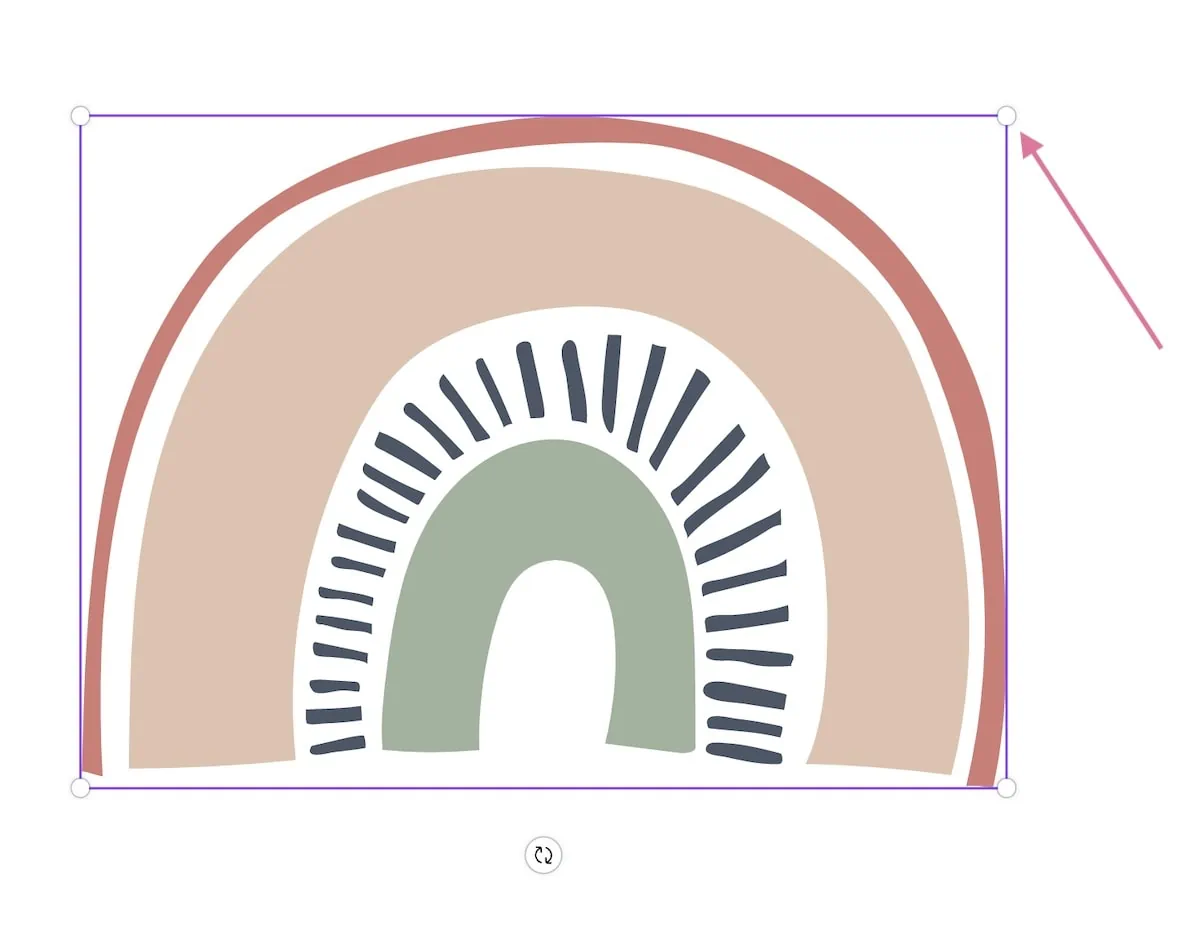
- You can resize your design by dragging one of the white dots in the corner or crop the design with the crop tool at the top left of the screen.
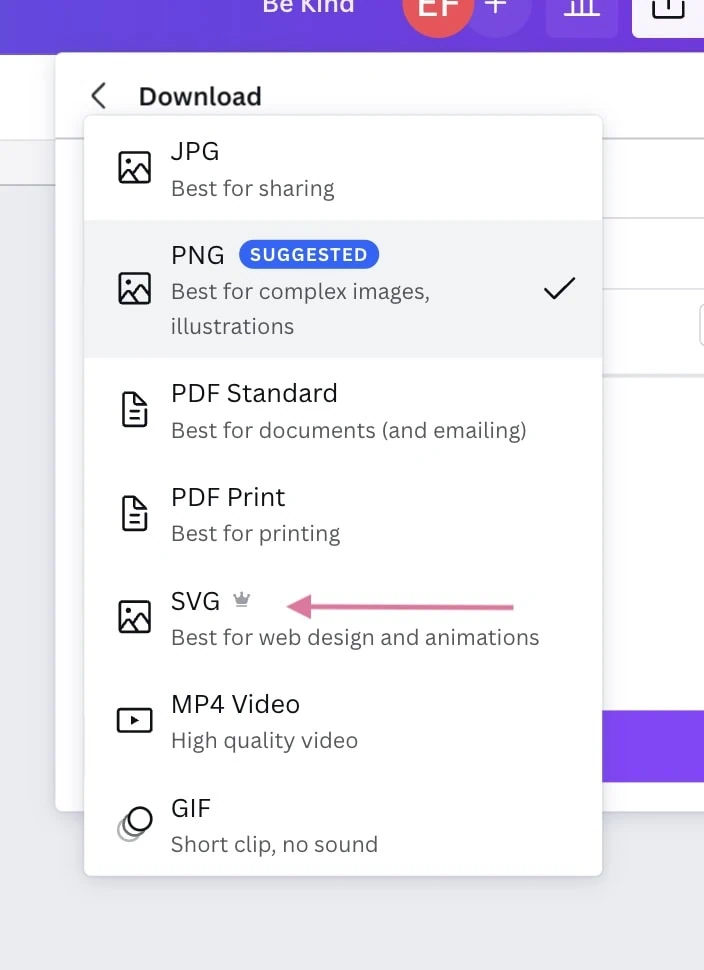
- When you’re happy with the design, click the share button at the top and choose SVG. Make sure to check “transparent background” as well.
- Then just upload the SVG into Cricut Design Space as usual.
A Few More Tips
Just like in Cricut Design Space, be careful not to use skinny fonts or fonts that are heavily textured. These are a pain to weed.
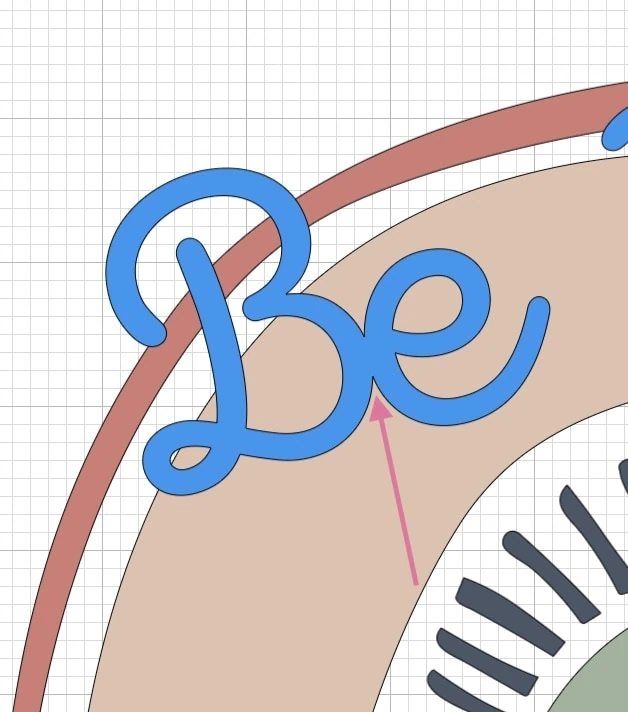
If the font is cursive, make sure to adjust the spacing between letters so that you can weld it in Cricut Design Space.
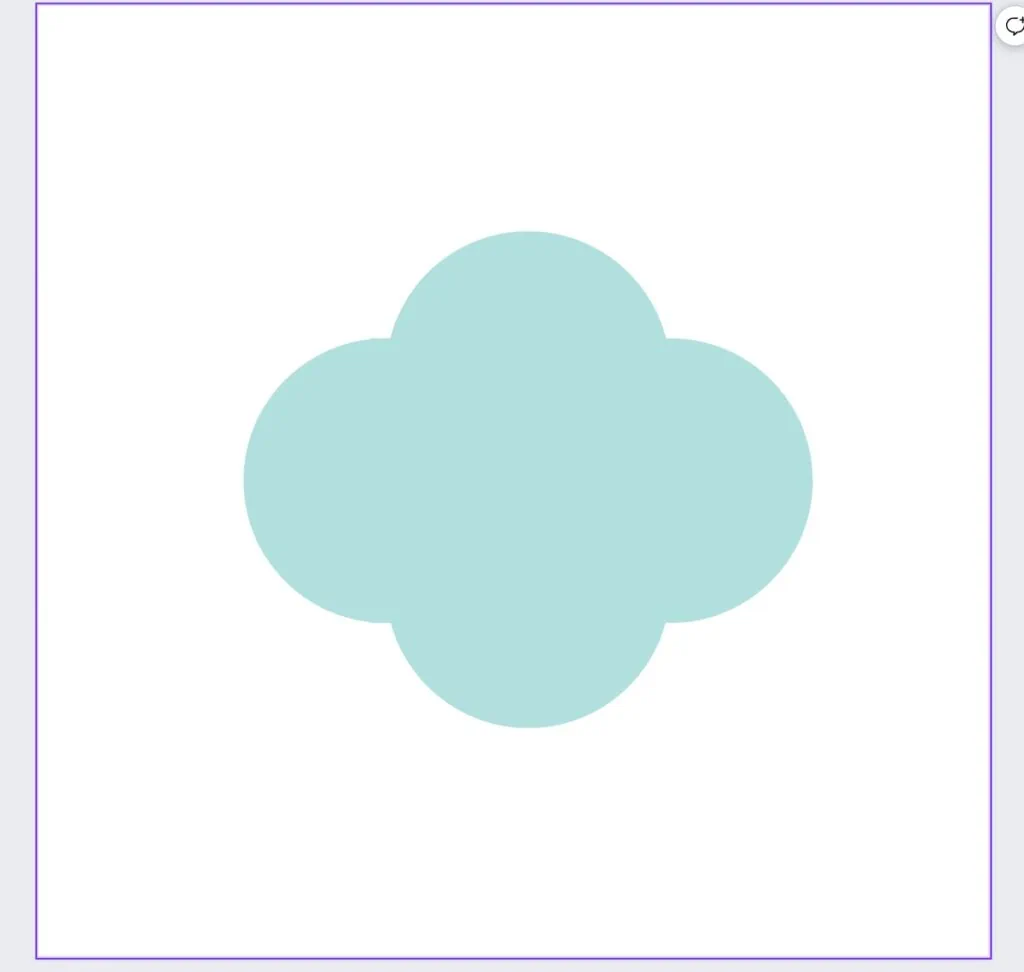
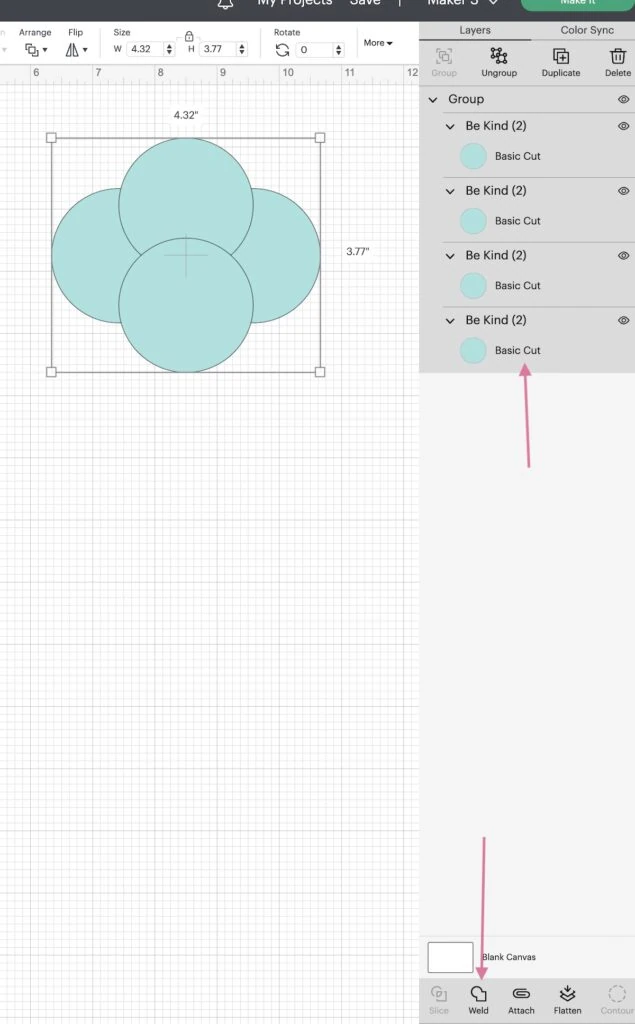
If you use shapes to make a more complicated shape, you will need to weld them together in Cricut Design Space. It looks solid in Canva, but each shape imports in its own layer.
Animations don’t work well when saved as an SVG. The result is a pixelated mess.
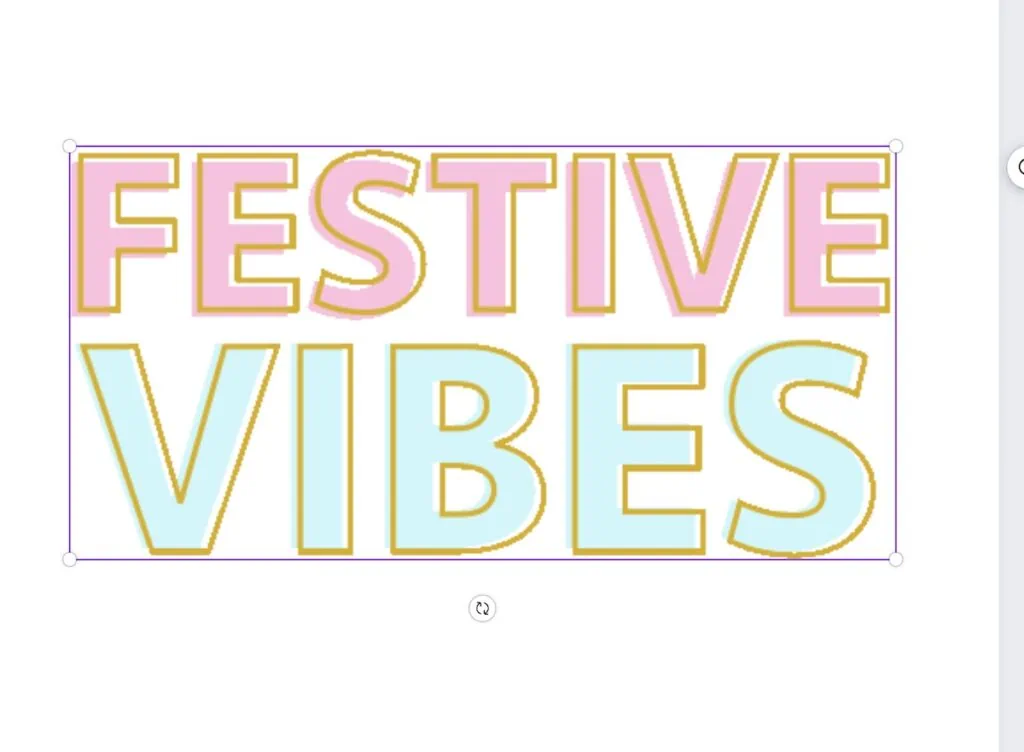
How to Use the SVG in Cricut Design Space
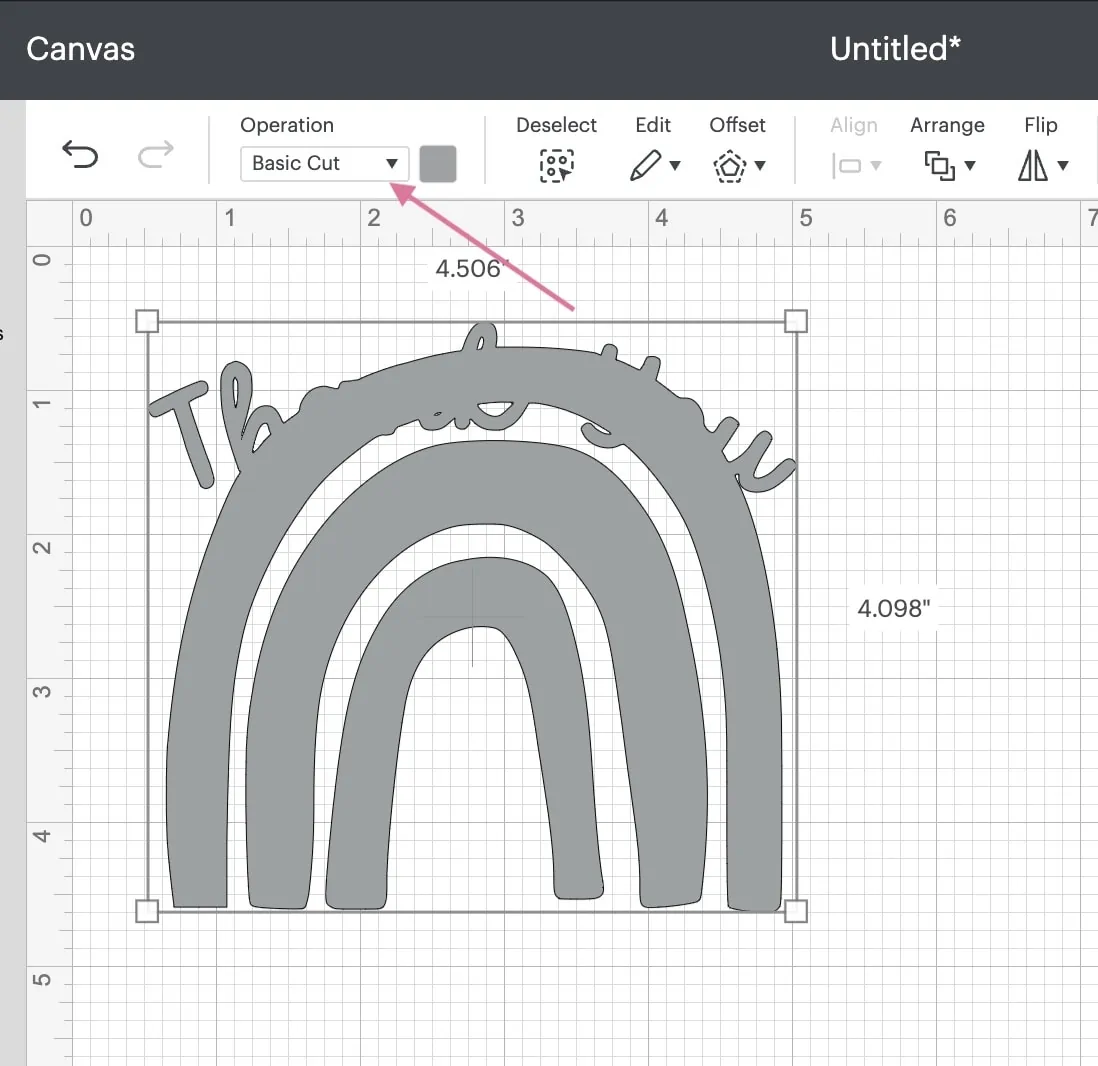
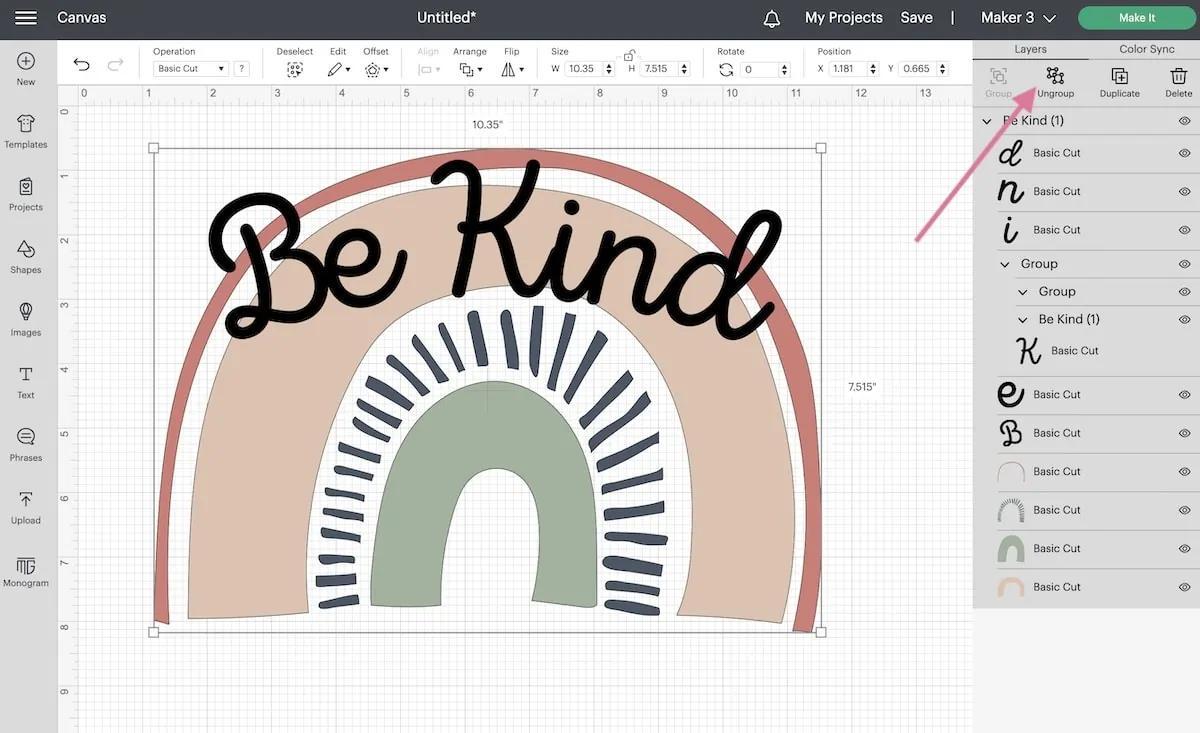
- The entire image is grouped when you import it. If you need to make changes, ungroup it first.
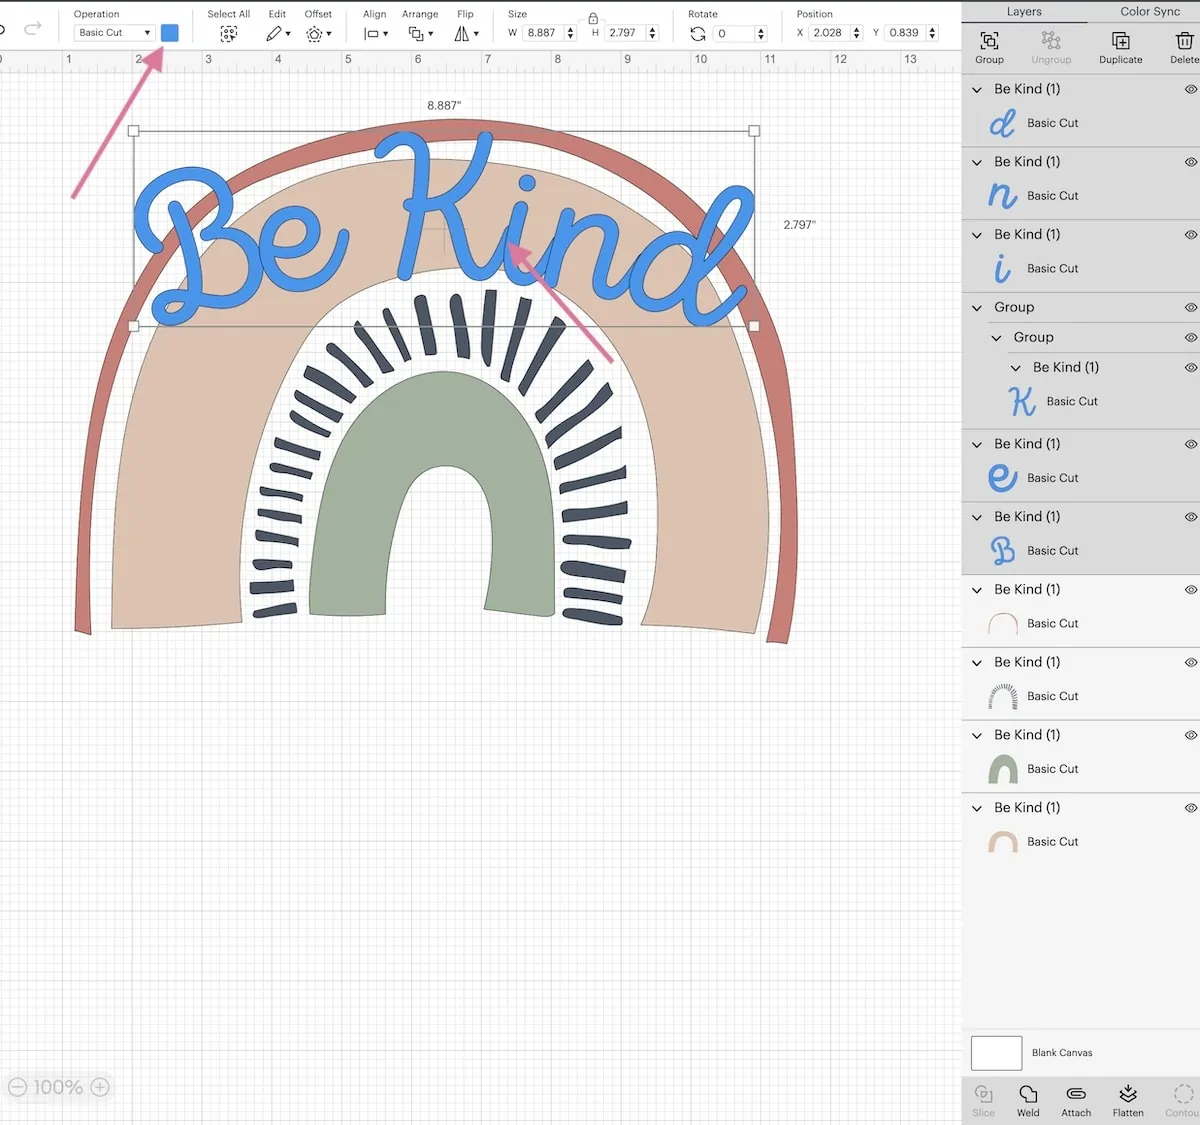
- You can change the color to make it easier to see your changes.
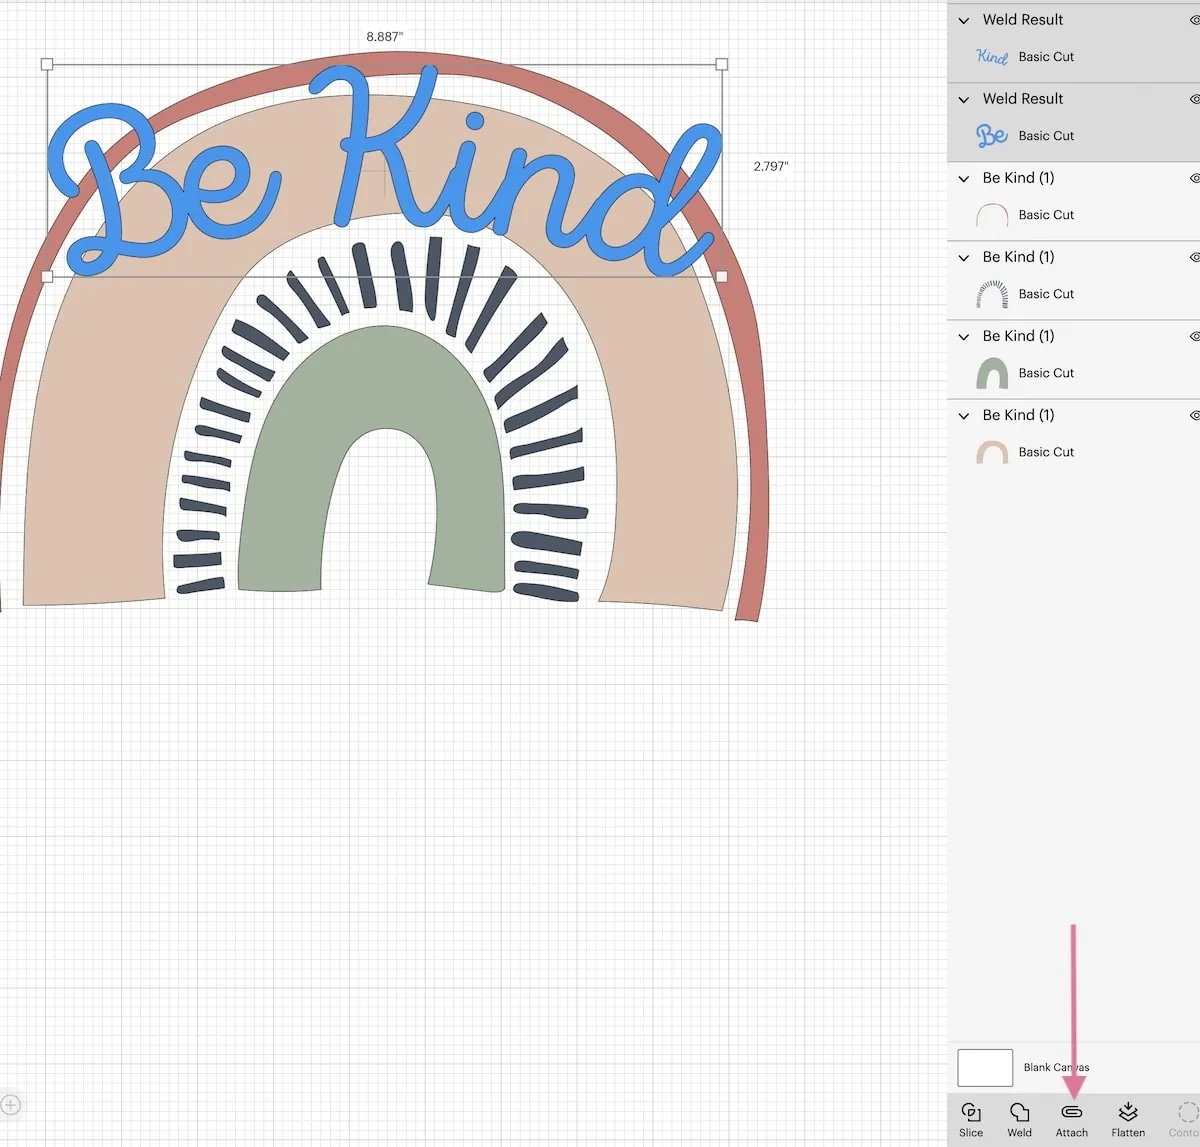
- If you used cursive text, it needs to be welded. Select the letters that are attached and click weld.
- Repeat this process for other words.
- Select all of the text that needs to go on one mat and click attach. This prevents it from cutting in a weird order.
- For the most part, graphics are cut in the correct order, but it’s always worth checking before you cut.
- Cut as usual.
Things to Know About Canva SVGs
Canva has some limitations, so I’m going to share how I get around those.
- Text will not be editable in the SVG file. (You can always edit in Canva and resave the file though.)
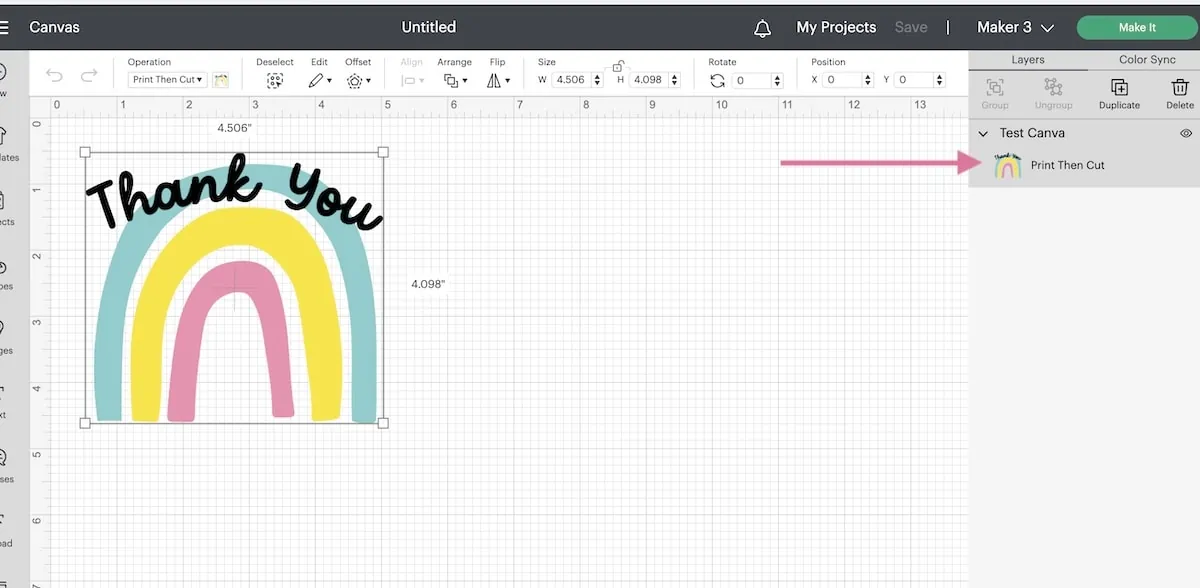
- If you save the image as a PNG, make sure you select “transparent background.” When you upload this to Cricut, it will give you the option to turn it into a print and cut, which is great for making stickers.
If you want to cut only, it combines it into one cut. All the layers weld together and you won’t have the option to make parts of it in different colors.
- If for whatever reason, you want to save your image as a PNG as well, each layer needs to be on its own page if you don’t want them to be welded in Cricut Design Space.
How is Canva Different than Cricut Access?
Both subscriptions are about the same price ($9.99 a month), but they have a few differences.
I pay for both programs and I’m not sure that I can choose a favorite because I like them for different reasons.
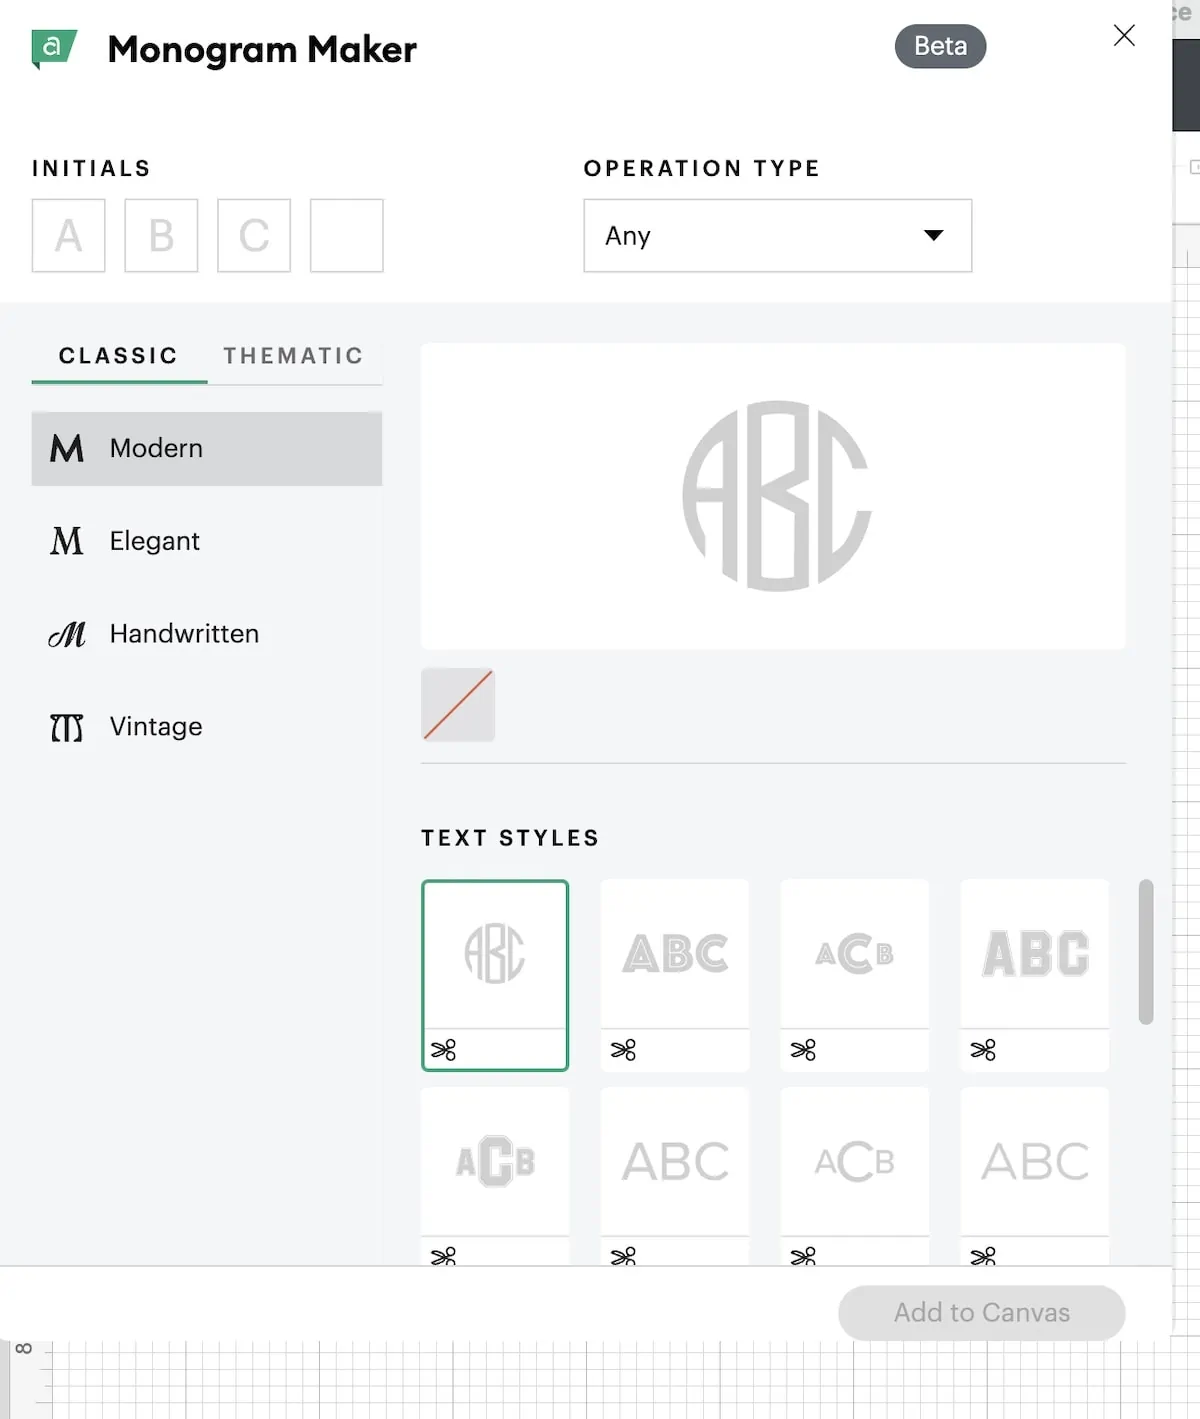
- Cricut Access includes thousands of premade designs and fonts, and the ability to use the monogram maker, which is pretty fun.
- If you’re not good at designing, Cricut Access can be a good place to get designs.
- Canva allows you to get started designing without having design software knowledge or skills (plus Adobe is crazy expensive.)
- Canva is great for other things too. So if you have a business, you can use it to make social media graphics or Pinterest images. You can even use it to make simple mock-ups (images that show what your designs look like on a product.)
- Cricut Access has very clear terms in their Angel policy, while Canva’s terms of use are a bit more ambiguous for sellers. Cricut allows you to use almost everything on products that you sell.
- If you don’t sell your work, you can use both however you want.
- Both subscriptions have new things added all the time.
Can You Sell Designs That You Make with Canva?
I’m not a lawyer so I’m linking to the terms. They can change, so check on them every now and then if you’re using them.
I would NOT use Canva to make SVG designs to sell on their own. You’re better off learning vector-based software like Adobe Illustrator, Inkscape, or Affinity Designer.
If you use the designs to make t-shirts to sell at a craft fair, that’s okay.
If you make stickers to sell, alter and change the images as much as possible. Add extra shapes and text, and combine elements.
For instance, with the rainbow image above, change the colors, add some clouds behind it, and maybe an animal in front of it. Then add text.
Never claim the design as your own. If you didn’t make it 100%, you can’t claim copyright.
You might also like:
Pin for Later!

Emy is a vintage obsessed mama of 2 DIYer who loves sharing affordable solutions for common home problems. You don’t need a giant budget to create a lovely home. Read more…


 If you want to cut only, it combines it into one cut. All the layers weld together and you won’t have the option to make parts of it in different colors.