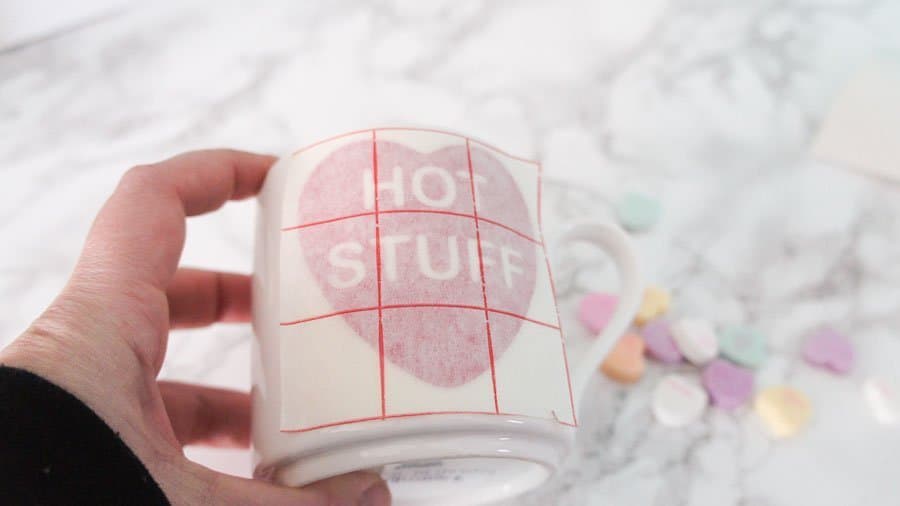
Make Your Own DIY Valentines Mug with Vinyl!
Surprise your sweetie with a DIY Valentine’s mug! This project uses permanent vinyl, but you can also learn how I used HTV on wine glasses here.
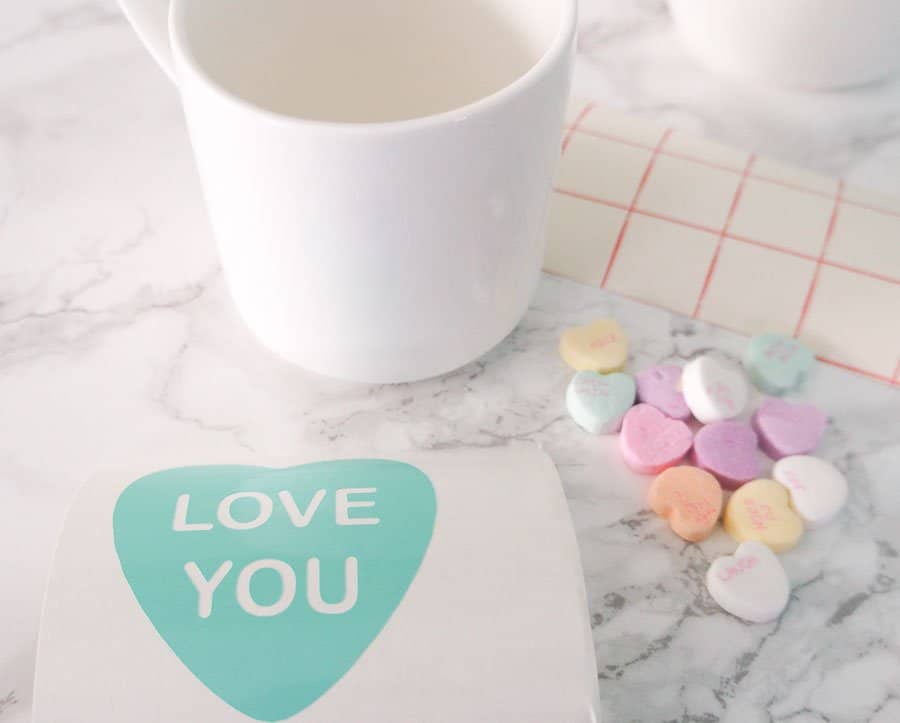
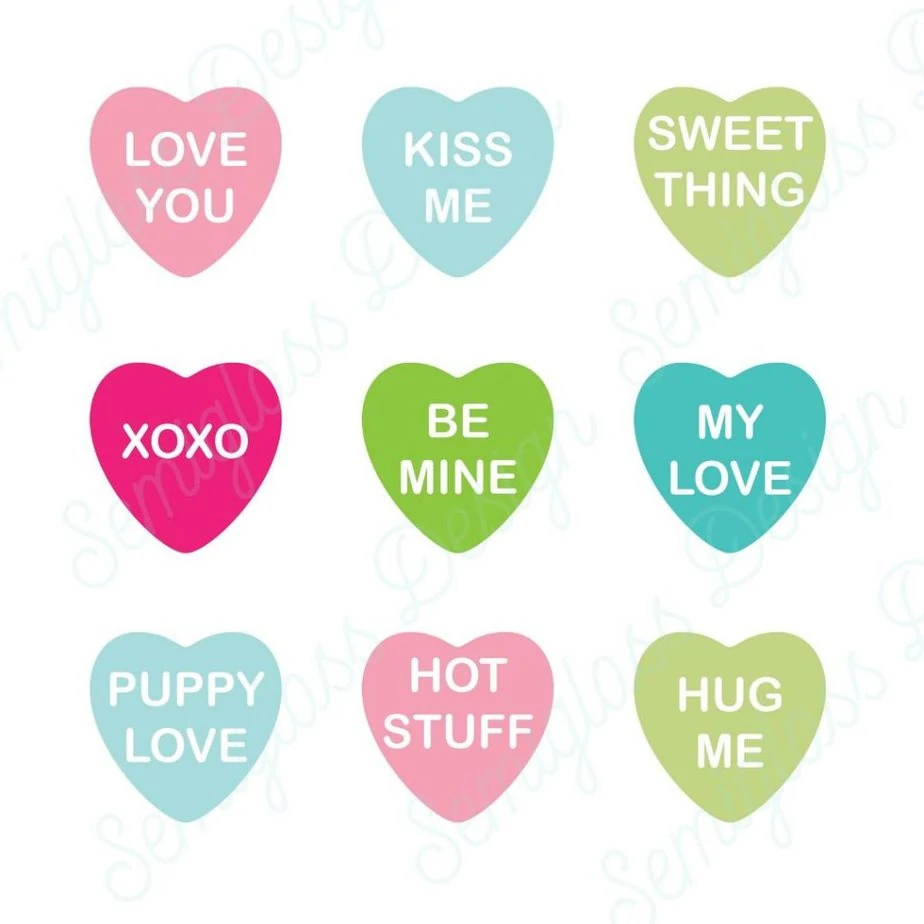
Who doesn’t have fond memories of conversation hearts? I certainly do. I love the sweet messages on these mediocre-tasting candies, so I made cute mugs that showcase these sweet designs.
You might also like this post on how to make a cute felt banner for Valentine’s Day.
Keep reading to learn how, plus get your free cut files!

DIY Valentines Mug Using Vinyl
Supplies Needed
This post contains affiliate links. By purchasing an item through an affiliate link, I earn a small commission at no extra cost to you. As an Amazon Associate I earn from qualifying purchases.
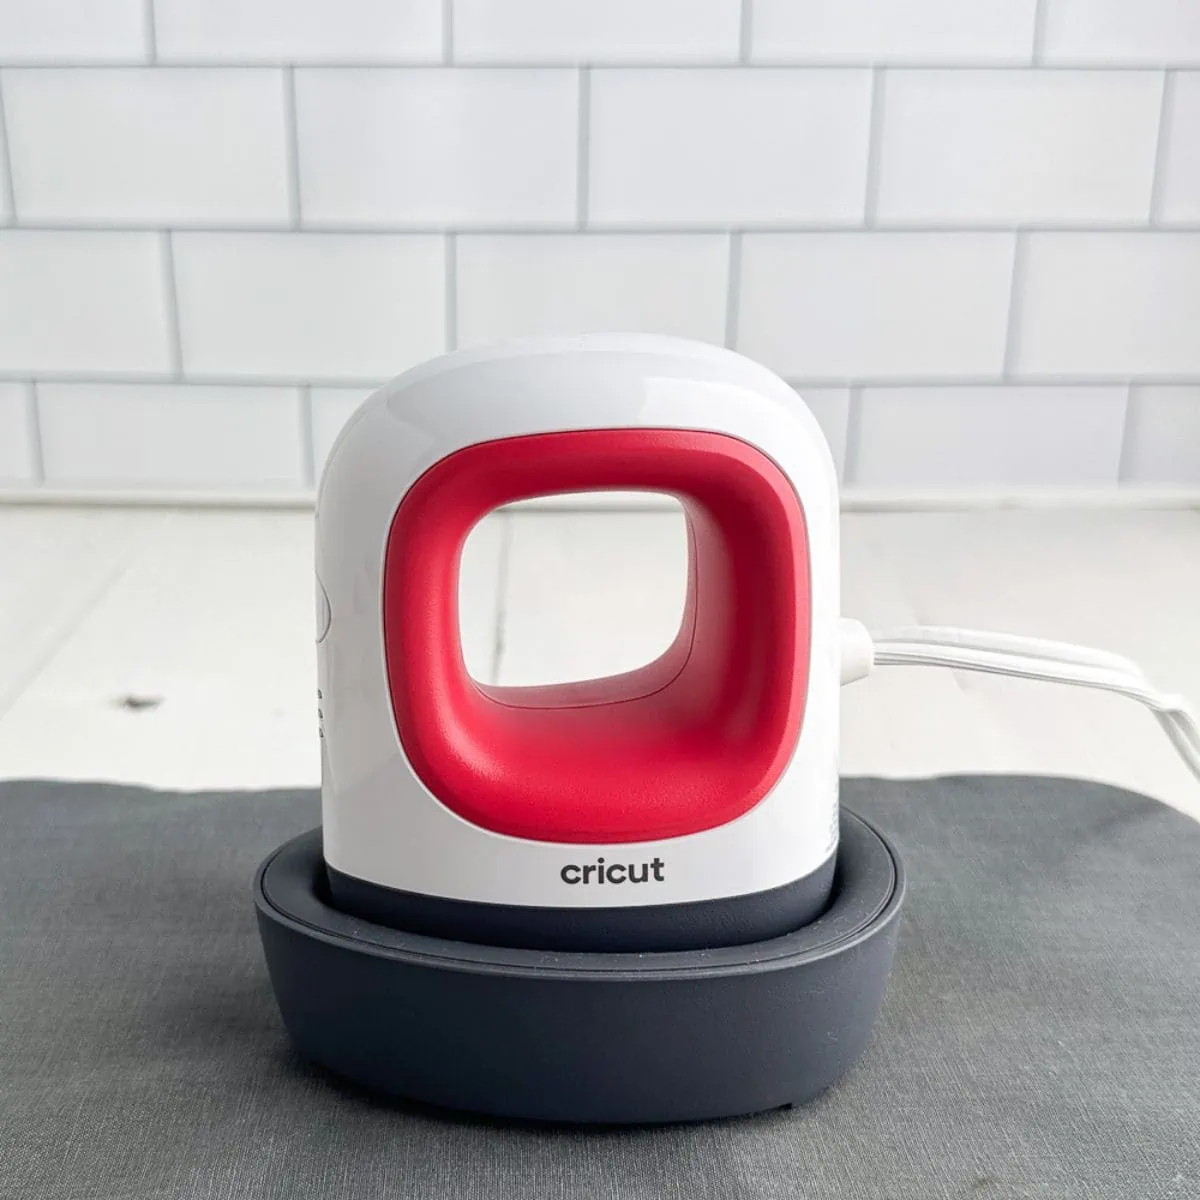
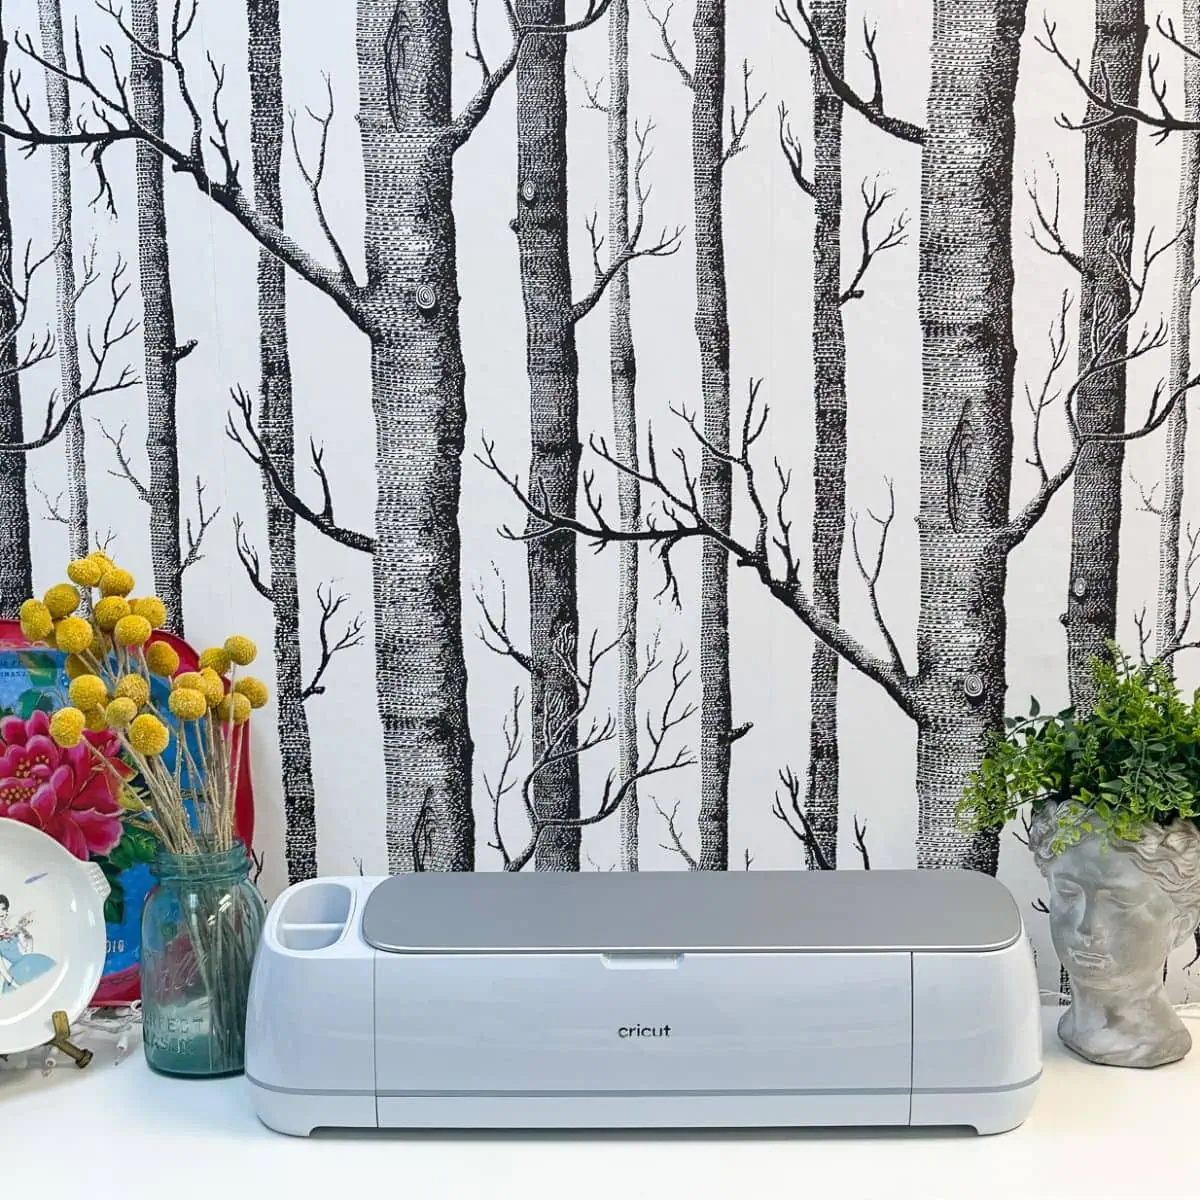
- Silhouette or Cricut
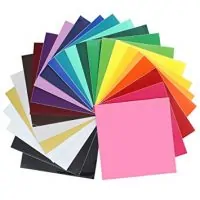
- Permanent vinyl (I bought this pack because it’s nice to have a huge selection on hand!)
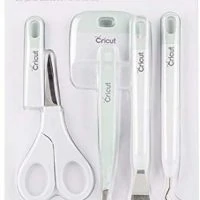
- Weeding tools
- Transfer Paper
- Mugs (Look for mugs that aren’t round for best results)
- Cut files (Click the download button at end of the post)
If you want to add your own text, ungroup the image, and delete the text included. Click the text button to add your own. I used Arial Rounded for a cute, retro feel.
Cut Your Vinyl for Your Mug
- Open the cut file in Silhouette Studio.
- Choose the files you want and copy and paste them onto a new sheet.
- Size them appropriately. As is, they are sized to roughly 2.5″ square to fit my mugs.
- To minimize confusion, I changed the colors on each heart so I would know which vinyl to use.
- When you’re happy with the size and placement, click on the SEND panel at the top of the screen.
- Your settings for vinyl will be 2, 8 speed, and 9 thickness instead of a preset.
- Apply a 3″ square piece of vinyl to your mat.
- Load the mat.
- When you’re ready for it to cut, press the send tab and press START.
- When the vinyl is finished being cut, unload the vinyl.
- Weed the excess away, leaving the heart with the cut-out letters.

If you use a Cricut, cut using the settings for permanent vinyl.
Using Vinyl on Mugs
- Use rubbing alcohol to wipe your mugs down. This removes any oil from your hands that keeps the vinyl from properly adhering.
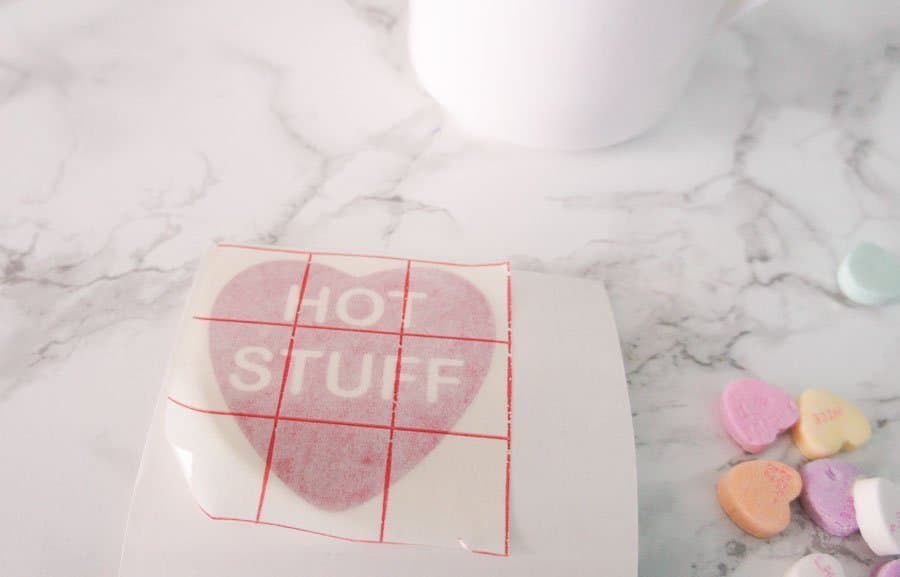
- Apply a piece of transfer paper to the vinyl.

- Rub it so that the vinyl sticks to the transfer paper.
- Peel the backing from the vinyl, leaving the design on the transfer tape.
- Place the design onto your mug along the center first.

- Press it down, working your way out from the center until the vinyl is firmly secured to the mug.
- Finally, remove the transfer tape.

- If you have any small wrinkles, you can normally smooth them out with your fingers.


Care for Your Vinyl Mugs
For best results, let your mugs sit for a day or 2 before use. This allows the vinyl plenty of time to adhere to the mug.
Even permanent vinyl needs special care.
- Hand wash
- Not dishwasher safe
- Not microwave safe
- Don’t soak in water
Mug Design Placement
Wondering where to place the design on the mug? You have a few options depending on what you like.
Place the design on each side.
This will require you to create 2 designs for each side.
Place the design facing in.
This requires some thought about which hand is used to drink with.
I like this option because I view drinking tea and coffee as a personal activity, so facing the design toward the drinker makes sense.
Place a design facing out.
This is a great option for sassy mugs (you know, the ones that say stuff like “Nope” and “Go Away.”
Using Vinyl on Mugs FAQs
Can you use vinyl on mugs?
Yes. Remember that even permanent vinyl should not be put in the dishwasher or microwave, though.
What kind of vinyl should you use on mugs?
These mugs were made with permanent vinyl (Oracle 651). However, I’ve also used iron-on vinyl with wine glasses. Both need to be hand-washed.
Can vinyl mugs be microwaved?
No, vinyl can release fumes when heated, so avoid placing mugs with vinyl decals in the microwave.
Is permanent vinyl dishwasher safe?
No. Even permanent vinyl should be hand-washed.
Cricut has a type that claims to be dishwasher safe, but I haven’t tried it.

How to Make Valentine's Mugs

Use vinyl to make this easy custom mug for Valentine's Day. Makes a sweet gift for a loved one.
Materials
- Permanent Vinyl
- Transfer Paper
- Ceramic Mug
- Rubbing Alcohol
- SVG designs
Tools
- Cricut or Silhouette
- Weeding Tools
Instructions
- Resize the design in your design software if necessary.
- Send to cut.
- Weed design.
- Clean mugs with rubbing alcohol.
- Apply transfer paper to the weeded vinyl design.
- Peel away the vinyl backing.
- Place the design on the mug, smoothing as you go.
- Remove the transfer tape from the vinyl on the mug.
Notes
Special care is needed for vinyl mugs. Hand-wash only. Do not use in a microwave or a dishwasher.
Recommended Products
As an Amazon Associate and member of other affiliate programs, I earn from qualifying purchases.

You might also like:
- DIY Heart Wreath
- Easy Monogram Mug with Infusible Ink
- Valentine Earrings with Cricut
- Ombre Wood Wreath for Valentines
- Use HTV on Wine Glasses
- Kitchen Canister Cut Files
- Tropical Leaf Vase
Get access to my SVG Library.
Get access to over 50 SVG sets and Cricut cheat sheets. Join my SVG library.
Get the Updated Version
Get the larger updated version in my shop. Includes 18 phrases and 2 different heart versions.
I also have anti-Valentine’s Day hearts.
Download Your Free Cut Files Here
All downloads are for personal use only. Please do not redistribute or sell files.
This file set includes SVG, DXF, and PNG files.
Download 9 Candy Heart Cut Files
Pin for Later!


Emy is a vintage obsessed mama of 2 DIYer who loves sharing affordable solutions for common home problems. You don’t need a giant budget to create a lovely home. Read more…