DIY Retro Barware: Using Vinyl on Wine Glasses
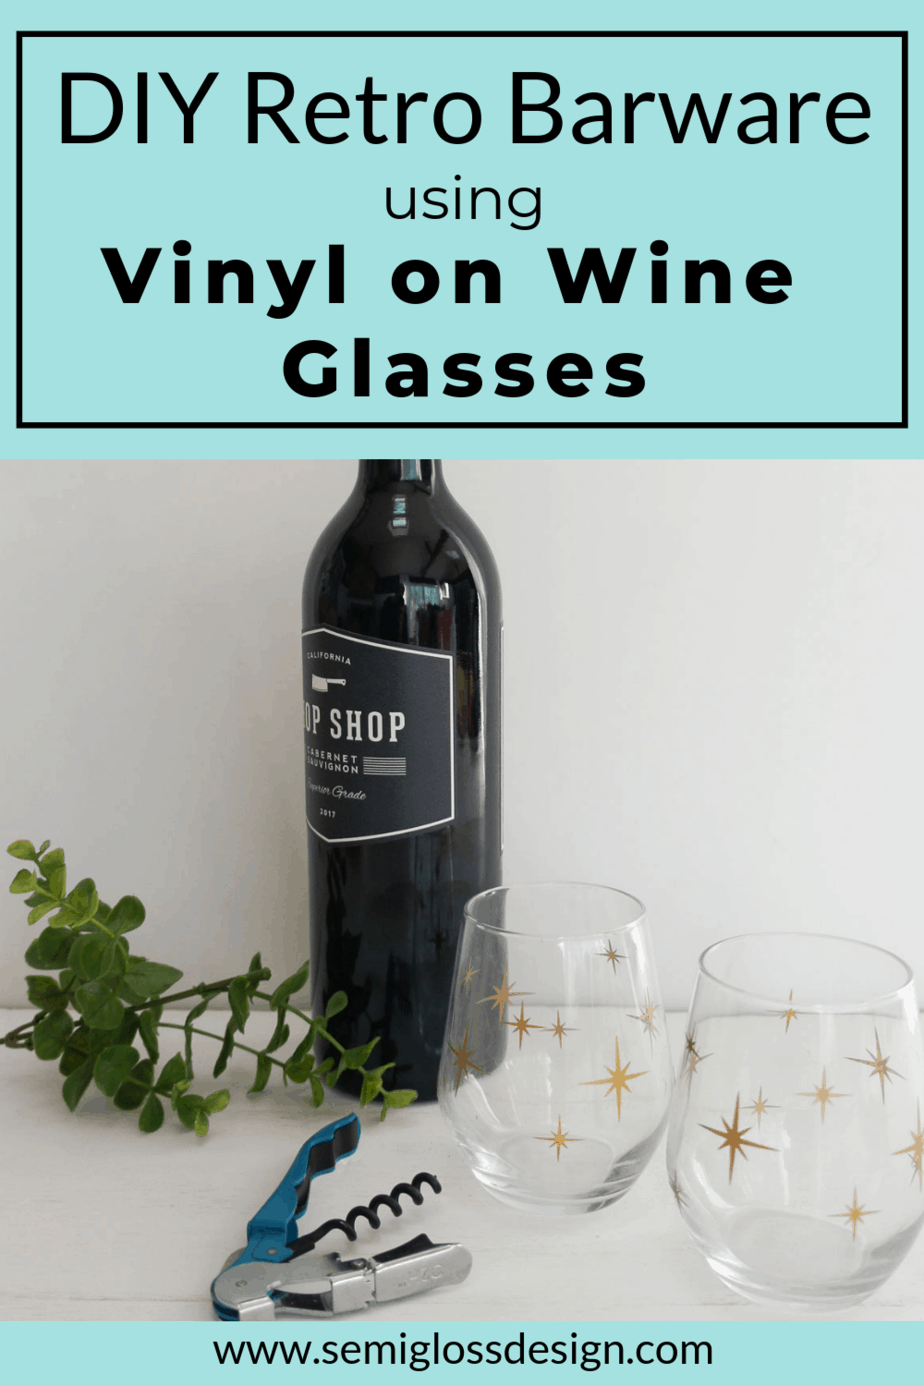
Make your own retro barware using vinyl on wine glasses. These cute wine glasses feature gold vinyl starburst decals for that perfect mid-century feel.

Sometimes I just want to make something, but I don’t have a lot of energy or motivation. This craft is perfect for those times because it’s so quick and easy.
I’ve made custom wine glasses using HTV before, but this process was a lot easier.
Tips for Using Vinyl on Wine Glasses
- We love stemless glasses (because we’re clumsy), but this would also work on stemware. Just make sure the glass has a smooth surface.
- Vinyl designs work best when they’re simple and small since glasses are curved. These starbursts worked perfectly for that.
- If your heart is set on a complicated, larger design, you can clip it and fold it over in inconspicuous spots, then smooth it out well.
DIY Retro Wine Glasses
Supplies Needed
This post contains affiliate links. By purchasing an item through an affiliate link, I earn a small commission at no extra cost to you.
- Wine glasses
- Silhouette or Cricut
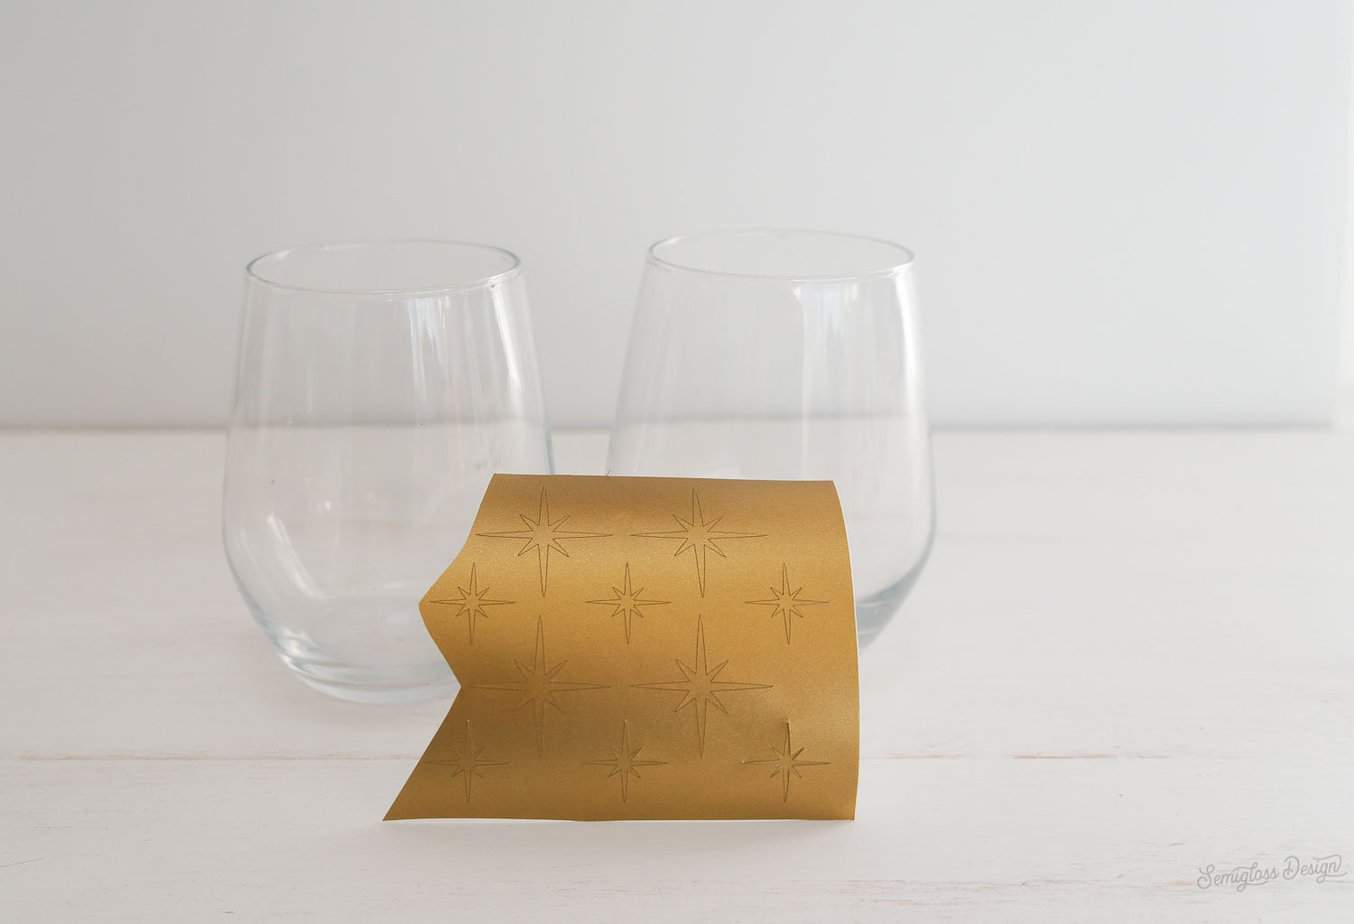
- Vinyl (use permanent vinyl for best results)
- Rubbing alcohol
- Cut file for starburst
- Clean your glasses well with rubbing alcohol. This removes any oils from your hands that prevent the vinyl from sticking,
- Resize your cut files in your cutting software. I made mine about 1 1/2″ and 3/4″ high. Each glass used four larger starbursts and eight smaller ones.
- Cut as usual with your Silhouette or Cricut.
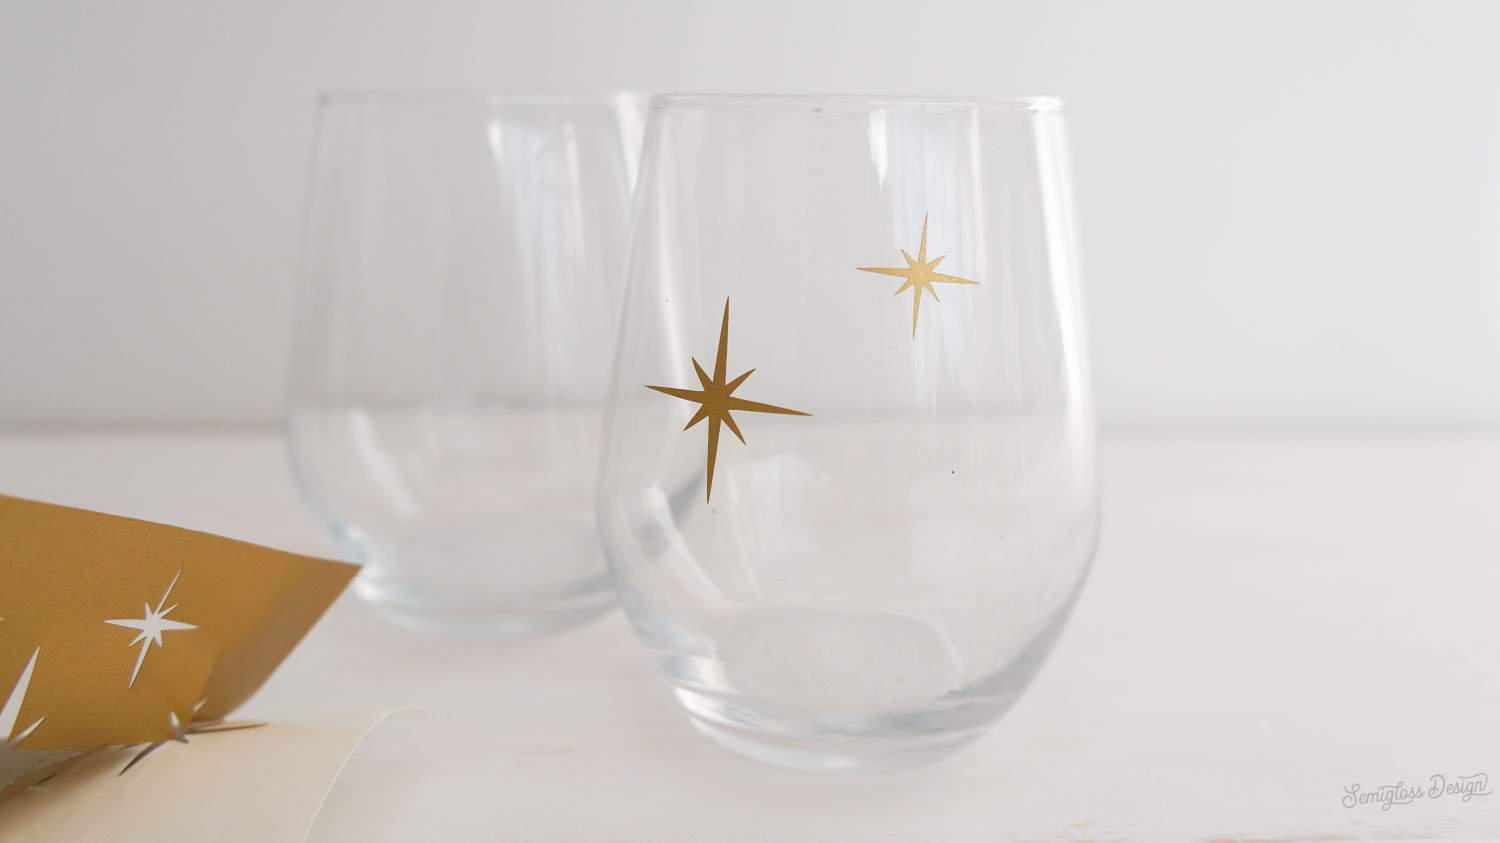
- For tiny designs, it’s easier to weed as you go. Due to the simplicity of the design, I also skipped using transfer paper. You can use it if you have a precise layout in mind, but I wanted mine to feel organically spaced.

- I started with the larger starbursts and spaced them evenly around the middle of the glass. Just peel them off and stick them on.

- Rub them well to make sure they stick.
- Then I added the smaller starbursts between the larger ones,

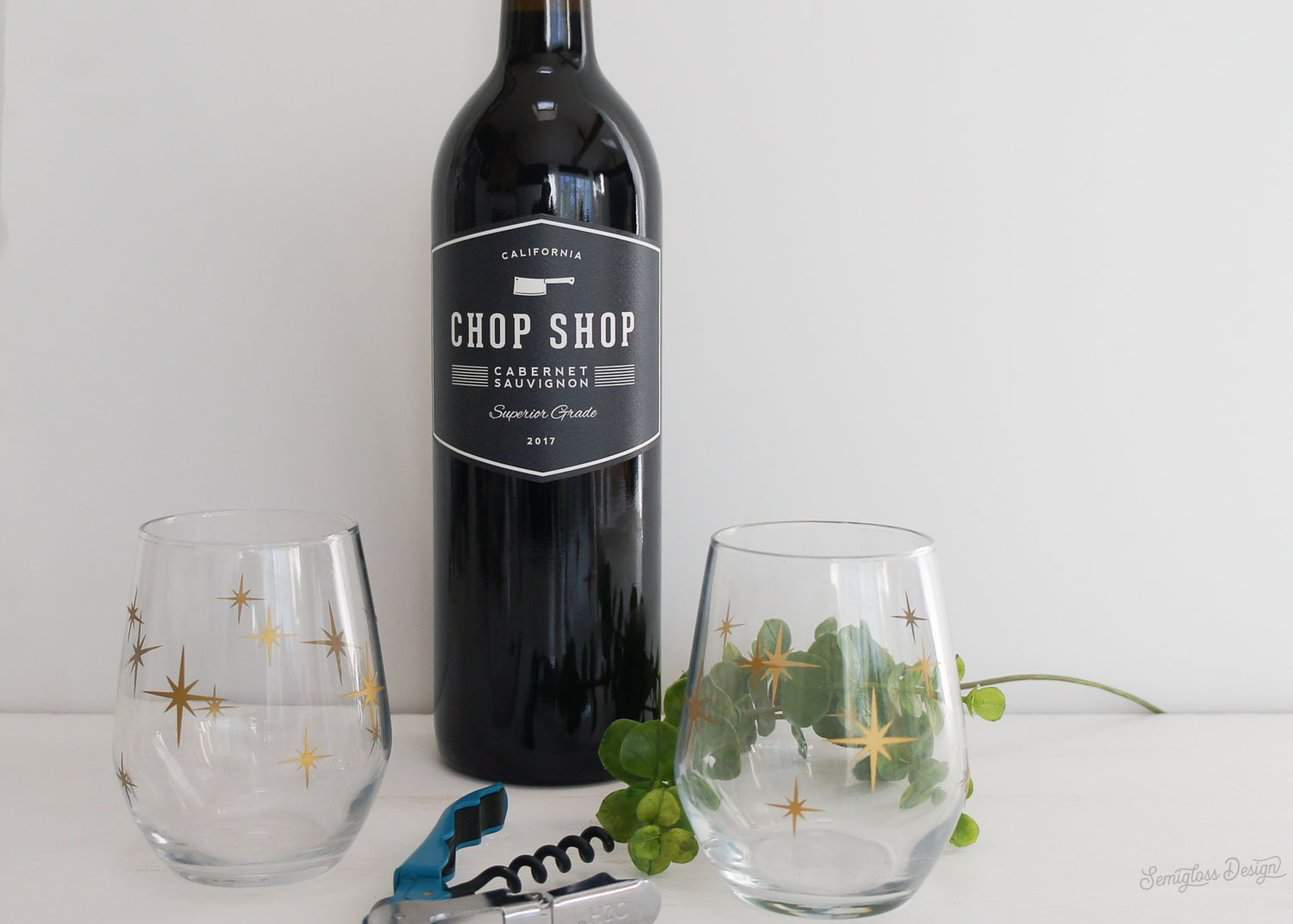
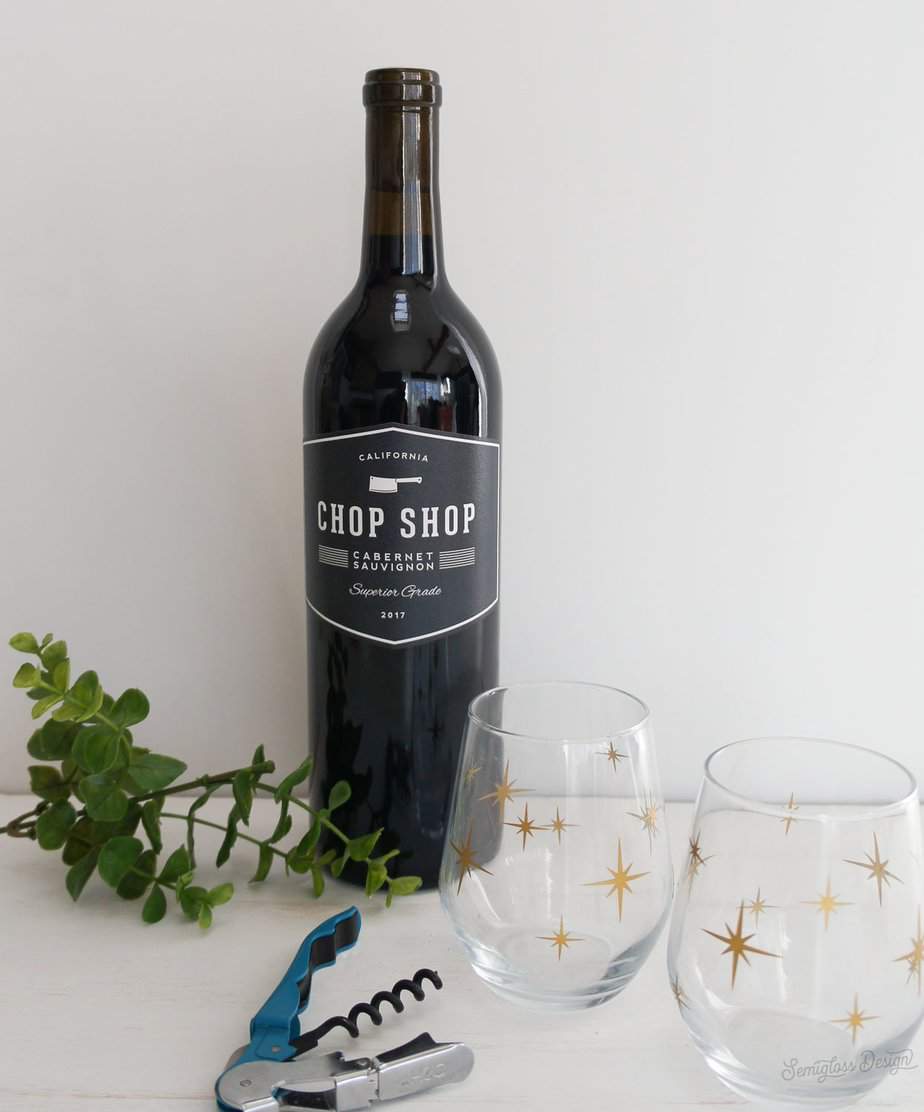
I love how they turned out!
The starburst cut file is one of my favorites. I’ve used it to stencil a table and even decorate a planner cover.
Don’t you love easy crafts?
If you liked this post, you might want to know how to make a coordinating drink pitcher!
Care of Vinyl on Wine Glasses
Even permanent vinyl is not permanent, so care is needed when cleaning these glasses.
- Don’t soak in water. The decals might come off.
- Don’t microwave.
- Gently hand wash for best results.
What if you don’t own a cutting machine?
You can ask your crafty friends if they happen to own a Cricut or a Silhouette.
Simple designs can be cut from vinyl using an x-acto knife or sharp manicure scissors. I love manicure scissors for tiny cuts because they’re smaller than regular scissors, making it easier to get precise cuts.
You might also like:
- DIY Koozies
- Etched Glasses
- Vinyl on Mugs
- HTV on Wine Glasses
- Easy Tropical Leaf Vase
- DIY Wine Tumbler with Decal
Pin for Later!

Emy is a vintage obsessed mama of 2 DIYer who loves sharing affordable solutions for common home problems. You don’t need a giant budget to create a lovely home. Read more…


Will this work on acrylic glasses?
Vinyl will stick to acrylic glasses.
Do you need to put some type of sealant on the glass
You can use polycrylic or resin to seal it. I left mine unsealed and just hand-washed the glasses. They’ve held up fine.