Make A Table Runner with Heat Transfer Vinyl
My favorite thing about DIY is getting to make things that I want. I’ll have a specific color scheme in mind and go to the store hoping to buy all of my pieces. Every single time, I come home empty handed and disappointed. It’s not just colors, but patterns or motifs as well.
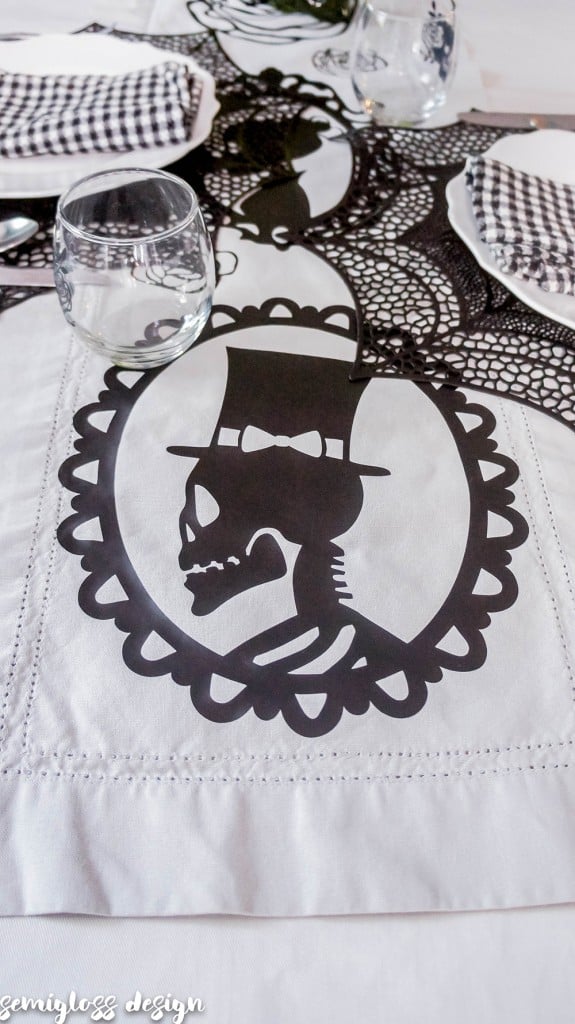
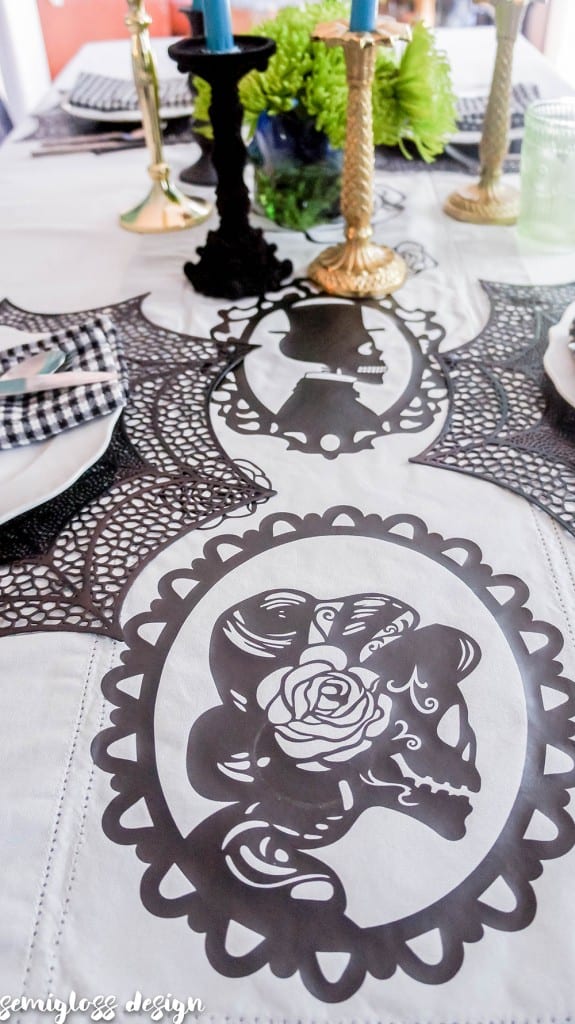
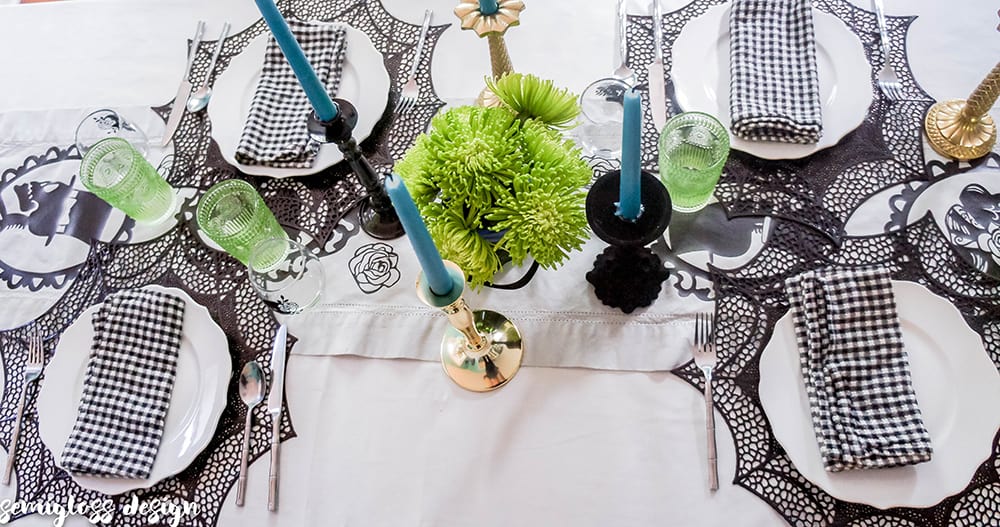
When it came time to plan my Halloween tablescape, an idea popped into my head and wouldn’t go away: skeleton cameo silhouettes. My vision was a little bit creepy mixed with classic. So I did what all DIYers do and I made my own! Learn how to make a table runner with heat transfer vinyl. Plus, learn my tips for weeding intricate designs.
This post is sponsored by Craftables. Craftables provided me with heat transfer vinyl for this project, but all thoughts and opinions are my own. I would never recommend products that I wouldn’t buy or use on my own.
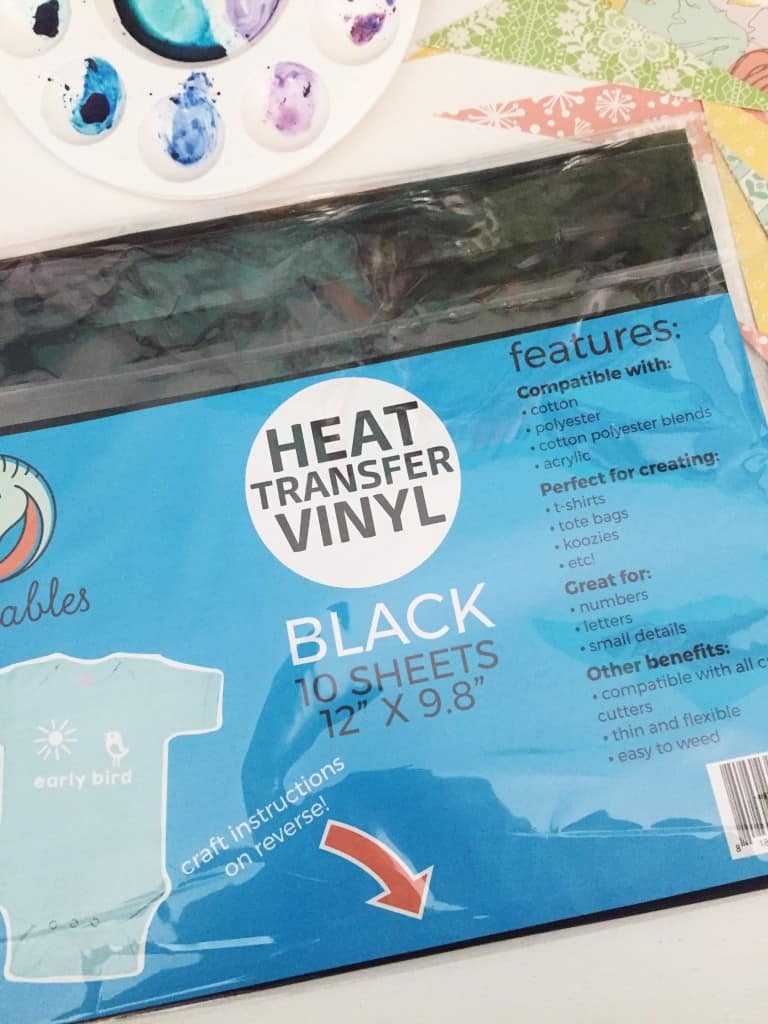
When my friends at Craftables reached out and asked me if I was interested in trying their new line of HTV, I jumped at the opportunity. I love working with HTV and vinyl, so any opportunity to create more products sounds fun to me!
This post contains affiliate links. By purchasing an item through an affiliate link, I earn a small commission at no extra cost to you.
I was immediately impressed by their website. It’s easy to navigate and find exactly what you need. There’s no need to read the fine print to see exactly what kind of vinyl you’re buying. I appreciate that after my own vinyl buying experiences. There have been times when I’ve bought vinyl, got it home and still have no idea what type it is. Buying vinyl can be intimidating for a newer user, so clear categories and labeling is so helpful!
The Craftables Smooth HTVcomes in 29 colors and 2 different size choices. I like that they come in smaller sizes because then I don’t have to cut the sheets to fit my mat. Their prices are the best that I’ve seen, but what would the quality be like?
When I received my package, I was surprised at how fast it arrived! But more importantly, it arrived in a flat package, which I didn’t fully appreciate until I worked with it. You guys, flat vinyl is so much easier to deal with that rolled up vinyl. Every other pack of vinyl that I have ever bought has been rolled up. So then you have to wrestle it onto the mat and it usually takes me a few attempts to get it straight if the mat isn’t situated just right. I loved how easy the process was! Flat vinyl for the win!!
Make a Table Runner with Heat Transfer Vinyl
The Design Process
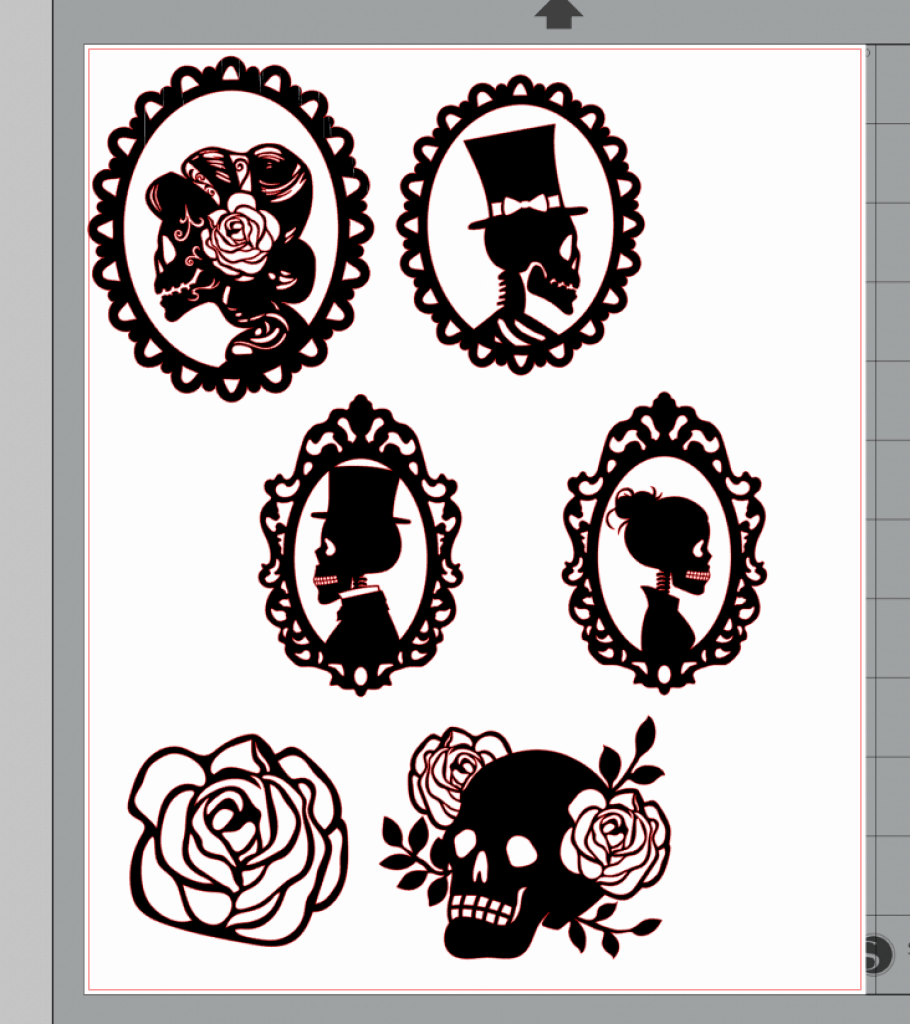
I normally make my own cut files, but when I saw these skull cameos in the Silhouette shop, I knew that I would never be able to top them. These cut files are so gorgeous.
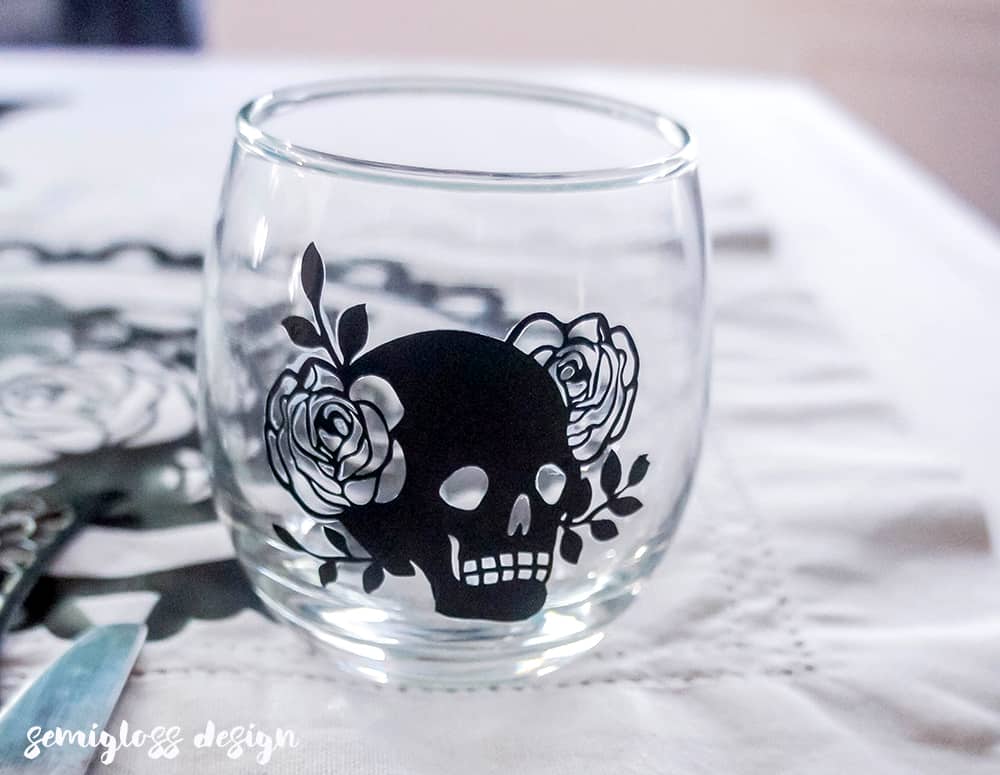
Wife | Husband | Man | Woman | Rose | Skull with Roses
Maybe skulls aren’t your thing. Luckily, there are tons of other designs that would look lovely on a table runner. How pretty would those roses be in gold all over a runner?
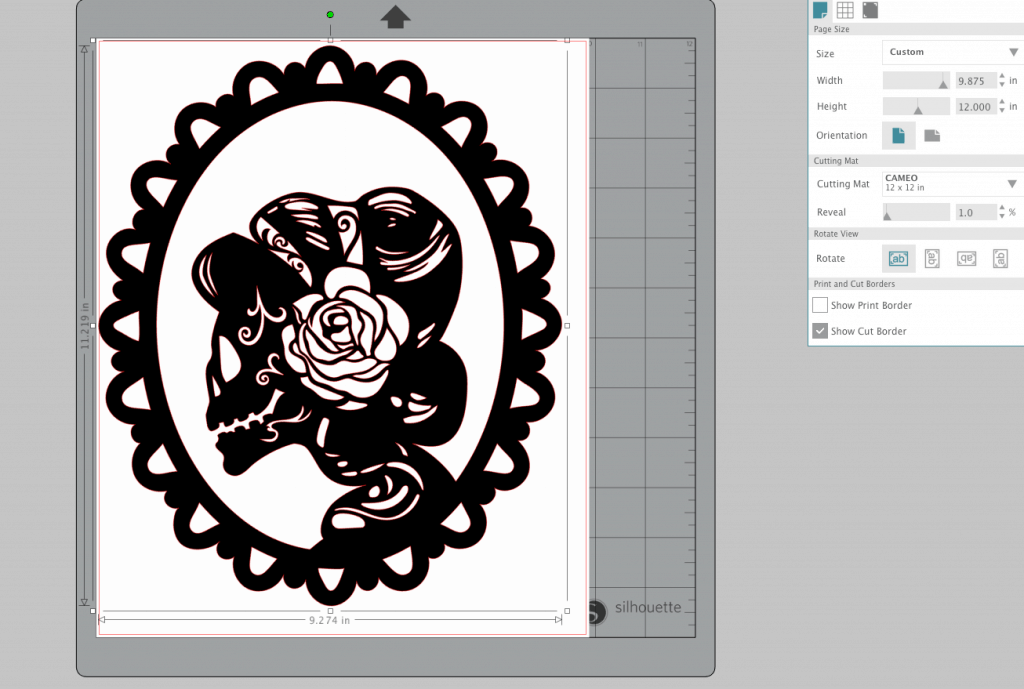
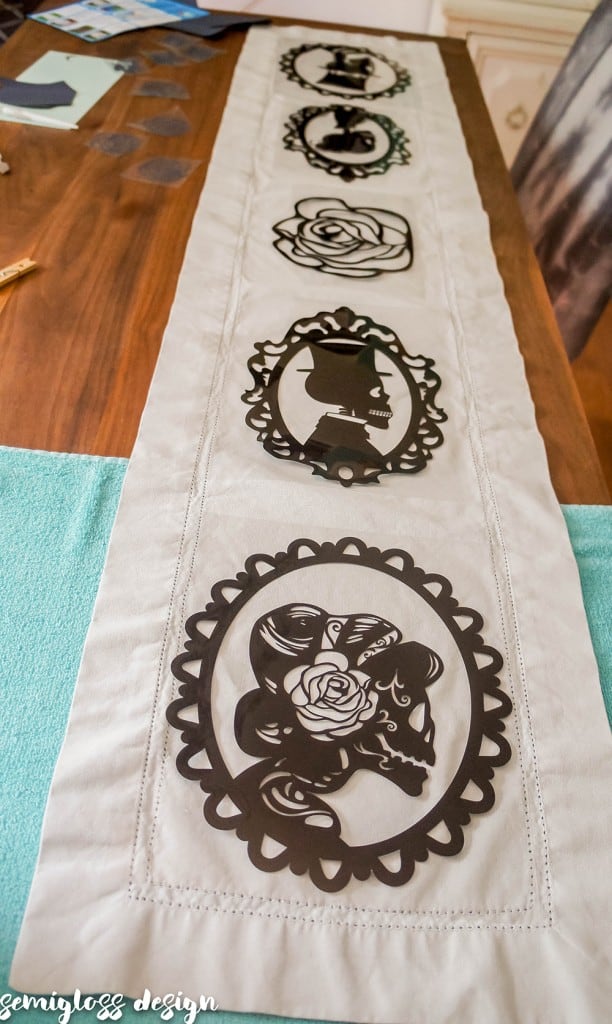
These are the designs I used for the runner and glasses. For my runner, I placed each skull on a different page set to 9.875″ wide x 12″ tall. The center of my runner was roughly 9.5″ wide, so I needed my skulls to be a bit smaller than that. Then I sent each page to be cut.
My cut settings for the Silhouette are 2,8,9 for the perfect kiss cut. Don’t forget to place the htv shiny side down! If you use words in your design or care about the direction your design faces, don’t forget to mirror the design!
(I have detailed instructions on how to use HTV in this post about vintage pennants if you need more direction.)
Weeding
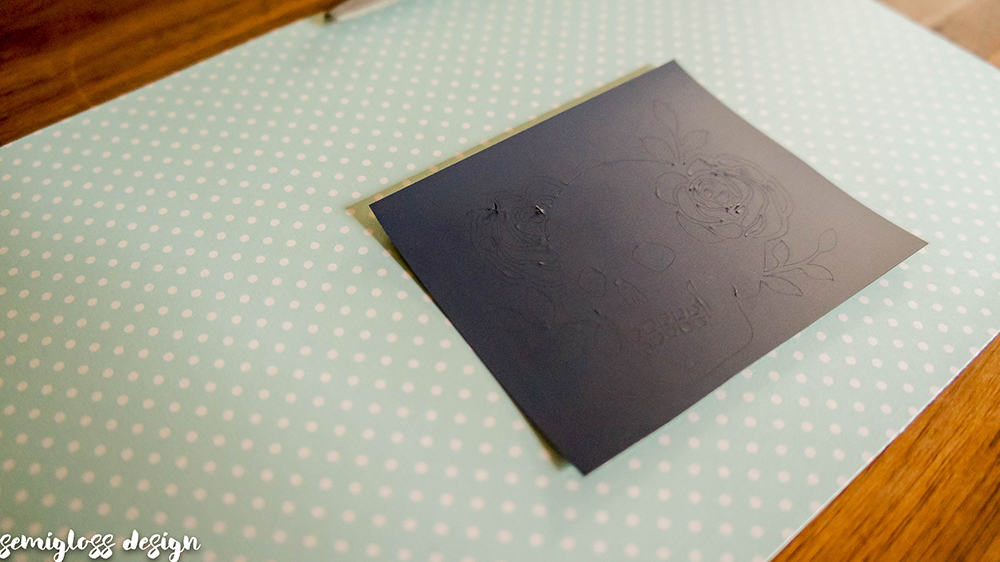
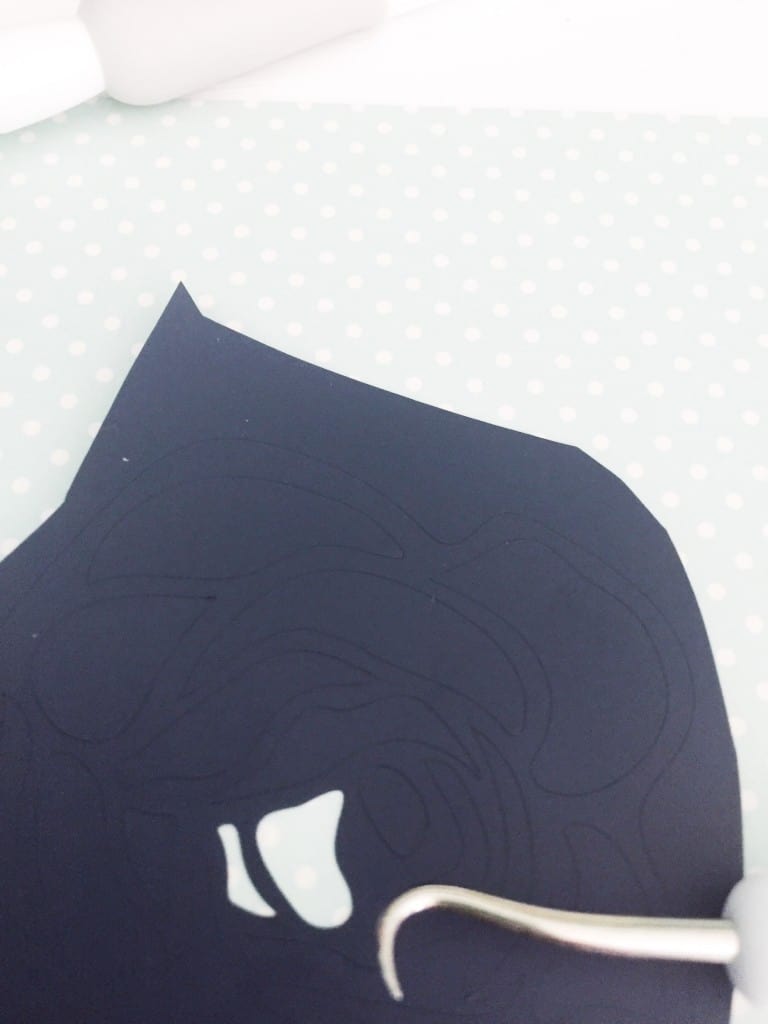
I thought that theCraftables Smooth HTV was really easy to work with. The back of the HTV was a shiny color that helped me see where the cut lines were. I’ll admit that sometimes I have a hard time seeing every little cut line, but something about the reflective qualities on this vinyl made it easier for me to see all of the details. These were very intricate cuts, so I’m sharing some weeding tips at the bottom of this post.
Ironing
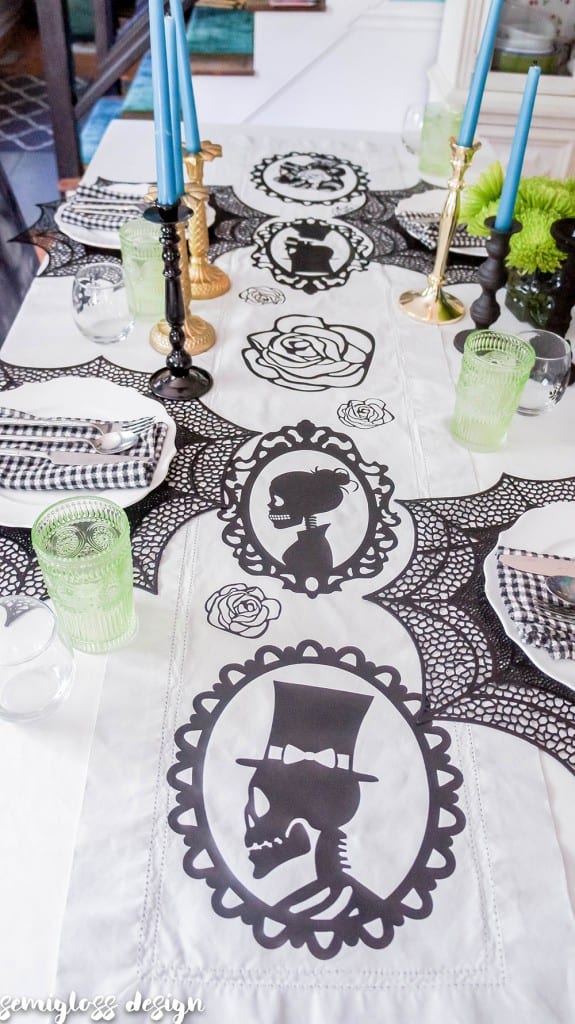
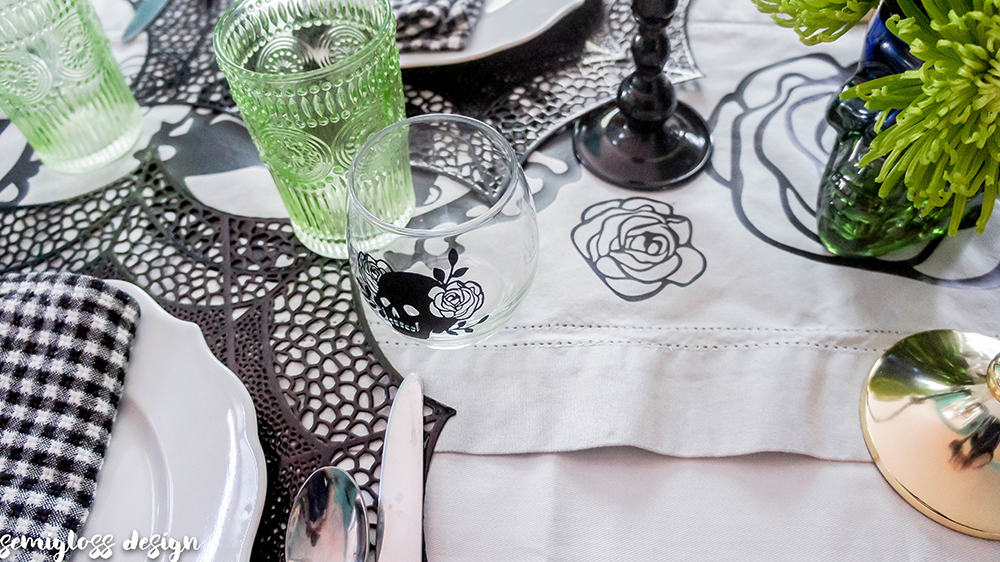
I wanted the table runner to have 2 skull cameos on each end with a rose in the center. Place the designs face down with the clear film on top. I use a piece of freezer paper to protect my vinyl. (When you use a new piece, iron it onto a towel a few times to remove the stickiness from the paper.)
As with all vinyl, iron it for 12-15 seconds on high. You can pull back the plastic a bit to see if it sticks. If it doesn’t, iron it a bit longer. The instructions say to leave the plastic on for 20 seconds before removing. I forgot because I’ve never done that, and it pulled off just fine. If you have any areas that are a little loose, you can place the freezer paper over the design and iron for a few more seconds.
When I first started using HTV, I was very concerned about ironing for too long or ironing in places that I had already ironed. It’s not that delicate, so don’t worry too much! Just don’t iron the HTV without the plastic film or it will melt. Heat transfer vinyl feels very intimidating until you use it!
Tips for Weeding Intricate Cuts
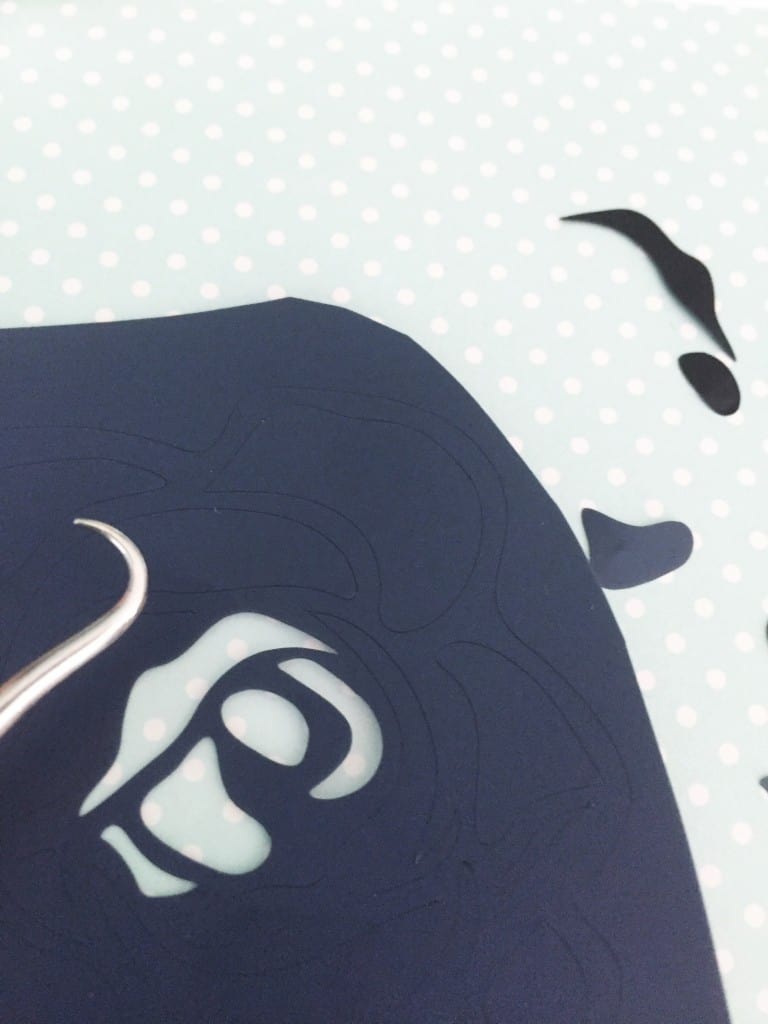
- Work from the center out. Some of my cuts were tiny, so as I weeded, removing the center pieces first prevented them from getting stuck to the clear film.
- Work small to big. Those tiny pieces get stuck to the clear film more easily than the large ones.
- Weed the giant areas last. I left the centers of the cameo and background for last. It goes against my normal inclinations to remove the easy parts first, but it helped to keep those smaller pieces off.
Showing Off My Table Runner
My Final Thoughts on Craftables Smooth HTV
I was so impressed with the Craftables Smooth HTV! It’s inexpensive, comes shipped flat and weeds easily! What’s not to like? I highly recommend Craftables and I will be buying vinyl from them in the future!
Tomorrow I will be sharing tips for using HTV on glasses!
Pin for Later!
Linking up with: The Creative Gallery

Emy is a vintage obsessed mama of 2 DIYer who loves sharing affordable solutions for common home problems. You don’t need a giant budget to create a lovely home. Read more…


