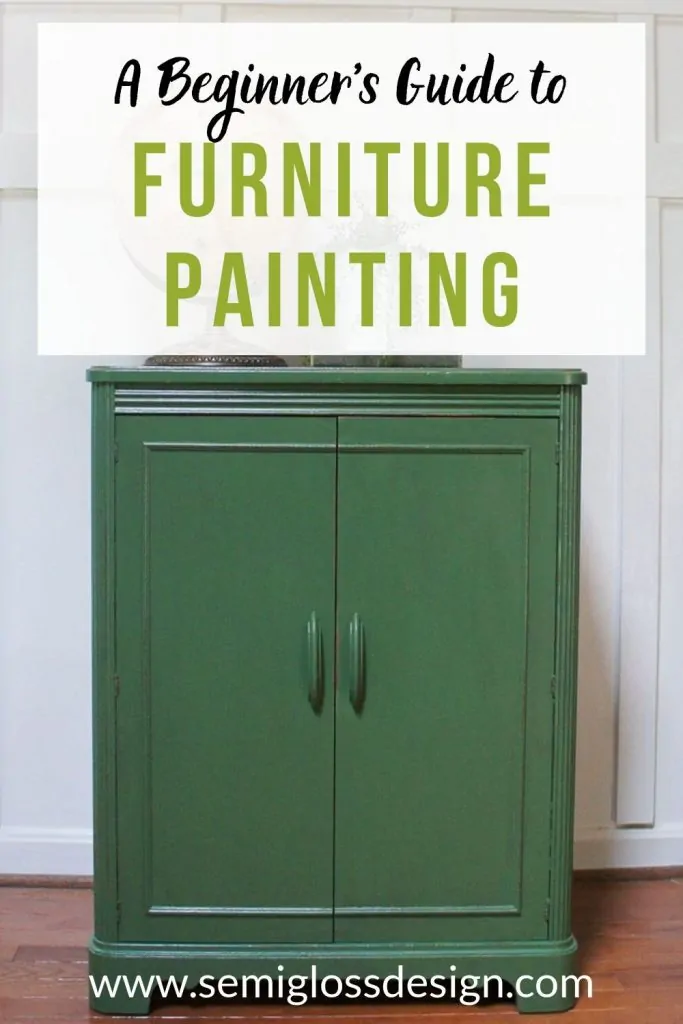
How to Paint Furniture for Beginners
Furniture makeovers are one of the easiest ways to update your home on a budget. Learn how to paint furniture for beginners.
If you’re looking for a fun furniture project, you might like my decoupaged dresser.
This post contains affiliate links. By purchasing an item through an affiliate link, I earn a small commission at no extra cost to you. As an Amazon Associate I earn from qualifying purchases.
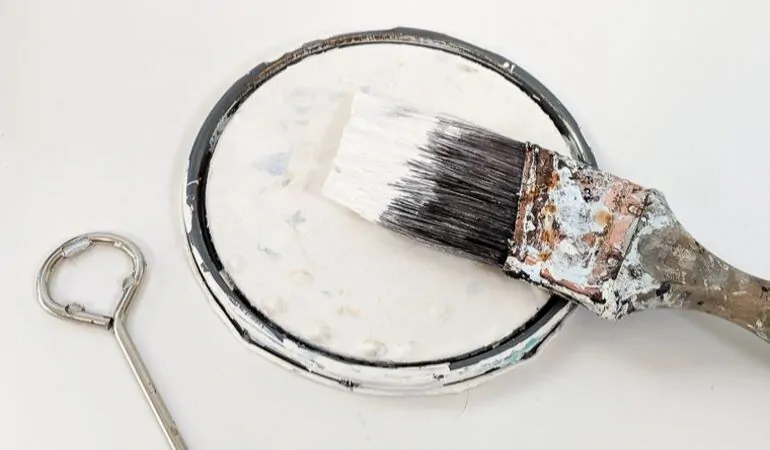
Steps for Painting Furniture
- Start with a solid piece of furniture.
- Clean it well.
- Make any repairs needed.
- Sand.
- Clean again.
- Paint or seal as necessary.
- Paint.
- Protect paint with topcoat.
How to Paint Furniture for Beginners
Inspiration
I love looking at Pinterest for furniture inspiration. It’s fun to recreate high-end looks with paint. For instance, this canopy bed stencil was based on a very expensive version from Anthropologie.
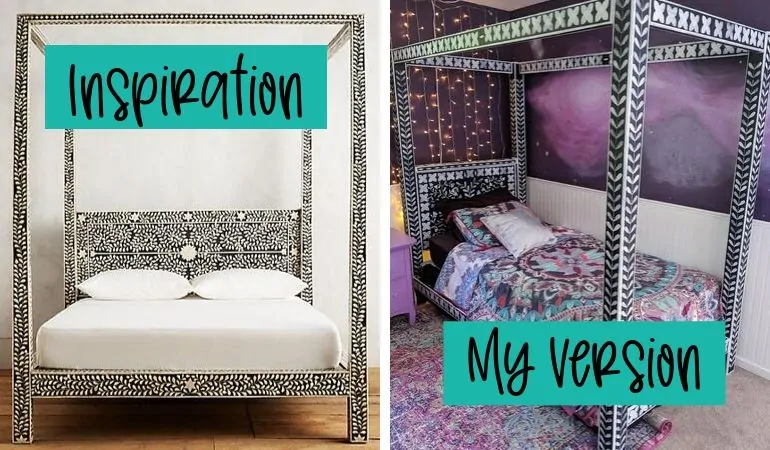
I also love looking at Pinterest for color inspiration. For best results, search the type of furniture (ie: secretary desk, washstand, mcm dresser.)
Choosing Furniture
If you’re not already starting with a piece you own, look for pieces that are solid wood. While you can update particleboard with paint, it’s always best to start with solid wood. Your hard work will last longer and so will the furniture.
A dresser with a cardboard bottom will never last as long as a solid wood piece. Luckily, they’re easy to find and are usually inexpensive.
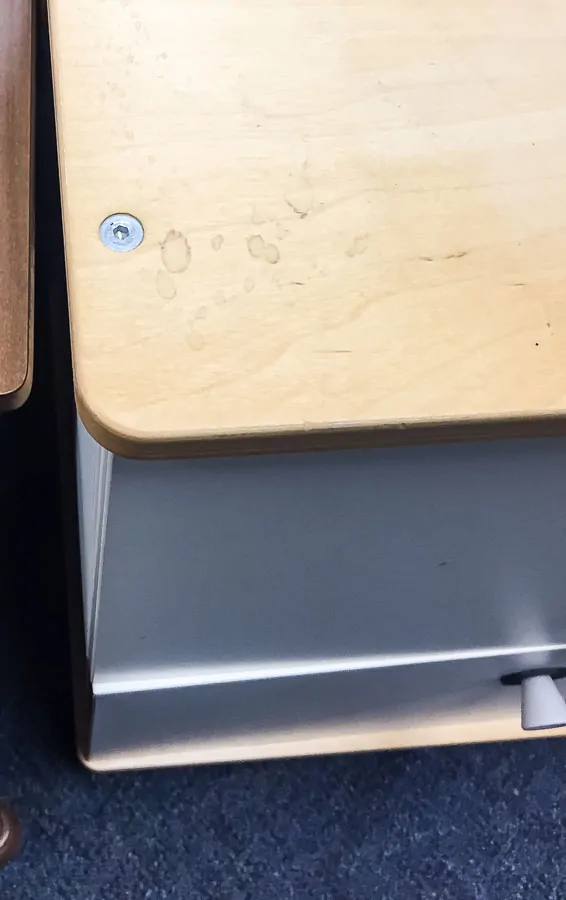
Stay away from pieces with visible hex screws. These are not solid pieces.
I would also avoid pieces that are extremely shiny with lacquer. It’s going to need a ton of prep work.
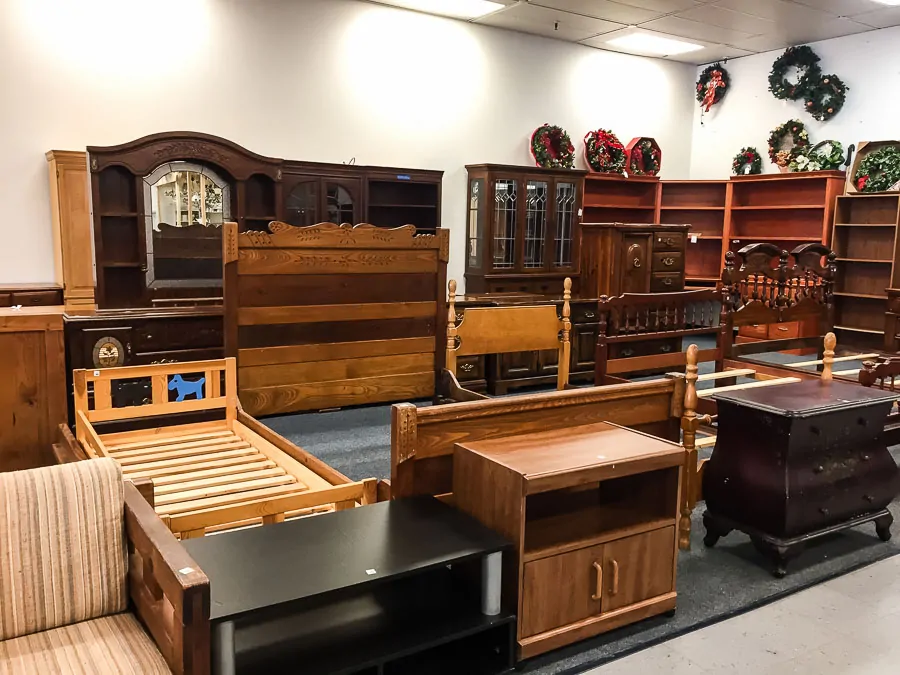
Where to Look
Thrift stores. This is one of my favorite places to look. Check-in often for the best results. Sometimes there will be nothing at all and other times, you’ll hit the jackpot. I’ve found mid-century pieces for as low as $7 at my local thrift store.
Consignment shops. We have a local consignment shop that I love. He always carries a nice variety of furniture at fair prices. Don’t write them off because they sound expensive.
Facebook Marketplace and Craigslist. I love buying pieces on Facebook marketplace. You get to meet the owners who might have a fun story about the piece. Craigslist isn’t as good as it used to be since Facebook Marketplace opened.
Garage Sales. Garage sales are all about luck, which I haven’t had a lot of.
Friends and Family. Ask around. Your friends and family probably have pieces sitting around that are unused and unwanted.
What to Look For
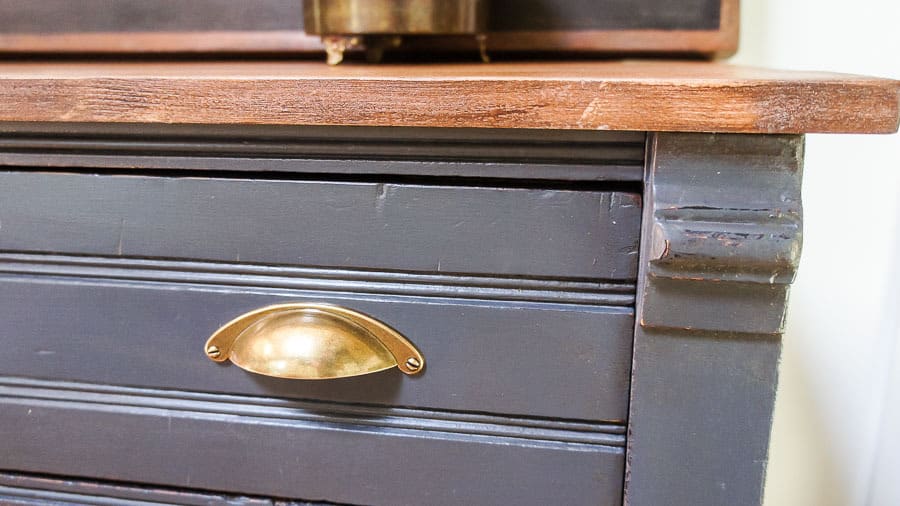
Pretty Details. Look for pieces with pretty lines and details. Keyholes, caster feet, carvings all indicate age and just cannot be found in newer pieces.
Solid wood. Solid wood pieces are always good quality. Solid doesn’t always mean heavy. Older pieces weigh almost nothing compared to mid-century pieces!
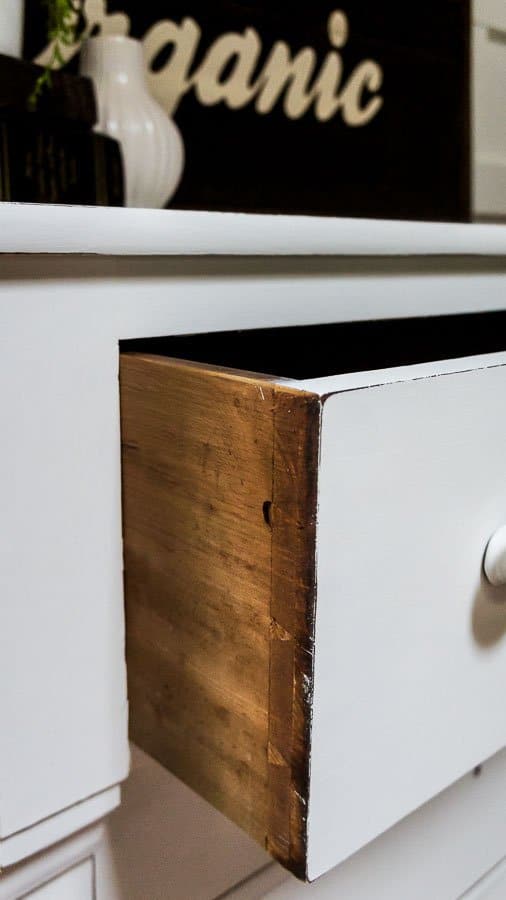
Dovetail joints. Look at the drawers to see how they’re made. Dovetail joints indicate quality! Older pieces have gorgeous dovetail joints.
What to Avoid
Don’t buy a piece just because the price is good. For instance, I don’t love French-style furniture, so even if I got a good deal, I would pass it by until I found a piece with nicer lines.
Broken pieces. Be realistic about what you can fix. Some broken drawers are easy to fix and others require extensive woodworking.
Overly shiny pieces. You’re going to have to spend so much time on prep work to get the paint to stick. It’s usually not worth it.
Stinky pieces. I’m not talking about musty pieces – those can be fixed easily. I’m talking about the trunk that I opened and smelled like it once held a dead body. No thanks.
Smoke is another hard smell to remove. Plus it’s going to need to be cleaned thoroughly before the paint will stick.
Prep Work for Furniture Makeovers
Cleaning
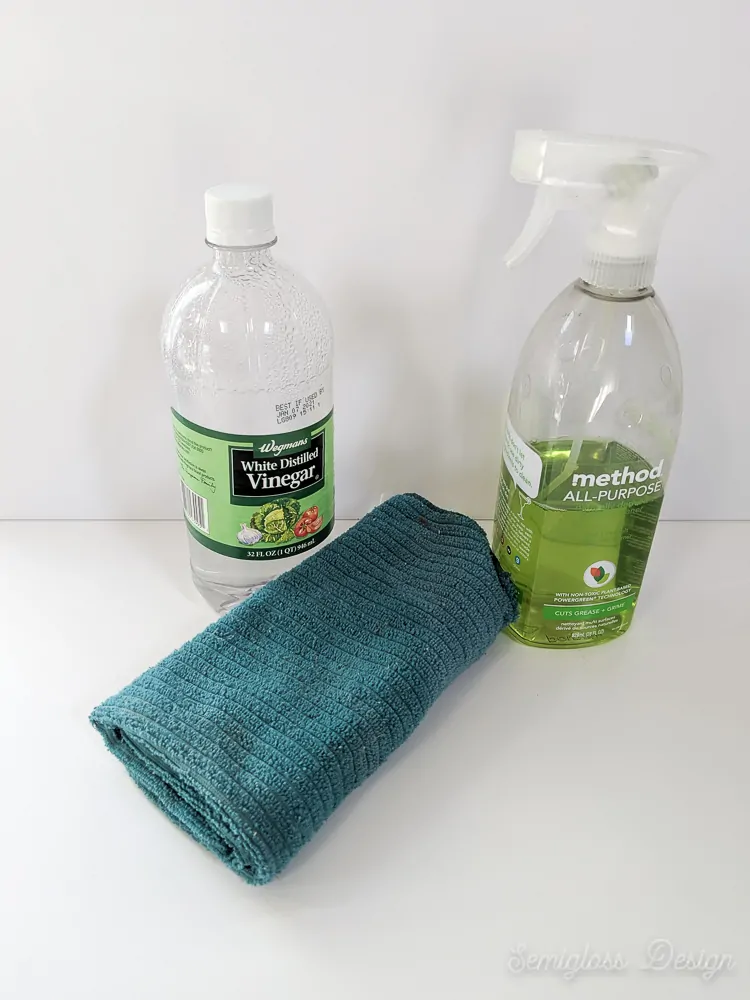
Cleaning furniture before painting is a crucial step. Beyond the visible dirt and dust, you want to make sure that your piece is free of furniture oil, like Pledge.
I always wash every piece with warm water and vinegar. Fill a bucket and add a few tablespoons of vinegar.
All drawers get vacuumed out with a shop-vac. Be sure to get inside the furniture, below it, and behind it as well.
For really dirty pieces, I use a gentle cleaning spray, like Method cleaning spray.
Be sure to clean it again with plain water to remove any soap residue. Soap residue prevents the paint from sticking.
Read more about cleaning furniture before painting.
Removing Odors from Furniture
Like I said earlier, I won’t buy a super stinky piece. But musty smells are easy to get rid of.
Place the piece in the sunshine for a few hours on a warm day. If it’s a dresser, I lay out all the drawers for maximum sun exposure. Sunshine is usually enough to kill any mold that’s causing the smells.
If that doesn’t work, I’ll wash the entire piece with a stronger solution of water and vinegar. This means washing the drawers (sides and bottoms) and the inside of the piece as well. Let it dry thoroughly in the sun.
My next step for removing odors is Odo-Ban. I love the lemon scent! This stuff works really well. It neutralizes odors, not just covers them up.
Click to read a more in-depth post on removing odors from furniture.
Repairs
I prefer to buy pieces that don’t need repairs beyond clamping and gluing. For simple repairs, I prefer this glue. It holds up to inclement weather a lot better than another popular brand.
The glued wood needs to be clamped in order to properly adhere. I recommend letting it sit for at least 24 hours before removing the clamp.
Some pieces will have gouges that need to be filled. I prefer using Bondo for repairs because it leaves a smooth surface once it’s thoroughly sanded.
If drawers stick, try sanding the paint off the edges. This includes the tops and bottom rails. If they still stick, wax where the wood touches. Be sure to buff the wax.
Click to read this tutorial on how to build a new top for a dresser.
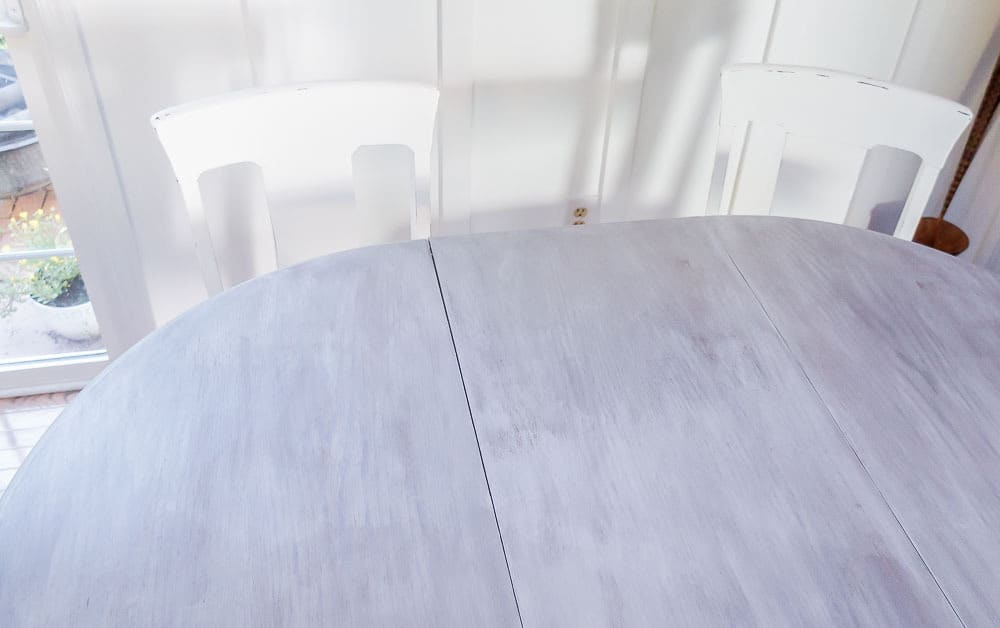
Sanding
After cleaning, the next step is sanding. If you want your paint to stick well, the wood needs to be lightly sanded. Shiny pieces will need sanding with a higher grit.
I have this sander and love it. It’s powerful enough to strip stain, but works well for light use too! The dust collector does a pretty good job of containing most of the mess.
Click to read about my favorite tools for painting furniture.
About Sandpaper
The higher the number, the finer the grit. For furniture, it ranges from 80-400. There are sandpapers beyond those ranges, but they’re not necessary for furniture.
For most pieces of furniture, I use 120 or 220 grit to rough up the surface before painting.
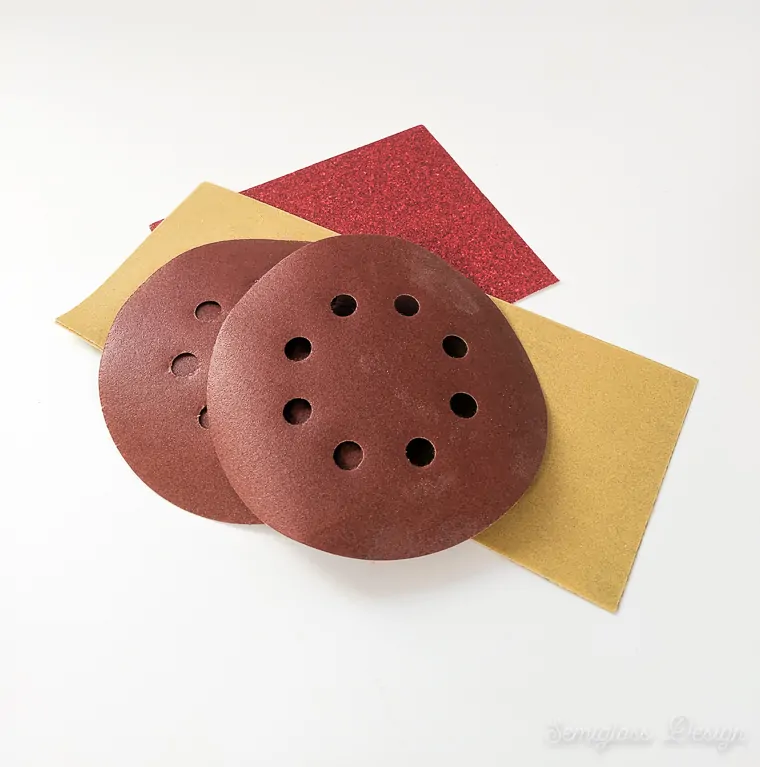
I use 80 grit for sanding to raw wood. After using 80 grit sandpaper, the wood will feel rough, so it needs more sanding. I use 120 grit next and typically finish with 220 grit sandpaper.
If you strip the piece to raw wood, it’s nice to start with the softest surface possible because the first coat of stain or paint will raise the grain.
Priming or Sealing
I don’t seal or prime every piece of furniture. Here are my guidelines for sealing or priming furniture.
Priming Furniture
Primer is great for helping make furniture white faster. For most pieces, I like this inexpensive primer.
I use this primer on furniture that is super shiny or if it’s a piece that gets a lot of wear and tear like a tabletop or dresser top.
This primer works great at helping the paint stick to problematic surfaces, like melamine or laminate. I’ve used this to paint floors and even tile with success.
Zinnser BIN is shellac-based, so it seals wood as well. I use it to seal the wood that I need to be white.

Click here to read an in-depth post on the best primer for furniture.
Sealing Furniture
I use shellac to seal stinky pieces and red or yellow woods. If I think a piece will bleed, it gets sealed.
Pine, mahogany, and cherry woods are notorious for bleeding and ruining your paint job. Some pieces need 2 coats, especially where 2 pieces of wood meet.
Shellac is cleaned in the same way as BIN primer.
Stripping
I like this paint stripper because it works well without the strong fumes. I prefer using a paint stripper on paint and sanding to refinish stained wood.
Brush the stripper on, let it sit until it starts to bubble, and scrape it away with a plastic putty knife.
It may take several applications. The stripper has to be cleaned off with mineral spirits and then water.
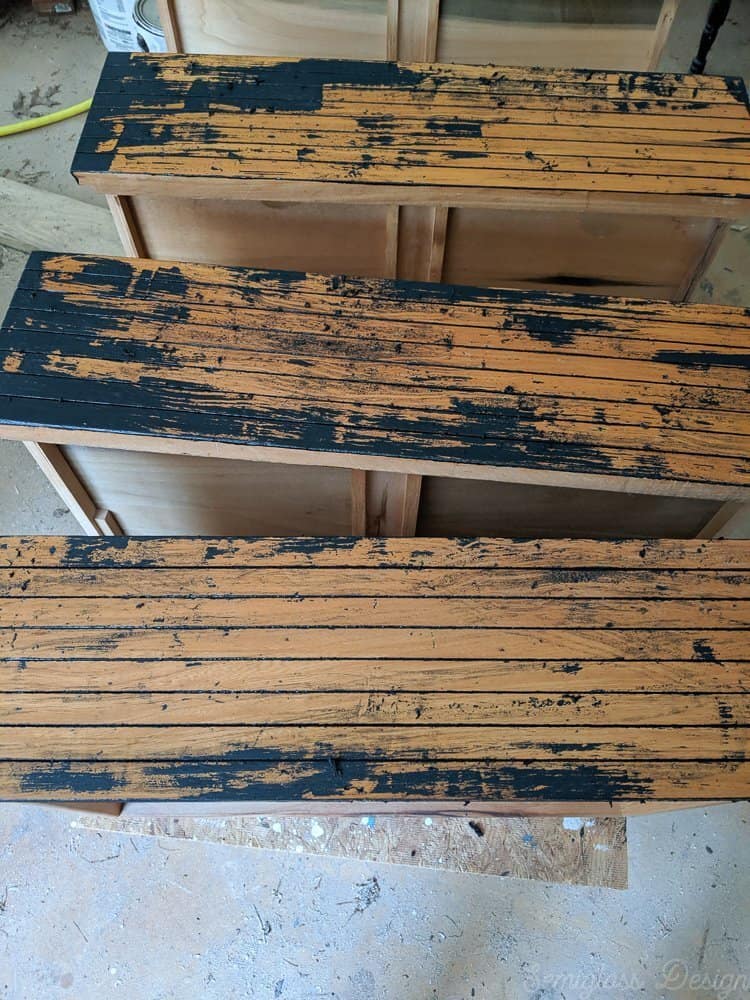
Sanding removes any remaining paint, plus smooths the wood to get it ready for paint.
If the paint was applied to raw wood, it’s just easier to sand it off. Stripping the paint doesn’t work as well.
Read an in-depth tutorial on how to strip painted furniture.
Refreshing Vintage Wood
Sometimes wood just needs some moisture to look good. It also disguises scratches. I’ve had a lot of luck refreshing wood with hemp oil. Rub it in and wipe it away.
This is a great way to make interior shelves look amazing without painting them.
Click here for a tutorial on refreshing vintage wood furniture.
How to Paint Furniture
Now comes the fun part!
What Color to Paint Furniture?
If you’re selling the furniture, black, white, and gray sell easily because these colors can go in any house and look good.
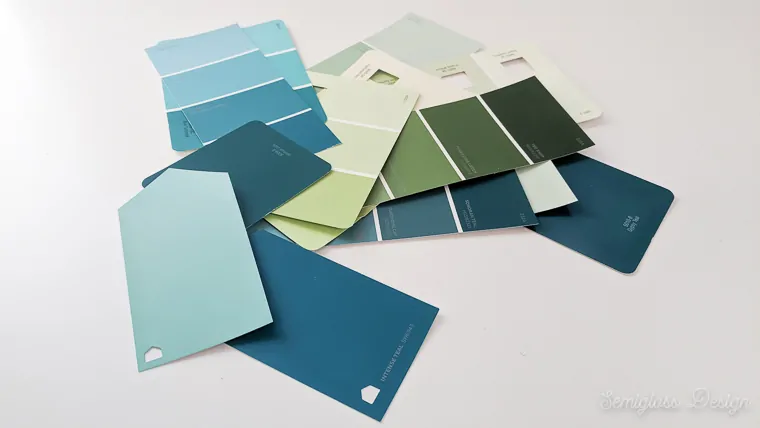
If it’s for yourself, your options are a lot more open. So here are some things to consider.
White paint goes with anything. It also lightens a space. However, it can be difficult to cover dark furniture with white paint. Be ready to use a lot of paint.
Bright colors can add a fun pop of color in a boring room. I love brightly painted furniture against white walls. However, it’s easy to tire of bright color.
Black and other dark colors are really easy to paint because they cover well. On the flip side, dark colors can look like dark spots in the room.
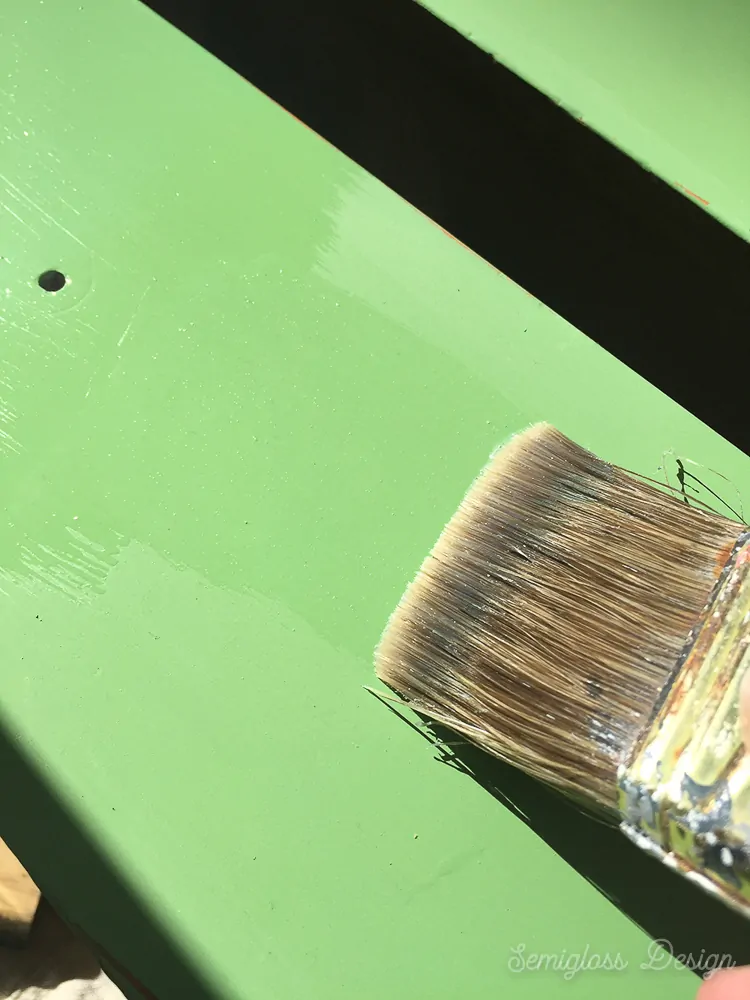
What type paint to use on furniture?
There are so many different types of paint for painting furniture. Each has its pros and cons.
Consider the finish you desire (chippy vs smooth), the use of the piece, how much work you’re willing to do, and how much you want to spend on paint.
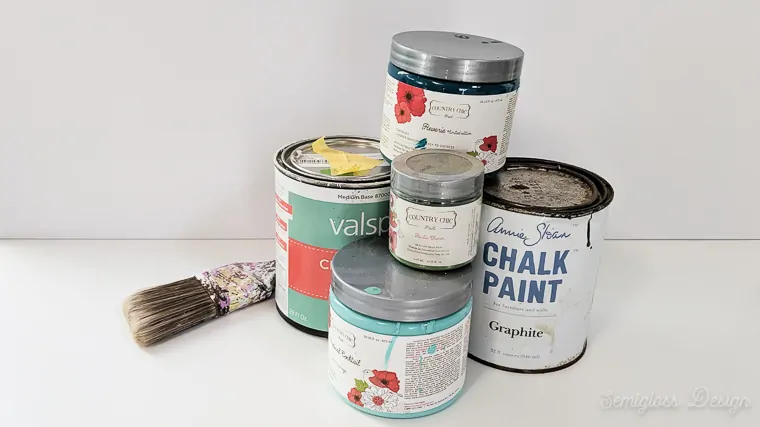
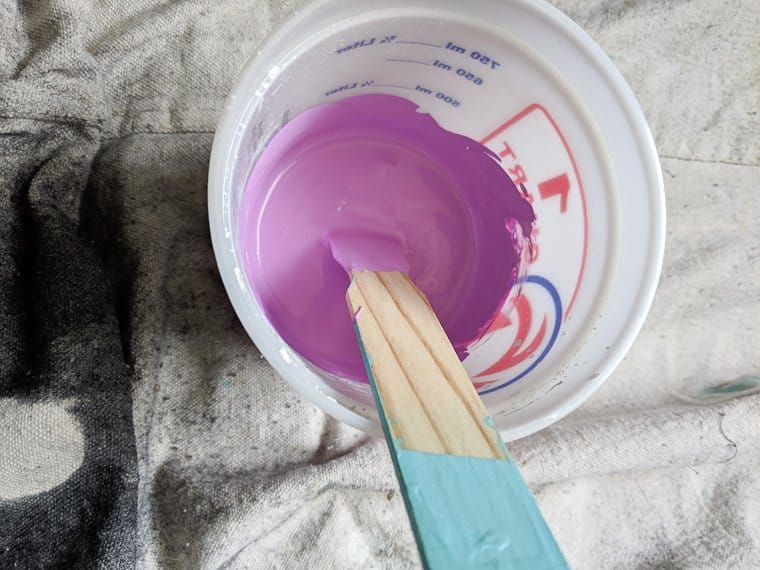
Milk Paints
Milk paint is an older type of paint. It comes in powder form and needs to be mixed. Milk paint can be used to create an authentically chippy paint finish.
However, the paint can react unpredictably. Sometimes it chips way too much. Other times, it doesn’t chip at all.
Milk paint can be finished with wax, polycrylic or hemp oil.
Some milk paints are actually acrylic paints. True milk paint needs to be mixed with water.
Read more about how to use Miss Mustard Seed milk paint.
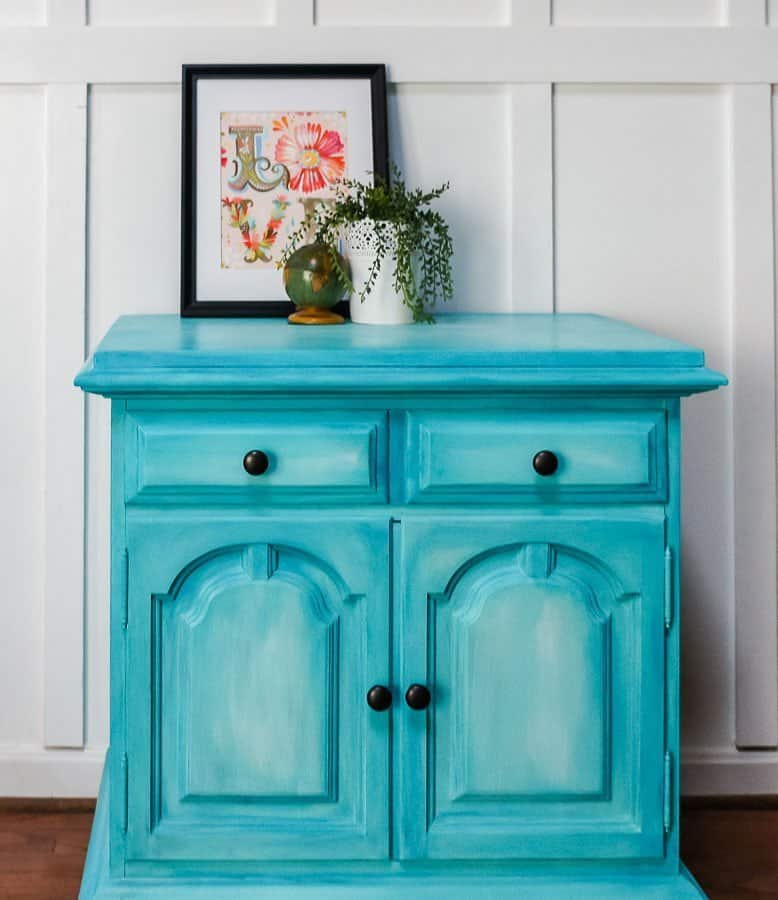
Chalk Paints
Chalk paint has grown in popularity over the years because it’s so easy to use. Coverage is typically pretty good and the curated colors make it easy to find a beautiful color.
Chalk paints range in price depending on the quality. Annie Sloan is probably the best (their wax is superior to every other wax I’ve used!) But Lowes carries an affordable version by Valspar that I really like.
Chalk paint needs to be sealed to protect the finish. You can use wax or polycrylic for a durable surface.
Having problems with chalk paint? Check out these tips for fixing them!
Read more about milk paint vs chalk paint.
Read more about the best paint brushes for chalk paint.
Mineral Paints
Mineral paints are a newer type of furniture paint. They go on smoothly and dry to a very durable finish.
Mineral paints are more expensive, but because you don’t need a topcoat, that makes it worth the price.
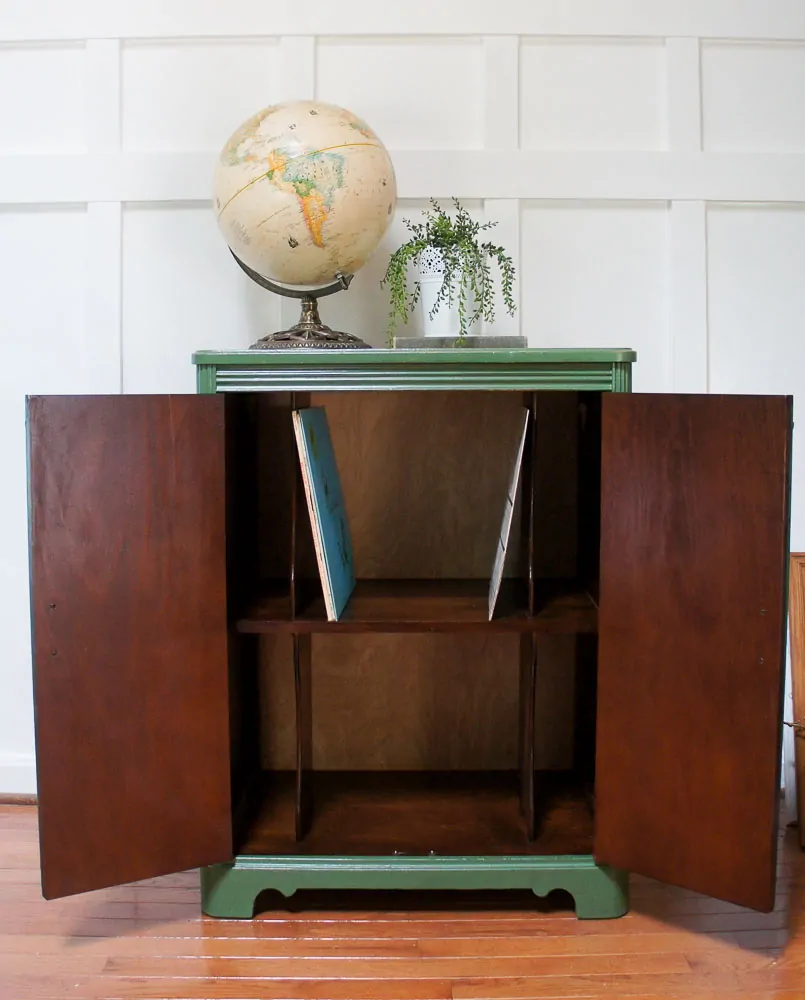
Here’s a credenza cabinet that I painted with mineral paint.
Latex Paint
I’m including latex paint because I like latex paint for some applications. With proper prep, latex paint is just as good as a fancier furniture paint.
Latex paint comes in any color you could imagine. Plus, it’s much cheaper and perfect for larger pieces like china cabinets.
Latex is also perfect for a sprayed finish on furniture.
I prefer an eggshell finish to give the look of chalk paint with a more durable finish.
You can apply a top coat if desired.
DIY Chalk Paint
You can make your own chalk paint with latex paint and plaster of Paris. I find the coverage to be superior to most brands that you buy. Plus, you have total control of the color.
Read more about my DIY chalk paint recipe.
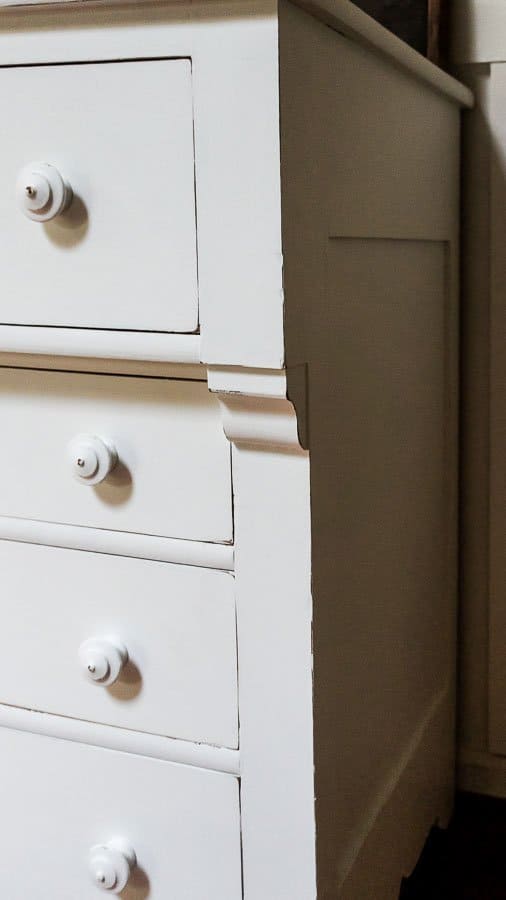
Painting Furniture White
White furniture is classic and goes with everything, but painting furniture white can be difficult if you’re starting with dark furniture.
It must be primed to avoid bleeding through the white paint. Priming also helps prevent the need for 10 coats of paint.
Read more about painting furniture white.
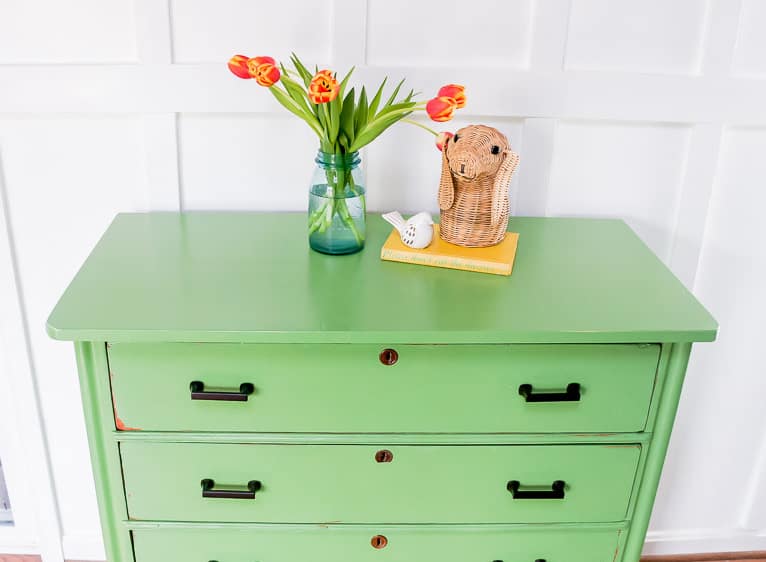
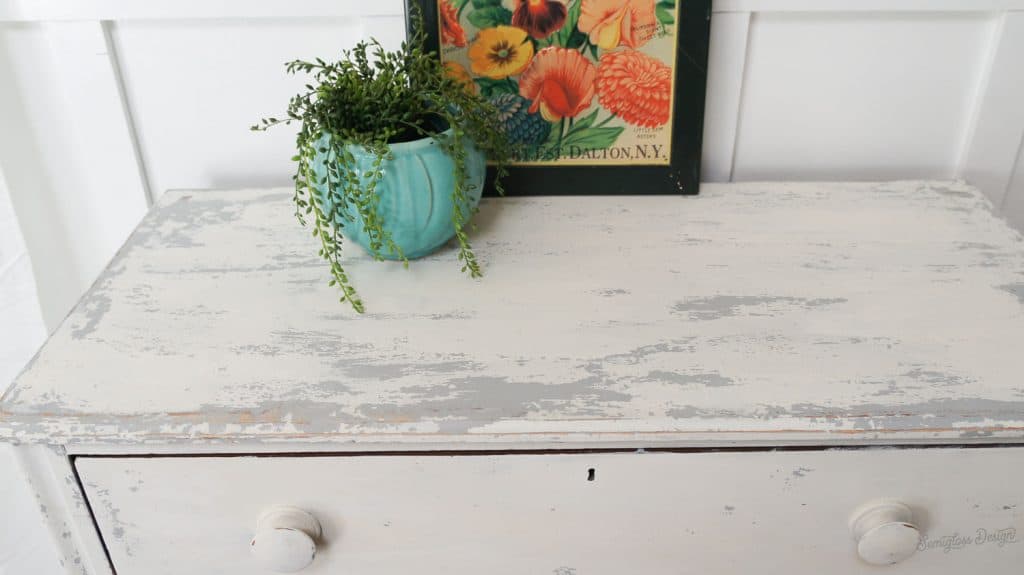
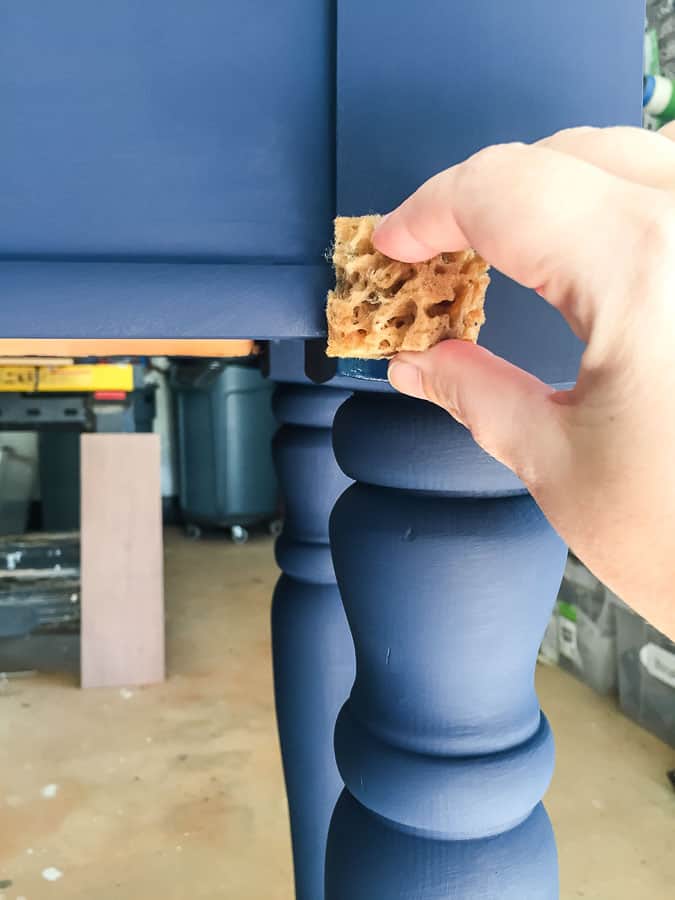
Distressing
Distressing furniture adds age to a piece. It can also call attention to special details on a piece of furniture.
I love distressed furniture because it makes the piece less precious. If it gets banged up a bit, it looks even better.
Lightly sand the edges in places that would get wear. Don’t sand places that don’t get touched.
Read more about my favorite ways to distress furniture.
Staining
Staining is pretty easy to apply on raw wood. Paint it on, let it sit, and wipe it away. Apply a 2nd coat if needed.
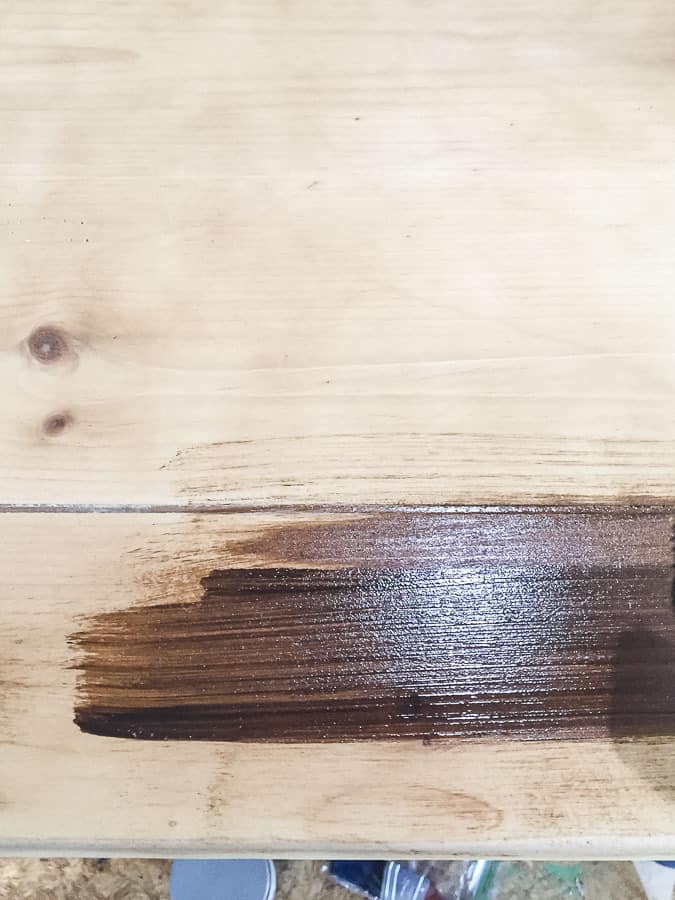
Don’t forget the topcoat. The stain does not contain a top coat to protect the finish. I like polycrylic because it doesn’t yellow over time. Plus it’s water-based for easy clean-up.
Click to read an in-depth post on how to refinish wood.
Read this tutorial about creating a weathered wood finish.
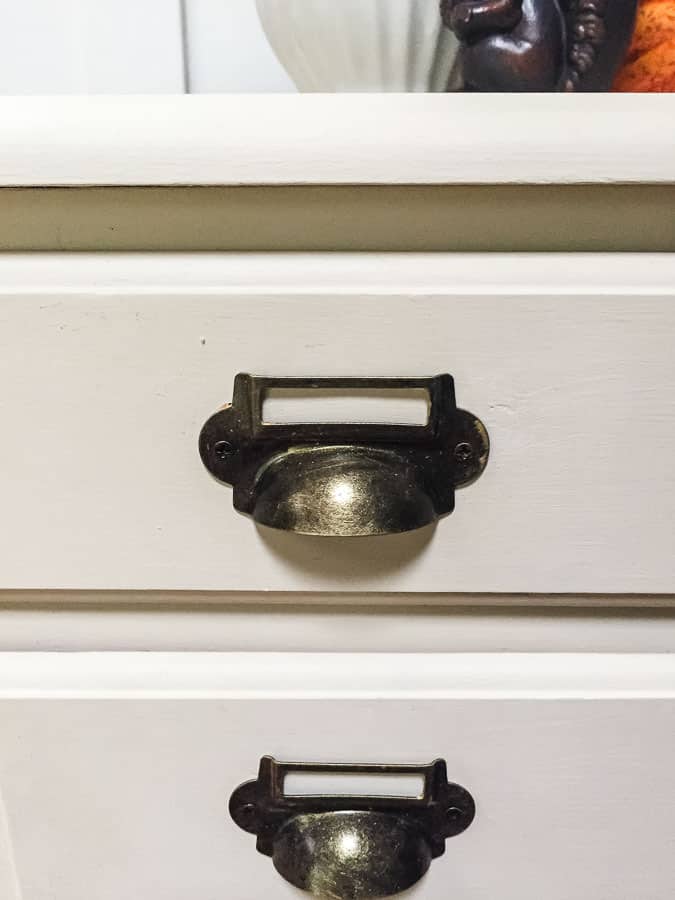
Hardware
Changing the hardware out is an easy way to drastically change the look of a piece of furniture. If you’re using a different size, you’ll need to fill the holes with Bondo.
You can find large quantities of handles online. I like D.Lawless for glass knobs. For special knobs, I like Anthropologie.
If the screws on knobs are too long, you can buy 8-32 size screws. I find the 1 1/4″ screws to be the most useful size.
For knobs with the screws attached, you can cut them shorter with a dremel or a hacksaw.
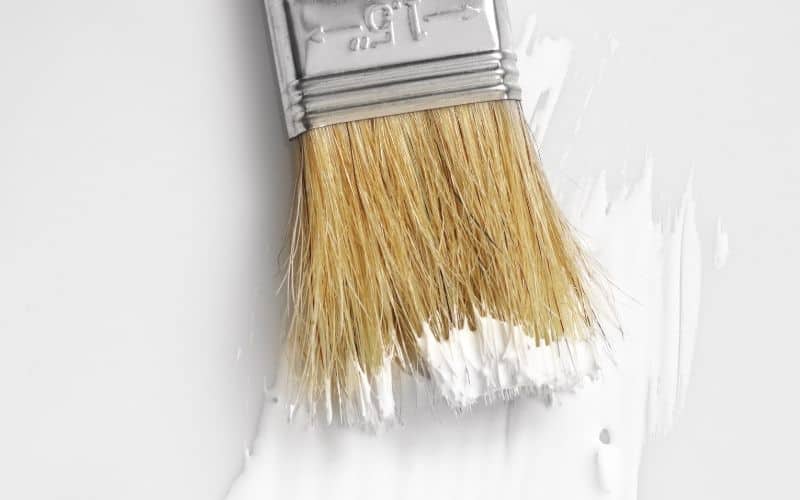
Top Coats for Painted Furniture
Protect your hard work with a topcoat.
Polycrylic
Polycrylic is my favorite top coat because it’s easy to clean up and it won’t yellow over white or light furniture.
Polycrylic also works well in humid conditions without getting gooey.
Buy it in smaller cans because the larger cans get too thick to use after a while.
When you’re painting it on furniture, keep a wet edge. If you miss a spot, get it in the next coat rather. Touching it with the wet brush will mess it up. Painting over the missed part in the next coat won’t show at all!
For best results, use 2-3 coats.
Read this in-depth post on how to use polycrylic as a top coat.
Wipe On Poly
Wipe on poly is super easy to use, but only use it for dark colors because it will yellow with time.
Wipe it on and wipe it off with a clean lint-free cloth.
Your cloth will break down and become linty so replace it as needed while working.
Wipe on poly is oil-based, so if it gets on your hands, they will feel sticky. Wash them with an easy-to-make sugar scrub.
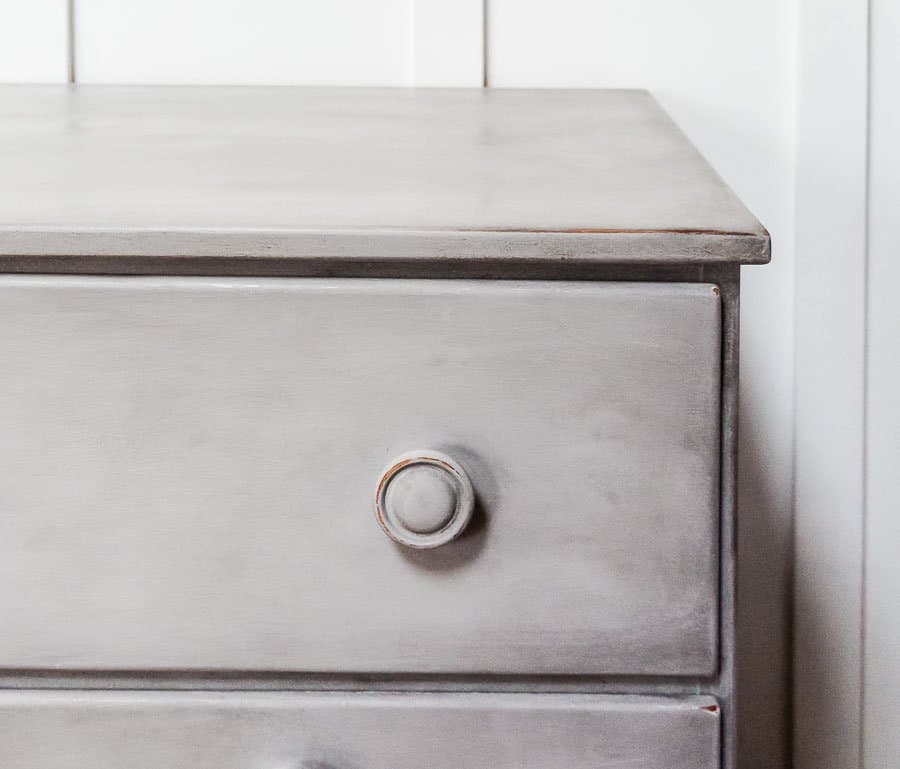
Waxing Furniture
Wax provided a finish that feels amazing, but it’s not ideal for every situation.
Wax doesn’t provide as much protection as polycrylic, so I wouldn’t use it on something like a tabletop that gets a lot of use.
Wax cannot be used on furniture that is going to live outside.
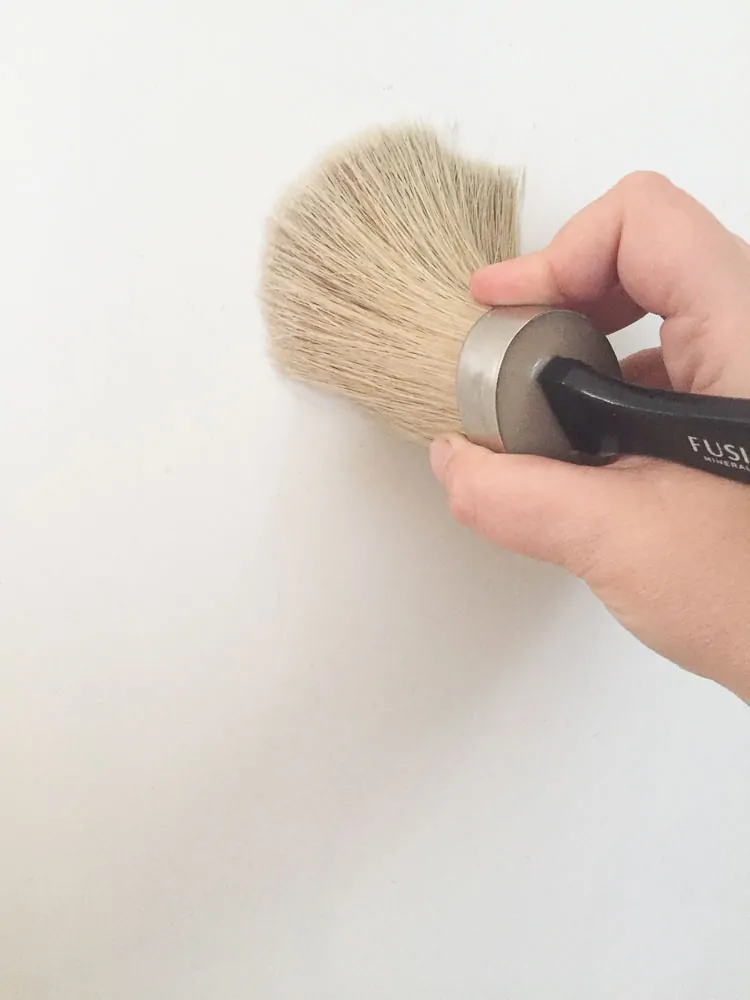
Wax is applied with a wax brush. Brush it on in a circular motion and then buff it away with a clean cloth.
I like this wax brush attachment for a drill. It does create a circular pattern, but it can be buffed away.
It also has to be reapplied after tome, so keep that in mind.
Wax can also be used to create different looks for furniture makeovers:
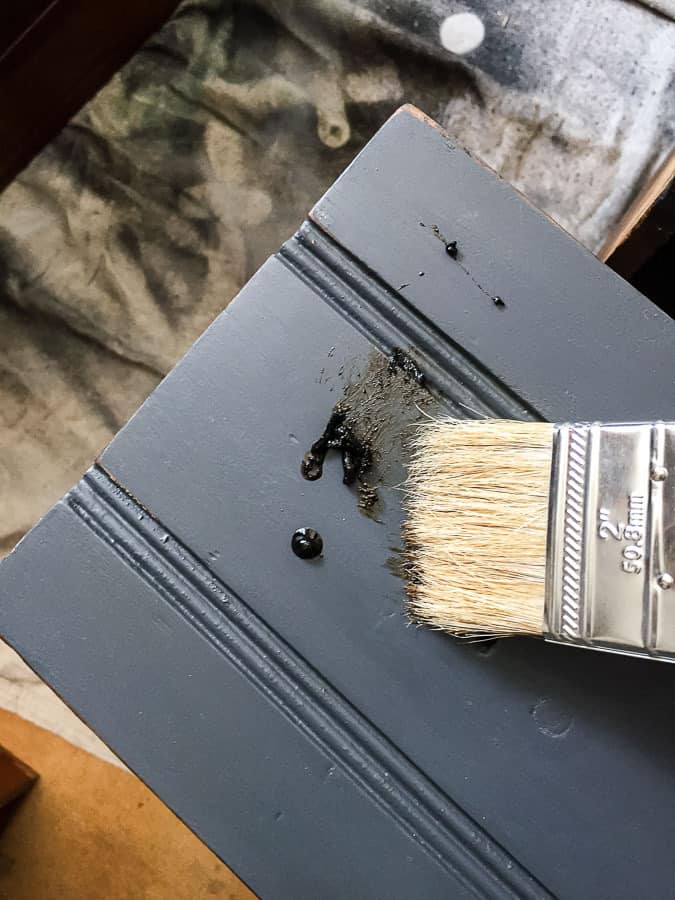
Read more about how to use dark wax on furniture.
Read more about how to use black wax on furniture.
Cleaning Brushes
Taking care of your brushes can prolong the life of your brush. Some paints are easier to clean than others. For instance, chalk paint is much easier to clean than latex paint.
Rinse the brush with the bristles pointed up under the faucet until it runs clean. Flip the brush bristles down and rinse some more. Do this until the water runs dry.
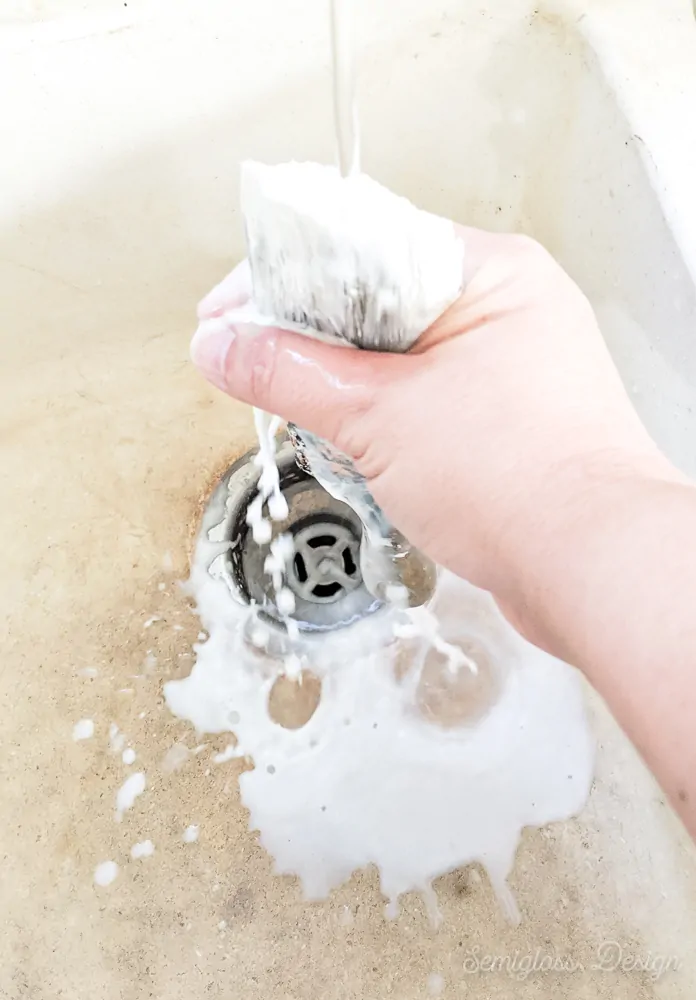
If the paint dried a bit, use a brush comb to scrub the brush clean.
Click to read how to clean dried paint brushes.
Fun Techniques for Furniture Makeovers
Layered Chalk Paint
Layered chalk paint is a fun, boho look that is becoming very popular. You can combine subtle colors or crazy colors for different effects. This technique is very fun!
Read more about how I layer chalk paint.
Ombre Painted Furniture
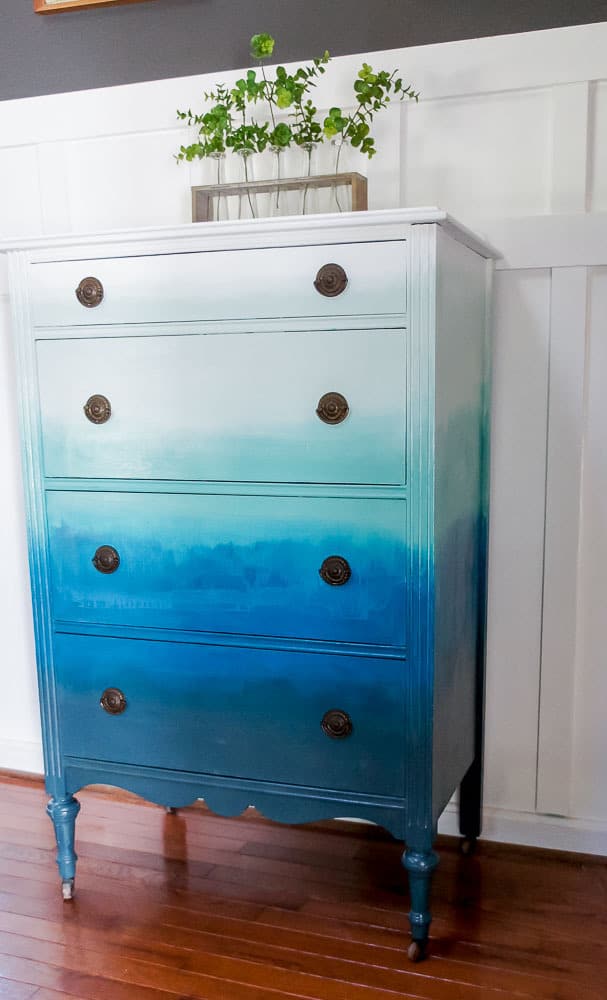
Ombre paint is when one color fades into another. This can also be done subtly or in a dramatic manner.
Read more about how to create an ombre painted effect on furniture.
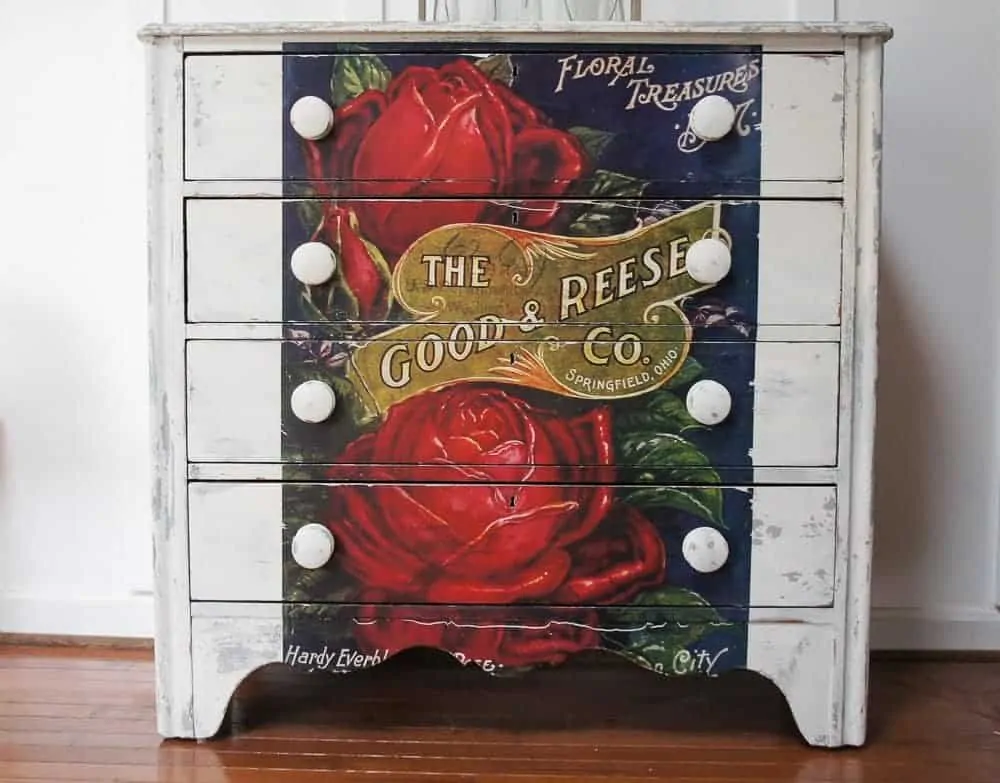
Decoupage Furniture
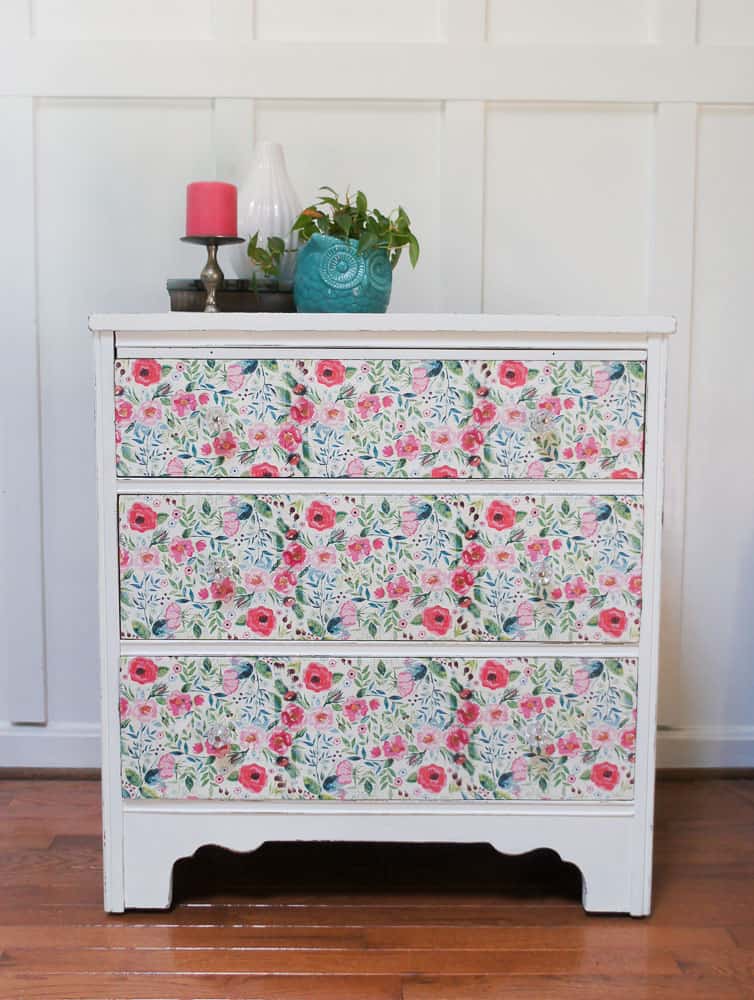
Add pattern to a piece of furniture with decoupage. Decoupage is also a great way to disguise a damaged veneer or surface.
Read more about how to decoupage on furniture.
Transfers
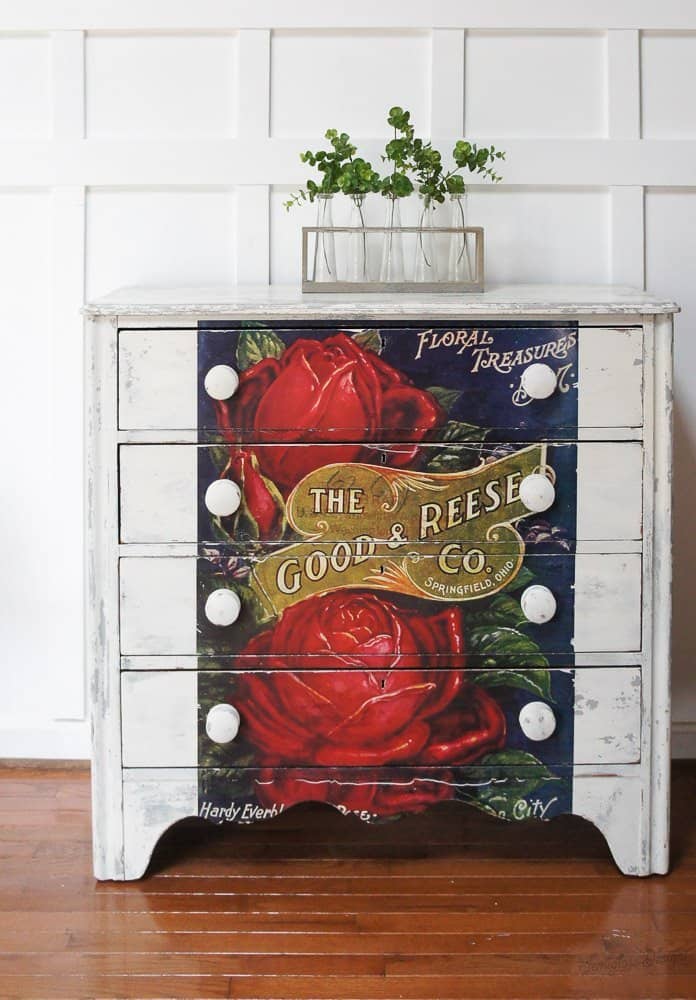
Decor transfers are another way to add patterns to a furniture makeover. They’re a newer product for furniture painting, so it will be exciting to see new patterns as they come out.
Read more about using decor transfers on furniture.
Patterned Drawer Liners
Vintage furniture often comes with graffiti-covered drawers. Even if they’re not inked up, it’s nice to add a fun pattern to the drawers. I love using gorgeous wrapping paper for this project.
Just measure, cut and glue in place.
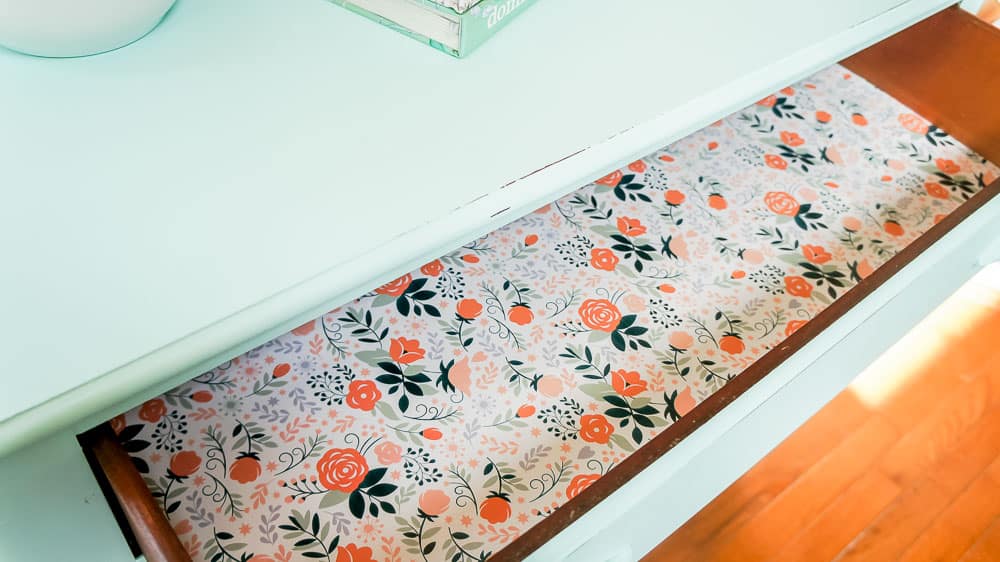
Click to learn about installing drawer liners.
Adding Wallpaper to Bookshelves
Similar to adding drawer liners, adding wallpaper to bookshelves adds a fun detail.
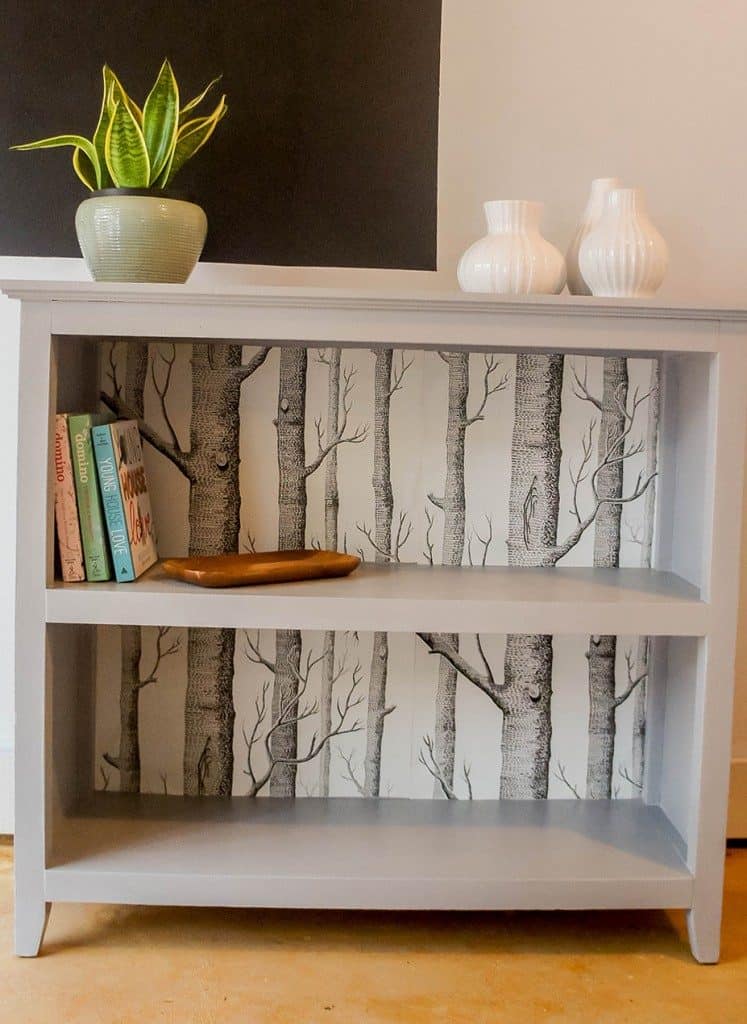
Learn how to install wallpaper on a bookshelf.
Pin for Later!

Emy is a vintage obsessed mama of 2 DIYer who loves sharing affordable solutions for common home problems. You don’t need a giant budget to create a lovely home. Read more…