How to Use a Paint Sprayer to Quickly Paint Furniture
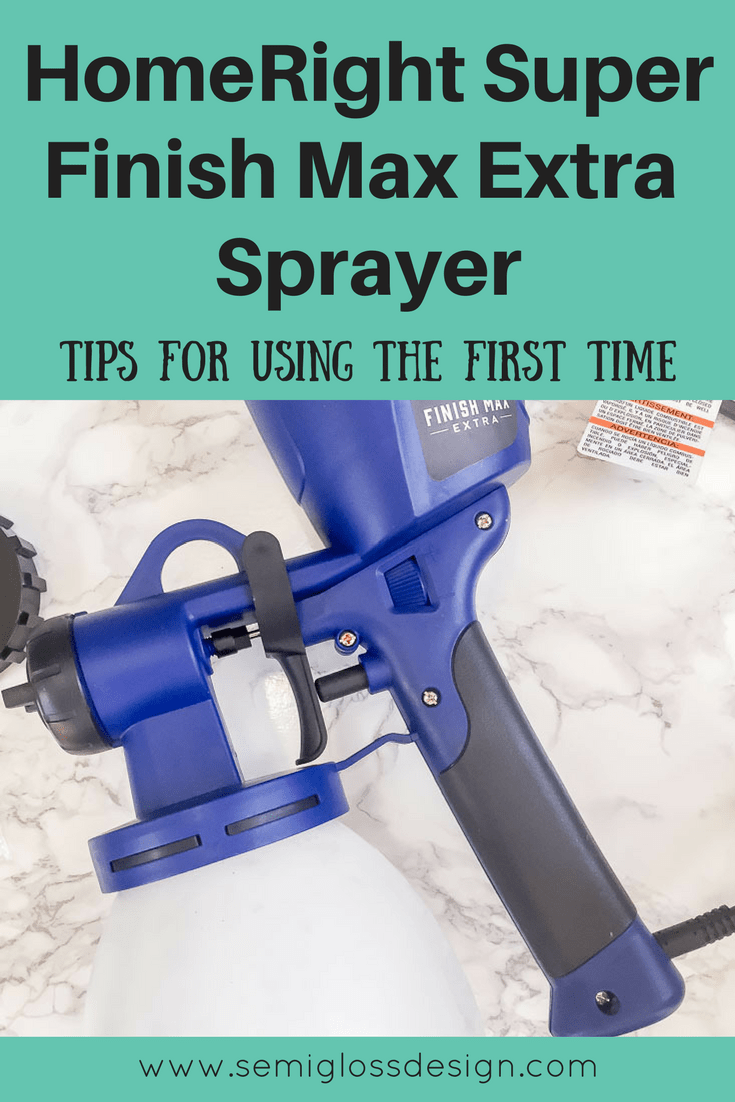
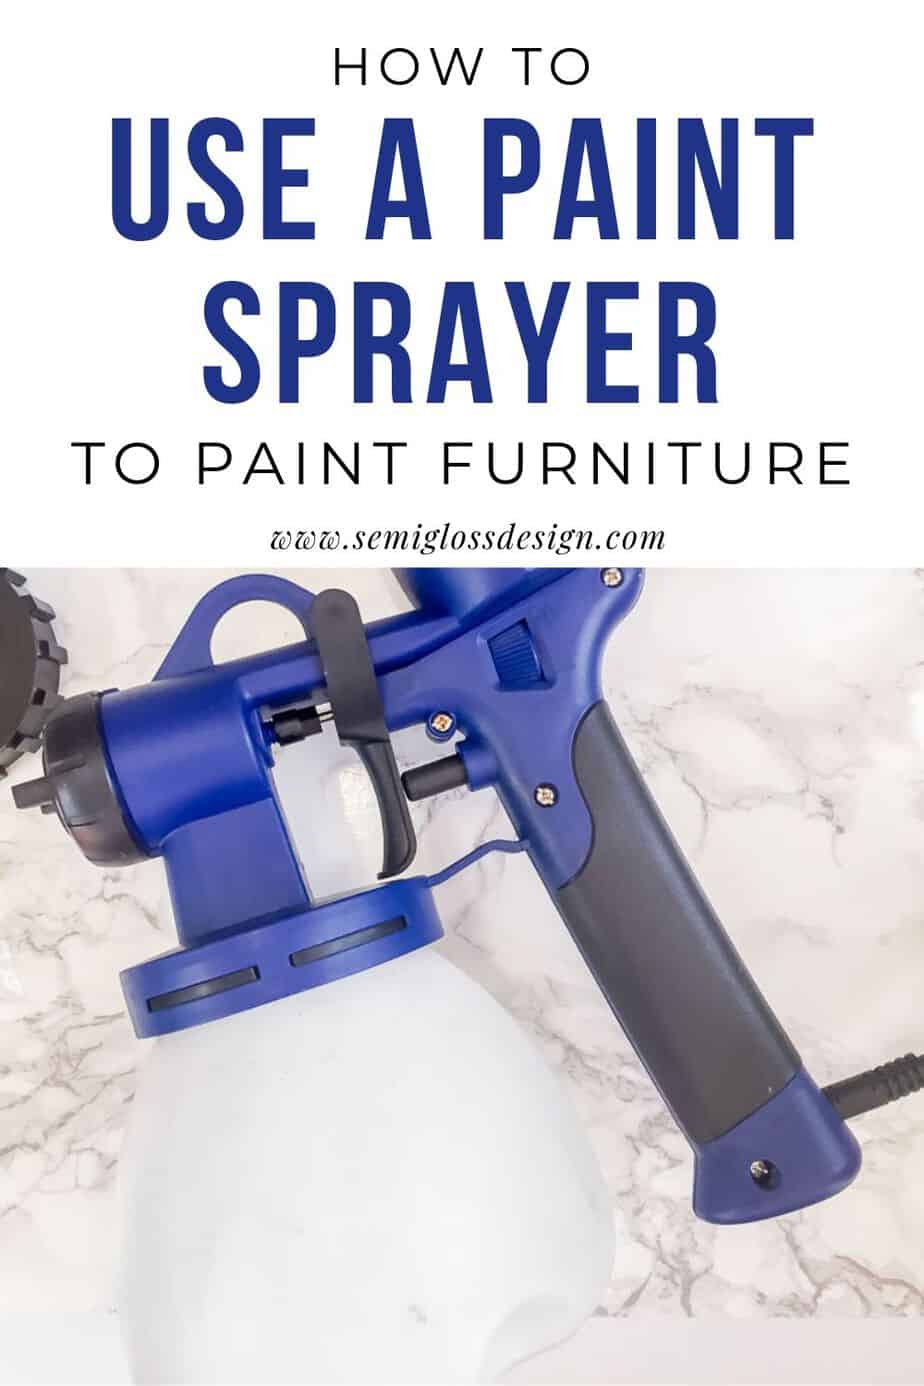
Learn all about how to use a paint sprayer using the HomeRight Super Finish Max Extra sprayer.
I love painting. Nothing makes me happier than having a paintbrush in my hand. I know it’s weird, but I enjoy the process. However, every now and then, there are projects that I don’t enjoy painting. Like spindles. Or wrought iron furniture.
After my husband professed his desire for a rocking chair for the patio, I picked one up at a thrift store for him. All of those spindles made it the perfect candidate for my new HomeRight Super Finish Max Extra sprayer. Learn how to use a paint sprayer. Painting all of those spindles was quick and easy with the right tool!
My First Project:
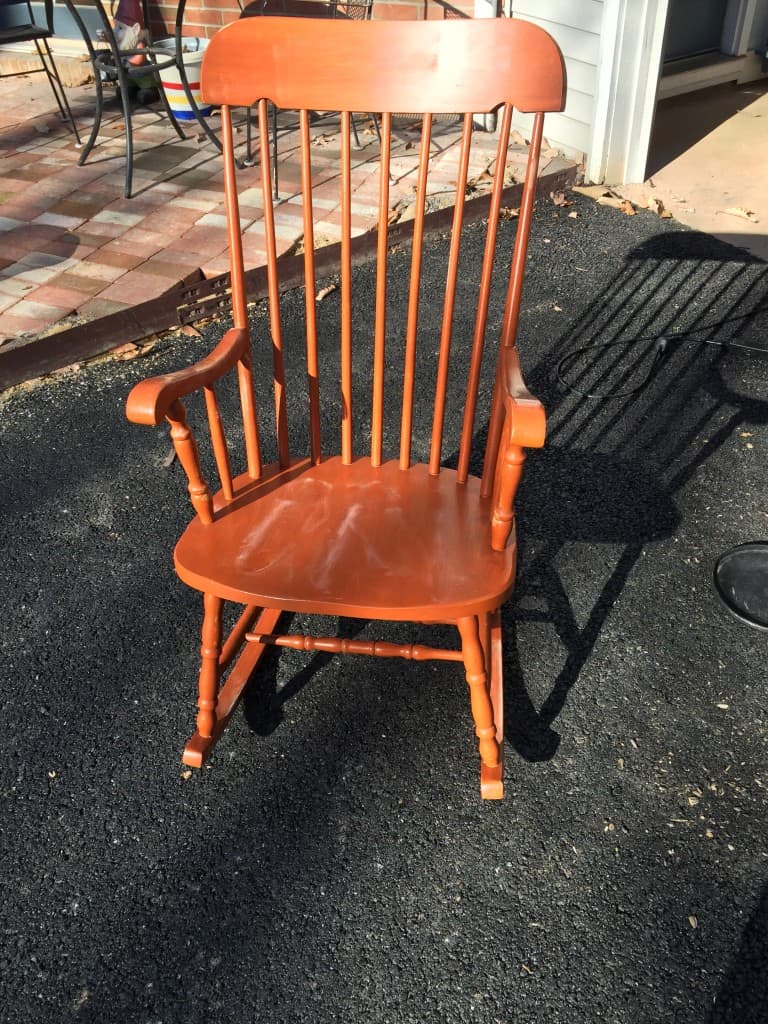
Don’t let the picture fool you. This is not wood, but a lovely almost neon orange with a faux finish over it. There were also varnish bubbles and drips in select spots. After sanding down those spots, it was time to get ready for spraying.
By the way, when you buy a rocking chair, a lot of vintage items and a Scrabble game, the guy at the thrift store will probably make fun of your grandma ways. Haha! He has no idea.
How to Use a Paint Sprayer
This post contains affiliate links. By purchasing an item through an affiliate link, I earn a small commission at no extra cost to you.
Supplies Needed
Easy Tips for Using a Paint Sprayer
- Don't let all the pieces intimidate you. The HomeRight Super Finish Max Extra sprayer really is as simple as watering down some paint, filling the jar and plugging it in. Yes, you can do more, but start simple. The green tip and the black sprayer that are already on it work fine with latex paint. It feels like it should be harder than that, but it's pretty simple.
- Use a large plastic tarp. Despite the photos that I've seen, my overspray was much worse than I expected. Maybe it was just windier outside than I thought, but I still got paint everywhere. Next time, I will spray paint on the grass, not our newly paved driveway. Oops.
- Use a long extension cord, not an extension cord reel. You need to be able to maneuver the sprayer and the cord is really short. And be okay with it getting painted. Don't use your cute aqua one.
- Practice first with water. I actually realized this when I was cleaning the sprayer out. Fill it with water and play with the settings until you find the desired spray. This is a much cleaner way to figure out your settings.
- Start on the lowest setting and work your way up. I did the opposite and during the cleaning process, figured out that the lowest setting would have made me happier.
- Let the paint dry between coats. I sprayed the front first and let it dry, before spraying the back to not oversaturate the chair too quickly. Even on a 60 degree winter day, the paint dried fairly quickly. No need to rush things.
- If your sprayer isn't spraying right, open it up and turn around the pick up tube. I tend to spray down, so the tube needs to face away from the handle to get the most paint. If you spray upwards, face the tube towards the handle.
- Thinning the paint was pretty much a guessing game. My paint had no instructions for thinning, so I thinned it to about the consistency of milk. I thought this would lead to transparent coats, but it covered just fine! Just add water and mix with a wooden stir stick.
- Move your arm when spraying, not your wrist. This provides even coverage.
- If you need to paint the underside, do it first. I know this, but I always forget to actually do it.
- The paint on the furniture dries faster than the paint on the tarp, so be careful not to track it around.
What I Loved About the HomeRight Super Finish Max Extra Sprayer
- The speed. Each spraying session only took a few minutes. I was able to work on other projects while those coats dried. This doubled my productivity that day.
- Ease of painting spindles. Spindles are not fun to paint and would have taken hours to do.
- The coverage. If I had used a brush, I would have needed at least 2 coats, but the sprayer allowed me to do closer to one coat. I say "closer to one" because I know that there were areas that were overlapped when spraying, but I never had to do 2 complete separate coats of paint.
- Ease of cleaning. For years, I've been told that cleaning a sprayer is the worst part of using one. However, I found the process easy and quick. In warmer weather, it would have even been enjoyable. I rinsed the paint from the holding container and filled it with soapy water. Then I took it back outside and sprayed it until no more paint came out. The smaller parts were rinsed in my sink. It only took a little longer than cleaning a paint brush (although I'm a very thorough brush cleaner.)
Sprayer Skills I Still Need to Work On
AKA: Future blog posts with more tips
- The finish. I think I had it set wrong because it's a little bumpier than I hoped. In the future, I will play with the settings and try thinning the paint a bit more. From far away, it looks flawless. Check out my friend Thea's tips on how to thin down paint for a smoother finish.
- Spraying furniture in the winter. I've seen some really cool garage set ups, but the spray shelter would be ideal for smaller pieces. We're adding a heater to the garage this weekend, so I hope to have an update for this in the very near future.
- Reducing my overspray. I plan on using the sprayer on the inside of my cabinets and pantry that we're building, so I'm hoping to minimize my mess.
Future Projects for My HomeRight Super Finish Max Extra Sprayer
- Cabinet insides. If I don't remove all of my upper cabinets, I plan on painting them white. I've enjoyed the peeks of wood, but I'm ready to minimize the colors in my kitchen.
- Wrought iron table and chairs. There's no way I can paint it with a brush. Now I'm not stuck with standard spray paint colors! Update: Read all about my wrought iron table set makeover.
My overall thoughts on the HomeRight Super Finish Max Extra sprayer
I was very impressed with the HomeRight Super Finish Max Extra Sprayer. It was much easier to use than I thought it would be. Like so easy that I was sure I was doing something wrong.
If you can spray paint, using a sprayer isn't much harder. This sprayer made quick work of those spindles!
And I can't wait to use it on my wrought iron patio set. This sprayer makes tedious work a lot faster! I'm looking forward to using it more in the future now that I know how to use a paint sprayer.
Wondering if you should use a sprayer for walls? Find out.
Pin for Later!
How to Use a Paint Sprayer
Emy is a vintage obsessed mama of 2 DIYer who loves sharing affordable solutions for common home problems. You don’t need a giant budget to create a lovely home. Read more…
Looks great! I suppose, if you’re super anal, the bumpy parts could be sanded and sprayed again, right? It’s still faster than brushing by hand, that’s for sure!
Think you! This is very helpful and definitely going to use them when using my sprayer.
Thanks Mary! My husband used the sprayer and he loved it so much. Start with something not precious until you get the hang of it. It’s so easy to use once you figure out the right spray setting. (We also learned not to turn it all the way to the minus sign or it wouldn’t spray at all.) Good luck!