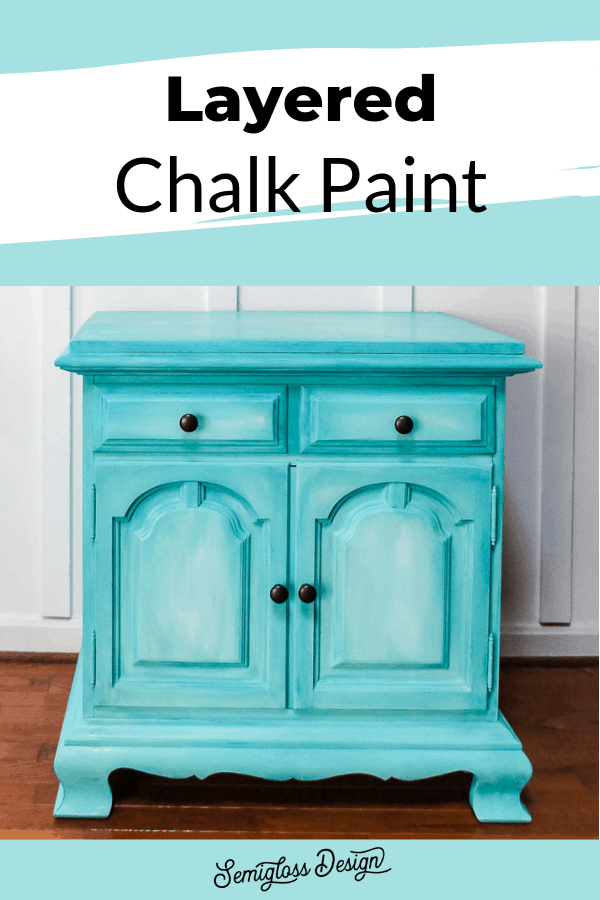
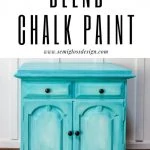
Layered Chalk Paint Dry Sink Upcycle
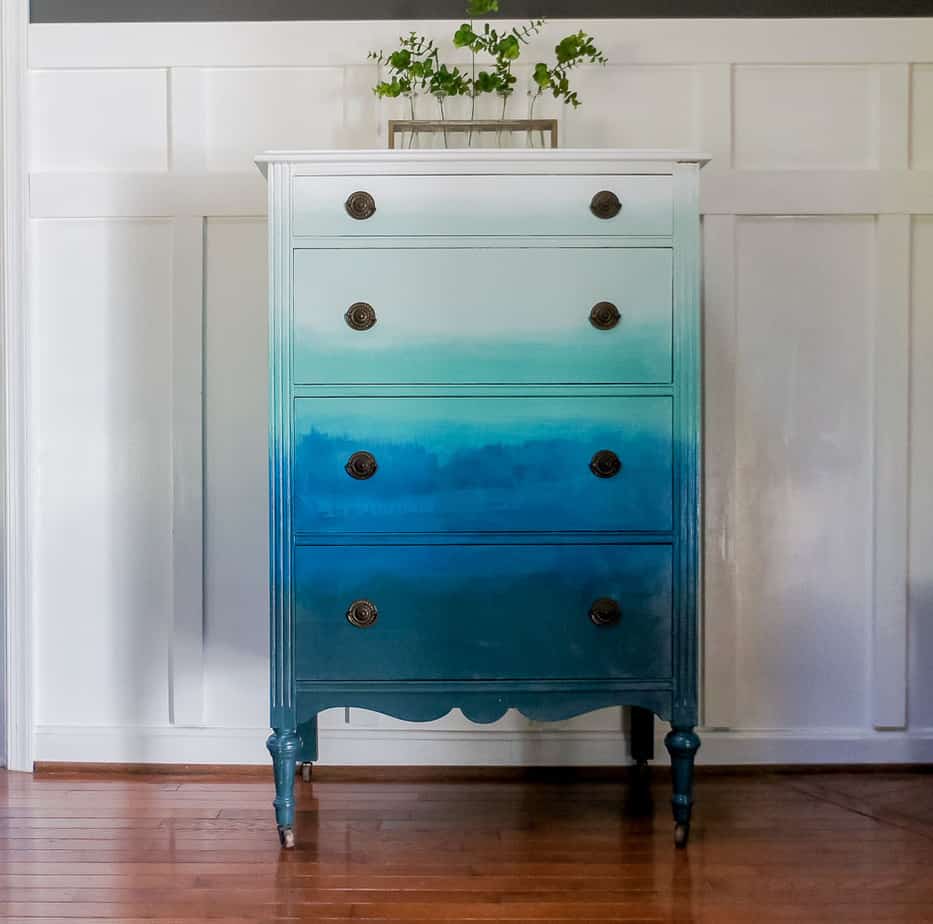
Learn how to use a layered chalk paint technique to update furniture. This process is similar to my blended ombre dresser and just as much fun!
I’m a sucker for furniture that has lost it’s original purpose. There was no way that I could walk away from this sad dry sink, especially when I was offered a cheap price!
It had so much potential to be beautiful and useful again.
Country Chic Paint provided me with paint for this project, but all thoughts and opinions are my own. Your support helps me make more projects like this one!
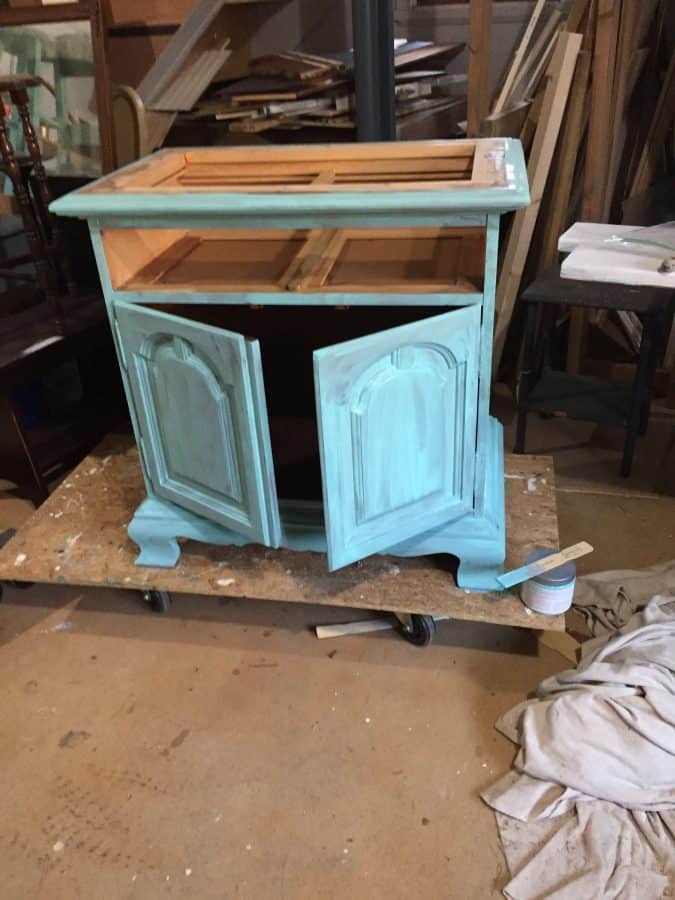
Dry Sink Before
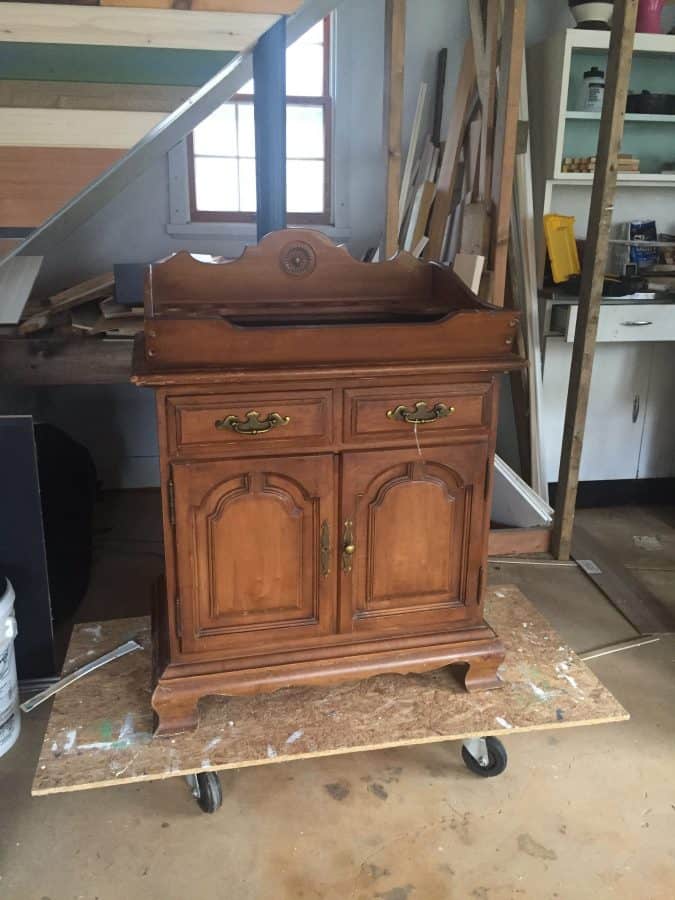
This piece dates to the 60s or 70s, so it wasn’t a precious antique.
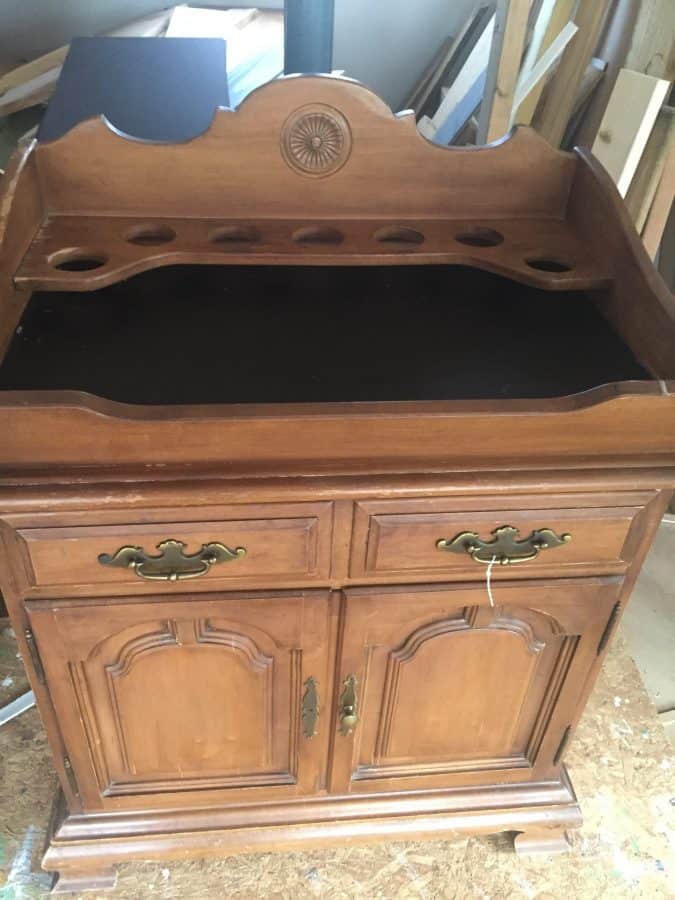
The dry sink part had a spot for glasses, so I guess it was used as a bar. That part was impossible to clean. The top was laminate and I knew that painting it would be tricky.
So I broke out the pry bar and gave it a new look. It took some muscle and a hacksaw to cut through the remaining screws, but it was worth it.
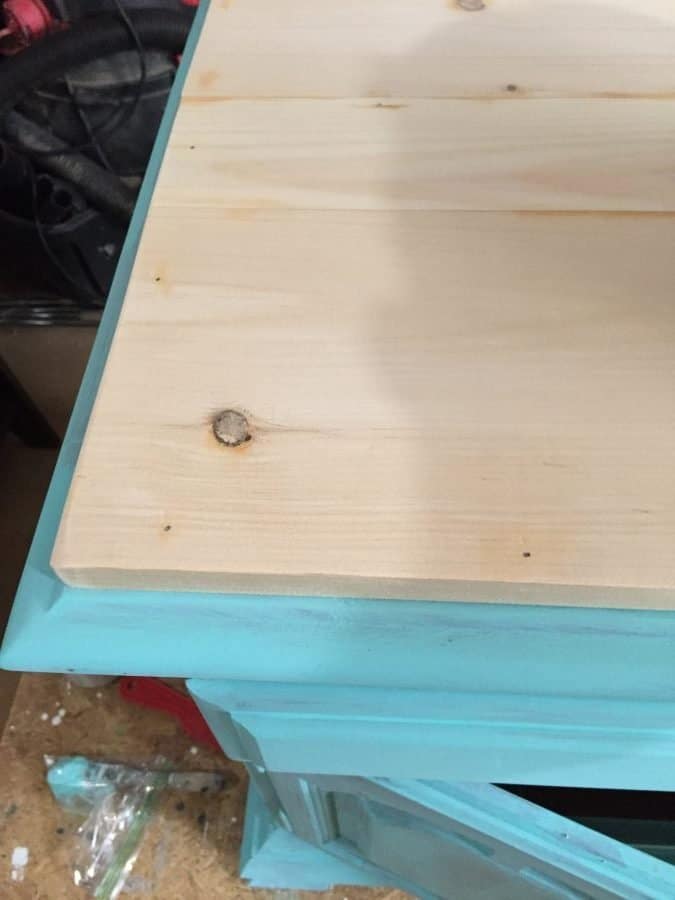
I made a new top for it using this technique and then simply nailed it in place.
Why would you layer chalk paint?
Layered chalk paint gives more depth than a simple, one color paint job. It’s great for a boho look. It’s also a really fun chalk paint furniture technique.
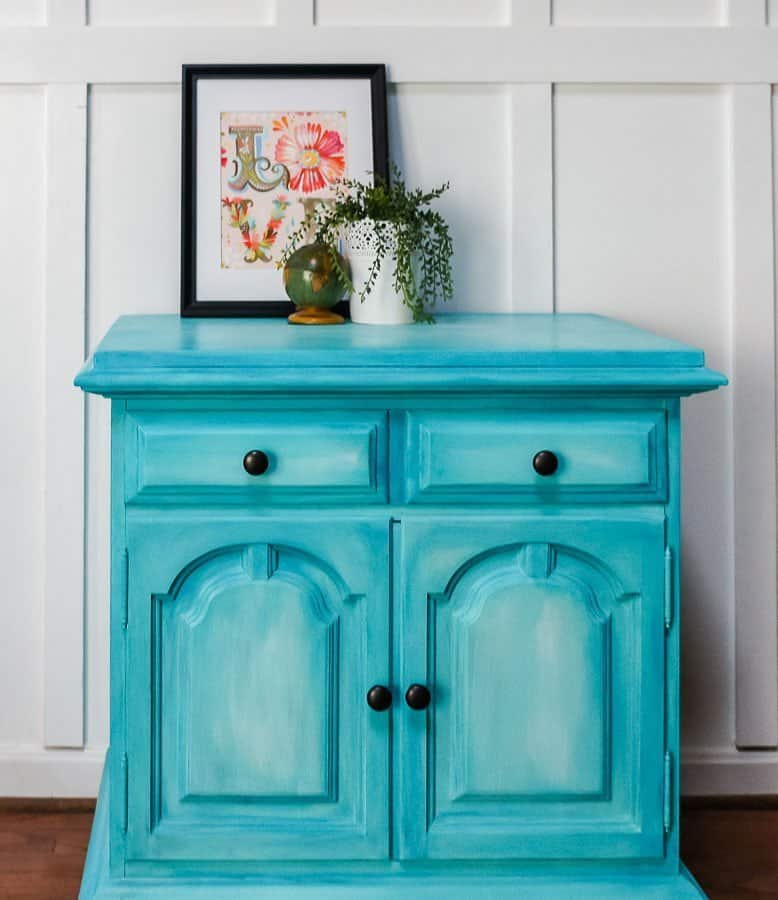
Layered Chalk Paint Dry Sink Upcycle
This is one of my favorite chalk paint blending techniques. Layering chalk is so much fun!
Although it requires multiple colors, it ends up using very little paint, so it also makes this a budget-friendly paint technique.
Supplies Needed
This post contains affiliate links. By purchasing an item through an affiliate link, I earn a small commission at no extra cost to you.
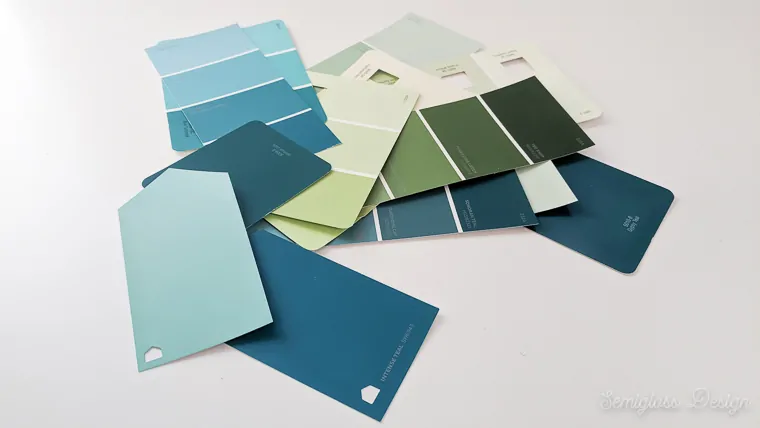
- Country Chic Paint in Reverie (discontinued – try Jitterbug instead)
- Country Chic Paint in Tropical Cocktail (Bright Aqua)
- Country Chic Paint in Simplicity (White)
- Polycrylic
- Paintbrushes
- Spray bottle
- Country Chic Hemp Oil
- Knobs
Prep the Furniture
Furniture Prep
- Remove the hardware. You would be surprised how dirty it is underneath!
- Clean thoroughly. This piece was dirtier than most and I had to vacuum it out, in addition to wiping it down with Simple Green cleaner.
- Even the felt drawer liner needed a good cleaning. Afterward, I let it dry in the sun to prevent mildew.
- Lightly sand the cabinet so that the paint sticks well.
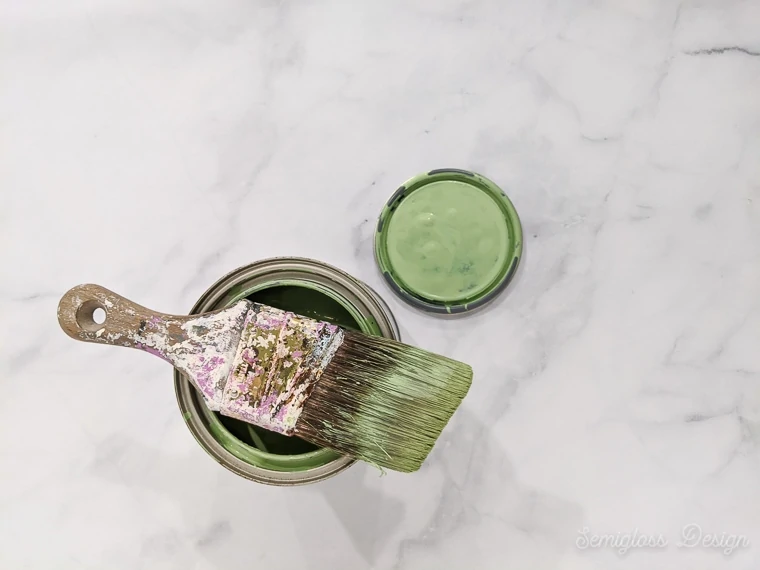
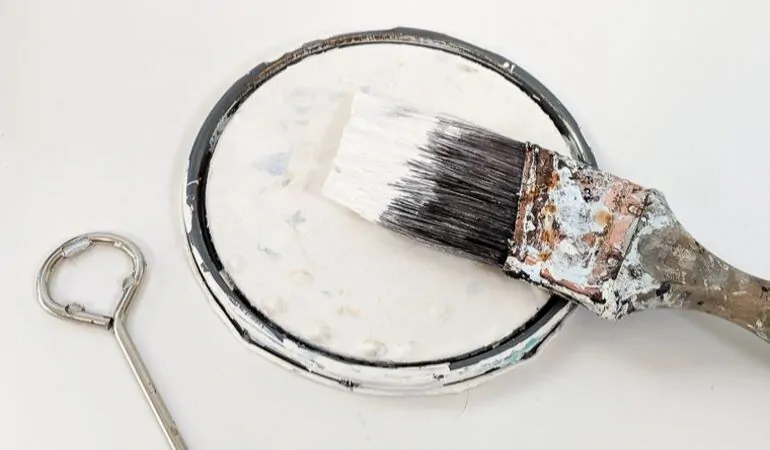
Click here to read about the best brush for chalk paint.
Paint the Furniture
- Then I started painting using Tropical Cocktail as the base coat. It needed 2 coats of paint.

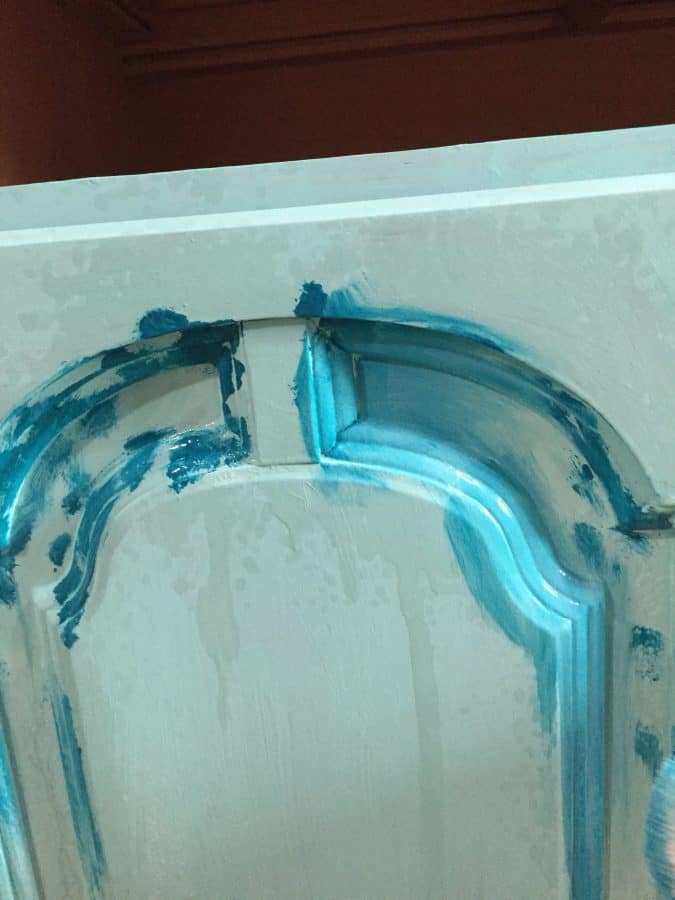
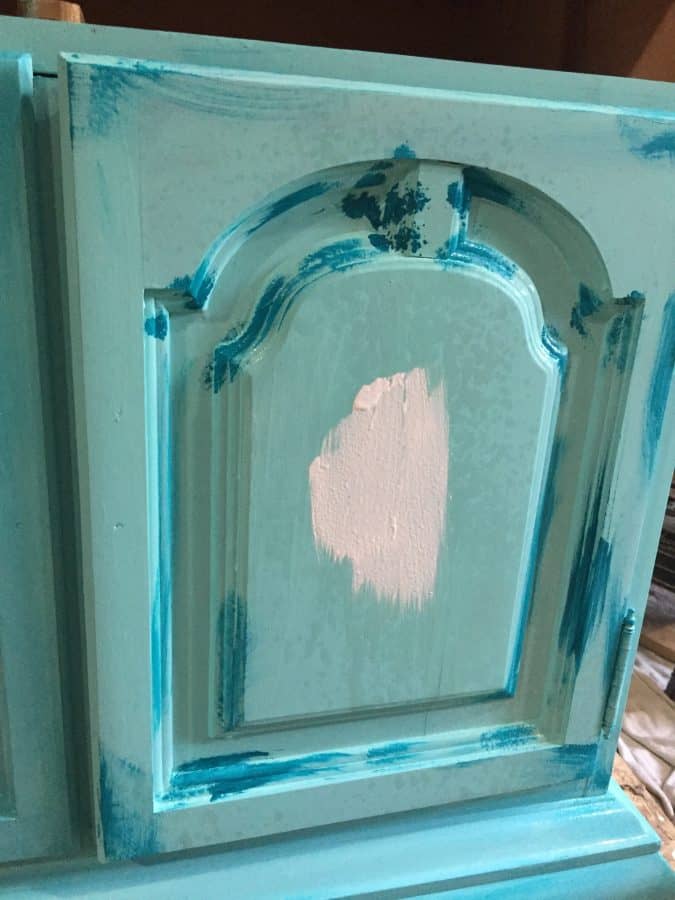
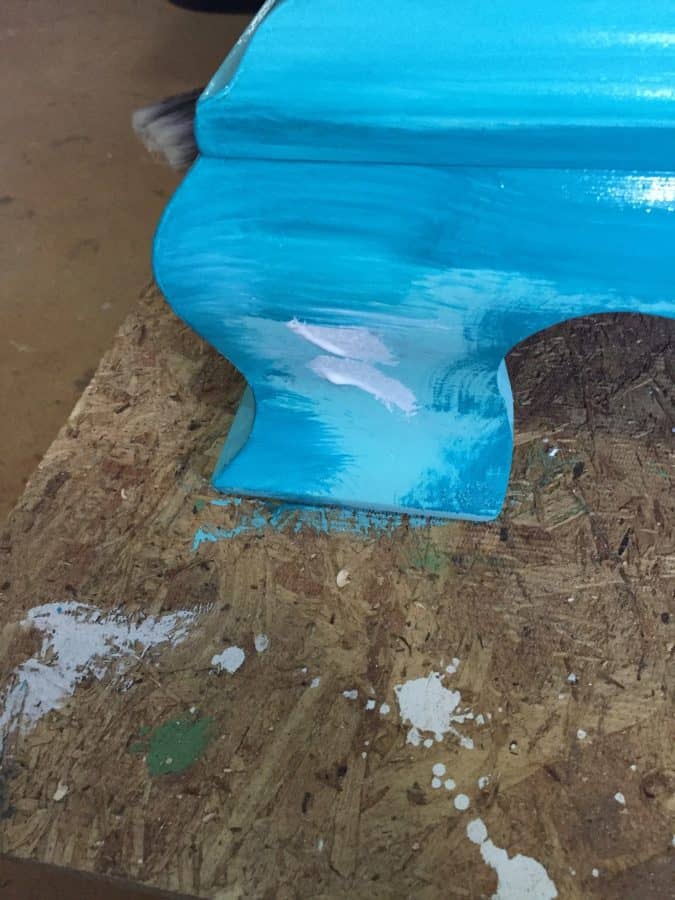
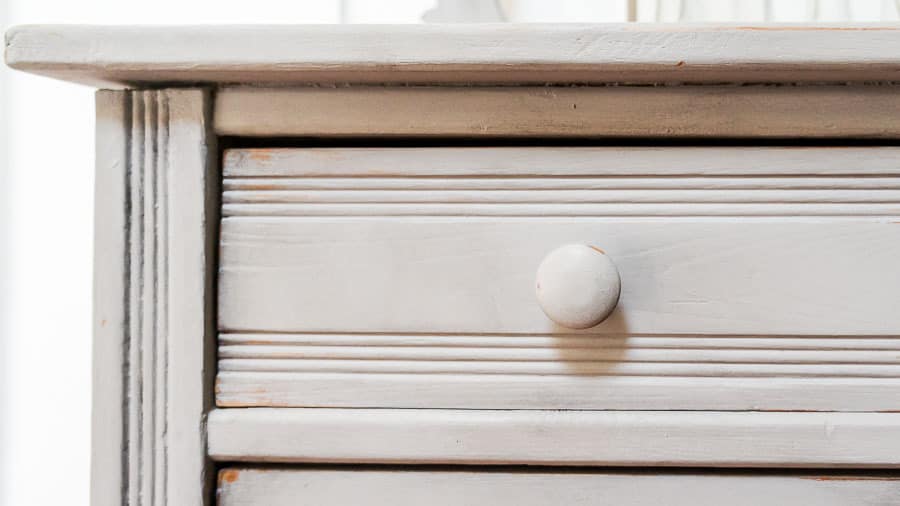
- Then the fun began. I painted Reverie in the corners and recesses of the cabinet.
- Then I added Simplicity to the middle parts of each panel or raised part.
- Spray it all with a water bottle set to mist.
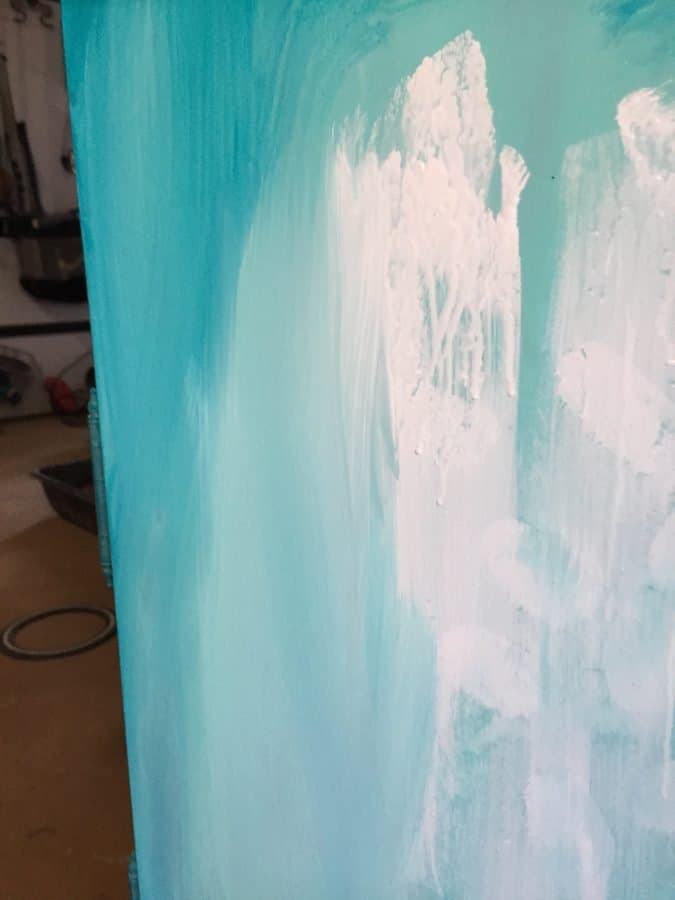
- Use a clean paintbrush to start wet blending chalk paint.
- Repeat for every part of the cabinet, blending and adding paint as you like.
- Wipe your brush on a clean rag if it gets too wet.
- Keep going until you’re happy with the look. You can add more water or paint until you’re happy.

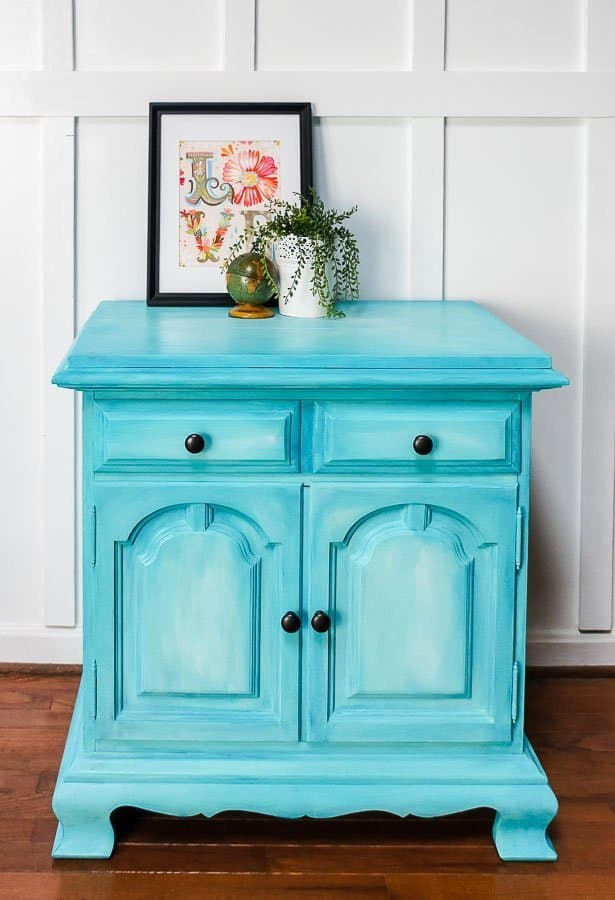
Finishing the Layered Chalk Paint Cabinet
Click here to read how to apply polycrylic without streaks.
- Brush on 2 coats of polycrylic to protect the paint job.
- Add new knobs when the paint is dry.

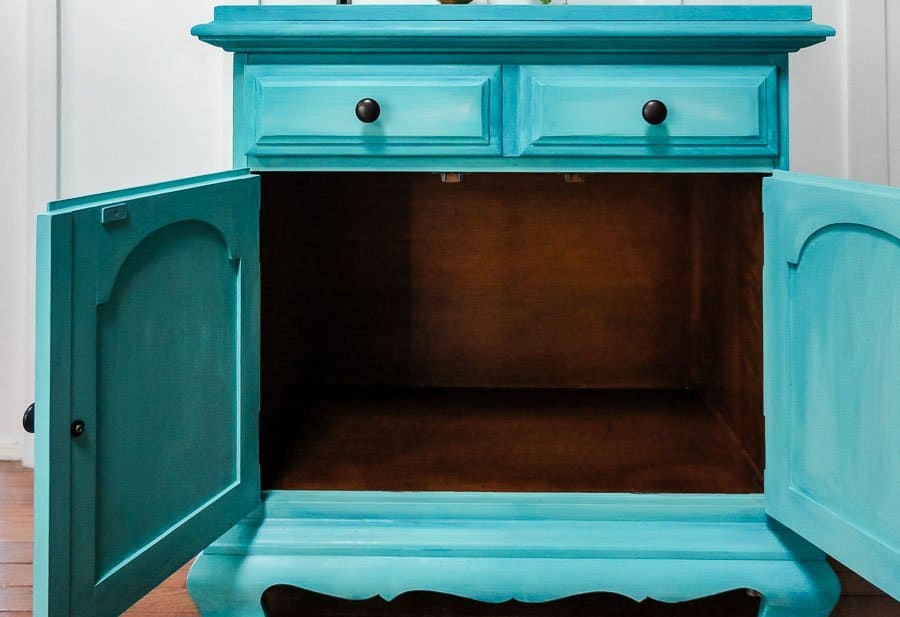
- The inside was refreshed with some hemp oil. Just wipe it on, let it sit, and wipe it off. It refreshes old wood and makes it look new again.

This paint blends so easily and is so much fun to work with. Be sure to check out all of the amazing furniture tutorials from Country Chic Paint!
You Might Also Like:
- Beginner’s Guide to Furniture Painting
- Make Your Own Chalk Paint
- Decoupage Dresser
- Blended Ombre Dresser
- Aqua Credenza
- How to Paint Furniture White
- One Dresser: Two Looks
Pin for Later!

Emy is a vintage obsessed mama of 2 DIYer who loves sharing affordable solutions for common home problems. You don’t need a giant budget to create a lovely home. Read more…

Beautiful!
awesome awesome awesome….im going to use these exact colors for a piece i have. THANK YOU!