Make Your Own Stencil with a Silhouette Cameo
Making your own stencils with a Silhouette Cameo is so easy! It’s the perfect way to make custom stencils for your home decor and craft projects.
Learn how to make your own stencil using a Silhouette Cameo. I used this same technique for creating a stencil for my fireplace.
You might also like this technique for making vinyl stencils for glass etching.
This post contains affiliate links. By purchasing an item through an affiliate link, I earn a small commission at no extra cost to you. As an Amazon Associate I earn from qualifying purchases.
DIY Stencil FAQ’s
Why should you make your own stencils?
I love the convenience of buying pre-made stencils, but I want my stencils to fit better. When you make your own stencil, you can specify the size, which gives you a more custom look.
It also allows you to make multiple copies of the stencil for problem areas, like corners. I like to cut my stencils apart for those difficult areas instead of hoping it will bend correctly.
For instance, when I stenciled my bathroom, I ended up painting a black border around the edges and the toilet because my purchased stencil wouldn’t bend in a way that allowed me to get the edges well.
What is the best material to make a stencil out of?
I’ve used the following materials and they all have their pro’s and cons.
- Cardstock. Cardstock is readily available and inexpensive. It’s great for small stencil jobs or stencils that you make multiples of. You can get cardstock in both 8.5″ x 11″ and 12″ x 12“. It’s also the weakest of the choices. The paper can get soggy and the designs can get clogged with paint.
- Transparency film. Like the kind in overhead projectors from middle school. It’s also easy to find and inexpensive. Stencils made with transparency films are a bit sturdier, but still a bit flimsy. This is a great solution for small stencil jobs, like signs where you won’t reuse it a lot. It only comes in 8/5″ x 11″. (Stenciled sign project)
- 7 mil mylar. This is the sturdiest of the choices. It’s great for making reusable stencils with your silhouette. It’s more expensive than the other choices. It comes in 12″ x 12″ so there may be a bit of waste if your design is small. It’s also difficult to cut with the silhouette and requires a very sharp, new blade and a double pass. Even then, you may have to cut some parts with an exacto knife. (Another bathroom floor stencil)
I like cardstock for intricate designs better than the 7 mil mylar. It lays flatter, resulting in a nicer stencil image.
Can you make your own DIY stencil if you don’t own a cutting machine?
Yes, you can use printable stencils! Print the PNG or JPEG image on your cardstock or transparency film. I wouldn’t even try the mylar because it’s too thick.
Then cut it out. An exacto knife is the best, but if you have trouble cutting it out, I recommend tiny, sharp manicure scissors.
Be sure to choose stencils without a ton of details. Straight lines are the easiest.
Shop My SVG Designs
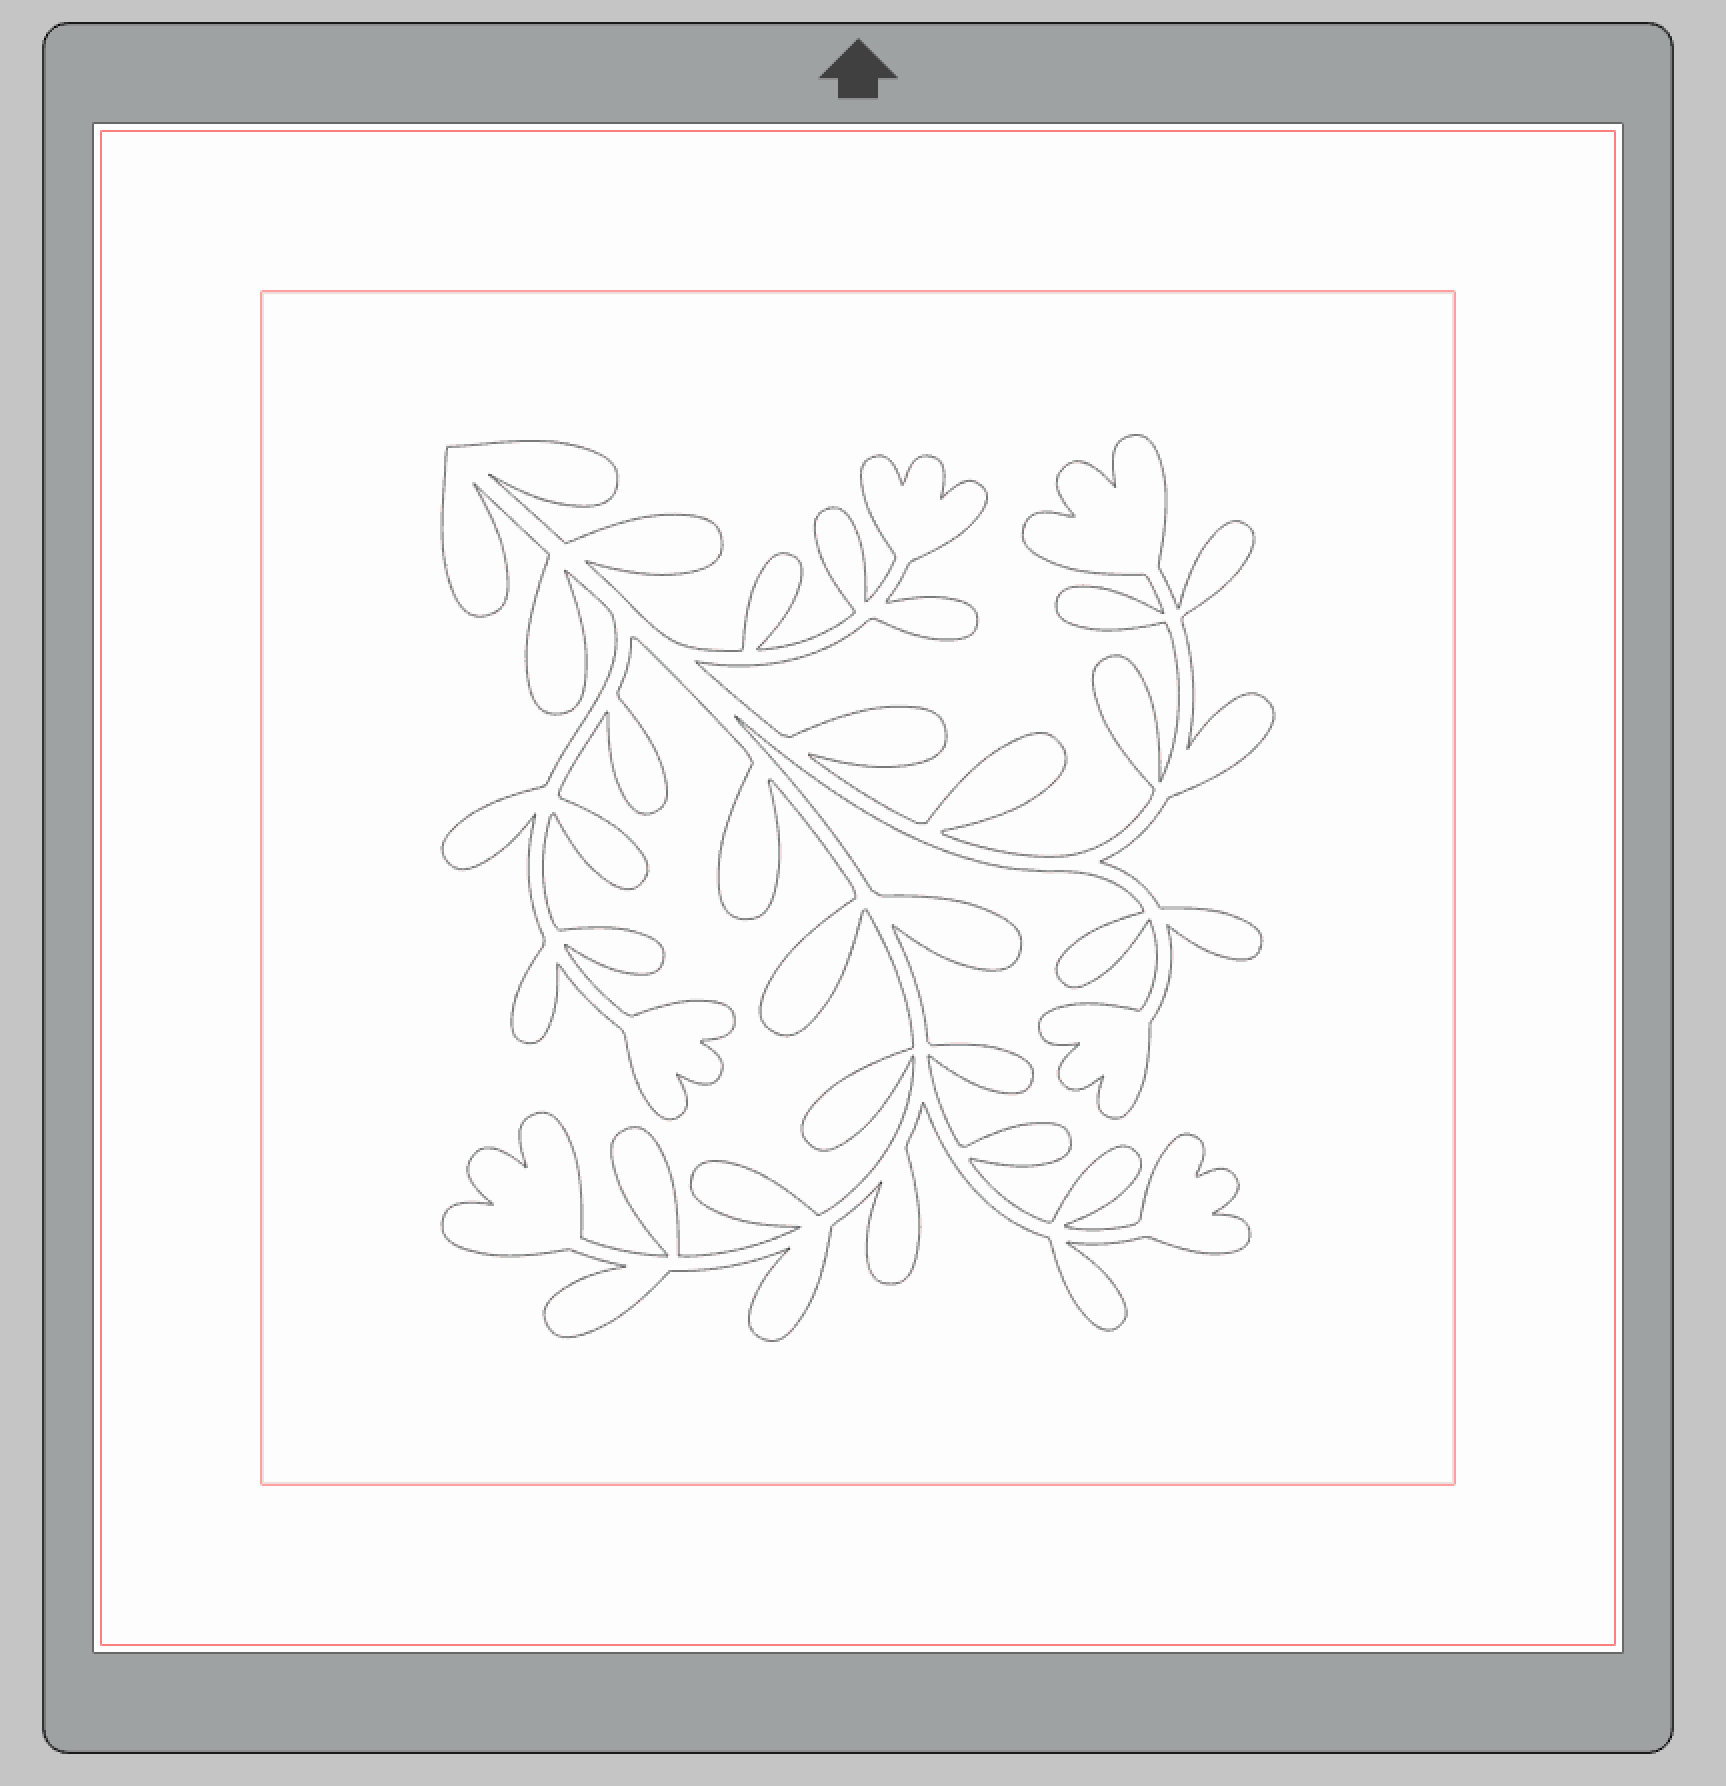
Designing Your Own DIY Stencils
I make my stencils in Adobe Illustrator because I’m very comfortable with the program and it results in more exact lines that when I work in Silhouette Studio. But of course, you can use Silhouette Studio as well.
Your stencil needs to be free of islands. Unlike vinyl, which uses transfer tape to move the spare pieces, a stencil design needs to be one piece.
I also like to enclose my stencil in a box or include a line so that I don’t have to make additional cuts once I cut it with the Silhouette.
Try not to use thin lines in your design. Thicker lines are much easier to stencil.
You can join shapes together in silhouette studio using the weld tool. You can also manipulate the shapes with the anchor points. For instance, an oval can become a tear drop by making one point into a corner.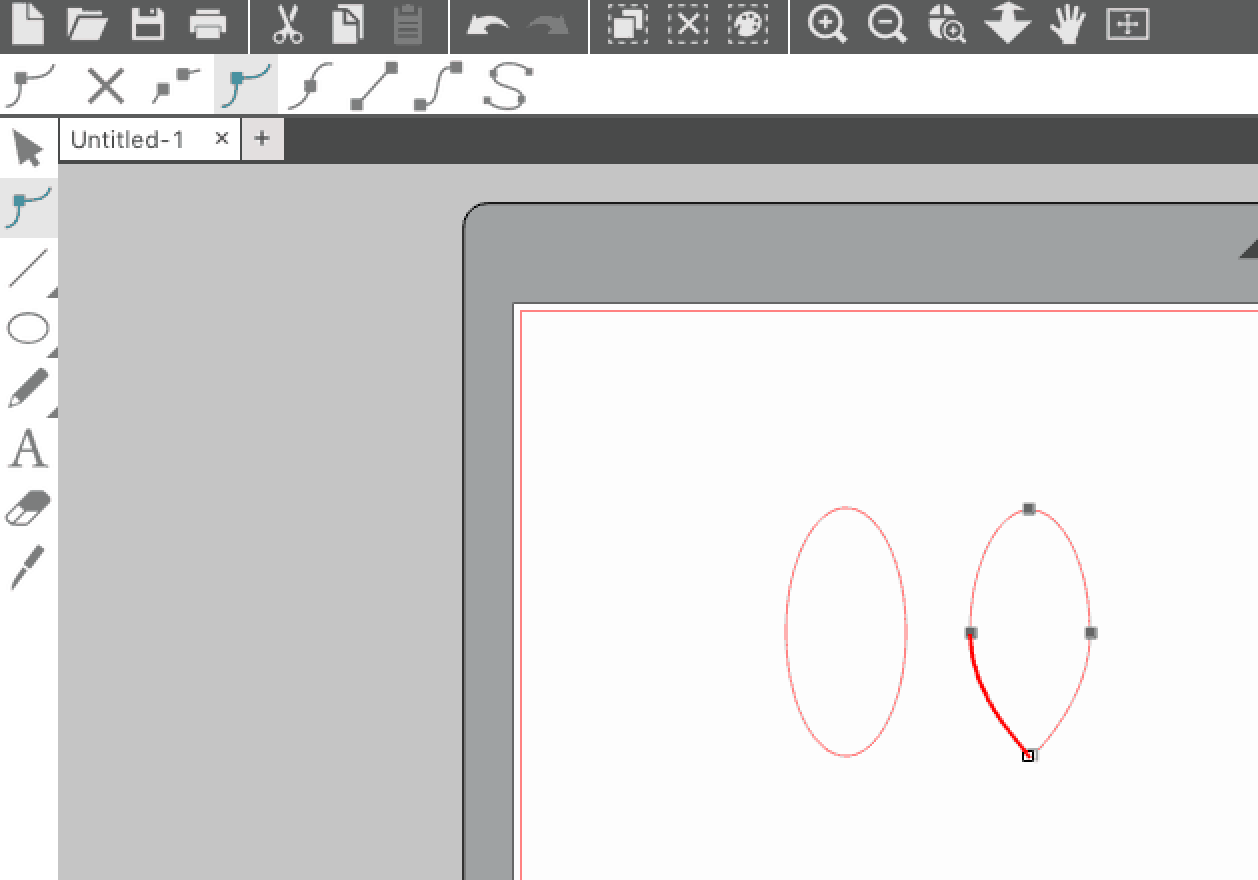
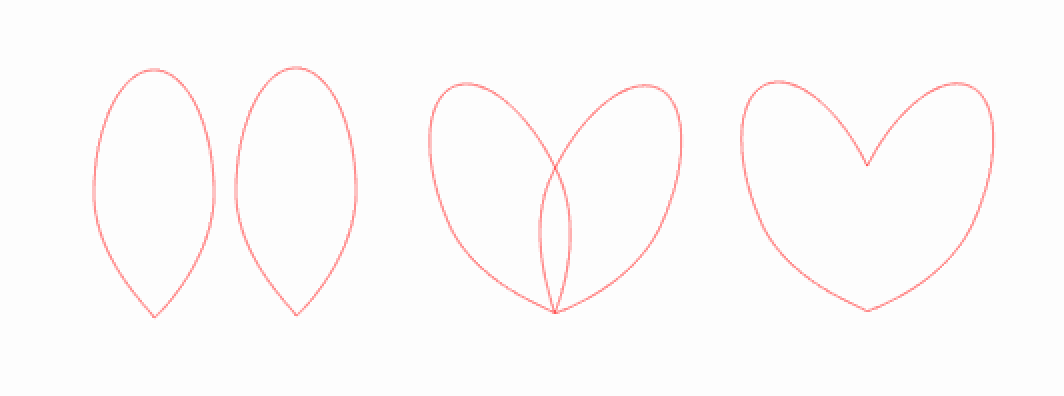
Duplicate the shape to have 2 teardrops, rotate them a bit and you make a heart.
It’s not the prettiest heart, but you can manipulate the points to make it better. Like this:

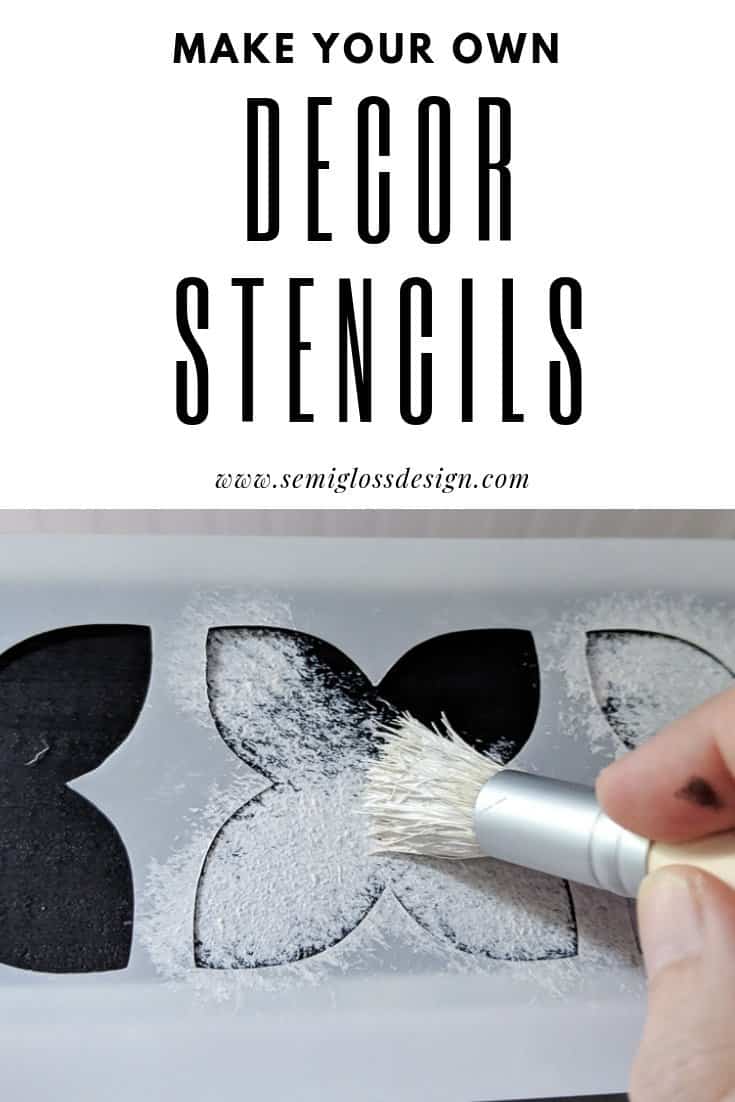
What do you use to stencil?
- Foam roller. Foam rollers are great for large areas. Your foam roller should be almost dry when you are stenciling to avoid bleeding through the edges.
- Foam sponge brush. These are like small versions of a foam roller, except that instead of rolling, you pat the stencil with paint.
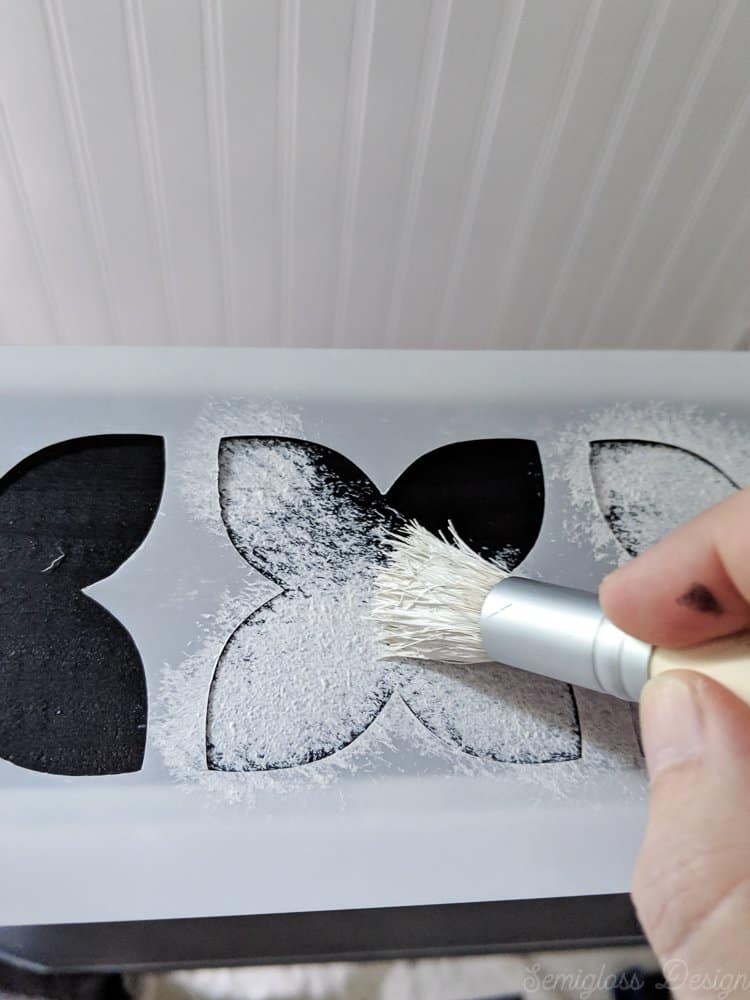
- Stencil brush. This is my preferred method for smaller stencils. It also gets dabbed onto the surface, but the as you go, it softens the lines and creates a mottled effect. This is great for patterns like this bone inlay stencil.
What kind of paint is used for stenciling?
I prefer using chalk paint for stenciling because it typically has better coverage than other paint. I also prefer the chalky texture.
If desired, you can seal the finished surface with polycrylic. Polycrylic is water-based and will not yellow with time.
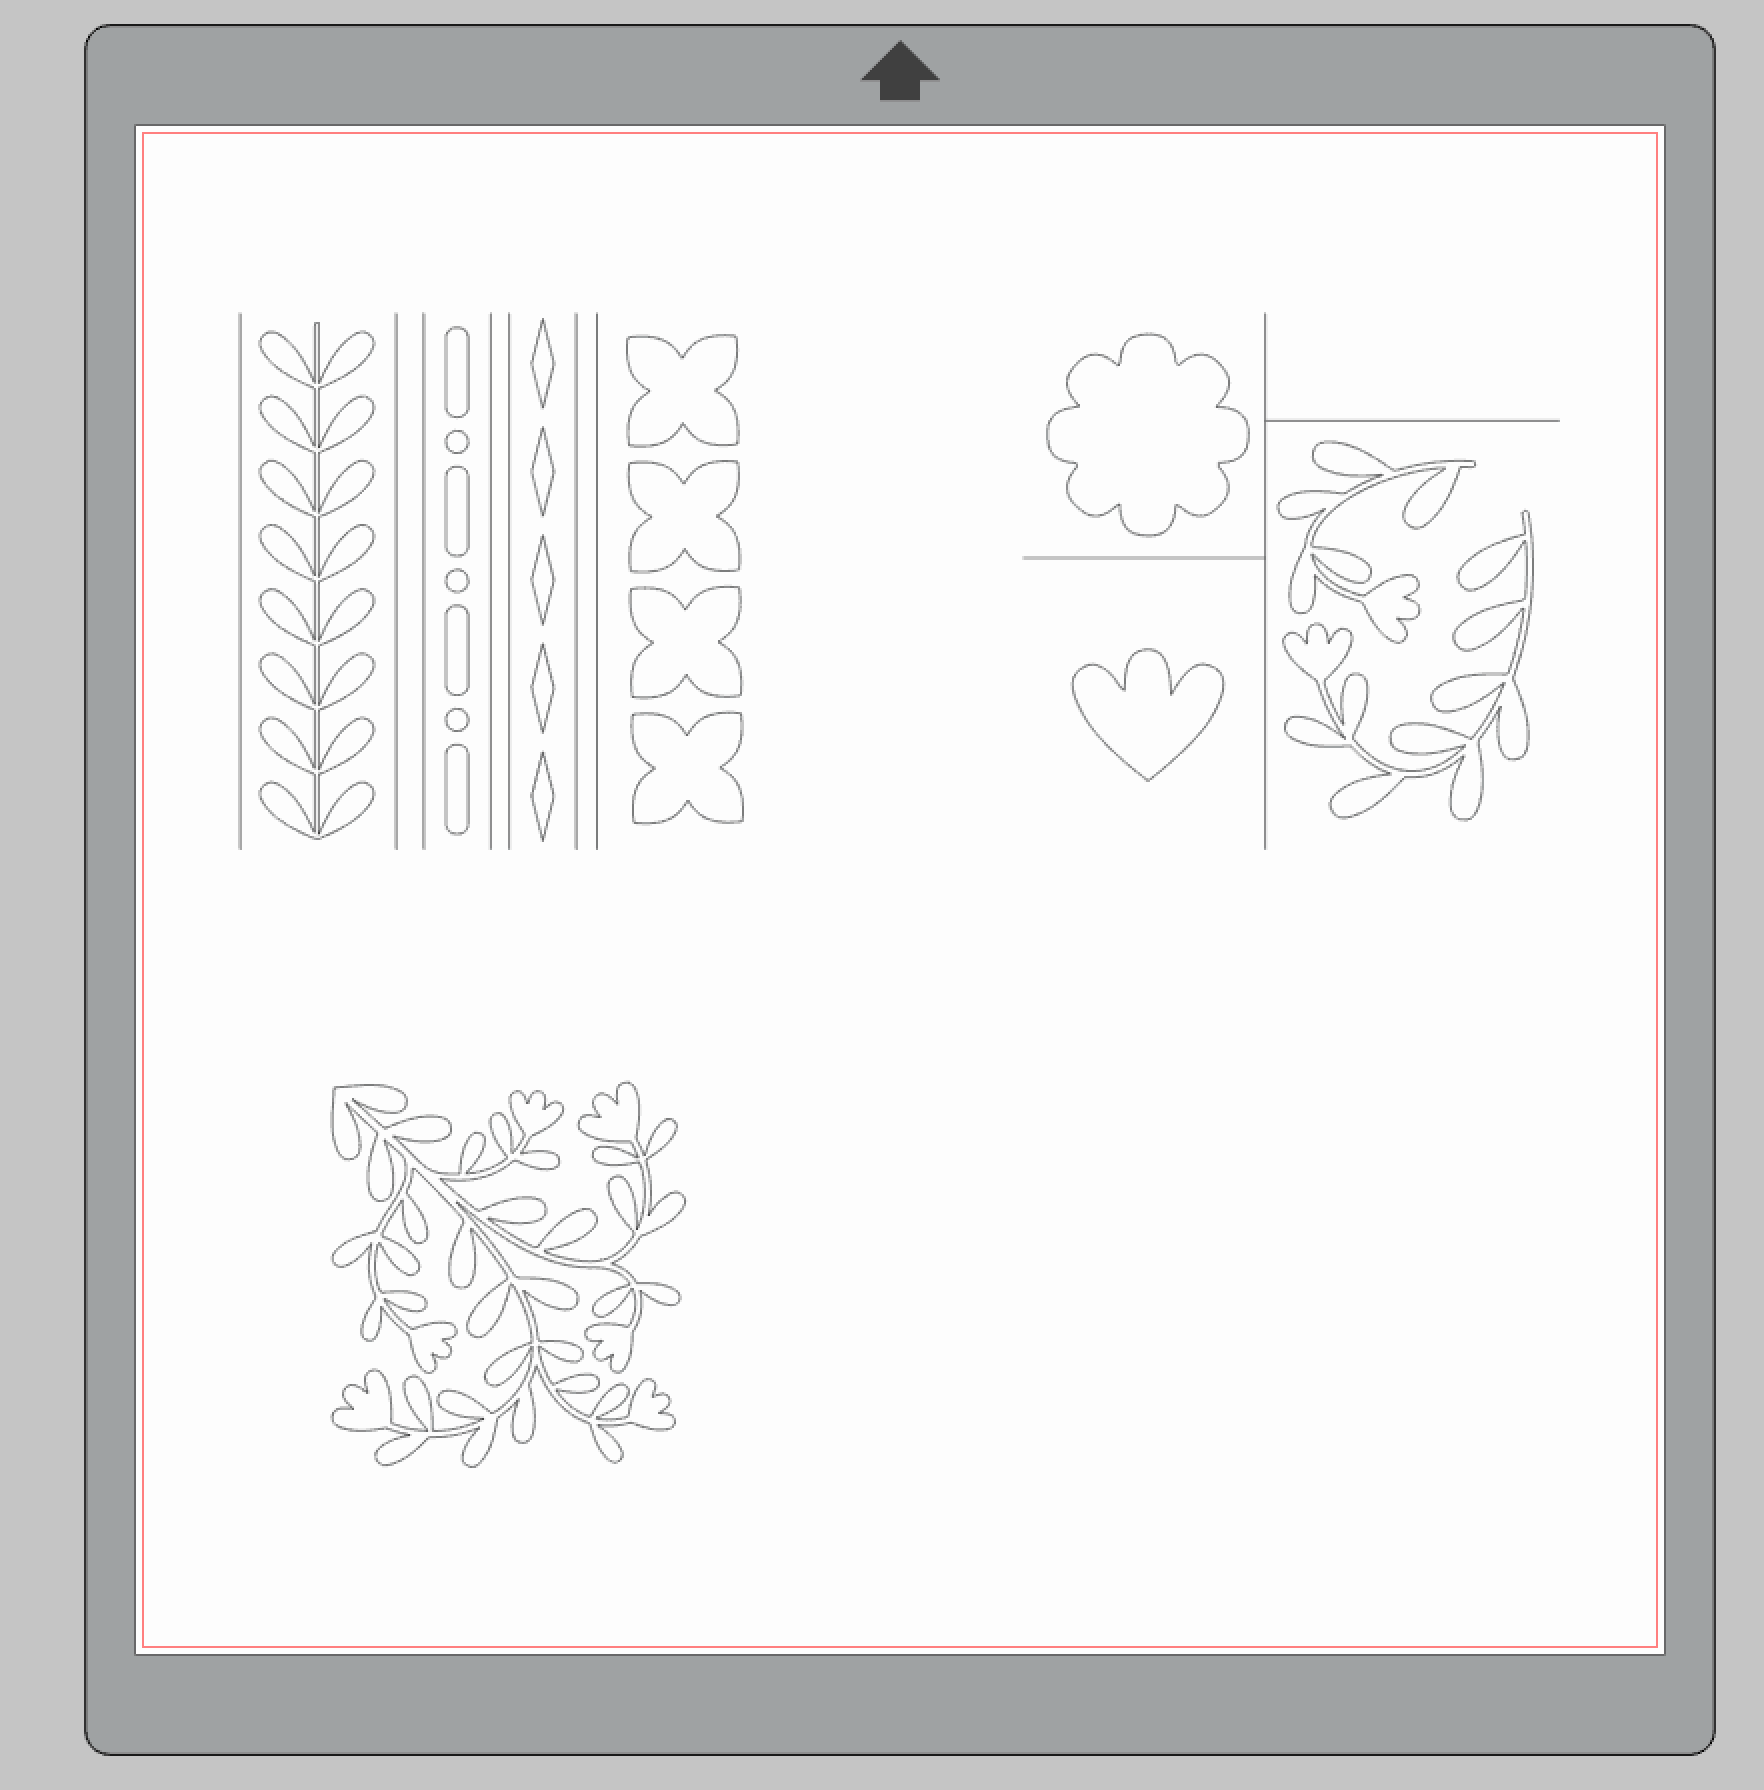
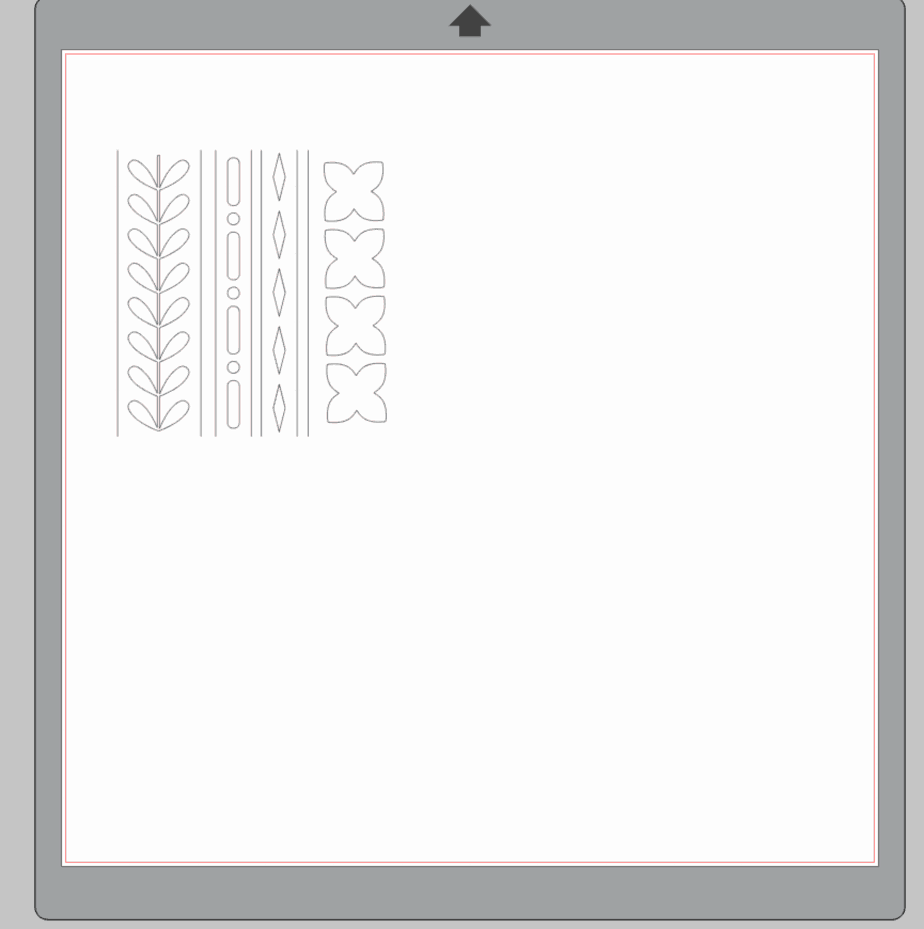
How to Use Stencil Cut Files
- If you’re using the standard version of Silhouette Studio, open the .dxf file. Other versions can open SVG or even PNG’s. If the stencil contains multiple designs, they will all open in one file.

- Open a new tab and copy and paste the part you want to use into the new tab.
- If it copies a part of the stencil over that you don’t want, right click on the item and choose Release Compound Path. Then delete the parts you don’t want.
- Choose the correct page size based on the cutting material you chose.

- Resize the image by holding shift and dragging a corner of the image. It may be necessary to group image pieces together first.
- Add cut lines as necessary. I like to add a line between pieces or a rectangle around an image to make it easier to deal with while stenciling.
- Send to cut.

Cut Settings for Stencil Materials
- Cardstock: 3, 4, 30
- Transparency film: 1, 6, 19 double pass
- Mylar: 9, 3, 33 double pass
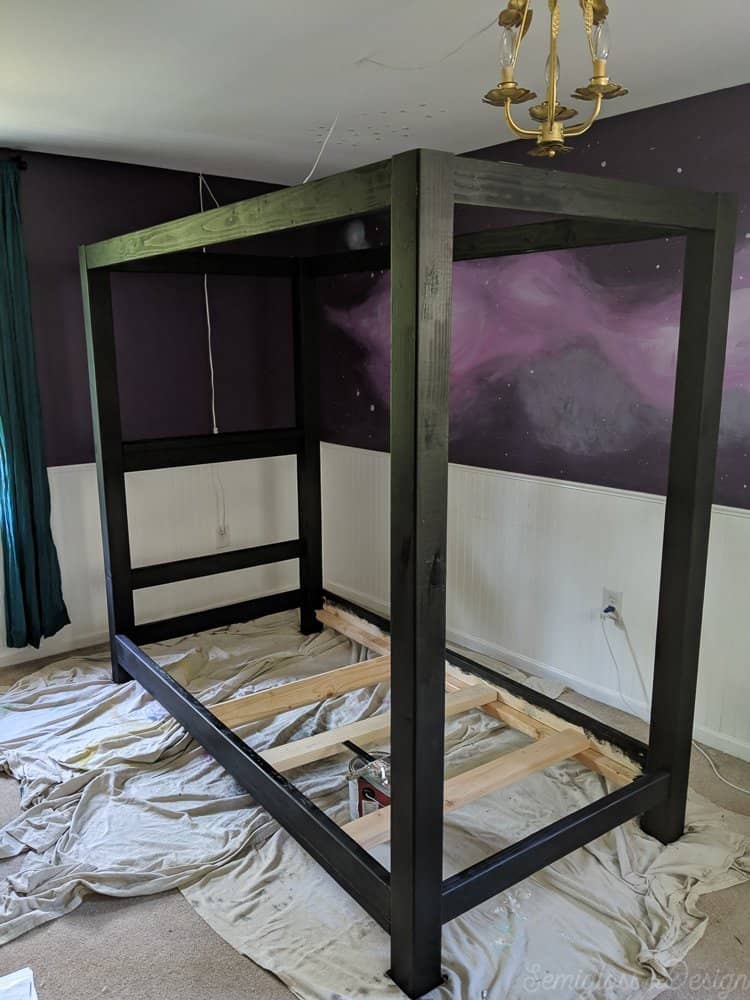
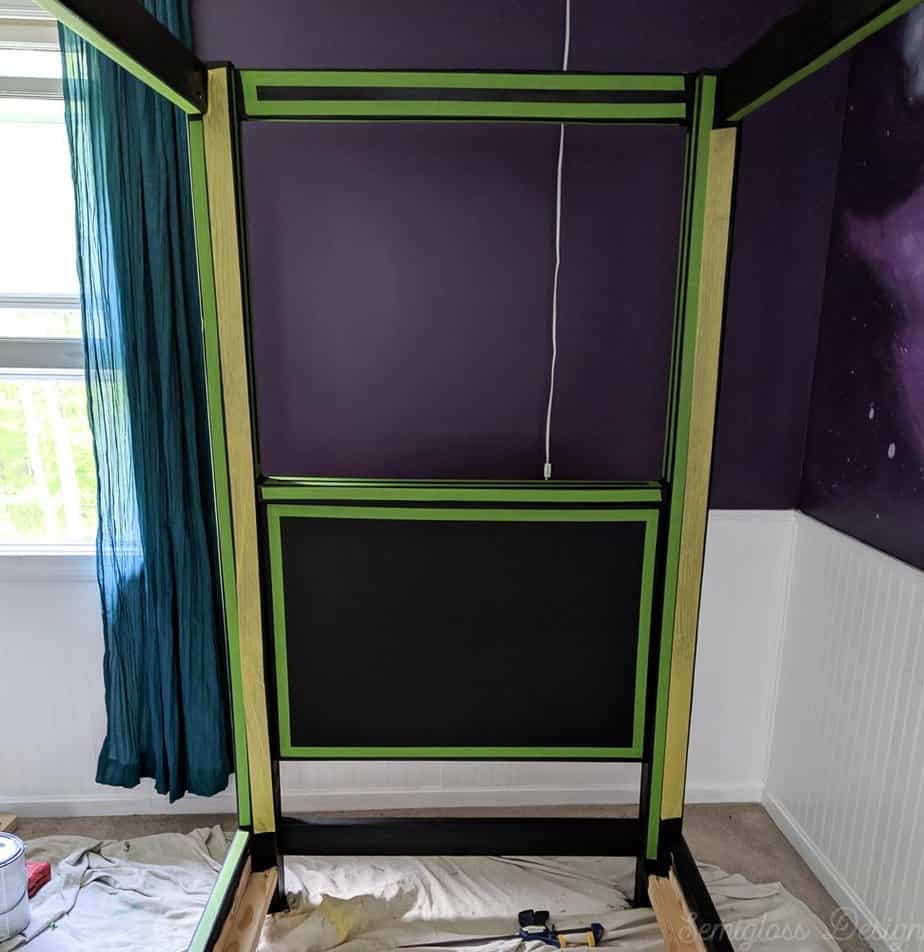
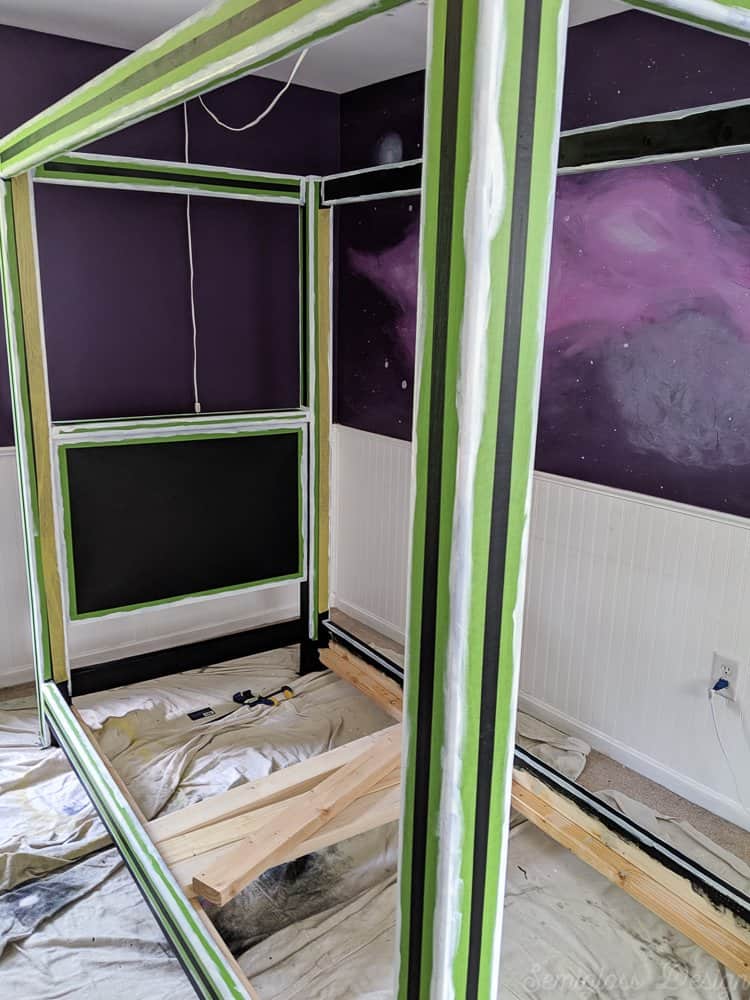
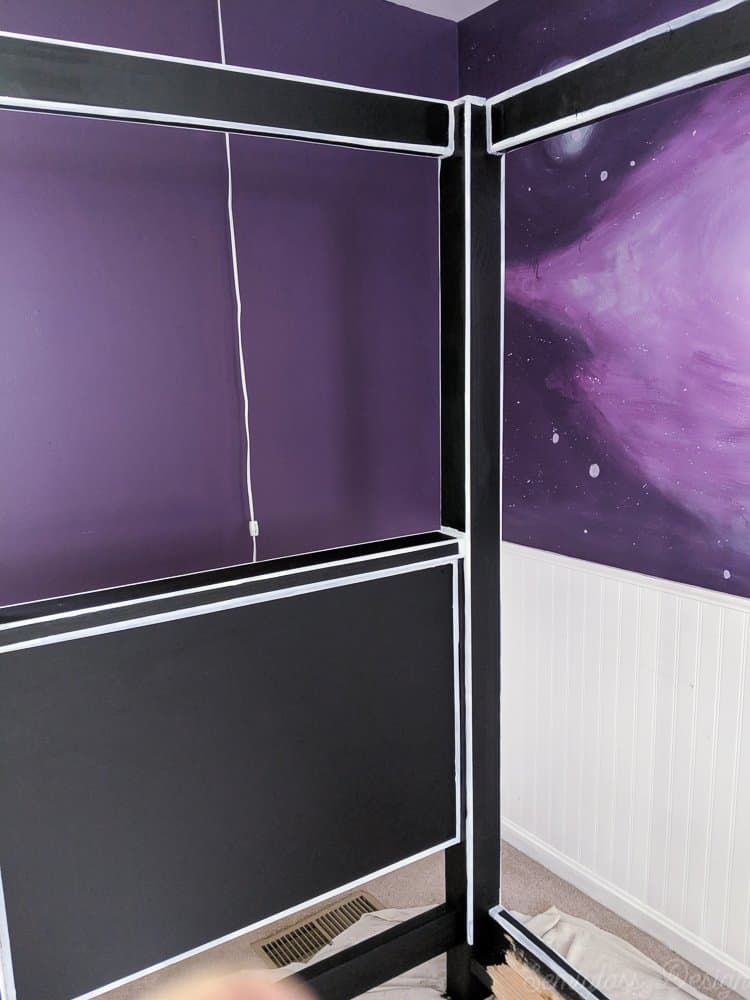
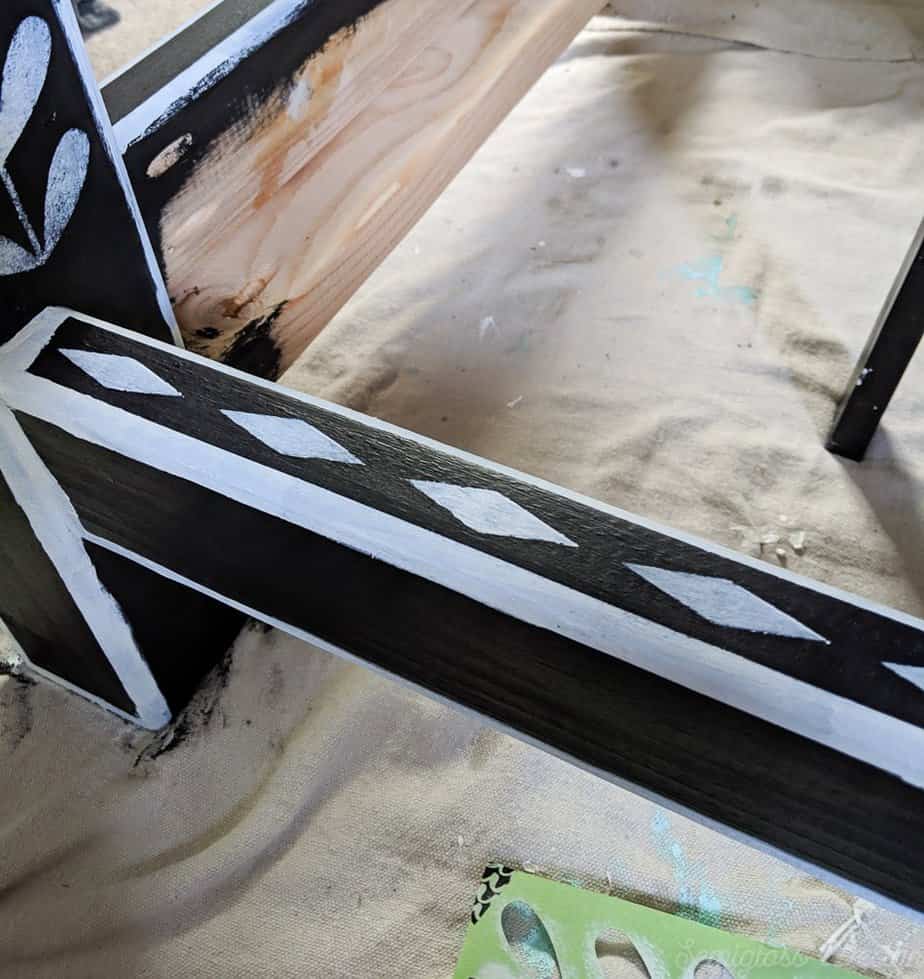
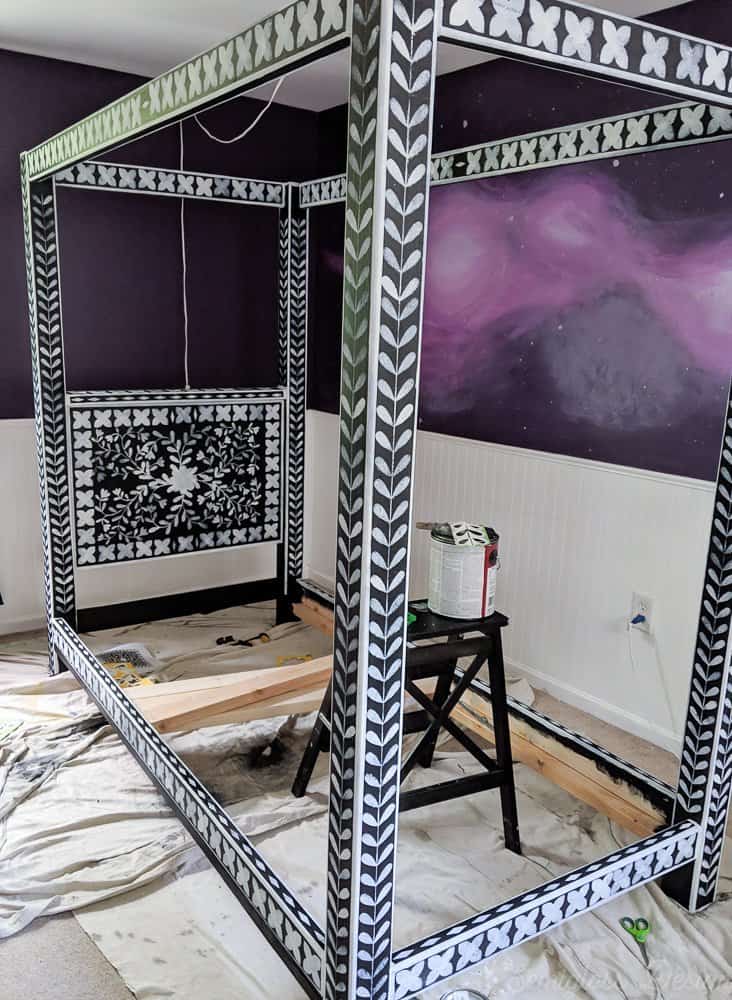
Bone Inlay Stenciled Canopy Bed
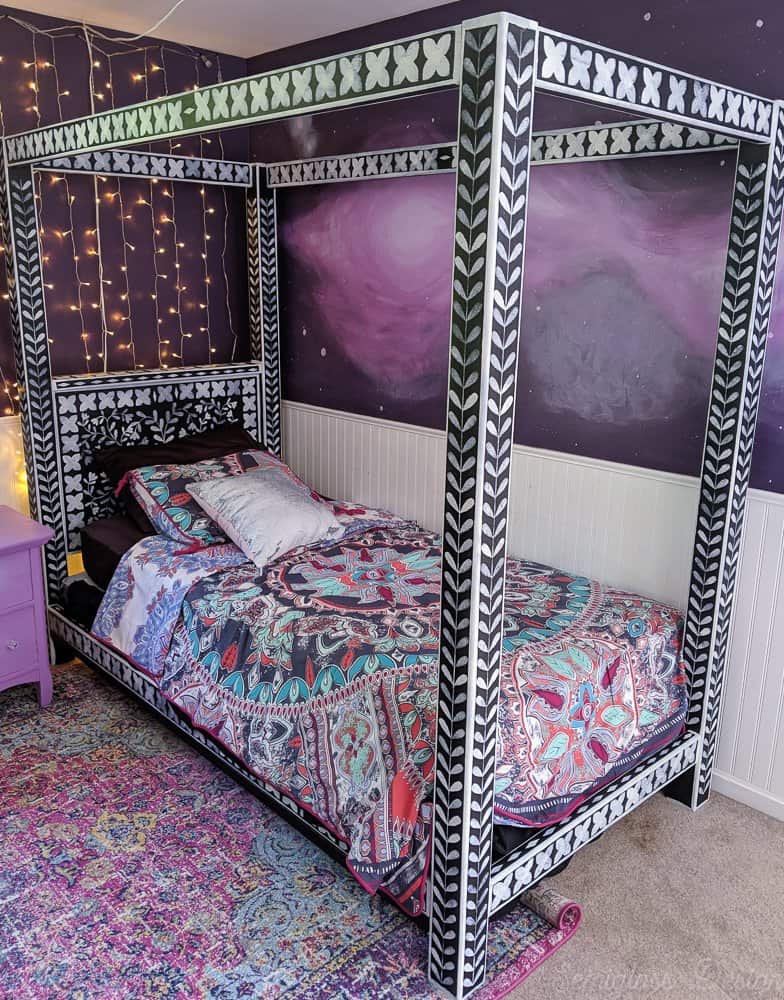
This bed took forever to stencil, but I would say it was worth it. My arms were so sore and then my family made fun of me for being sore from stenciling.
This stencil can be found in my shop!
Be sure to check out the plans for how to make this canopy bed!
- First, paint the bed. It needed 2 coats.

- Next, tape the corners to create straight lines for the edges. I used painters tape and smoothed it out with an old credit card. (The delicate surface tape did not want to stick to the paint.)

- Paint the corners with white paint. I gave these lines 2 coats.
- Remove the tape while the paint was still wet.
- After letting the paint dry, I started stenciling. I did the diamonds first on the edges of the 2x4s.

- Lay the stencil in place and dab the paint on with a pouncing motion. I varied the pressure and amount of paint for each image to create a more realistic bone inlay effect.
- Vertical pieces get held in place and stenciled. Painter’s tape can help if you need an extra hand, but it will rip cardstock.
- I used both cardstock and mylar for this process because I had trouble locating the new blade that I recently bought.
- The headboard panel got a little smushed, so make your stencils about 1/2″ smaller than you think to account for error. I still love how it turned out!

Tips for Stenciling
- Use way less paint than you think you need. Stencils will bleed when you use too much paint.
- Don’t worry too much about mistakes. Large ones can be painted over with the base color of paint and re-stenciled. Smaller ones will blend in with the overall design.
- Wash your hands often. My hands were covered in paint and often led to those previously mentioned mistakes.
- Stencil 2-3 images and then let the stencil dry. It helps that this project had so many different parts, so I could work on other things while they dried.
- If the image is the same backwards and forward, use both side of the stencil during the process (making sure each side is dry.) This is really helpful with cardstock as the paper starts warping after a while.
- Clean the plastic stencils with a scrub brush or a sponge.
- Don’t worry about full coverage, especially white paint over black.
You might also like:
Pin for Later!

Emy is a vintage obsessed mama of 2 DIYer who loves sharing affordable solutions for common home problems. You don’t need a giant budget to create a lovely home. Read more…

I am floored over how beautiful this bed is! I can’t imagine how sore your arms must be after all of that. But it looks stunning. I didn’t know making stencils were a thing. I’m glad to have learned something new.