The Best Furniture Painting Tools
Learn about the best tools for painting furniture. Get a smoother finish with my favorite painting tools.
You might also like this post on painting furniture.
This post contains affiliate links. By purchasing an item through an affiliate link, I earn a small commission at no extra cost to you.
The Best Furniture Painting Tools
I’ve painted a lot of furniture, so I’ve developed some tool preferences in that time.
Brushes
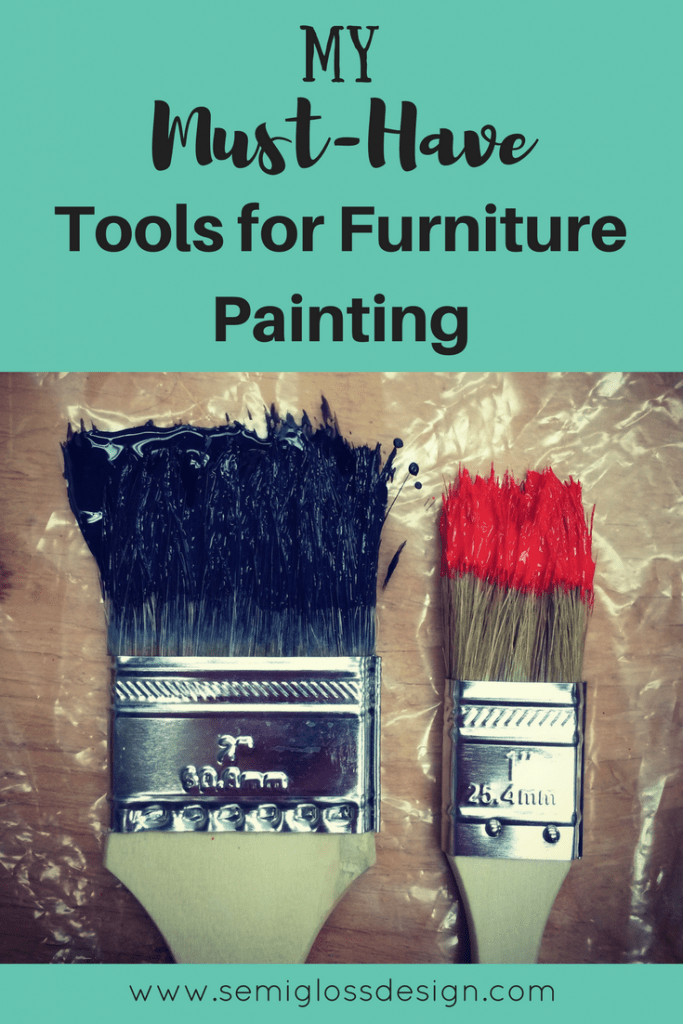
- Round brush – This is a new discovery for me. If you’ve read my blog for any amount of time, you know that I love me some purdy brushes (short handled, thank you very much.)
But for furniture painting, I love a round brush. It’s perfect for chalk and mineral paints, because of the way you paint with them.
When I paint with chalk paint, I use round strokes rather than back and forth strokes like on a wall. A round brush works great for that. It also gets into the tiny nooks and crannies better.
- Chip brush – It’s funny that I love these when they are the cheapest brushes possible, but they are fantastic for using with primer or shellac. I also love them for waxing furniture.
And if you ruin them, it’s not a huge deal. But I have an easy cleaning trick for them when using shellac or shellac based primer. Just stick them in a jar filled with ammonia. Let them sit for a while and rinse the brush. It’s like new again.
Sealers/ Primers
- Shellac (CLEAR) – Shellac is absolutely crucial for painting over certain wood types, because it seals in the tannins.
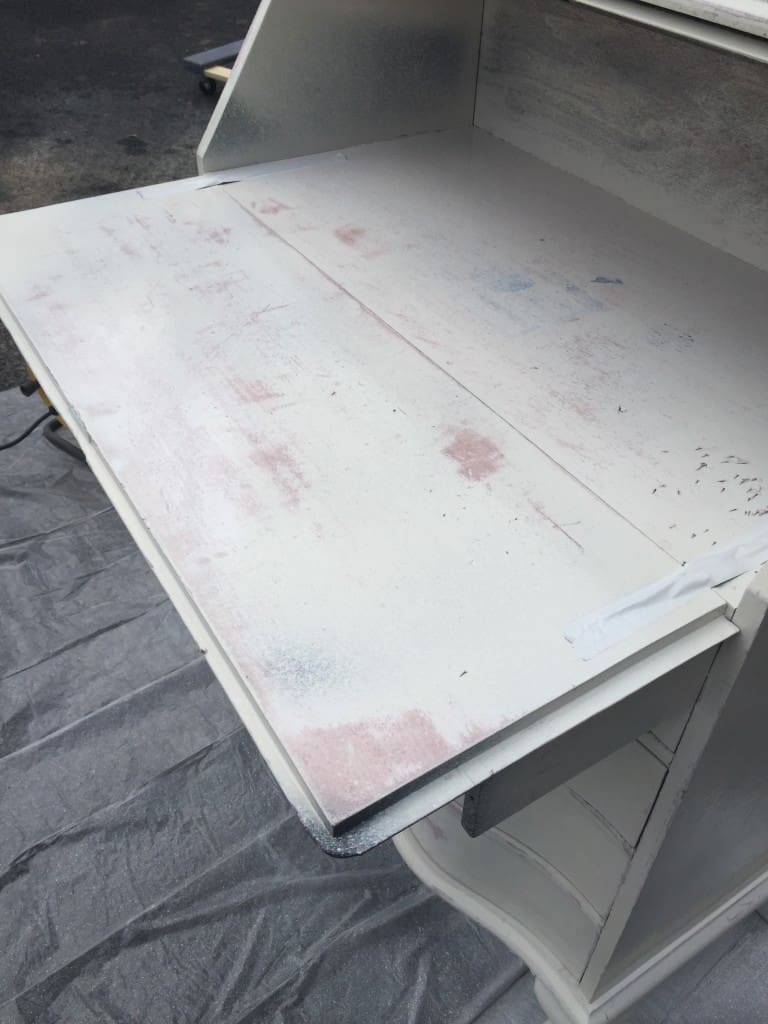
This piece was primed with 123 primer and you can see how much red came through. I had to go back and seal all of these spots with shellac to prevent the red from coming through whatever color I end up painting it. - Primer – My favorite primer is shellac based. Primer is obviously great for making paint stick to surfaces, but it also helps with painting a light paint color over dark stains. This primer is the best for shiny surfaces that are hard to get other paints to stick to.
Paint Sprayer
- Paint sprayer – I love my paint sprayer. There are certain projects that I can’t imagine doing without a sprayer, like chairs with multiple spindles.
It’s also helpful for when you do multiple pieces of furniture at once. I recently had my husband prime 3 pieces for me at once! For a full tutorial, check out this post
.
Prep work and clean up
- Drop cloths – Cloth drop cloths are the best. I have about 6 of them that I spread under furniture to protect my floors.
The best part about them is that they can be washed. I used to always use plastic tarps, but the paint splatters got tracked around the house after they dried. They were only good for so many uses before they needed to be thrown away.
Bonus tip! Dogs love them! My doggo thinks drop cloths make the best dog beds around. 😉
- Shop vac – I use our shop vac several times during the process of painting furniture.
It’s great for cleaning off cobwebs and dust from drawers. I like to vacuum the insides of dresser and the bottoms of pieces when possible. After drilling the holes for knobs, I vacuum the drawers again
. - Murphy’s Oil – Murphy’s oil is normally used for floor cleaner, but I love using it to clean my paint brushes.
It almost works like hair conditioner and makes your brushes feel like new again. You can put a gunked up, dried paint in a jar of the cleaner and leave it. After a few days, your brush is usable again. Just like magic.
Usually after a marathon session of painting like I just finished, I give all of my brushes a trip to the Murphy’s Oil spa.
- Brush comb – I love a good brush comb. After rinsing my paint brush under water until it runs clear, I’ll use the brush part to scrub off dried paint from the brush bristles. Thorough cleaning helps your brushes last longer.
- Simple green – When I bring a piece of furniture in, the first thing I do is clean it well. Water and vinegar works fine for most pieces, but Simple Green works great for the dirtier pieces.
If you’re buying older pieces, there’s no telling what is on them besides dust. There are years of cigarette smoke from when everyone used to smoke, oils from cleaning sprays, and dirt. You have to get your furniture as clean as possible for proper paint adhesion.
. - Orbital sander – Once the furniture is clean, it’s sanding time. I recently bought this sander and I’m so happy with it.
Changing out grits of sand paper is so easy because they attach to the sander with hook and loop tape instead of clamps. As you can imagine, this really speeds up my work flow.
It also does a fantastic job of collecting the dust. I’ve never had a tool that does a good job of this, so it was a big surprise when I first used it and wasn’t covered in saw dust. It’s powerful, yet gentle to the user.
My old sander made my hands hurt when I used it too much. This sander is much kinder to me.
- Bondo – I love using bondo to fill knob holes and fix missing veneer.
It’s a bit stinky to use, but it’s worth it because when it’s sanded, the holes completely disappear.
Splurge for the spreaders. They’re worth it and make using this sticky stuff a lot easier. - Sandwich baggies – I tend to work on several pieces at a time, so I use sandwich baggies to keep my paint brushes from drying out while I’m not using them.
Just shove them in a baggie and zip it as much as you can around the handle. You can also use cling wrap, but that takes more time and extra hands.
It will be interesting to revisit this post in a few months and see if my favorites change.
Did I miss any of your favorite furniture painting tools?
Pin for Later!


Emy is a vintage obsessed mama of 2 DIYer who loves sharing affordable solutions for common home problems. You don’t need a giant budget to create a lovely home. Read more…


