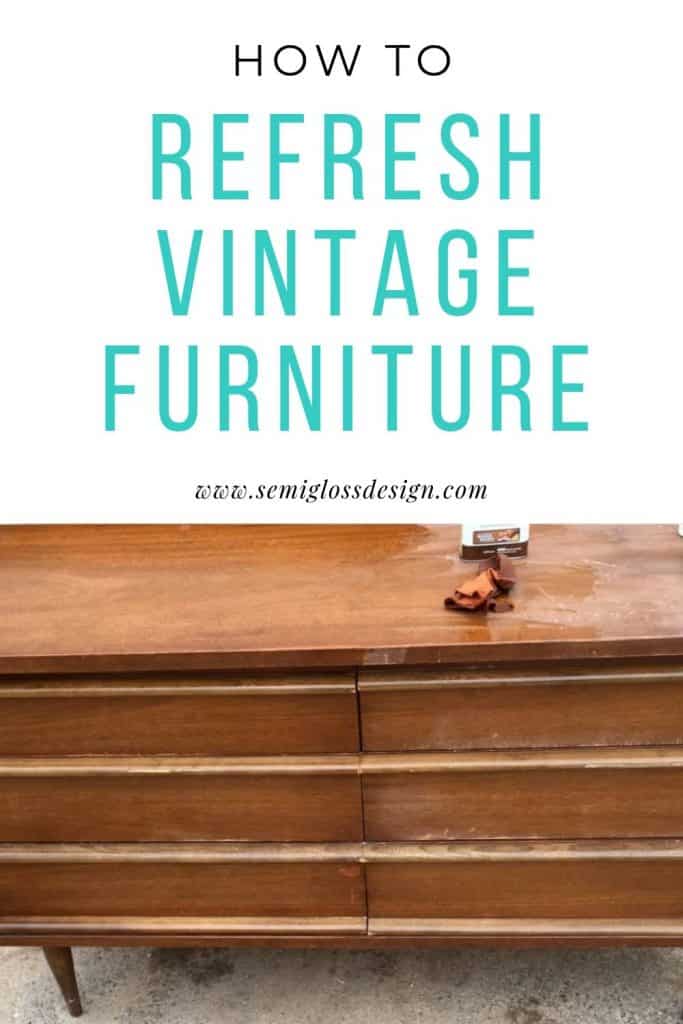
The Best Way to Restore Wood Furniture Without Stripping
Learn how to restore wood furniture without stripping or sanding it to raw wood! This technique is great for refreshing old, dry wood surfaces. It’s also great for minimizing scratches and scuffs.
You might also be interested in this post on refinishing furniture.
This post contains affiliate links for your shopping convenience. By purchasing an item, I earn a small commission at no cost to you.
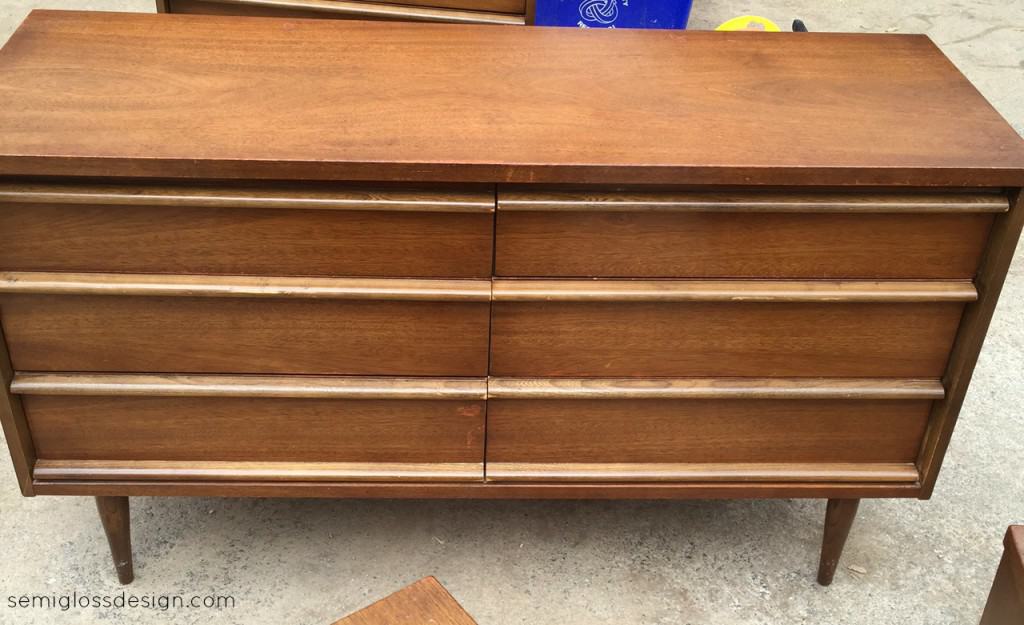
Recently, I worked on a vintage furniture set that I recently scored on Craigslist. It’s a mid-century modern dresser and nightstand set by Bassett.
The set was well-loved by a family who told me it was one of the first things they bought when they came to the United States in the 1950s. I hope to have to for just as long.
I love buying vintage dressers because they are so well-made! However, the finish usually needs some work.
I knew that I didn’t want to paint it and cover the pretty wood. Luckily, refreshing vintage furniture is pretty easy.
By the way, this is the same method I use to refresh my walnut table top and wood countertop.
How to Restore Wood Furniture Without Stripping
Supplies Needed:
- Sander
- Fine grit sandpaper
- Danish Oil*
- Hemp Oil*
- Howard Feed N Wax
- Lint free rag
Danish oil typically has a tiny bit of stain in it.
I also like to use Hemp oil, which does not have a stain in it. Both do a great job of rejuvenating old furniture.
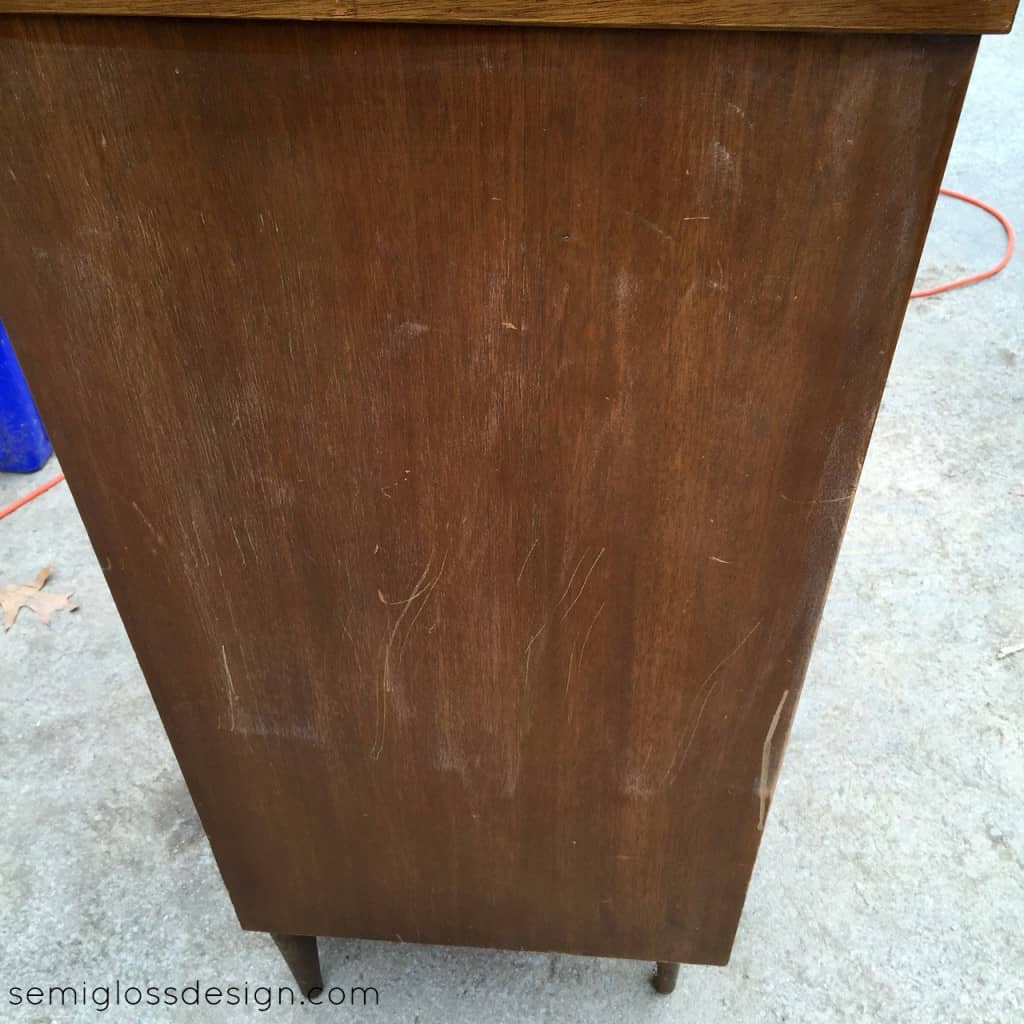
This dresser had scratches all over it. This is a BEFORE picture of the side of the tallboy dresser.
- Lightly sand all of the scratches using fine-grit sandpaper. You’re not trying to remove the finish, just smooth the scratches.
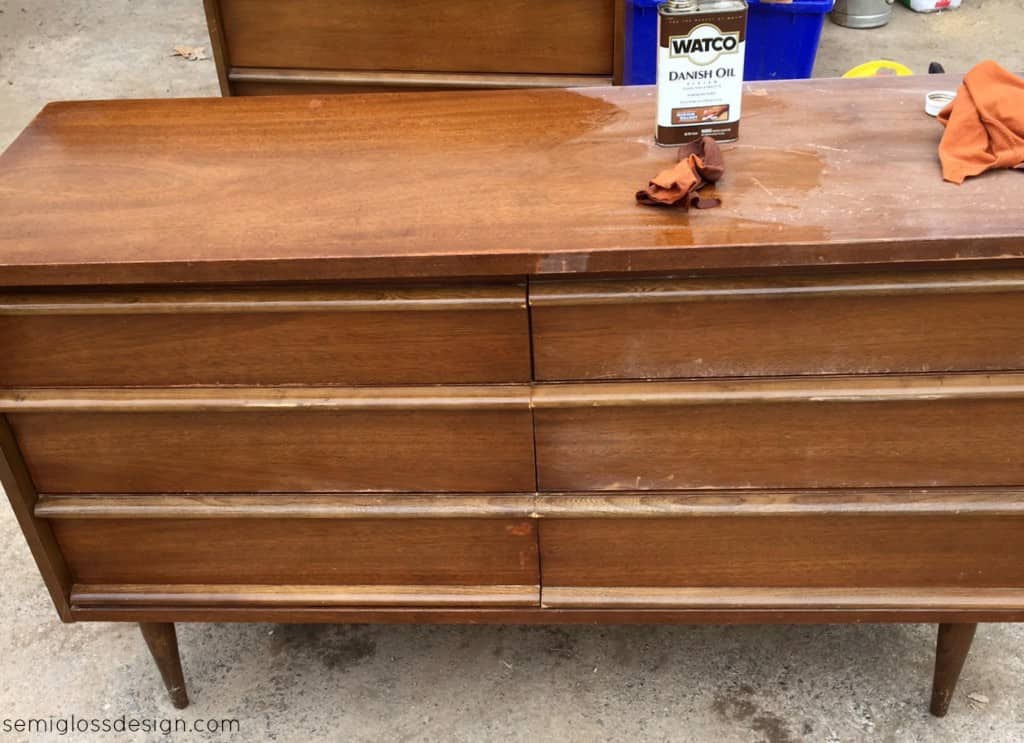
- Use a tack cloth to clean the dust from the wood and apply a coat of Danish Oil.
- Let it sit for about 10 minutes to absorb into the wood.
- Wipe away the excess oil.
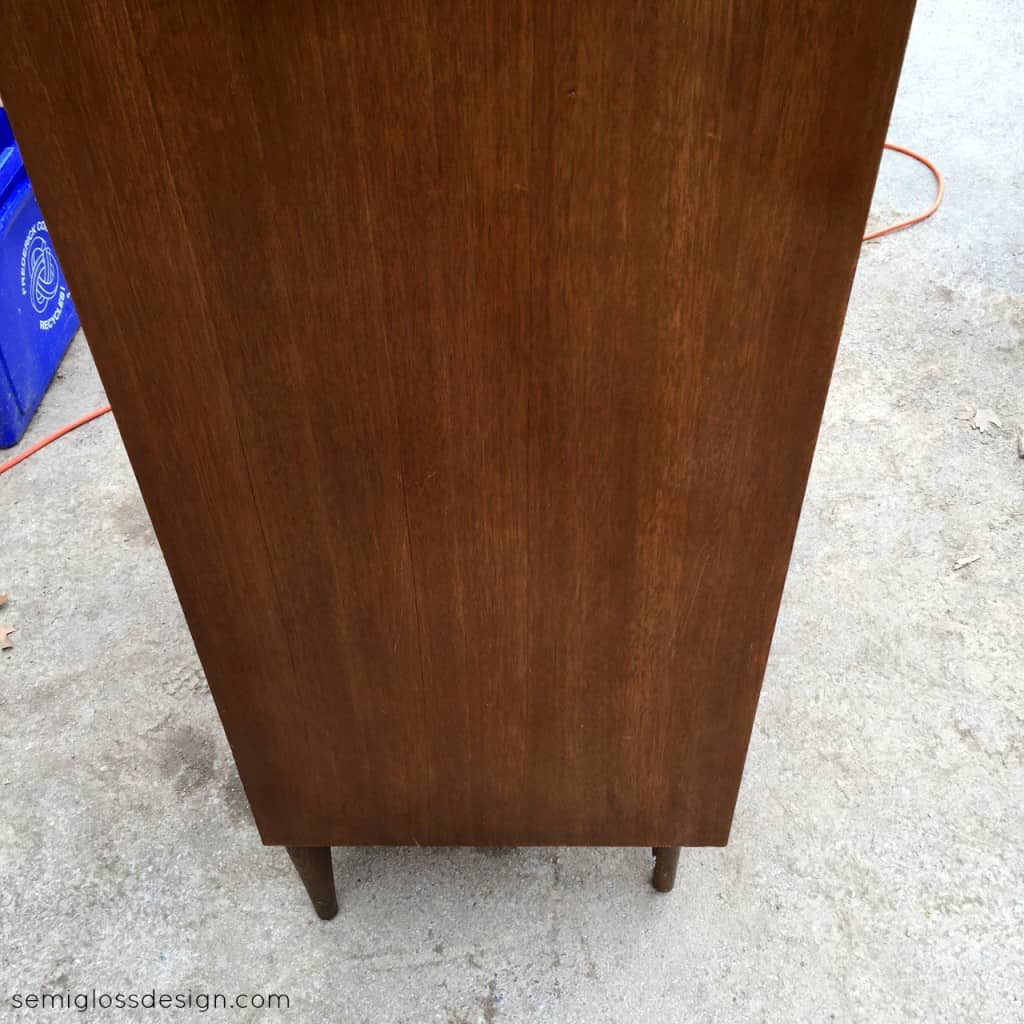
Danish oil is also great for refreshing dry wood. It does such a great job of disguising scratches in wood.

Wax the Vintage Furniture
Next, I like to wax vintage furniture to protect it.
I use Howard Feed N Wax because it smells great and protects the wood from further damage.
- Apply a thin coat of Howard Feed N Wax.
- Let sit for about 15 minutes.
- Buff away the excess wax. (For raw wood, I usually apply 2 coats.)
Here it is, all finished with wax.
This dresser had deeper scratches, and it became apparent that the handles were made of different wood but stained to match.
Still, it looks much better!
Four pieces of vintage furniture (nightstands not shown) took a few hours to refresh.
Refinishing them completely would have taken days. They’re not perfect, but that’s okay with me. They look a lot better than when I started.
You might also like:
Pin for Later!

Emy is a vintage obsessed mama of 2 DIYer who loves sharing affordable solutions for common home problems. You don’t need a giant budget to create a lovely home. Read more…


We have mid century plain flat orange oak like cabinets that we want to keep the color that they are since it matches the rest of the woodwork in the house but the clear coat looks terrible and I would like to freshen them up. Is the process you teach in this post my best bet? Any tips?
It depends on why the clear coat is horrible. If it’s dull and a bit scuffed, this will work great. If it’s too thick and has drip marks, it’s probably a better idea to sand the drip marks away and apply a new coat. Since cabinets get so much wear and tear, it might be a good idea to sand and re-poly them anyways. I prefer polycrylic because it’s easy to clean and won’t yellow over time. Use a brush and keep a wet edge for the best results.