How to Create a Gorgeous Blended Ombre Dresser
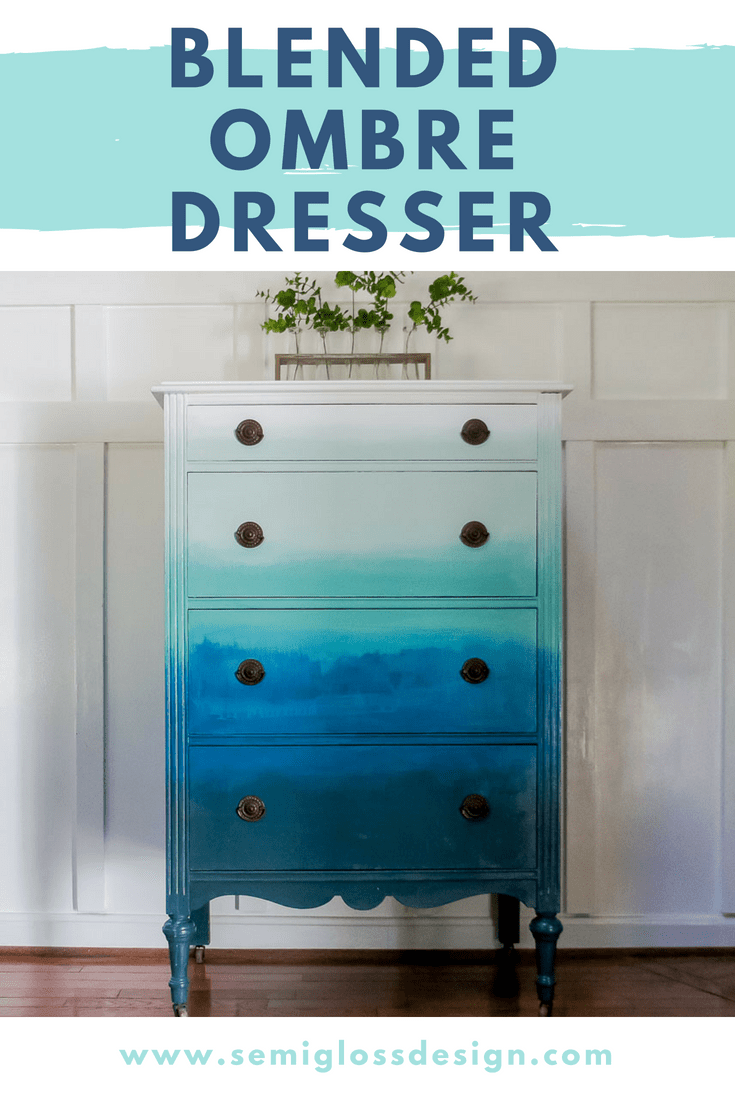
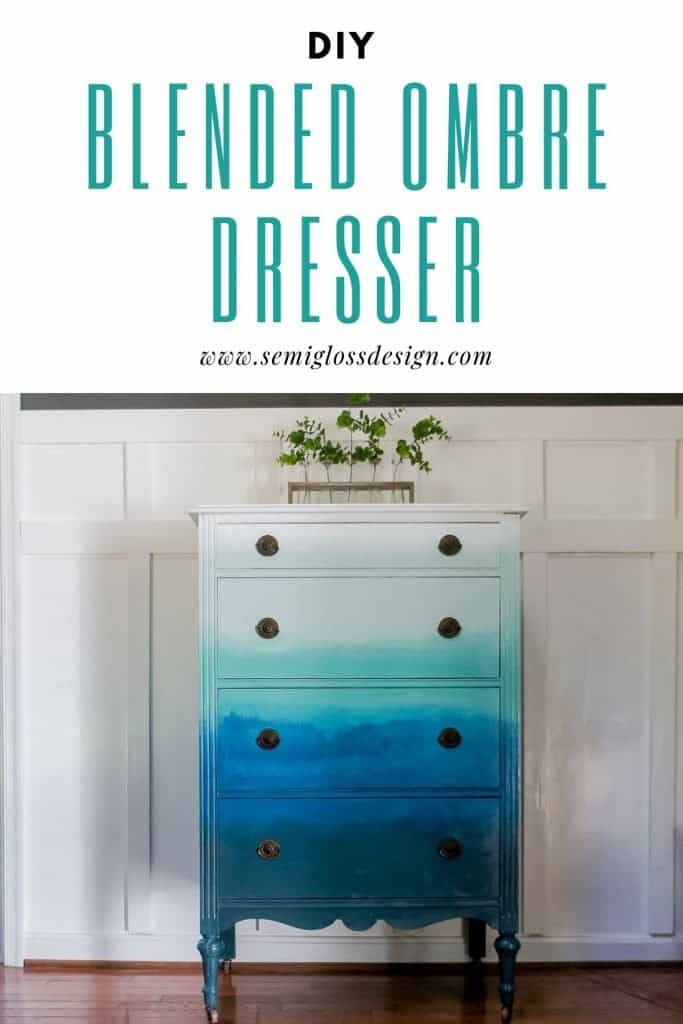
Learn how to paint a blended ombre dresser.
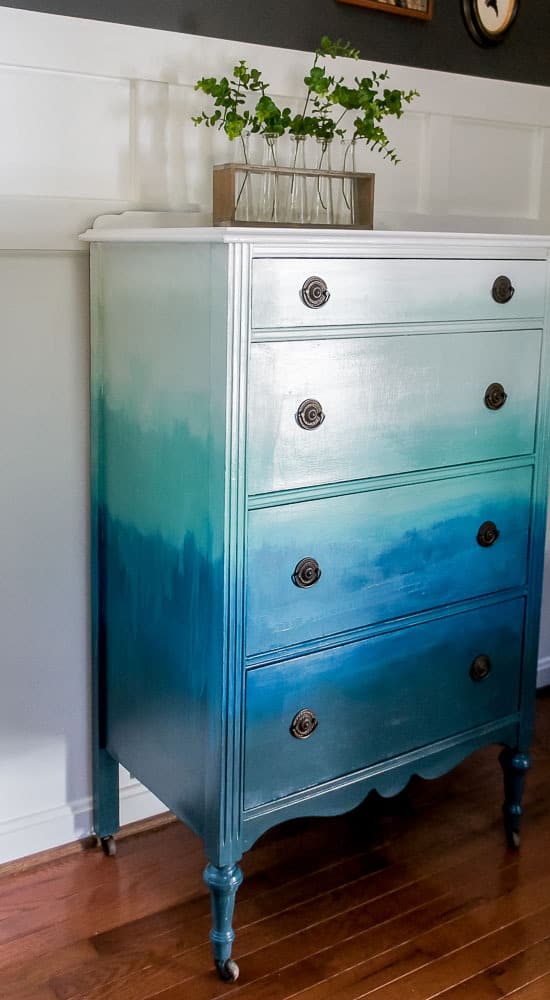
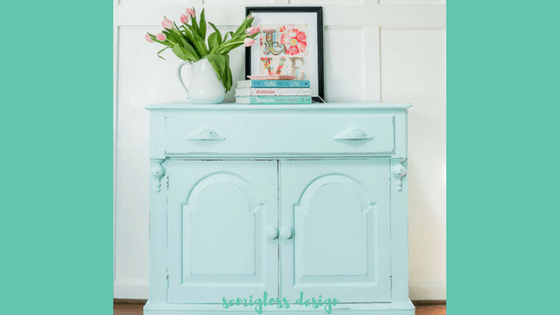
When you paint a lot of furniture, sometimes, you just want a FUN project. This blended ombre dresser was that project for me. I have no idea if it will sell or not, but man, was it fun to paint!
Ombre Furniture FAQs
What is an ombre finish?
An ombre finish starts with one color and blends into several other colors. At least 2 colors are needed, but I used 5 colors on this dresser.
What is the difference between ombre and gradient?
Ombre uses variations of one color blending into another, while gradients blend different colors together. Think of in art class where you blended yellow and blue to make a green color in the middle.
Can you create an ombre finish on furniture using latex or mineral paint instead?
Yes! I created my daughter’s galaxy mural using a similar blending technique. I’ve also seen it created with mineral paints, such as Fusion.
Chalk paint is a bit easier to blend than latex paint though. The matte finish helps.
How do you blend paint on wood?
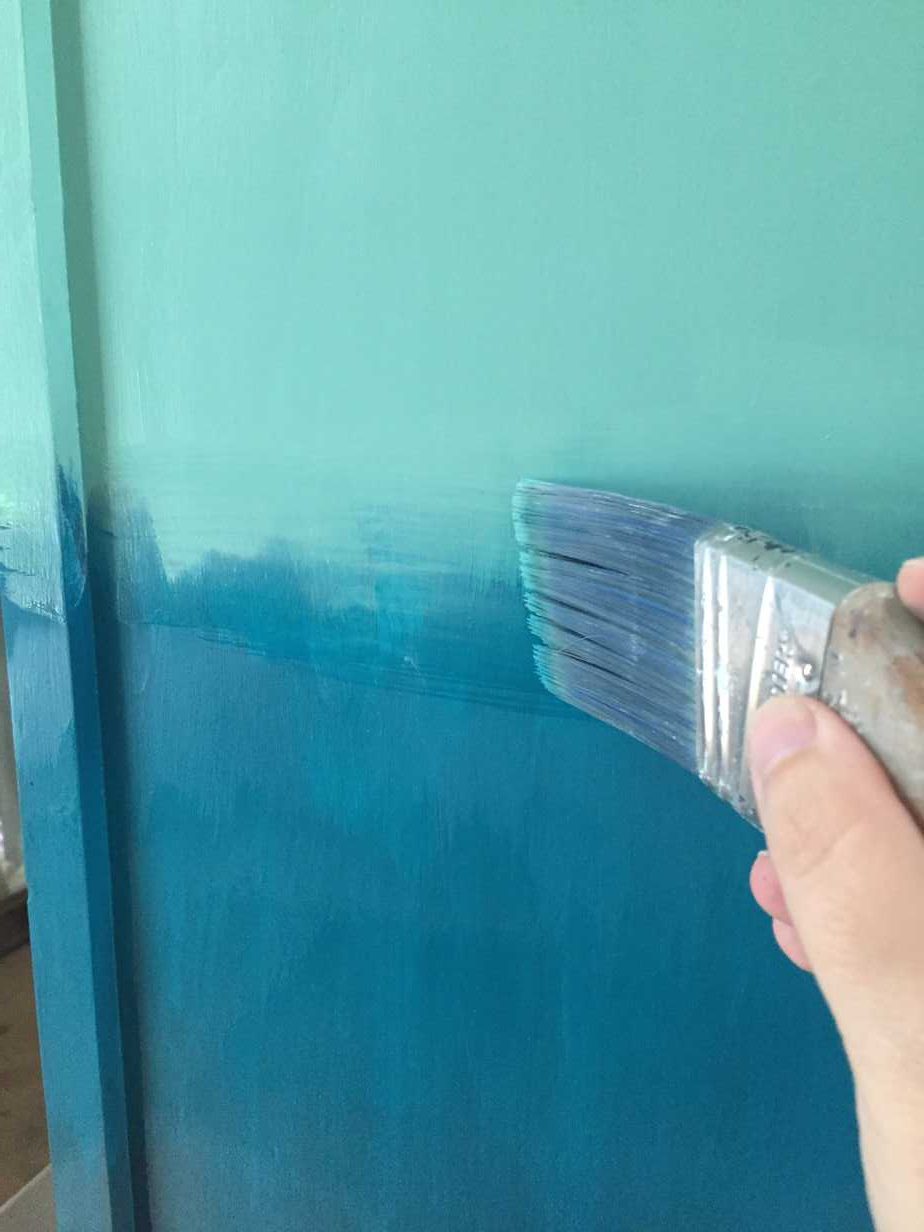
Blending paint on wood is created by painting on 2 different colors, spraying water, and using a dry brush to help the colors mix. A side-to-side motion creates a smoother transition from color to color.
How to Create a Blended Ombre Dresser
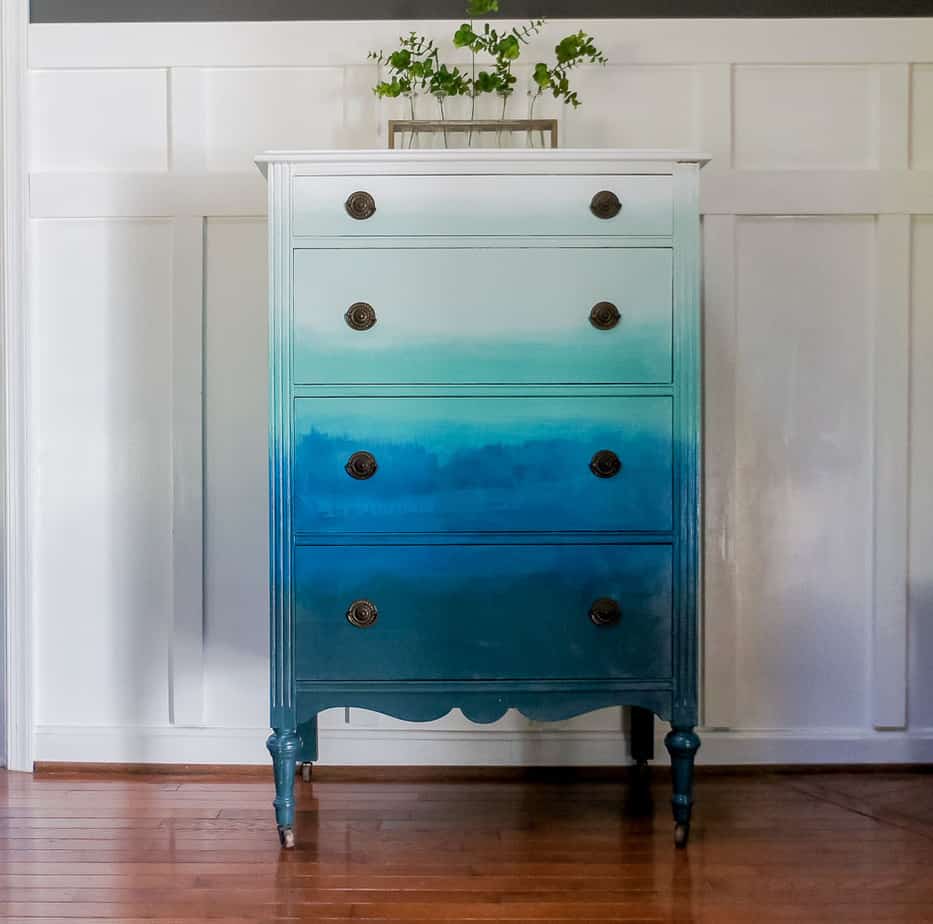
Supplies Needed
This post contains affiliate links. By purchasing an item through an affiliate link, I earn a small commission at no extra cost to you.
- Country Chic Paint in Simplicity (White)
- Country Chic Paint in Happy Hour(Pale aqua)
- Country Chic Paint in Bliss (Medium Turquoise)
- Country Chic Paint in Reverie (Bright Turquoise) Retired color, but Whoop-de-do is similar
- Country Chic Paint in Jitterbug (Dark Blue-green)
- Country Chic Oval Paint Brushes
- Polycrylic in Satin
- Shellac
- Primer
- Clean bucket of water
- Ziploc baggies (to keep paint brushes from drying out)
- Extra paint brushes
Prep Work for Painting a Dresser
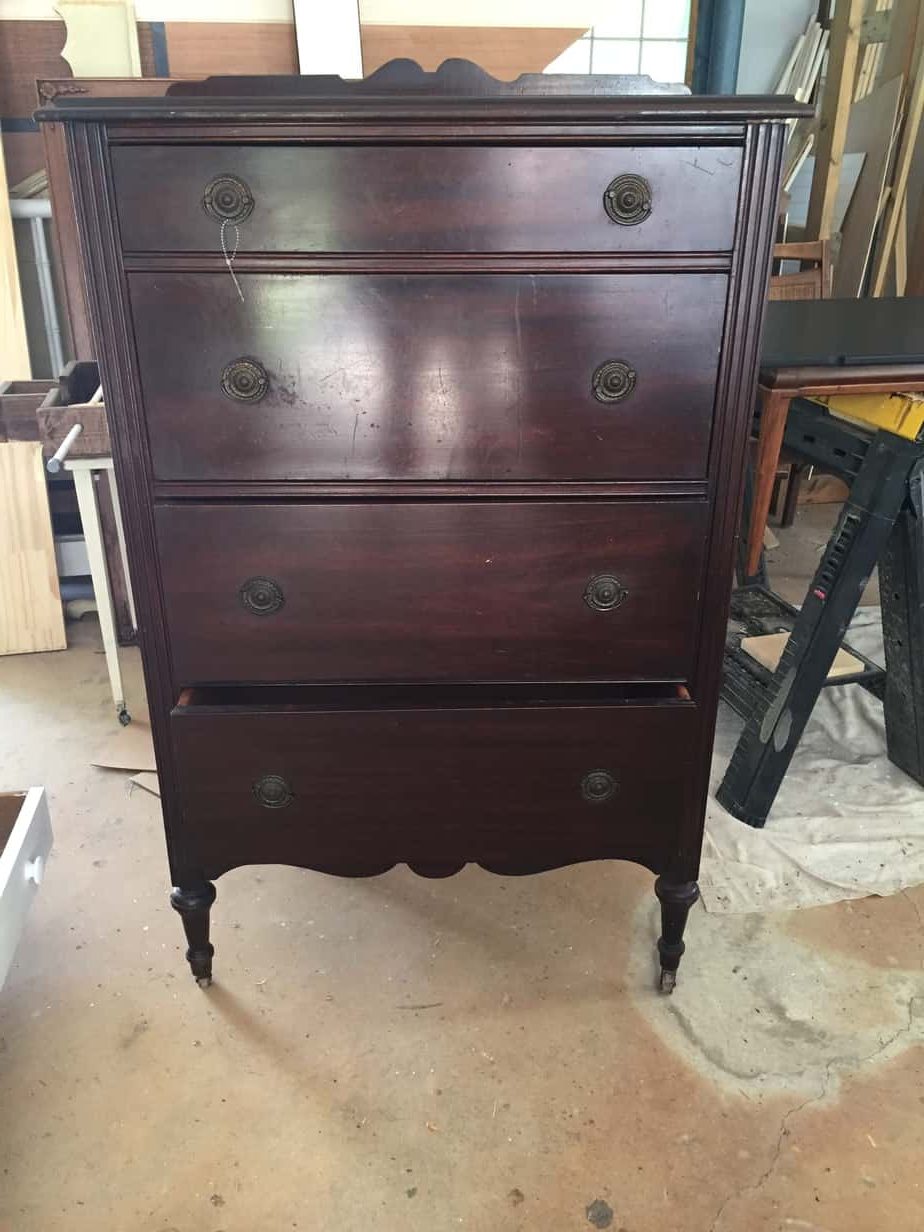
This dresser had lovely lines, but I knew that the finish would be difficult to work with.
After thoroughly cleaning this dresser, I lightly sanded it, then applied several thin coats of shellac on it.
See how the dresser is red? All of those tannins will bleed through the paint and turn any light colors pink. Sealing them with shellac is a must.
Pay special attention to any areas where pieces are attached, such as the trim on top and where the dresser top meets the dresser’s body.
These are normally the problem areas and may need several coats to seal in the tannins.
Here are some more tips for painting dark furniture white!
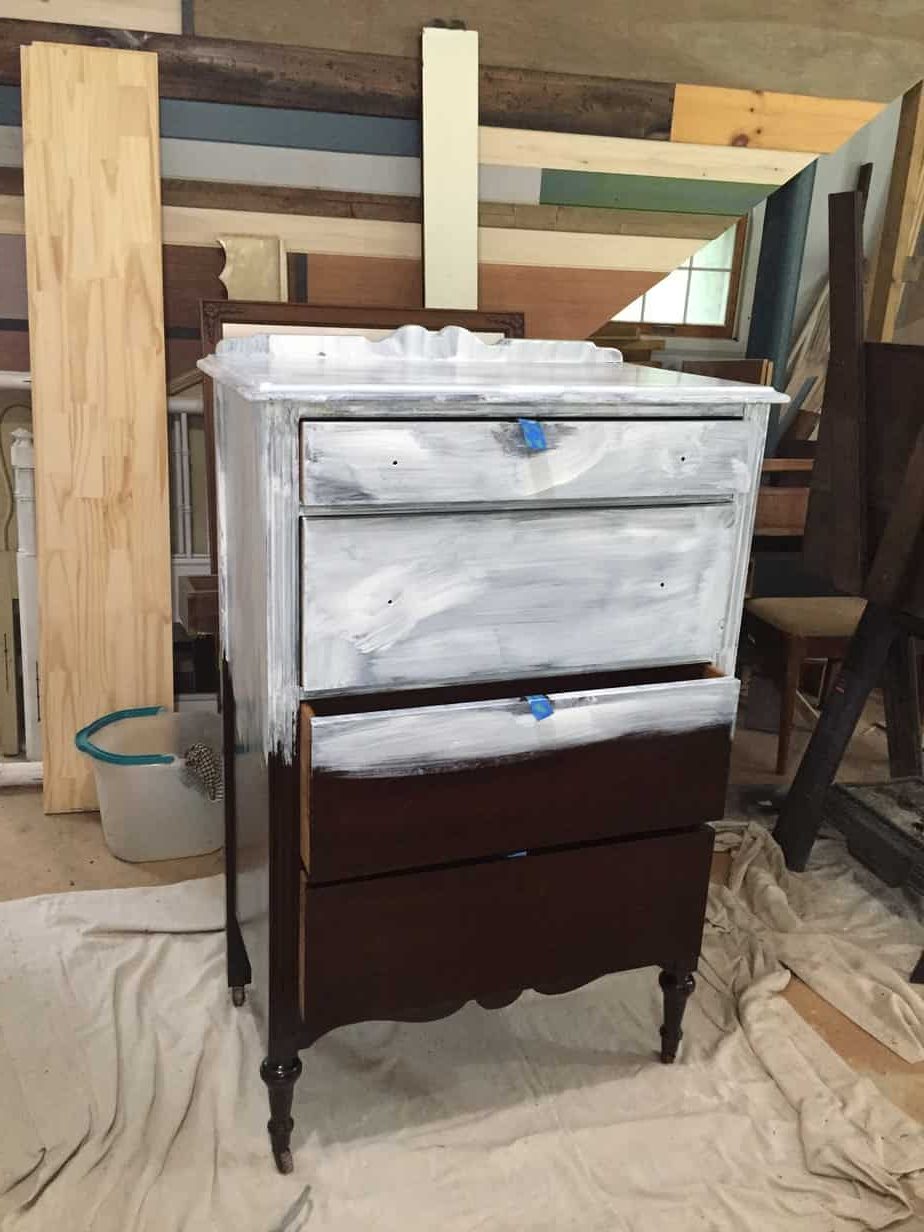
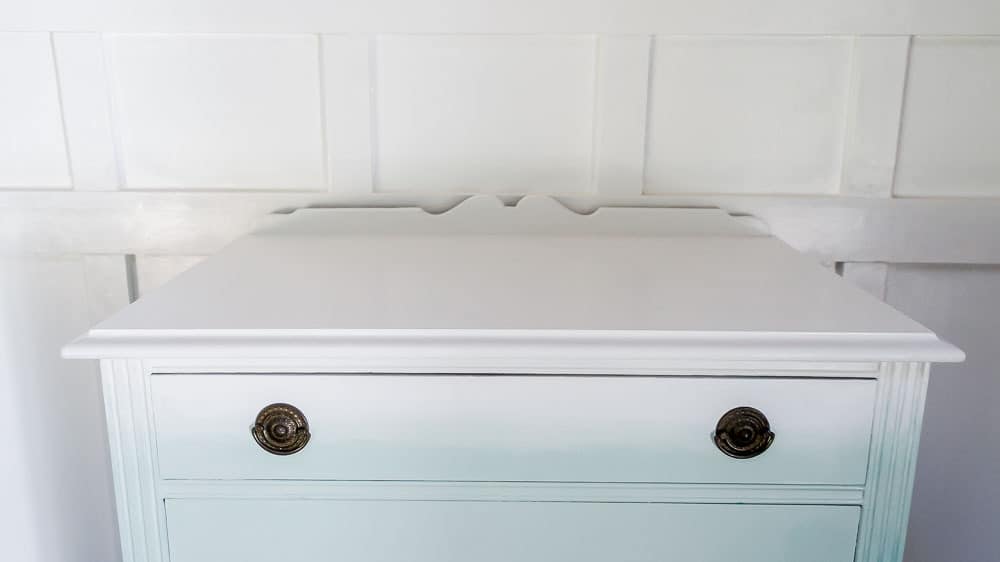
Prime. I primed the top half of the dresser because I knew that the light colors at the top would color better over a white base of primer.
It’s also a good way to see where you need to add extra shellac. Any pink spots will keep bleeding through. Add more shellac!
Painting the Blended Ombre Effect
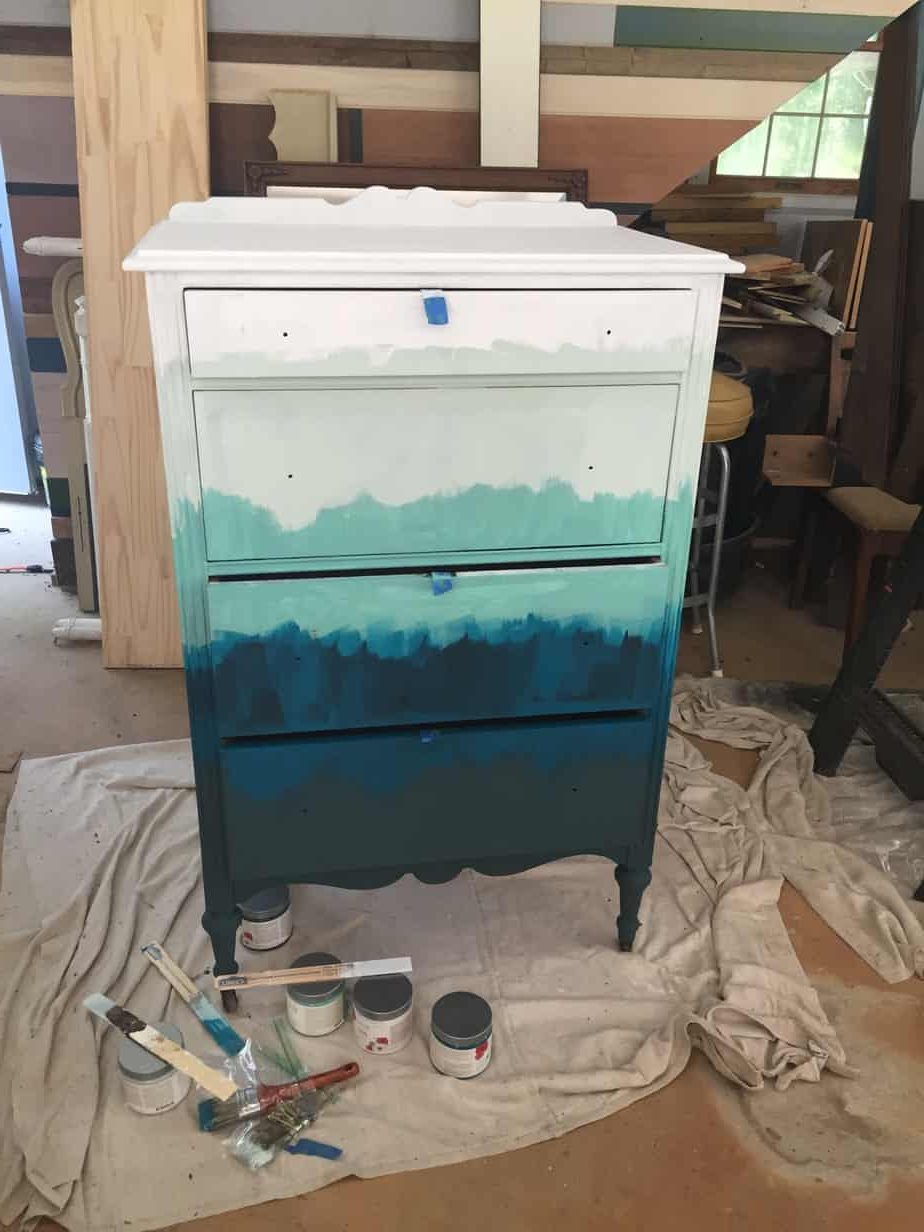
- Paint in the base layer of colors. I worked from white at the top to dark at the bottom and painted striped areas for the color. Some colors cover better than others, so I wanted full coverage before I even started blending.
I used 5 different paintbrushes for the 5 different colors. Each brush gets stored in a Ziploc baggie while they’re not being used. Just zip around the handle and they stay nice and wet. - Start blending. It’s best to work from the top to the bottom because the paint drips down. Apply fresh paint in the top 2 colors. Use a clean paintbrush dipped in water to start blending.
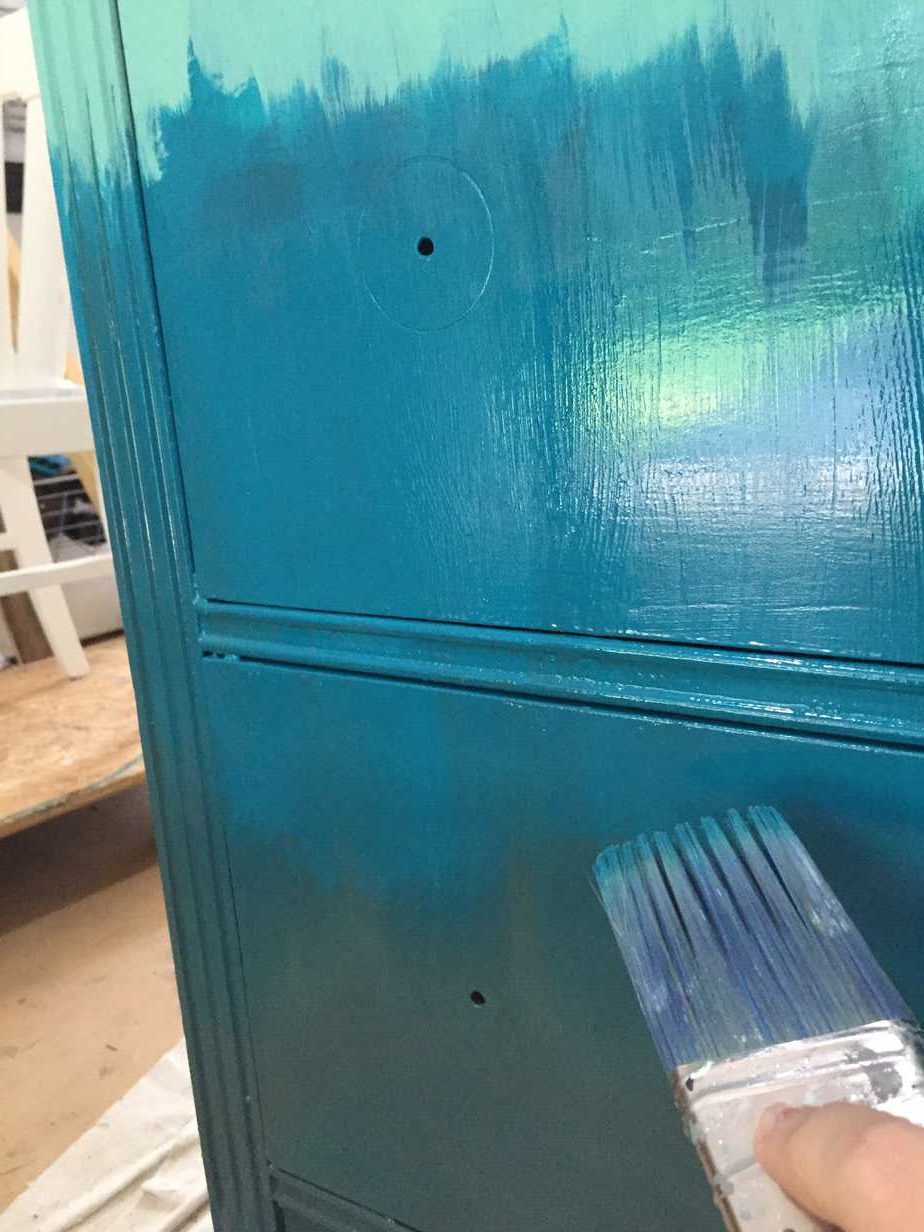
I found it easiest to brush up and down to blend the colors and then brush to the side to create a cleaner blended look. Both directions create different looks that are fun.
Smooth any drip marks as you go. I left some drip marks, but I smoothed out most of them. - Continue painting. Blend colors 2 & 3, then 3 & 4, then 4 & 5 until you’re finished.
- Apply a top coat. When the paint dries, apply a few coats of clear coat.
A Few Extra Tips to Create an Ombre Dresser
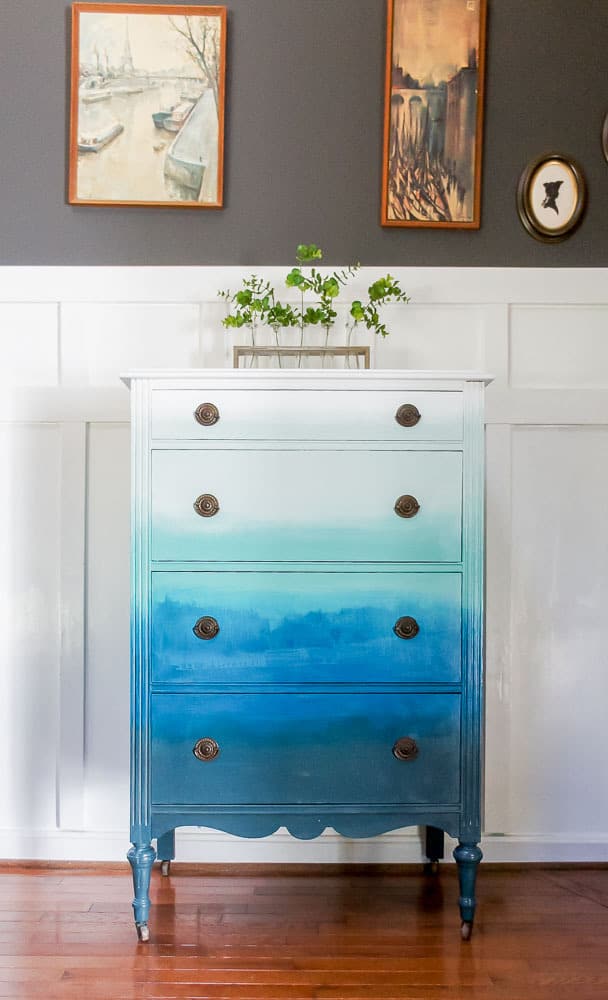
- If you hate the results, add more paint and blend some more. Sometimes, it got way too drippy. Let it dry and add more paint.
- Change the water in your bucket often to keep from muddying your dresser colors.
- Watch for drips unless that’s the look you’re going for. Drips can look really cool.
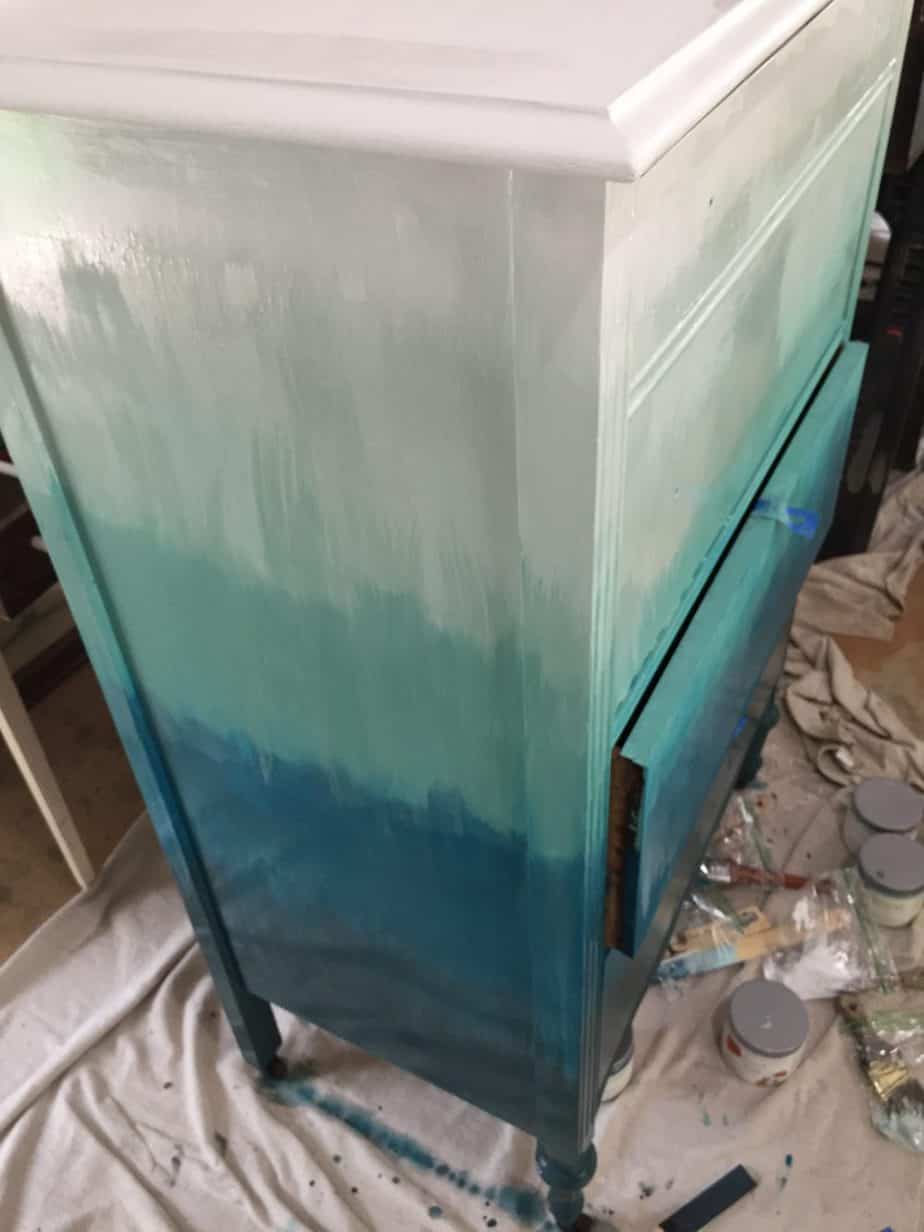
- Blending with your brush strokes going up and down creates a very different look than side to side. It’s fun to experiment.
- When I try this technique again, I’m going to only use 3 colors to make it go faster. My daughter has requested one in “Sunset” colors.
- Each of these colors on their own look very different than when they’re combined. Bliss and Reverie are pretty bold colors and Jitterbug is a gorgeous blue-green on its own. It’s interesting to see them combined like this and how it changes how they appear.
- This technique does not create a texture that you can feel. The finish is perfectly smooth.
If you like this project, you might also like my ombre wall! I used the same technique on a wall to recreate expensive wallpaper at a fraction of the cost.
You might also like:
- The Ultimate Guide to Furniture Makeovers
- Console Table Painted in Country Chic Reverie
- Side Table Painted in Country Chic Jitterbug
- Dry Sink Upcycle with Blended Paint Technique
Looking for more furniture makeovers?
Click here for more furniture makeovers.
Pin for Later!


Emy is a vintage obsessed mama of 2 DIYer who loves sharing affordable solutions for common home problems. You don’t need a giant budget to create a lovely home. Read more…



i love this one, emy! the colors are perfect for this look!
Thanks Cassie! I want to paint all the things now. Fingers crossed it sells. This piece could go either way…
This has such a beautiful watercolor effect. So lovely!
Thanks Rane! It was such a fun piece to paint.