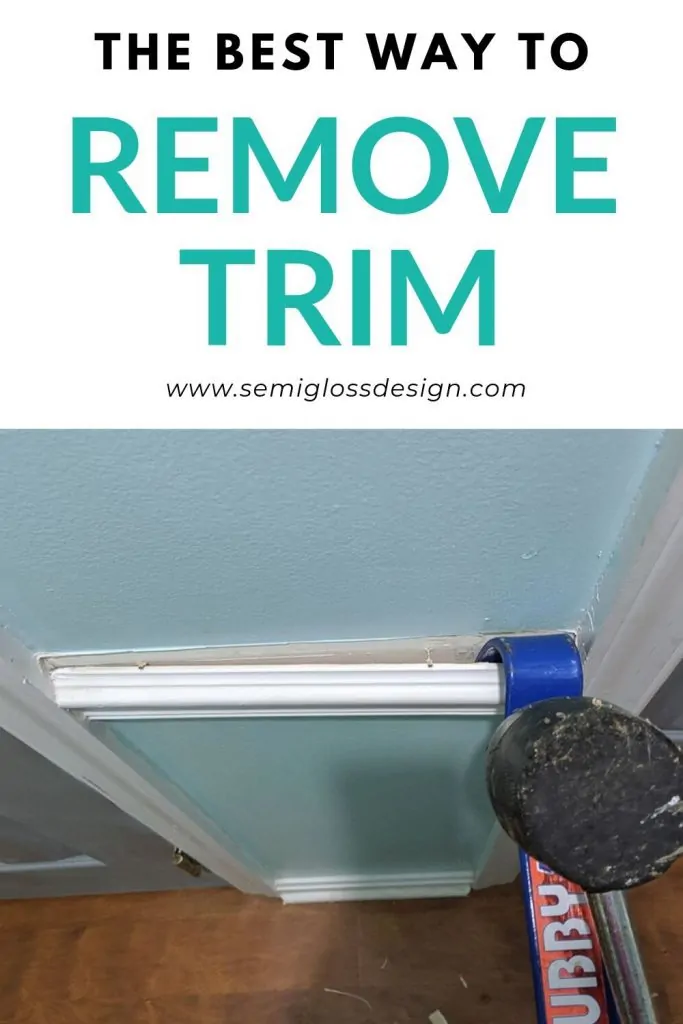
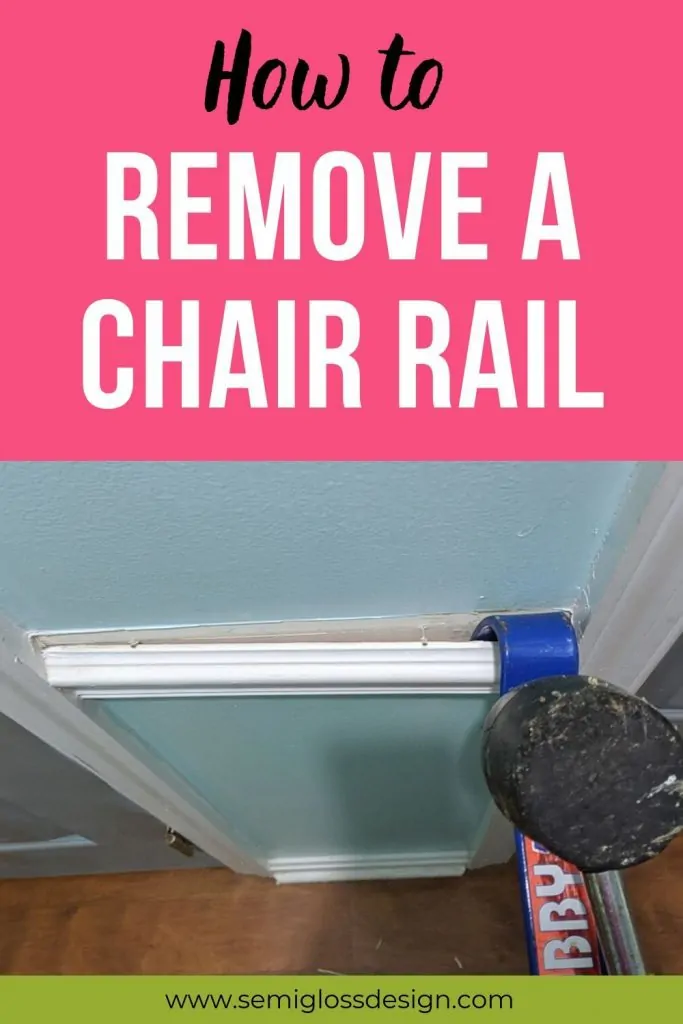
How to Remove a Chair Rail and Repair the Walls for Paint
Learn how to remove a chair rail. Remove that traditional molding for a cleaner look for your walls.
This easy tutorial walks you through removing molding from the walls without damaging the drywall, plus how to get the walls ready for paint.
You might also like this post on how to paint a room.
This post contains affiliate links. By purchasing an item through an affiliate link, I earn a small commission at no extra cost to you. As an Amazon Associate I earn from qualifying purchases.
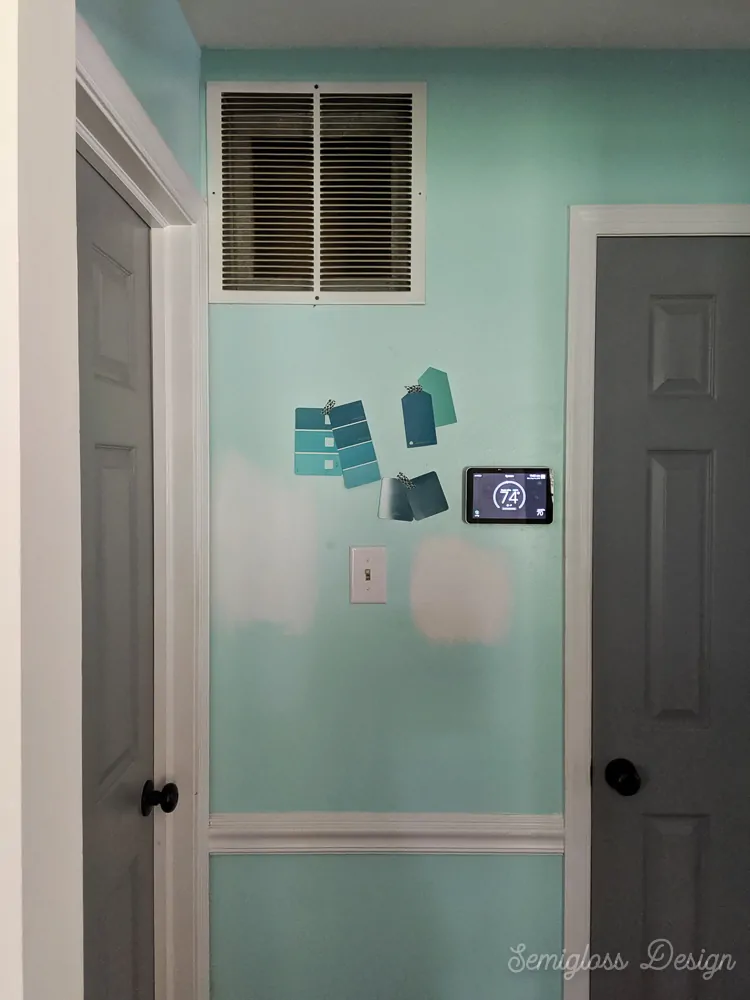
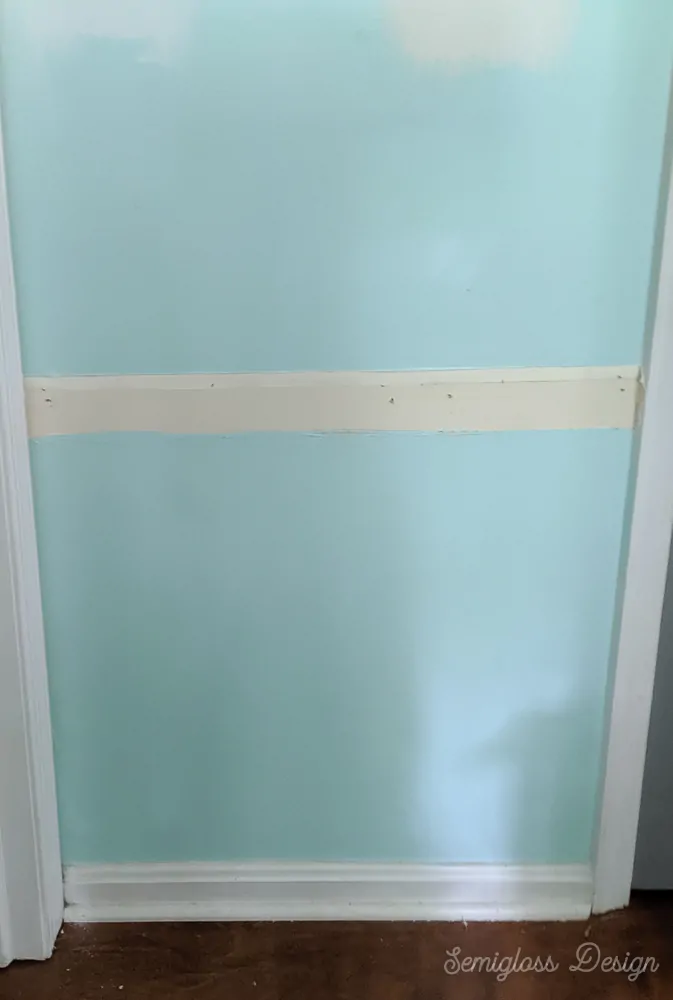
Last weekend I broke out the pry bar and removed my chair rail from the hallway.
I’ve been struggling with my walls for a while and I finally figured out that it’s because I hate the chair rail.
They’re far too traditional for my decidedly un-traditional taste.
And in a home with 8′ walls, dividing them up isn’t doing them any favors.
I swear, my ceilings already look about a foot higher without the chair rails.

Removing Molding FAQ’s
What is a chair rail?
A chair rail is wood trim that is applied about 30″ from the floor.
What are chair rails used for?
Chair rails were used to protect walls from chairs in smaller homes. Now, they’re mostly used as decorative trim.
Why would you want to remove a chair rail?
I removed mine because of style preference. As I said, they’re very traditional and it’s not my taste.
I also removed them because I have 8′ walls and I wanted them to feel higher.
Most importantly though, is the fact that chair rails make no sense in a hallway. Not a lot of chairs in the hallway, ya know.
Are chair rails out of style?
In the right home, chair rails are absolutely gorgeous. Chair rails are a timeless style of molding.
I even love them mixed with modern elements.
However, in my smaller Cape Cod, they don’t look great or make sense. My style is not traditional and they seem too fancy for my very un-fancy home.
How do I remove trim from wall without damaging it?
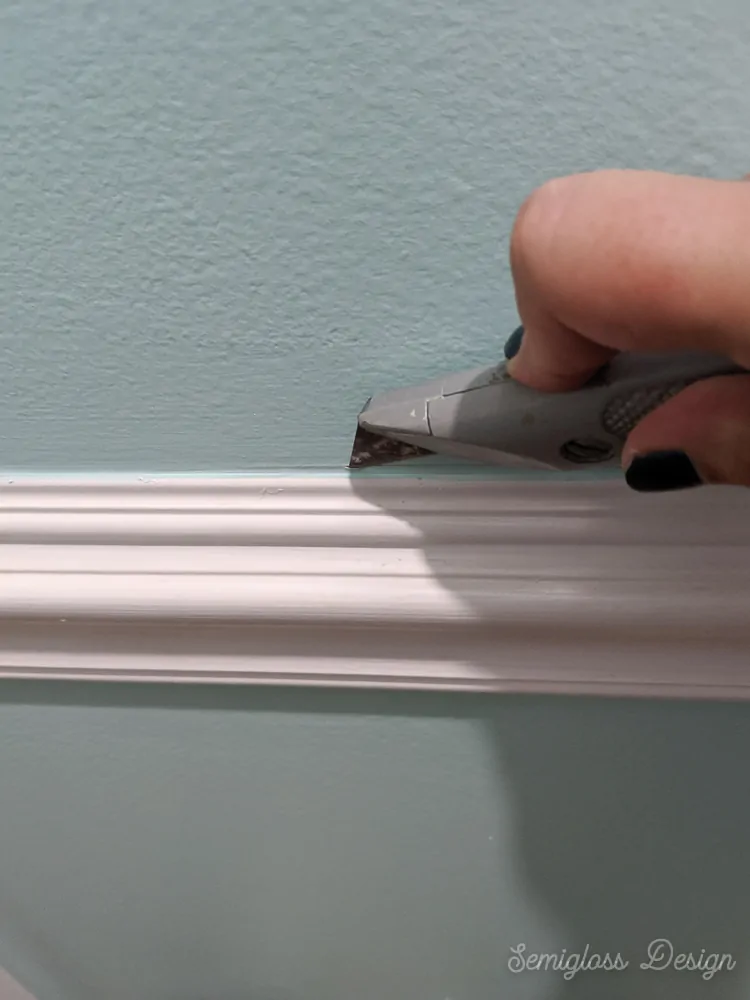
The most important tip is to score along the edges with a sharp utility knife.
This cuts the caulk and prevents the walls from getting torn up when removing the trim.
Go slow and use the pry bar every few inches to prevent breaking the wood. The wood only breaks if you apply too much force and try to remove too much at once.
The other thing to be aware of is the nail type used.
If you suspect the housebuilder installed it, they probably used larger nails and you need to use the pry bar where the nails are.
If you suspect a previous homeowner installed the trim (especially in the recent past), it’s likely that they used a nail gun, which uses much smaller nails.
The larger nails can cause the wood to break, where the smaller gauge nail gun nails can go right through the wood without damage.
How do I repair textured walls?
Remove the chair rail as directed below. Make any repairs necessary.
You will need to match the texture with a texture spray like this one. Follow the instructions on the can.
Let it dry and paint right over it!
Removing a Chair Rail
Supplies Needed:
- Utility knife
- Pry bar
- Rubber mallet
- Pliers
- Hammer
- Joint compound
- Sand paper
- Putty knife
- Primer
- Chip brush
By the way, you want a pry bar, not a crowbar. Crowbars are much larger and thicker. They’re great for a large-scale demo, but I find a pry bar to be the most useful demo tool to have around the house.
You should use fine-grit sandpaper. I used a fine grit sanding block that I only use for drywall and spackle repairs.
Removing the Chair Rails from the Walls
Demo is the fun part.
- Use a utility knife to score along the edges of the trim. This cuts the caulk and prevents the walls from getting torn up.

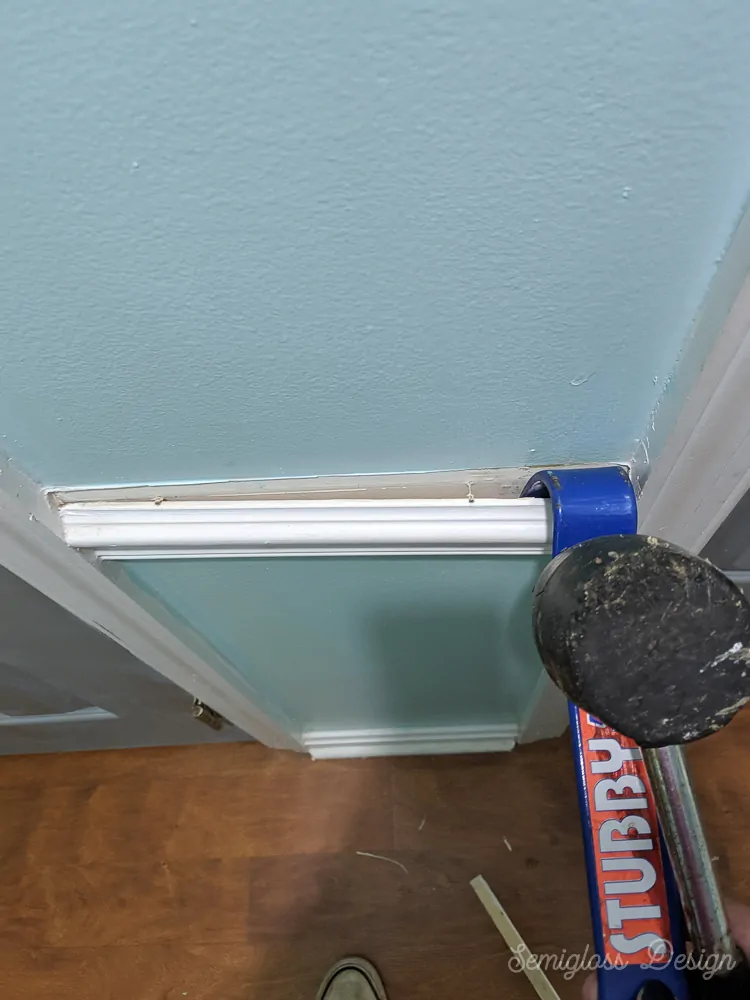
- Insert the edge of the pry bar beneath the wood trim and hit it with a rubber mallet a few times until it goes under the wood more. (You may need to try it from the bottom of the wood instead of the top.)
- Use the pry bar to pull the trim from the wall a bit. Go slowly or the wood will break.
- Continue this motion, moving a few inches along the trim until it comes off the wall.
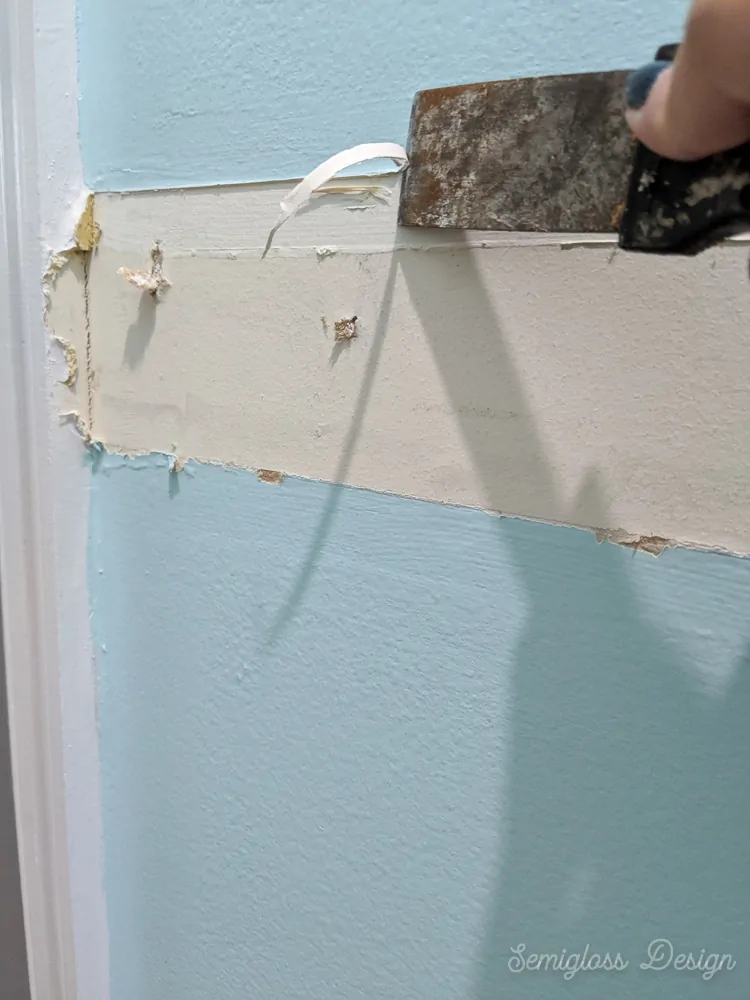
- If you still have nails stuck in the walls, use pliers or a hammer to remove the nails.
- If they break off and you can’t remove them, just hammer them into the wall.

Tricky Areas (Like Corners and Tight Spots)
I didn’t have any tricky areas in this room, but I’ve run into places where I have had issues removing the trim from the walls. This is usually in tight corners and baseboards are notorious for being difficult to remove.
If you run into that situation, you can use an oscillating multi-tool to cut through the wood.
It’s loud and a bit scary to use, but it cuts right through the trim so that you can remove it easier.
It can also cut through nails if you find yourself in a situation requiring that.
Repairing the Walls for Paint
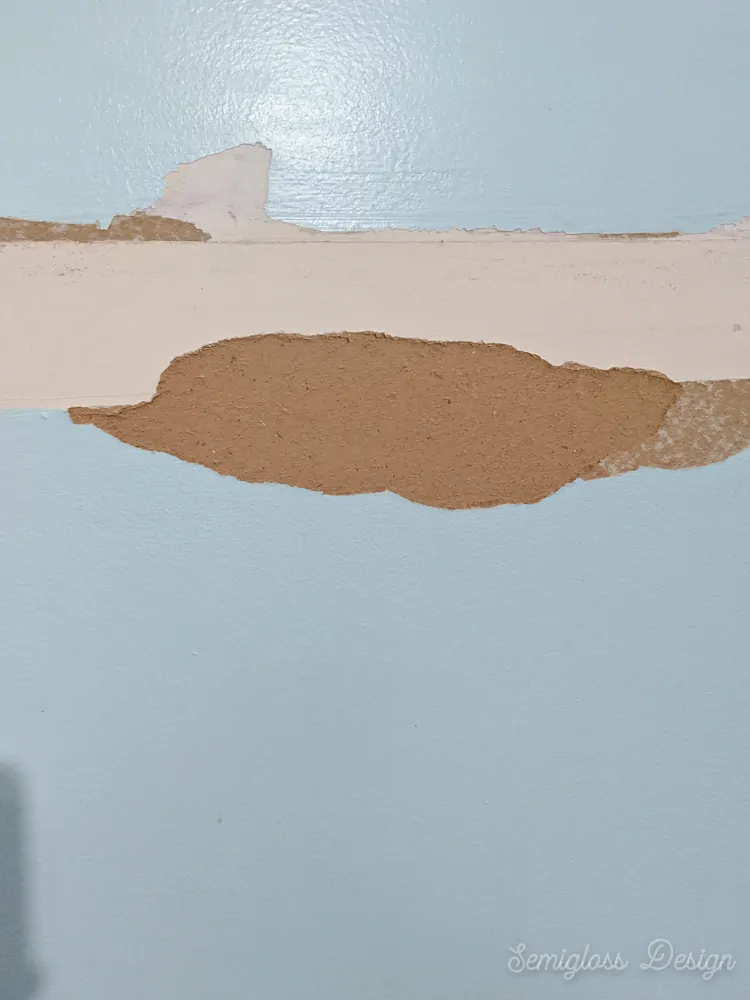
- Use a putty knife to scrape away as much of the remaining caulk and bumps as possible.
- If you have peeling drywall paper, remove it as much as possible. Be careful not to get carried away though. You can use a utility knife to slice away the peeling area to avoid removing too much.
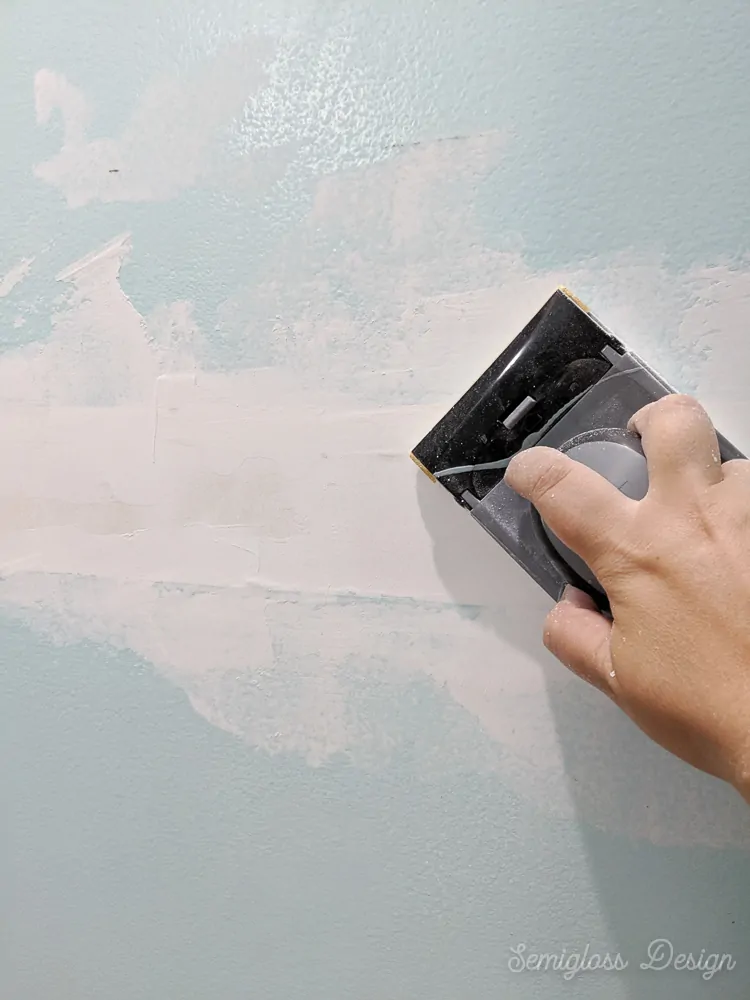
- Sand the walls to get them as smooth as possible.
- Clean the walls with a damp rag and let them dry.
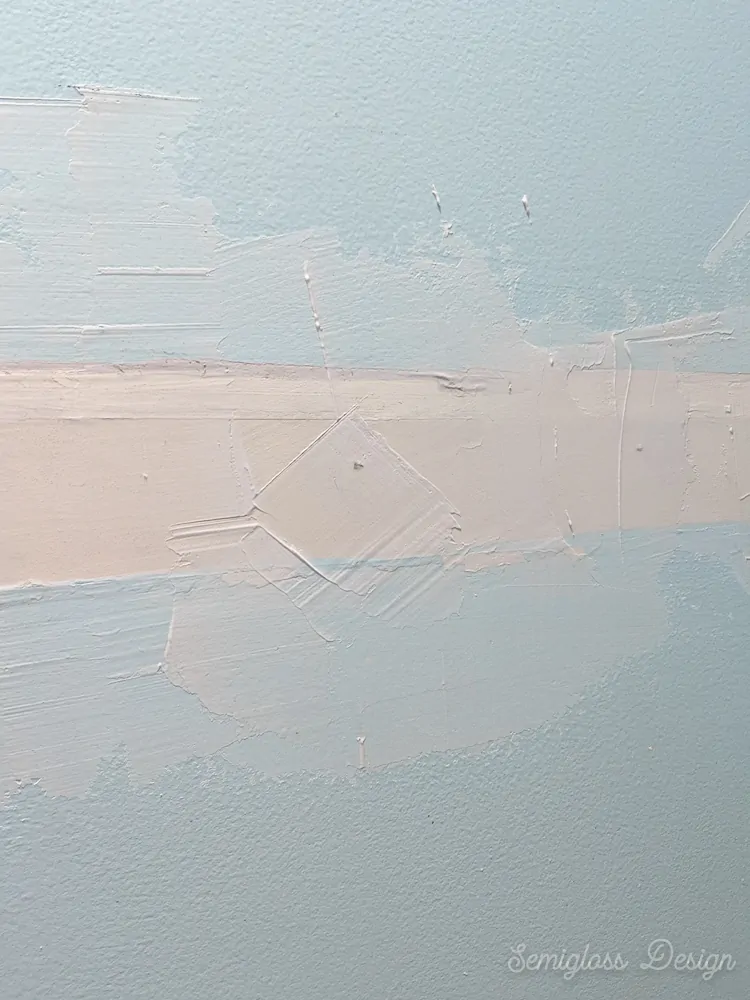
- Use a wide putty knife to apply a thin coat of joint compound, paying special attention to nail holes, rips in the drywall paper, and other imperfections.
My first coat was too thin. I mixed the joint compound better to get a thicker consistency for my second coat. - Let it dry and sand lightly until smooth.
- Apply a second coat if necessary.
- Let dry.
- Sand again until smooth.
- Wipe away the dust with a microfiber cloth.
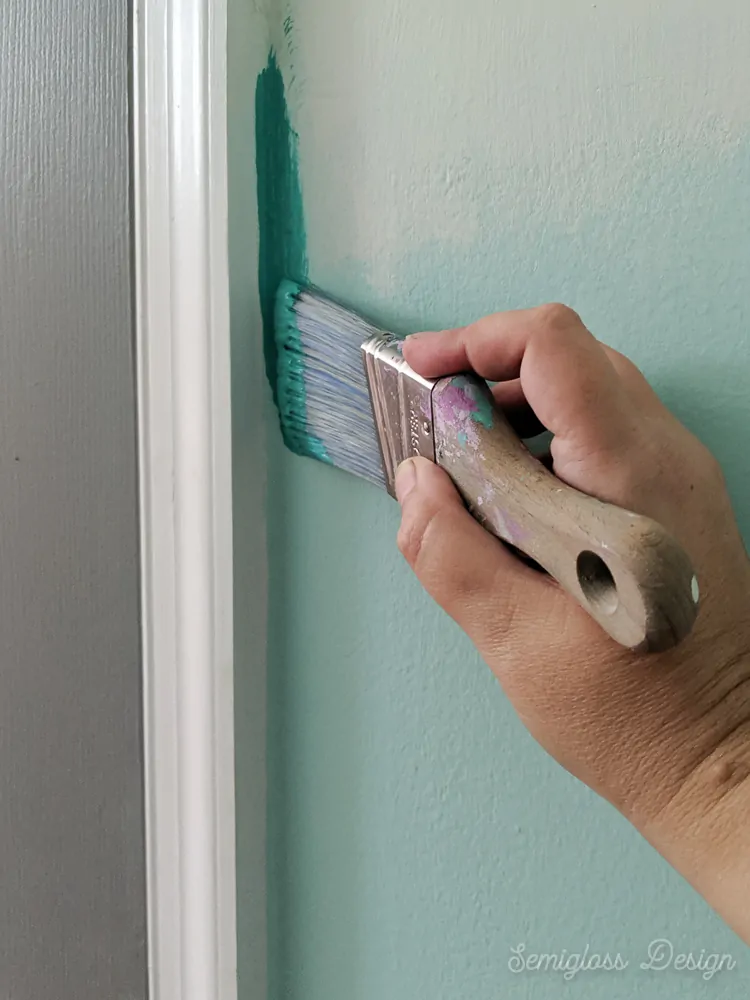
- Prime before painting. This is crucial so that the paint goes on properly. If you skip priming, the joint compound will absorb more paint and look blotchy in those spots.
This technique results is best for smooth walls. If you have textured walls, you will need to reapply the texture using joint compound or texture spray. The good news is that textured walls don’t need to be sanded as much!
Now your walls are ready for paint!
Drywall dust can be swept up or you can use a shop-vac.
Be aware that drywall dust can ruin a regular vacuum. For the walls and trim, I like to use a microfiber cloth.
You might also like:
Pin for Later!

Emy is a vintage obsessed mama of 2 DIYer who loves sharing affordable solutions for common home problems. You don’t need a giant budget to create a lovely home. Read more…

When I sanded the area where the chair rail was its smooth compared to the rest of the wall. Can this be fixed?
Yes, it can be fixed. Some walls have texture – some a little and some a lot. My walls have the texture made from a paint roller and that’s it. If your walls are like this with a very subtle texture, you’re fine just painting it. If they have more texture, you will need wall texture spray: https://www.amazon.com/s?k=wall+texture+spray&ref=nb_sb_noss_1
Find the one that is most similar to your wall, spray it on, let it dry, prime it and paint. It should be good as new. 🙂
We had a painter come in and remove our chair rail. He did a terrible job and the wall is all lumpy where the chair rail was located. How can we fix this? Heavy sandy is not an option because my husband has asthma.
I would call the painter back and tell him that you’re not happy with his work.
However, I understand that might not be an option. You’ll need to add more joint compound to the area and sand it smooth.
They make joint compound that is less dusty (dust control). It’s heavier and falls to the ground instead of floating around. If possible, tape off the room where hubby will be with plastic tarps. You can also wet sand with a sponge. Go light because it’s easy to remove too much.
Any tips on removing paint flashes? We did not use a PVA primer on new ceiling drywall and have paint flashes after 3 coats of paint. Any tips would be appreciated!
Apply a quick coat of primer (I like 123 Primer for walls) and then repaint. The primer will seal those spots for good.
Do you need to apply the 123 primer on just the repair portion of the wall or on the entire wall?
Just the repair portion.
I can still see where the chair rail was after finishing painting, its very subtle though. After applying the joint compound, sanding and priming, the walls were smooth, however after painting the walls white, I can still see the lines. Have I done something wrong?
It’s possible that you didn’t add enough join compound or sanded too much away. Another possibility is that your paint sheen is too shiny. Flatter finishes are more forgiving to repairs.
Thanks for the tips! The previous owners of this house put giant, chunky chair rail in my living room and foyer and finally got brave enough I take the pry bar to it last night. I have one area that’s less dry wall chip and more 1/2” deep chunk. Would I just fill that with the joint compound too?
You might want to add a bit of the sticky mesh drywall tape for big gouges. When you use a lot of joint compound, it takes forever to dry and it shrinks and cracks. The mesh helps you use less. Good luck!