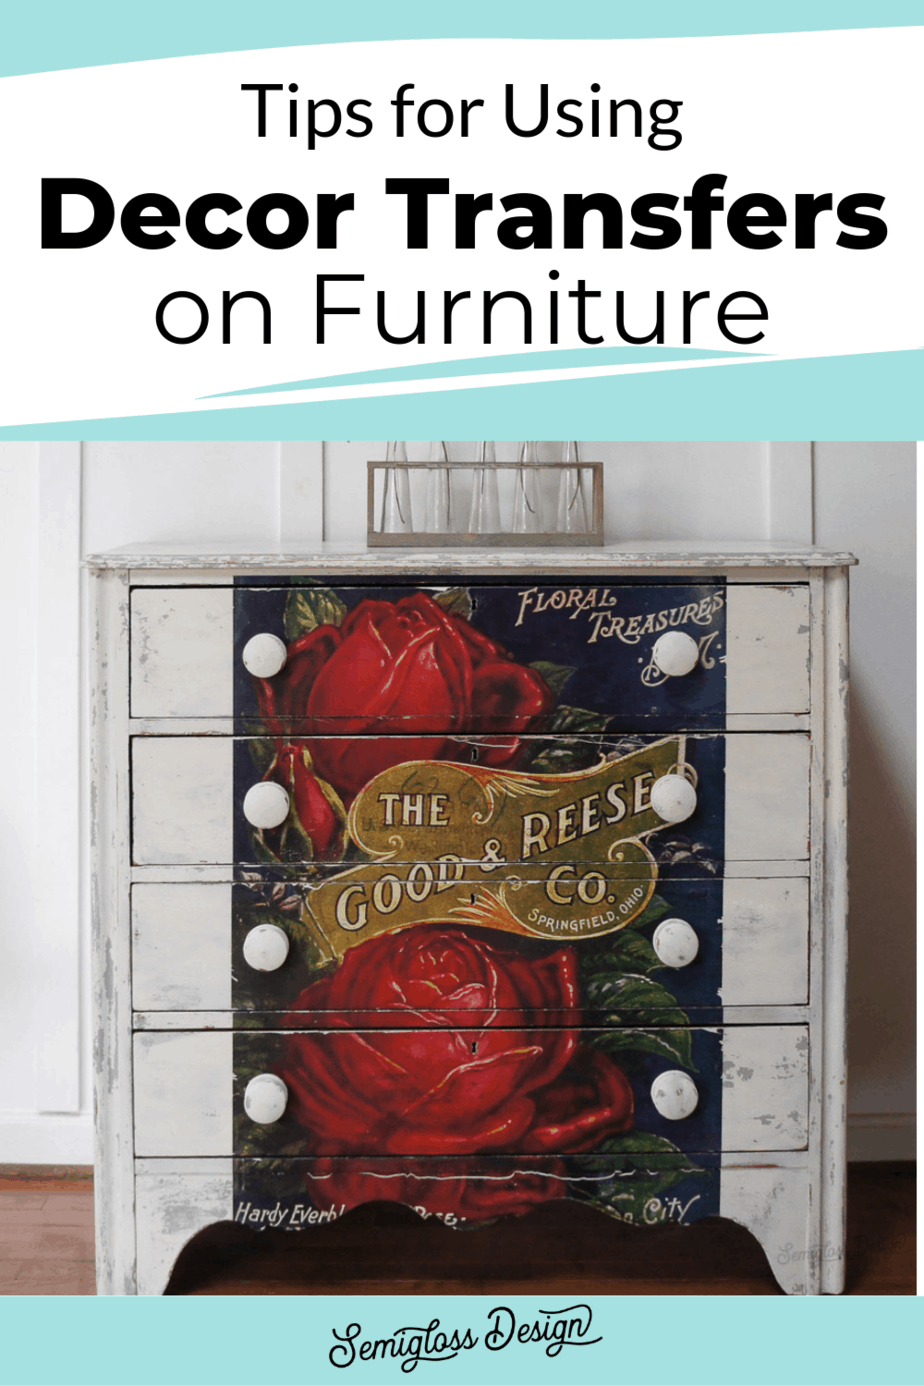
Tips for Using a Decor Transfer on Furniture
Learn my tips for using decor transfers on furniture. After completing a dresser using milk paint, I knew that I wanted to add a decor transfer.
This post contains affiliate links. By purchasing an item through an affiliate link, I earn a small commission at no extra cost to you.
What are Decor Transfers?
Decor transfers are large-scale images that can be transferred to furniture. They can also be used on canvases, mirrors, or even walls.
I’ve been dying to try them out and I’m in love with the results.
Where Can You Purchase Decor Transfers?
Right now, the two brands that make them are [re-design] with Prima and Iron Orchid Designs. Prima transfers can be found online or in local shops.
Iron Orchid Design transfers can only be found through stockists, so check to see if there’s one nearby. There are also online shops that will ship them to you.
The hardest part is trying to decide which design to use!
Tips for Using Decor Transfers on Furniture
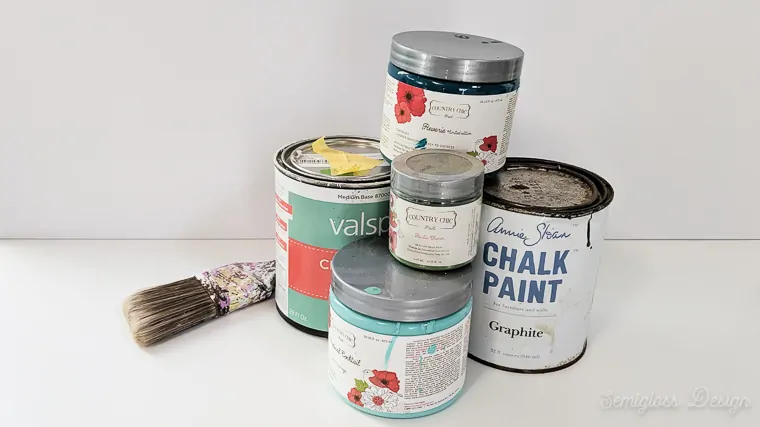
Supplies Needed
- Rose Seed Pack transfer
- Scissors
- X-acto knife or utility knife
- Polycrylic or other non-yellowing top coat
- Sandpaper
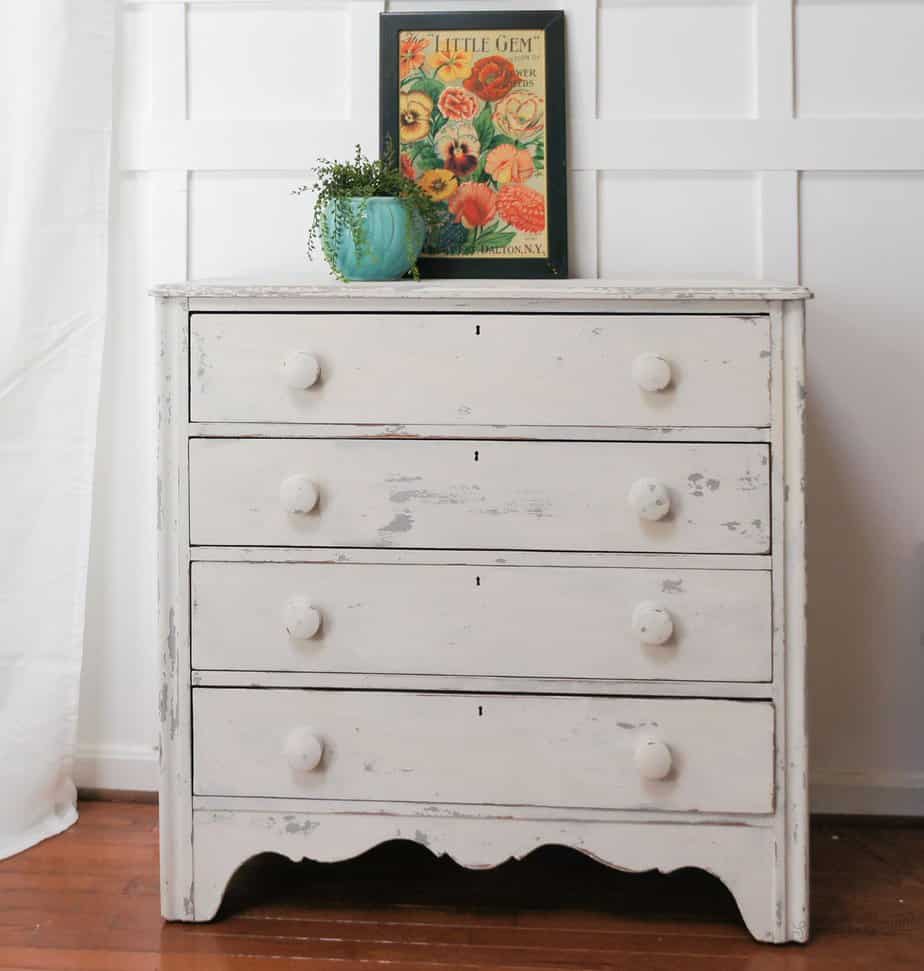
- Finish your piece of furniture as desired. For my dresser, I used milk paint and then sealed it with a coat of polycrylic since milk paint is flaky and porous.

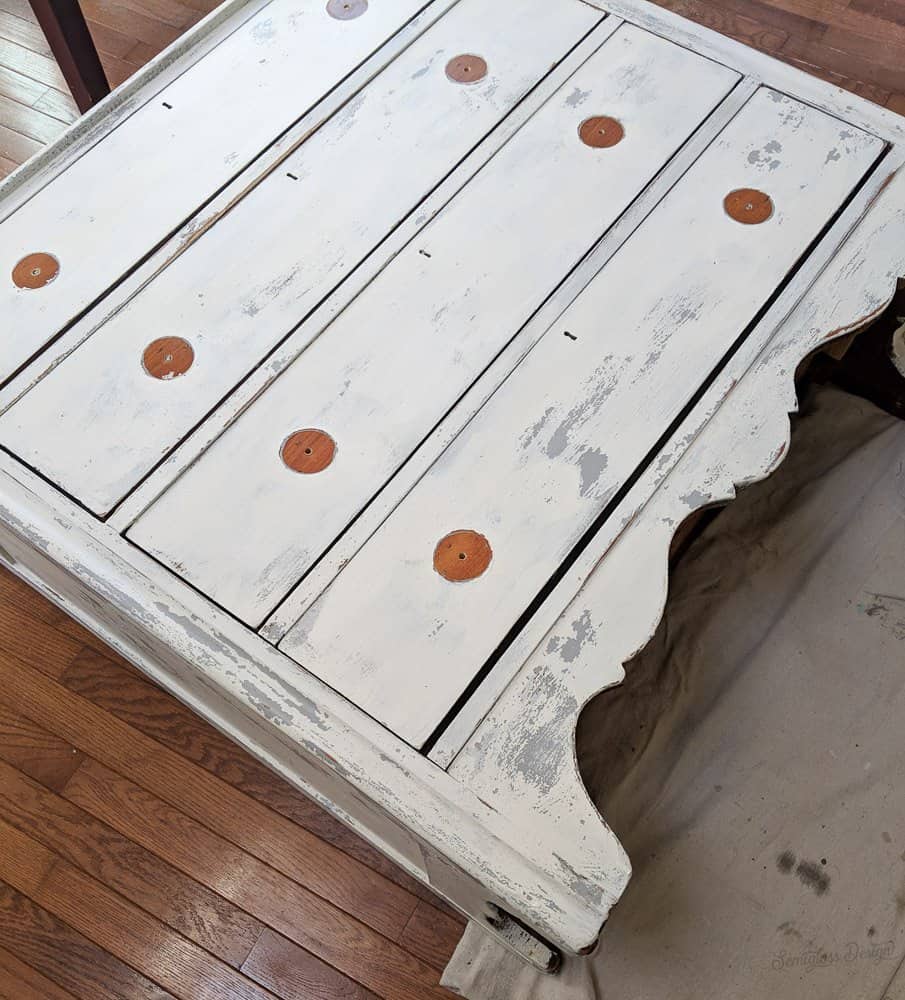
- Remove any knobs or hardware.
- Lay your furniture on its back so that you don’t have to fight against gravity. This also makes lining it up easier.

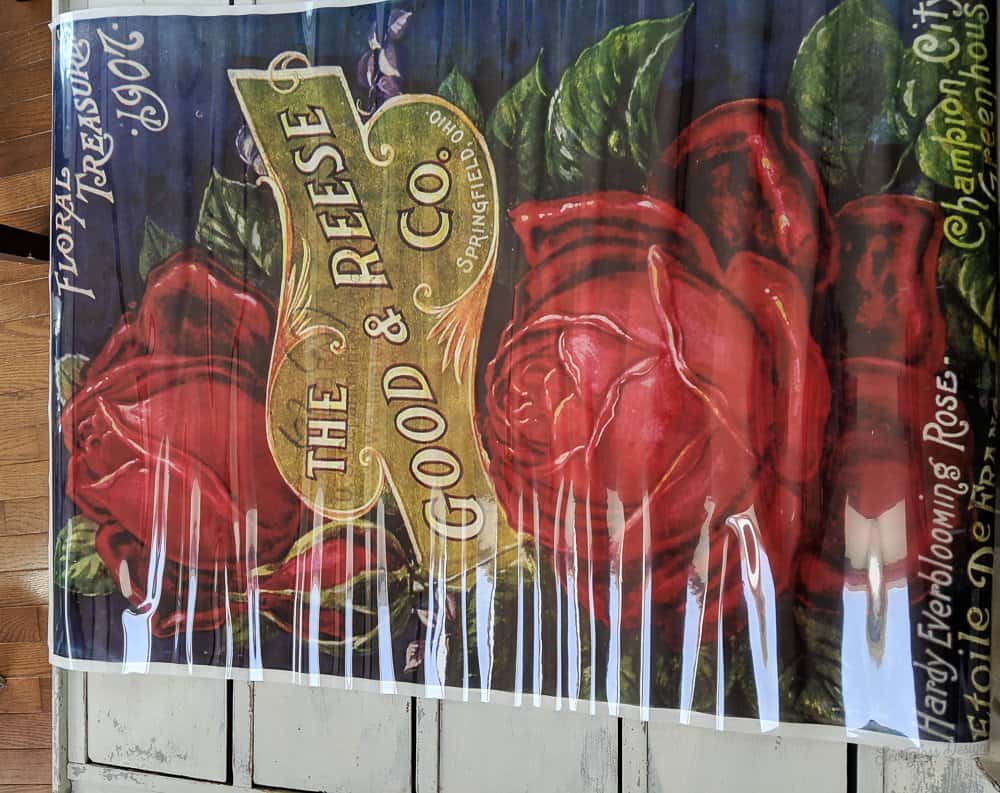
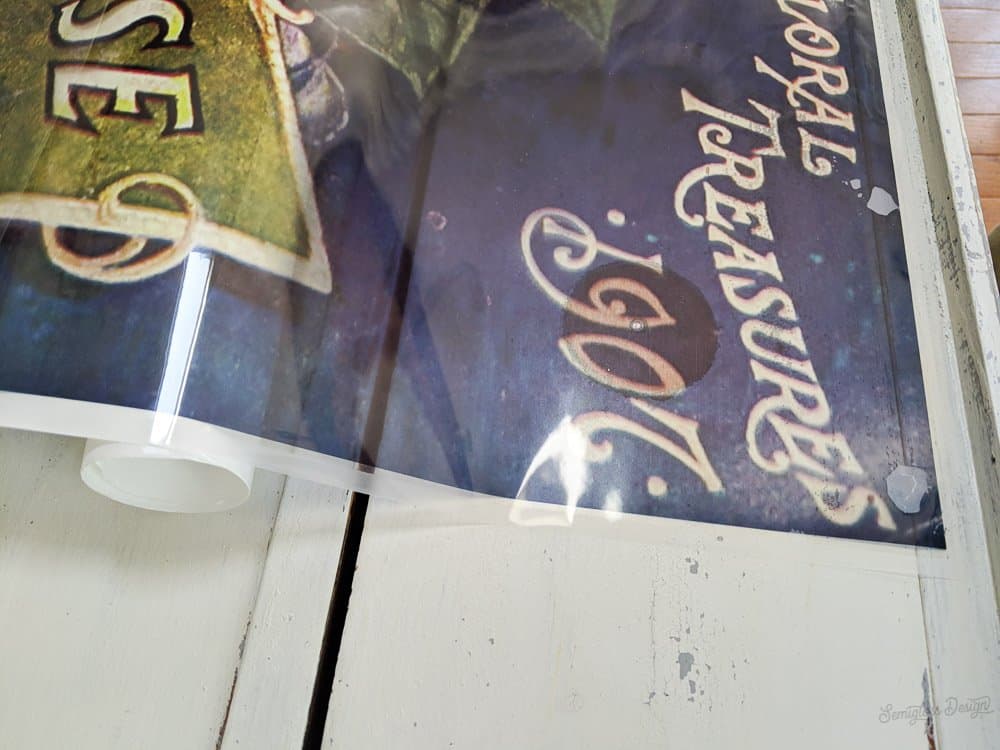
- Unroll your transfer, but leave the backing on for now. Once it’s placed, there’s no moving it.

- Center your transfer. You can mark the edges with washi tape or painter’s tape if you want.
- Slowly start un-peeling the backing, pressing down as you go.

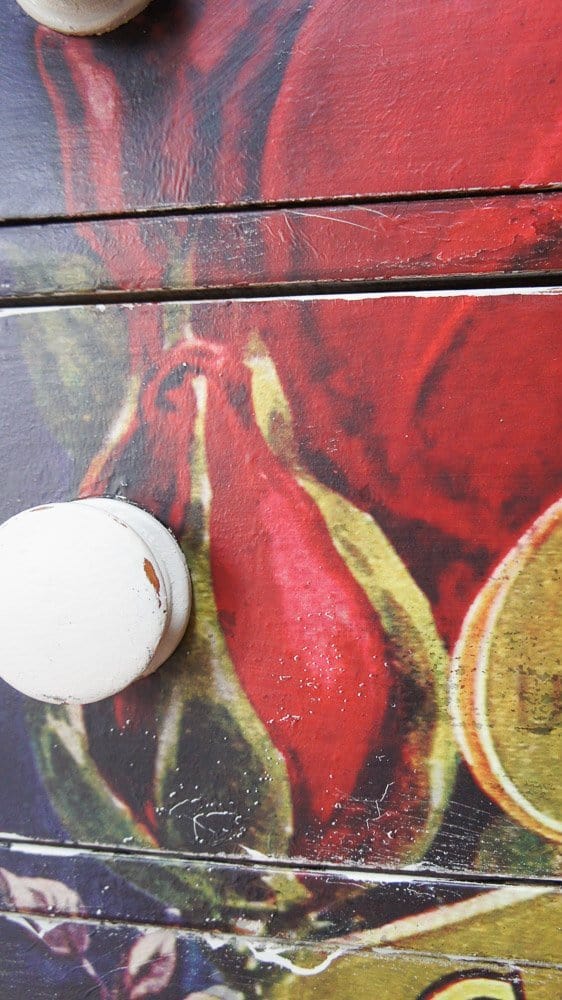
- If your furniture is old and uneven like mine was, don’t press down at the seams yet, because it makes the transfer crack.
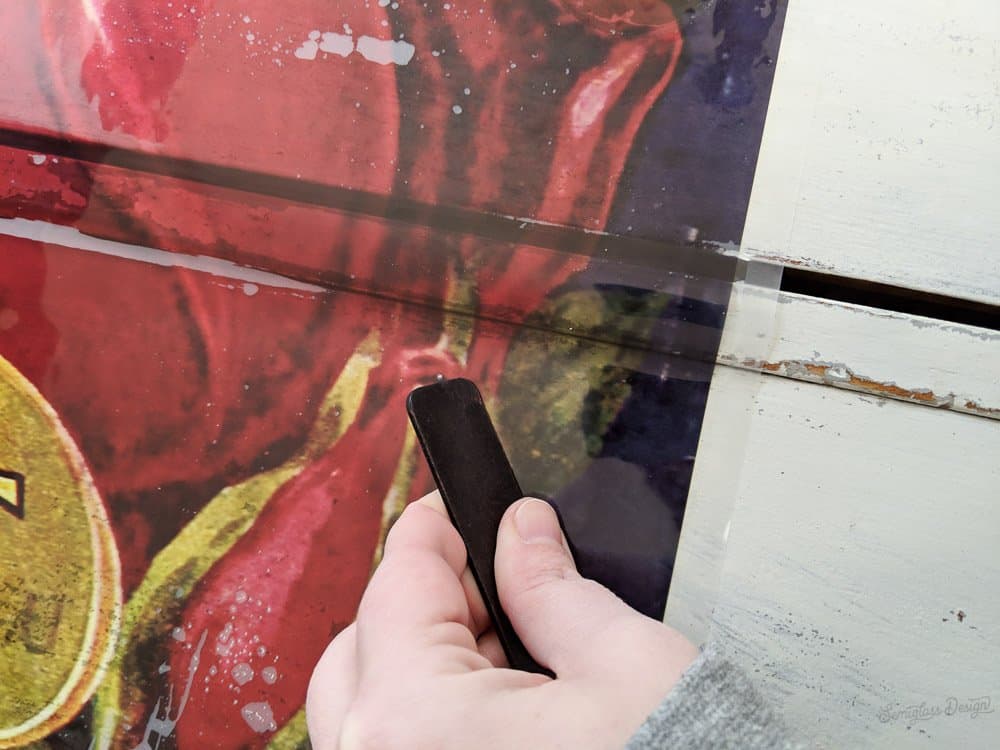
- Use the stick to rub the transfer down. My transfer stuck well with little effort. The edges needed a bit of help sometimes, though.
- If you have any wrinkles or bubbles, smooth them with your fingers.
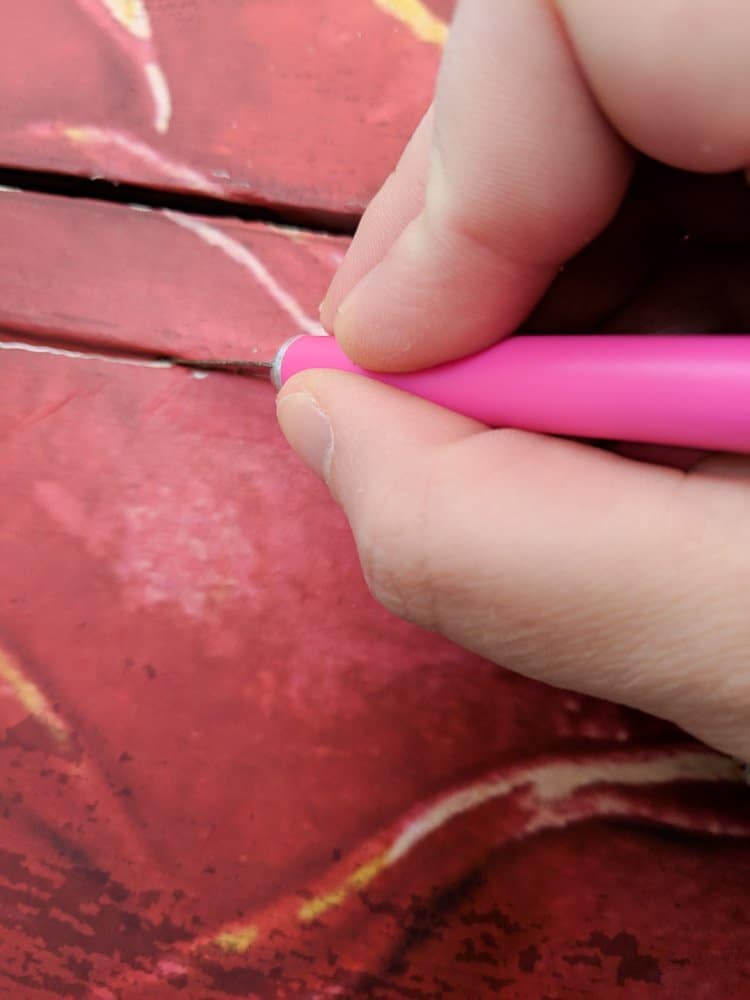
- Once your transfer is one, go back and cut any seams with a sharp x-acto knife. Go slowly so that it doesn’t rip the transfer.

- Use your fingers to press down the trimmed edges.
- Smooth out the whole thing with your hands to remove any wrinkles. (I did this continuously during the process.)
Finishing the Dresser
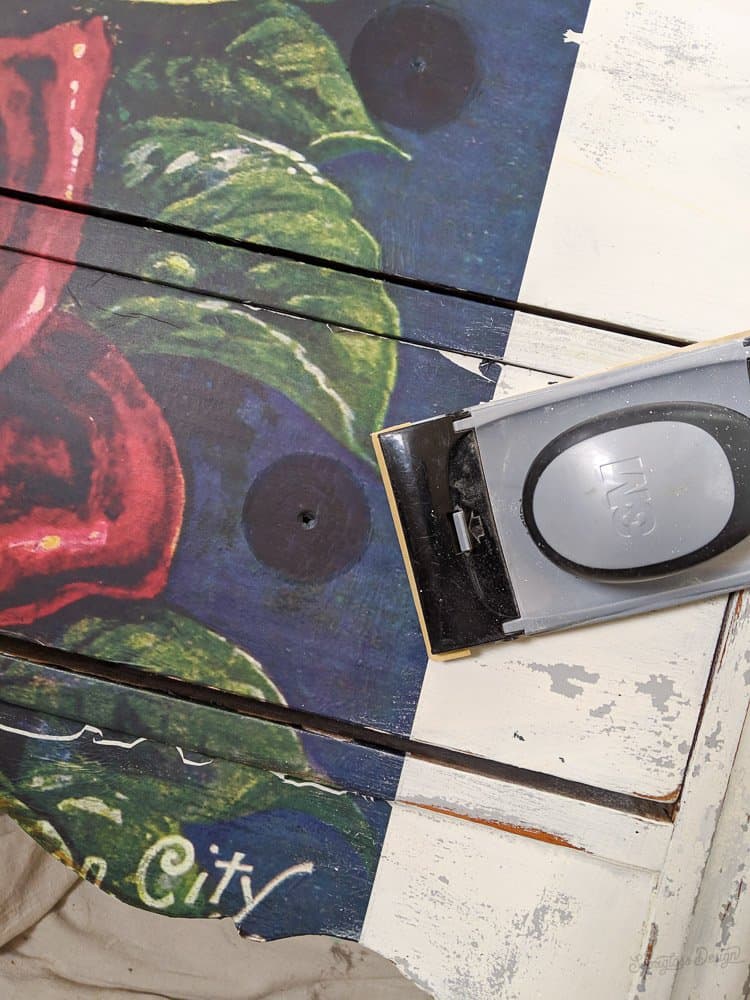
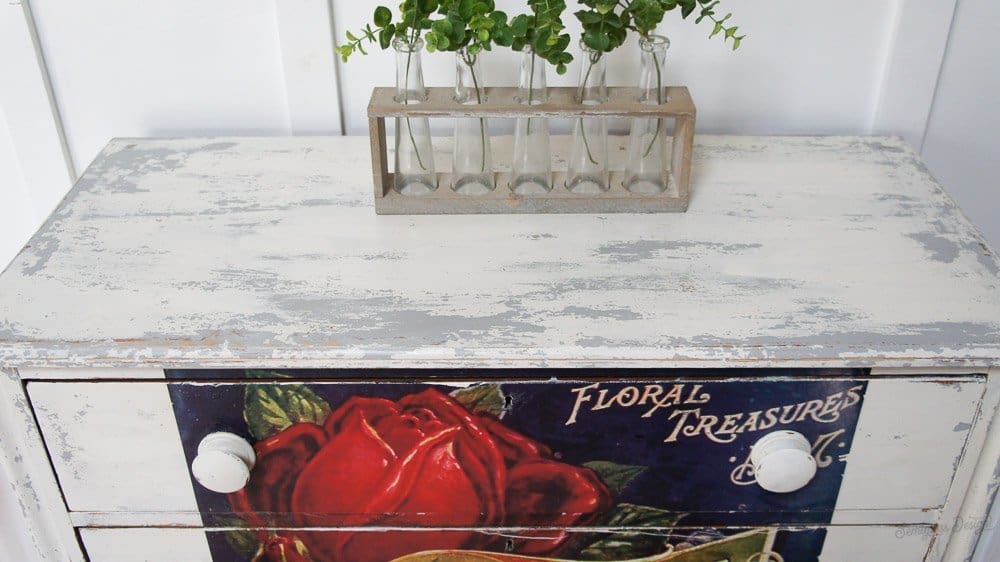
- Since my seams cracked quite a bit, I decided to make them a feature instead of a flaw and distressed the edges with sandpaper. This also gets rid of the leftover bits between drawers and helped with the keyholes. (I used 220 grit.)
- Use the x-acto knife to poke holes for the knobs.
- Then, seal the entire piece with 2-3 coats of polycrylic.
- Finally, replace the knobs once the top coat is dry.


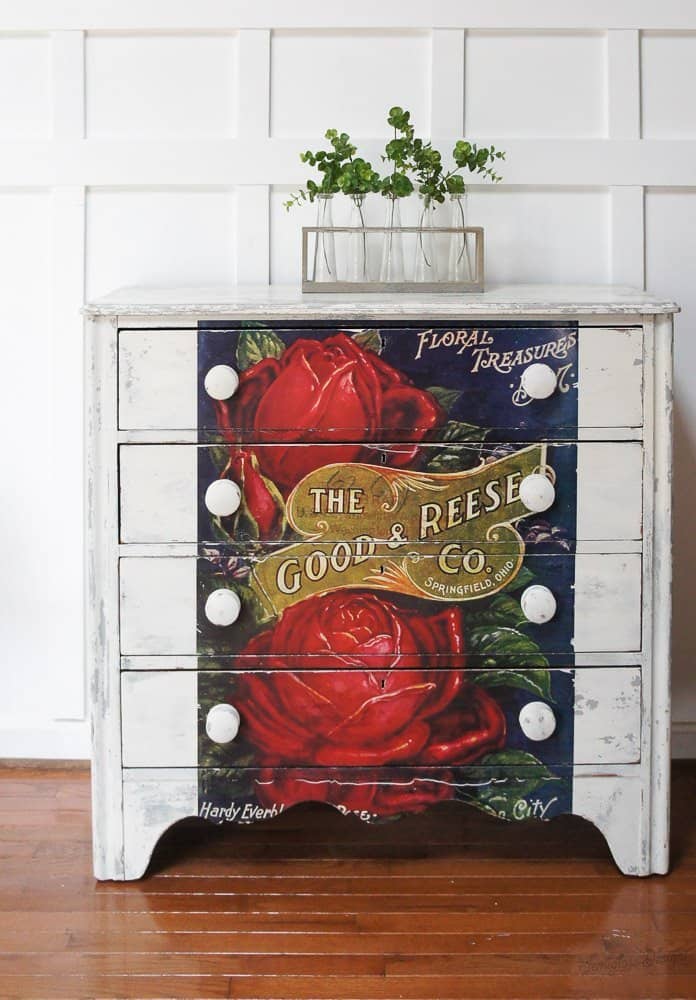
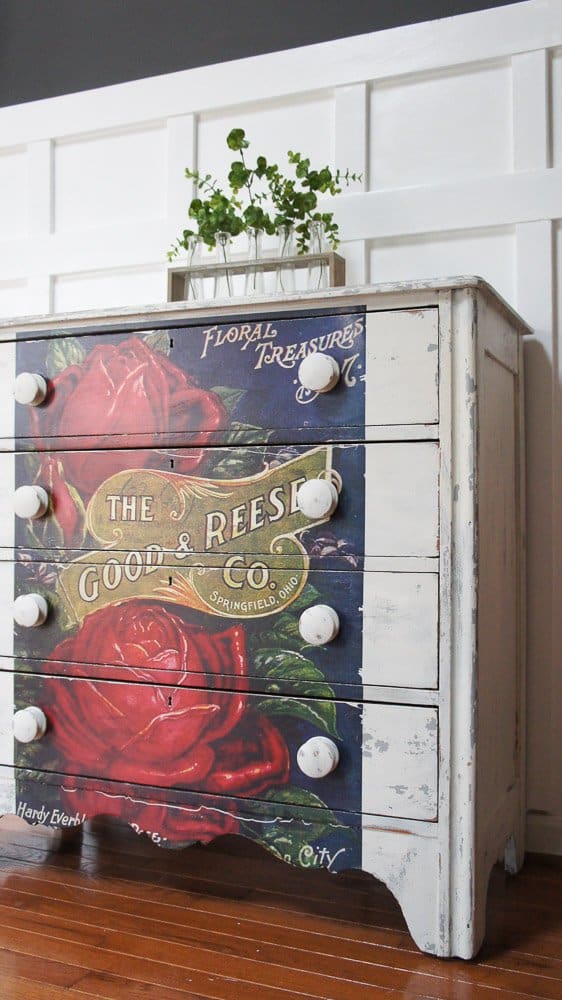
I know I say this about every piece I make, but I think this might be my favorite so far…
Tips for Using Decor Transfers
- Don’t expect perfection on an older piece of furniture. The handmade nature of the furniture will make it more difficult to get a perfect transfer. Luckily, these transfers look great distressed for a vintage look!

- Decor transfers are a bit translucent so the underlying color will show through. Keep that in mind when painting.
- I’ve heard that placing your transfer in the freezer helps with adhesion, so try that if you’re working on a hot day.
- The newer decor transfers can be painted for a watercolor effect, which I’m really excited to try.
You might also like:
- How to Paint Furniture White
- Decoupage Furniture with Paper Napkins
- Layered Chalk Paint
- Blended Ombre Dresser
Pin for Later!

Emy is a vintage obsessed mama of 2 DIYer who loves sharing affordable solutions for common home problems. You don’t need a giant budget to create a lovely home. Read more…
this turned out so well! what a fun piece, emy!
Thanks Cassie! I love it too!
Loved it!
Gaspar, Santa Catarina – Brasil
Where did you find the decor transfers?
Thanks for this helpful post Emy! Keep up the great work. Carolina at Hamilton Billiards.
You are extremely talented. Thank you so much for sharing your great ideas and lovely projects. You have given me so much inspiration. The detailed instructions are so very helpful. Gonna try all I have read. Wish me luck. Thank you! God bless you and please keep your ideas and projects coming. Thank You once again.
Thank you so much!
I have a piece of furniture that has a satin water based finish. Do I need to put a poly finish over it? Then the Decor Transfer, and final coats of polycrylic?
Thank you!
S. Davis
You should be good to just apply the transfer and then seal it with polyacrylic.