How to Correct Chalk Paint Problems
Learn how to correct chalk paint problems.
People always talk about how easy chalk paint is to use, but I haven’t always found that to be the case.
This post contains affiliate links. By purchasing an item through an affiliate link, I earn a small commission at no extra cost to you. As an Amazon Associate I earn from qualifying purchases.
How to Fix Chalk Paint Problems
Many problems can occur when using chalk paint improperly. Every time that I’ve made one of these mistakes, I worried that I had ruined my furniture makeover.
Luckily, all of these chalk paint mistakes can be fixed.
Chalk Paint Bleed Through
Cause: The Wood Tannins Bled Through the Paint
Despite being marketed as “no-prep”, some pieces do in fact need prep.
Some woods will bleed through white and light-colored paint. If your furniture is red like mahogany or if it’s pine, it will bleed through.
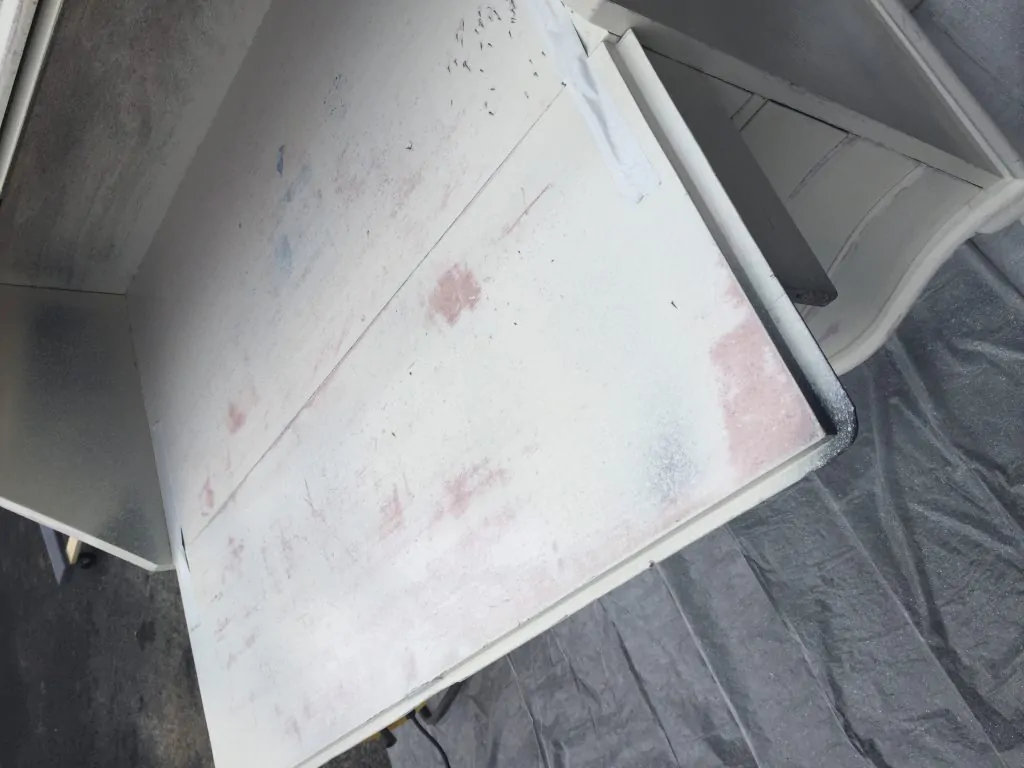
How to Fix It: You have to seal the wood first with shellac. Do not sand these parts or the seal will break.
Pay special attention to corners where two pieces of wood meet. These areas bleed worse and may need more than one coat.
When it’s dry, apply another coat of chalk paint.
Cause: Furniture Was Dirty
Sometimes, a spot will show up if you didn’t properly clean the furniture first.
How to Fix It: A quick coat of shellac will fix this too. When it’s dry, apply another coat of paint.
Click to read a more in-depth look at painting furniture white.
Brush Strokes in Chalk Paint
Brushstrokes show up for a few different reasons.
Cause: The Paint is Too Thick.
Some brands are thicker than others.
How to Fix It: You can combat this a bit by dipping the paintbrush in water before dipping the brush into the paint.
You can also avoid that brand in the future. (Nicer brands are less likely to show brush strokes!)
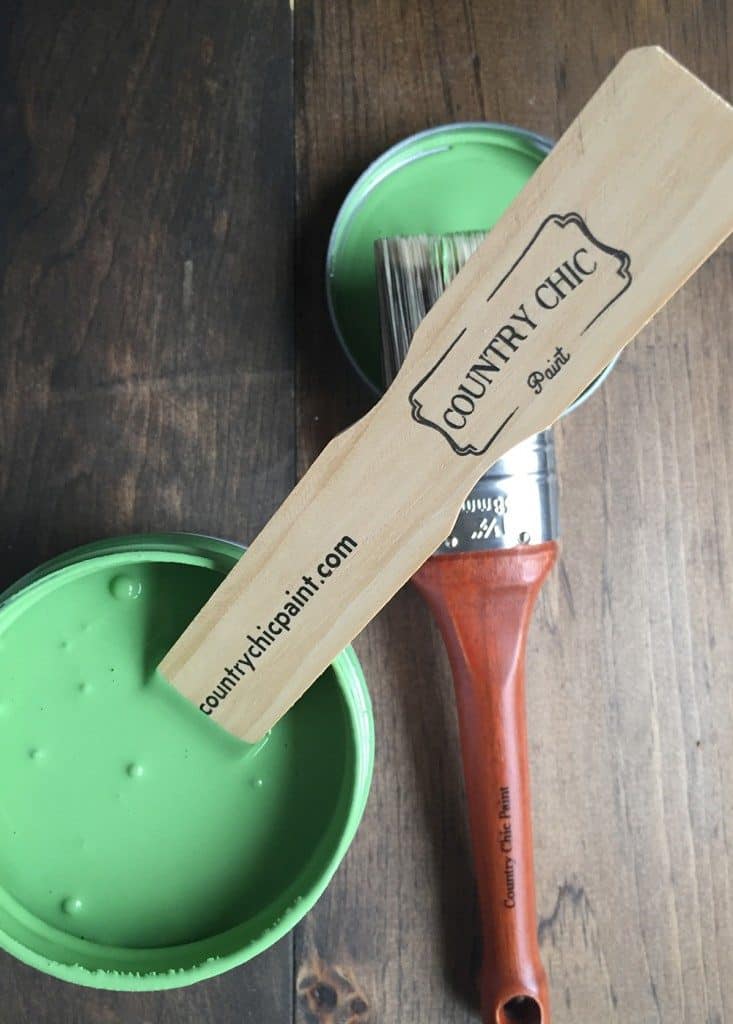
Cause: Paint Needs to Be Stirred
How to Fix It: Some paints just need to be stirred better.
Make sure that you’re stirring the thick paint at the bottom of the can! It helps to shake the paint as well. Stir as you go for the best results.
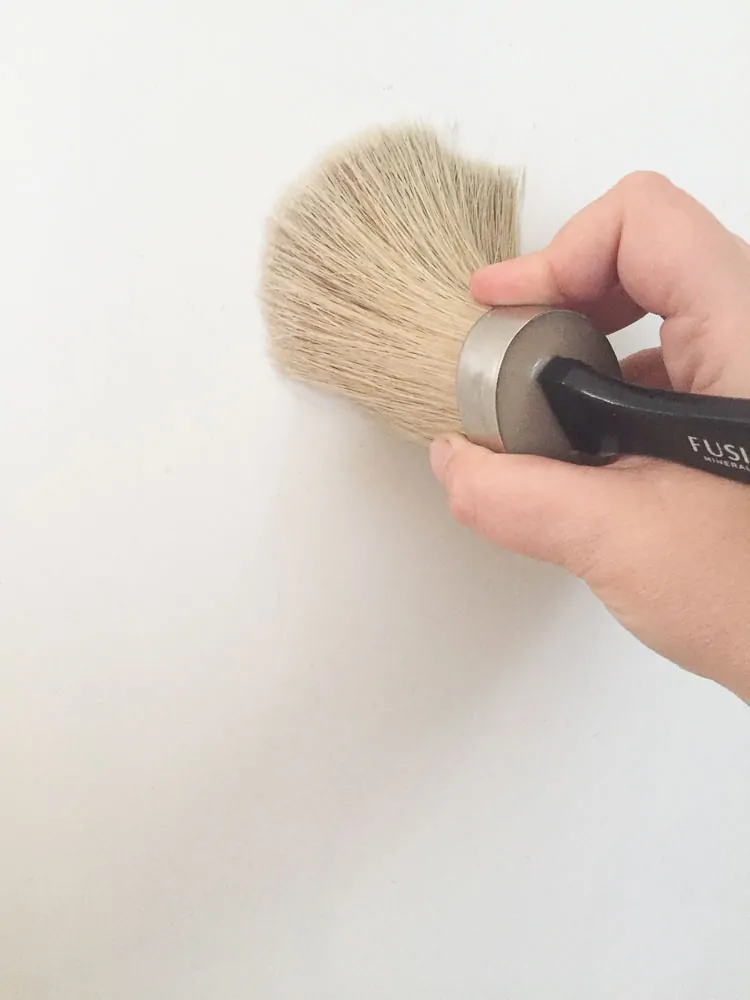
Cause: Using the Wrong Paint Brush. I’ve been given a wax brush to use with chalk paint and it causes massive brush strokes.
How to Fix It: Your paintbrush needs to have soft, flexible bristles. I prefer brushes with thin bristles to avoid brush strokes.
Click to read about the best paintbrush for chalk paint.
Chalk Paint Isn’t Sticking
Cause: Slick Surface
Is the wood laminate or melamine?
How to Fix It: Some surfaces require a special primer to make the paint stick.
Cause: Dirty Furniture
Was the furniture cleaned well before painting? Furniture that has had years of furniture polish needs to be cleaned very well before painting because the oils prevent paint from sticking.
How to Fix It: Lightly sand the furniture and prime the whole piece to seal in any furniture polish. Then repaint.
Click to read about how to properly clean furniture before painting.
Chalk Paint Cracking
Cause: Dirty Furniture
Chalk paint cracks when the furniture wasn’t cleaned well before painting. Dust and furniture polish can stop paint from sticking to the surface.
How to Fix It: If the cracks are deep, you may need to sand the piece. Then seal it with shellac, let it dry and then paint another coat of chalk paint.
Cause: Painting in Extreme Temperatures or Humidity
Sometimes paint can crack if the environment is too hot, cold, or humid.
How to Fix: If possible, try to paint in a temperature-controlled environment.
Don’t paint in direct sunlight on hot days. Don’t paint when it’s too cold. Try to keep your paint in warmer areas.
Sand lightly and seal it with shellac before applying another coat of paint.
Cause: Paint is Applied Too Thick
Sometimes cracking can occur when the paint is too thick. Try dipping your paintbrush in water before painting to thin it down a bit. Apply thin, even coats.
How to Fix It: Sand it lightly, seal the area with shellac, and repaint when it’s dry.
Chalk Paint Looks Streaky
Cause: You Need More Coats of Paint
Despite being marketed as one coat paint, I’ve never found that to be true with any paint. You need at least 2 coats. Light colors over dark wood will need even more coats.
How to Fix It: Apply more coats of paint, letting each coat dry thoroughly between coats.
Continue until you have full coverage. It helps to look at it in daylight, especially when you paint light colors.
Cause: Uneven Wax Application.
You need more wax than you think to get even coverage.
How to Fix It: To fix this problem, wipe the piece down with mineral spirits. Let it dry and add a new coat of wax, being sure to cover the entire surface.
I find that using a brush distributes the wax evenly. Be sure to buff well.
Cause: Dark wax can also look streaky when applied unevenly.
How to Fix It: You can minimize it with a coat of clear wax.
Then wipe it with mineral spirits to blend the clear wax with the dark wax. This is also a great way to make the wax more subtle if you overdid it.
Click to read about how to use black wax on furniture.
Wax Still Feels Sticky
Cause: Did you buff the wax after applying it?
How to Fix It: Wipe it with mineral spirits and buff well.
Cause: You may have used too much wax. (I normally use too little.) Luckily this is an easy problem to fix.
How to Fix It: Add more wax and buff it better to remove more wax.
After you buff, the surface should feel buttery smooth. If it’s still tacky, buff some more. Click here to read a tutorial on how to apply wax correctly.
Fix Option B: The other option is to wipe the piece with mineral spirits. Mineral spirits will smooth the wax out. Be sure to buff well.
Wax is Too Difficult to Use
If you’re concerned about using wax, you don’t have to!
I prefer polycrylic for most applications! It’s easy to use and results in a hard, durable finish.
My other suggestion if you’re set on using wax is to apply it with a wax brush.
Wax goes on so much easier with a brush than a rag. Be sure to buff it well.
Touch it as you go. It should feel smooth, not sticky.
Click to read my tips for using polycrylic as a top coat.
Hopefully, now you’ll have fewer chalk paint failures.
What was your worst chalk paint mistake?
You might also like:
Pin for Later!

Emy is a vintage obsessed mama of 2 DIYer who loves sharing affordable solutions for common home problems. You don’t need a giant budget to create a lovely home. Read more…
hello Amy, my husband and I painted the kitchen cabinets with chalk paint and they looked very nice but when my husband applied a Rust-oleum top coat the pain was left with many strikes which ruined the look, he has only applied one coat and we are unsure if applying a second top coat will fix the problem or if we should try a different brand for the second top coat, I’m very disappointed since painting the cabinets was a lot of work and now it seems ruined with the top coat strikes. what can we do??? thank you
I prefer Polycrylic for a top coat because it always works well. Test it on one door and see if a fresh coat will cover the marks. Sometimes they’re caused by uneven coverage. If it covers the streaks, apply it to the entire kitchen. Be careful not to touch drying paint with fresh paint or it will cause more streaks. Skip that spot and come back later with another coat.
If you can feel the streaks with your hand, you may need to sand those spots and touch up with paint before applying polycrylic.
Chalk paint can be applied on top of the top coat if necessary and then coated with polycrylic.
Hope one of these ideas helps.
So glad I found your post on chalk paint problems. I haven’t used it in a while and just started on my kitchen cabinets and really wanted a smoother finish without brush marks. Now I know how to correct it moving forward.
Glad it helped!
Help! I used white chalk paint for the first time. Read to add water to thin paint. The desk looked great after three coats. I applied the clearwax with a brush. It began to crack the paint as it dried and little blue spots appeared as well as a dark area. Should I send, shellac and repaint and apply a white polycyclic top coat ?
Yes, seal those spots well, then repaint. Make sure that it’s completely dry (wait at least 24 hours) before adding a top coat.
I have been using the sponge “dabbing” method. The first coat I can actually see the round edge outline of my sponge. Will this go away with the second coat?
I’ve never used the sponge method, but the second coat usually covers any marks from the first.
Hi I am using chalk paint on a chest of drawers. When i put the paint on and come back over a section straight away i am getting little lumps of paint. I have cleaned my brush with brush cleaner and even tried using another clean brush but still getting this little bubbles of what seems dry paint . Please help I did think of watering the paint down?
If the spots are clumps of paint, the paint is probably old. Chalk paint goes bad after a while and can even turn solid. (If you just bought the paint, take it back and get a refund.) If the paint is just kind of pulling on itself when you touch it again, I would try wetting the brush before dipping it into the paint and see if that helps. Adding water can’t hurt at this point.
Hi! I just painted a chest of drawers a dark charcoal. I was very happy after the paint application. When I applied the wax with a brush the. Bugged they surface became very streaky .. thoughts?
It sounds like you didn’t use enough wax or buff it enough. I would thin the layer of wax you have with mineral spirits and see if that improves the situation. Then you can either apply more wax or try an easier topcoat like polycrylic. Wax isn’t the easiest thing to apply, so I avoid it when possible.
Hi. I’ve just put lacquer over dark grey chalk paint and it looks terrible. Street and blobby and makes the beautiful colour underneath look dull. Is there anything I can to rescue this? Thanks
I would lightly sand the finish and see if it helps at all. It sounds like the finish was too thick. You might need to repaint and add a new top coat. If possible, try and find a matte finish. Lacquer is usually too shiny and hard to get right.
I painted a fabric head board with Grey chalk paint and it looked beautiful until I put the wax sealant on it. Now it looks like white flaky mold all over it:( I am devastated any ideas on how to fix this? Thank you so much .
Jonnika
Not great at diy
Hi Jonnika,
It sounds like the wax is too thick. Get some mineral spirits and buff it down. That should help a lot. You will need to remove most of the wax with the mineral spirits. If needed, use a scraper to remove any chunky bits but be gentle. When the wax is removed, you can try to apply a thinner amount. Using a wax brush is a good way to keep it from getting too thick. Be sure to buff well.
Hope this helps!
Emy
Awesome what would you use to buff it down are used a round brush and buffed with a soft cloth when I applied it
I usually use cut-up t-shirts for buffing. Use a lot of muscle to make sure that it’s smooth. It should feel silky when you’re done buffing, not sticky at all.
My chalk paint is dry but it getting marks when I touch it. Gently even. What can I do to help stop this? I can “write” with my finger on the nightstands.
It isn’t scratching off just turning a lighter color, and if I try to rub my finger marks with a cloth it makes a larger marked area.
It sounds like it needs a topcoat. I would repaint the areas where there are marks, let it dry and add a topcoat. Polycrylic is the easiest to use.