How to Add DIY Drawer Liners to Furniture
Learn how to add drawer liners to furniture makeovers.
Drawer liners are one of my favorite details to add when I makeover furniture for my vintage shops.
Sometimes, it’s out of necessity, but mostly, it’s because I love the unexpected pattern when you open the drawer.
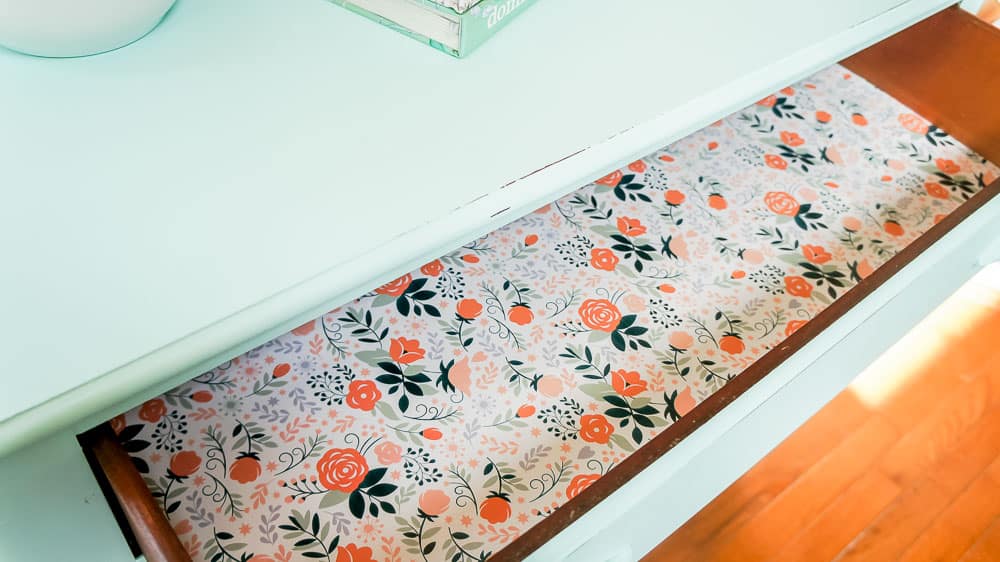
Lining drawers with wrapping paper makes each piece feel so special.
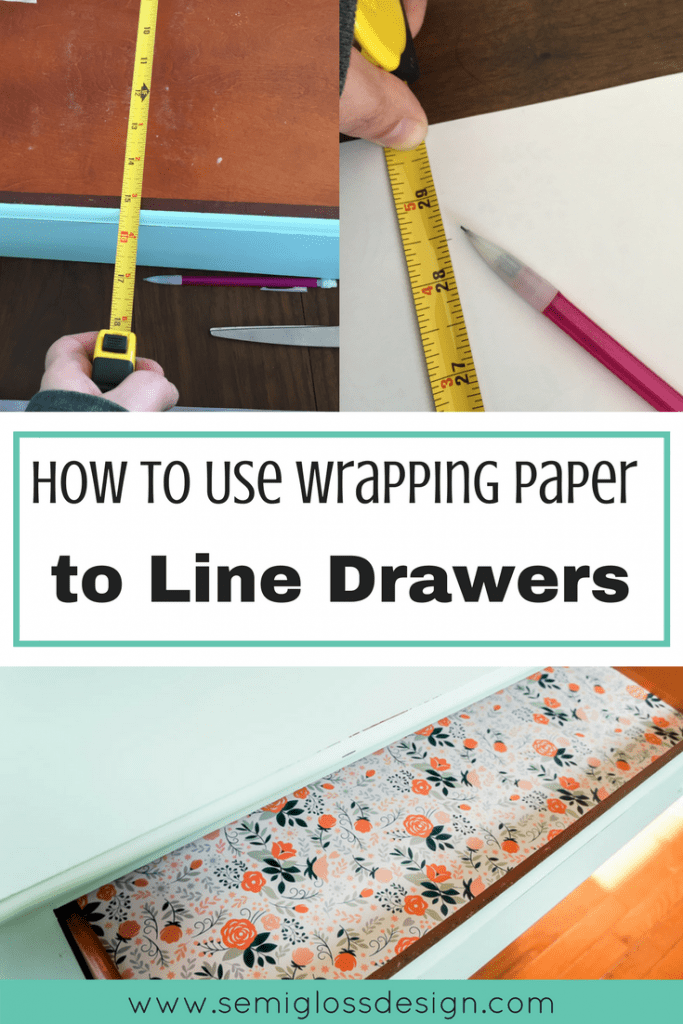
Today, I’m sharing how I add DIY drawer liners to furniture with wrapping paper. The best part about wrapping paper is that it’s easy to find beautiful designs.
You can also use this method with contact paper, but I like wrapping paper more. There is a wider variety of patterns than contact paper.
Plus, wrapping paper is easier to use. Smoothing sticky contact paper can be tricky, and it can come unstuck in extreme weather situations.
DIY Drawer Liners FAQ
What is the purpose of drawer liners?
Drawer liners have a few purposes. They can be a pretty accent in a beautiful piece of painted furniture.
They can disguise wear and tear or, more commonly, graffiti from kids. I work with a lot of older pieces, so this is a nice way to make the drawers as pretty as the outside.
Drawer liners also provide a softer surface for delicate clothing.
Can you use wallpaper to line drawers?
Yes! Just remember that wallpaper is much heavier, so use more glue and weigh it down while it’s drying.
You can also use this method with contact paper. Just skip the glue part and slowly roll the paper backing to adhere the paper to the drawer.
DIY Drawer Liners with Wrapping Paper
This post contains affiliate links for your shopping convenience. By purchasing an item through an affiliate link, I earn a small commission at no extra cost to you.
Supplies Needed
- Wrapping Paper (similar)
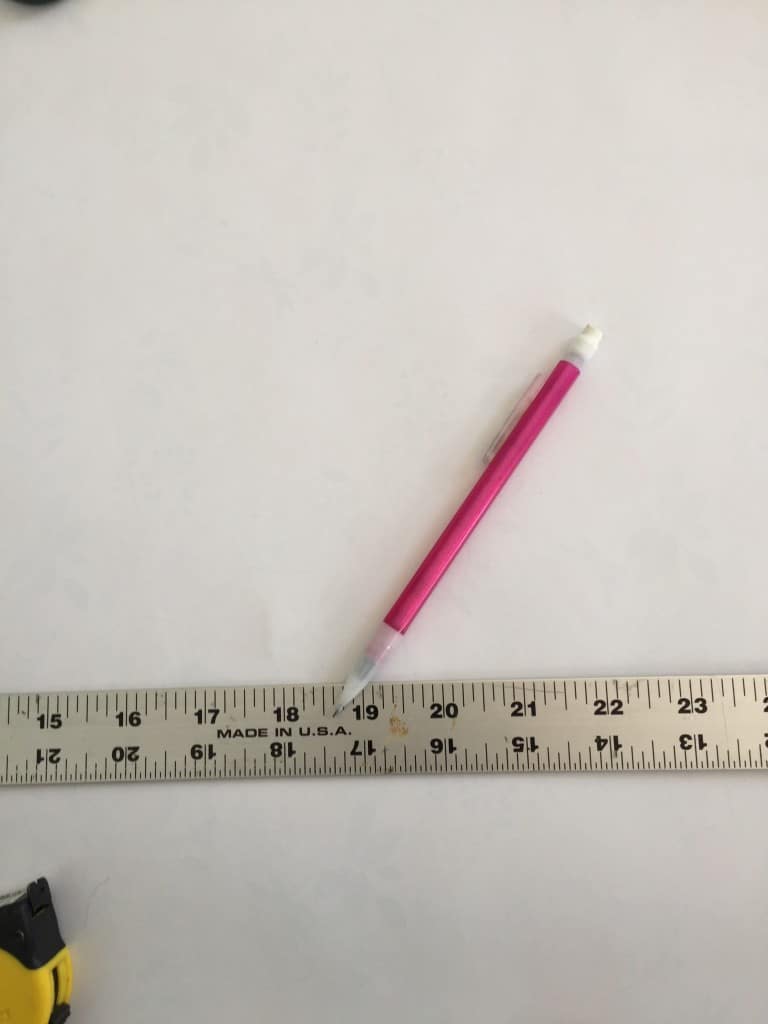
- Measuring Tape
- Pencil
- Yard Stick
- Clear Glue
- Scissors
Measuring the Drawers
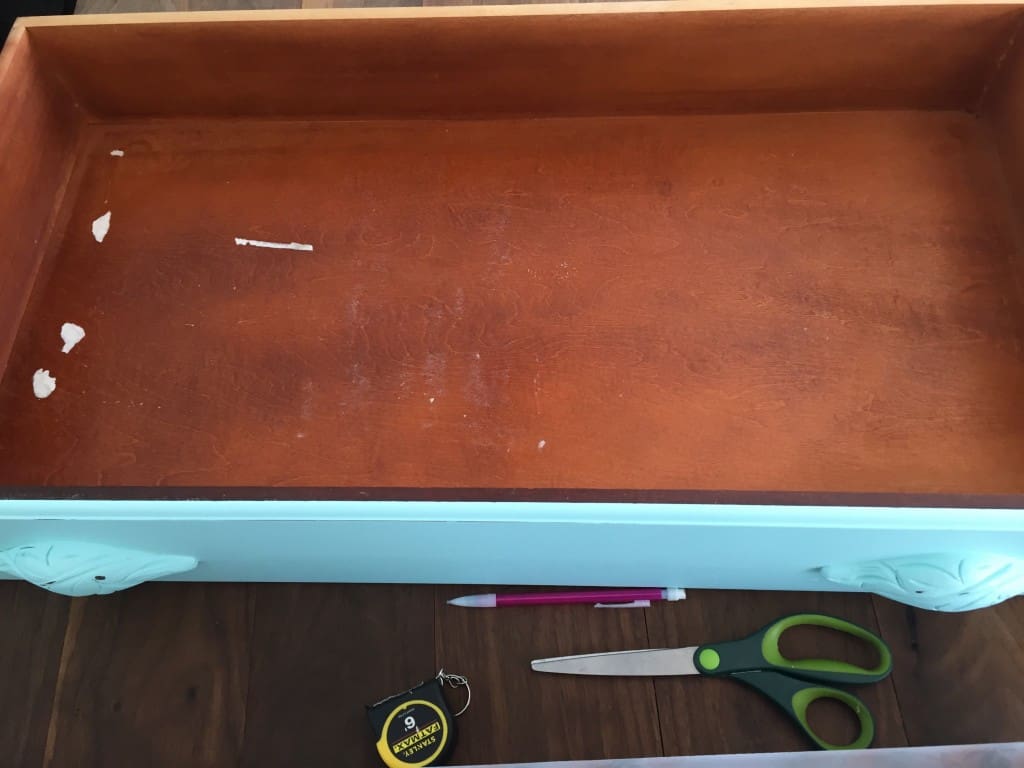
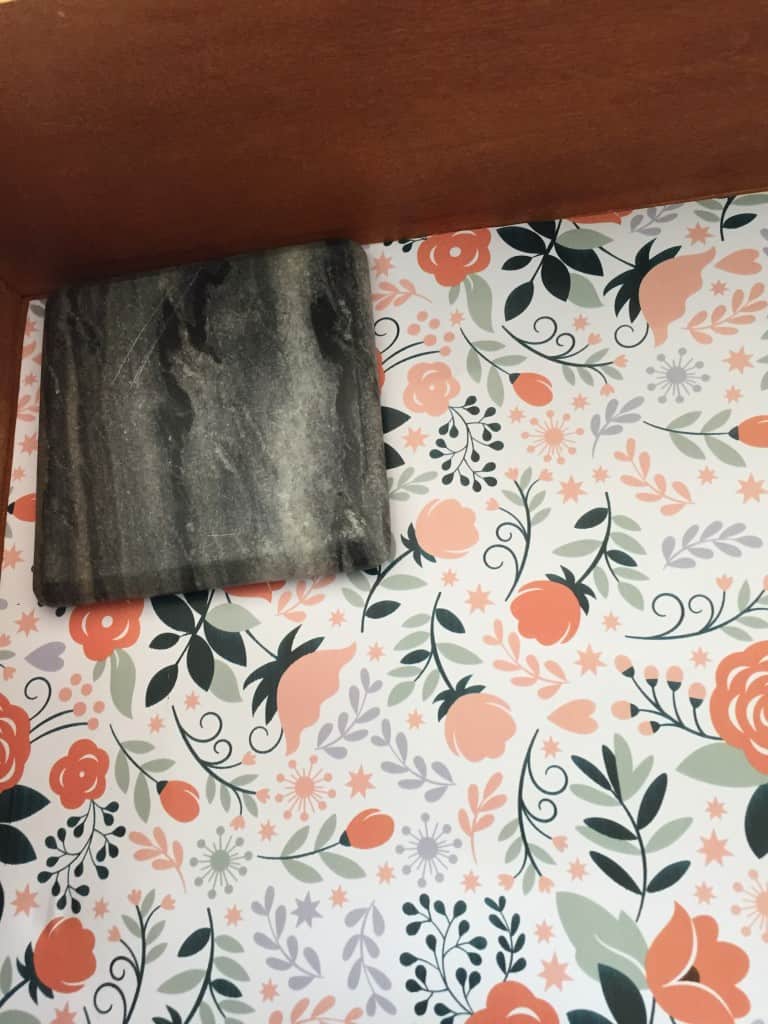
- Take the drawer out and clean it well. At a minimum, each drawer gets vacuumed, but they usually get cleaned as well. This drawer had leftover paper bits so I removed what I could.

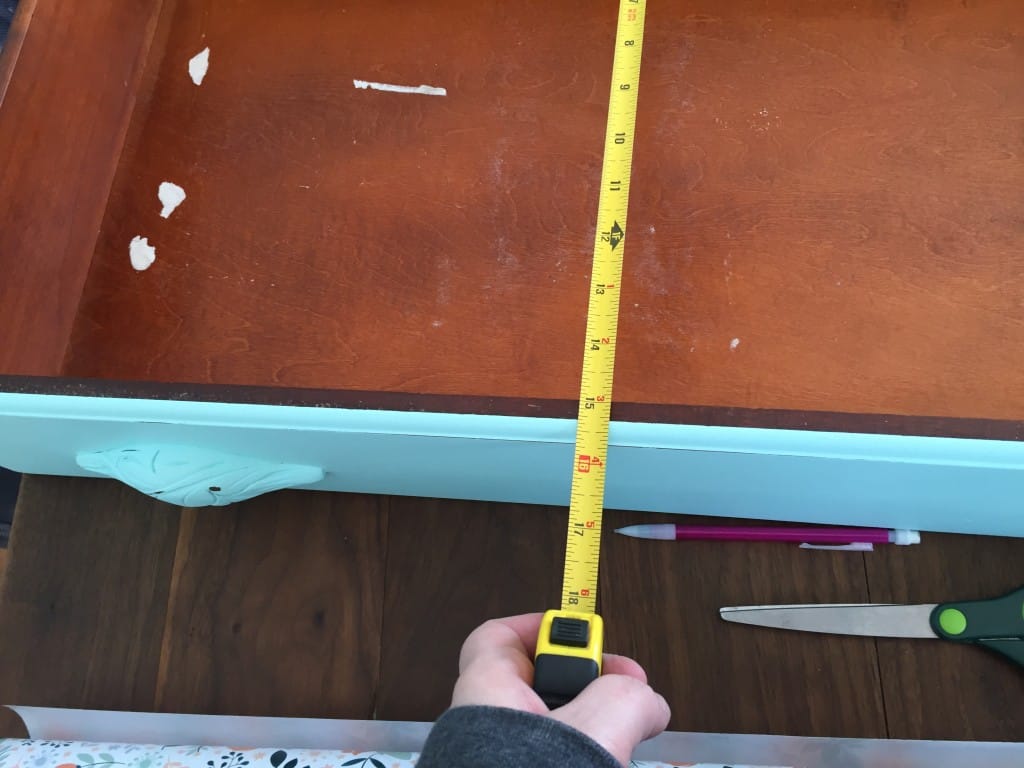
- Measure the width and depth of the inside of the drawer. Be sure to mark it down. You can measure at different points along the drawer edges because it is most likely not perfect. Go with the largest measurement. We will refine it in a bit.
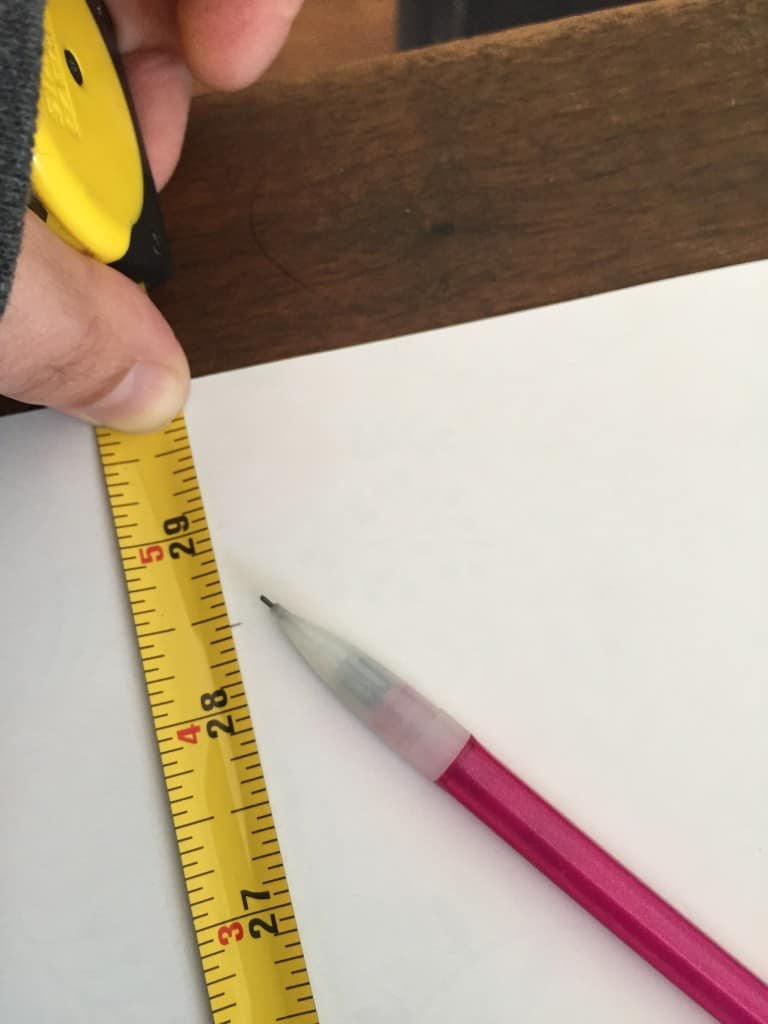
- Roll out your wrapping paper and mark the measurements on the white side. I mark it in a few spots.

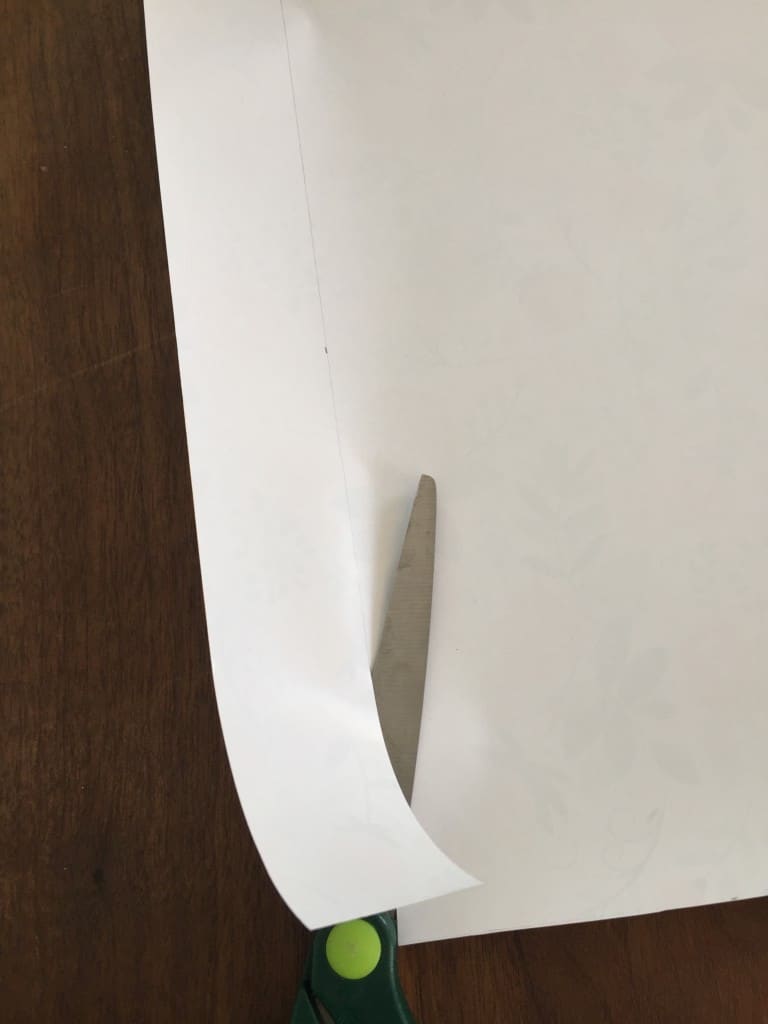
- Line up those spots and draw a straight line using a yardstick.
- Cut along those lines.
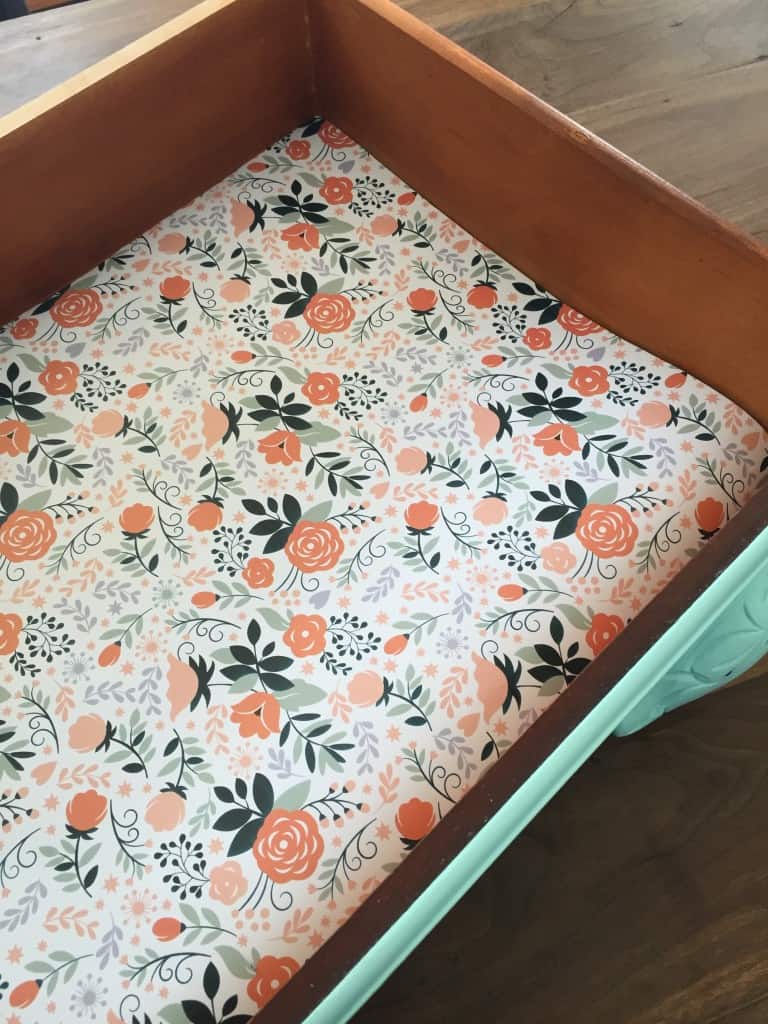
- Dry fit the paper in the drawer. If it fits perfectly, skip the next step.
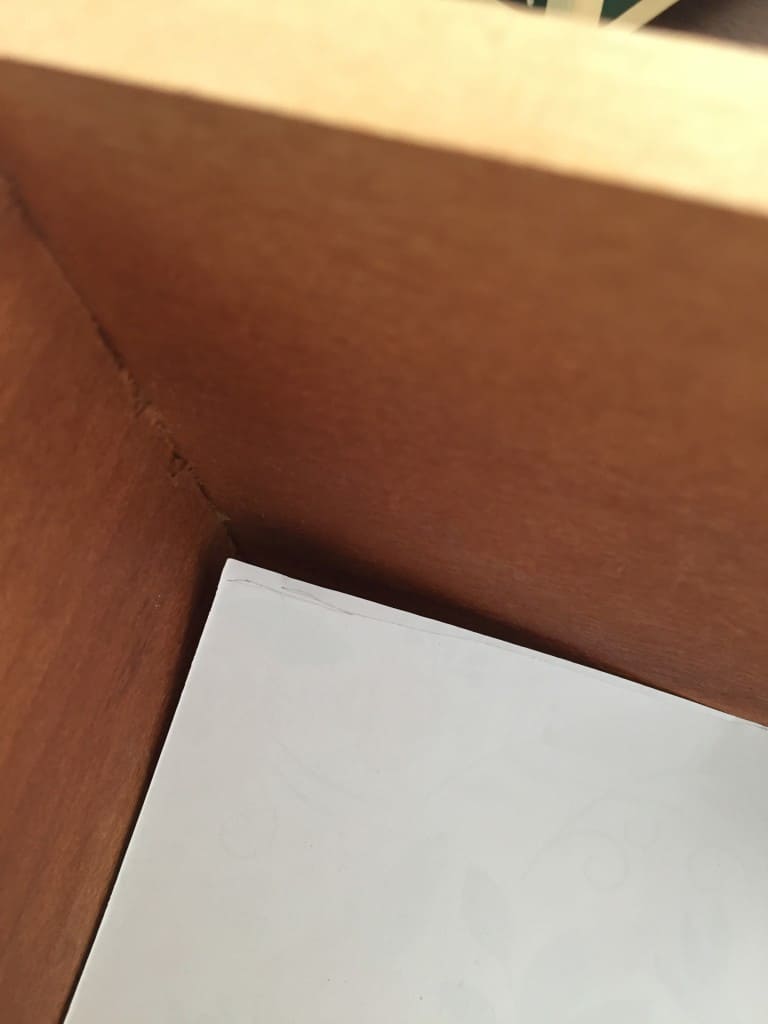
- If it doesn’t fit perfectly, turn it over and mark where it needs to be trimmed. Then, cut those parts, keeping the line straight.
How to Line Drawers with Paper
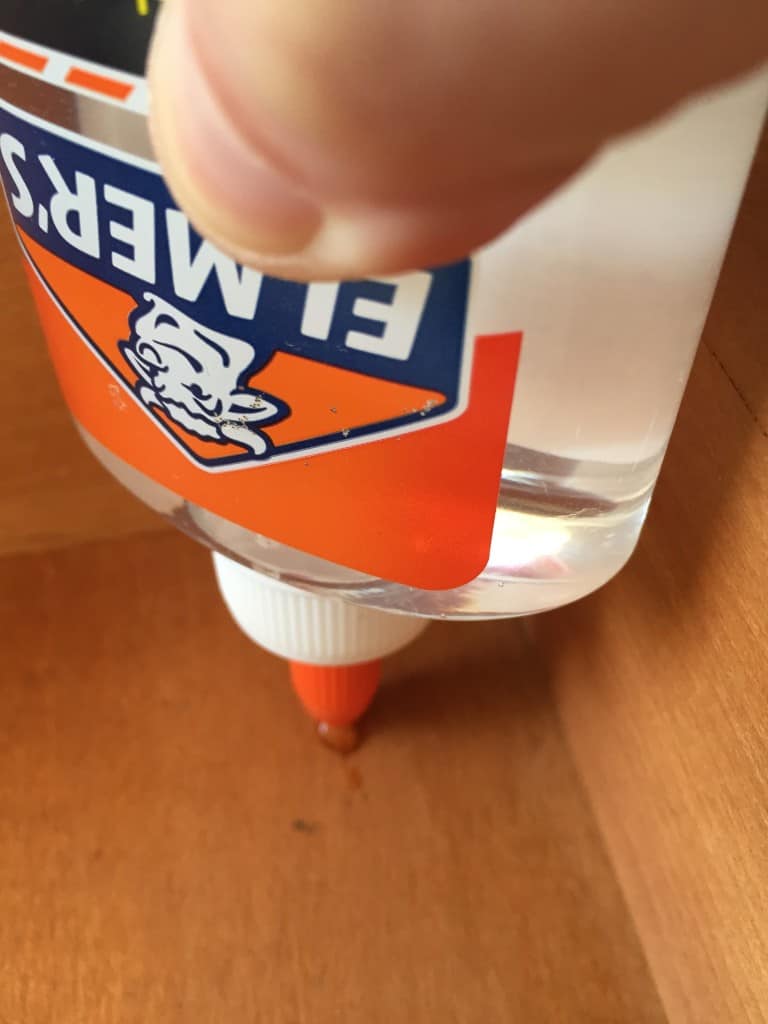
- For pieces that I sell, I like to give buyers the option to remove the paper if they hate it. Just because I love the detail doesn’t mean everyone will, so I add a few dots of clear glue along the edges.
- Then I place heavy items on the paper to hold it in place until it dries.
- You can apply a thin layer of decoupage glue with a foam brush for a more permanent solution. Then, lay the paper down and smooth it well. Let it dry, then apply a coat of decoupage glue on the paper.
Just what you needed, right? More reasons to hoard pretty paper. It’s so much fun to pair paper with furniture pieces.
You might also like:
Pin for Later!

Emy is a vintage obsessed mama of 2 DIYer who loves sharing affordable solutions for common home problems. You don’t need a giant budget to create a lovely home. Read more…
Superb and wonderful information. I didn’t know how to use wrapping papers to line drawers. Got it now!
I love this idea! (And am having some serious envy for that paper you featured!) I did this and I literally squee every time I open those drawers now. 🙂
Thanks Becca! I found it at Home Goods. Target has a very similar pattern right now too.
How do you get the paper to not wrinkle like crazy with mod podge? My dresser drawer project is disastrous. Going to try the glue dot option..
If the paper is thick, it’s important to use a very light coat of glue. Let it dry completely before adding a coat to the top of the paper. Wrinkles are normally caused by the paper getting too wet from the glue.