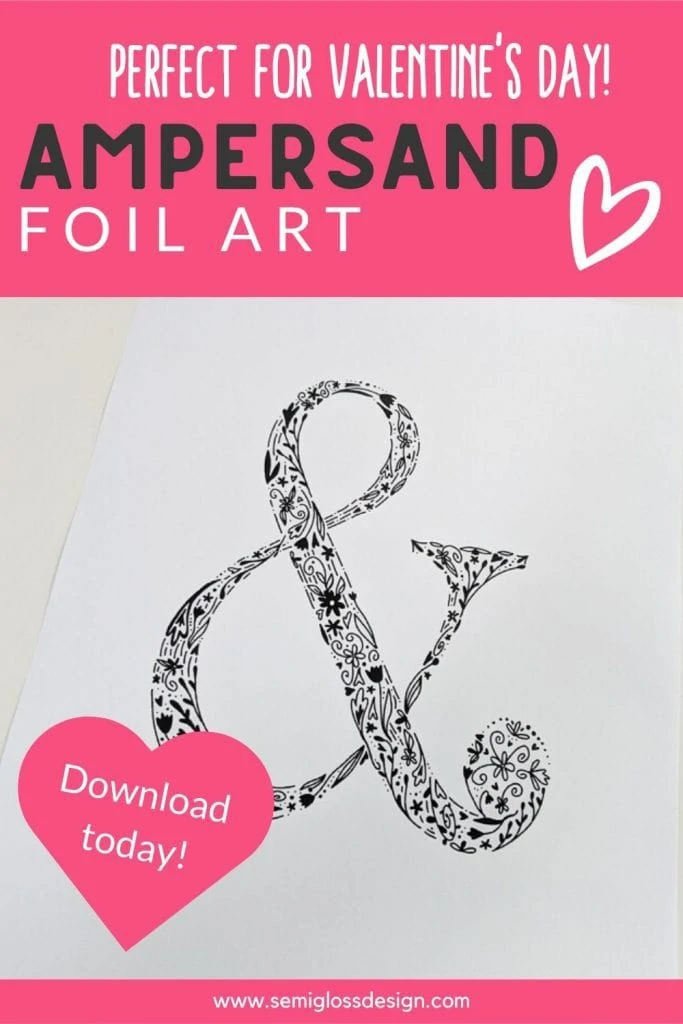
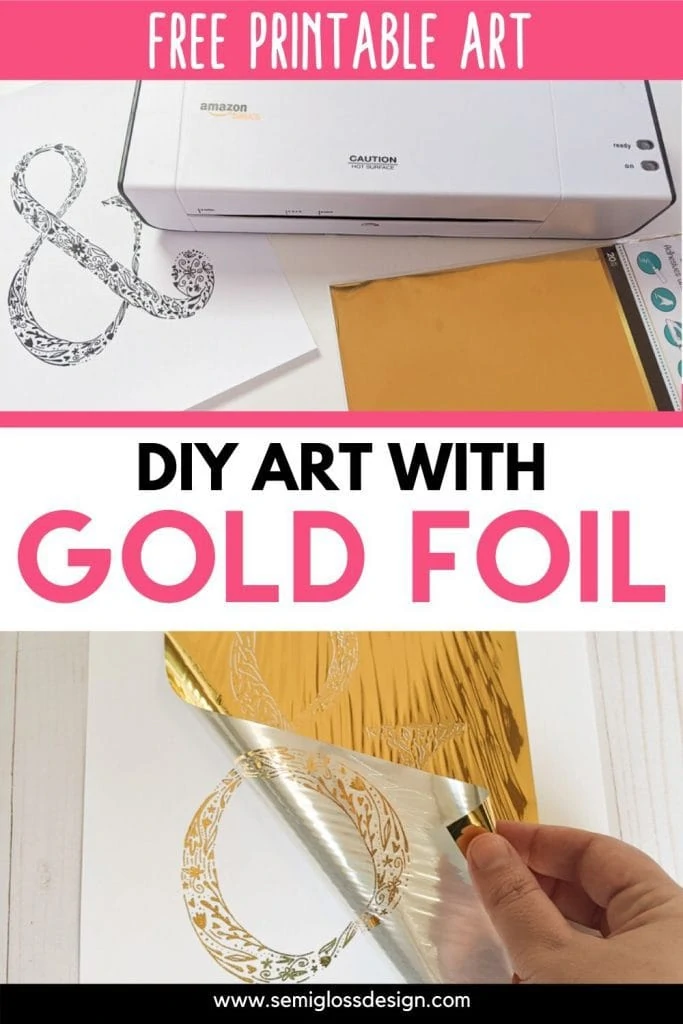
How to Make Foil Art with a Laminator
Foil art is so much fun to make! Make your art prints shiny and gold with this easy technique. Learn how to make foil art using a laminator.
This post contains affiliate links. By purchasing an item through an affiliate link, I earn a small commission at no extra cost to you. As an Amazon Associate I earn from qualifying purchases.
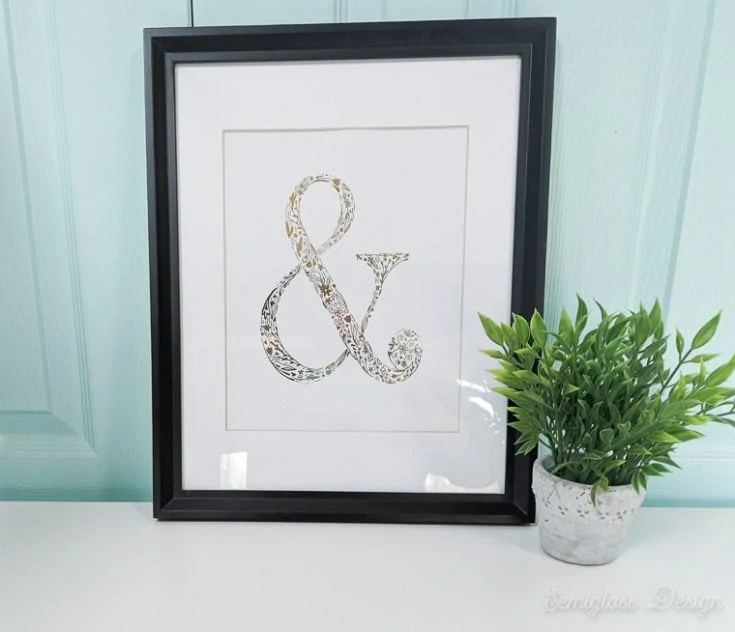
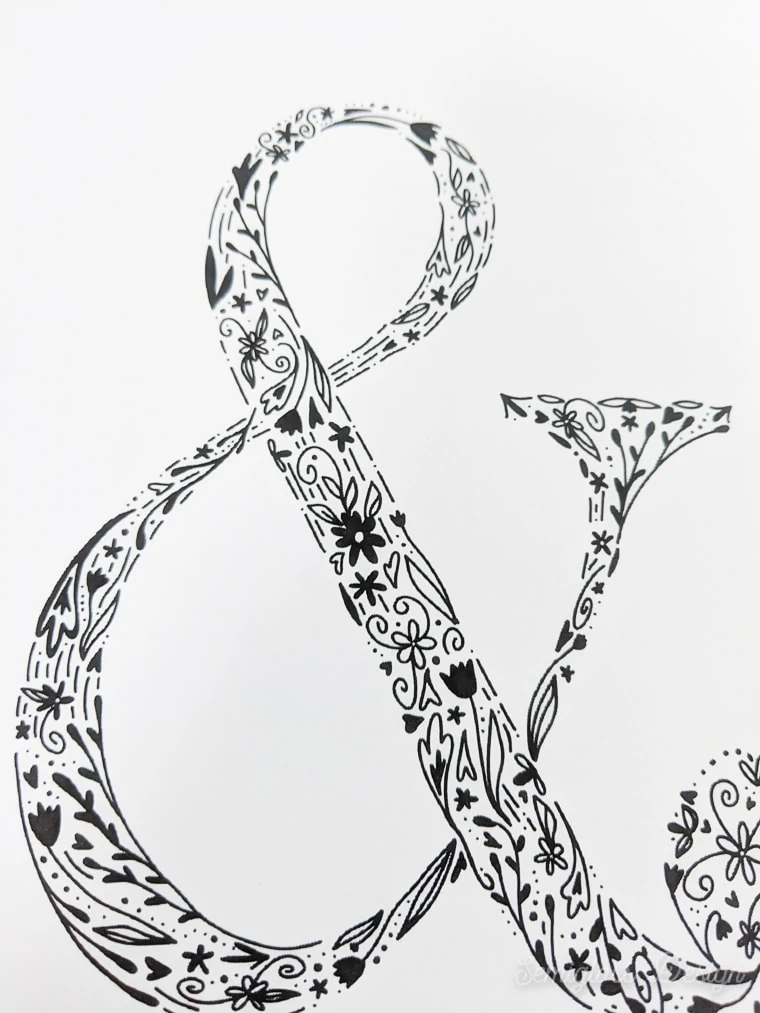
For Valentine’s Day, I wanted to make a piece of art that hints at the holiday without being over the top.
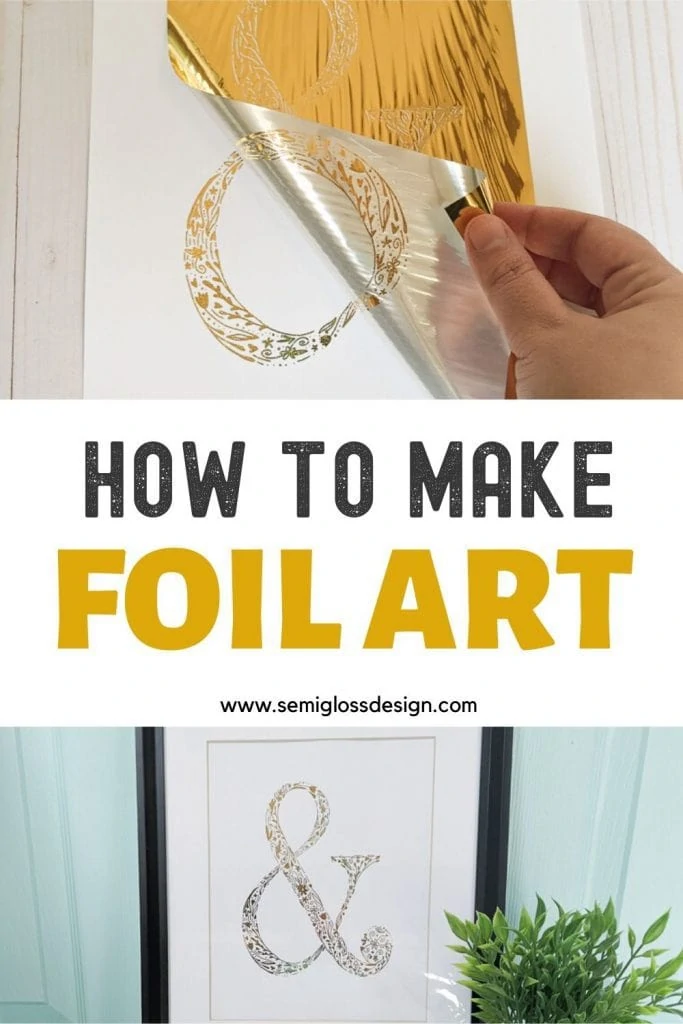
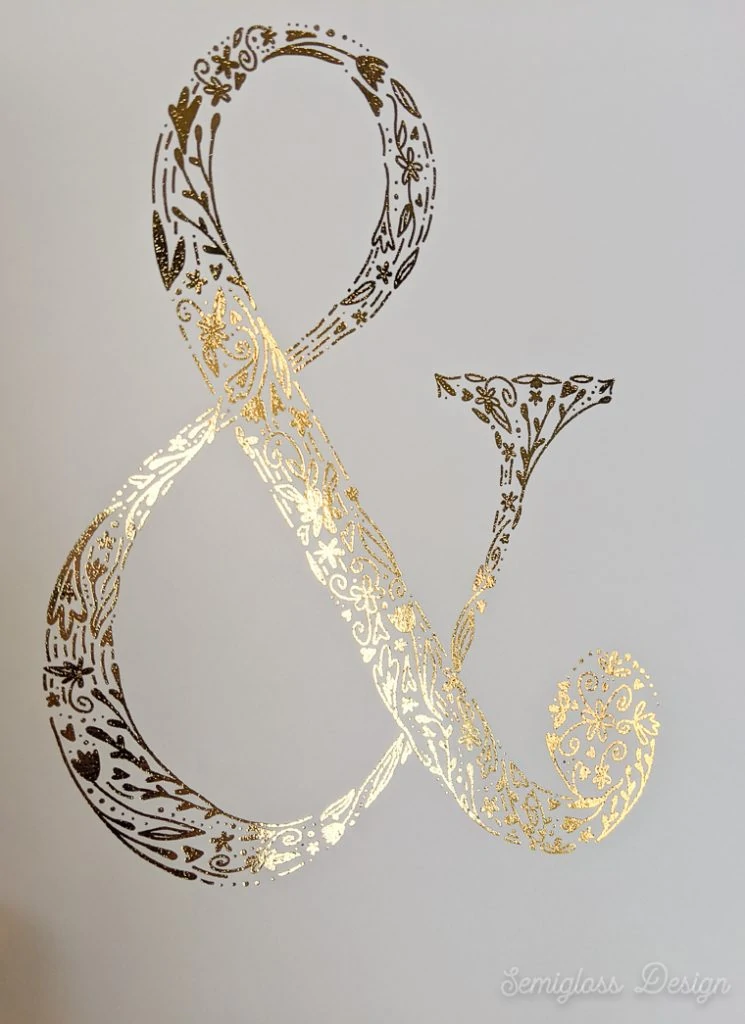
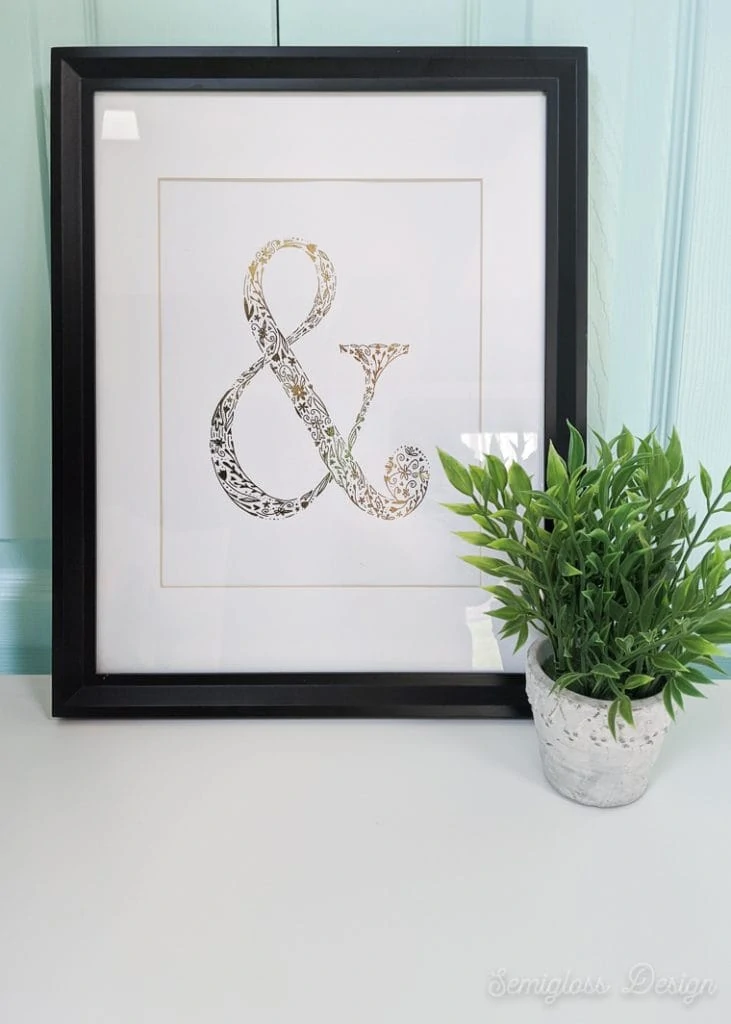
So I made this easy gold foil ampersand art. I love that I can leave it up year round if I want to.
I drew this design on my iPad because I really love ampersands. To me, ampersands really speak to how I feel about my sweet husband. They speak of togetherness and belonging, which I love.
Keep reading to learn how to make your own art. Plus, get a free download of my ampersand art!
You might also like this post on how to make abstract art with watercolors.

Get my free SVG files
Get Crafting Today
Get access to my SVG library with over 50 cut files and cheat sheets.
How to Make Foil Art
Supplies Needed
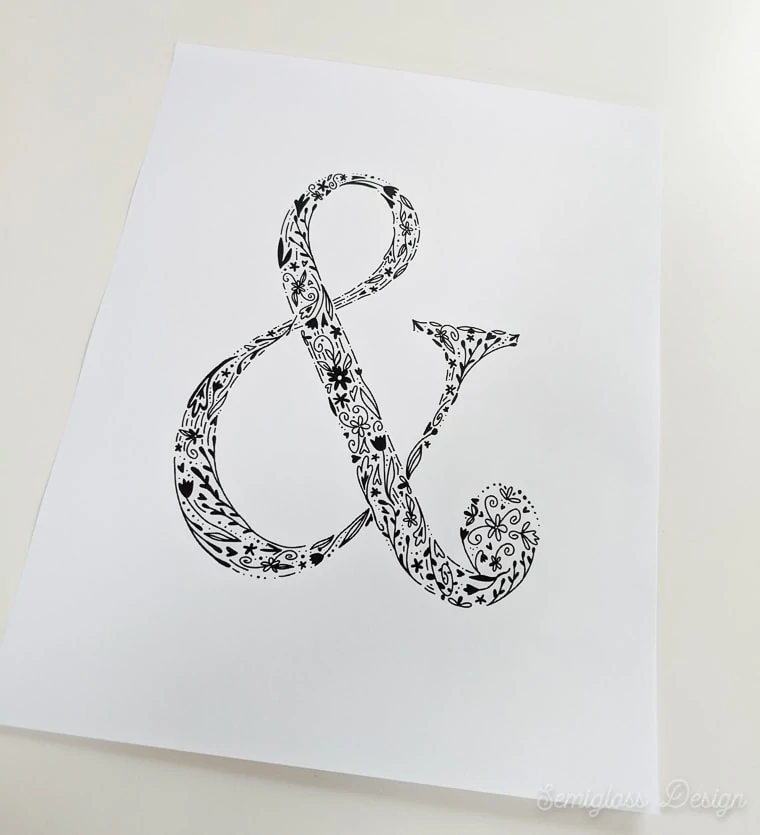
- Art printed on a laser printer (scroll down to download a copy of this art!)
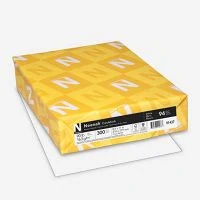
- Cardstock
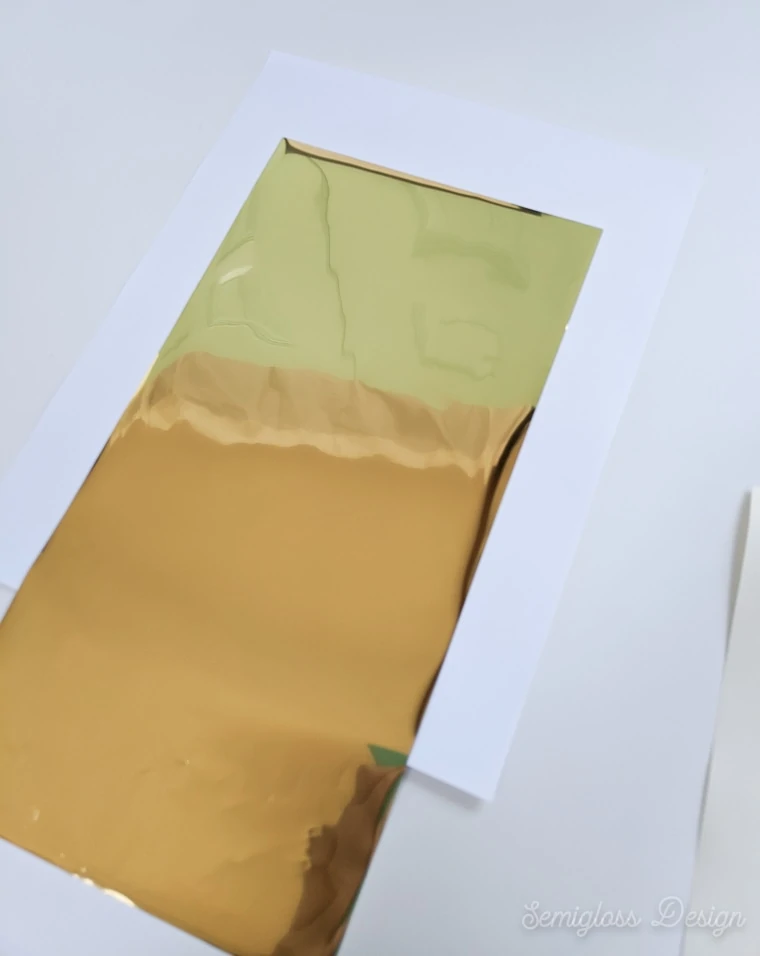
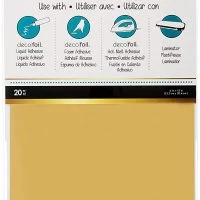
- Gold Foil
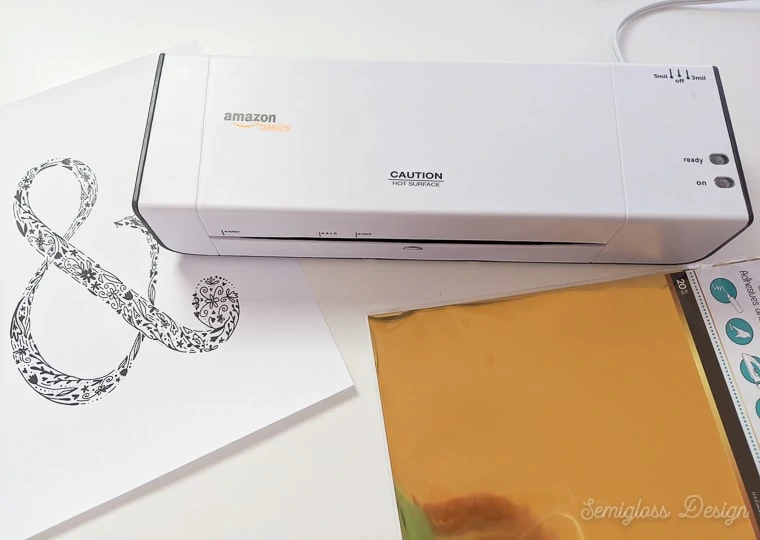
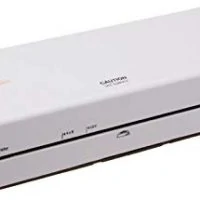
- Laminator
- 1 Sheet of Paper (to use as a cover)
Notes about Supplies
- Art must be printed on a laser printer for this process to work. The heat from the laminator reacts to the toner in the ink from the laser printer.
- If you don’t have a laser printer, you can get a copy made at a copy shop. Be sure to get it printed on cardstock for best results. It’s much easier to work with.
- Thicker paper works better than thin paper, which is more likely to get stuck in the laminator.
- Smooth paper also works better than a textured paper.
- This laminator is very affordable and easy to use. I used to volunteer at my daughter’s school and their laminating machine was a beast that required special training to be able to use. This is nothing like that.
- The gold foil comes in rolls and sheets. I find the sheets easier to work with.
- Regular kitchen foil will NOT work with this process.
How to Make Foil Art
Learn how to make foil art for your home. This easy technique uses a laminator to make shiny gold art prints.
Materials
- Art printed on a laser printer
- Gold foil
Tools
- Laminator
Instructions
- Print art on laser printer.

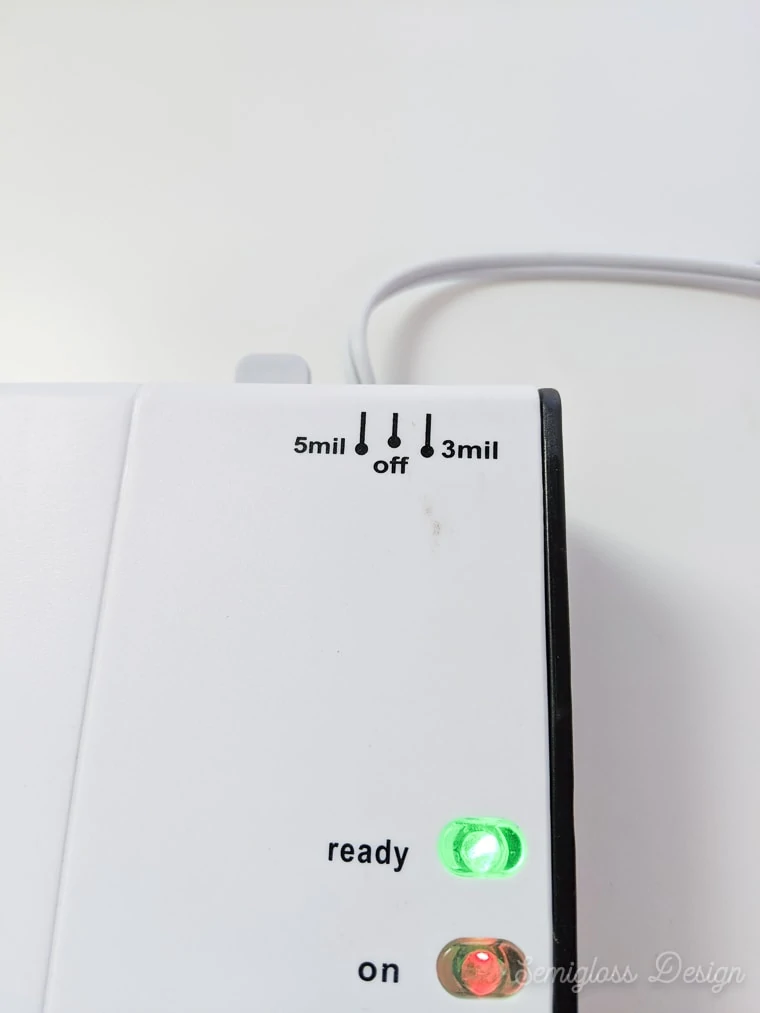
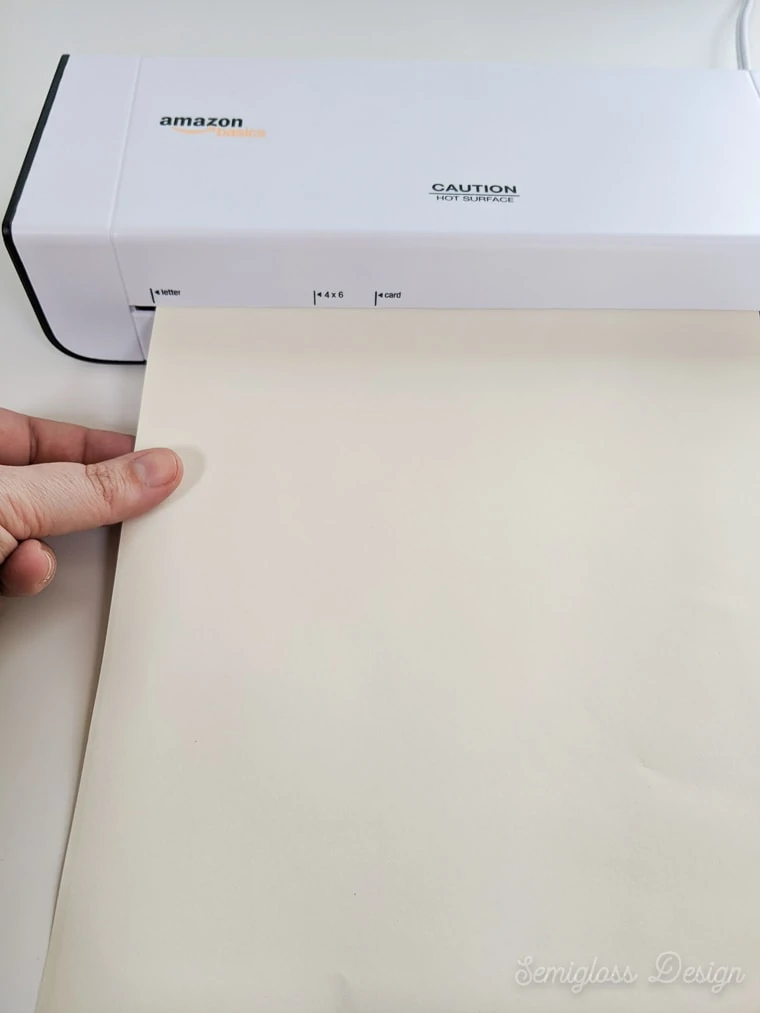
- Turn on the laminator and let it warm up. I set mine to 3mm.

- Cut foil to size to fit over the printed design.
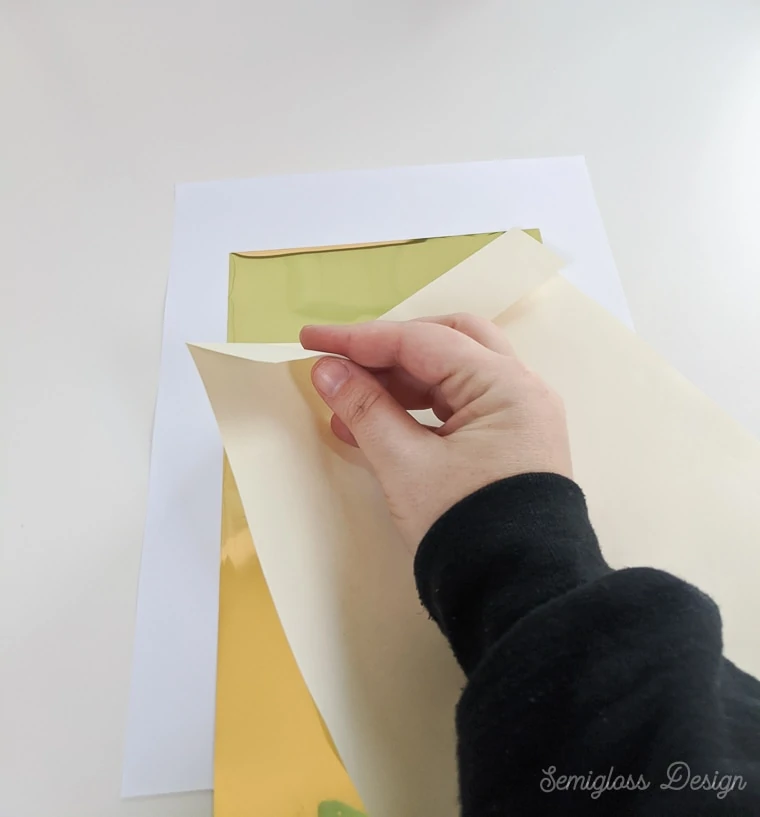
- Lay it on the design, shiny side up.

- Fold the edge of your scrap paper over about 2".

- Make a sandwich with the art, foil and scrap paper, placing the folded end around the edge of the whole paper stack. This "envelope" helps prevent the art from getting stuck in the machine.
- When the machine ready light indicator comes on, load the paper stack into the laminator, envelope end first.
- The paper will slowly go through the machine and come out the other side.
- Remove the top cover and peel away the gold foil to reveal your beautiful foil art.

Notes
Smooth paper works better than textured paper.
Thicker paper works better. I like cardstock.
Laser printed images must be used because the heat reacts with the toner. If you don't have a laser printer, get a print made at a copy shop.
Recommended Products
As an Amazon Associate and member of other affiliate programs, I earn from qualifying purchases.
Foil Art with a Laminator Troubleshooting
Paper Jam
If you get a paper jam in your Amazon basics laminator, here’s how to fix it.
If the paper is still visible, turn the machine off and hit the release lever on the back. Then you can pull your paper out. However, it’s probably wrinkled and will need to be reprinted.
If your paper disappeared in the Amazon laminator, you have to take it apart. Don’t worry, it’s much easier than it sounds!
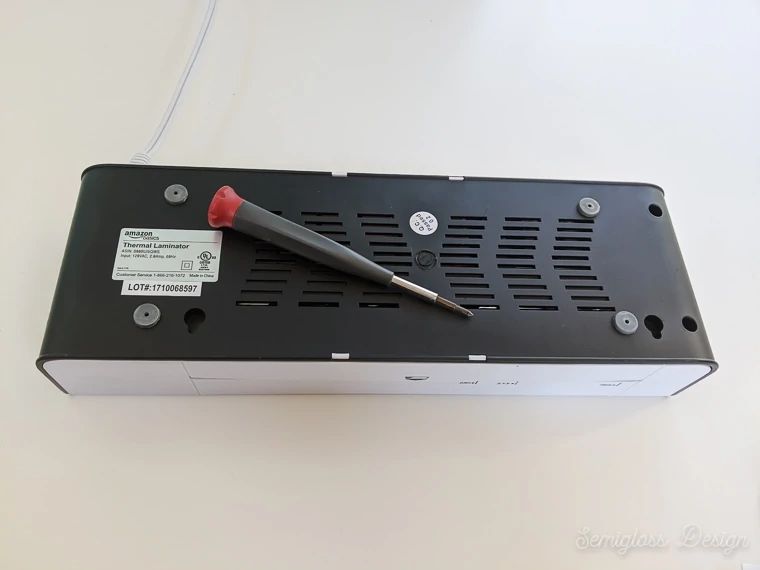
- Turn off the machine and unplug it.
- Let it cool completely.
- Flip the laminator over and use a tiny screwdriver to remove the screws.
- Only 2 screws are visible. The other 2 are hidden under rubber feet that have to be pried off (I used a flat head screwdriver.)
- Pull the casing off and remove your crumpled up paper.
- Replace the casing and the screws. Replace the rubber feet.
To prevent a paper jam, here are my suggestions:
- Use thicker paper. Thin paper seems to get stuck easier.
- Use a paper envelope on the edge going into the machine. This makes it harder for the paper to wrinkle going in.
Foil Not Sticking All the Way
Sometimes when you pull the foil away, some of the black ink is showing through. Here are some suggestions to fix this.
- Let the laminator heat up for a longer time before inserting the paper.
- Change the settings from 3mm to 5mm. This also makes the laminator hotter.
- Embrace the look and call it “distressed.” Personally, I’m a huge fan of this effect.
Download this Ampersand Art
All downloads are for personal use only. Please do not redistribute or sell files.
Click here to download: Ampersand Art
Print at 100% for best results.
You might also like:
- Conversation Hearts Mugs for Valentine’s Day
- Gold Leaf Candle Holders
- How to Make Printables
- Reverse Canvas for Valentine’s Day
- Felt Heart Banner
Pin for Later!

Emy is a vintage obsessed mama of 2 DIYer who loves sharing affordable solutions for common home problems. You don’t need a giant budget to create a lovely home. Read more…