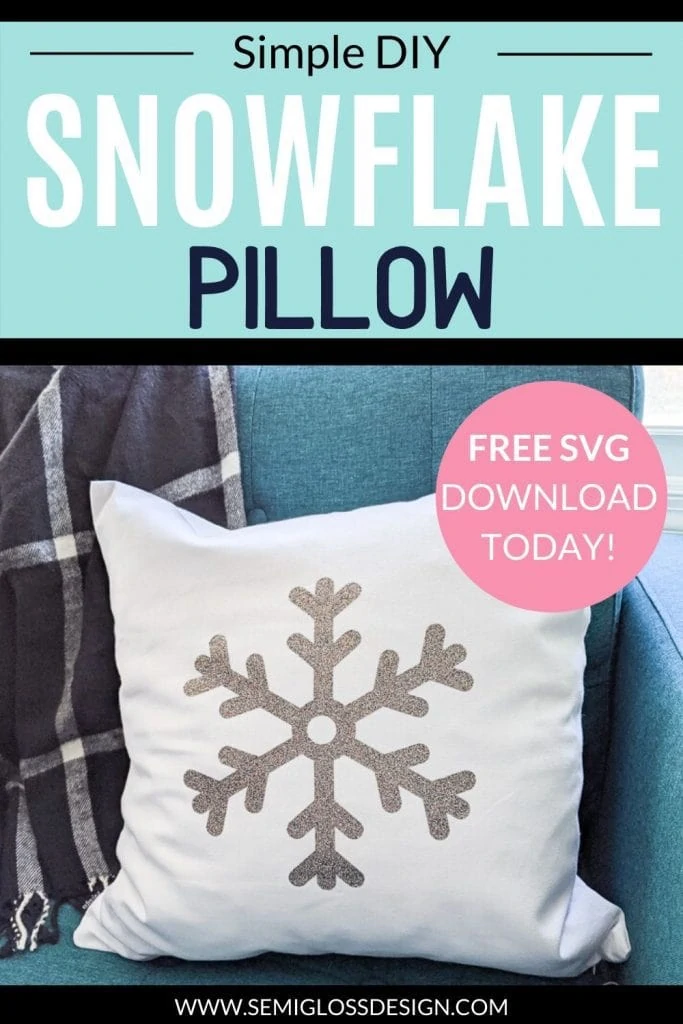
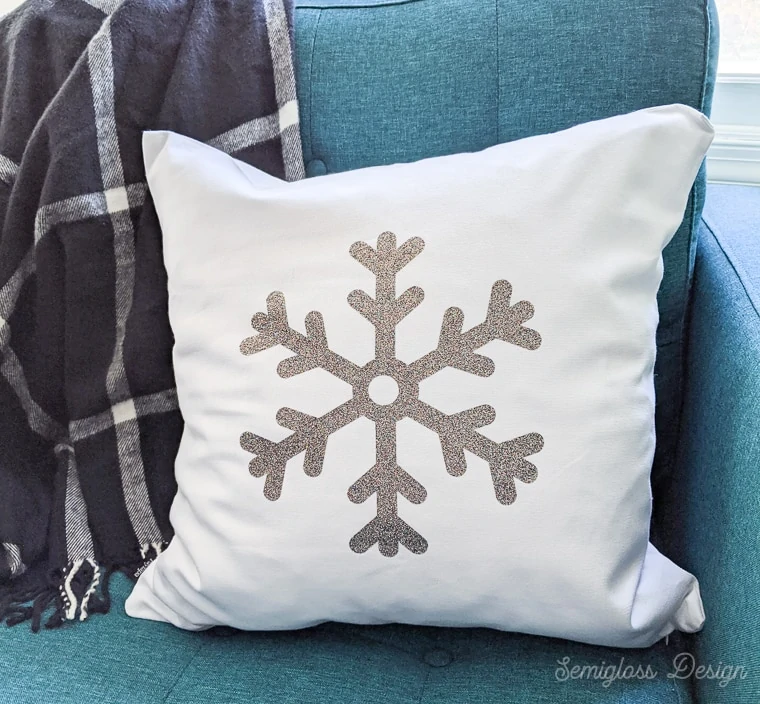
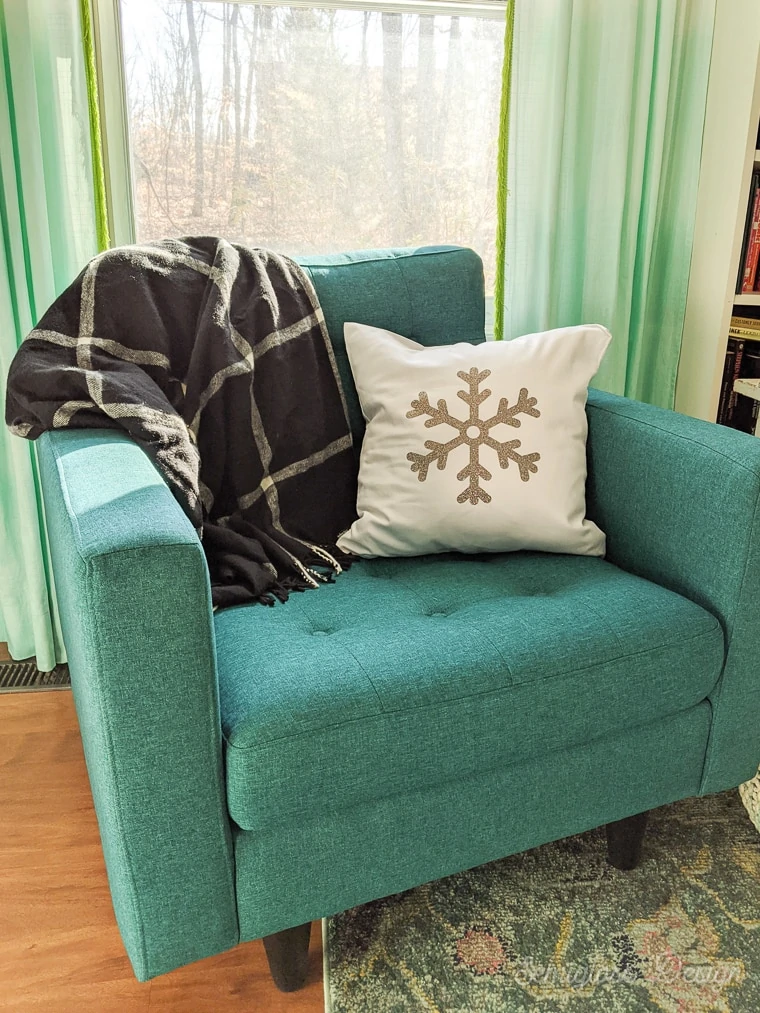
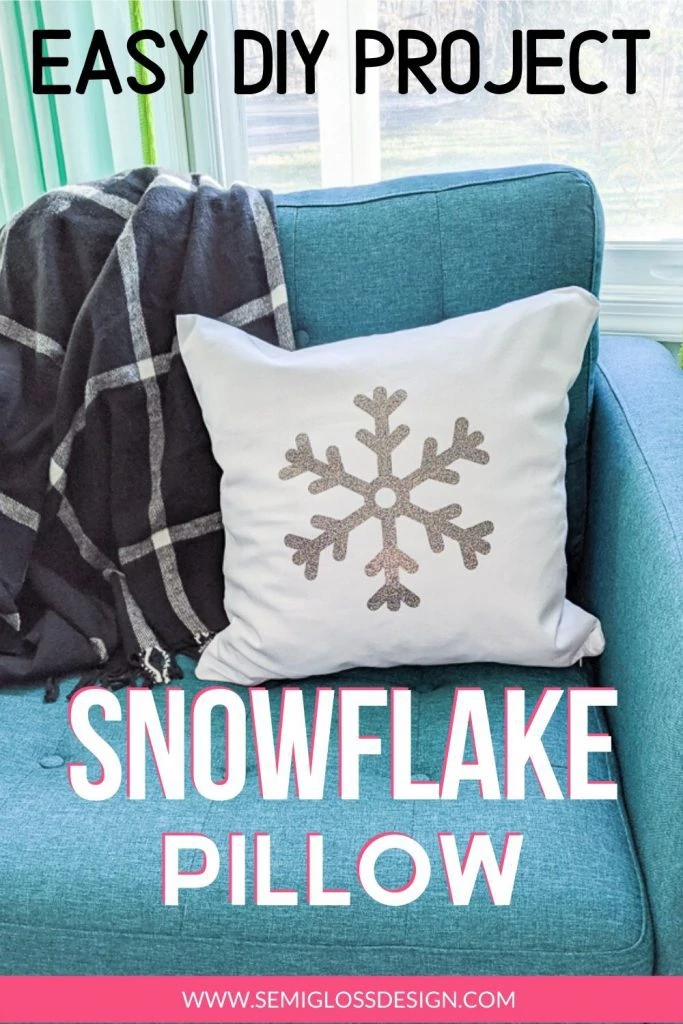
Make a Snowflake Pillow with a Free Snowflake SVG
Learn how to make a snowflake pillow with a free snowflake SVG.
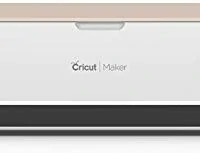
I recently bought myself a Cricut Maker and like all things, I needed an easy project to teach myself how to use it.
Using heat transfer vinyl on a pillow cover seemed like a good beginner project for learning the Cricut design software. (Don’t worry, I’ll have a full post about it soon.)
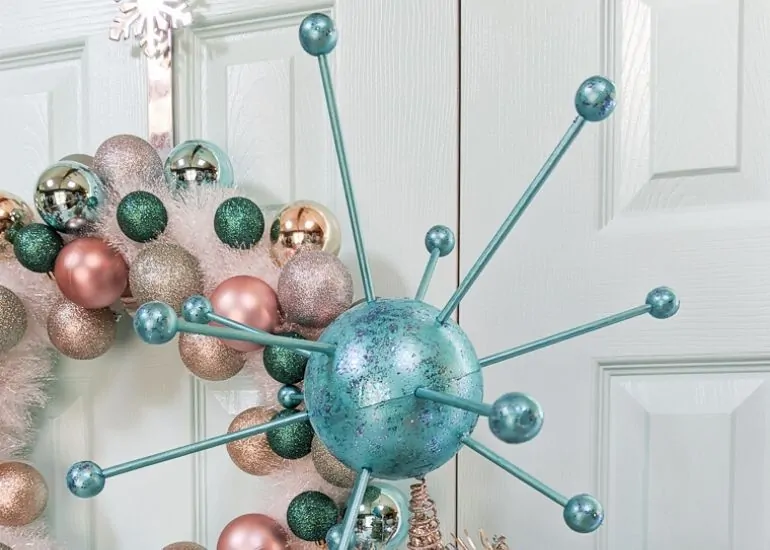
If you’re looking for more winter decorating ideas, you might also like this DIY pom pom wreath.
This post contains affiliate links. By purchasing an item through an affiliate link, I earn a small commission at no extra cost to you. As an Amazon Associate I earn from qualifying purchases.
Heat transfer vinyl is one of my favorite ways to use an electronic cutting machine. It’s pretty easy to use.
Heat transfer vinyl is also called HTV and some brands call it iron on vinyl.
Heat Transfer Vinyl FAQs
Do you cut HTV with the shiny side up or down?
Place the shiny side down on the mat. (This also means that you need to mirror your design if it’s not symmetrical.
Can you use an iron with HTV?
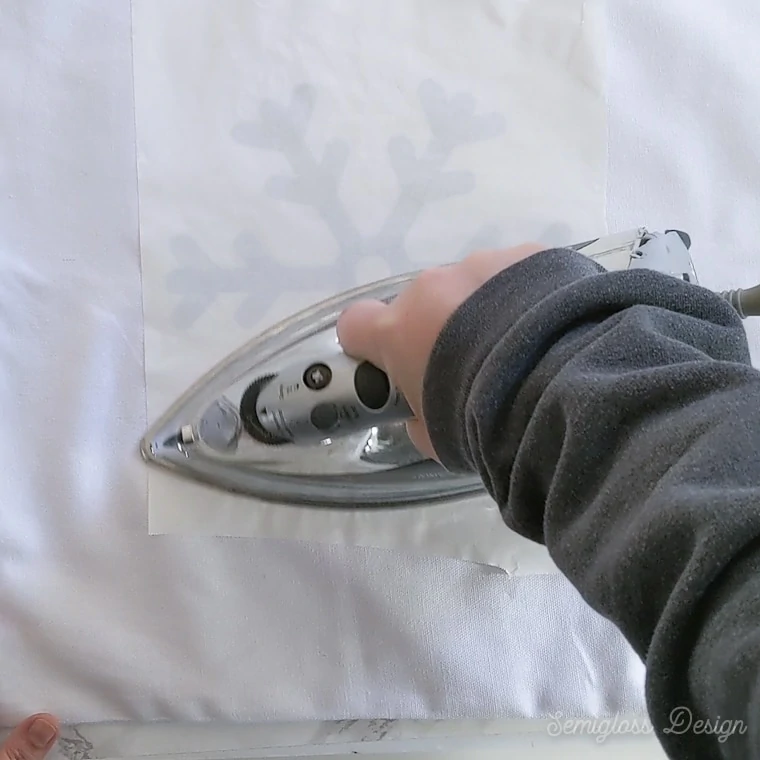
Yes. I haven’t bought a Cricut easy press yet, so I just use an iron. Just go slow and pay attention to the edges because those are the spots that I always miss and tend to not stick.
Be sure to turn the steam setting OFF.
Pssst: I finally bought the Cricut Easy Press and I love it. Learn how to use one!
How long do you press HTV?
With an iron, I press each section for 10-20 seconds. Some areas need extra attention, so I go back and iron those for a few more seconds.
Can iron-on vinyl be layered?
Yes, iron-on vinyl can be layered. In my experience, it doesn’t create extra bulk either.
Iron on each layer separately because each layer has a plastic carrier backing.
How to Make a Snowflake Pillow with Iron On Vinyl
Supplies Needed
- Snowflake SVG (Scroll down for free download)
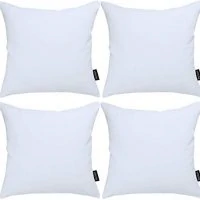
- Pillow Blank
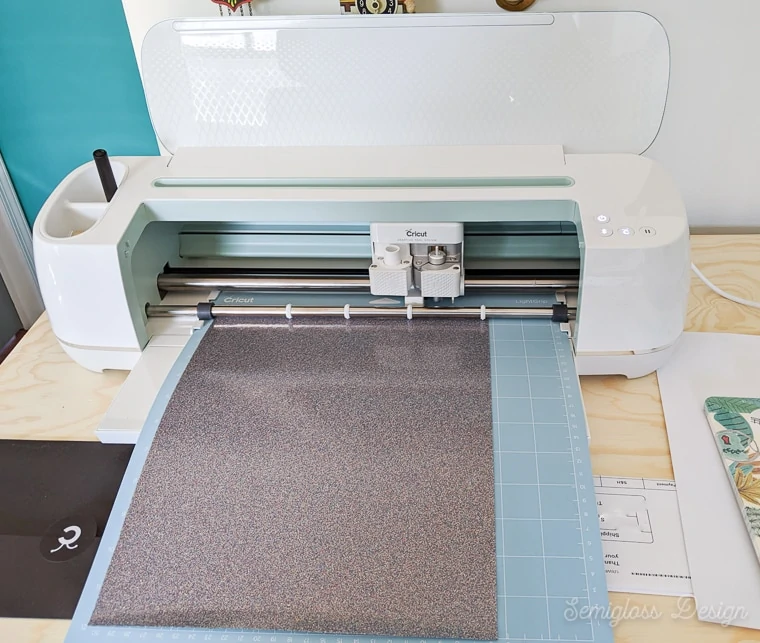
- Cricut Maker
- Glitter Vinyl
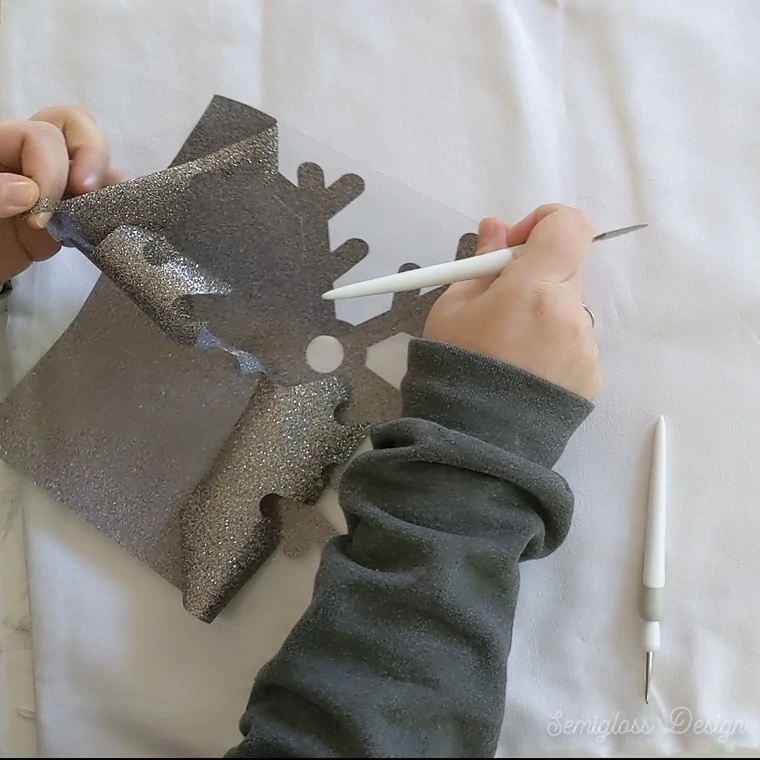
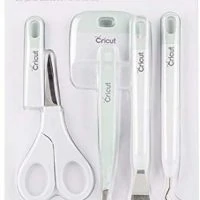
- Weeding Tools
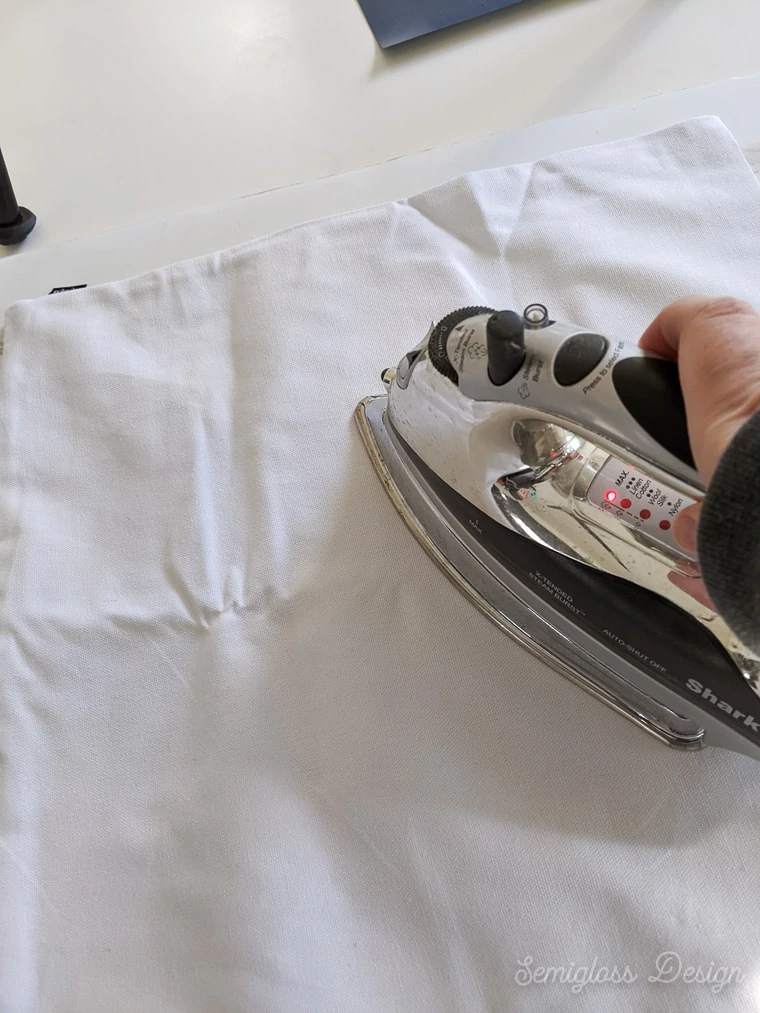
- Iron
I used this glitter vinyl with the settings for the Cricut glitter vinyl. It worked just fine.
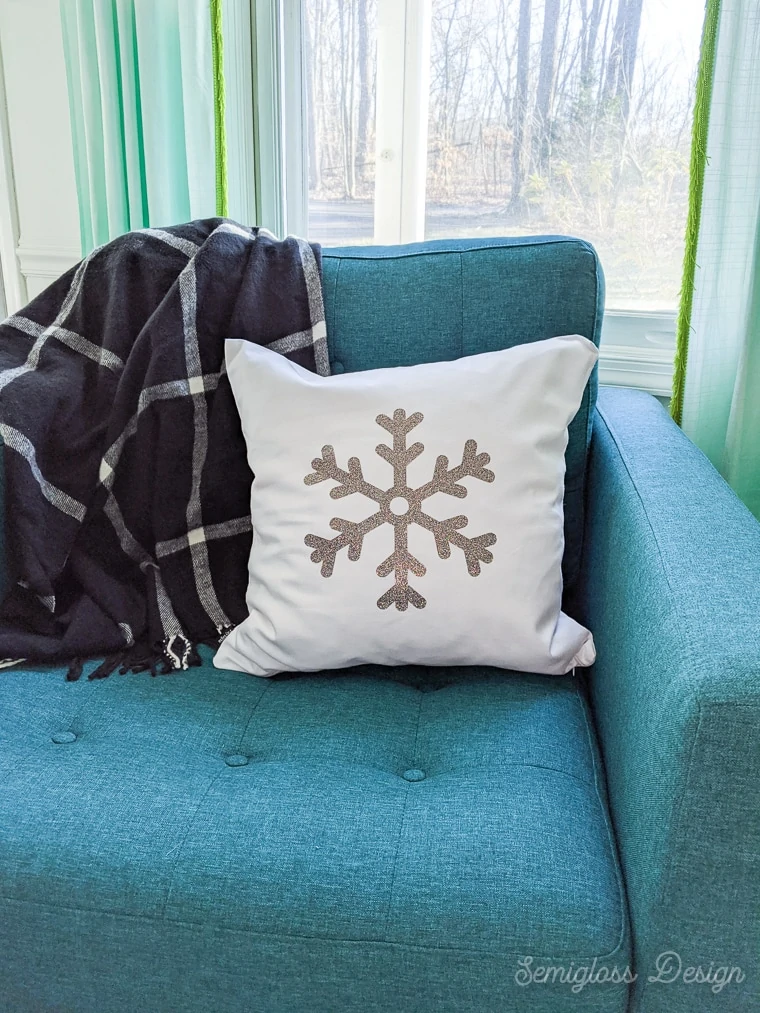
How to Make a Snowflake Pillow
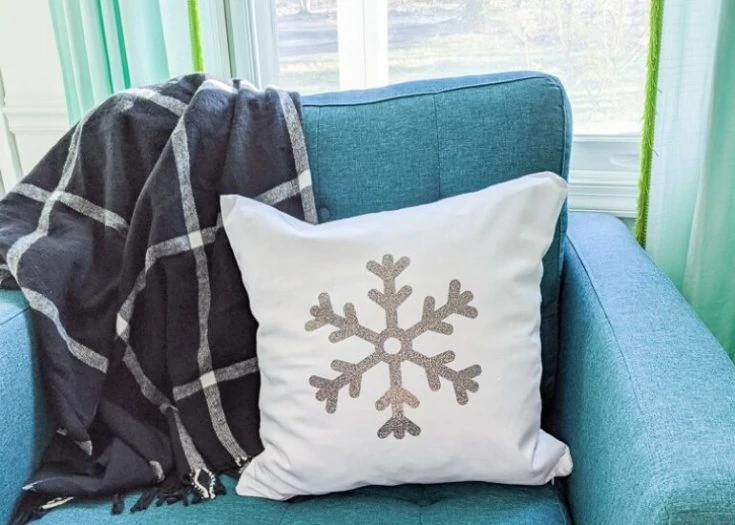
Learn how to make a snowflake pillow with a free snowflake SVG. This easy pillow is perfect for winter decor.
Materials
- Free Snowflake SVG - scroll down to download
- Pillow blank
- Glitter vinyl
Tools
- Cricut Maker
- Weeding Tools
- Iron
Instructions
- Upload design into design space.
- Resize design to fit pillow.
- Place vinyl on mat and load.

- Send to cut.
- Weed design.

- Iron pillow blank to remove wrinkles.

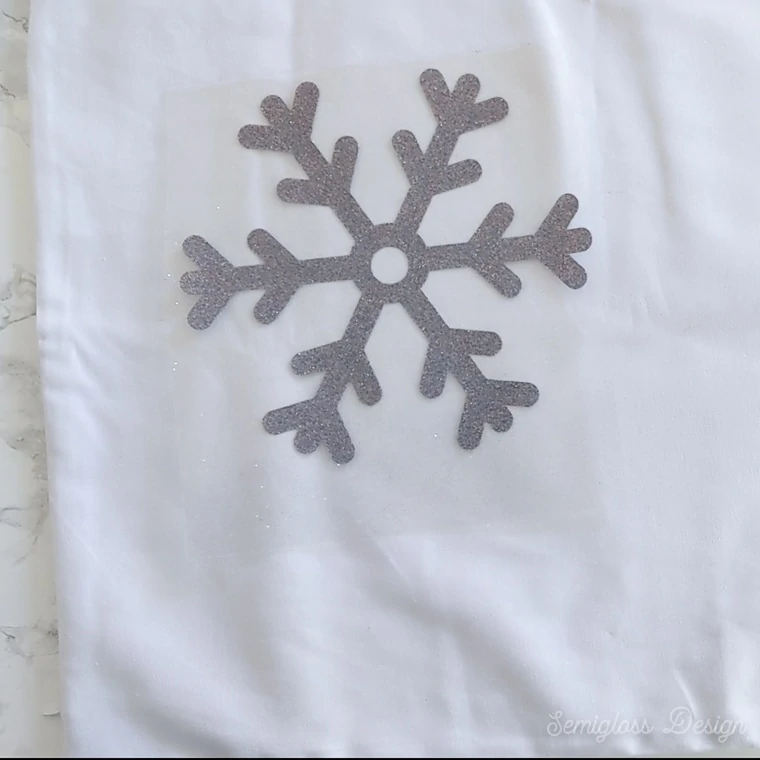
- Place design on pillow blank.
- Place paper over design.
- Iron on high heat for 10-20 seconds.
- Check to see if vinyl is sticking. Iron more where needed (especially edges.)
- Remove plastic carrier sheet.

Notes
Do not iron with steam.
Recommended Products
As an Amazon Associate and member of other affiliate programs, I earn from qualifying purchases.

Get access to my SVG Library.
Get access to over 50 SVG sets and Cricut cheat sheets. Join my SVG library.
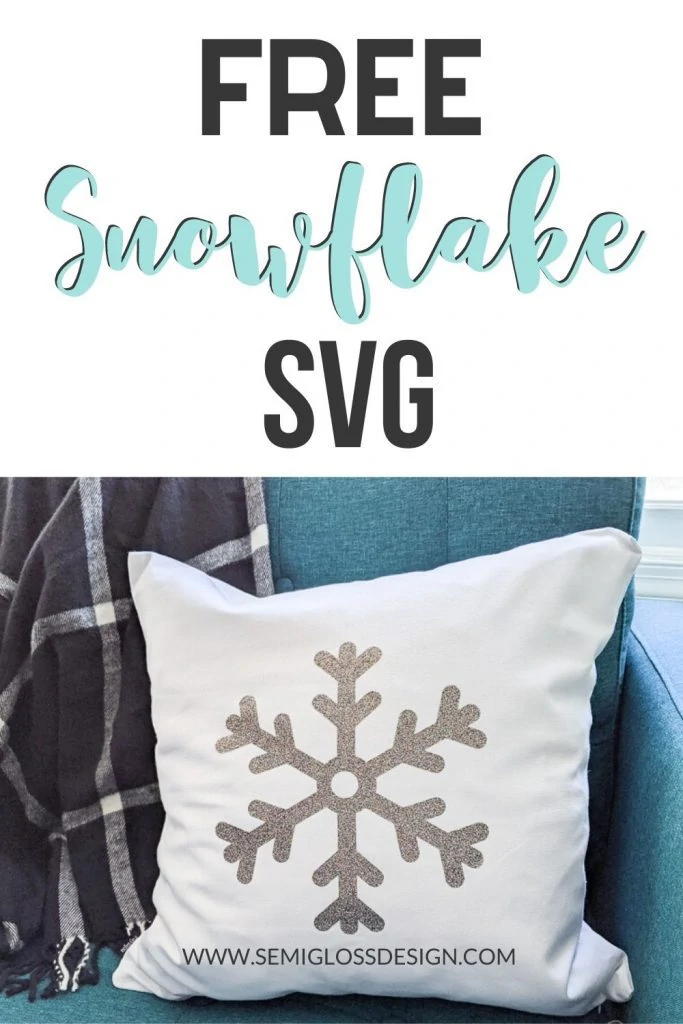
Free Snowflake SVG
All downloads are for personal use only. Please do not redistribute or sell files.
Download a free Snowflake SVG.
Free cutting files include: SVG, PNG, JPG, and DXF (which works with Silhouette.)
You might also like:
Pin for Later!

Emy is a vintage obsessed mama of 2 DIYer who loves sharing affordable solutions for common home problems. You don’t need a giant budget to create a lovely home. Read more…