How to Set the Canvas Size in Cricut Design Space
Get tips on how to set the canvas size in Cricut Design Space, plus learn how to change the material size.
These simple tips will ensure that your designs fit correctly on the material you are cutting.
This is part of my series on learning how to use a Cricut.
This post contains affiliate links. By purchasing an item through an affiliate link, I earn a small commission at no extra cost to you. As an Amazon Associate I earn from qualifying purchases.
How to Set the Canvas Size in Cricut Design Space
Let me start by saying that there is no way to set the canvas size in Cricut Design Space.
However, there are still several easy ways to make sure that your design is the right size.
When you open Cricut Design Space, the canvas size for the design area is based on the size of your window on your computer.
You can make it full screen or just drag the sides of the window to make it bigger. (I’m on a Mac, so the options might be slightly different on Windows.)
Resizing Images
When re-sizing your designs, pay attention to the grid measurements on the screen.
There are rulers along the top and left sides of the canvas area.
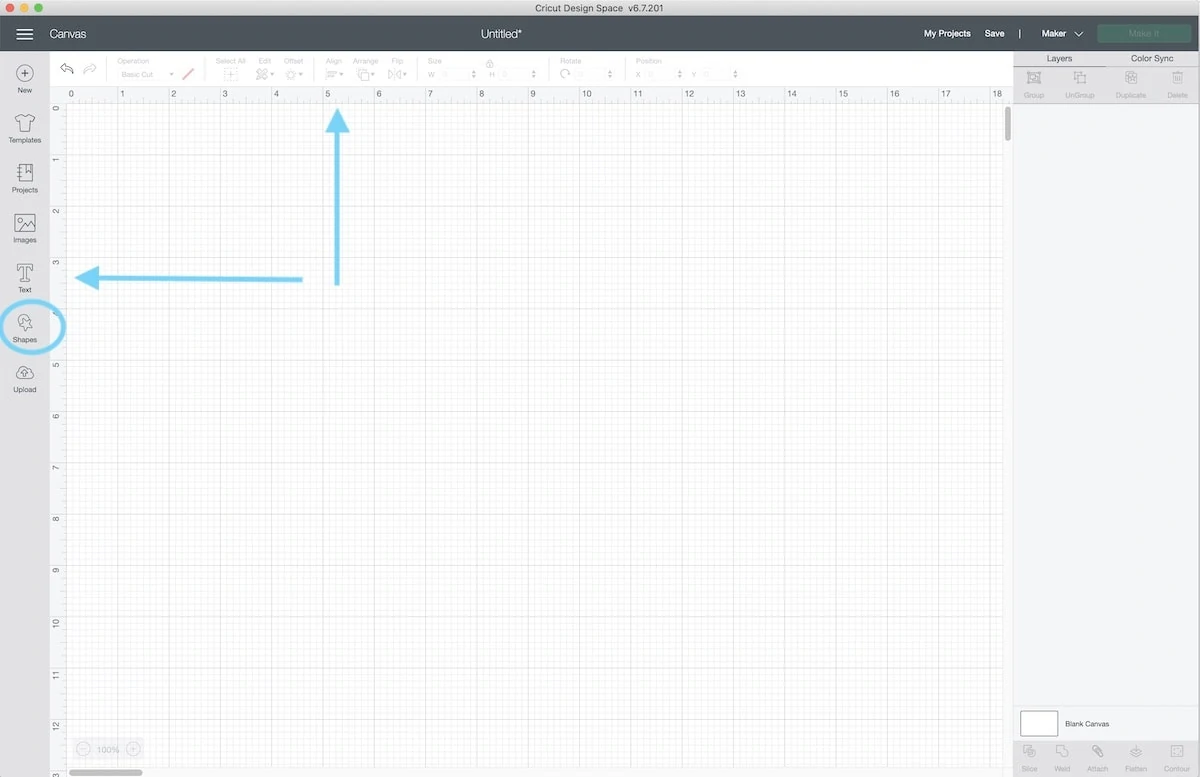
Make sure to stay within the measurements for the material you are using.
Most Cricut machines cut up to 12″ wide materials. Since most vinyl comes in 12″ wide rolls, make sure that your vinyl design does not go past the 12″ mark. (For best results, you actually want it about 1/2″ smaller than that.)
Felt typically comes in 9 x 12″ sheets, so if you are cutting felt, make sure that you stay within those boundaries.
Shop My SVG Designs
Making a Template
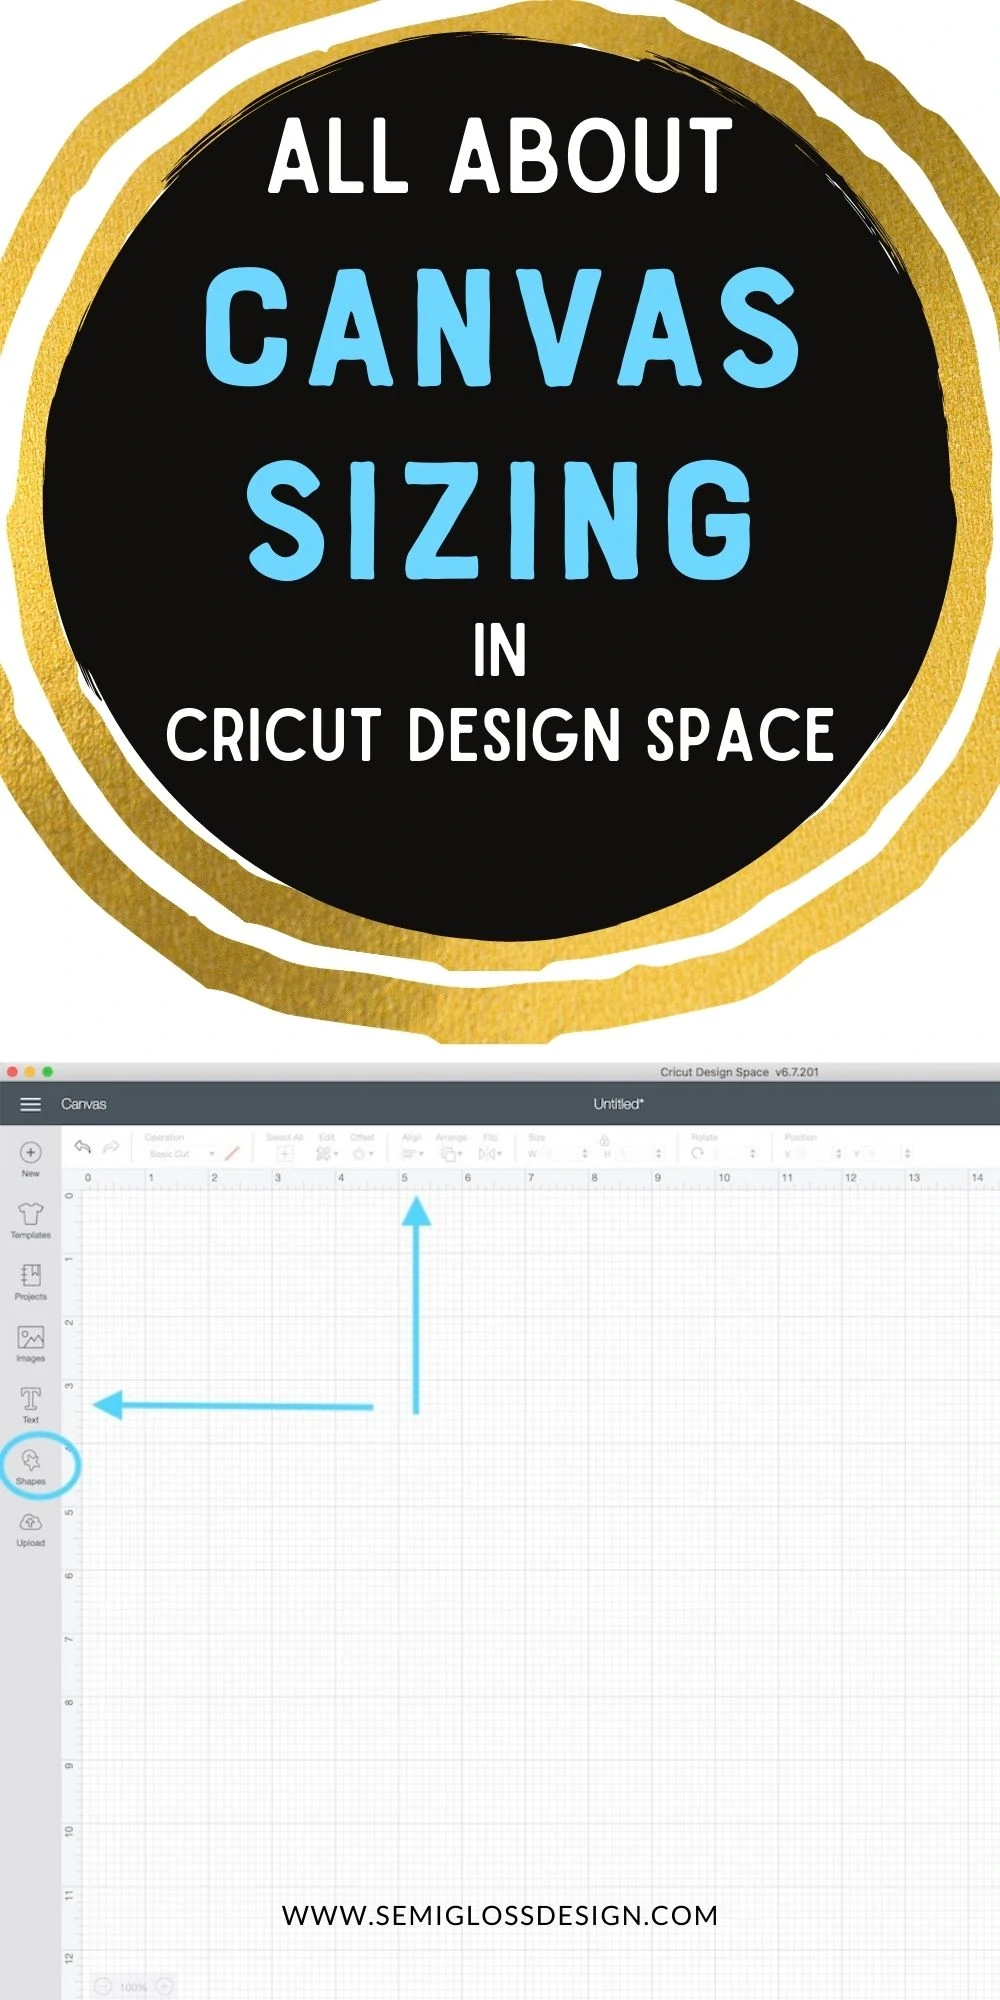
If it helps, you can even draw out a rectangle the size you need. Rectangles are in the shapes tab, as seen in the photo above. This rectangle will work as a template.
You can type the size that you need in the size box at the top of the screen.
If you need a rectangle vs a square, click the lock. This button is used to keep the proportions for designs correct, but we need it unlocked to make a rectangle.

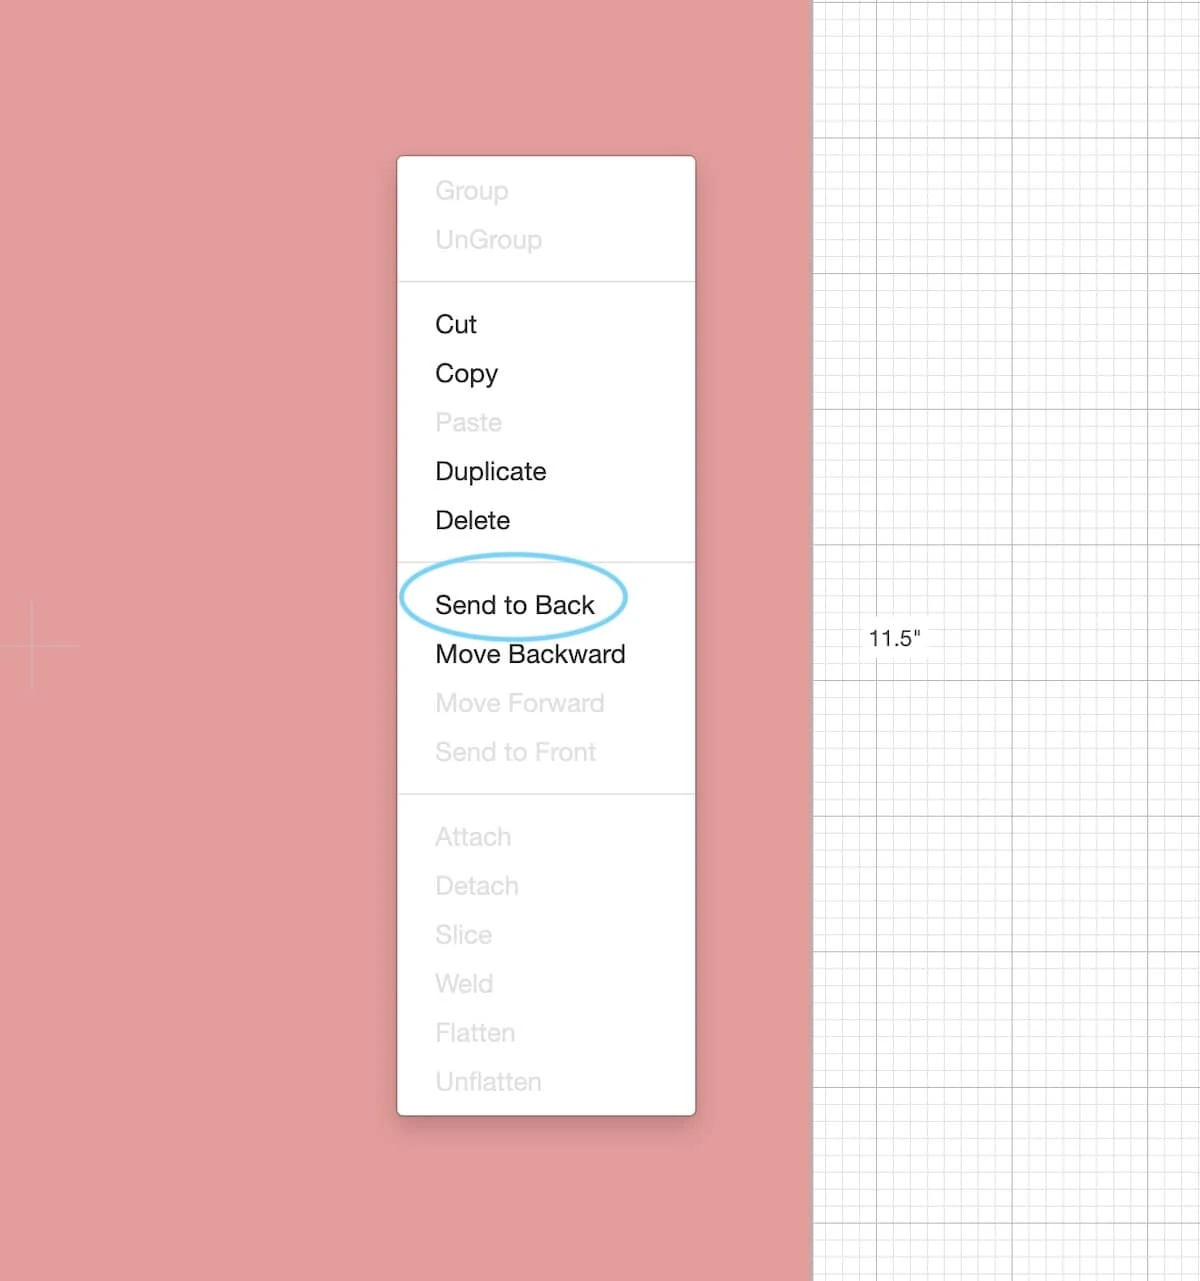
Be sure to send it to the back by right-clicking the design and selecting “send to back.”
Just make sure that you don’t select it when you go to cut the design (click the eye symbol to deselect it.)

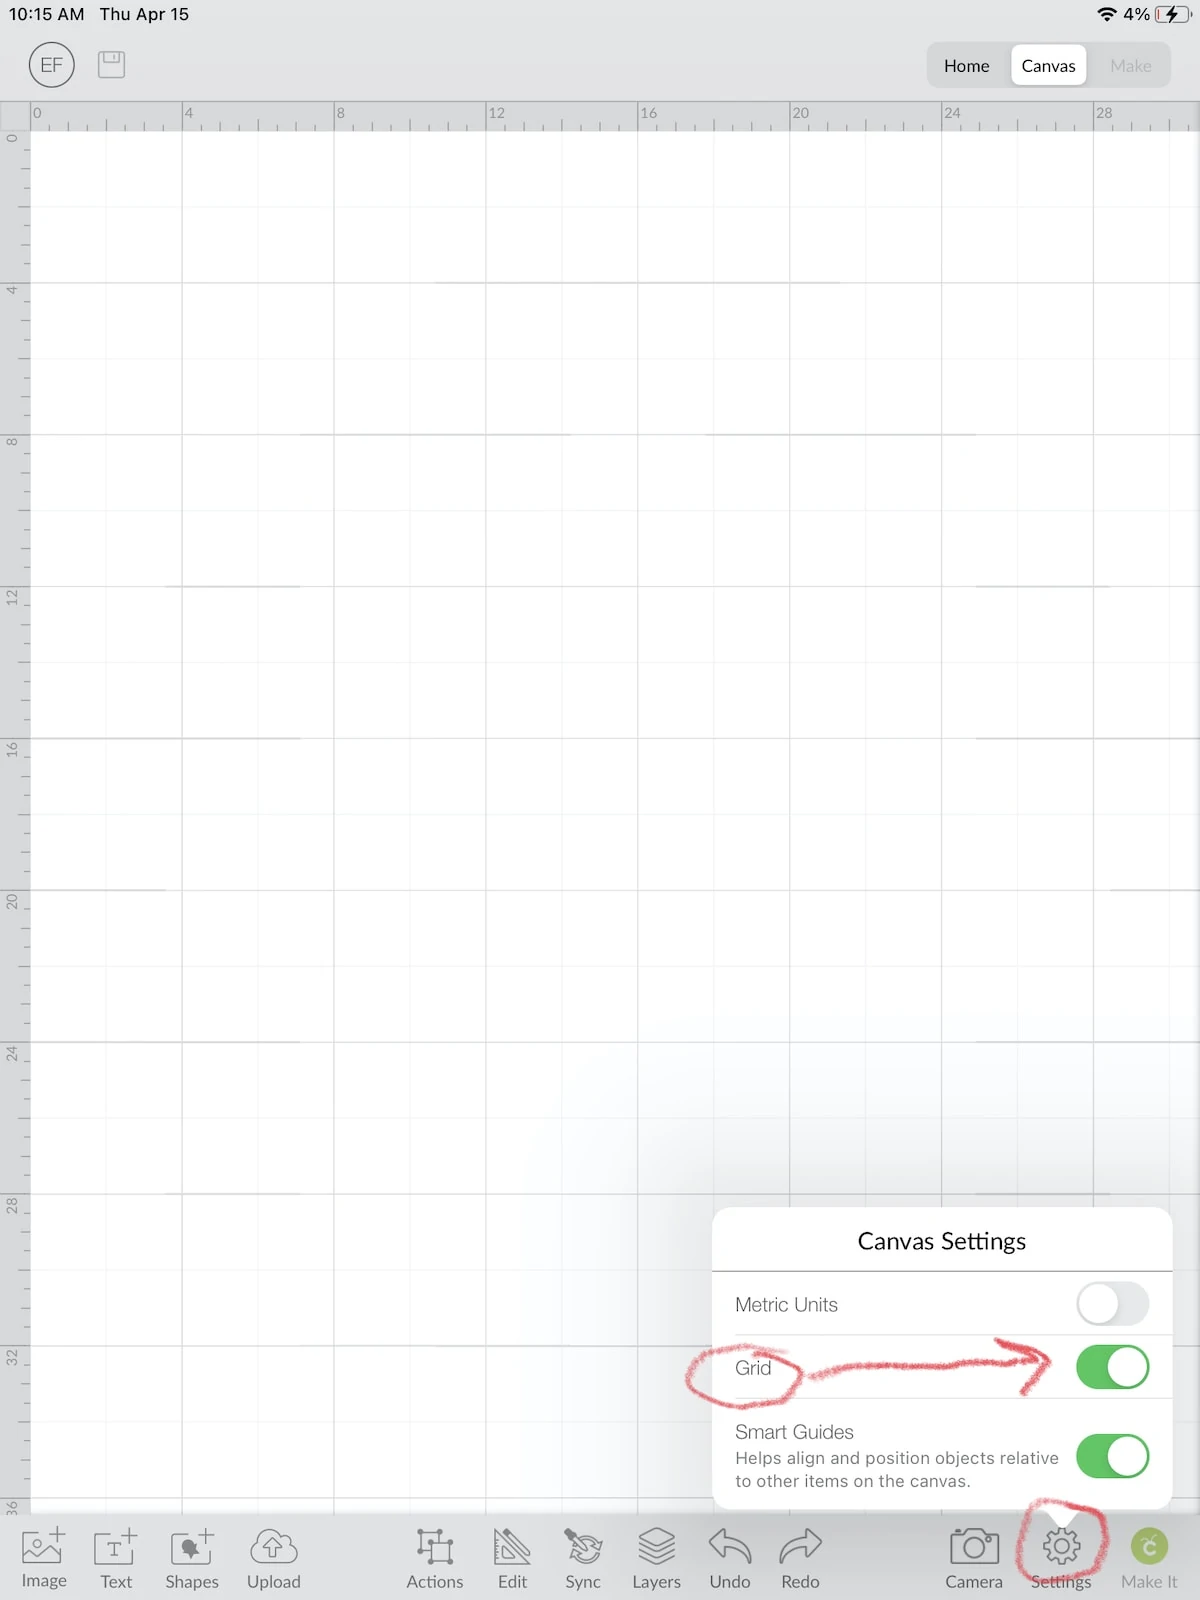
Changing the Canvas Size On an iPad
Use a 2 finger pinching motion to make the grid larger or smaller.
You can also turn the grid off under settings at the bottom of the screen. Just toggle the button off to remove the grid.
Setting the Material Size in Cricut Design Space
Setting the material size will ensure that your design fits when cutting.
After clicking “Make It”, the next screen allows you to change the material size. By default, it is set to 12″ x 12″.
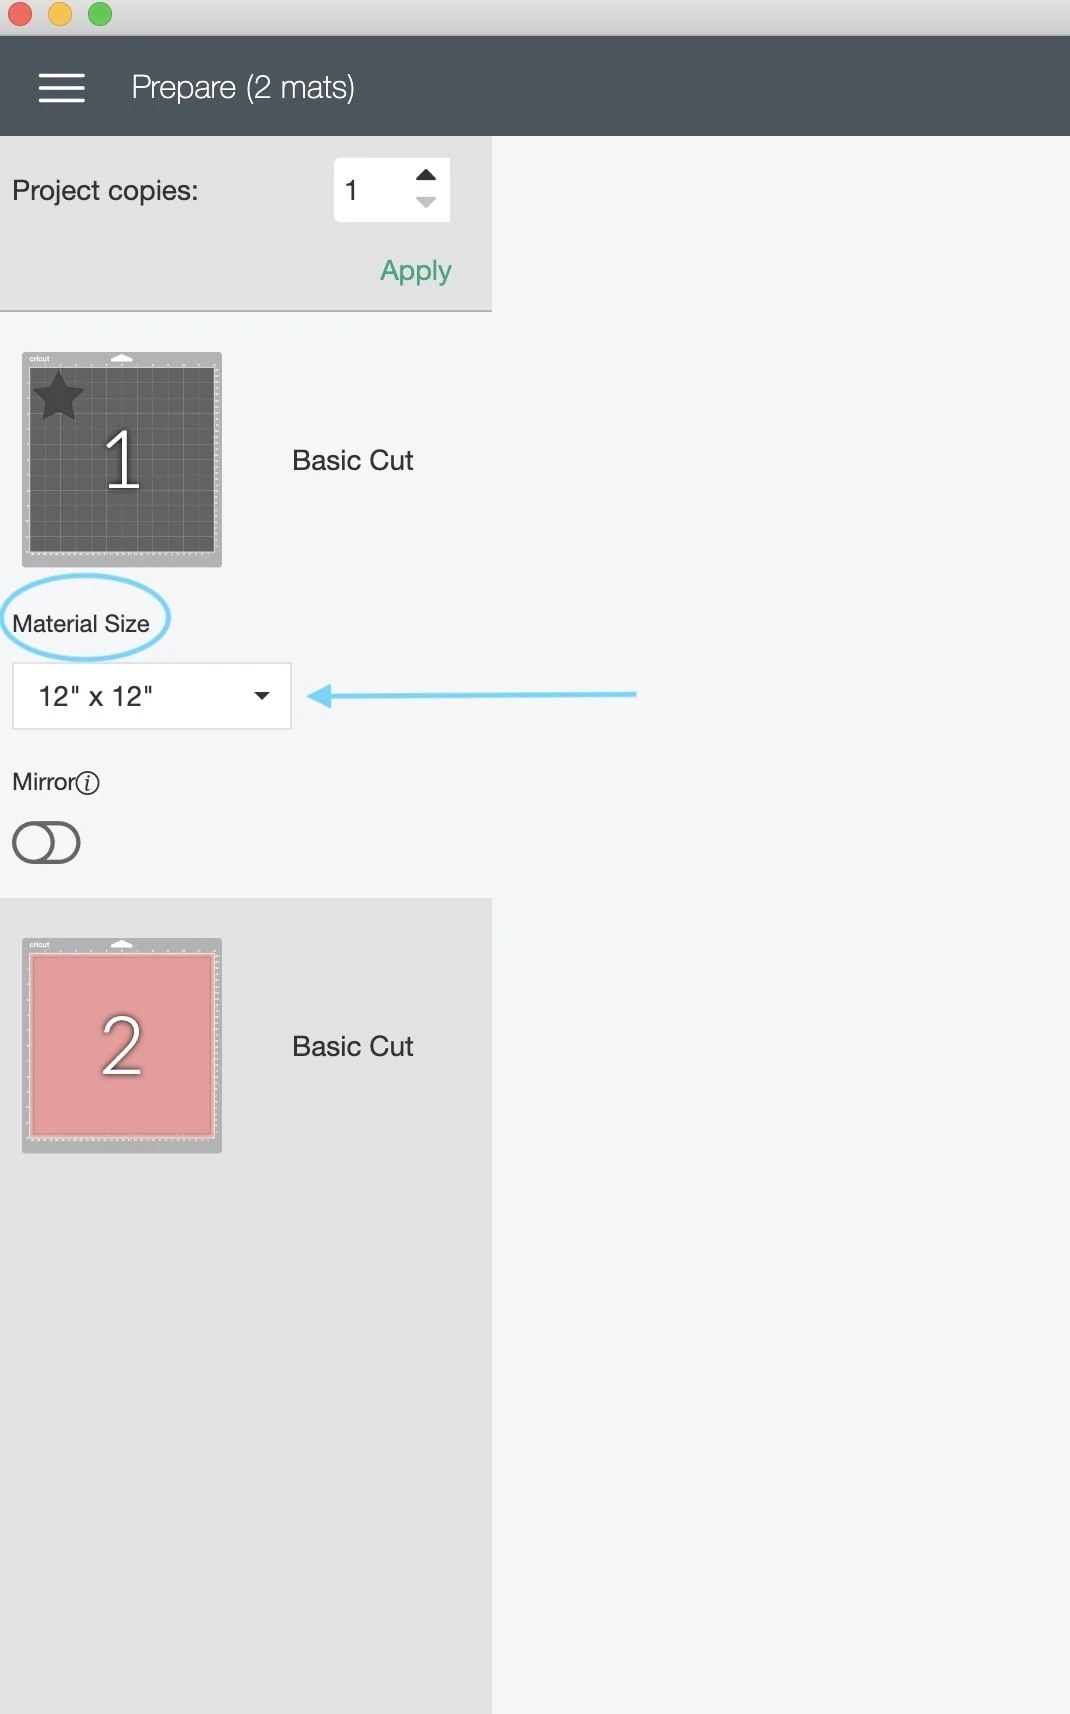
There are a lot of other options for sizes.

(By the way, you can check this setting as you are working on your design. Just click cancel to get back to the canvas.)
Troubleshooting
“Image is Too Large to Cut” Error
If you are getting a little orange triangle warning sign on your design, you won’t be able to cut your design.
The software is warning you that your design is too large for the settings you have chosen.
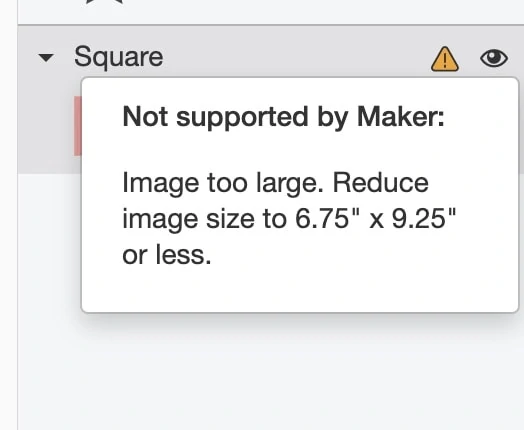
But what if your design is sized correctly and you’re still getting the warning?
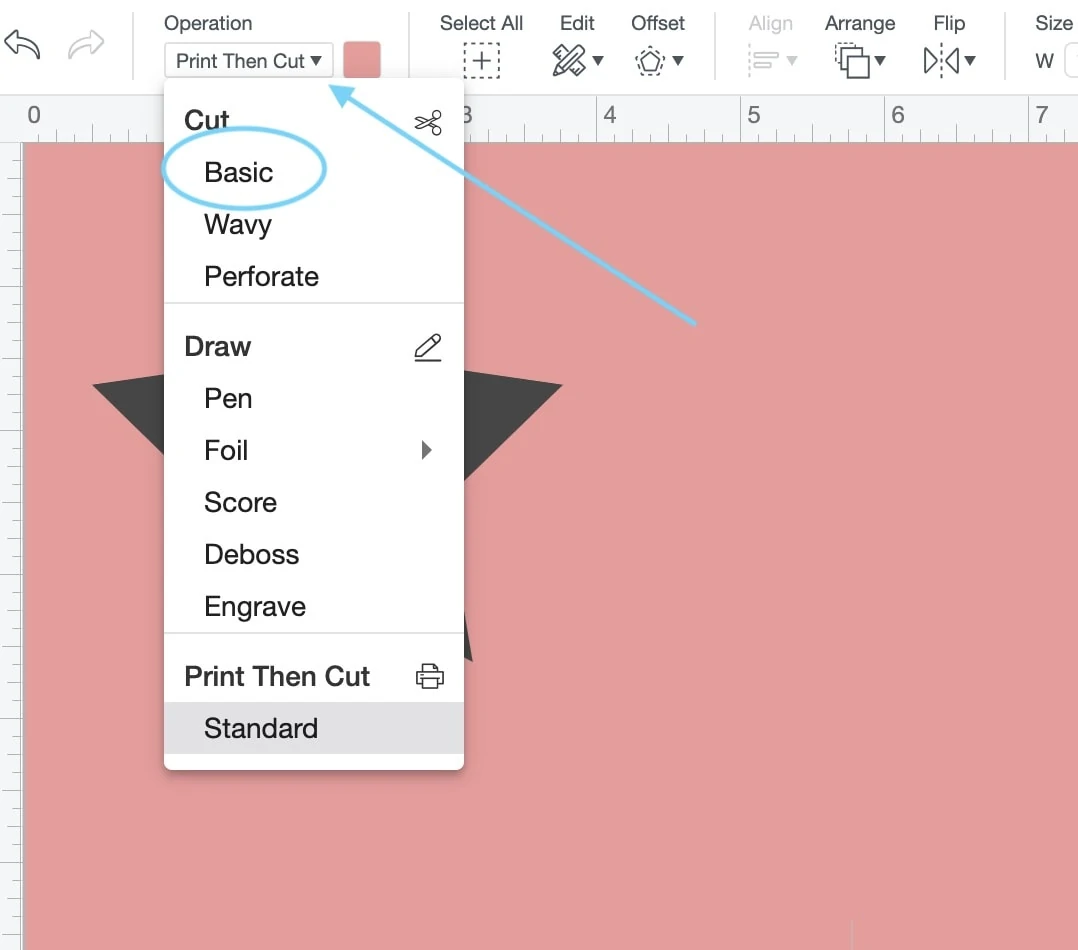
This often happens when you upload your own designs. Sometimes, the designs get set to Print, then cut.
This is an easy fix. Just select the design with the warning and change the cut settings to basic.
(This took me forever to figure out, so you’re welcome.)
My Design is Getting Put on Multiple Mats
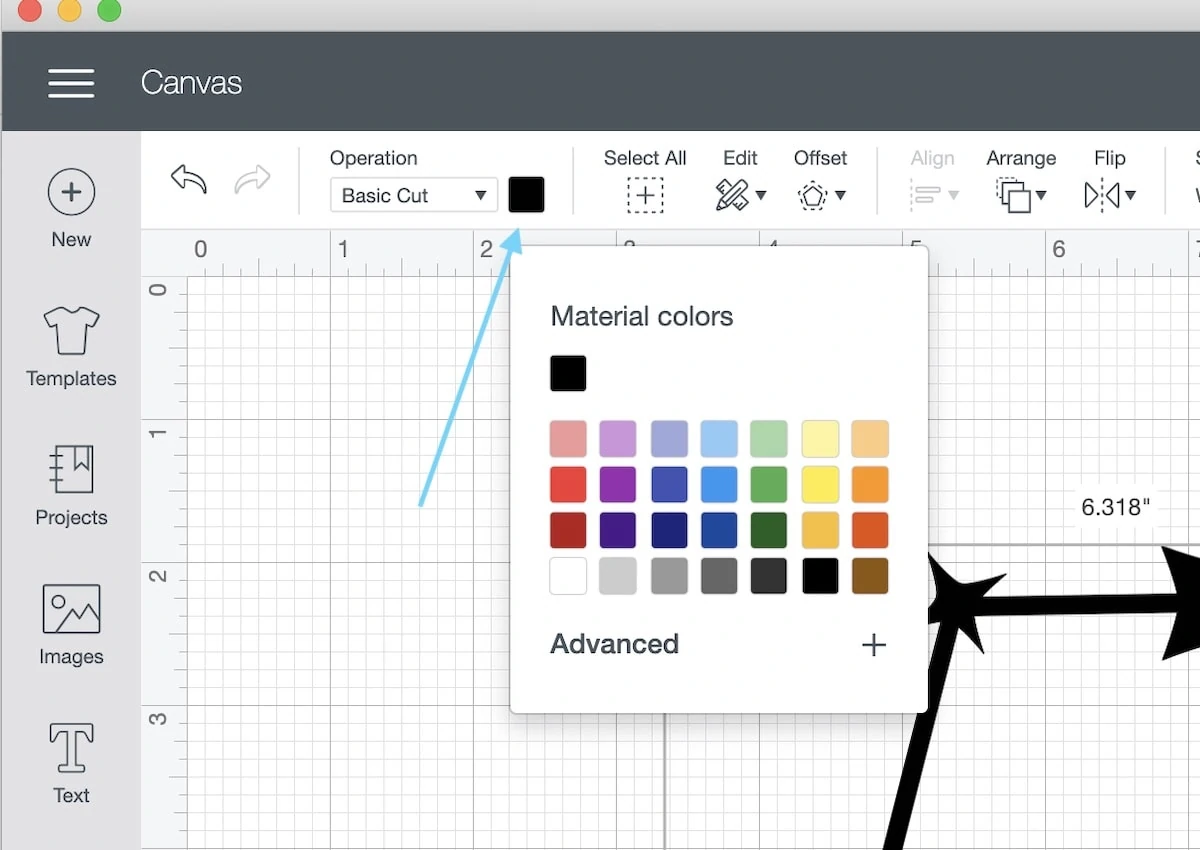
If the design fits on the mat and material setting, make sure that the design is the same color.
Sometimes even though everything looks black, they are a slightly different color and the software places them on a different mat.
Ungroup the design and change the color until everything is the same color.
How to Keep Design Together When Cutting
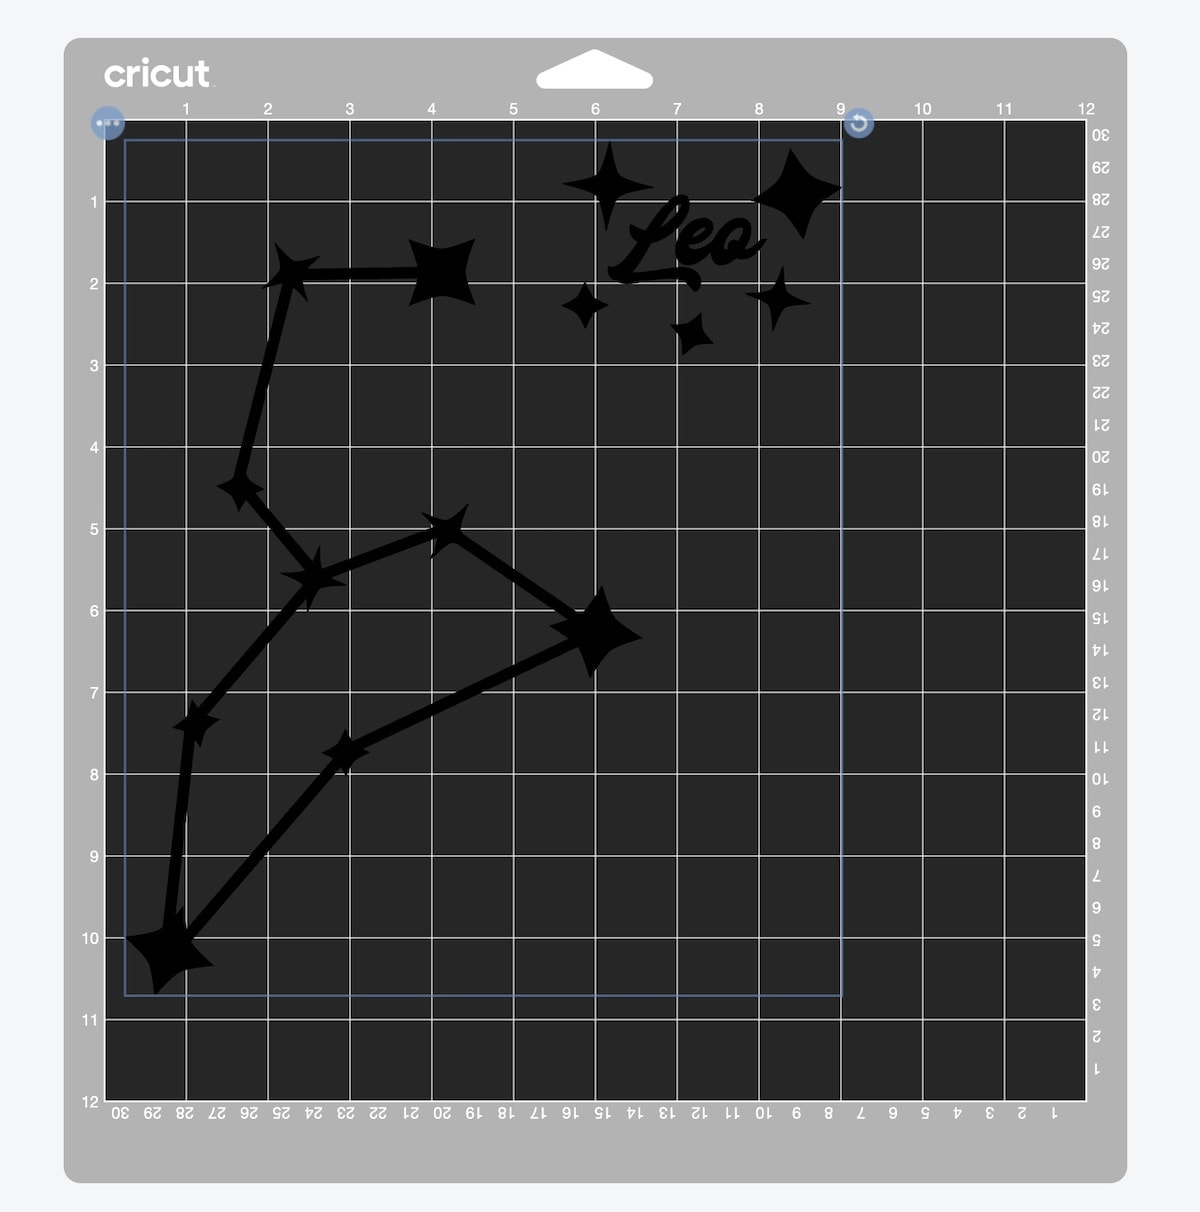
When you’re cutting a design with multiple pieces, Cricut breaks the design up to save vinyl. This means that even words get cut apart.
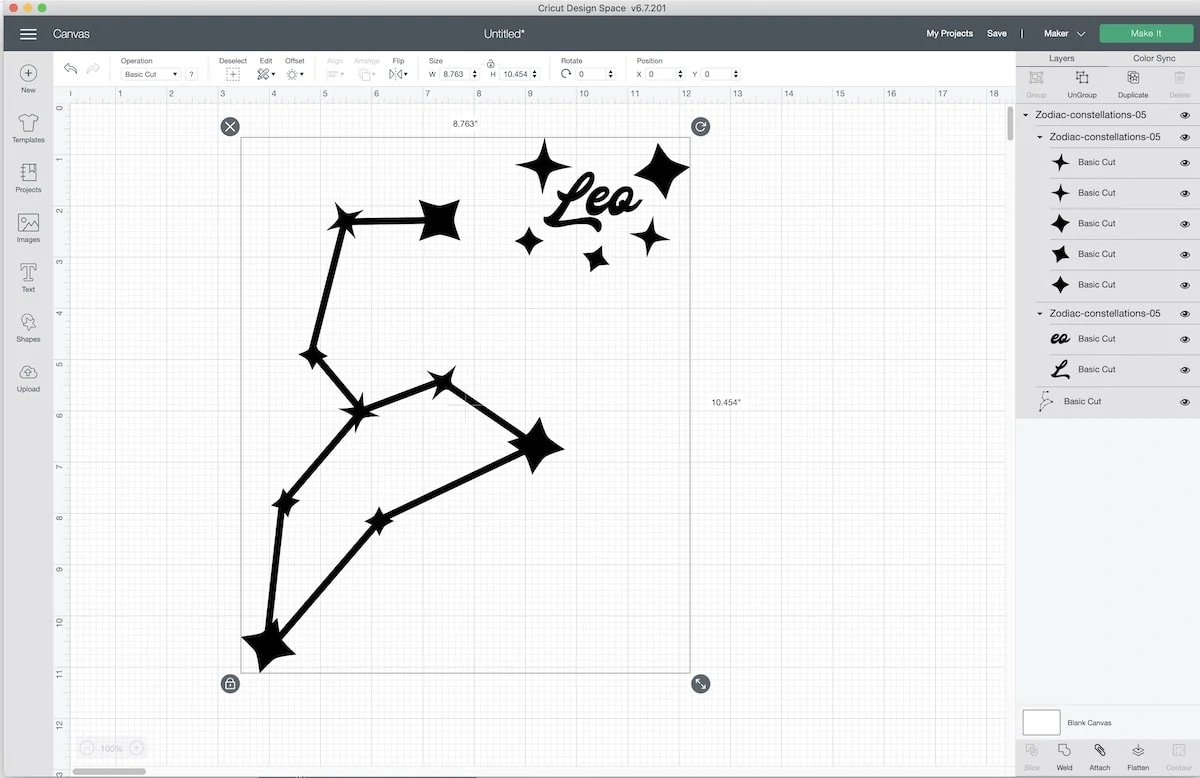
This example uses one of my zodiac constellation designs. It’s hard to see, but it broke Leo apart and move the stars around.
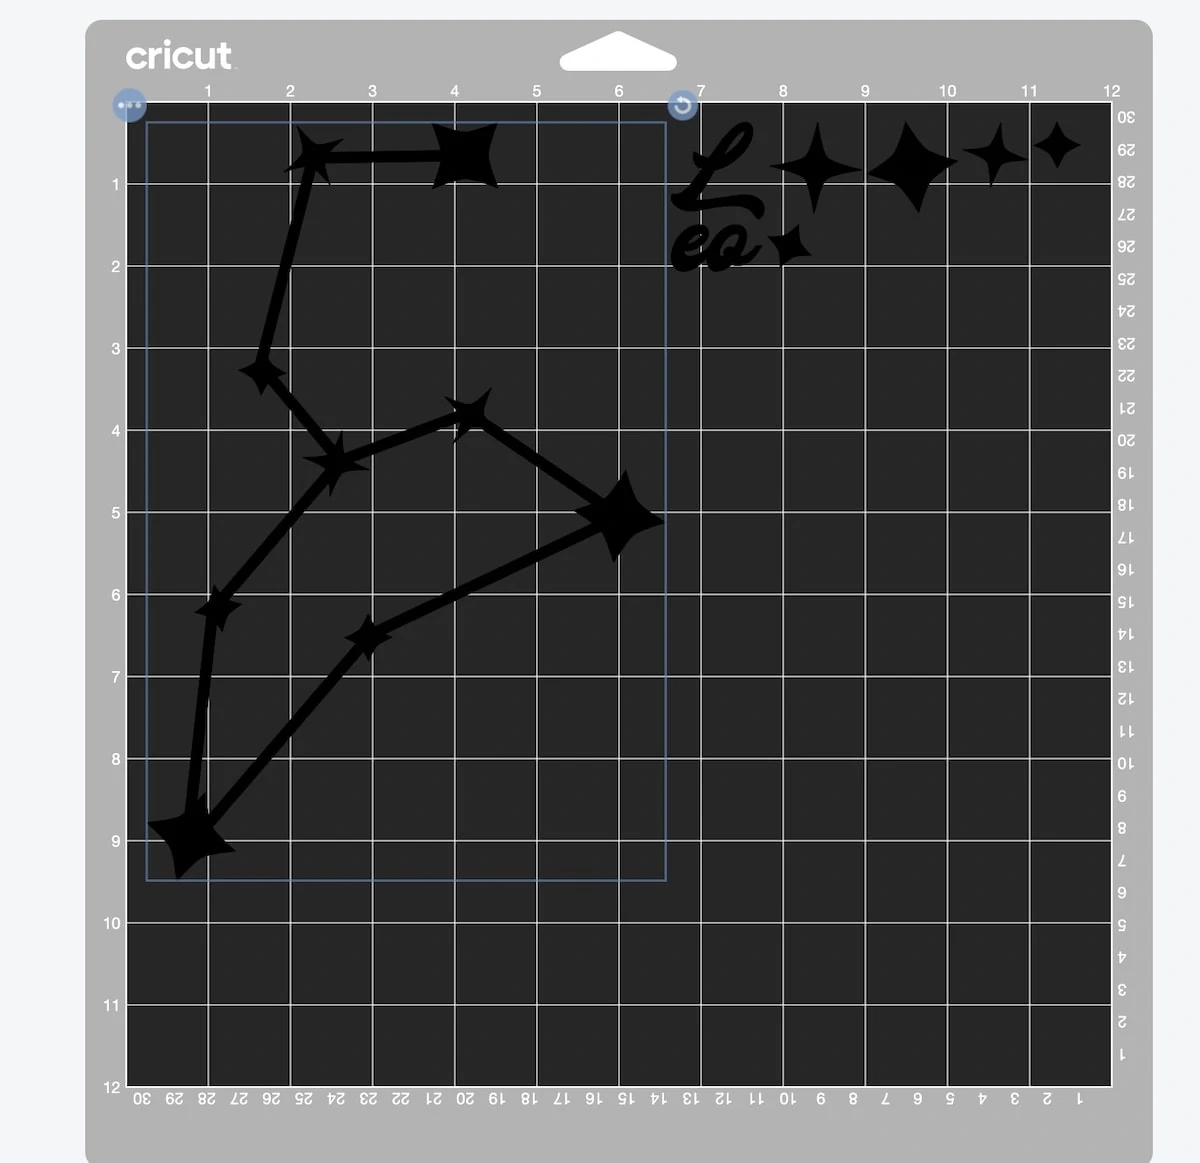
To fix this, select the entire group and click attach.
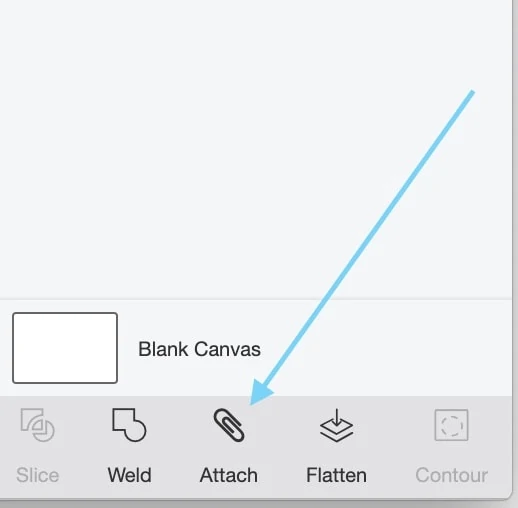
This keeps the design as is.
Get access to my SVG Library.
Get access to over 50 SVG sets and Cricut cheat sheets. Join my SVG library.
Other Cricut Tutorials
- How to Use a Cricut Easy Press
- All About Cricut Vinyl
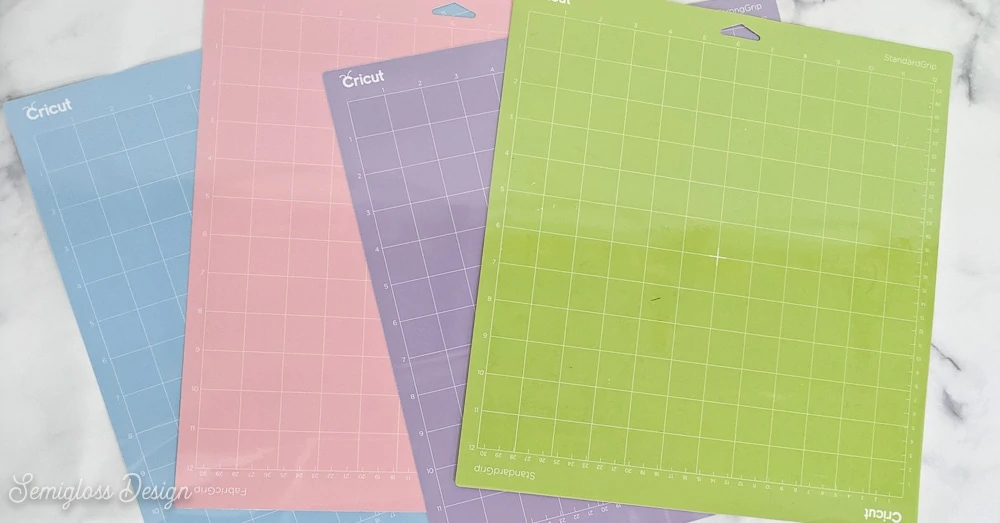
- Cricut Mats Explained
- Cutting Leather with a Cricut Maker
- Cricut Maker VS Silhouette
- How to Set Up a Cricut Joy
Pin for Later!

Emy is a vintage obsessed mama of 2 DIYer who loves sharing affordable solutions for common home problems. You don’t need a giant budget to create a lovely home. Read more…