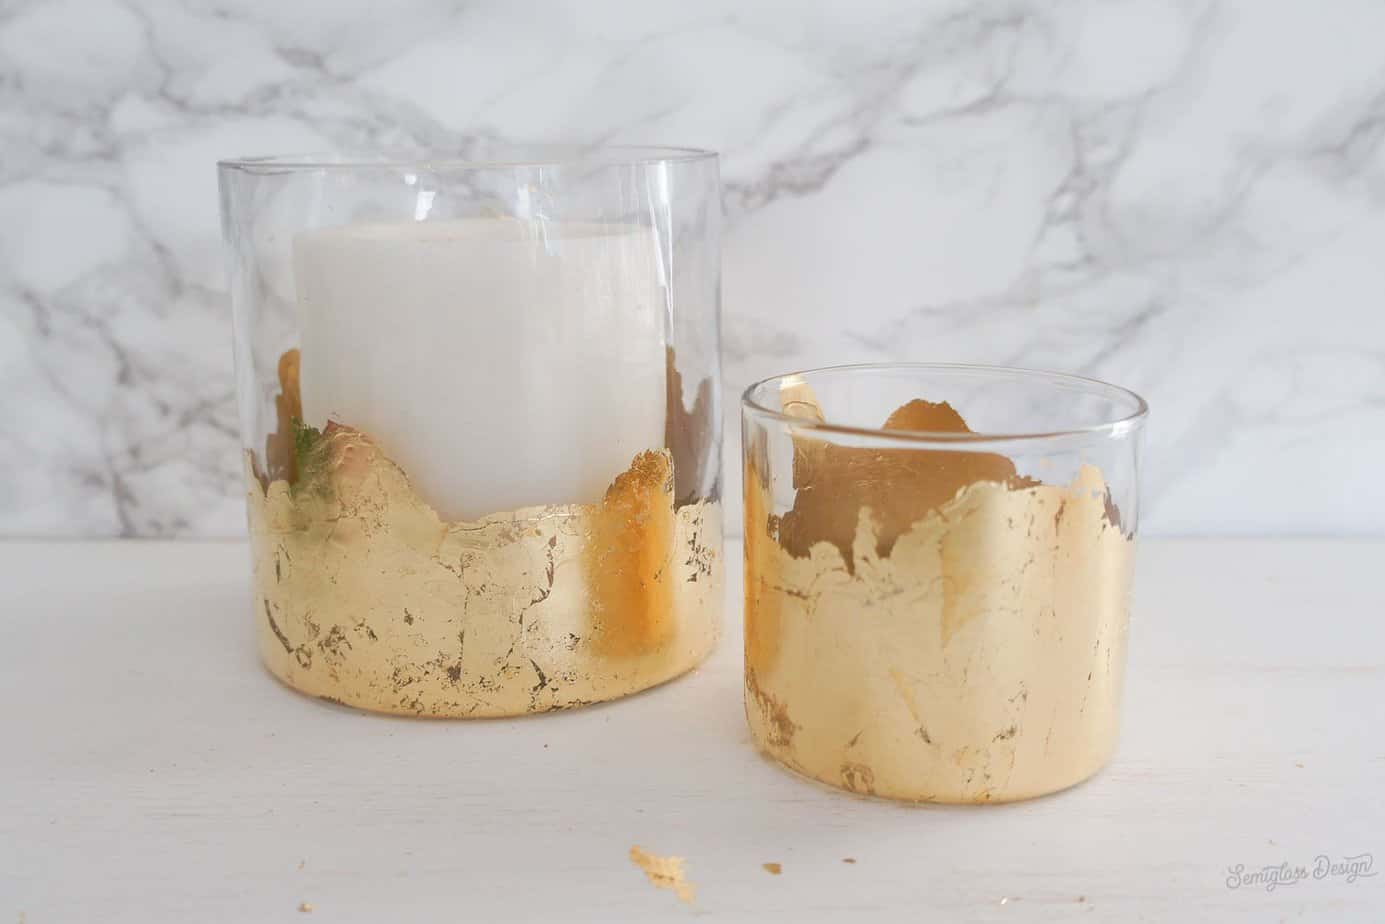
Discover how to apply gold leaf to glass to create these stunning DIY candle holders. These gold-leaf candle holders look amazing when lit by the glow of a candle. Best of all, they’re so easy to make.
If you like using gold leaf, you might also like gold foil art!
One of the things that gets me through the winter is lighting a candle. There’s something so soothing about the flickering light of a candle on a cold day.
To make it even more fun, I made some cute DIY candle holders. This process can be applied to many things. Wouldn’t a gold leaf vase be gorgeous?
Gold Leaf FAQs
What is gold leaf?
Gold leaf is a very thin sheet of gold used for decorative purposes.
Imitation gold leaf will be less expensive and clearly labeled on the package.
Real gold leaf is much easier to work with because it crumbles and sticks to the surface much better than the imitation version. The texture is also more beautiful.
How do you use gold leaf?
Clean the surface, apply gold leaf adhesive, and let it sit until it becomes sticky. Then, apply sheets of gold leaf. Brush away the excess.
Detailed instructions are listed below.
Do you need to seal gold leaf?
It’s not necessary to seal gold leaf.
The only time I’ve ever sealed gold leaf was when it didn’t cure completely, so the glue remained tacky. You can use polycrylic to seal in any stickiness.
Polycrylic can also be used if you plan to handle the object frequently. Use the spray variety for the best results.
Can you apply gold leaf to metal?
Yes. I’ve also used it on wood. It looks really lovely on picture frames.
How to Apply Gold Leaf to Glass: DIY Candle Holder
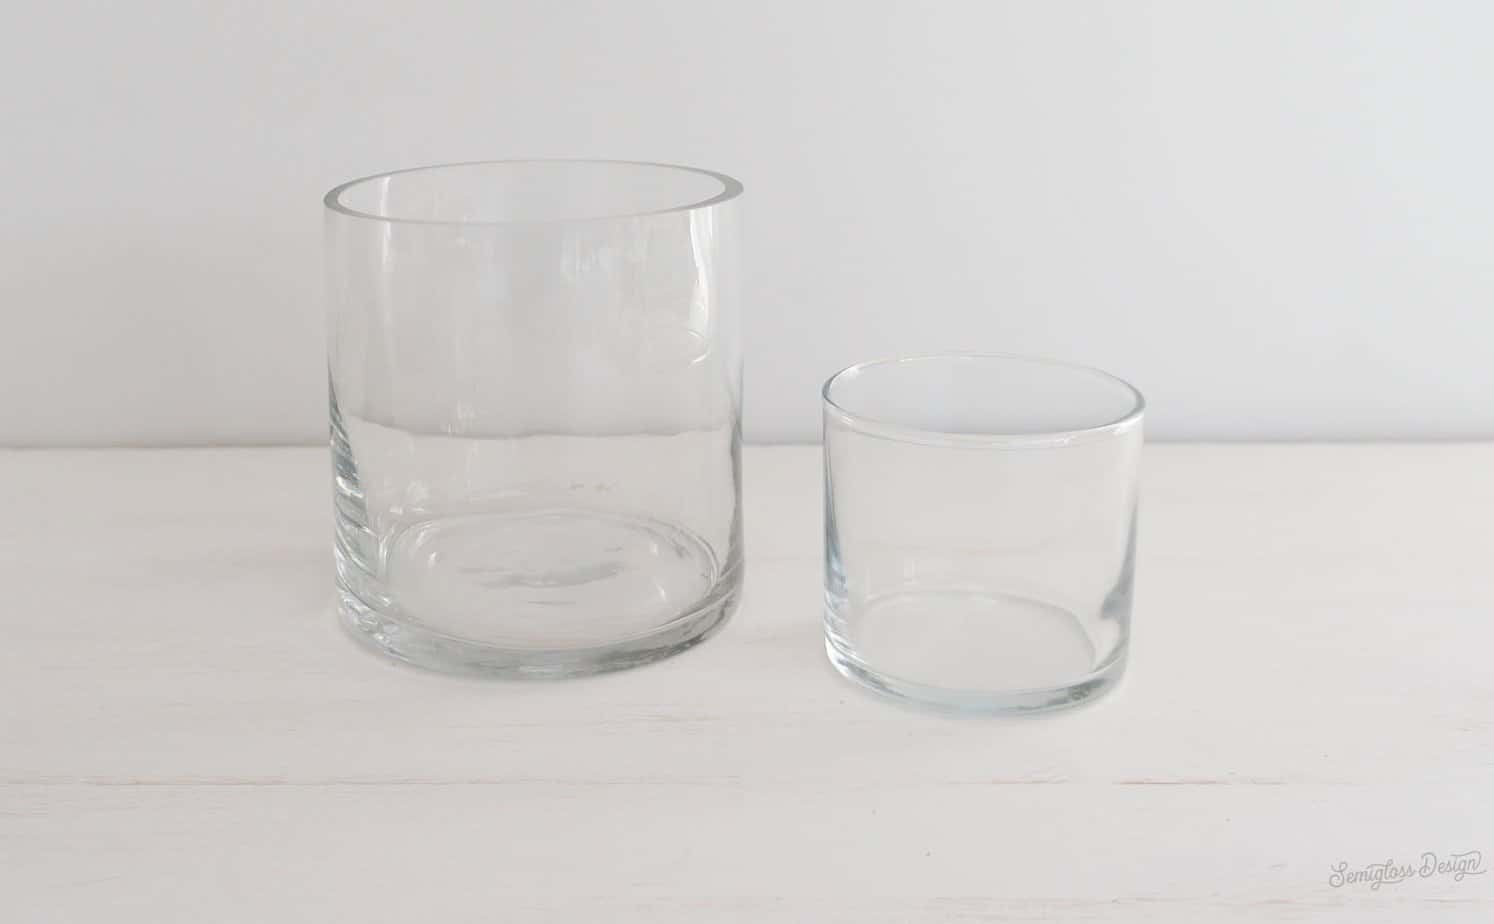
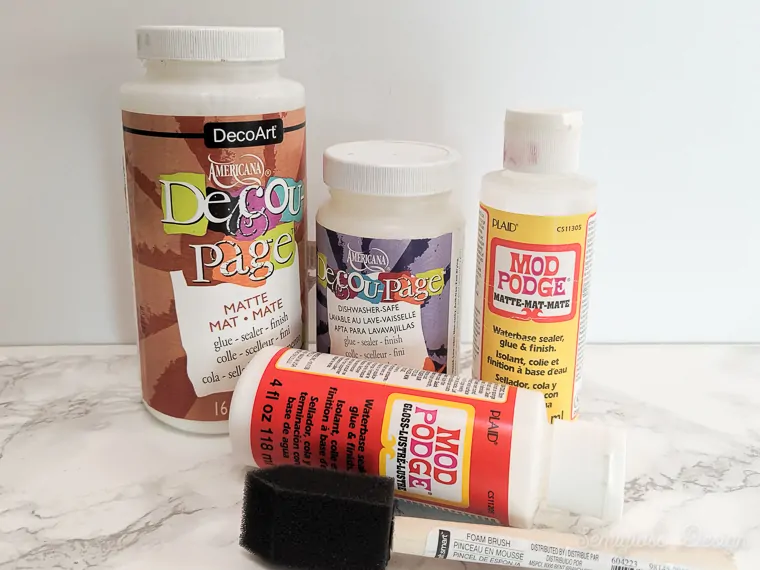
Supplies Needed
This post contains affiliate links. By purchasing an item through an affiliate link, I earn a small commission at no extra cost to you.
*If you don’t like gold, there are other metals you can use!
Metal leaf comes in so many pretty colors, so if gold isn’t your thing, consider a different color.
Prep Work
When working with gold leaf, it is very important to work in a room with no visible airflow. So, turn off the fans and work away from air vents. Close windows. Gold leaf is incredibly lightweight, and you don’t want it to blow away as you’re working.
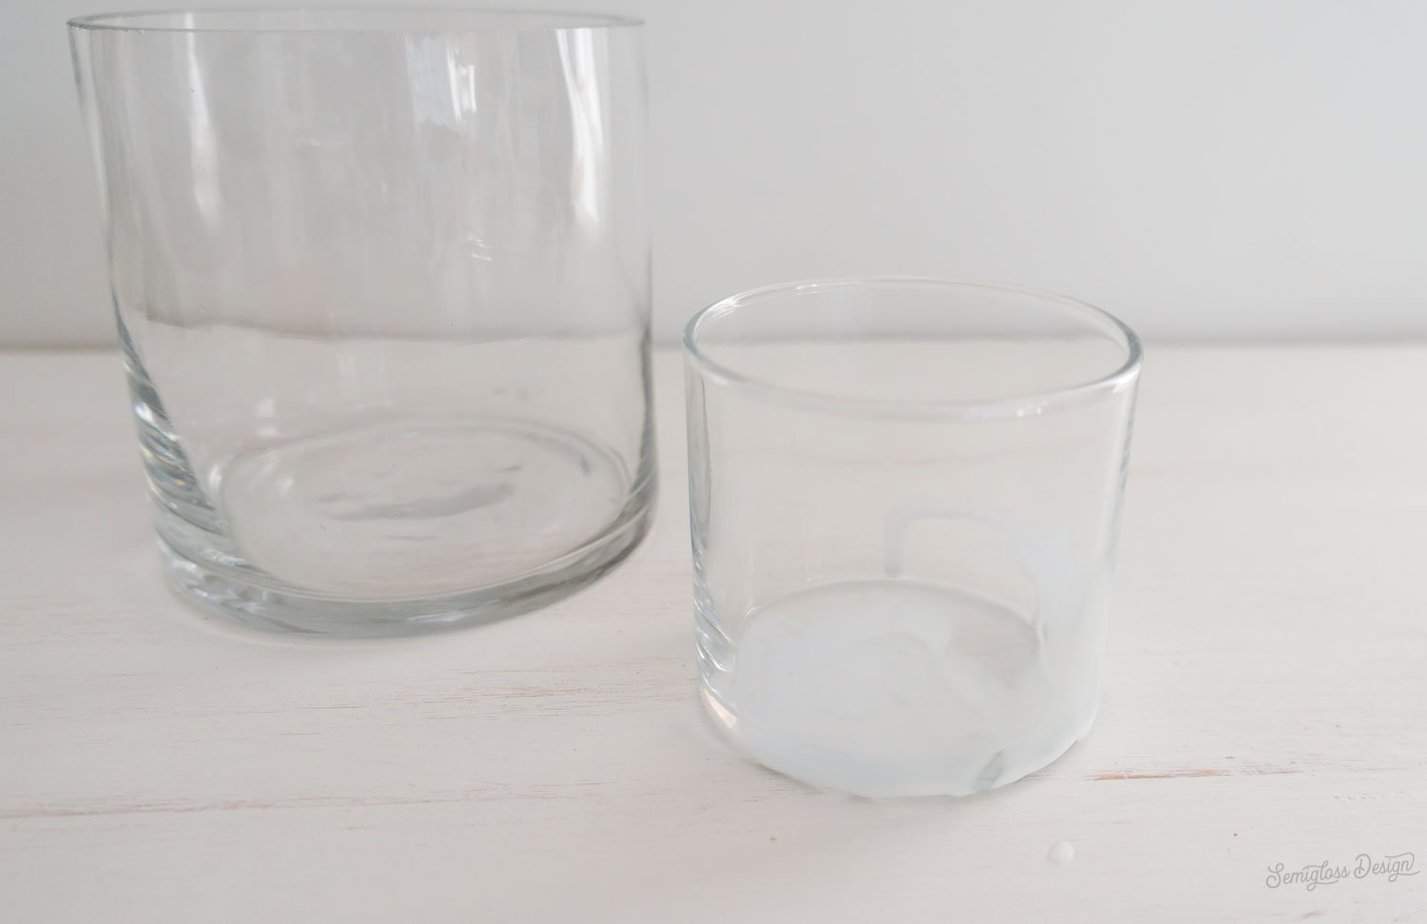
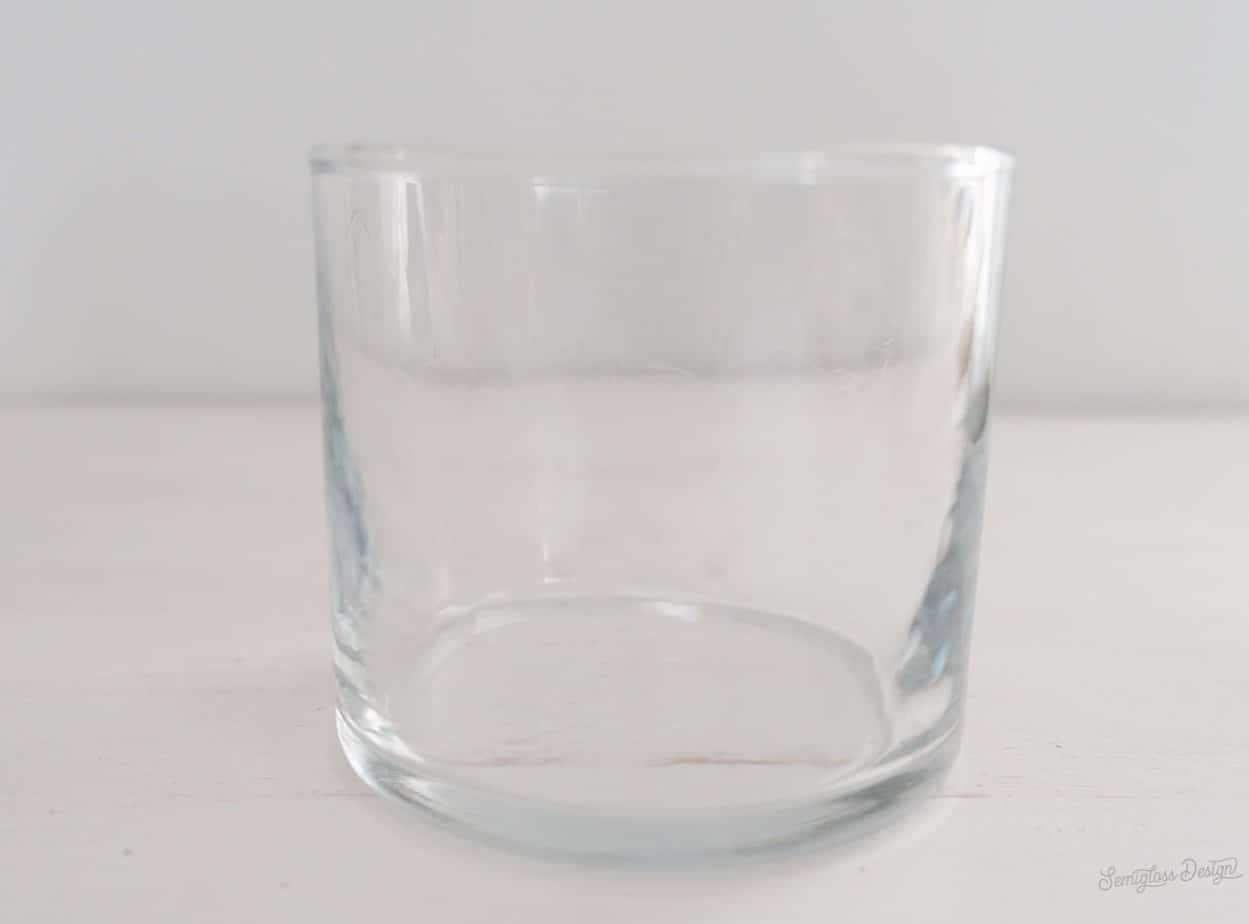
Clean the glass with rubbing alcohol to remove any oils that will prevent the adhesive from sticking.
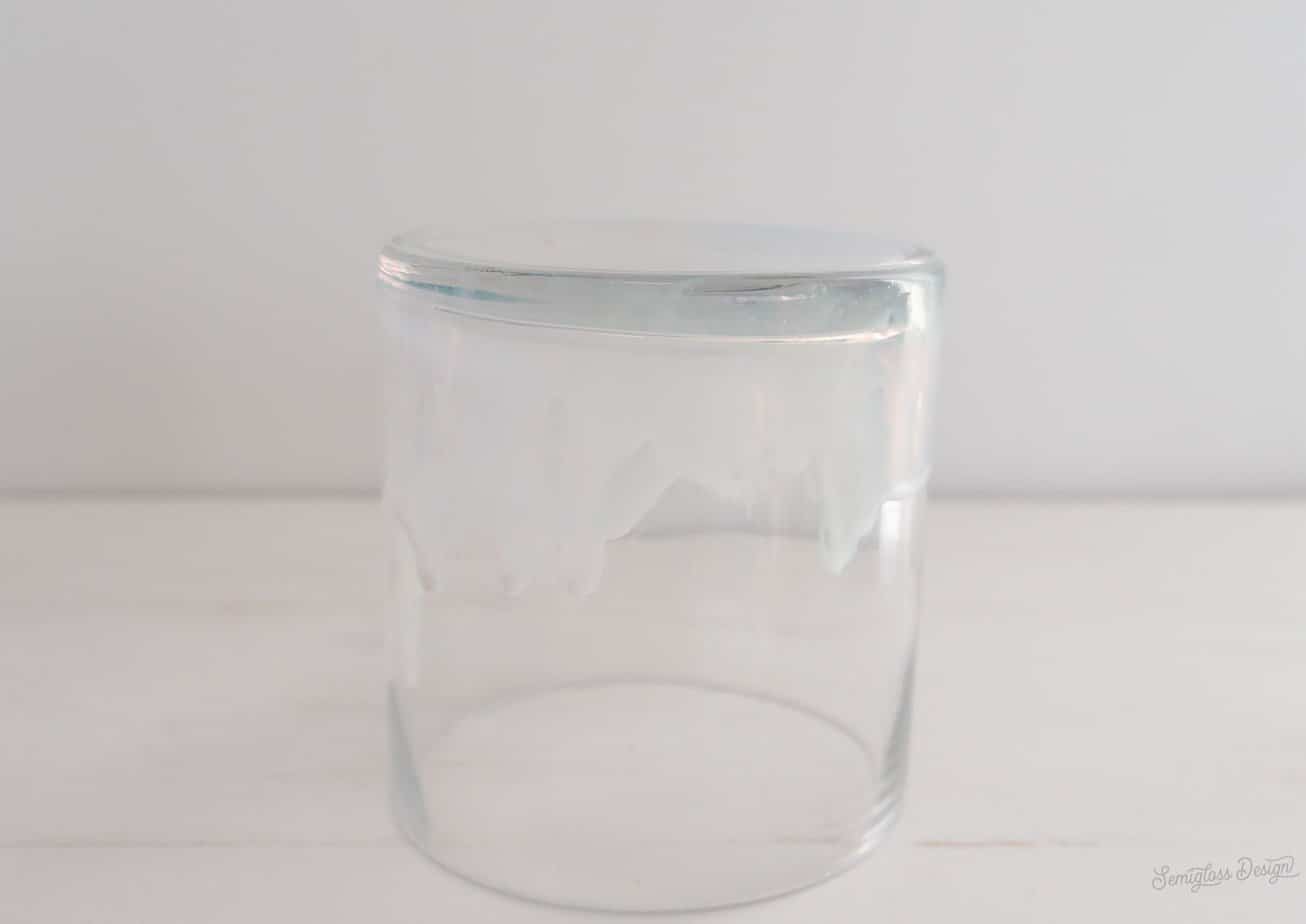
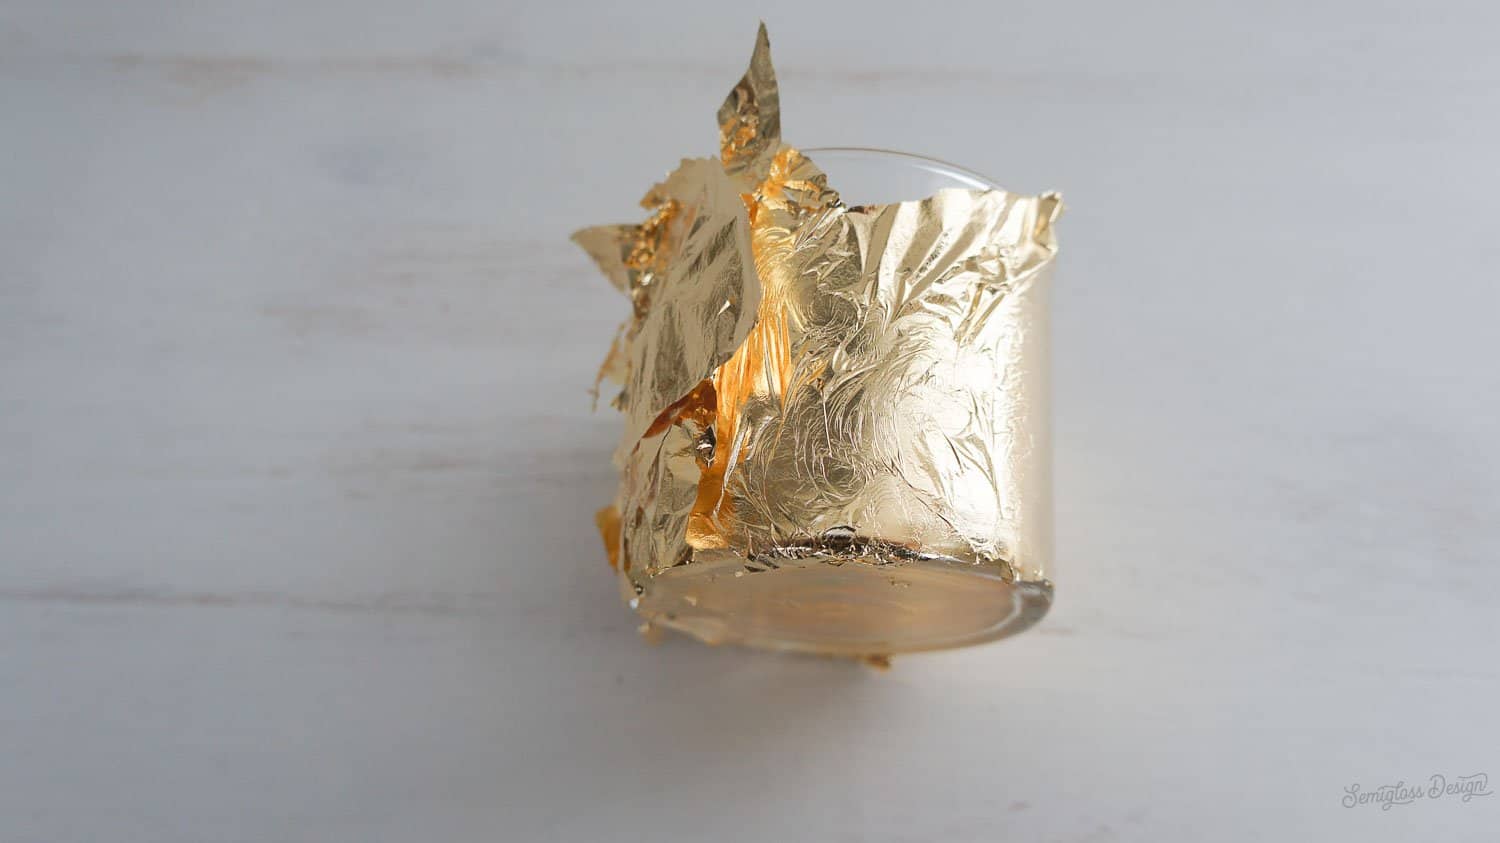
Keep the edges pretty random. Tipping it upside down makes the edge more organic. Keep in mind that the gold leaf will stick to any place where the adhesive sits.
Let the adhesive dry until it is clear. It should feel slightly sticky.
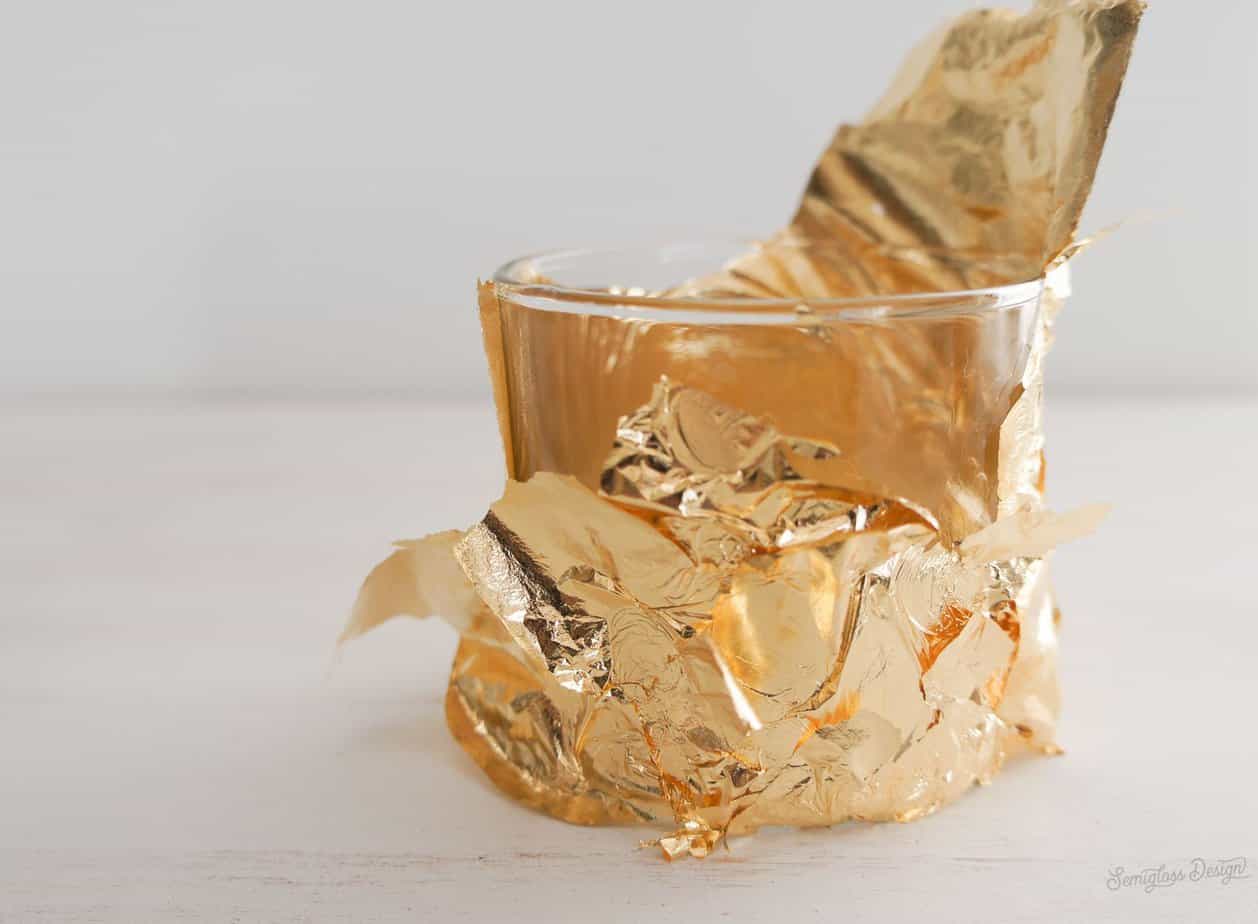
Carefully place a sheet of gold leafon the glass over the glue.
Break off the excess pieces and cover the remaining adhesive until the glass is completely covered. You might need more than one sheet.
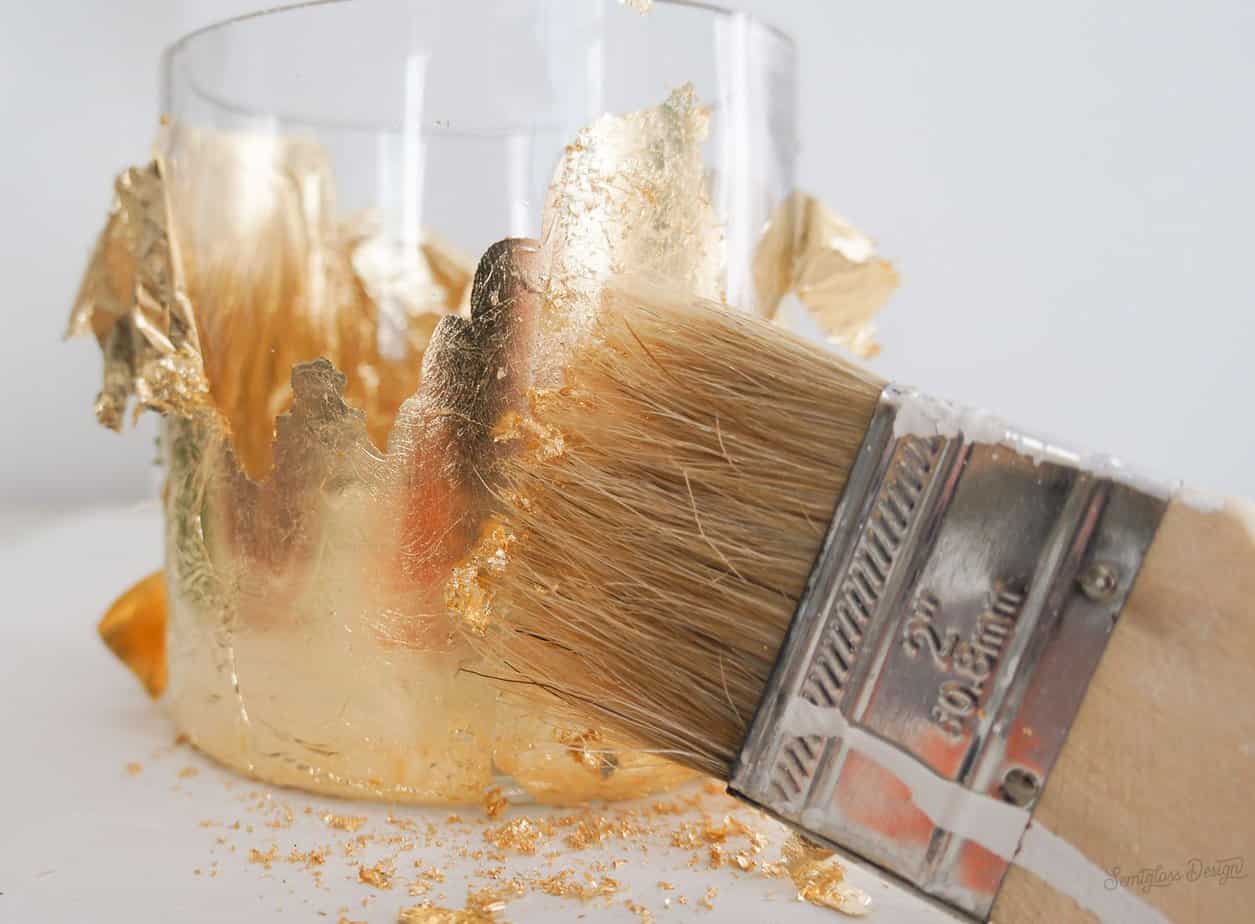
Once your candleholder is sufficiently covered, use the chip brush to brush the gold leaf to remove any excess. The gold leaf sticks to the adhesive, but it also becomes burnished and beautiful.
Continue brushing away the excess gold leaf and burnishing the vase until you’re happy. I love how textured it becomes.The small DIY candle holder holds a tea light, but a votive would work as well.
Emy is a vintage obsessed mama of 2 DIYer who loves sharing affordable solutions for common home problems. You don’t need a giant budget to create a lovely home. Read more…
I am interested in sealing my gold leafed wine glasses. You mentioned that you cure it? How?
When I seal my gold leaf with mod podge dishwasher safe gloss or mona lisa speedball sealer they both leave residue that is unacceptable How do you cure gold leaf?
Thanks,
Tamela .
In the past, I used polycrylic or polycrylic spray to seal the stickiness of the glue residue. I’ve never sealed gold leaf on anything that is used for food though. I don’t think polycrylic is food-safe. I know that tumbler makers use resin to seal glitter so that might work, but it also has the potential to be a big mess. I wish I had a better answer for you.