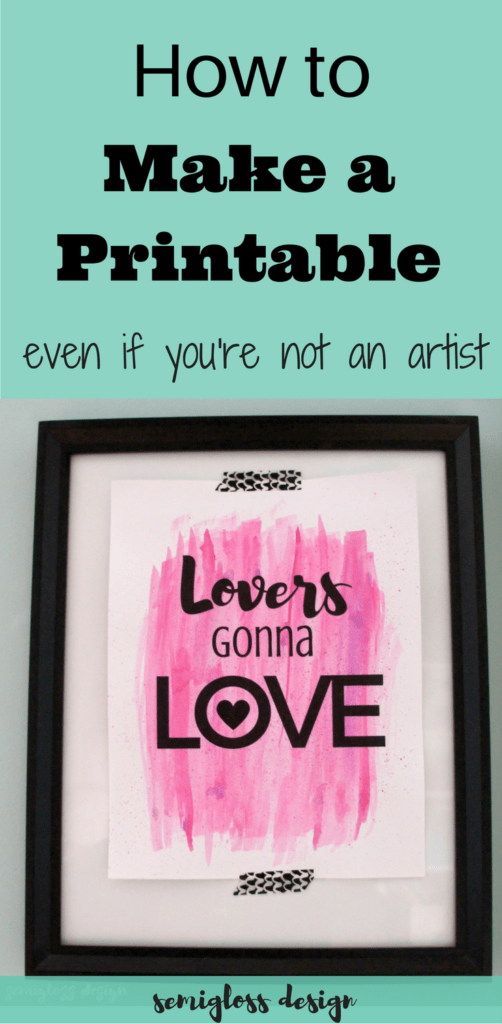
I wanted to acknowledge Valentine’s Day and our upcoming anniversary (18 years!) with an easy DIY, so I made a fun printable. Making printables is fun and easy, even if you’re not an artist.
Make your own printables with these easy steps!
How to Make Your Own Printables
This post contains affiliate links. By purchasing an item through an affiliate link, I earn a small commission at no extra cost to you.
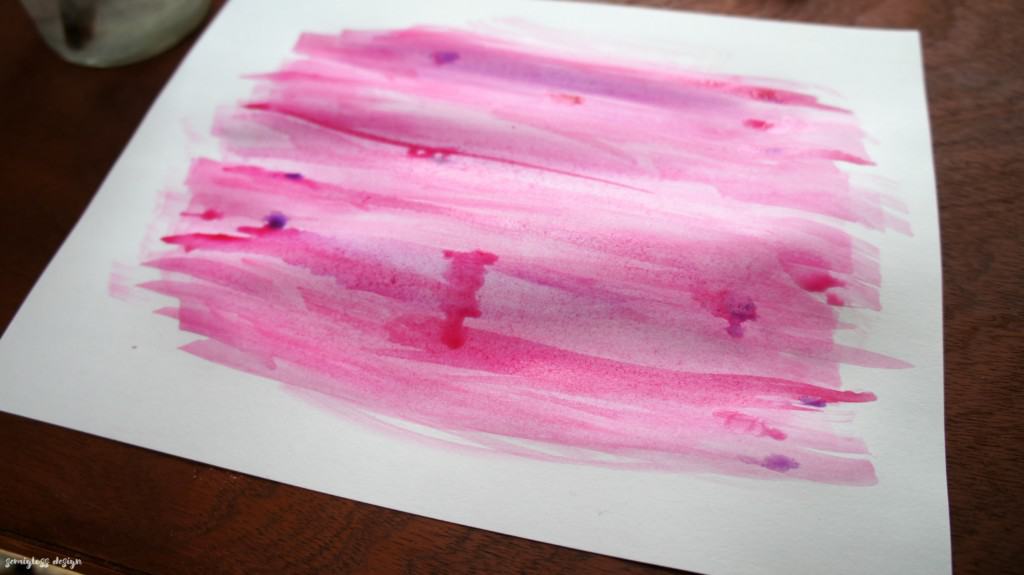
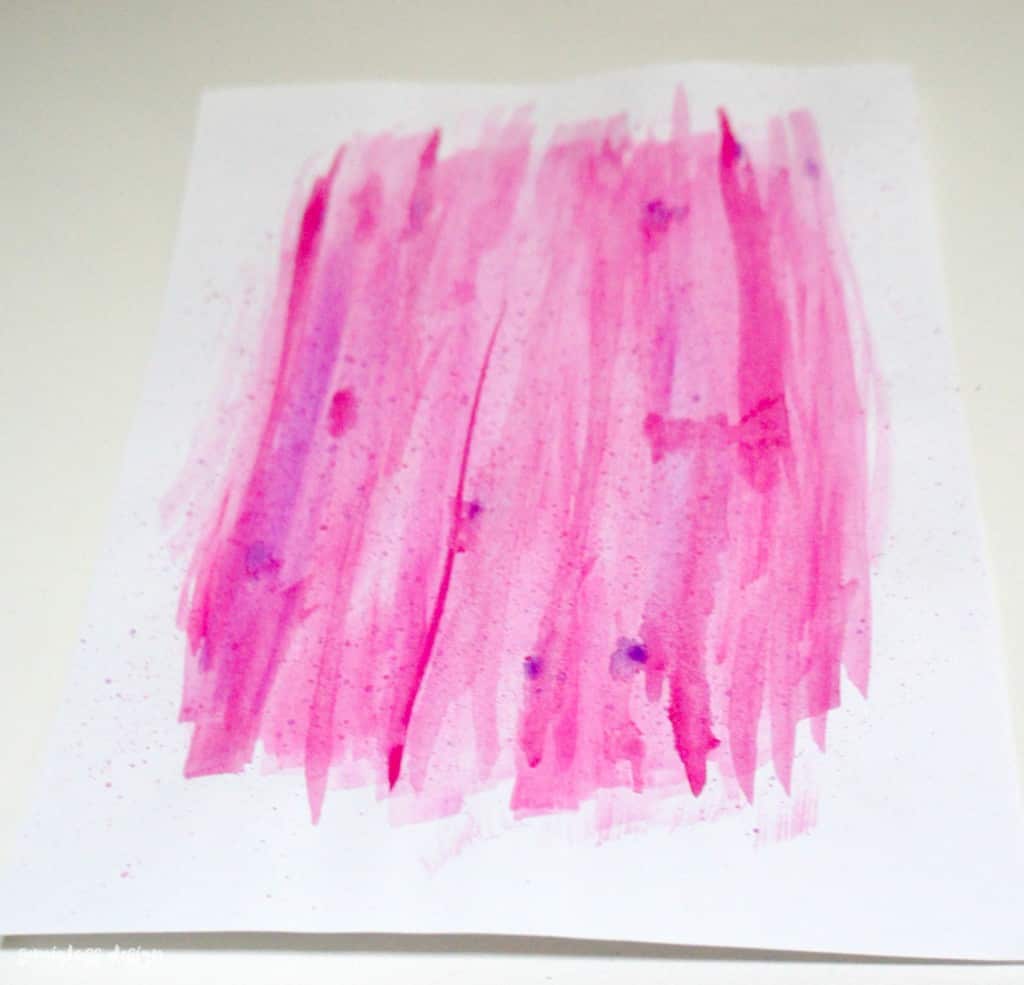
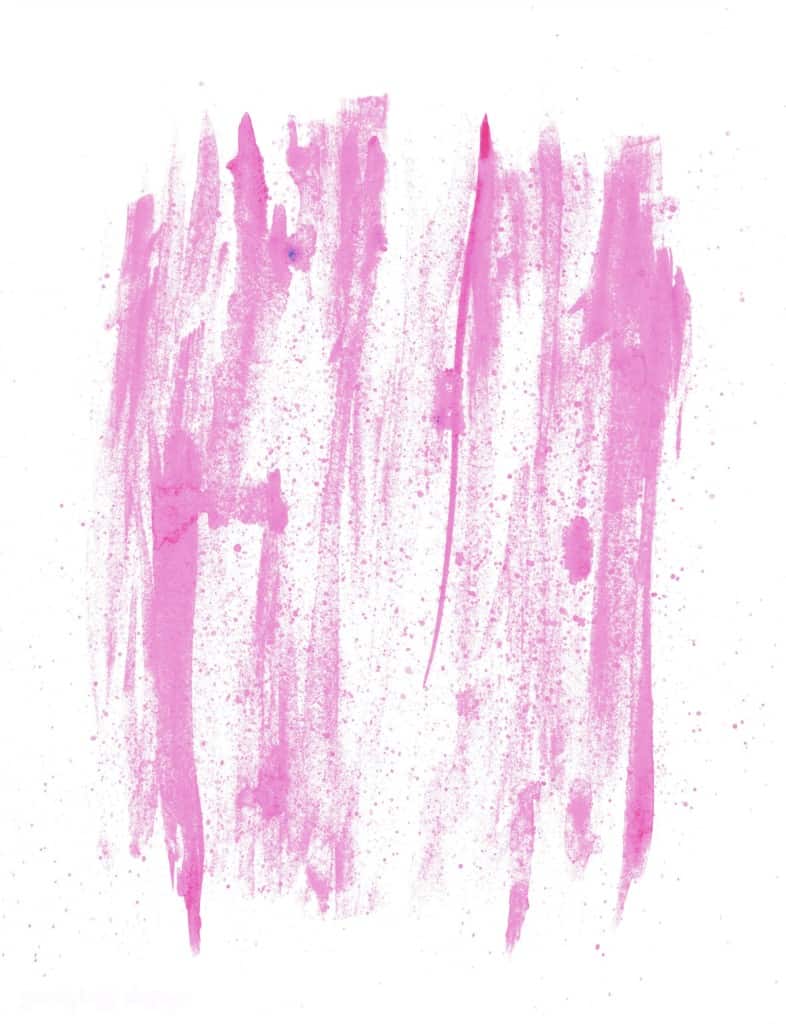
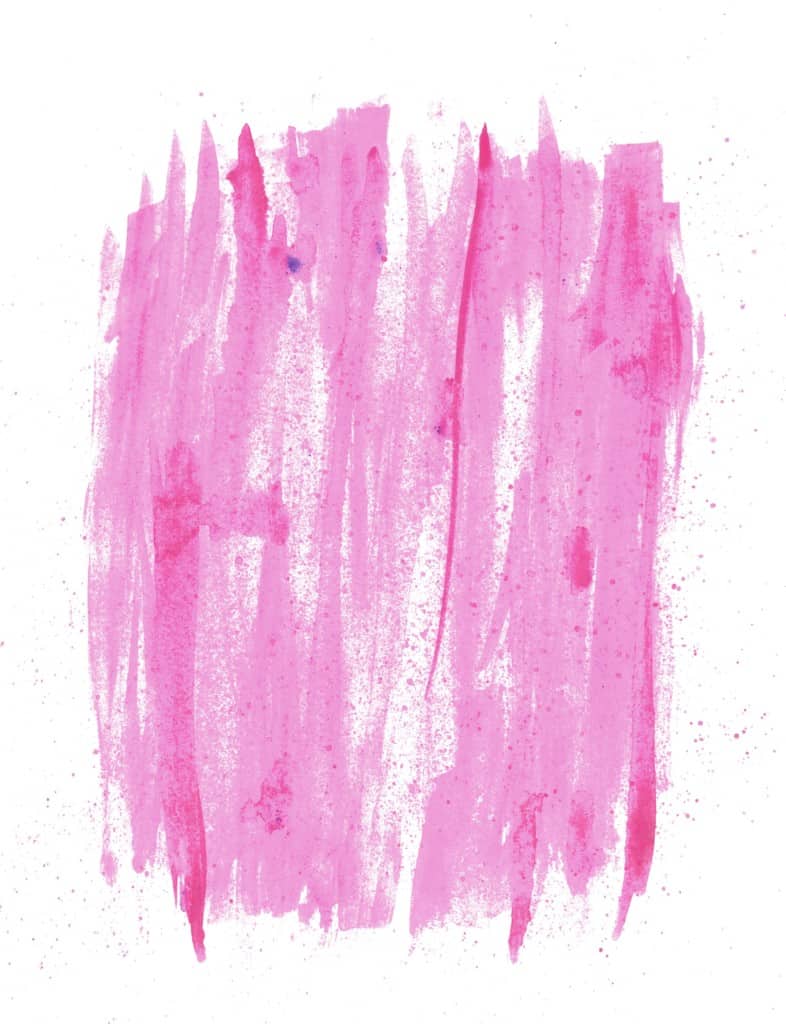
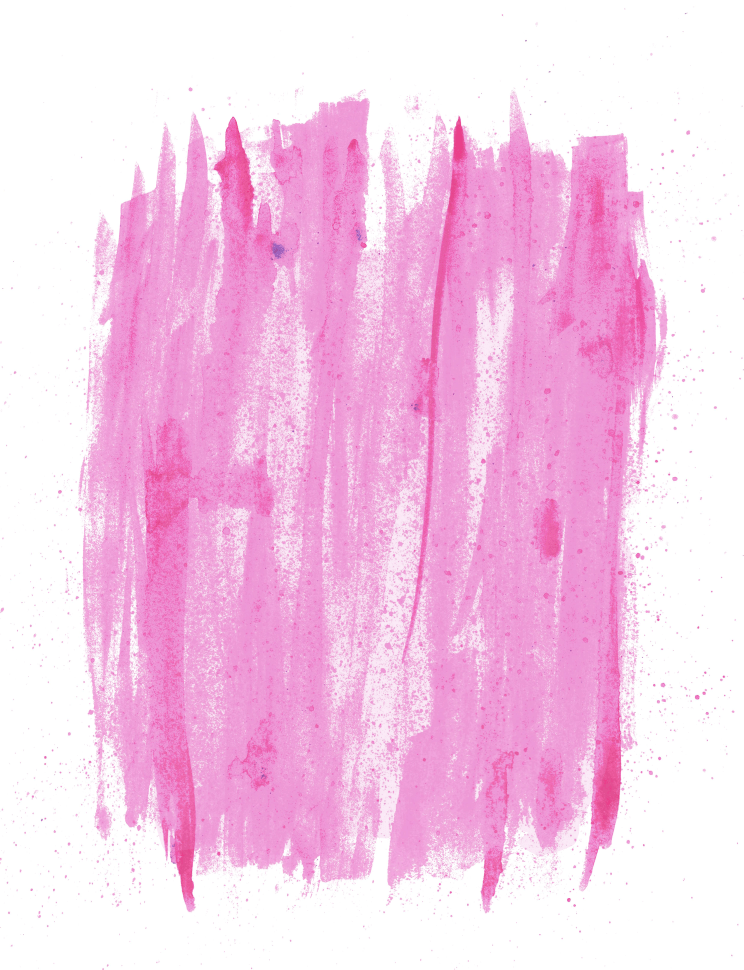
Paint on your cardstock with watercolors. I chose cardstock because it is easy to print on. Since it’s Valentine’s Day, I chose several different pinks and purples. I just slopped it on really messy, without using too much water. Then I dripped more heavily concentrated drops of paint in spots and let them run.. You want to see brush strokes and texture for an interesting background.
When it was dry, I flicked paint at it with my thumb and a paintbrush to add more texture.
Let it dry.
The paper will be a bit warped, so sit it under a heavy book for a bit until it flattens out.
How to Add the Quote
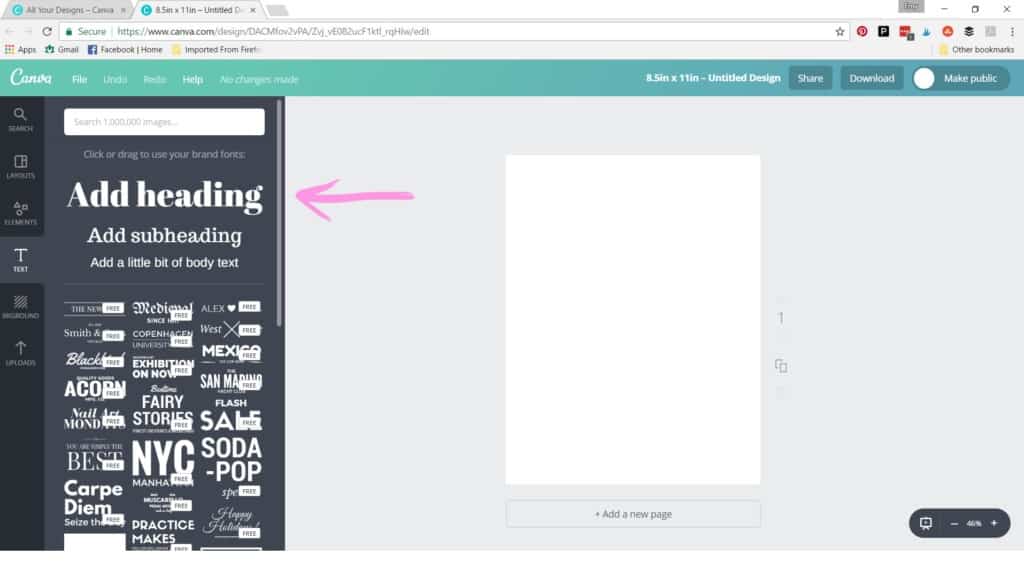
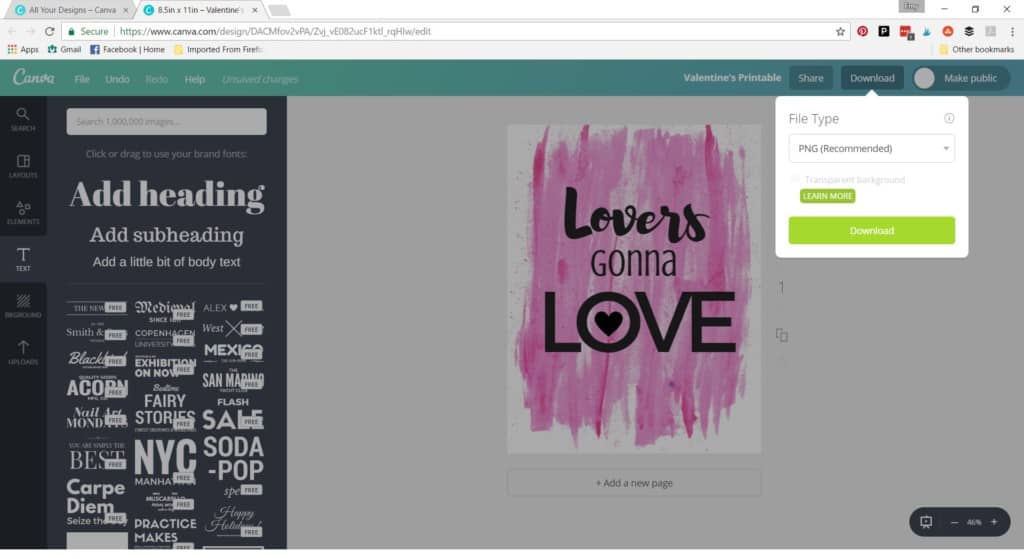
I used Canva to add the quote. Canva is a free program that is really easy to use. I discovered Canva a few years ago when I had to make a powerpoint presentation and hated the thought of making a boring one. I now use it a lot for my blog and even encourage my kids to use it for school projects.
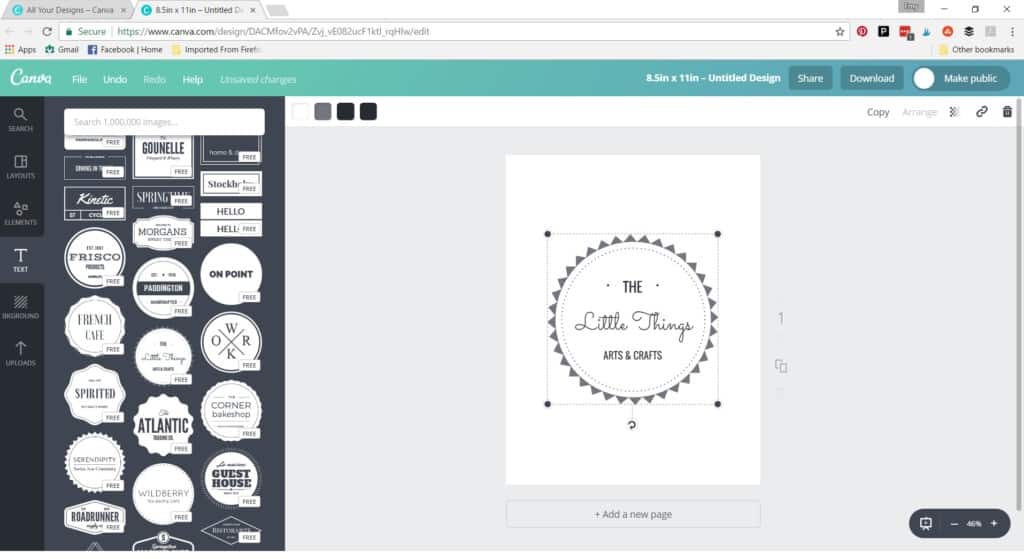
Open Canva and use custom dimensions of 8.5″ x 11″ or your paper size.
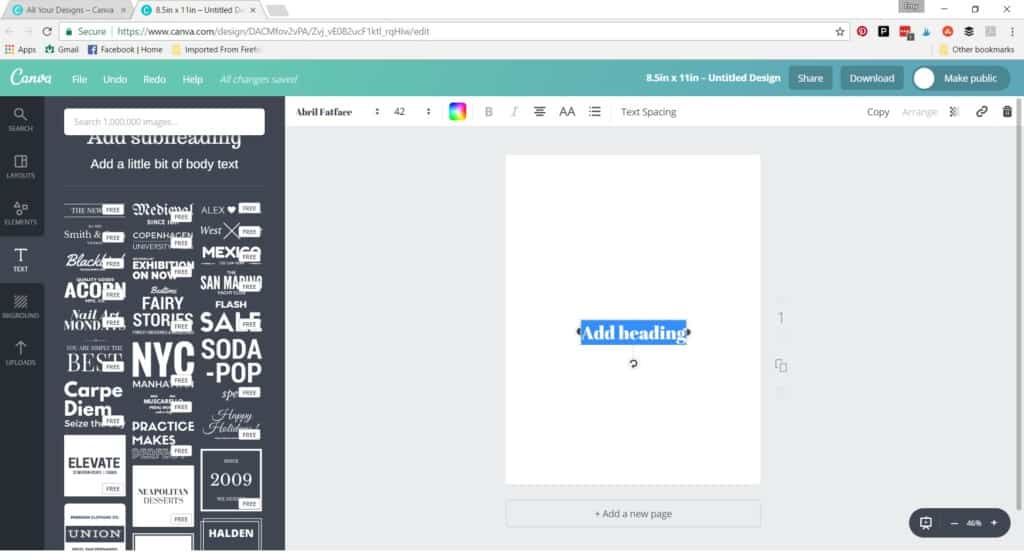
Go to the text feature and click on Add Heading. Or you can click on a ready made text option.
I like to split my phrase into 2 or 3 parts with different phrases. If you want different fonts, they have to be separate headings. I added 3 headings. The size can be changed easily, as can the font, color and even spacing between letters.
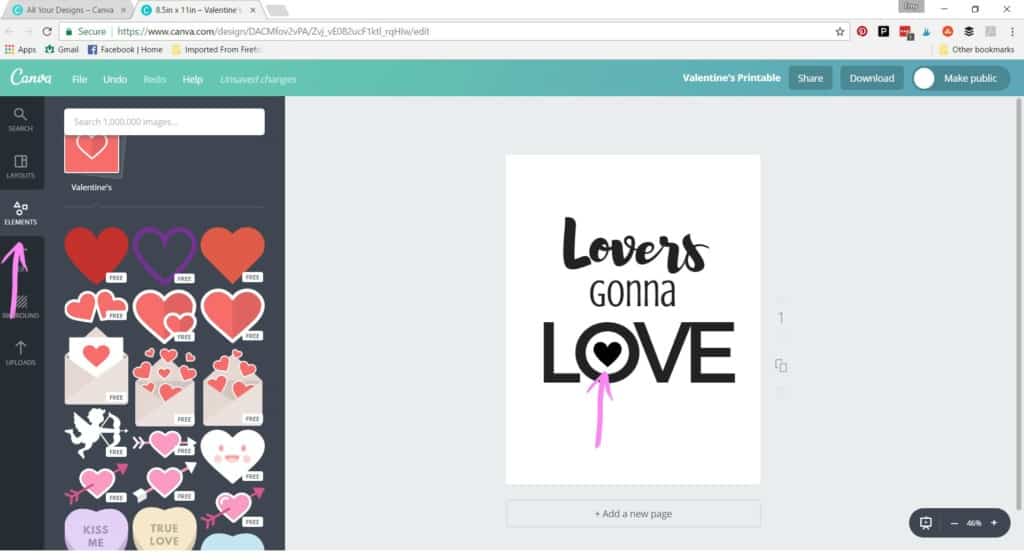
Pairing fonts for quotes is pretty simple if you remember that opposites attract. So a curvy brush script font with a minimal font, a thick and thin font, or serif and sans serif are good examples of this. I used a combo of all of those options. Then I went into elements and added a heart that I made smaller and black for the center of the O. There are tons of fun images, lines and shapes to use.
From here, you can save it as a .png and print it on the watercolor paper you made earlier or you can scan in the watercolor image and make it all digital.
A tip for scanning watercolors: mess around with the background feature on your scanner. My printer/scanner has an option for low, medium and high background deletion. The default is set to high on my printer and it made some of the watercolor disappear, which still looks really cool. Play around with settings until you get an image that you like.I set it at medium and it was much better.
I opened it in Inkscape, and added a subtle transparent pink background to cover the white.
Use the upload tab to upload the image into canva and click arrange to move it behind the phrase. I also used the arrow at the bottom to flip it upside down to fit the image better. You can scale it how you want to remove excess white space.
Download as a png and print.
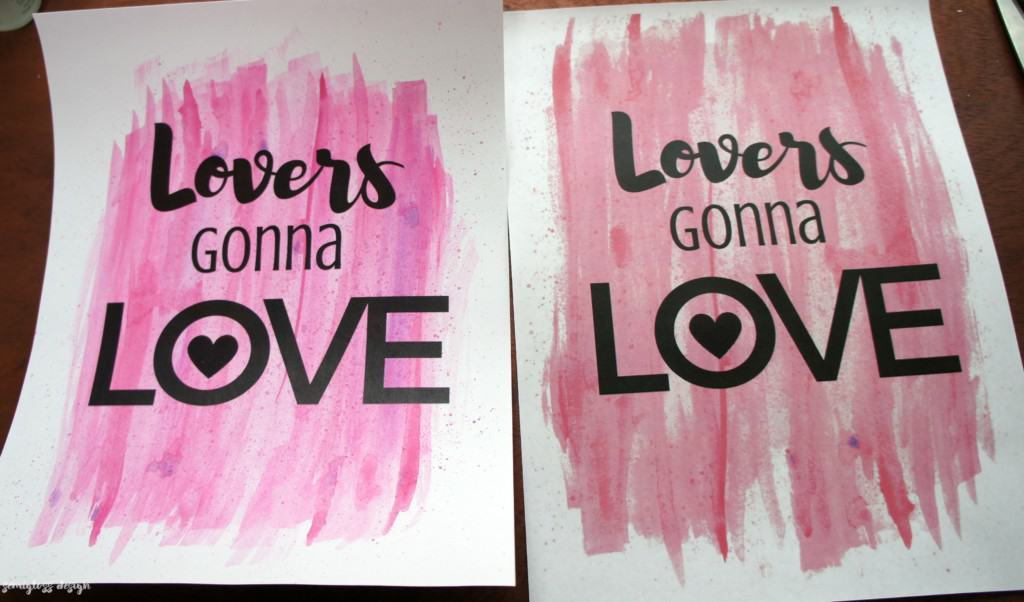
Here are both options side by side: original water color on the right and printed on left.
Keep in mind that I have a laser printer, so the colors and quality are a bit different than an inkjet would produce.
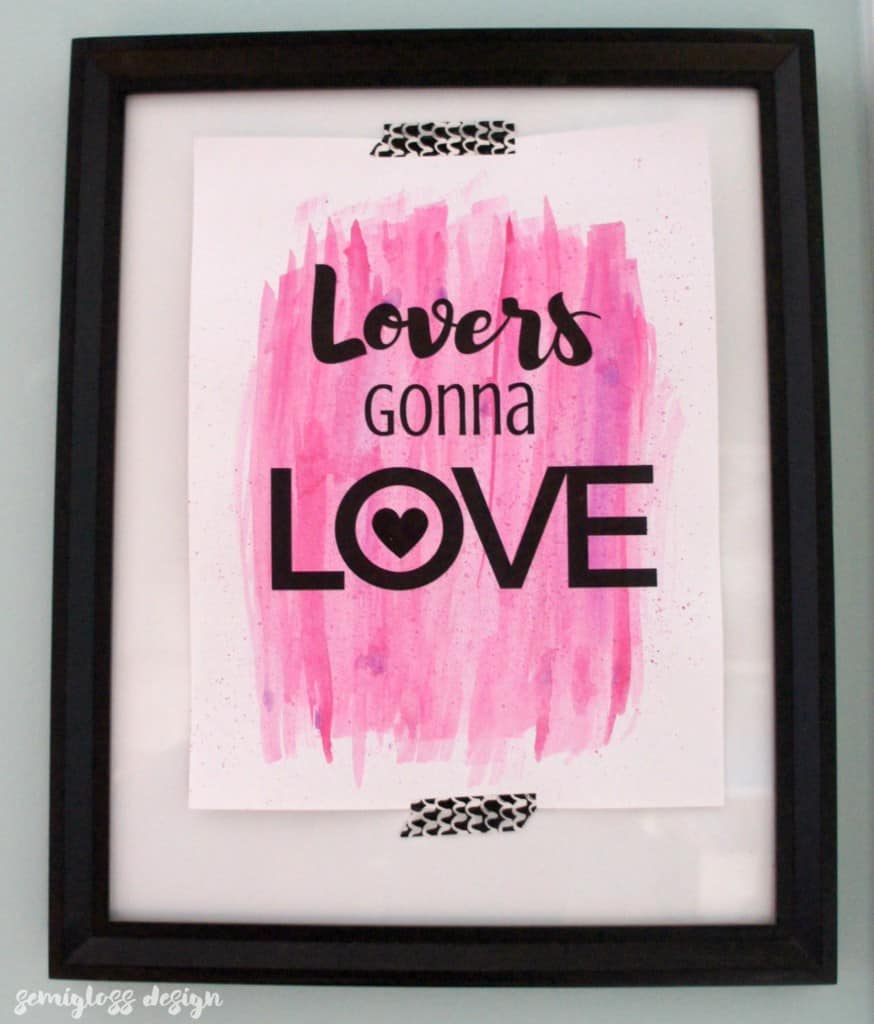
Here it is hung up. I took the lazy girl’s method of taping it on top of a frame with washi tape. It will only be there for a few more days, so I really like this option for a quick, easy way to hang temporary art.
Emy is a vintage obsessed mama of 2 DIYer who loves sharing affordable solutions for common home problems. You don’t need a giant budget to create a lovely home. Read more…