How to Make DIY Mud Cloth Fabric from Drop Cloths
Learn how to make your own DIY mud cloth fabric using inexpensive drop cloths. Get the look of expensive mudcloth at a fraction of the price. Drop cloths are a cheap and durable alternative to pricy upholstery fabric.
You might also like this post on how to shibori dye.
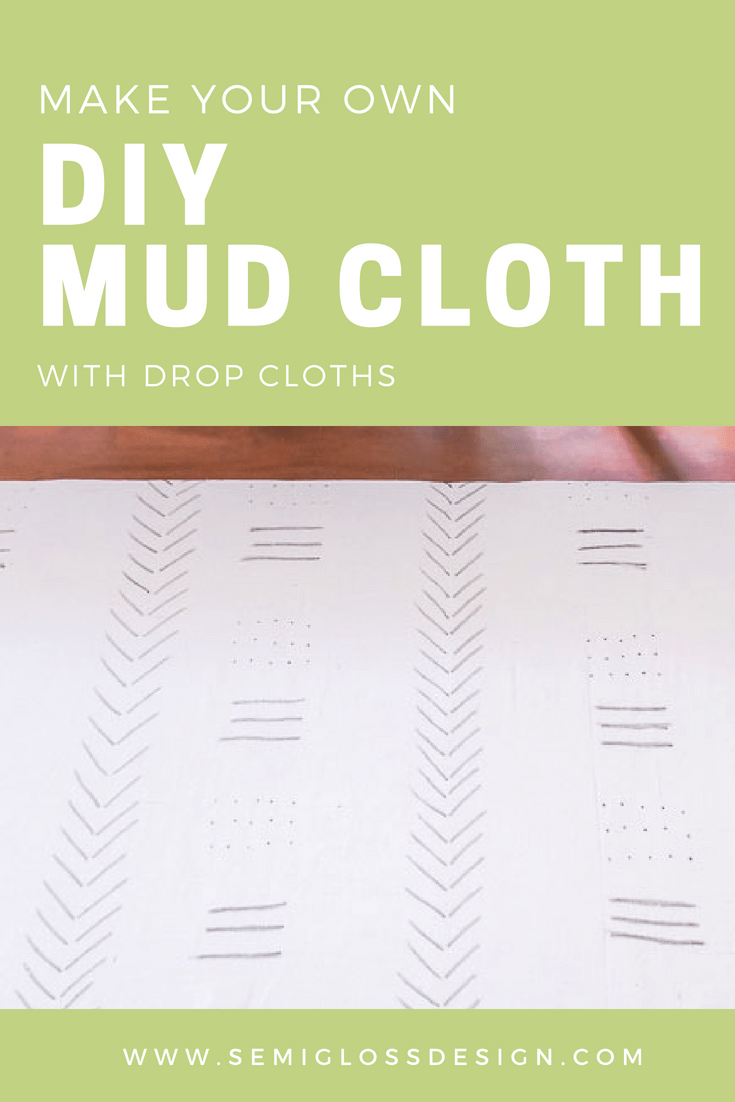
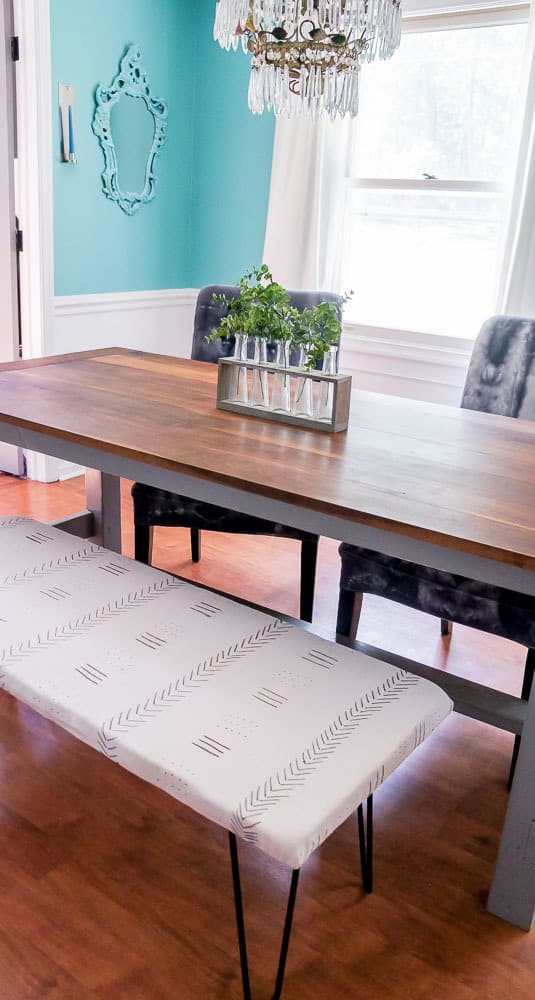
Mud cloth is beautiful, but it felt a little too precious to use for my most recent project, a bench built for messy kids. My kids are older, but I still catch them using shirts and chair slipcovers as napkins, even when napkins are sitting right in front of them.
Making my own DIY mud cloth for my bench felt like the safer solution to my messy kids. Using drop cloths makes the project inexpensive. Plus drop cloths have a lovely texture that is perfect to mimic mud cloth.
Mud Cloth FAQs
What is mud cloth?
Mud cloth is a fabric made with fermented mud by the Malian ethnic group. It features simple geometric shapes and is often used for home decor and fashion.
Can this DIY mud cloth fabric be washed?
Yes, you can wash this DIY mud cloth. If you have used this fabric for a sewing project, make sure to sew the seams well because drop cloth fabric can fray.
What else can be made with DIY mud cloth fabric?
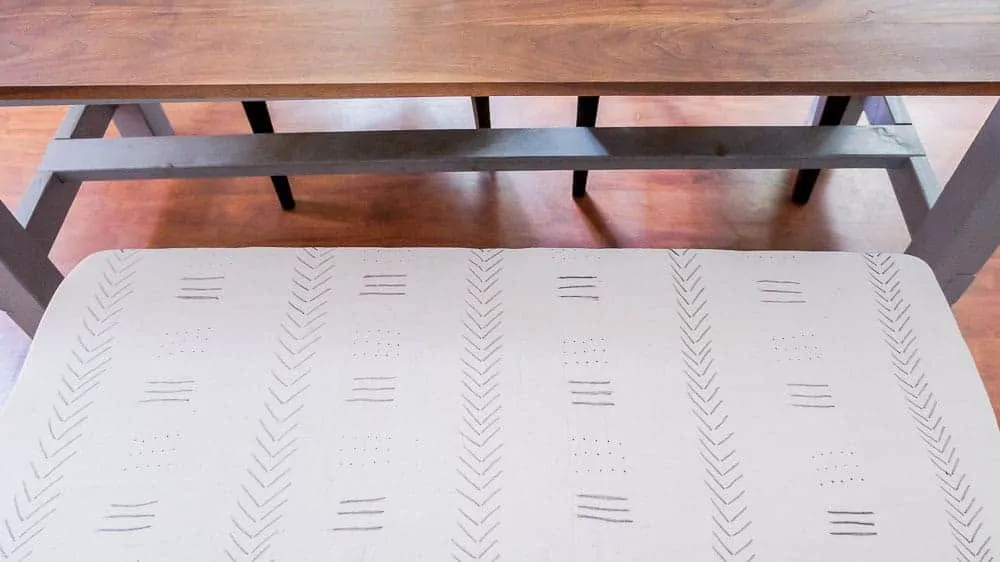
I used my fabric to upholster a bench cushion, but it can also be used to make pillows, table runners, napkins, and placemats. If it’s fabric, it can be made with it.
Make Your Own DIY Mud Cloth Fabric
Supplies
This post contains affiliate links. By purchasing an item through an affiliate link, I earn a small commission at no extra cost to you.
- Drop cloth (100% cotton)
- Bleach
- Large storage bin
- Yard stick
- Fabric marker
Prep Work for DIY Mud Cloth
- Wash and bleach your drop cloth. Mine was already bleached from a previous project. It’s easy to do though. I run it through the washing machine because they smell bad when you open them. Don’t worry about drying them. Then I let them soak in large plastic bin sitting in the bathtub for a few hours. Use a few cups of bleach in a large bin filled with water. Stir as you need to with a plastic spoon to avoid splotches. Once your drop cloth is nice and white-ish (it’ll still be off white!), rinse it and run it through the washing machine and dryer. When you drain the bin of bleach into your tub, it’s almost like cleaning your tub! Score!
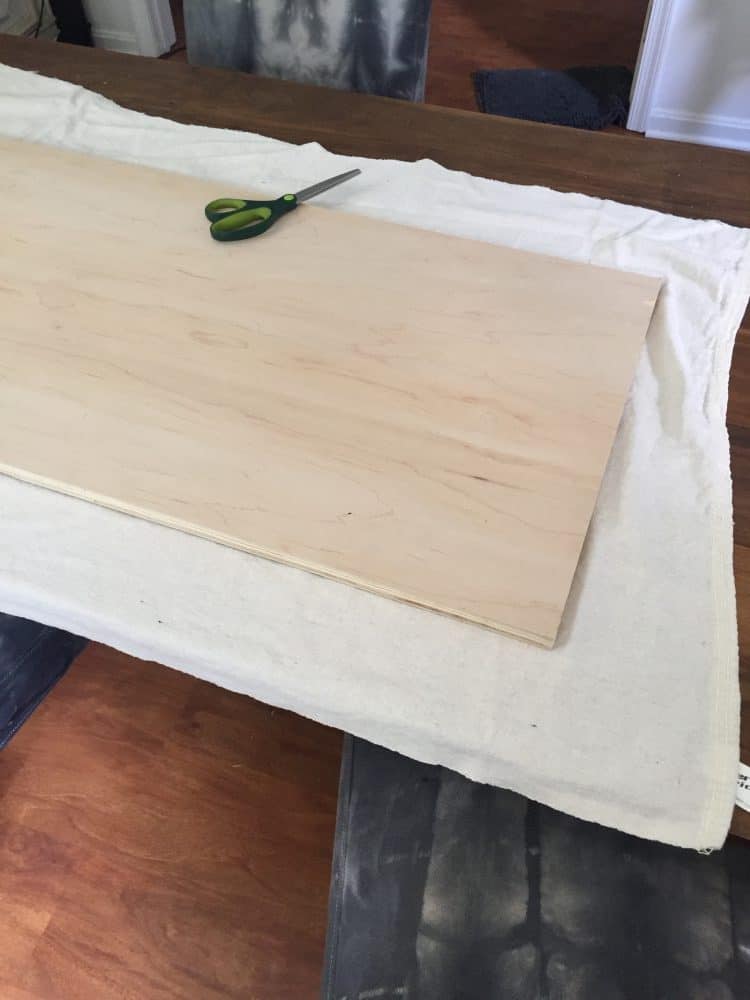
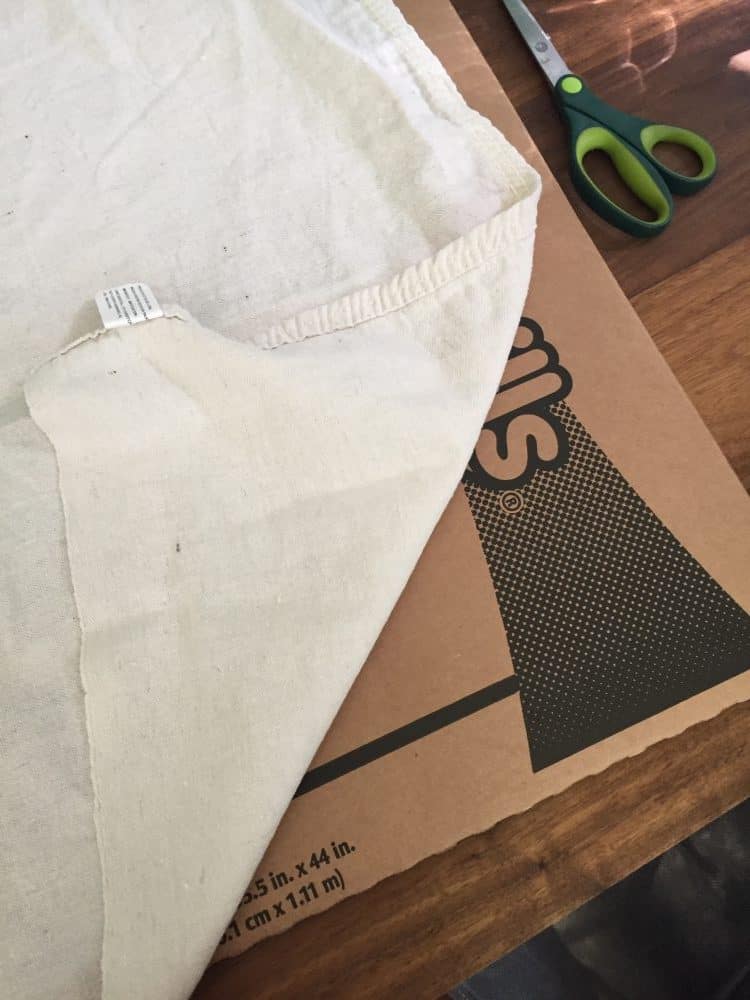
- Lay out your fabric and cut it the size you need. I cut mine to be about 6″ larger than my bench on all 4 sides.
- Protect your work surface if you care about it. I used cardboard from my daughter’s science fair project that was still lying around. (The market didn’t bleed through, but better safe than sorry!)
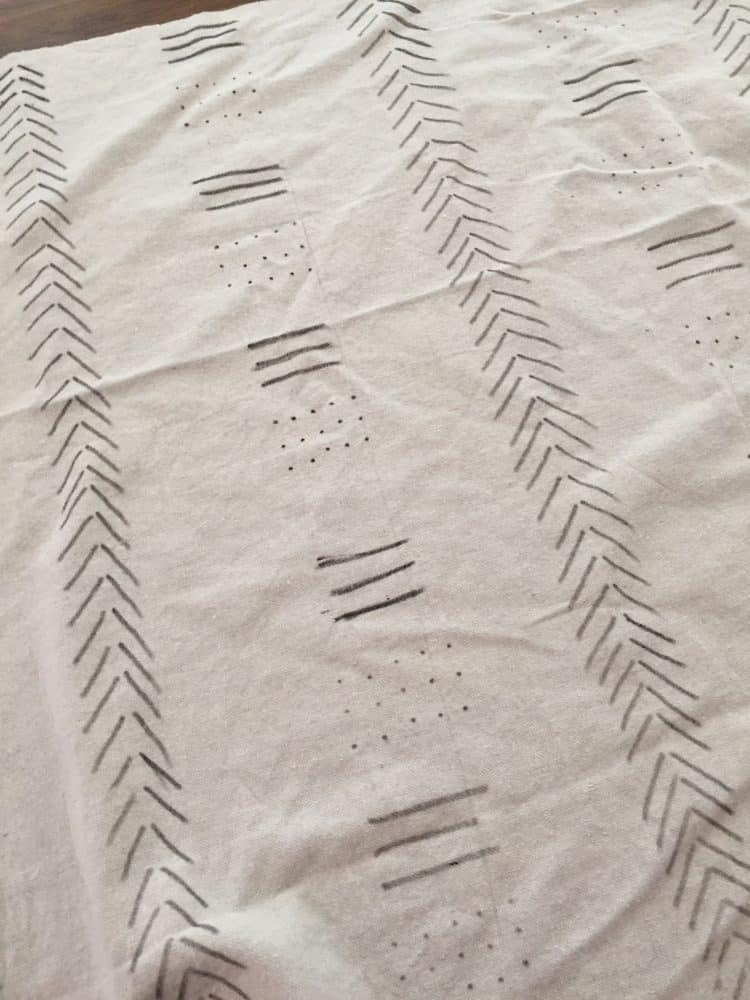
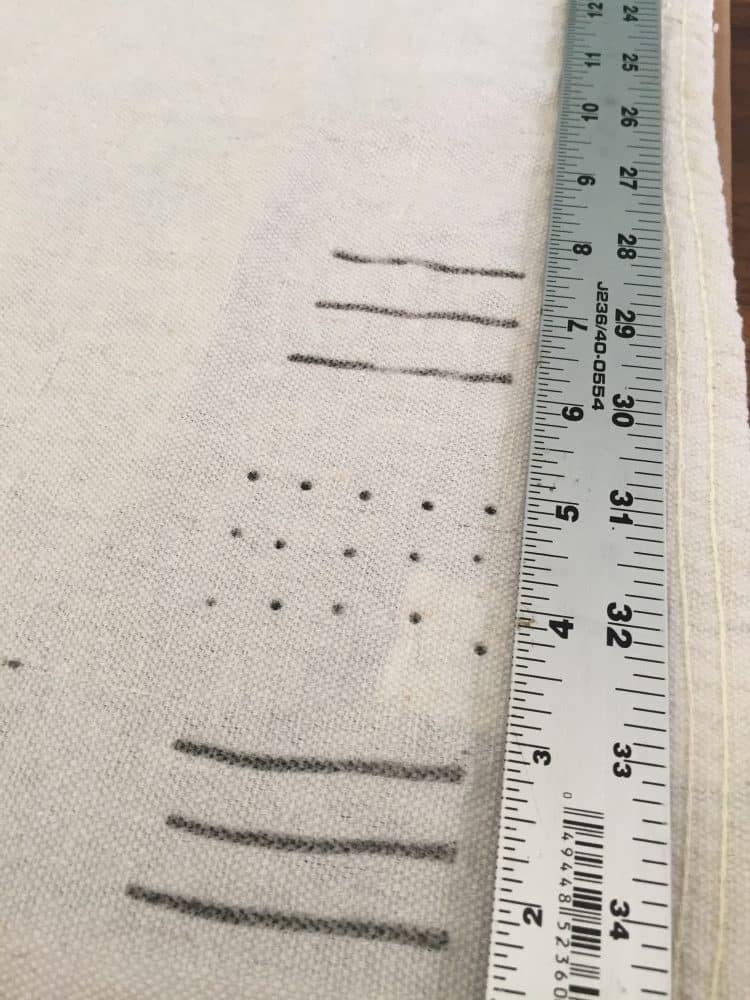
- Go to pinterest or google and find some inspiration for your mud cloth design. If you’re doing a huge piece of fabric, keep your design simple. I decided on slashes, lines and dots.
Making the DIY Mud Cloth
- Use a ruler to keep your design straight and start drawing. My first row wasn’t great, but as I went on, they got better.
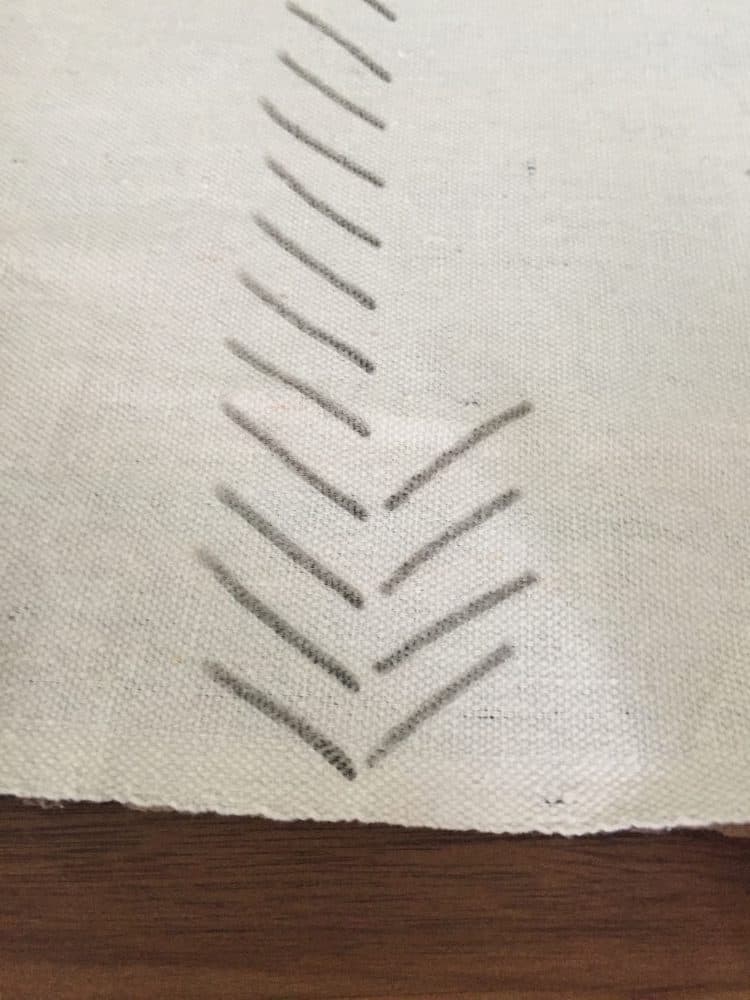
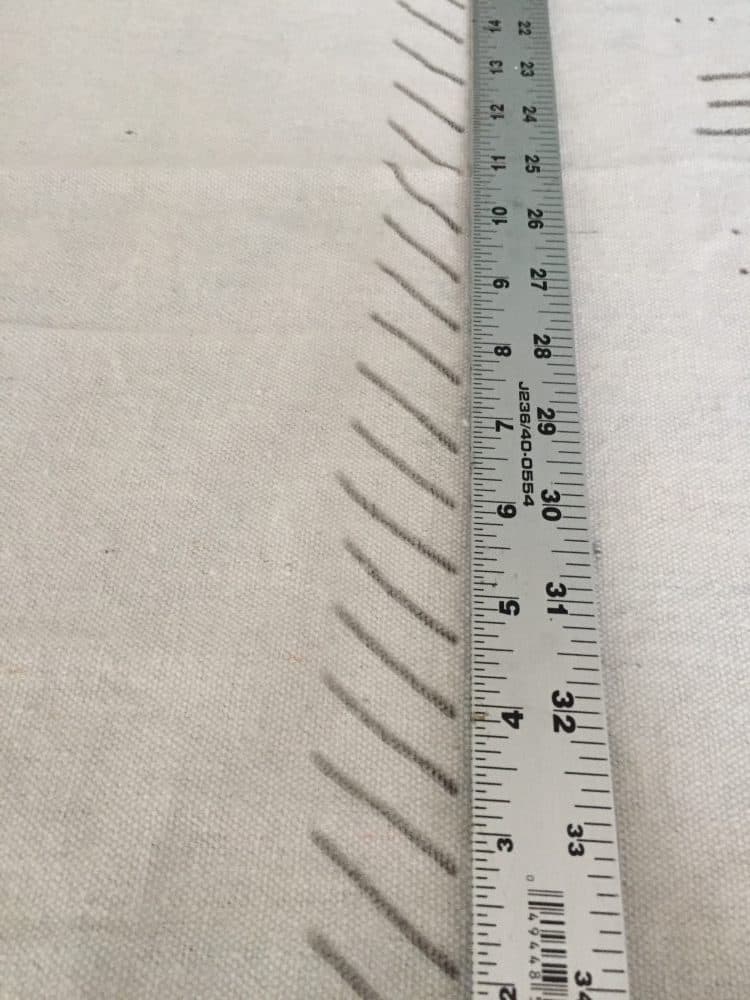
- For slashes, I found that using the ruler as an edge for one side, helped keep them lined up.
Then I went back and added the other line of slashes.
- Continue until your fabric is full. As you go, try to make sure that your design is lined up with previous rows.
- If your lines feel too light, go back over them with the marker. It also helps fix any wonky lines where you messed up.
- Use your fabric. I used mine to upholster a simple bench.
What do you think? Would you make DIY mud cloth for your DIY projects?
You might also like:
Pin for Later!


Emy is a vintage obsessed mama of 2 DIYer who loves sharing affordable solutions for common home problems. You don’t need a giant budget to create a lovely home. Read more…


 Then I went back and added the other line of slashes.